Boho Feather Necklace
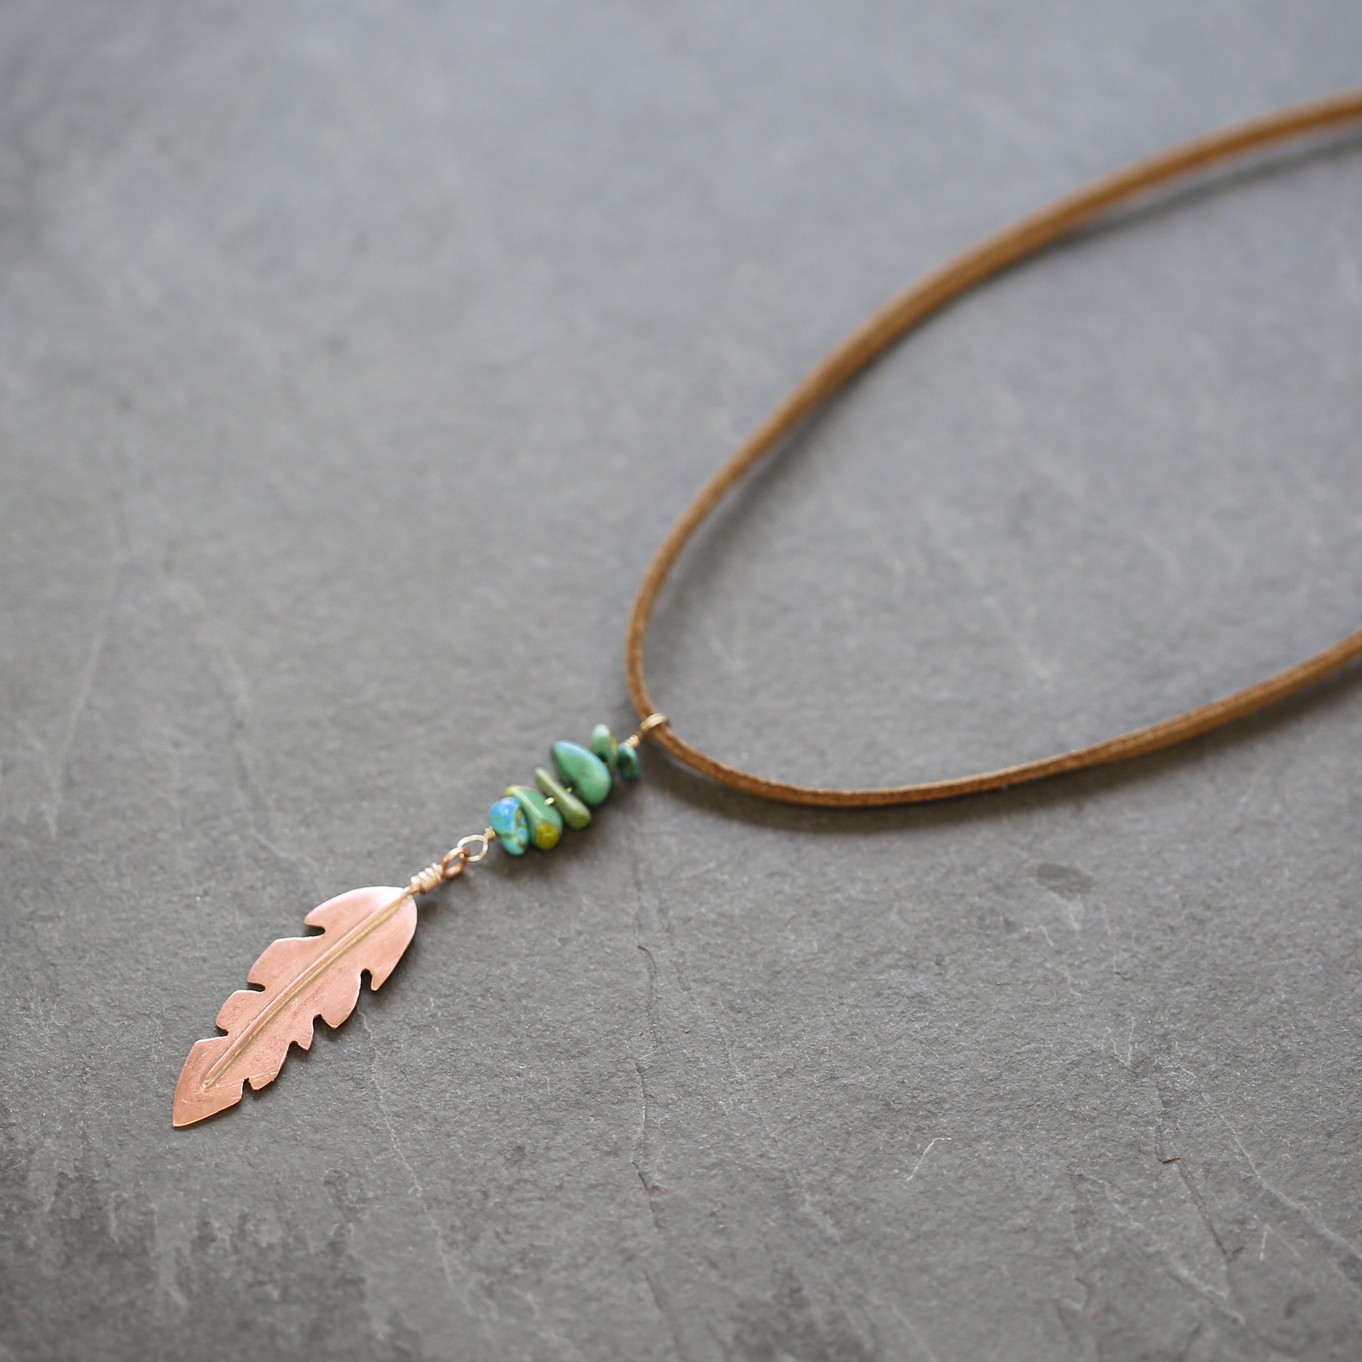
This cute bohemian style feather pendant is right on trend for festival season!
It's a great starter project for practising the key silversmithing techniques of piercing and soldering as well as wire wrapping without breaking the bank.
Step By Step Instructions
Firstly you want to cut out the shape for your feather...
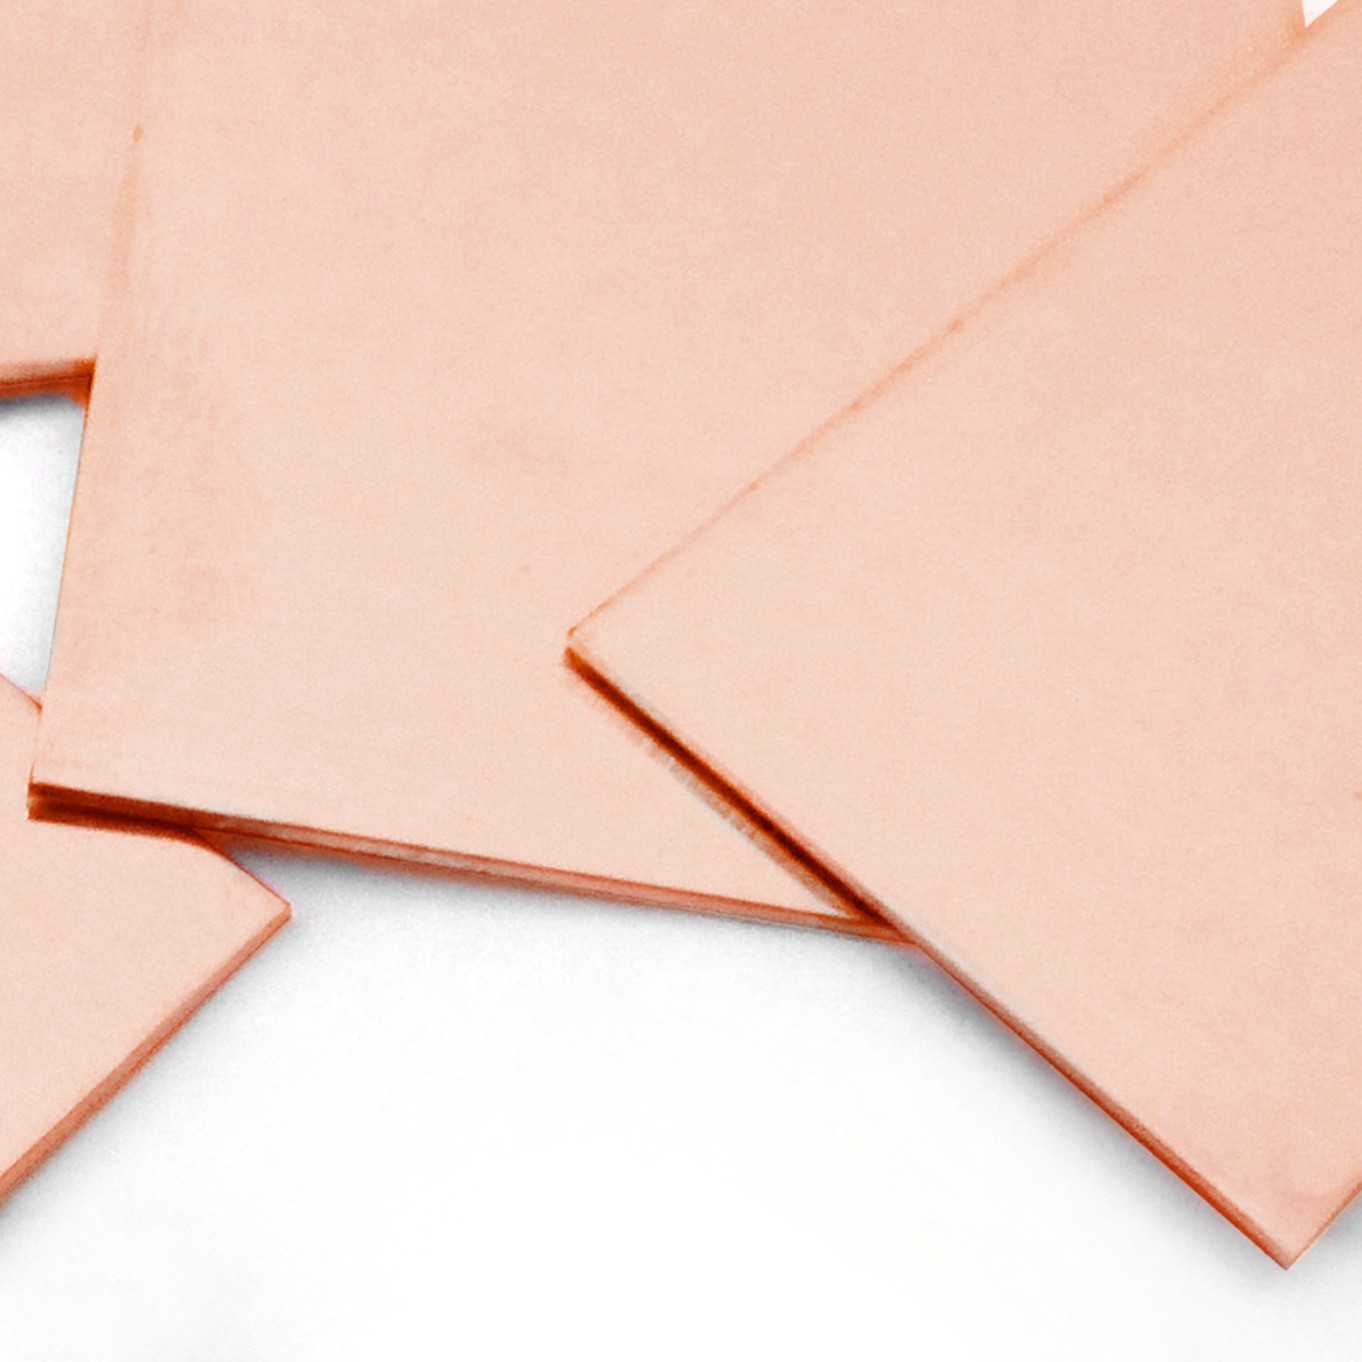
Draw the shape you want onto the copper sheet with a permanent marker, this will give you a line to follow with your piercing saw.
Using a medium or fine saw blade in your piercing saw slowly cut along the line of your feather shape taking extra care to turn the blade in the corners (don't worry if you break your blade it happens to us all, just replace it and carry on).
Once you've cut out your shape use some needle files to smooth and neaten the edges.
Now you need to make the middle for the feather which also creates the bail for the pendant.
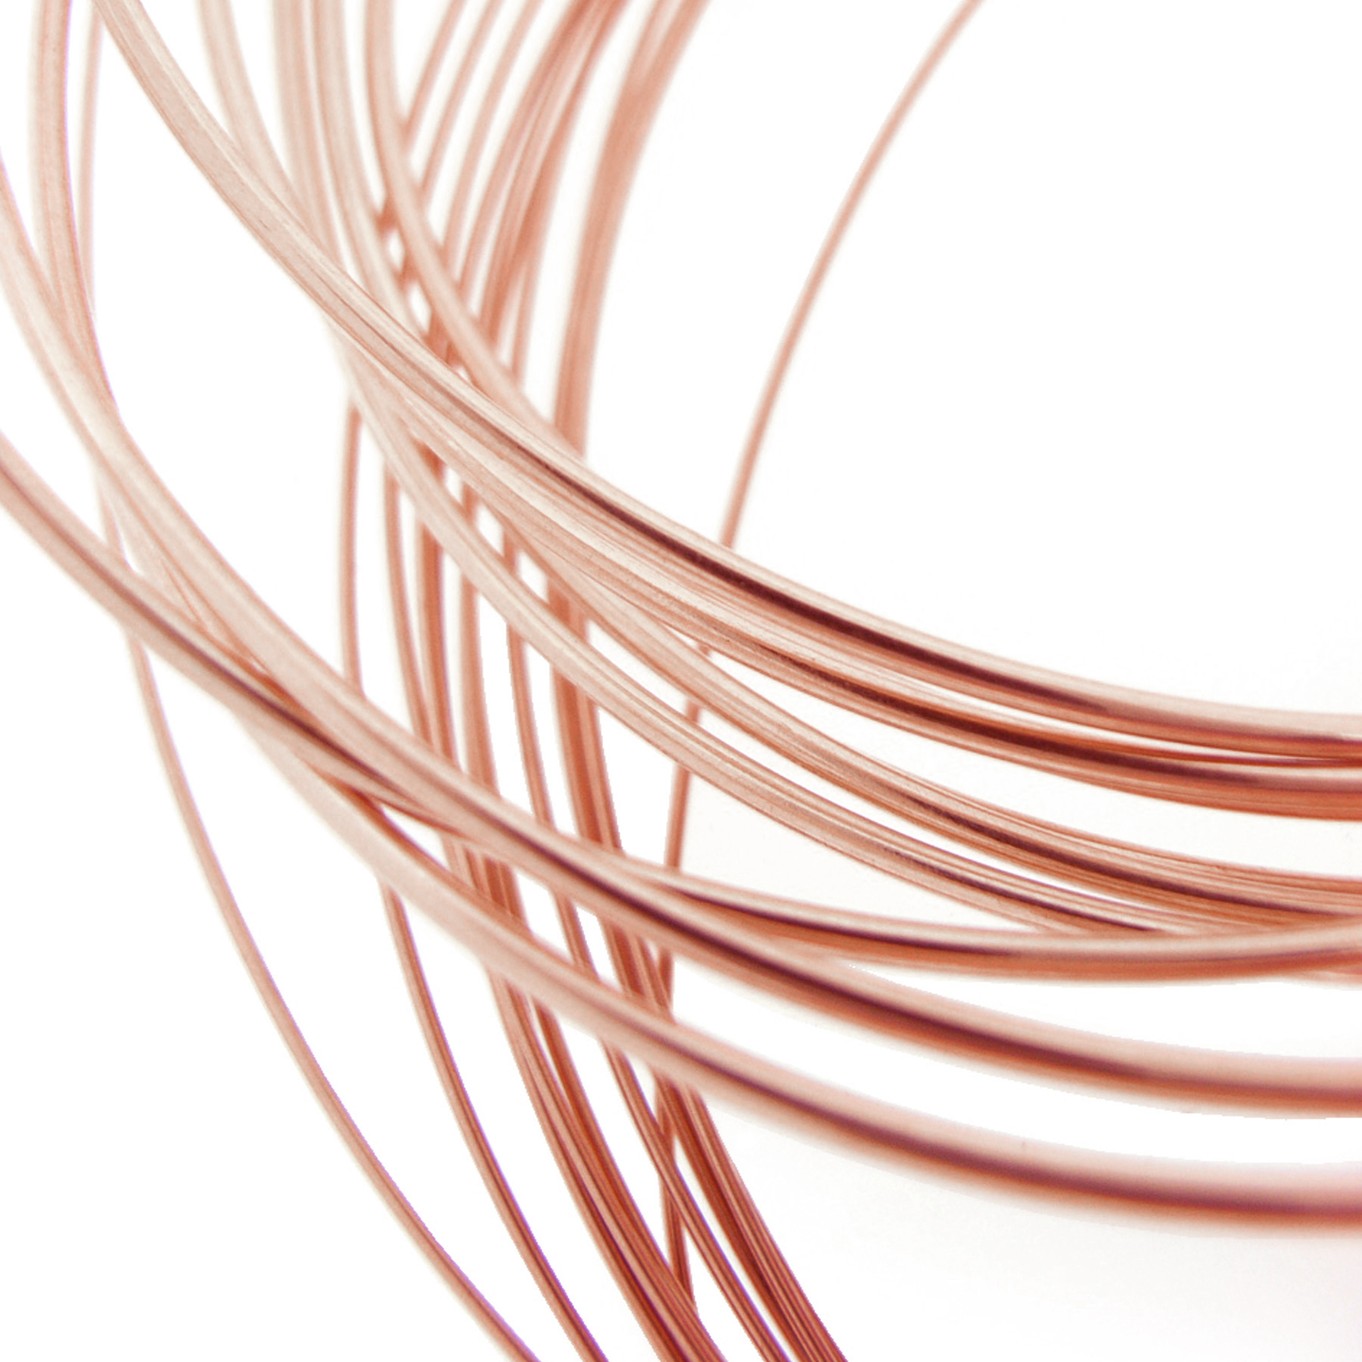
Take a length of the 1mm copper wire twice the length of your feather shape and wrap one end around some round nose pliers to make a loop, leaving some excess that you will use to wrap back down the wire.
You can then cut the wire down to size to fit on your shape. To see a step by step of how to get to this stage click here.
You now need to solder the wire wrapped eye pin onto the feather shape.
Choose where you'd like to position it and make sure the wire lays flat onto the feather. The wrapped wire end should sit nicely off the end of the feather and help it to stay in place.
Apply some flux and solder pallions along the join (or solder paste whichever you prefer using) and heat with your gas torch until the solder flows.
Then transfer with the insulated tweezers to your pickle to clean. (Any solder grade will be suitable for this as you only have the one solder join).
Your pendant should now be complete, use your preferred method of polishing to finish it off.
Click here to read our top tips on polishing your handmade jewellery.
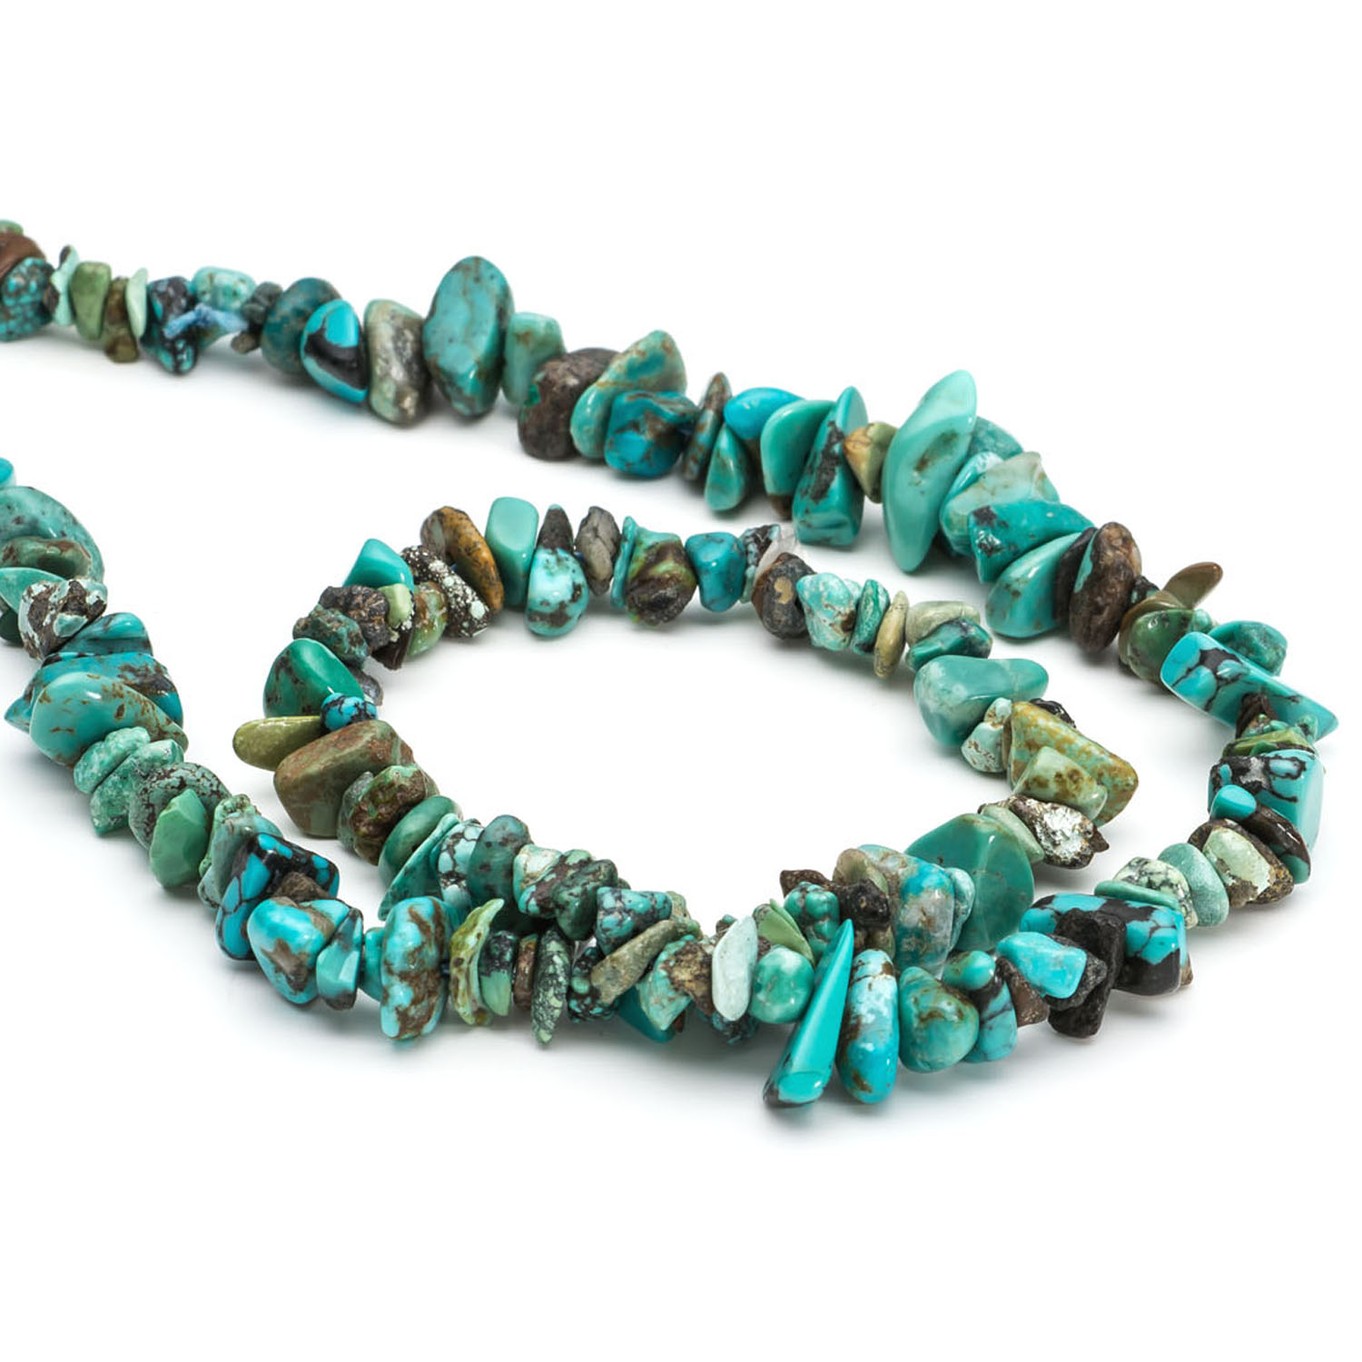
The next step is to wire wrap the chip beads onto your pendant, you'll want to use the 0.4mm copper wire to do this.
Cut a 15cm length of the 0.4mm copper wire and follow the steps used before to make the bail for the feather, but this time thread the loop onto the ring of the feather before wrapping it into place.
Cut off any excess wire to make it sit neatly.
Thread the amount of beads you want onto the open end of the wire and then create a loop the other end. This will be used to thread your cord through so make sure it's large enough; also for added strength here we advise wrapping the wire twice around the pliers before coiling it back around itself.
Your pendant is now complete!
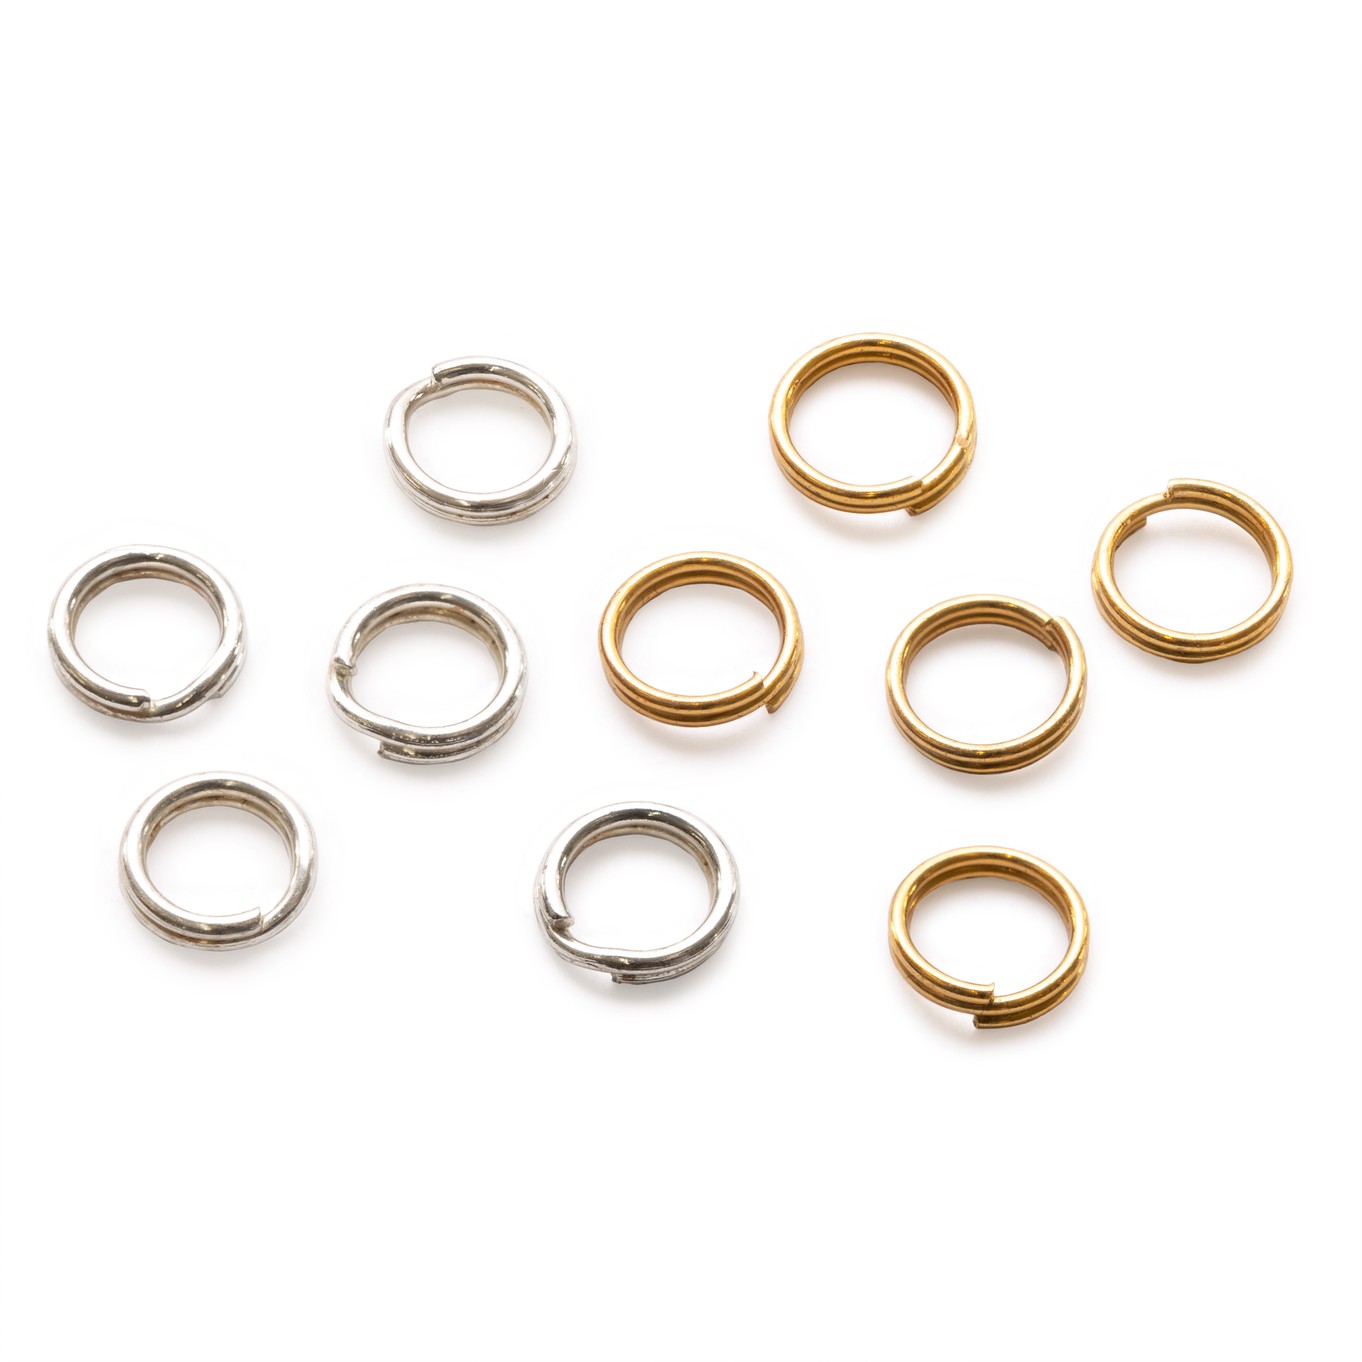
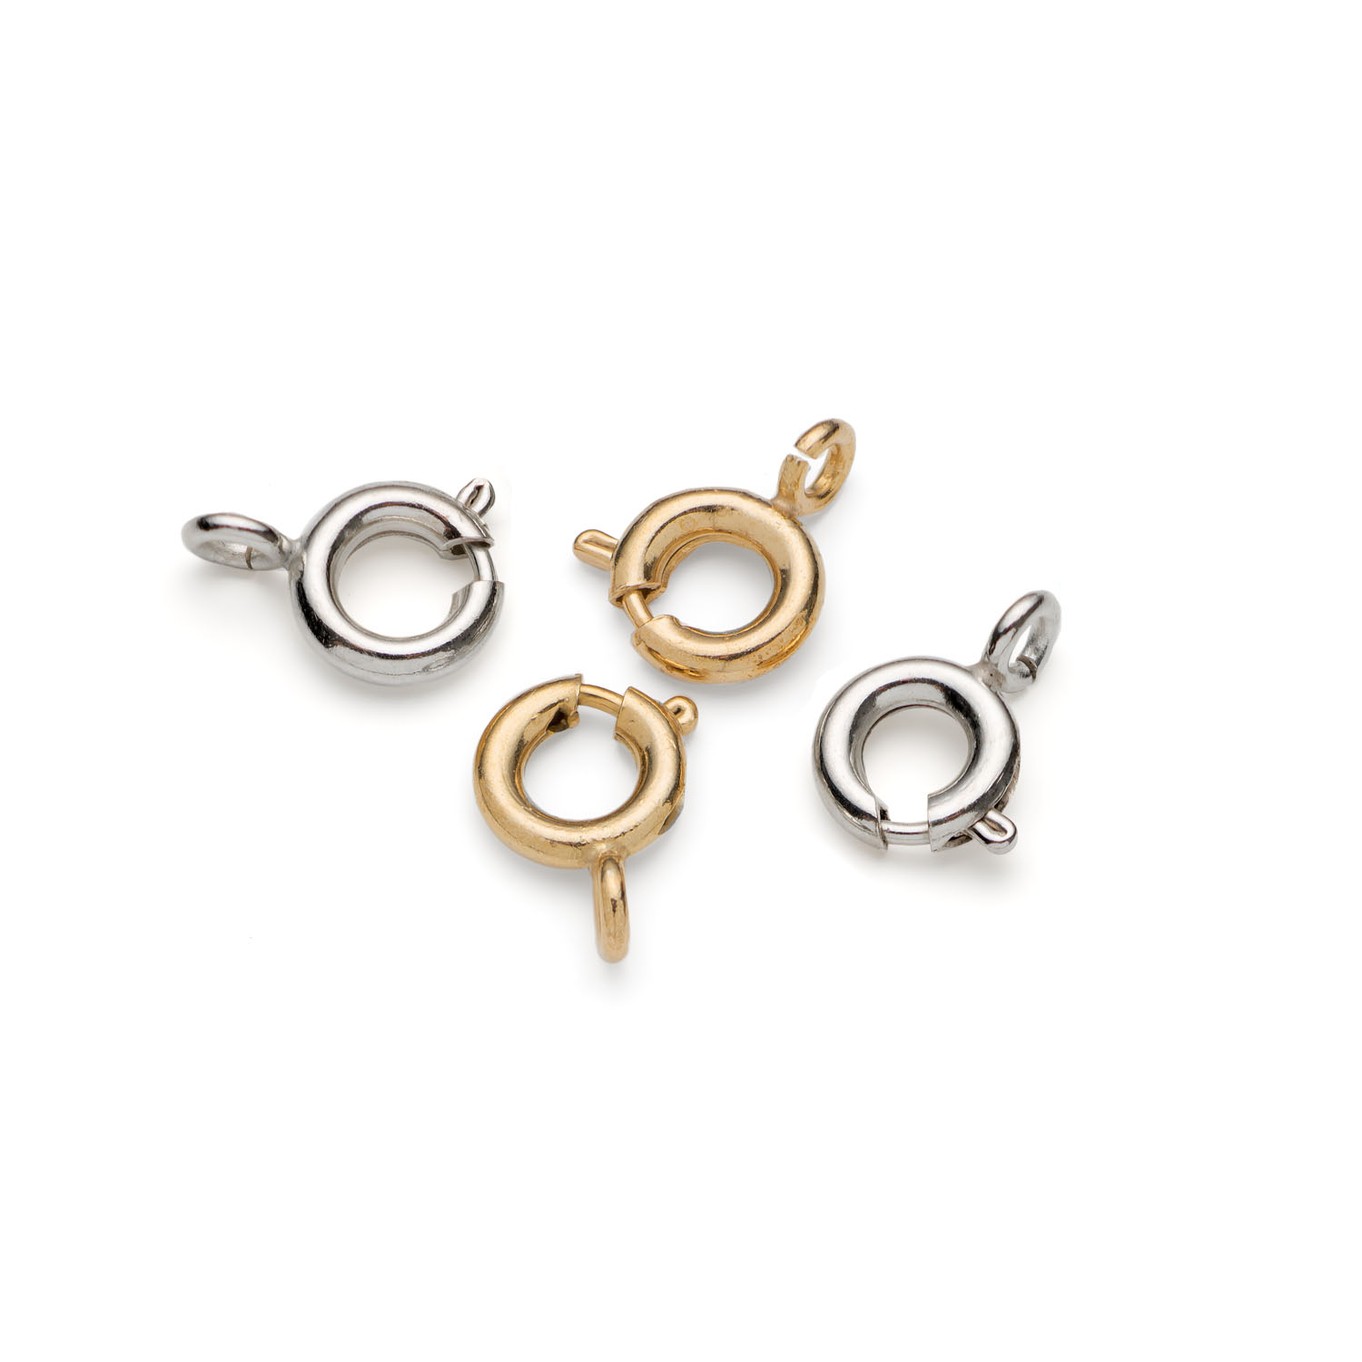
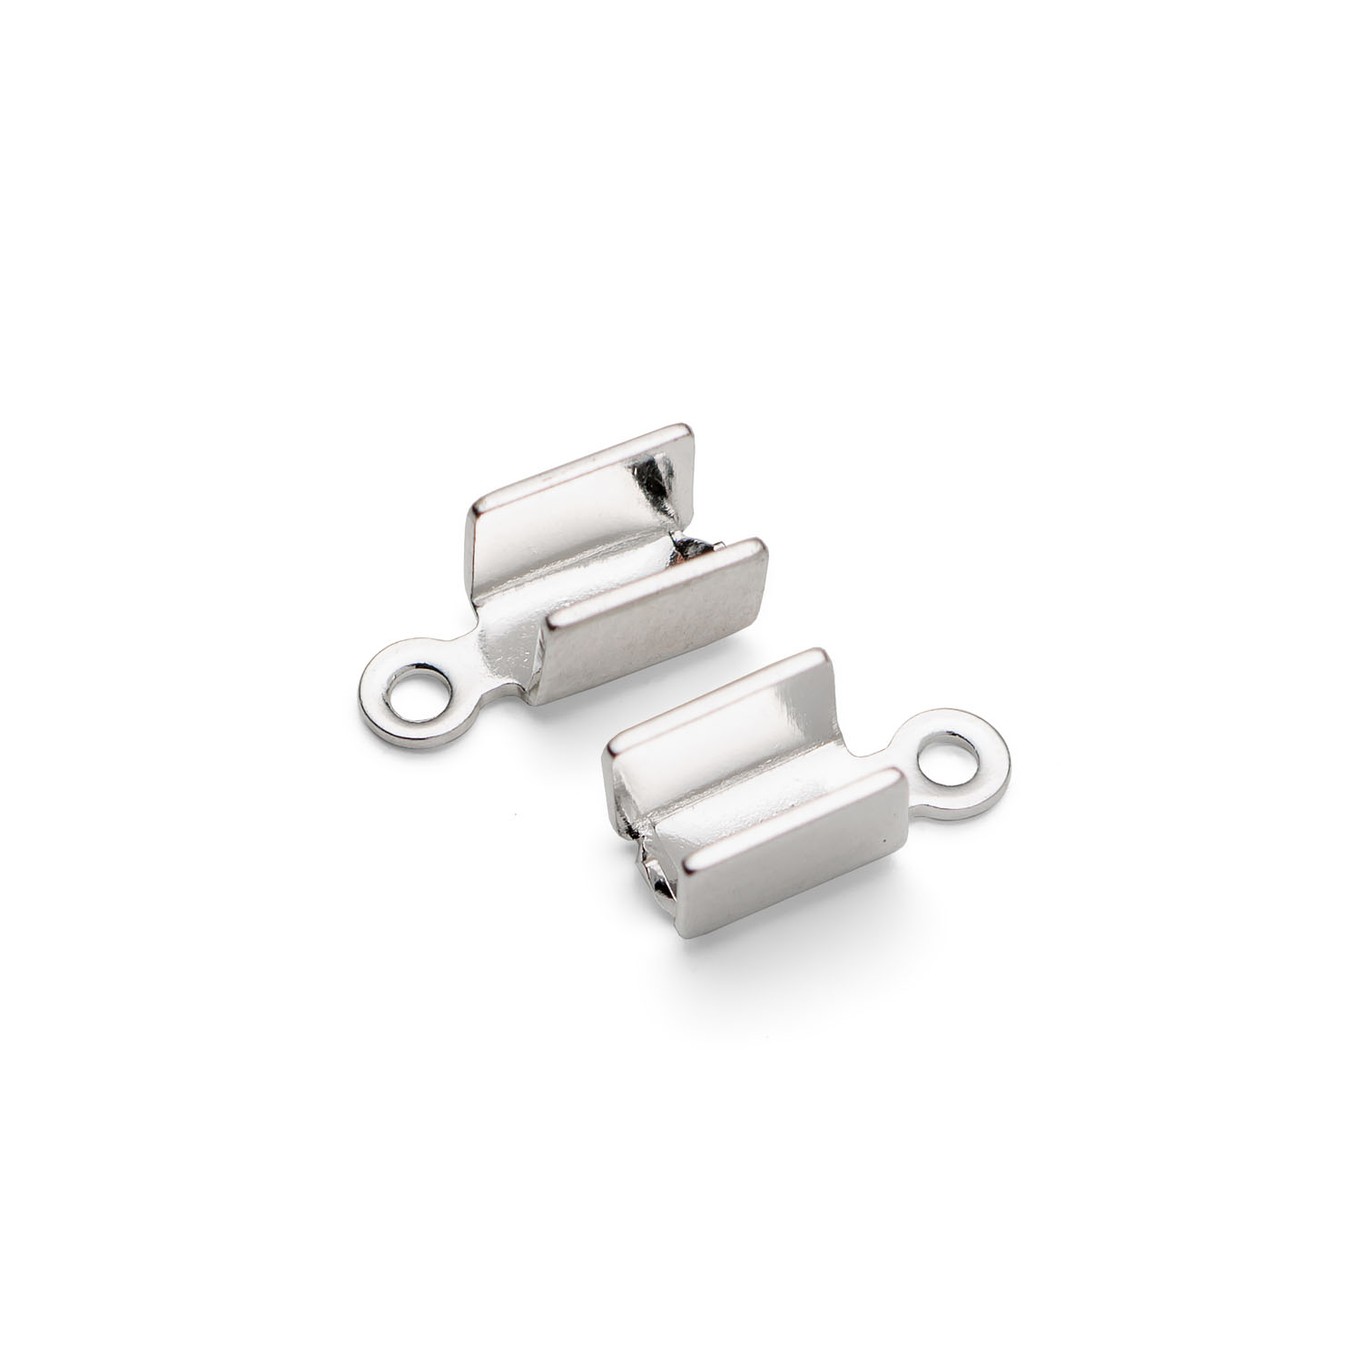
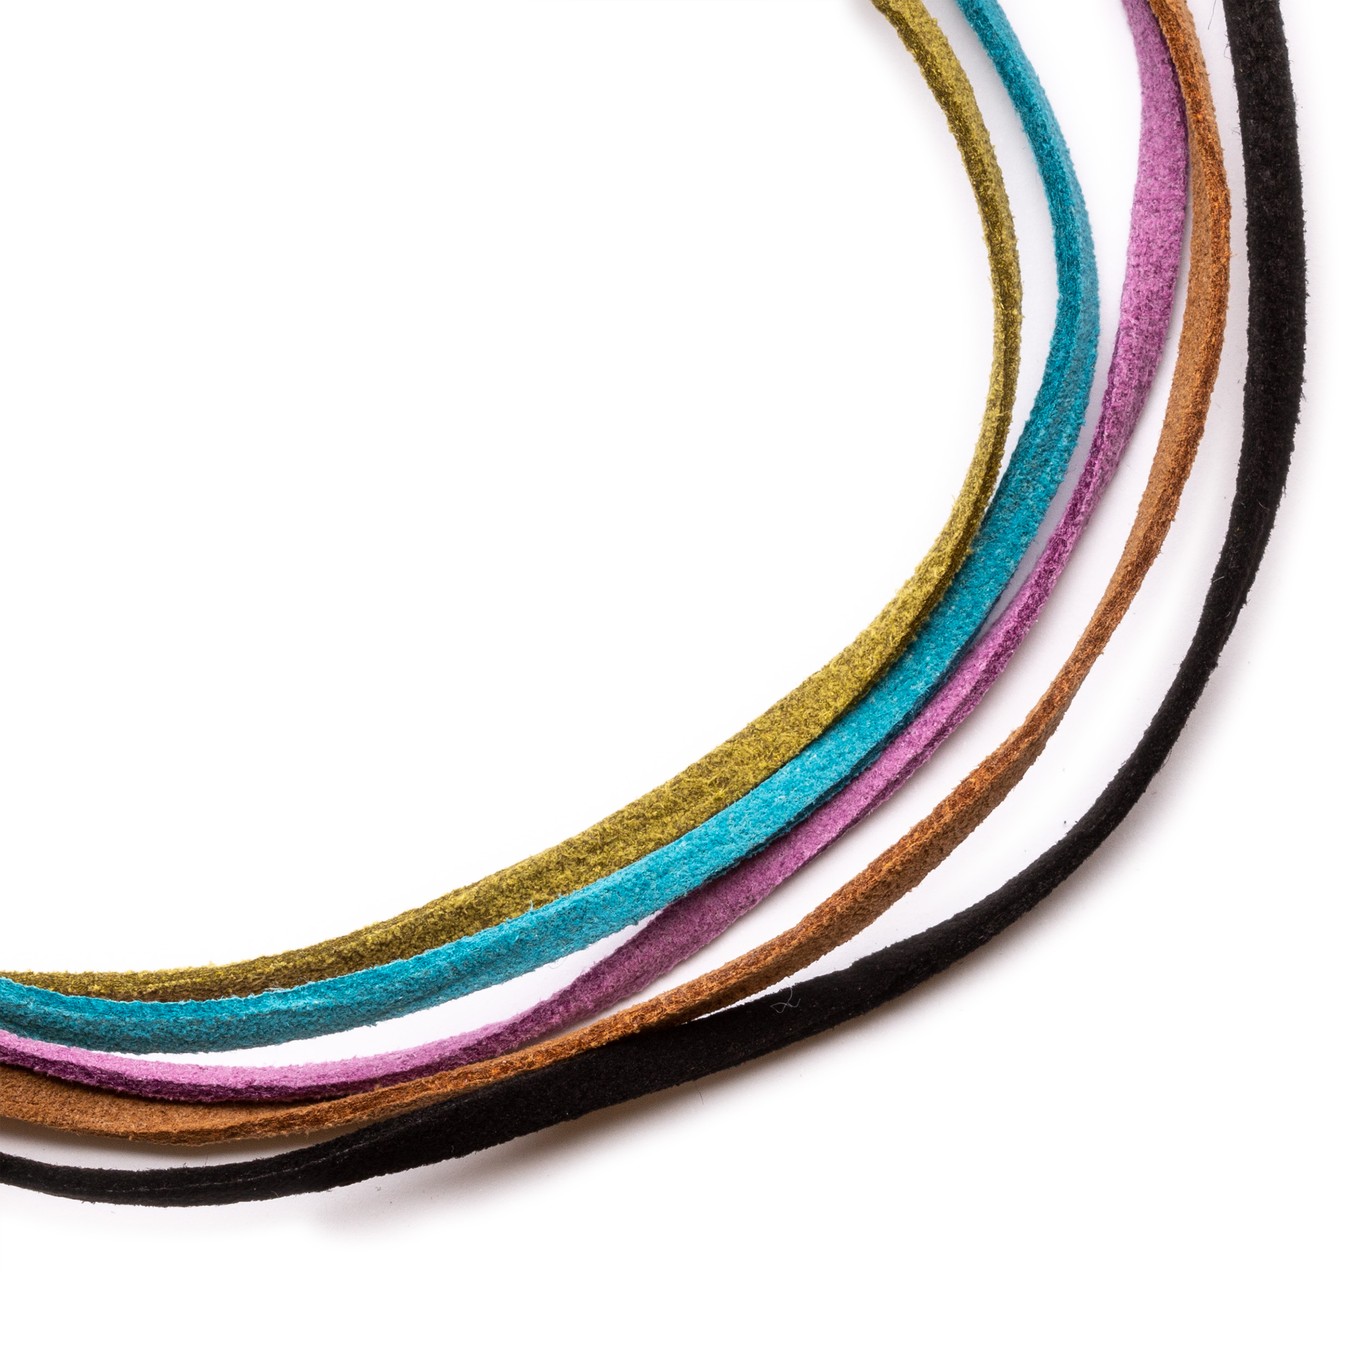
Just cut your cord to the length you desire and either use a sliding knot for a casual, adjustable fastening or use the cord ends, split rings and bolt rings to give your necklace a more polished finish.
Suggested tools for this project
Jewellers Gas Torch - Ideal for soldering small pieces.
Soldering Block - Provides a safe surface on which to solder and keeps the heat exactly where you want it.
Anvil and Bench Pin - Will make piercing out your metal much easier.
Piercing saw - Used for cutting wire and shapes out of flat metal sheet.
Piercing saw blades - Essential for use with the piecing saw.
Soldering Paste - Very simple to use as there is no need for extra flux as it is already mixed in with the paste!
Insulated Reverse Action Tweezers - Great to help support tricky pieces during the soldering process and the wooden insulated handles mean they can be handled directly afterwards without risk of burning yourself.
Plastic Tweezers - Essential for inserting and removing items from a pickle bath.
Safety Pickle - An essential product for removing the fire-stain caused by heat during soldering.
Side cutters - For cutting and trimming wire, head pins etc.
Round nose pliers - For bending loops in wire.
Snipe nose pliers or flat nose pliers - For open and closing jump rings.
You may like to get our pack of pliers & side cutters which is an economical way of buying all the pliers you will need for every project!
Customise Your Kit
Make the design your own by using your favourite jewellery supplies.
Helpful Pages
How to make a wire wrapped bead chain
How to get a good finish on your jewellery
Jewellery Making Books
'Jewellery Making: A Complete Course for Beginners' by Jinks McGrath
Kernowcraft's jewellery making kits are aimed to inspire you - therefore the step by step instructions are available online only with a shopping list, where you can easily customise the design to suit you. We recommend printing or bookmarking this page ready to follow.
The suggested products used in this project are suggestions to inspire you. Products used were compatible at the time of making but do be aware that gemstones are natural and hand cut stocks can vary, so do use your own common sense as to the compatibility of each item when making.
Your Shopping List
There are one or more items out of stock at present.

