Easy Handmade Jewellery Ideas For Beginners
Interested in trying your hand at jewellery making but not sure where to begin? You’ve come to the right place! On this page, we provide a comprehensive list of jewellery making ideas, beginner-friendly kits, and step-by-step tutorials to guide you through the process. Start with the basics and gradually advance to more complex techniques as you gain confidence. From simple beading to intricate metalwork, we’ll help you grow your skills at your own pace and unleash your creativity.
Ready to get started? Explore our collection of jewellery making resources and start creating your own stunning pieces today!
Glue-In Settings
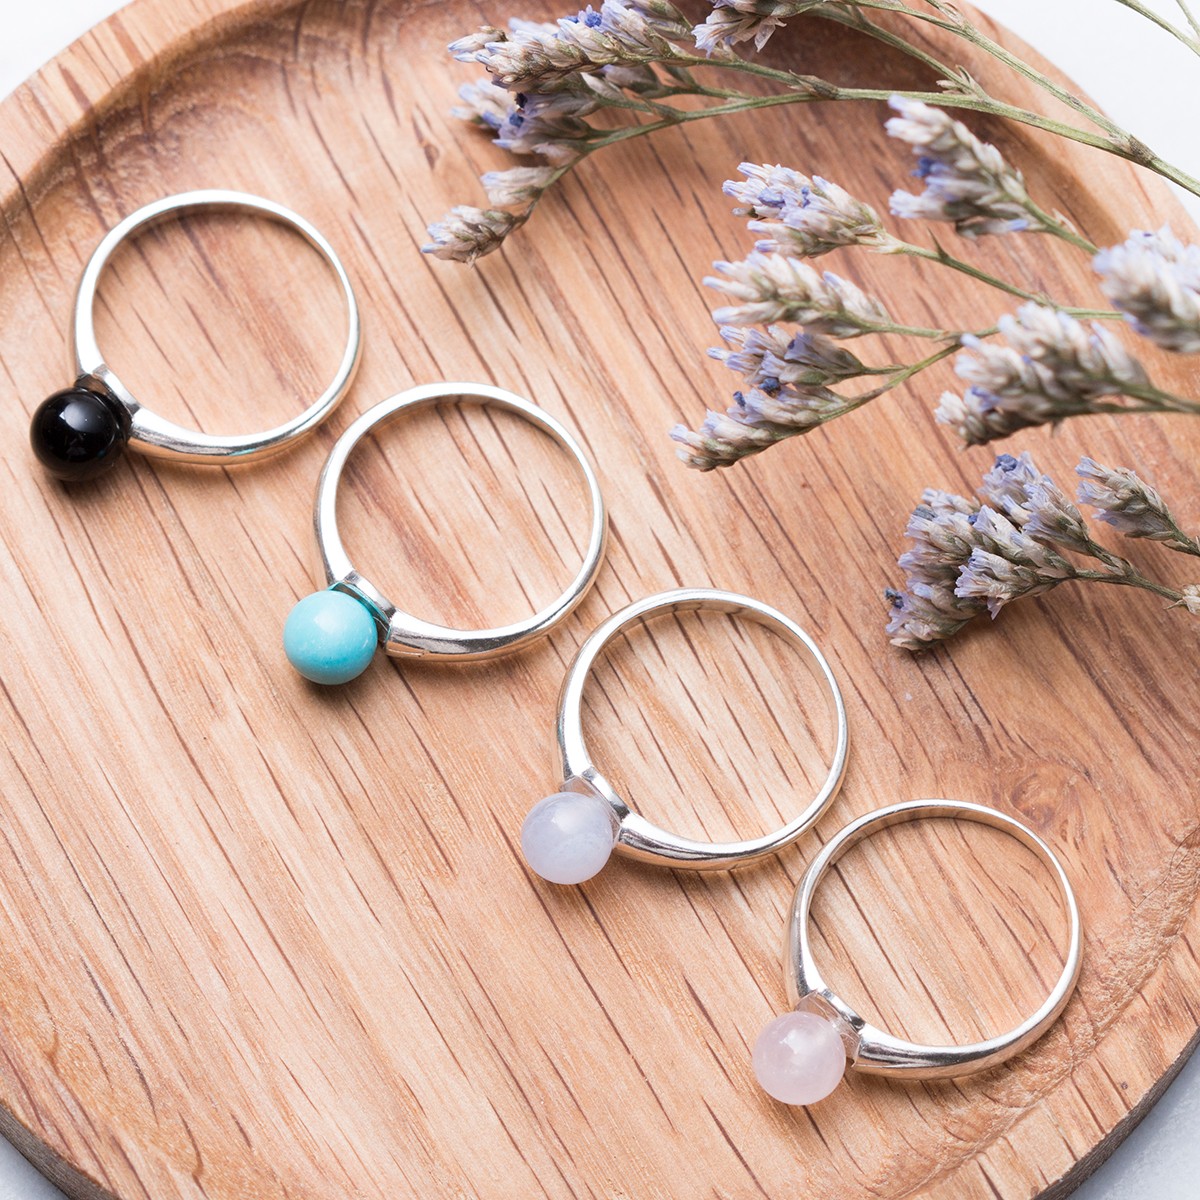
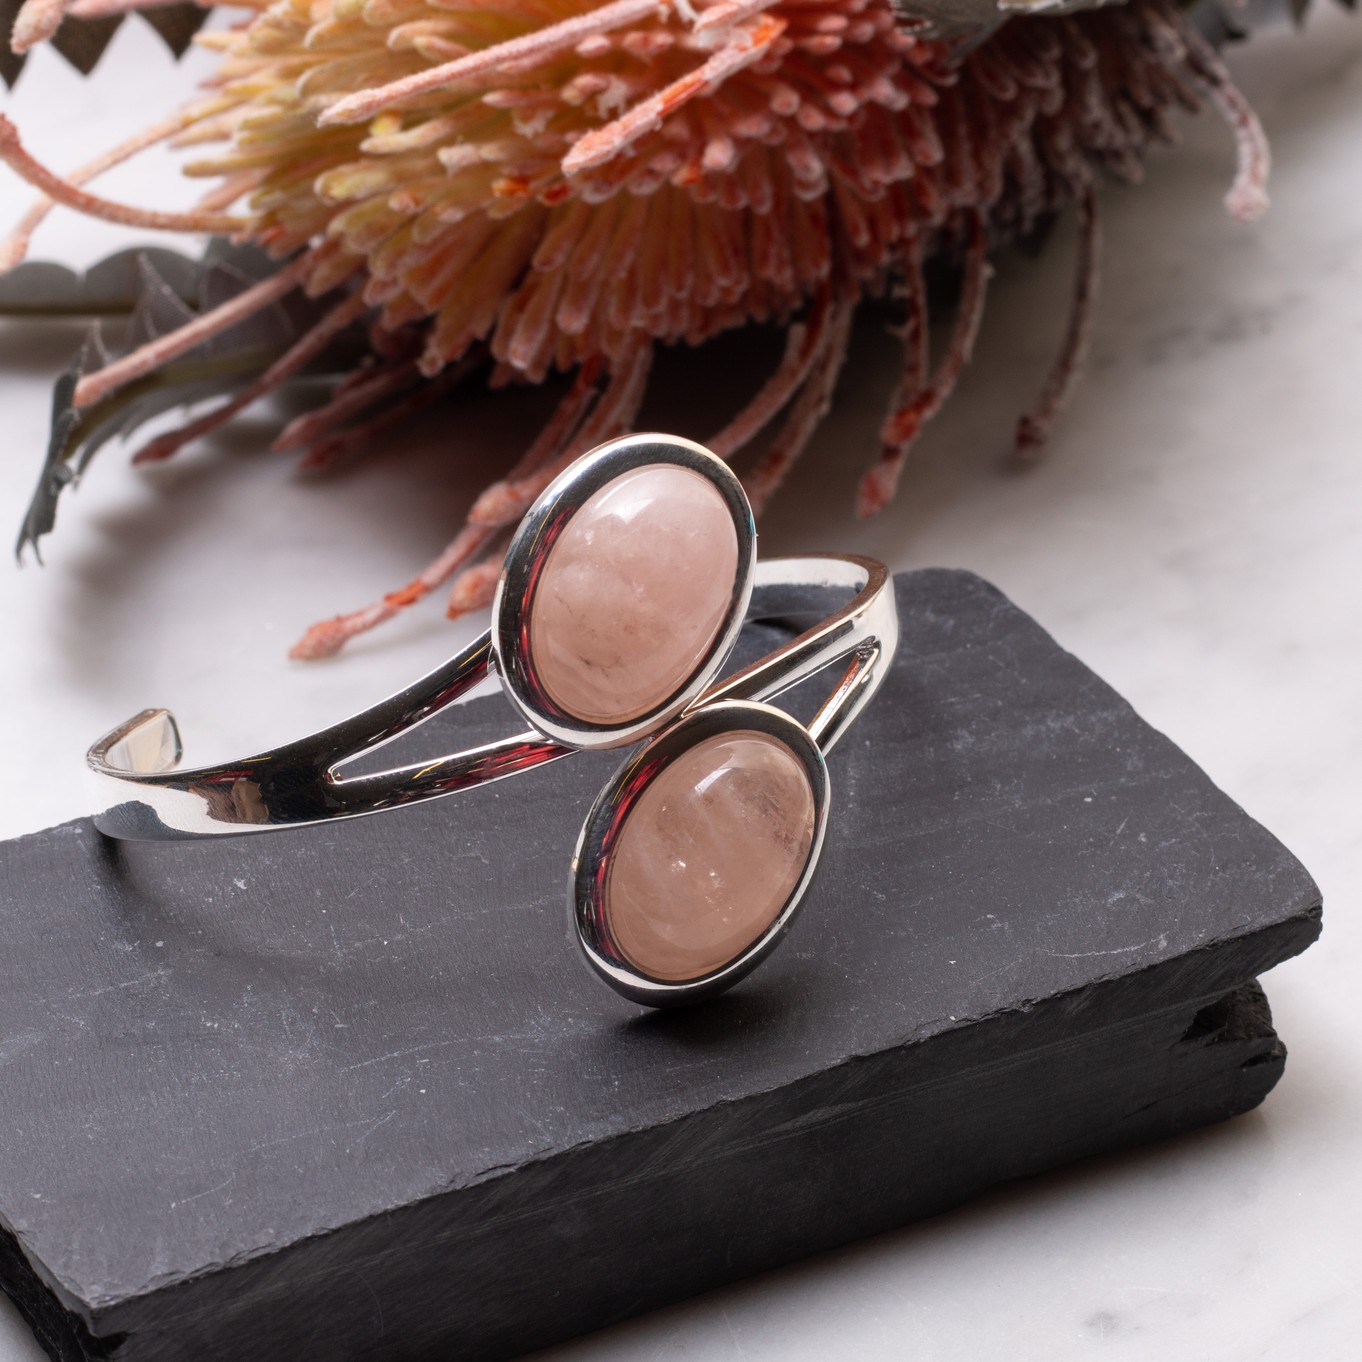
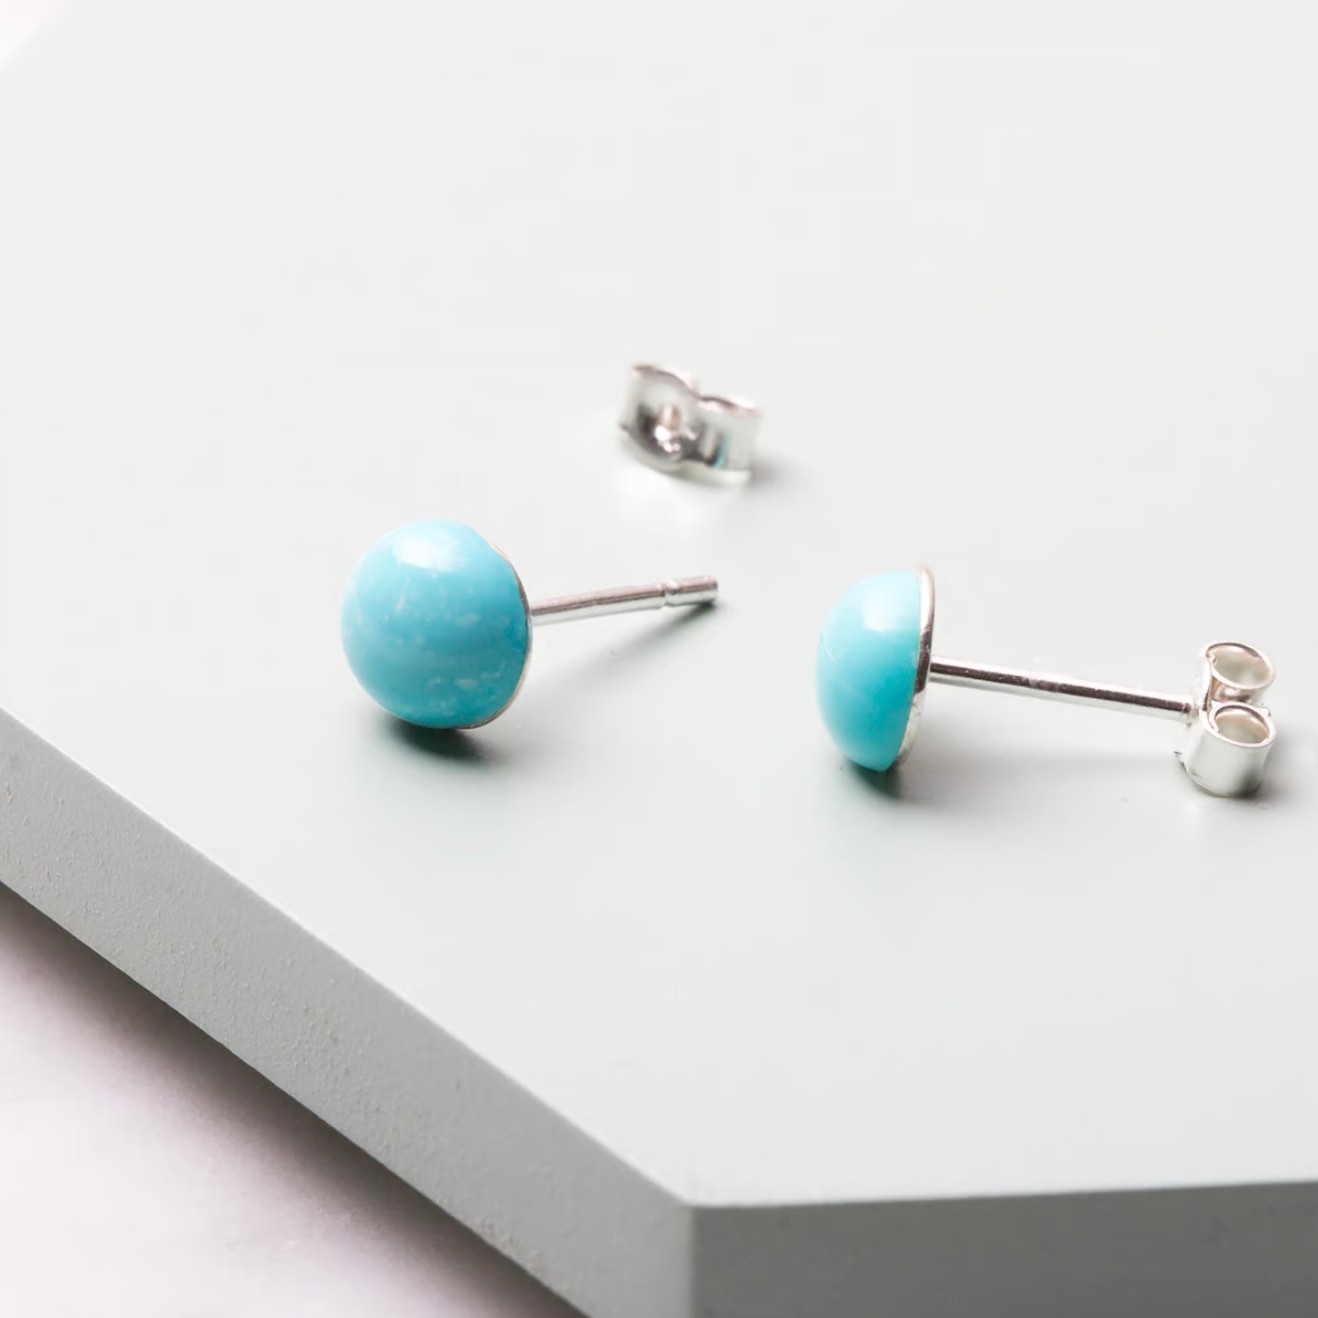
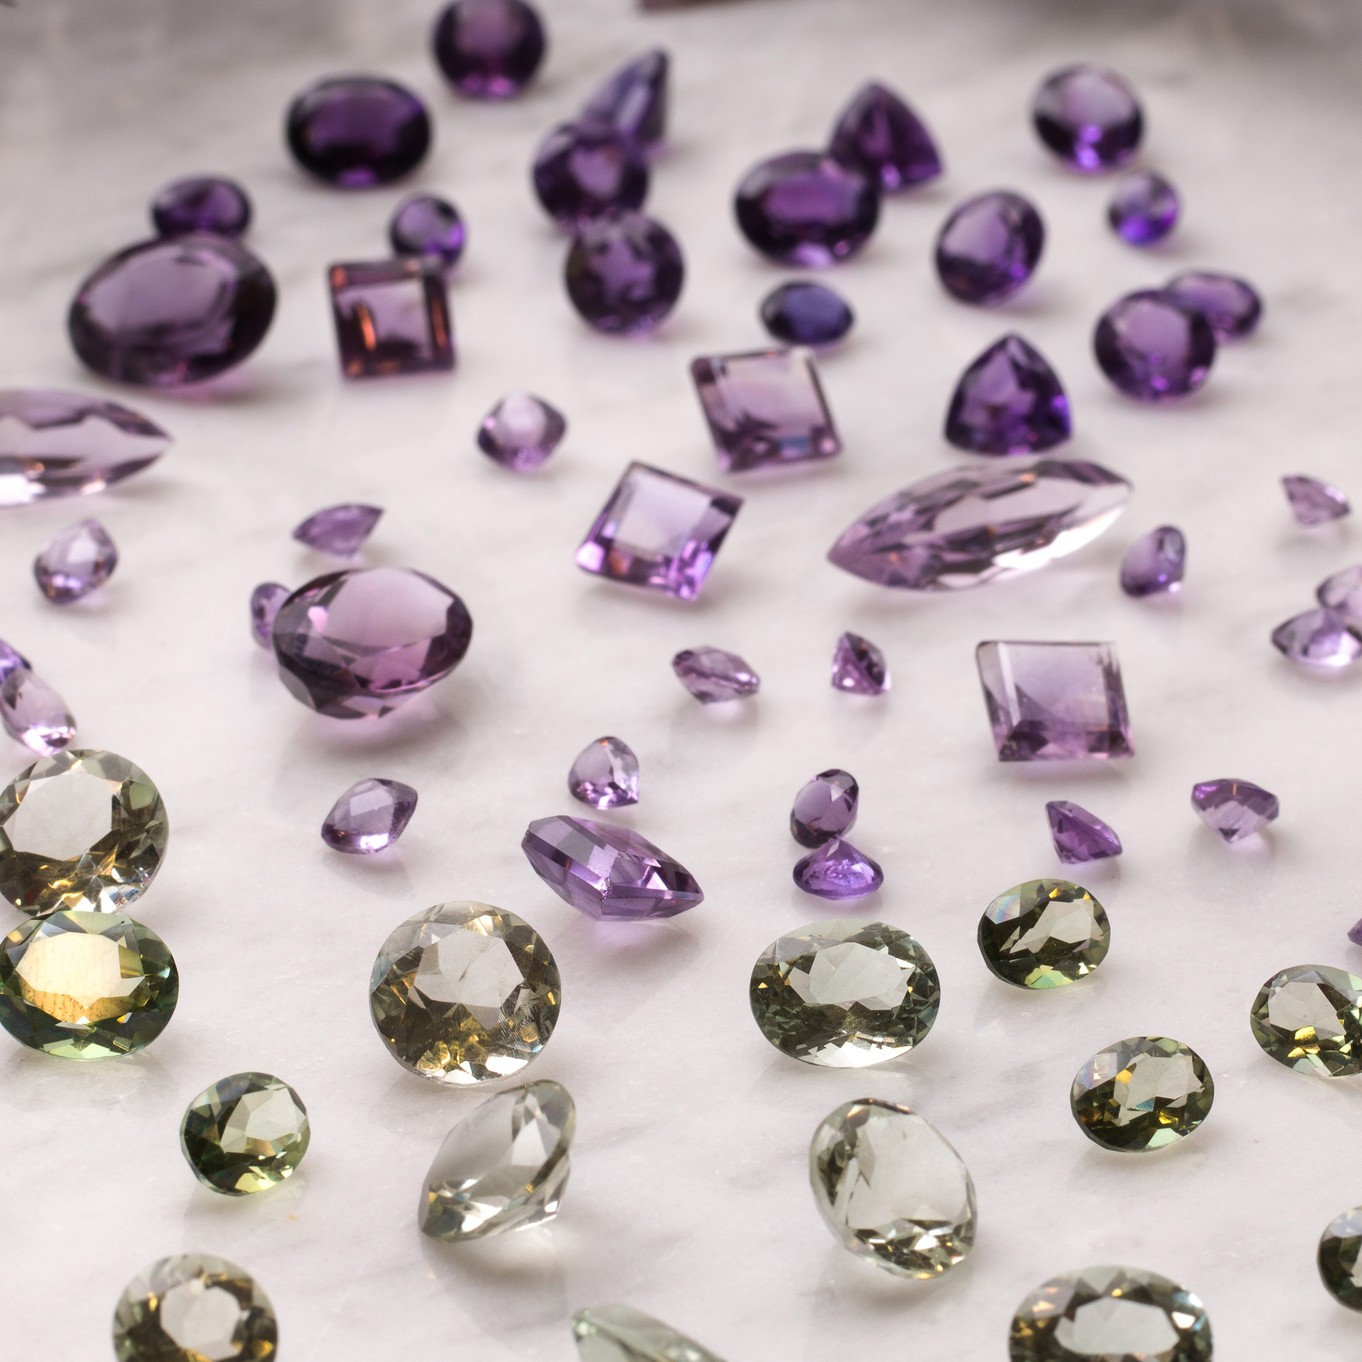
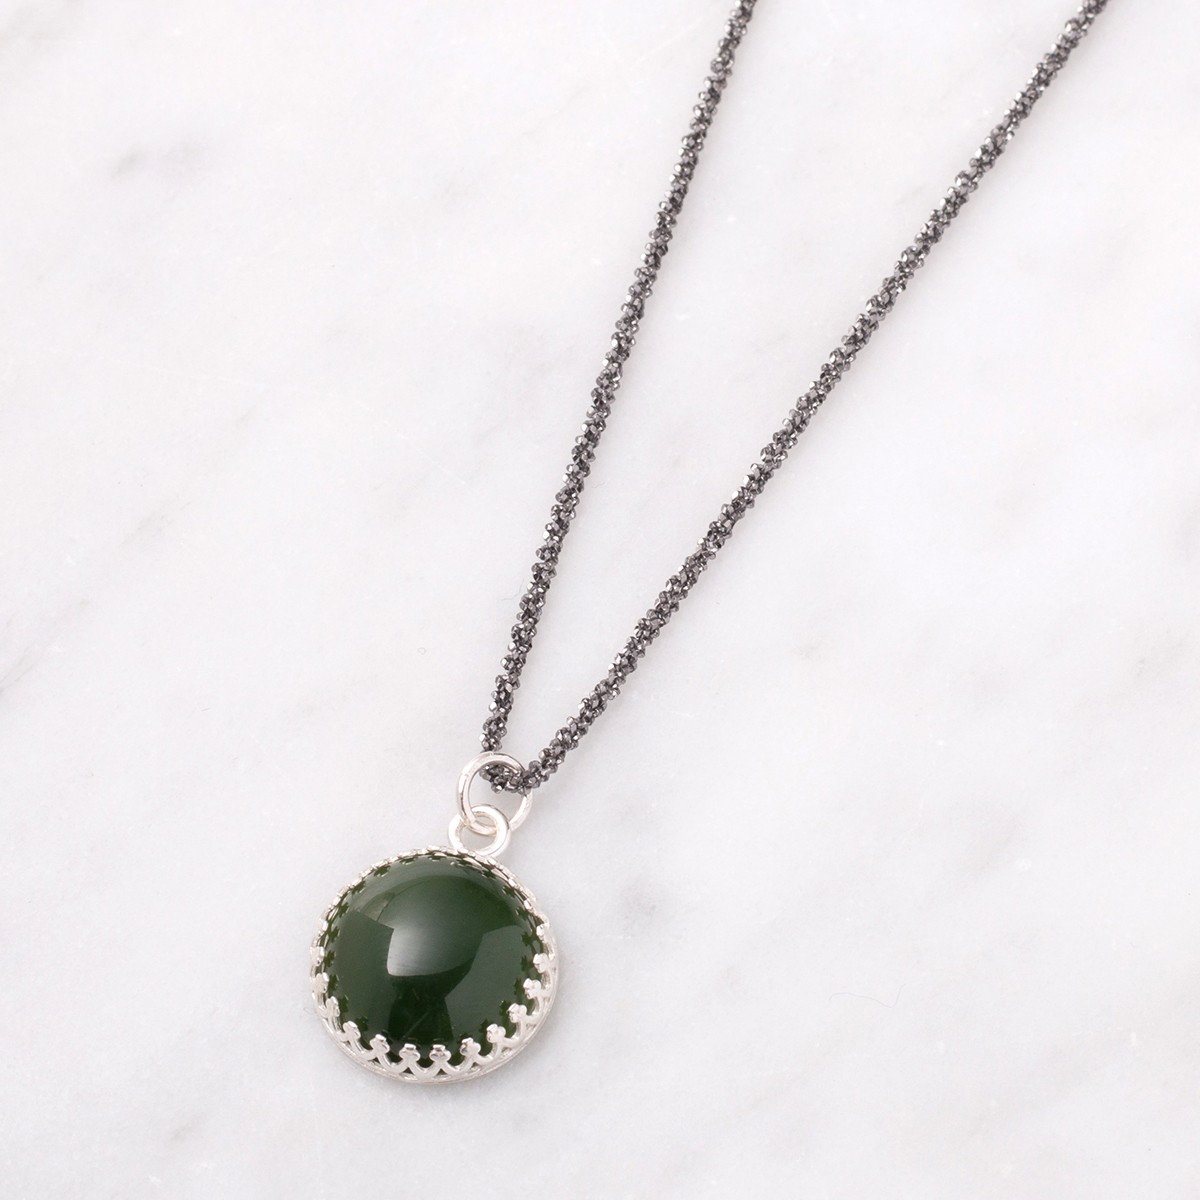
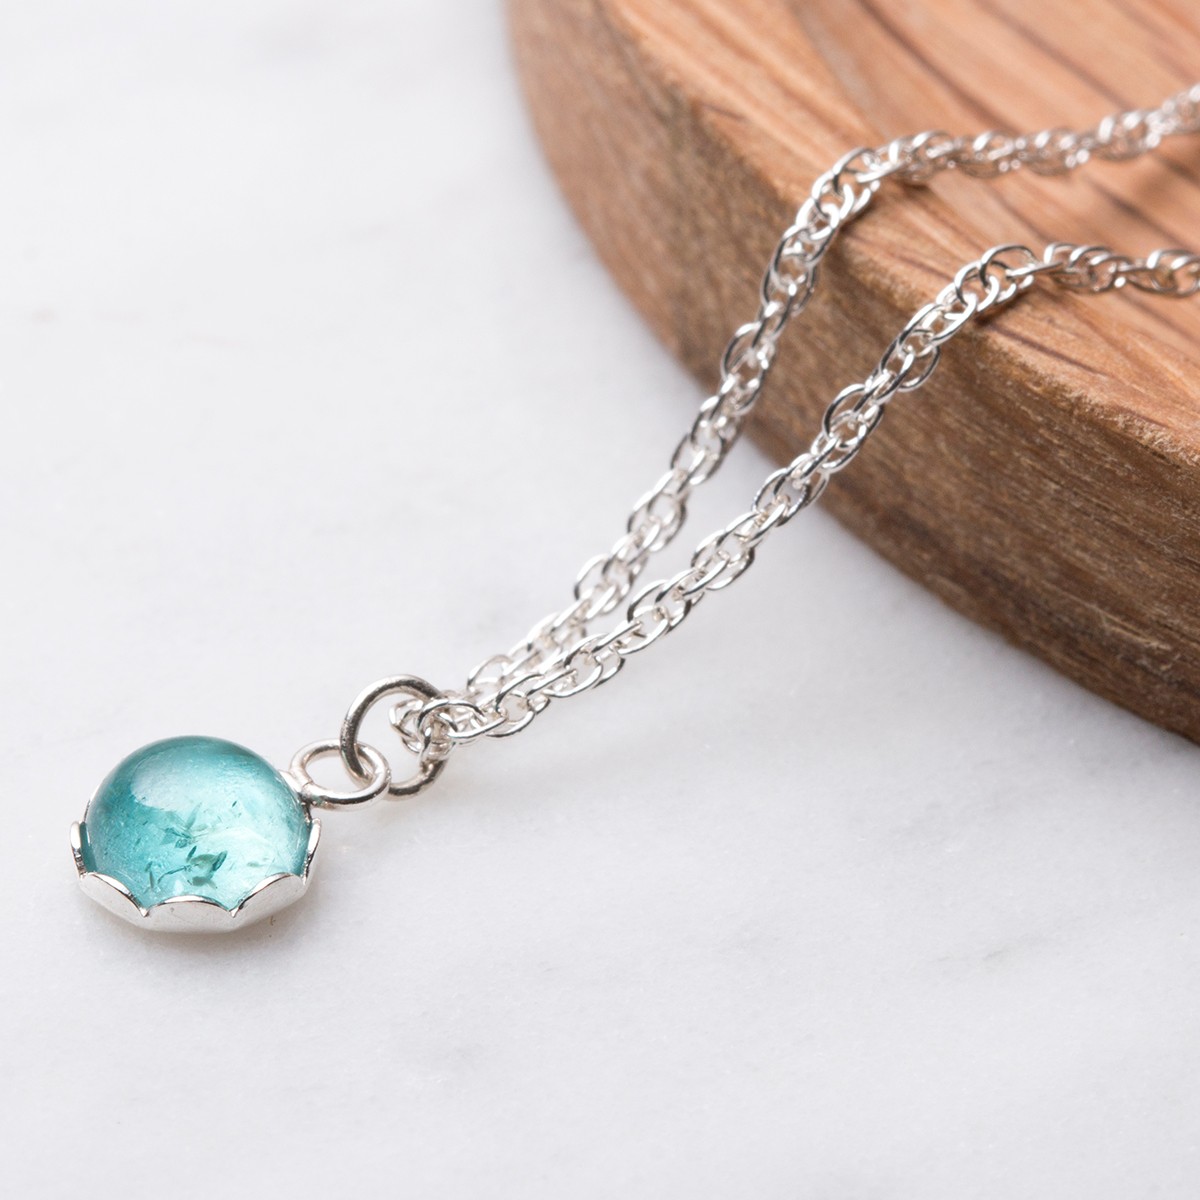
Creating jewellery with our glue-in settings is a delight, especially for beginners. These settings allow you to craft professional-looking designs effortlessly, with no tools required! Simply choose your favourite gemstones - whether it’s for their colour, healing properties, or even to match your birth month. Some of the most popular options include turquoise, amethyst, chalcedony, lapis lazuli, and cubic zirconia, which offers a brilliant diamond-like sparkle. It’s an easy and fun way to create stunning, custom jewellery pieces!
Our glue-in settings are specifically designed for flat-bottom gemstones, commonly known as cabochons. We also have a handful of settings perfect for half-drilled beads. Each setting includes a product description detailing which types of gemstones are suitable for use. Choose stones that correspond to the size of the setting. For instance, if you have an 8mm setting, select an 8mm stone to match.
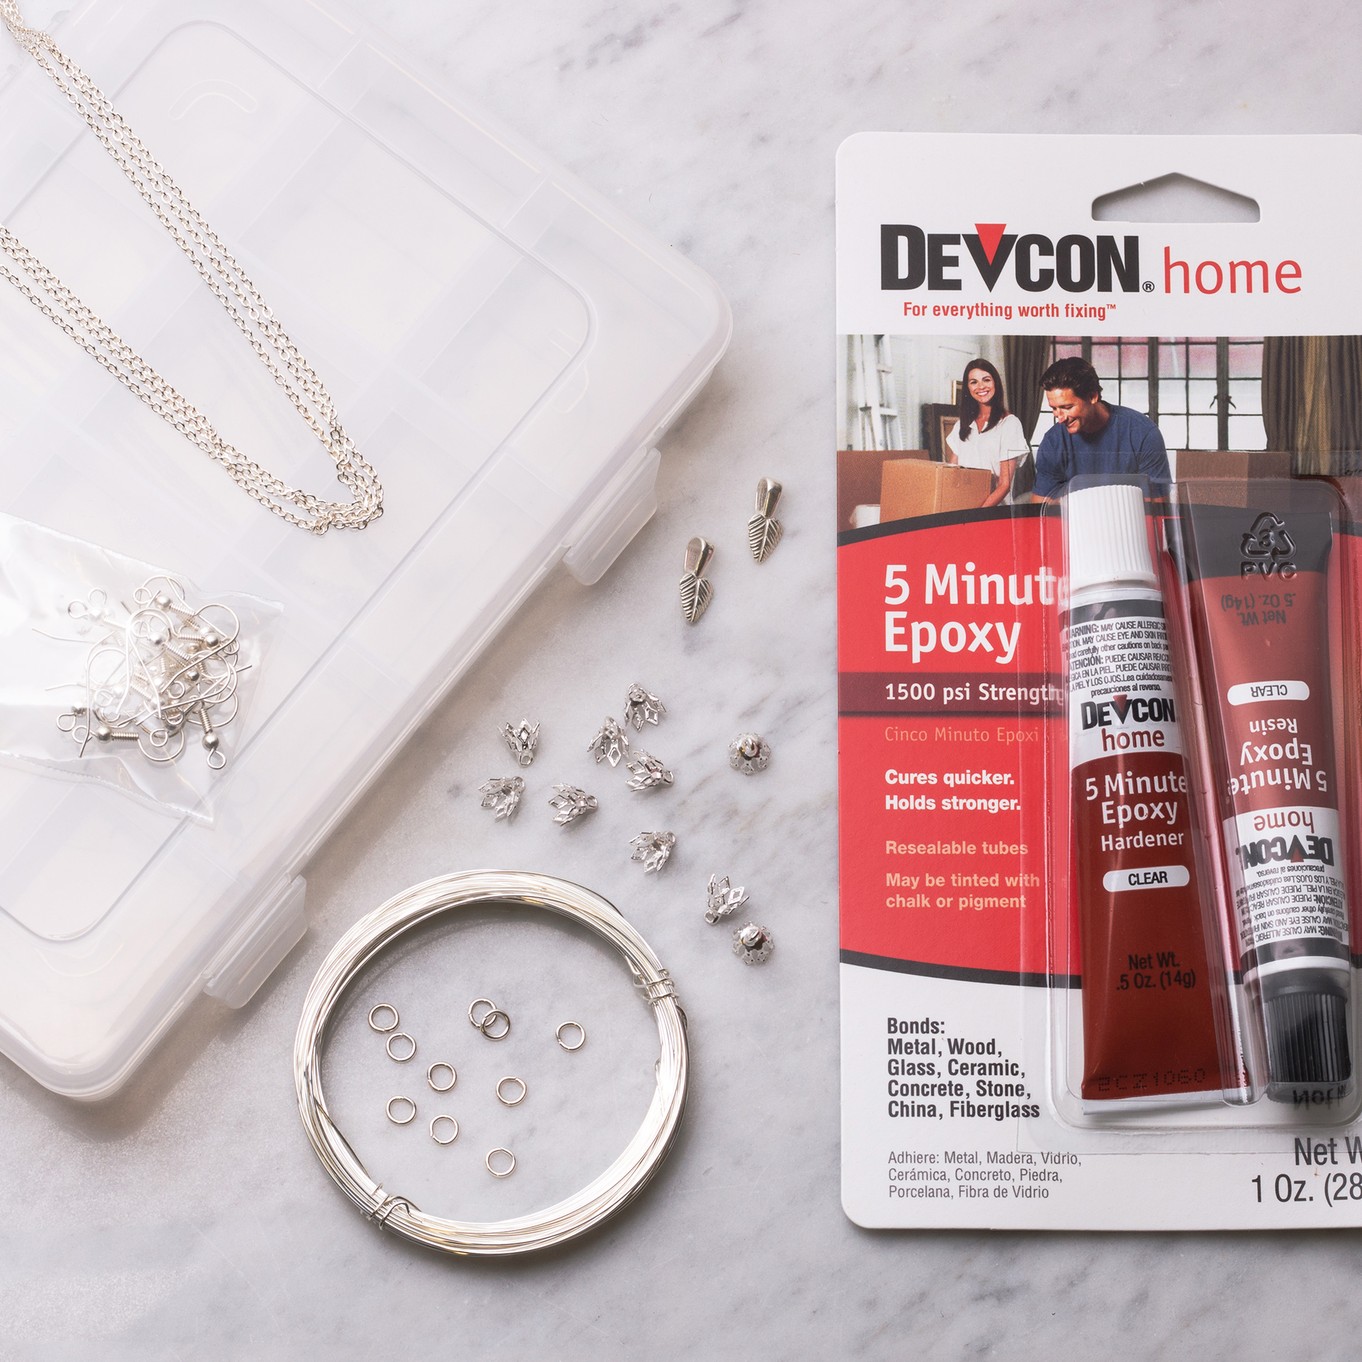
Our go-to glue for jewellery making is Devcon Epoxy Glue. This glue creates super-fast, high strength, high-quality bonds and as it sets clear it is excellent for filling gaps so ideal for setting stones. For full instructions, plus some hints and tips on mixing and application, click here.
Curious about your birthstone and what it signifies? Discover your unique stone by exploring our shop by birthstone guide, where you can learn about the meanings and properties of each gemstone. Dive in and find the perfect piece that resonates with you!
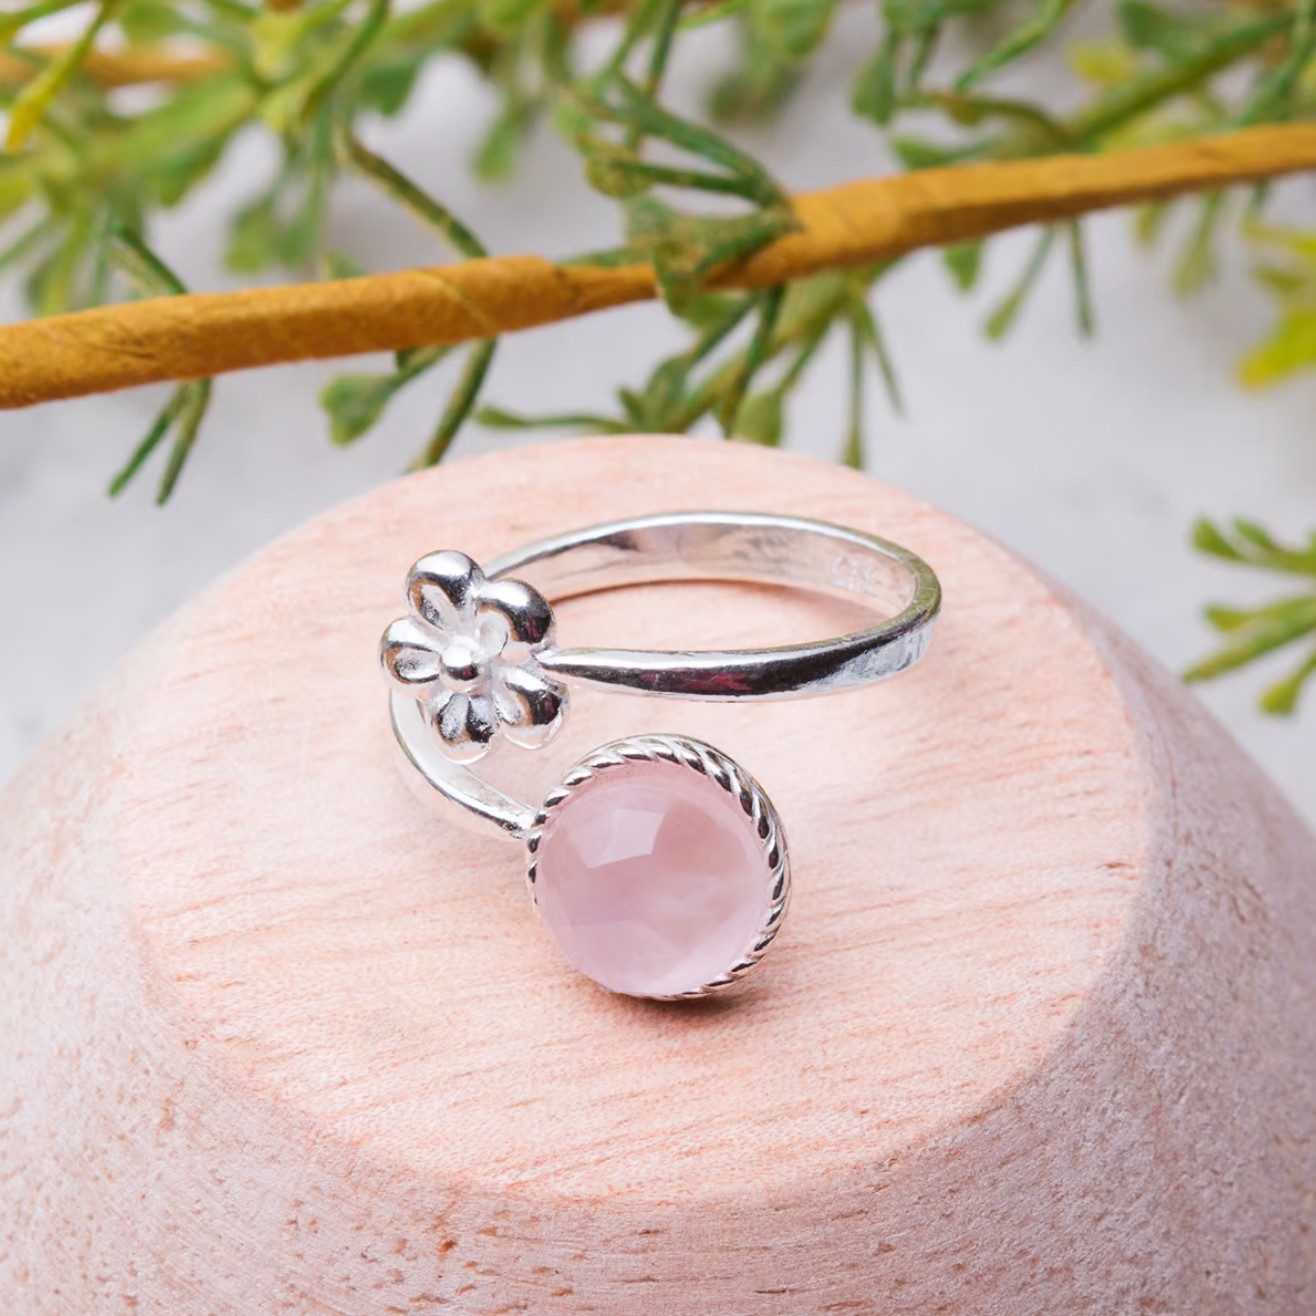
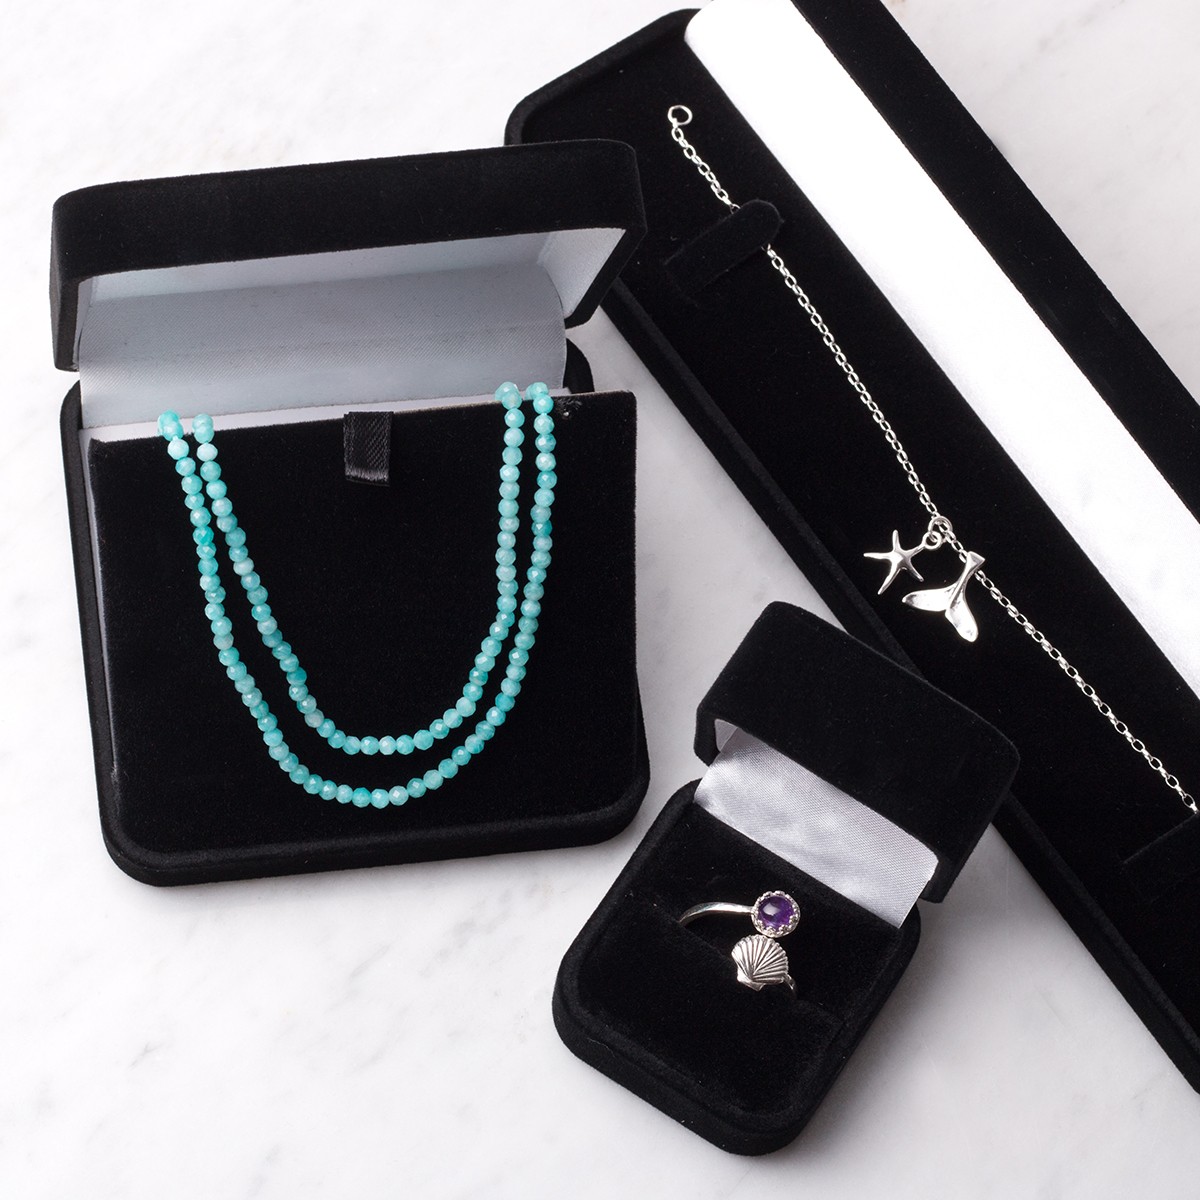
Two-Gemstone Ring
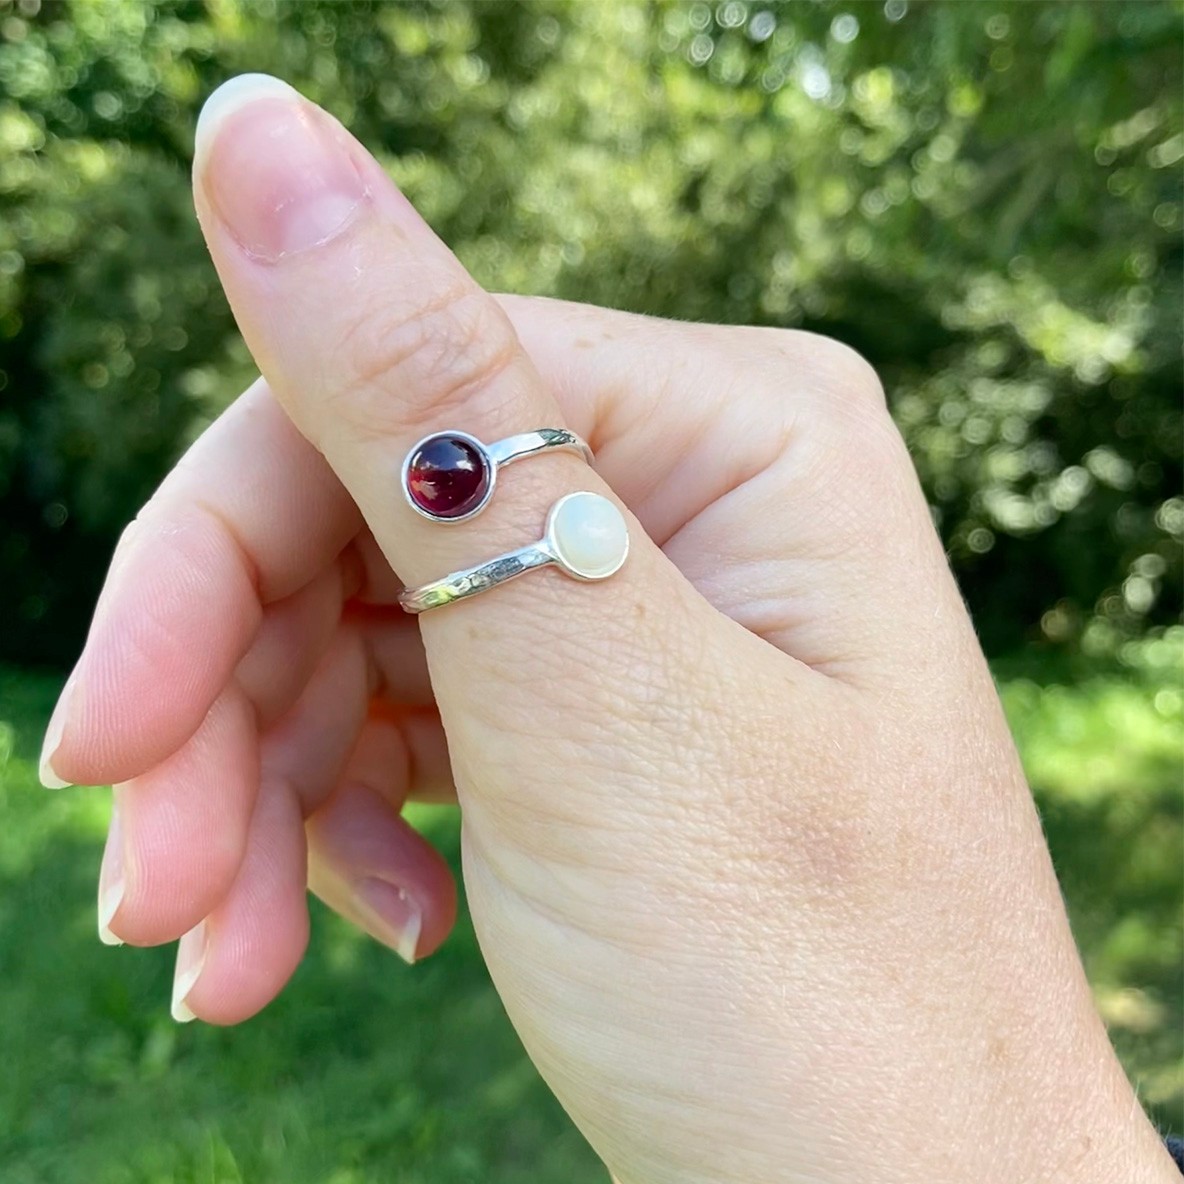
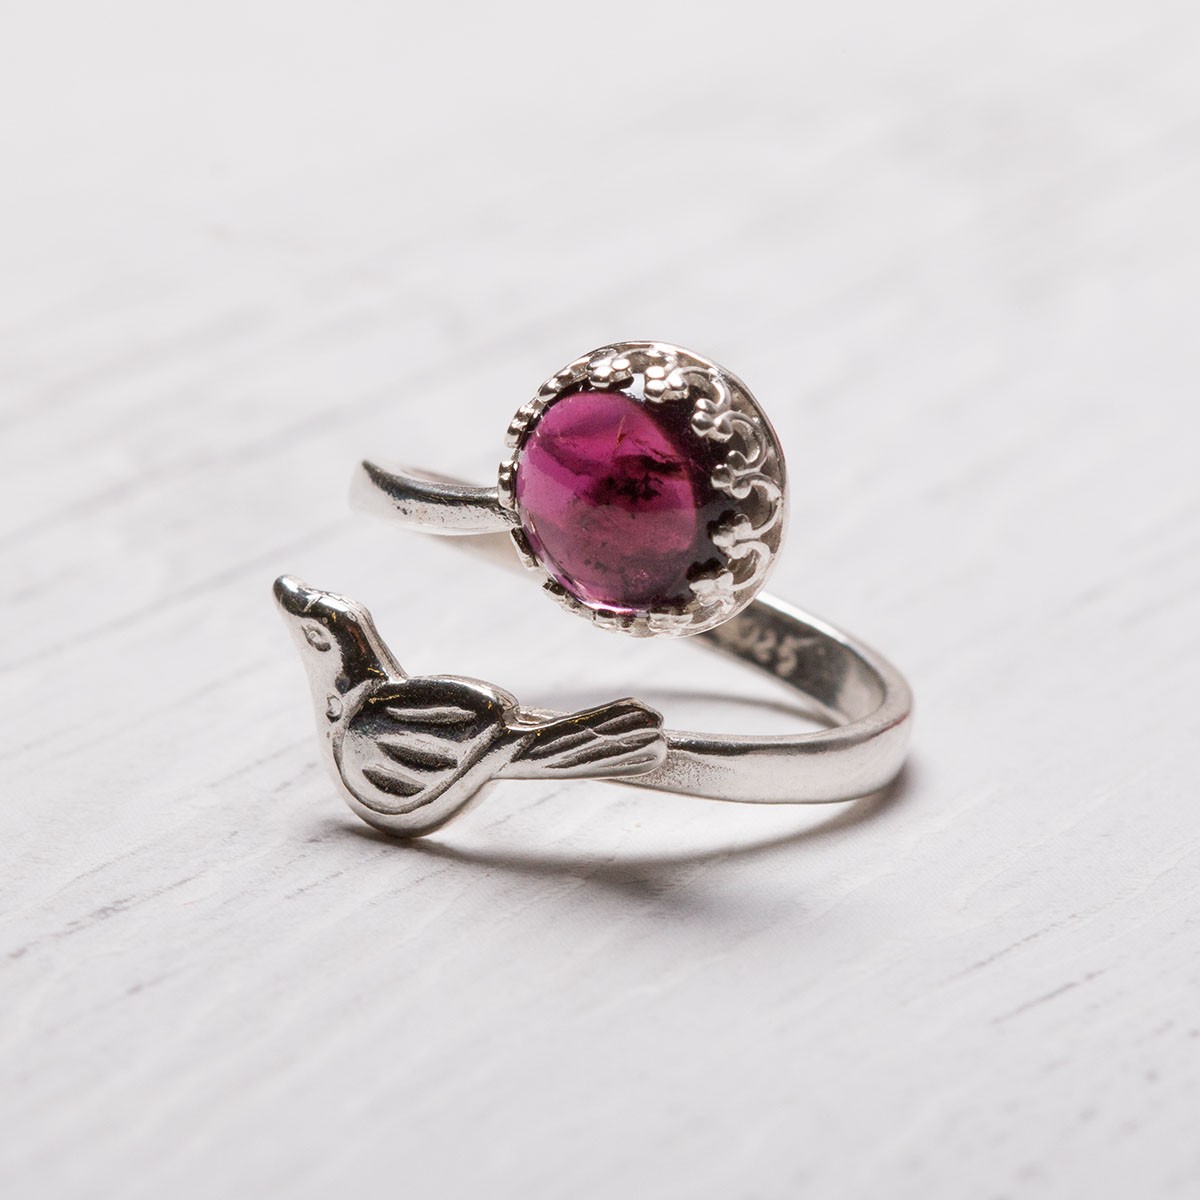
This setting is perfect for creating personalized designs featuring both your birthstone and someone else’s. Alternatively, you can choose two of the same stones for a matching look.
Simply select your gemstones and secure them to the adjustable ring setting using Devcon Epoxy Glue.
Combining birthstones makes this piece a truly meaningful and personal gift. It’s an ideal choice if you're stuck for ideas, new to jewellery making, or simply want a project that’s quick and easy to create.
Whether you're crafting for yourself or a loved one, this design allows you to create something special with minimal effort, making it perfect for beginners and experienced makers alike.
If you still can't decide which components to combine together, check out the jewellery making kits we’ve designed using our easy-to-use glue-in settings...
Snaptite & Wraptite Settings
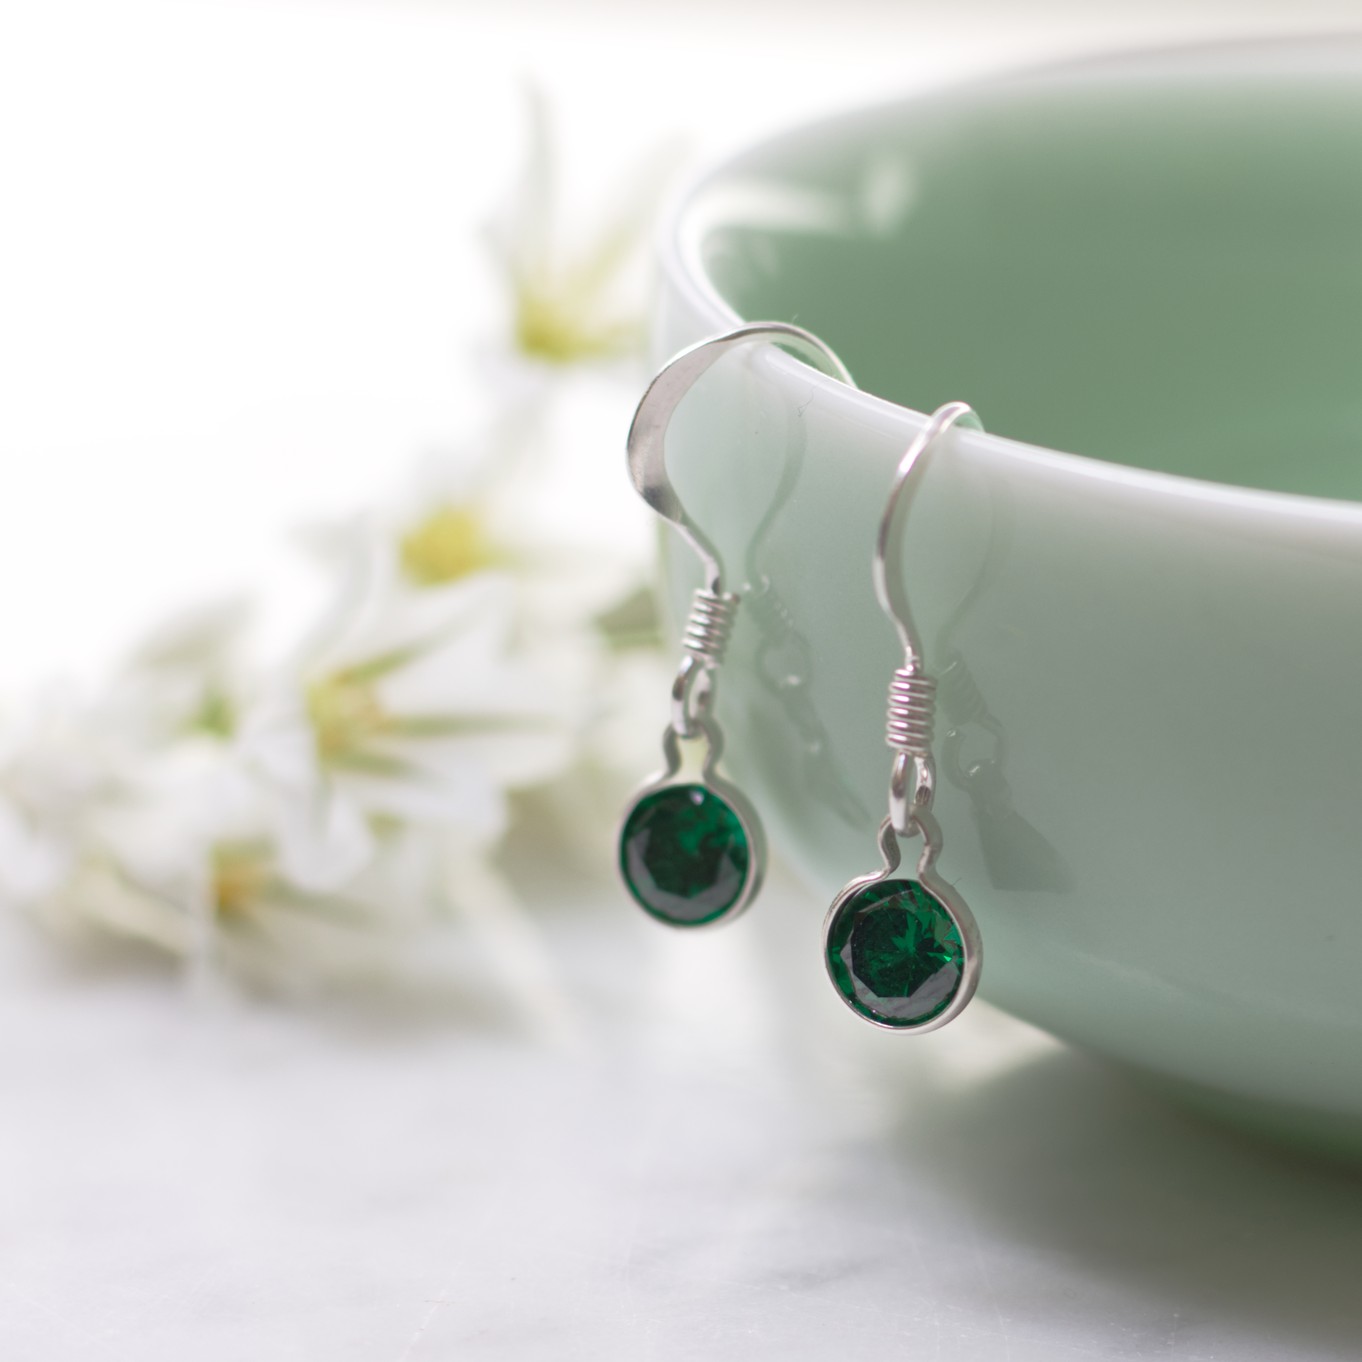
Add Snaptite Settings To Jewellery Design
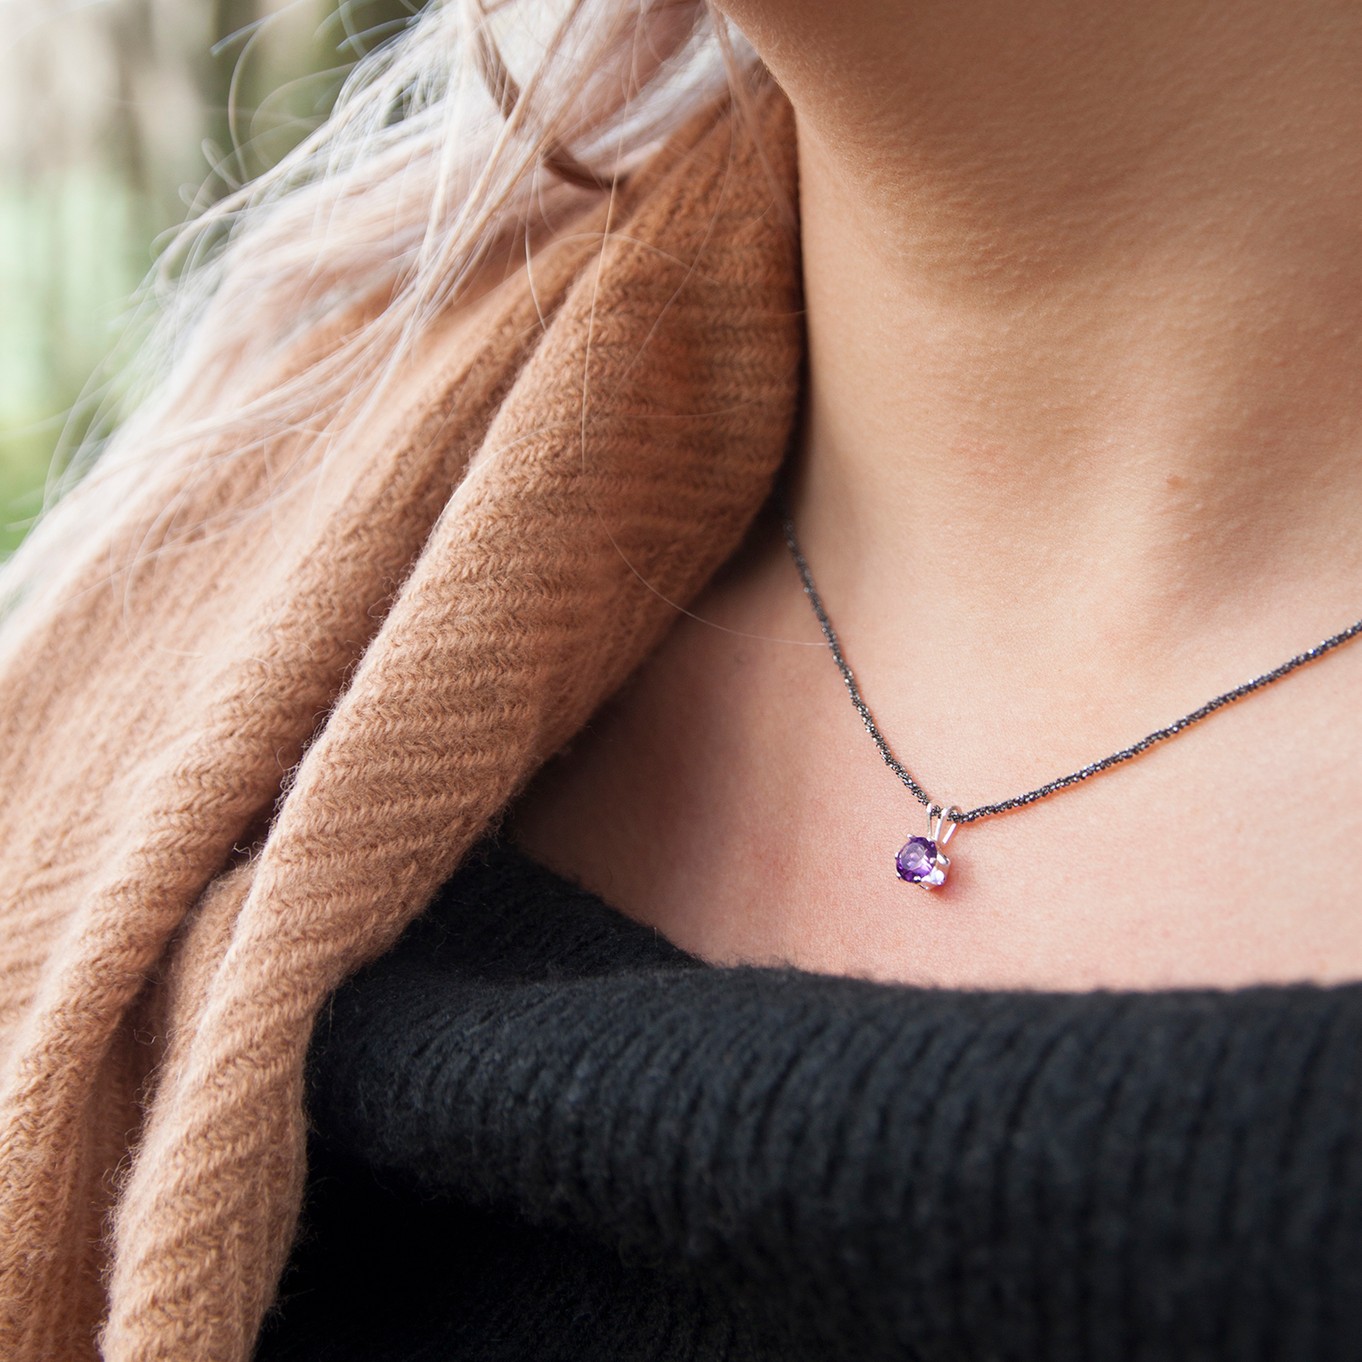
If you're after a simple yet elegant design, then snaptite settings could be a perfect choice. They are so easy to set and can be made in seconds!
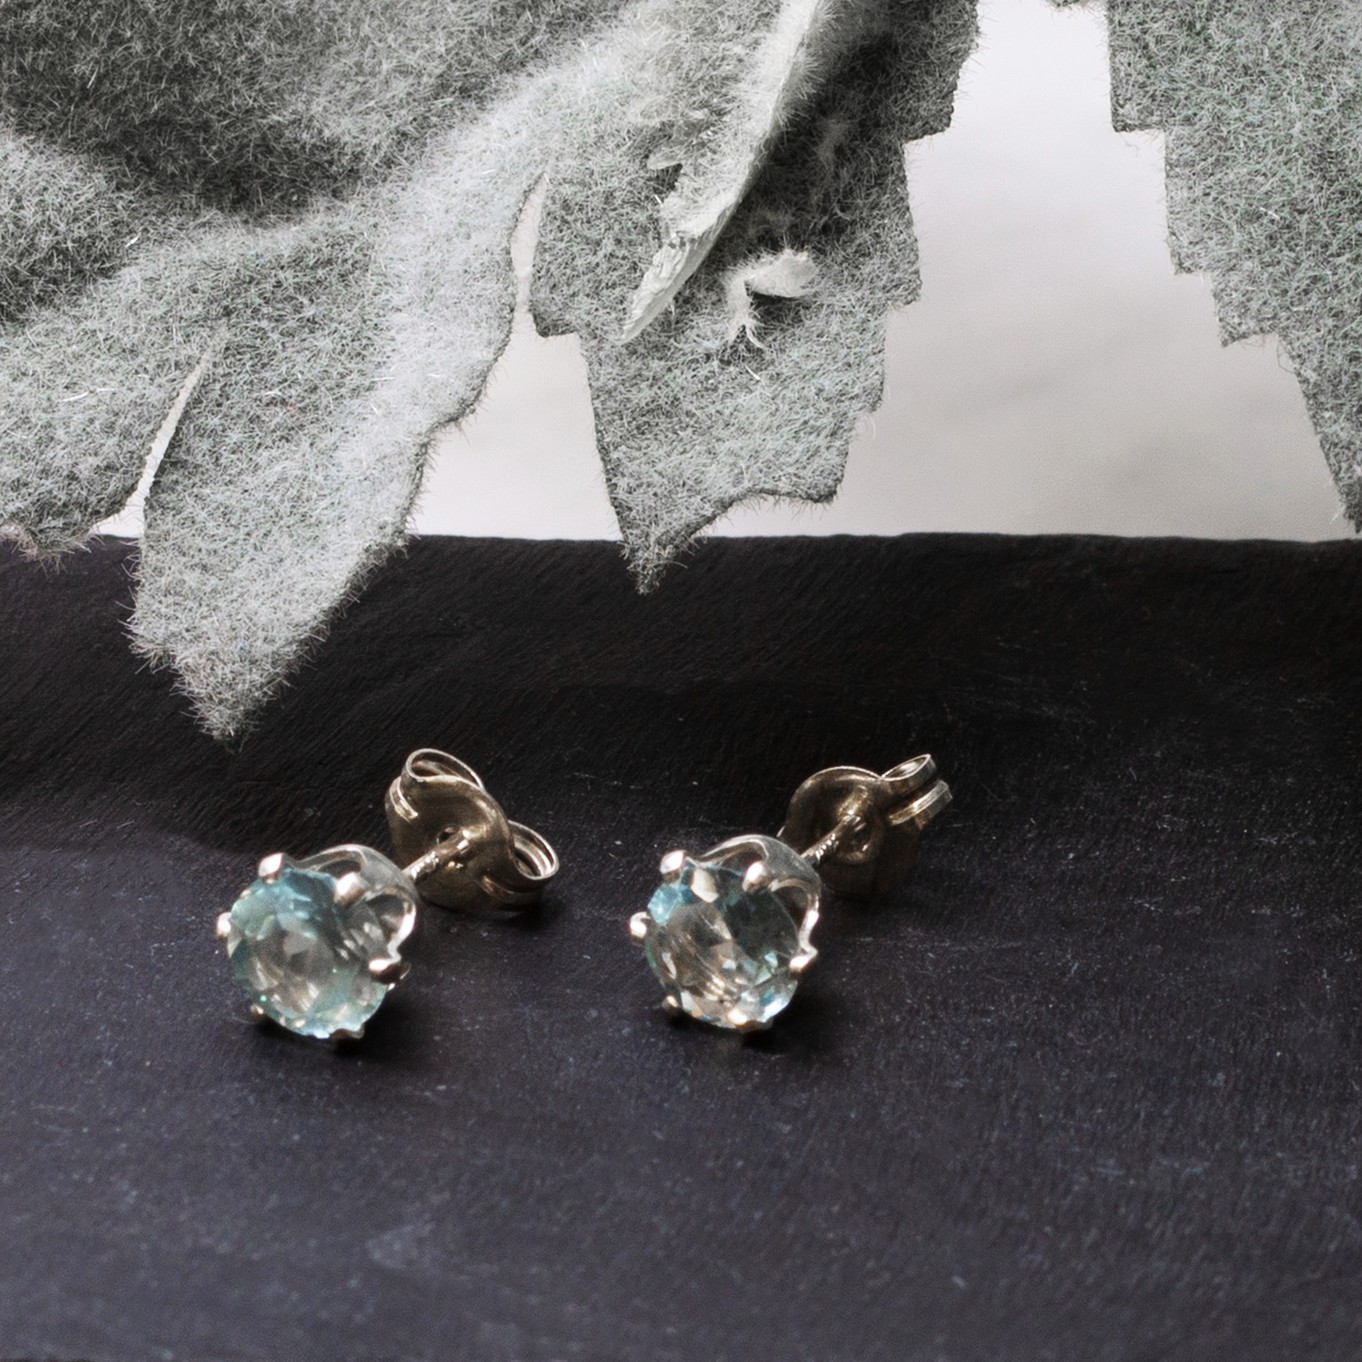
A snaptite setting is a method of holding a gemstone in place without using traditional prongs or bezels. Instead, it features a hinged mechanism that “snaps” shut to secure the stone without needing specialised tools. It’s a great option for beginners looking to explore different styles and stones in their jewellery collection.
Snaptite settings are designed to be used with faceted stones. Faceted stones is a sparkly cut of gemstone that has a cut (faceted) top creating facets and a pointed back. Is usually set in a claw setting. (if you’re trying to picture it, think of the shape of the stone in a diamond ring!).
Choose your favourite faceted gemstone to complete the look or select appropriate birthstone to make your design extra special.
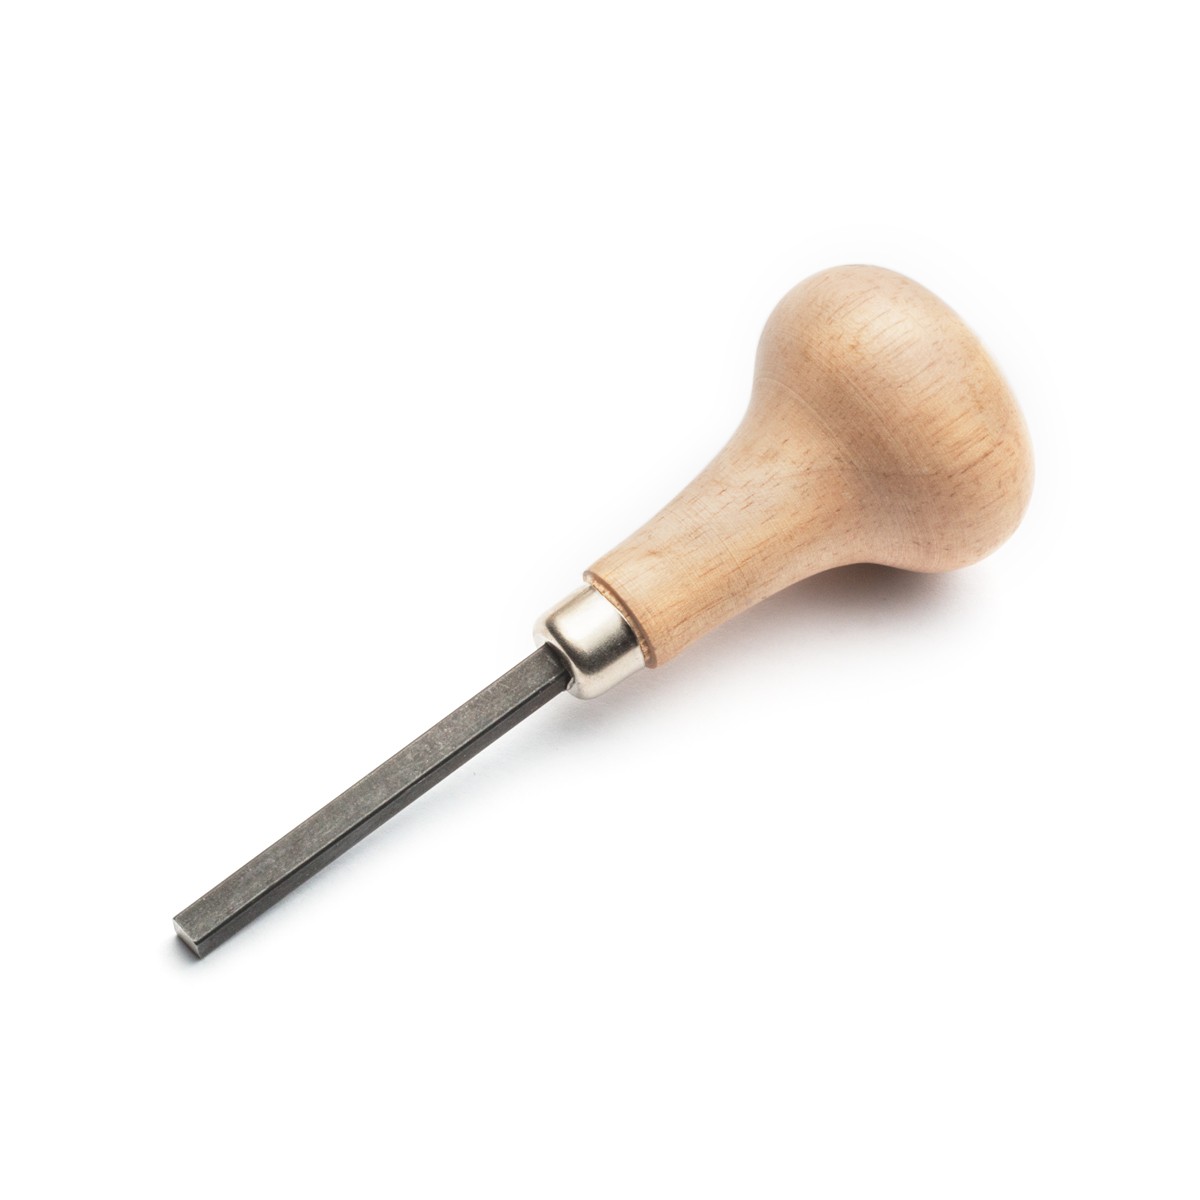
*Note: Always check that the claws are firmly in place - it may be necessary to gently adjust the claws to ensure a secure fit. If you notice any claws are slightly raised and could catch on clothing you can use a pusher tool or back of a spoon to push down the claws a little.
Try Wraptite Settings For a Minimalist Look
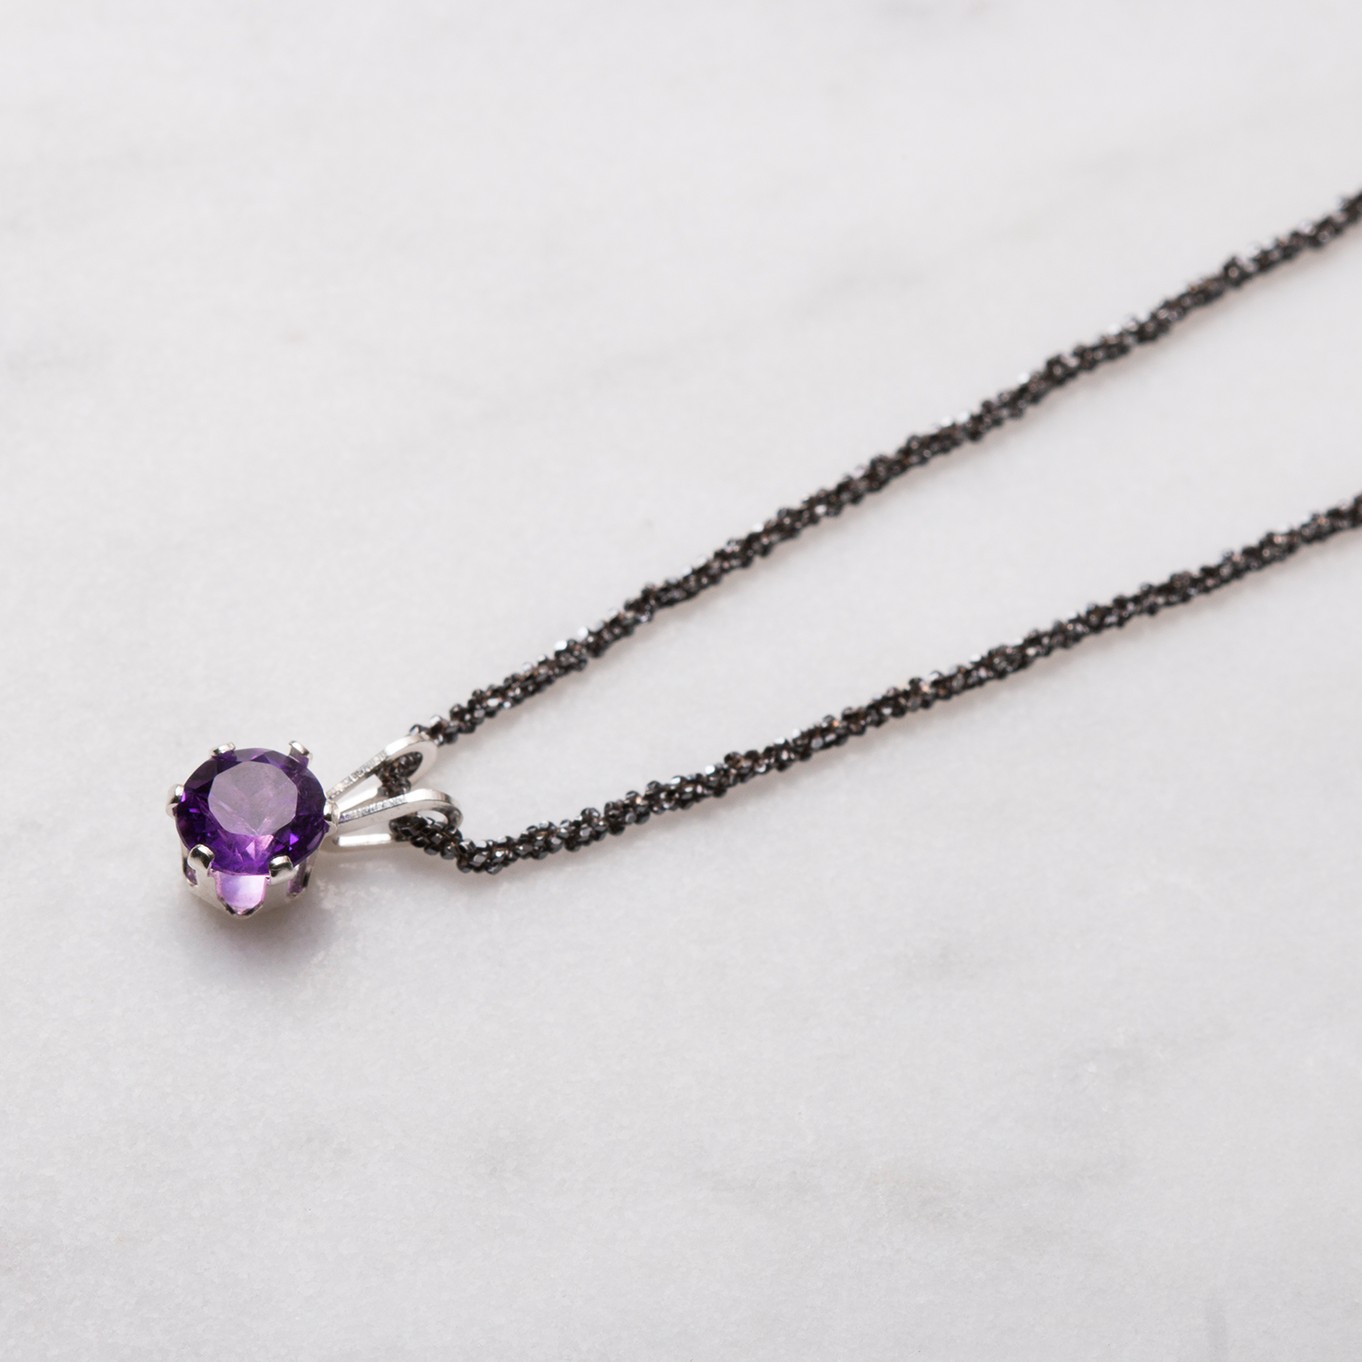
Another great and easy to use setting for faceted stones are wraptite settings. All you need to do to set these is pop the stone into the setting and tighten the setting by simply squeezing the bottom of the loop with a pair of round nose pliers.
If you're making pendants, don't forget to add a pretty chain to finish off your design.
Check out the jewellery making kits we’ve designed using our easy-to-use snaptite and wraptite settings...
Gallery Wire Settings
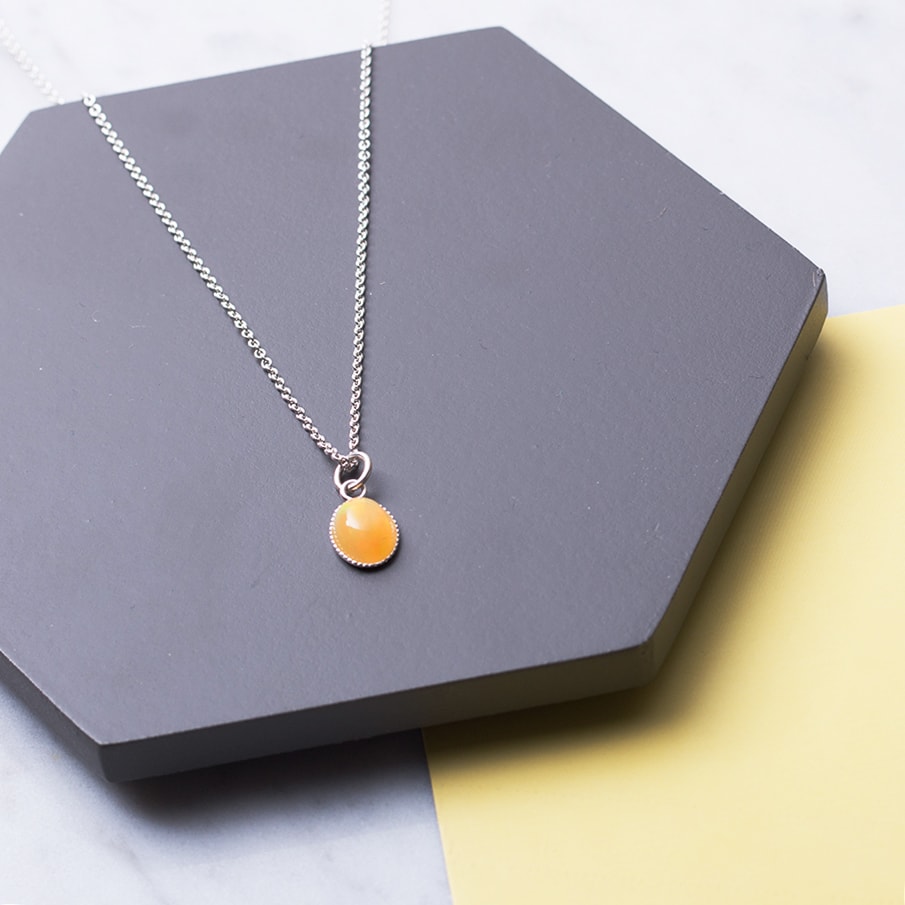
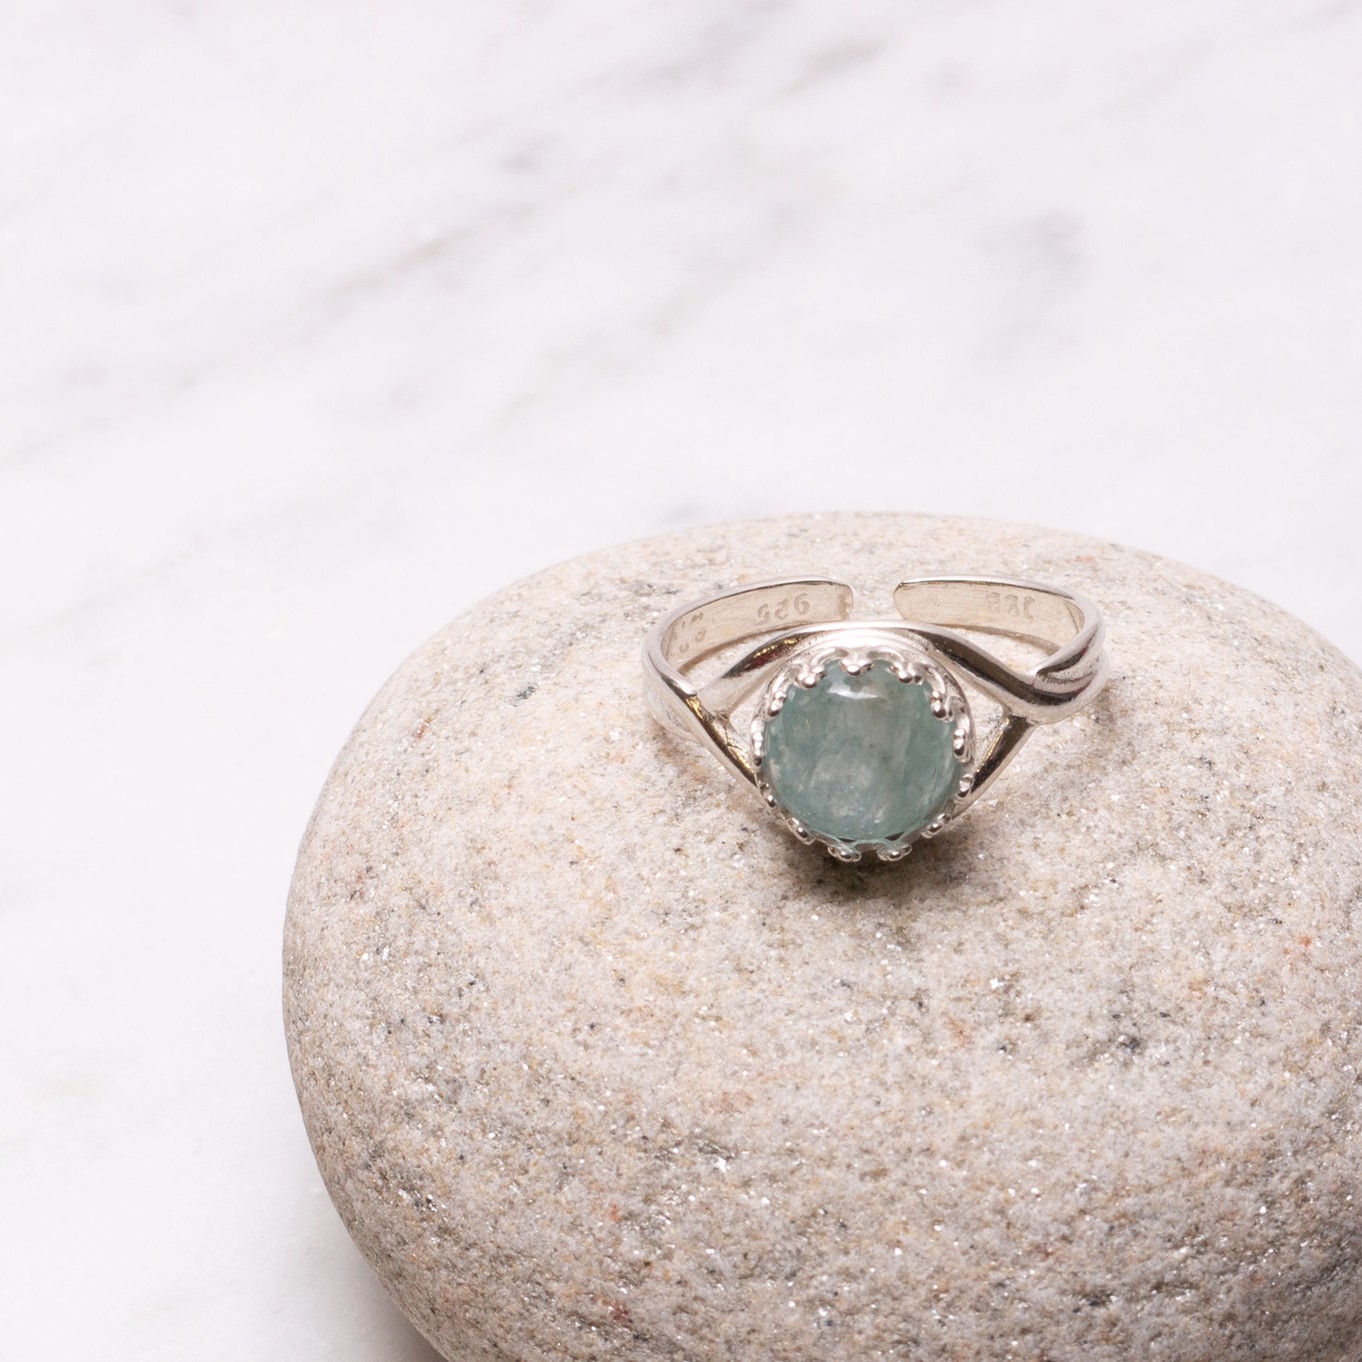
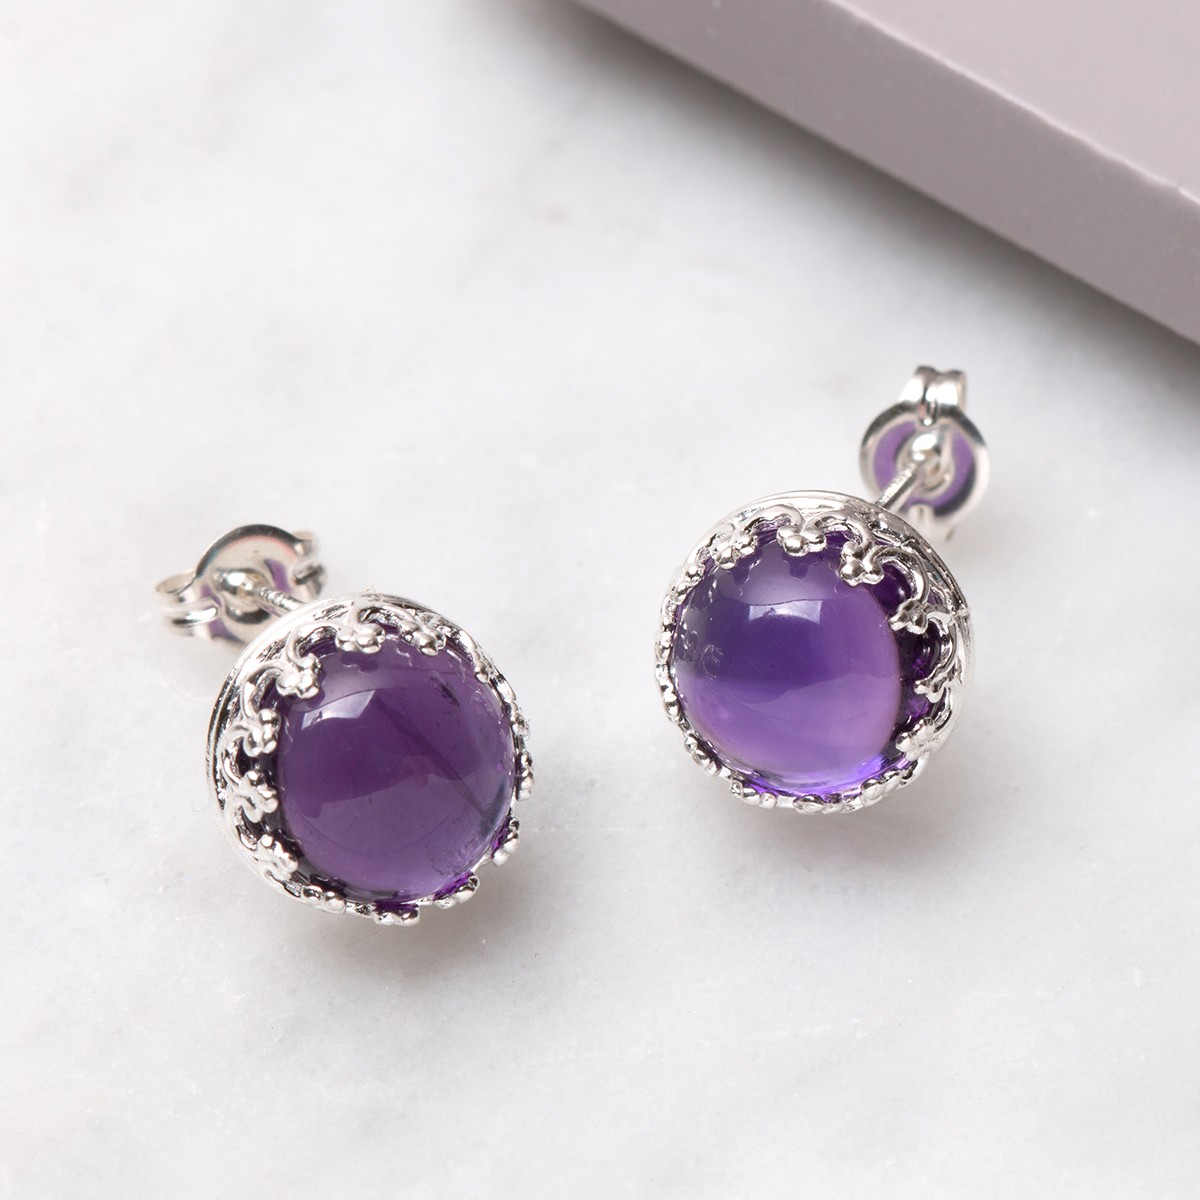
Gallery wire settings are a type of setting with decorative metal wire used to hold gemstones securely while adding intricate design details. Gallery wire is shaped to surround and secure a gemstone, much like traditional prongs, but with added artistic flair.
Gallery wire settings are designed to be used with cabochons. The gemstone is placed within the wire, and the edges are gently bent over to hold it securely in place. Simply place your cabochon into the setting and use a back of a spoon or a bezel rocker to gently push the gallery wire claws over the stone to hold it in place.
For a beginner, gallery wire settings are a great way to add a decorative, professional-looking touch to your jewellery. They hold gemstones securely while enhancing the overall design with beautiful, lacy patterns.
Sea Glass Jewellery
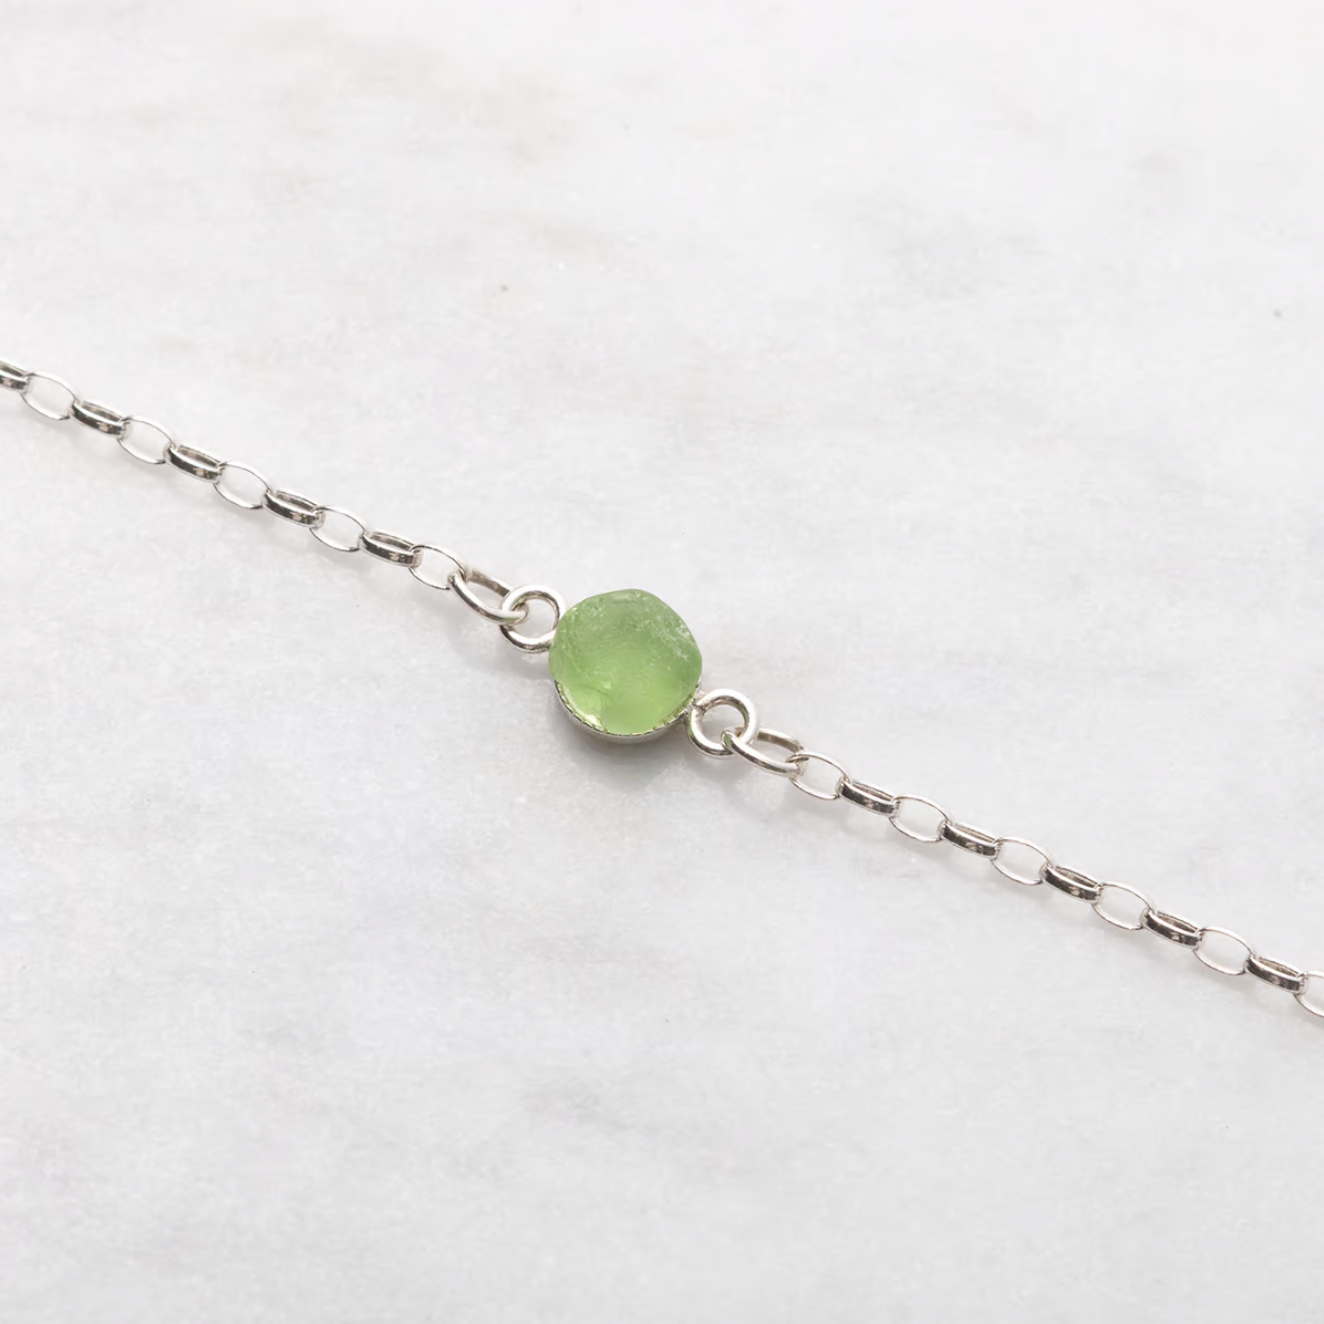
Using sea glass to create jewellery is a popular and meaningful way to craft unique pieces. Each beach-found glass carries a personal story, shaped by the ocean over time, making your jewellery not only beautiful but also sentimental. Whether crafted into pendants, earrings, or bracelets, using your own beach discoveries adds a personal touch and special connection to your designs.
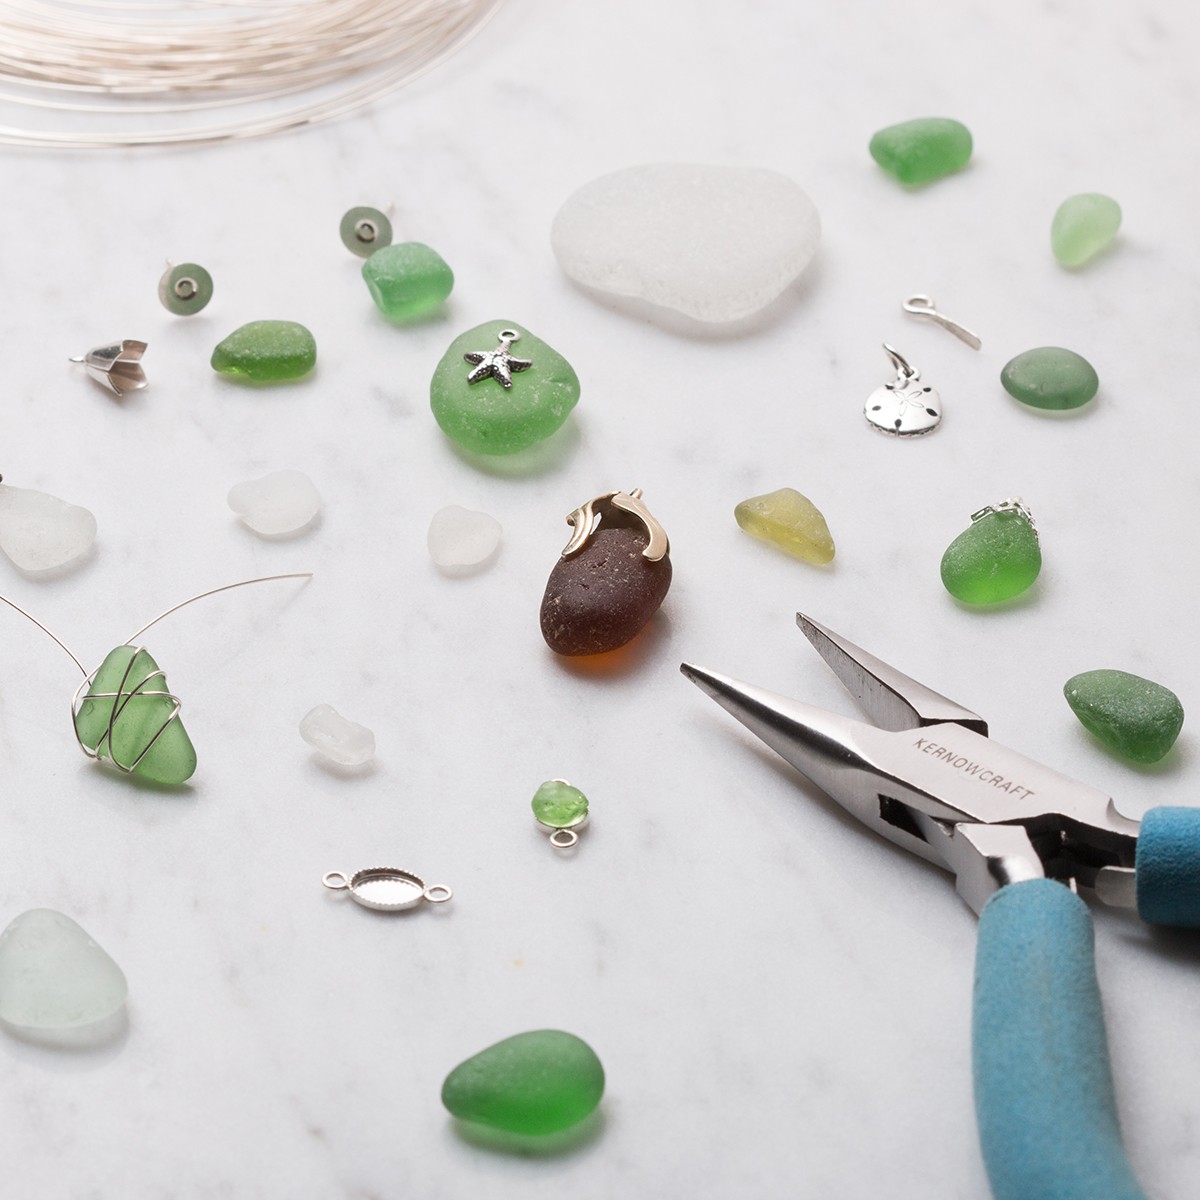
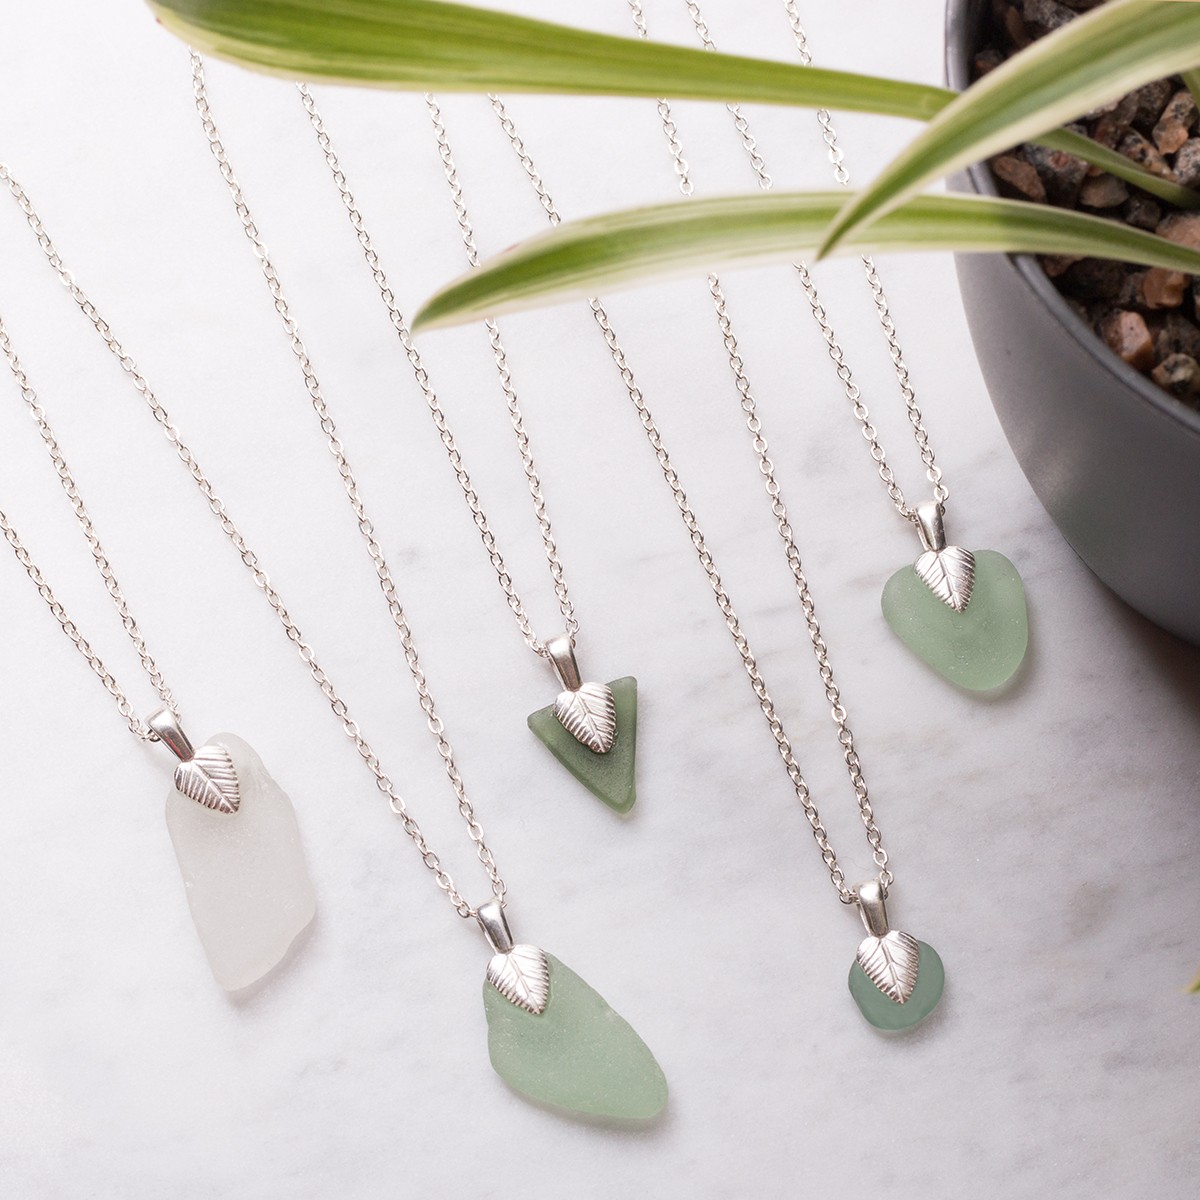
Create beautiful sea glass jewellery with our glue-on bails and settings or give wire-wrapping a go - with a little bit of practice it's easier than it sounds!
Sea Glass Jewellery Making Projects For Beginners
It couldn't be easier to transform your treasures into something you can cherish and wear every day or give as a special gift. In this post, we share with you some easy jewellery making projects that are perfect for beginners.
Whether you want to create simple sea glass earrings, a necklace or even a bracelet, you can use these techniques to help achieve the design you wish. All you need is a bit of creativity!
Beginner's Sea Glass Jewellery Making Bundle
Do you or a friend have a collection of sea glass or other collected items that you would like to make into jewellery, but are not sure where to start? Then this jewellery making bundle is for you!
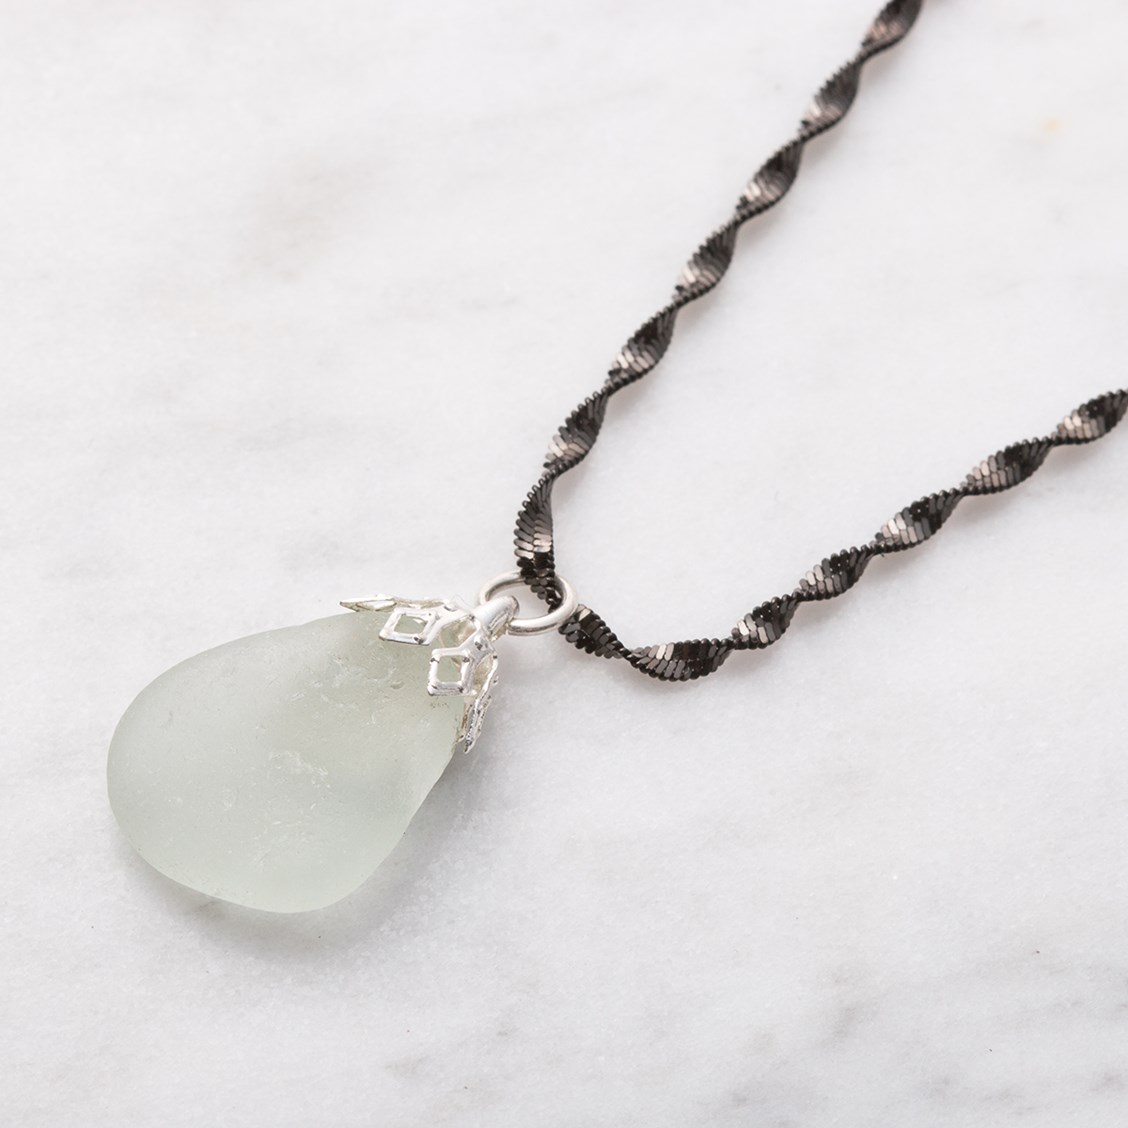
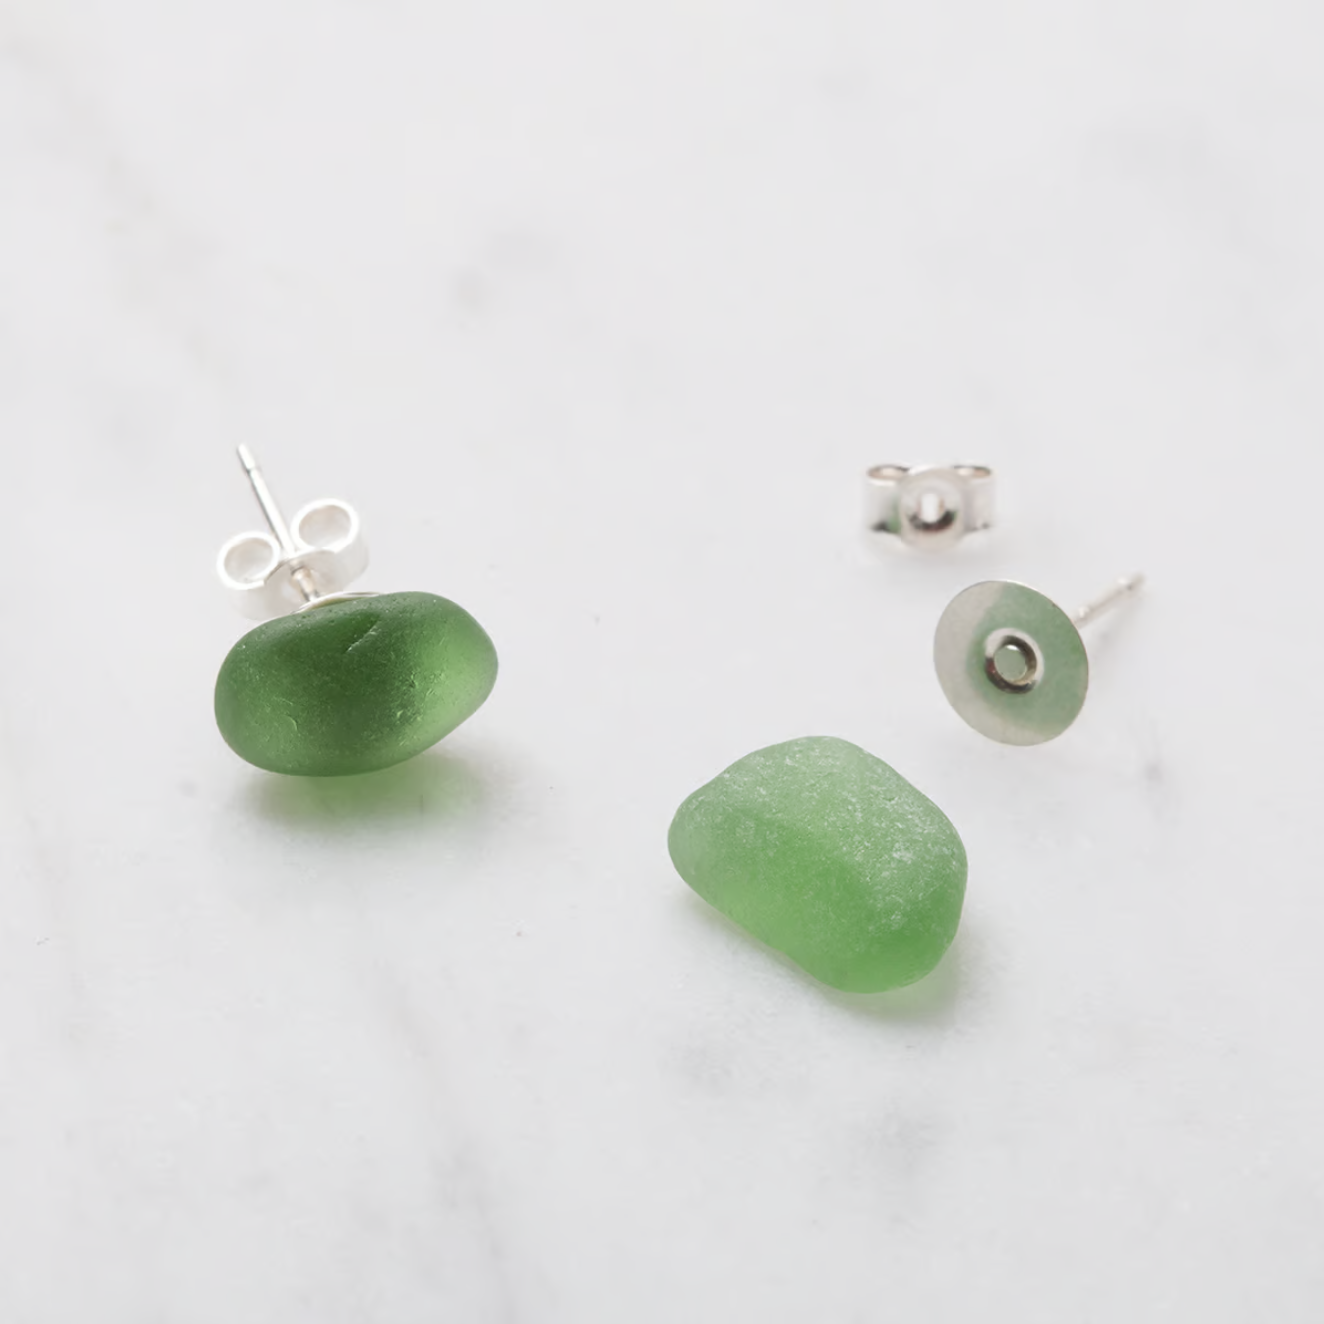
This kit has been designed with beginners in mind or anyone that wants to make some stunning pieces of jewellery with their own collected sea glass. Easily create earrings and pendants by simply gluing bell caps or bails onto your sea glass or why not use the wire included to create some unique wire wrapped jewellery designs.
Check out the sea glass jewellery making kits we’ve designed using our easy-to-use settings...
Easy Bead Jewellery
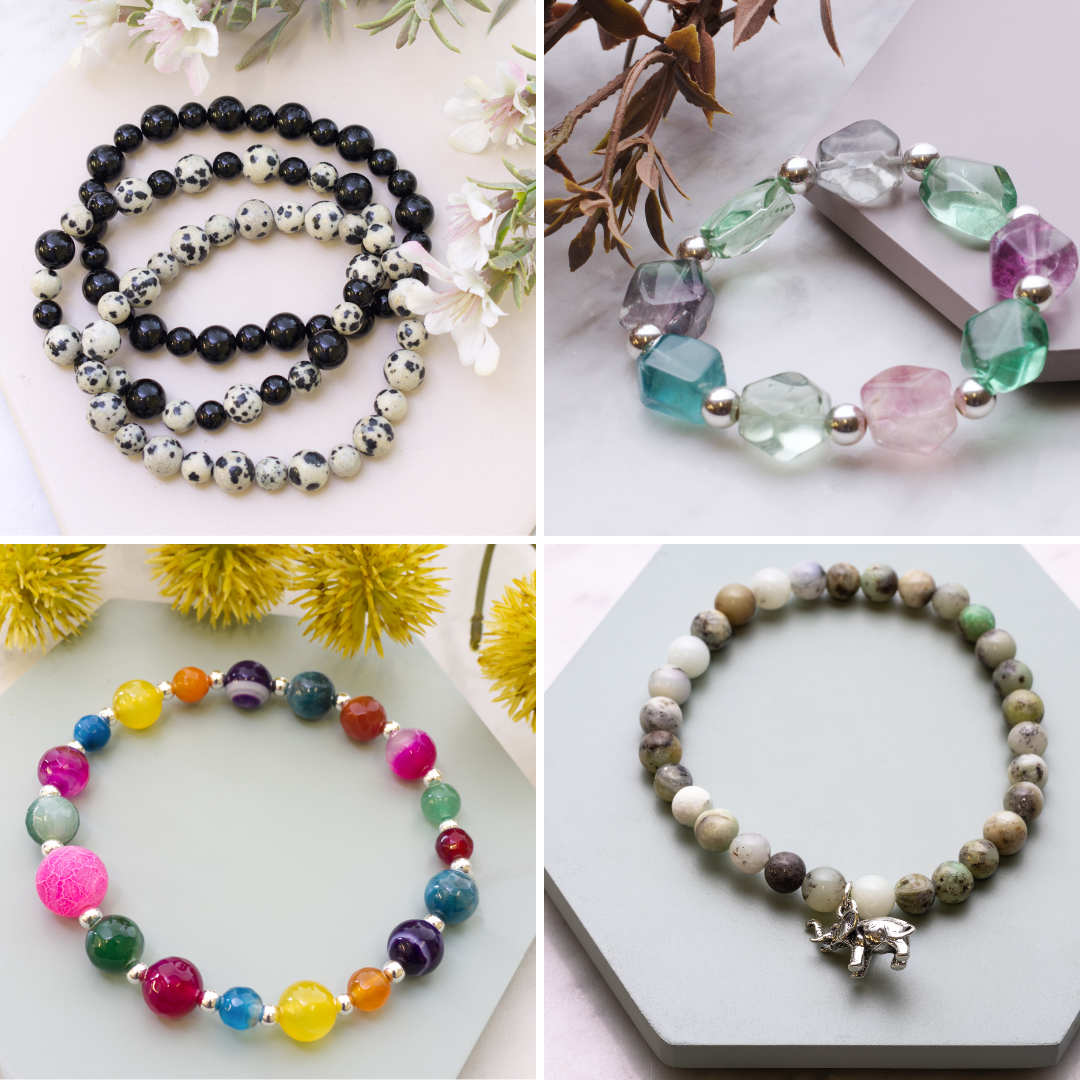
There are countless designs you can create with beads, from simple elastic bracelets to elegant sterling silver bracelets and necklaces. Best of all, you can craft beautiful jewellery with minimal tools.
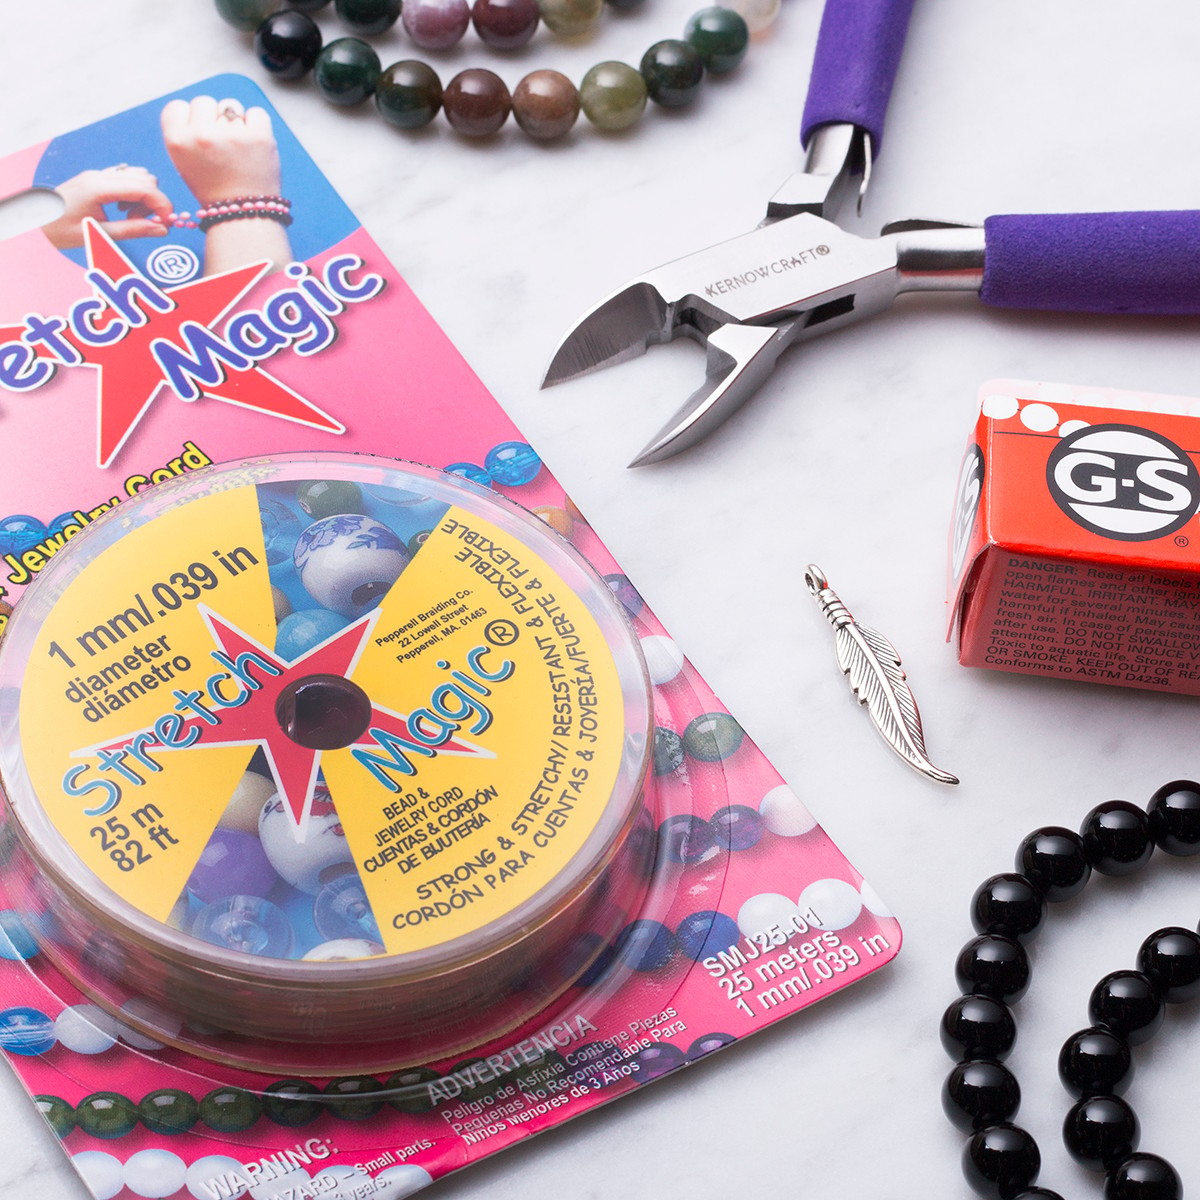
For example, elastic bracelets require just a strong stretchy cord, like Clear Stretch Magic, and your favourite beads - no need for clasps or fasteners.
If you're looking for something more refined, our beading chain or ready-to-thread necklets make it incredibly easy to create stylish necklaces or bracelets. You can simply slide the beads onto the chain, and with pre-finished ends, all you need is a pair of pliers to crimp the ends together.
Bead Jewellery Using Elastic Thread
Making beautiful bracelets and elastic rings is incredibly simple, especially with the right materials.
We highly recommend Clear Stretch Magic, a top choice for crafters around the world. This clear, durable, and flexible thread is not only the best-selling elastic cord for beadwork and jewellery making, but it's also resistant to wear and tear, ensuring your designs last. Its stretchy nature makes it easy to work with, perfect for threading beads of various sizes while maintaining a secure hold.
Clear Stretch Magic is the go-to option for creating stylish, comfortable, and resilient pieces.
How to Make a Simple Bracelet or Ring
- First, pick your thread size - either 0.5mm or 1mm. Then, choose your favourite beads (always ensure the bead hole is large enough for the thread to pass through).
- Thread the beads onto the cord. Decide on the length by wrapping the cord around your wrist, leaving enough extra length for tying a knot. Once you've measured, cut the cord using scissors or wire cutters.
- Tie a tight knot at the end of the bracelet. For step-by-step photos on how to secure a tight knot, click here.
- For added security, apply a small dab of glue to the knot and let it dry completely before wearing.
- Finally, use side cutters or scissors to trim off any excess cord.
Pro tip: Try adding charms to your designs for a personalised touch. Depending on the style of the charm, you may need to use a jump ring to ensure it sits properly on the bracelet.
Bead Jewellery Using Beading Chain
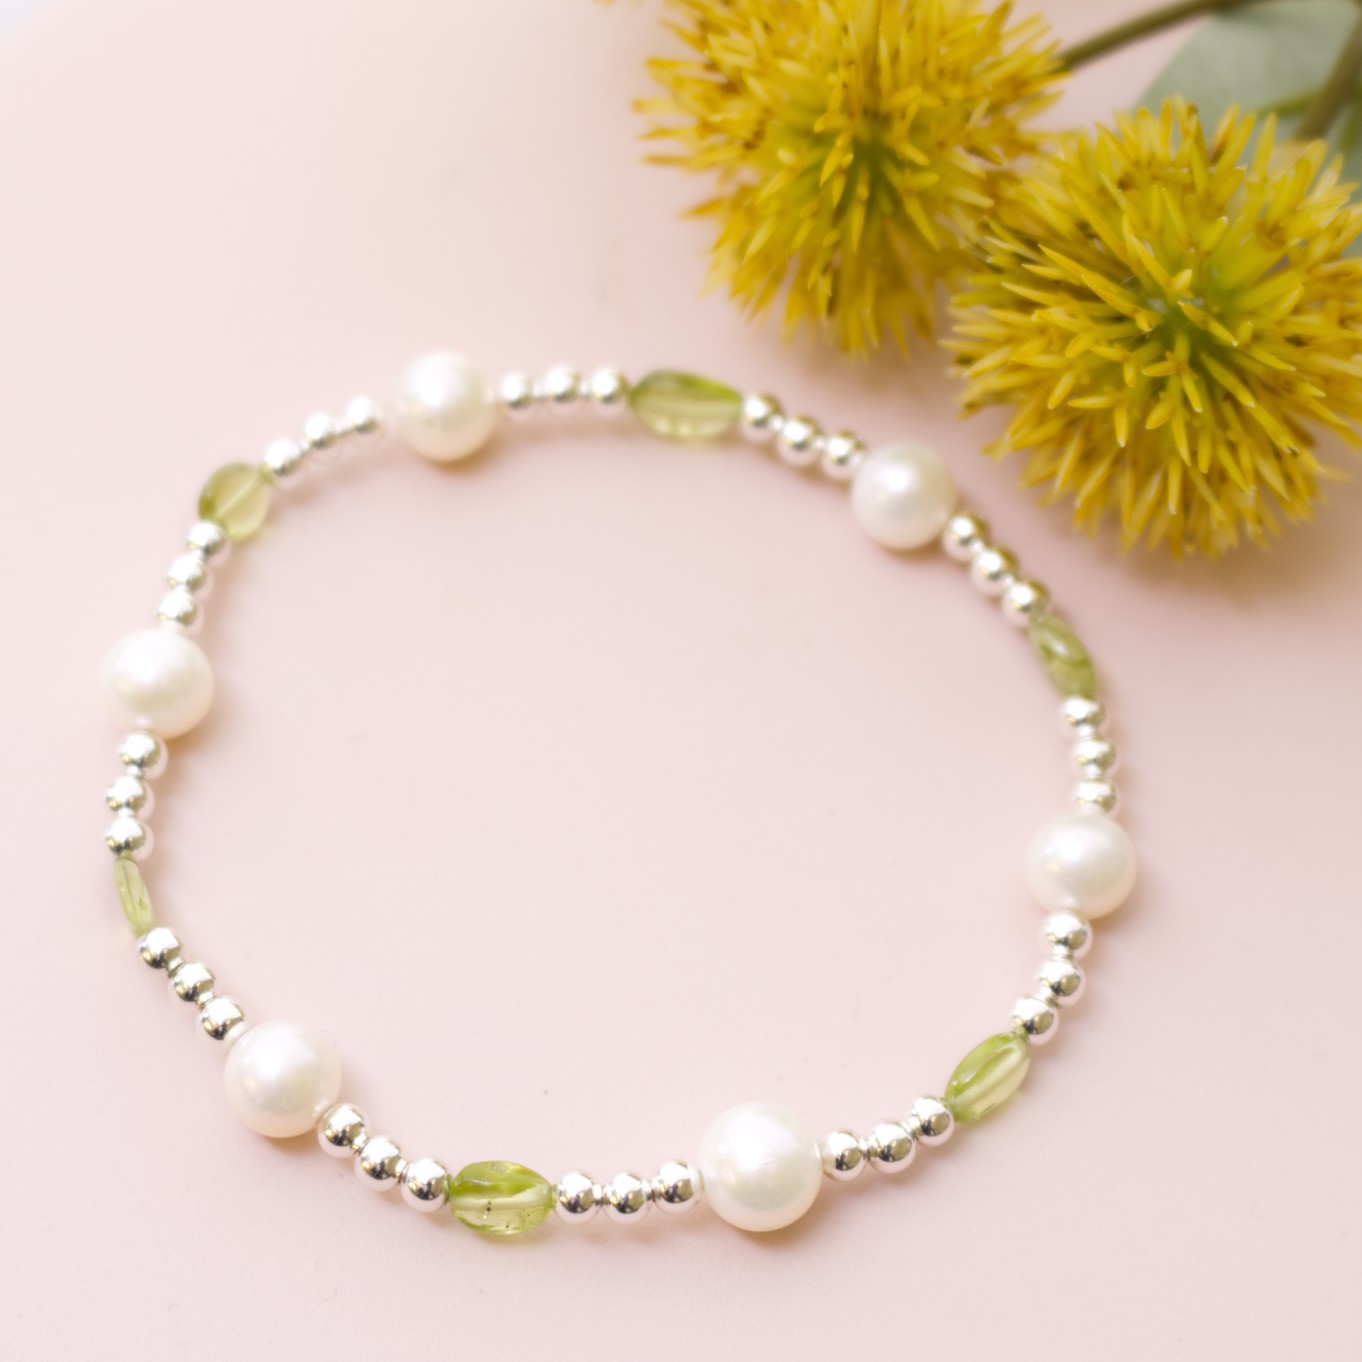
Making jewellery with our sterling silver beading chain is a fantastic way to create elegant, durable, and stylish pieces that have a timeless appeal. Sterling silver beading chain is particularly popular because of its fine yet sturdy quality and their adaptability to a wide range of designs. By mastering a few techniques, you can produce professional-quality pieces that highlight the beauty of sterling silver, making them ideal for gifts, personal accessories, or even to start a small jewellery business.
Sterling silver beading chains work well with beads that have larger hole sizes, as well as gemstones, pearls, or metal accents. Here are some key points to remember when working with beading chain:
- Hole Size: Be sure the beads’ hole sizes are slightly larger than the thickness of the chain to allow for smooth threading.
- Thread each bead carefully to avoid kinking the chain, as delicate chains can sometimes bend if handled too aggressively.
- Avoid Overloading: Sterling silver beading chain is sturdy but shouldn’t be overloaded with heavy beads or large pendants.
Project Ideas
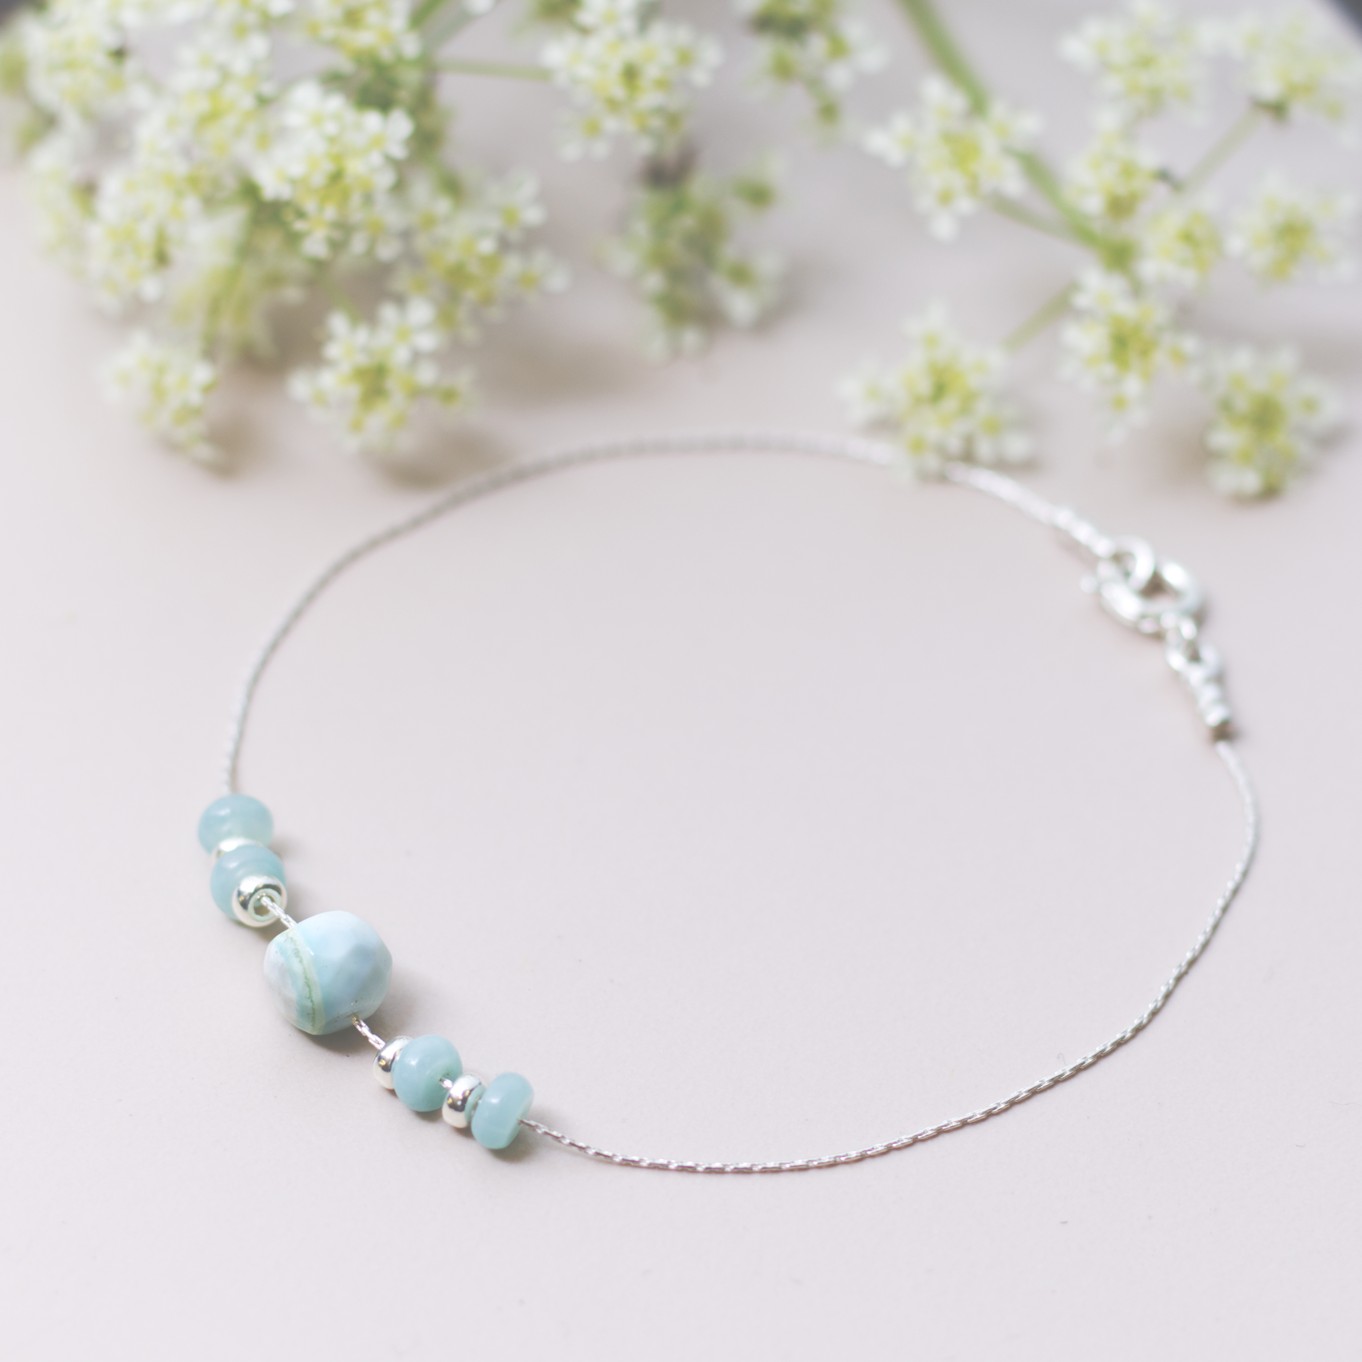
- Simple Beaded Necklace: Alternate between sterling silver beads and gemstone beads for a simple, elegant look.
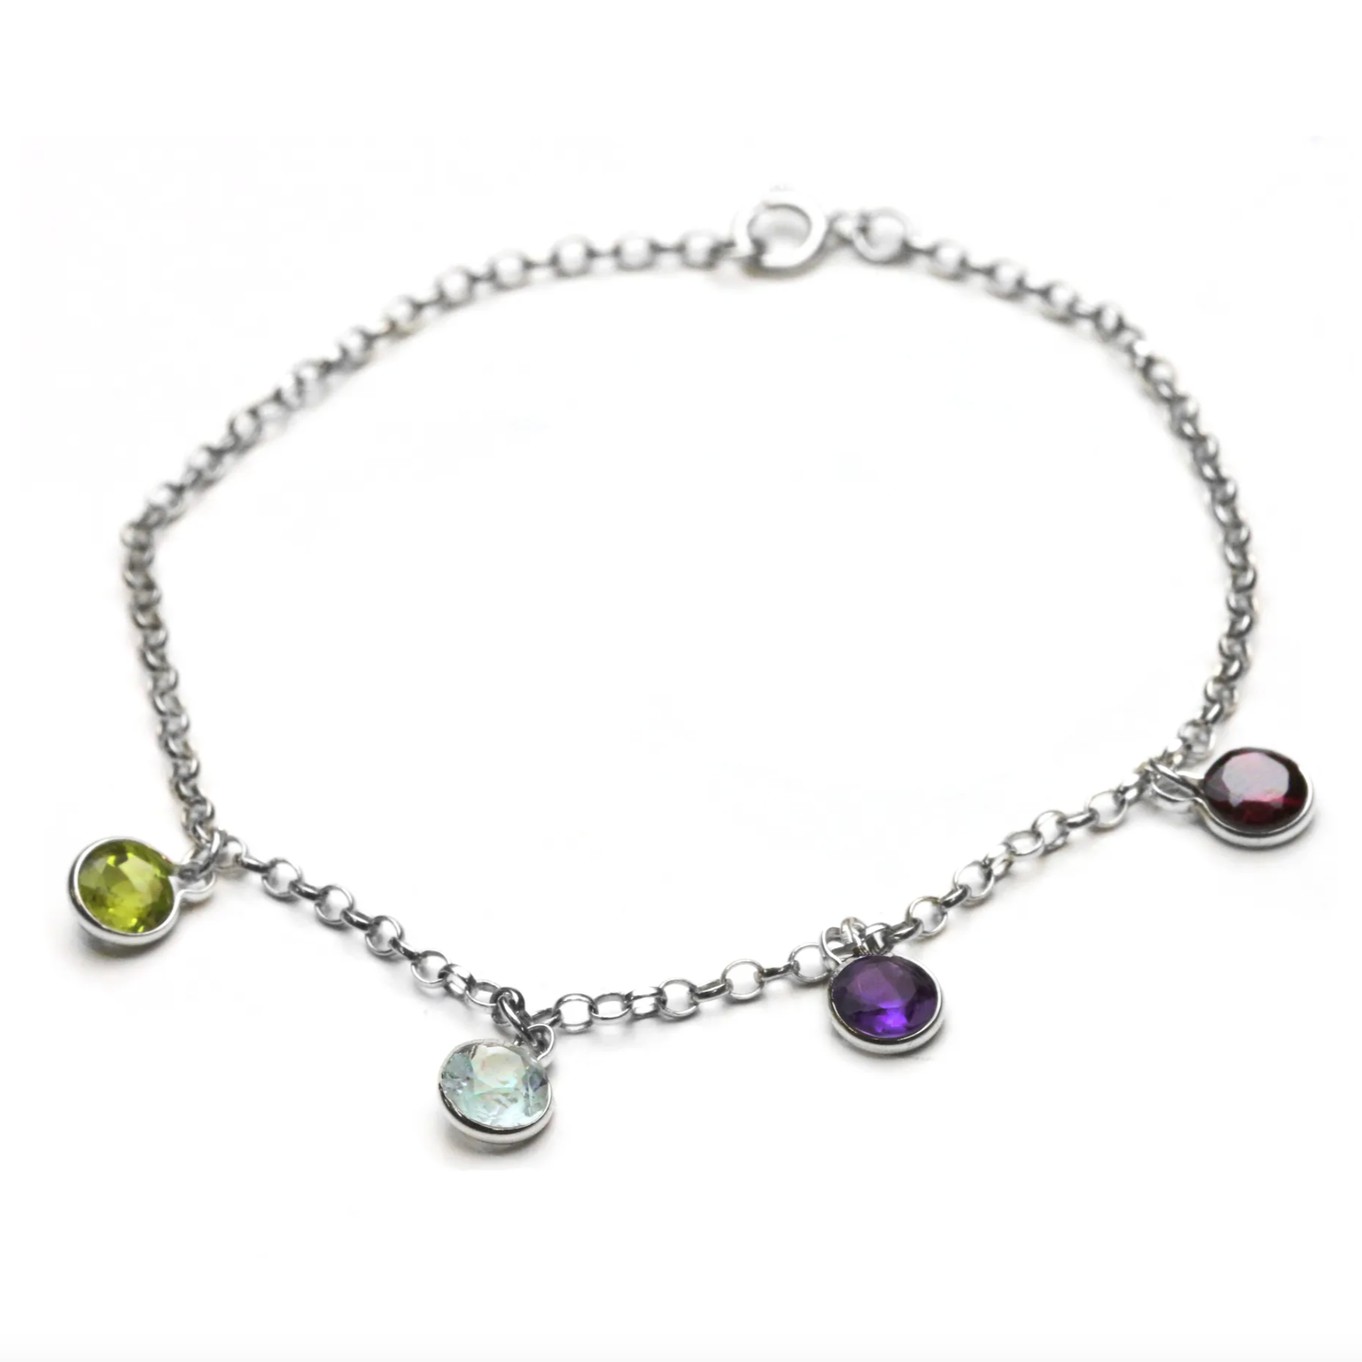
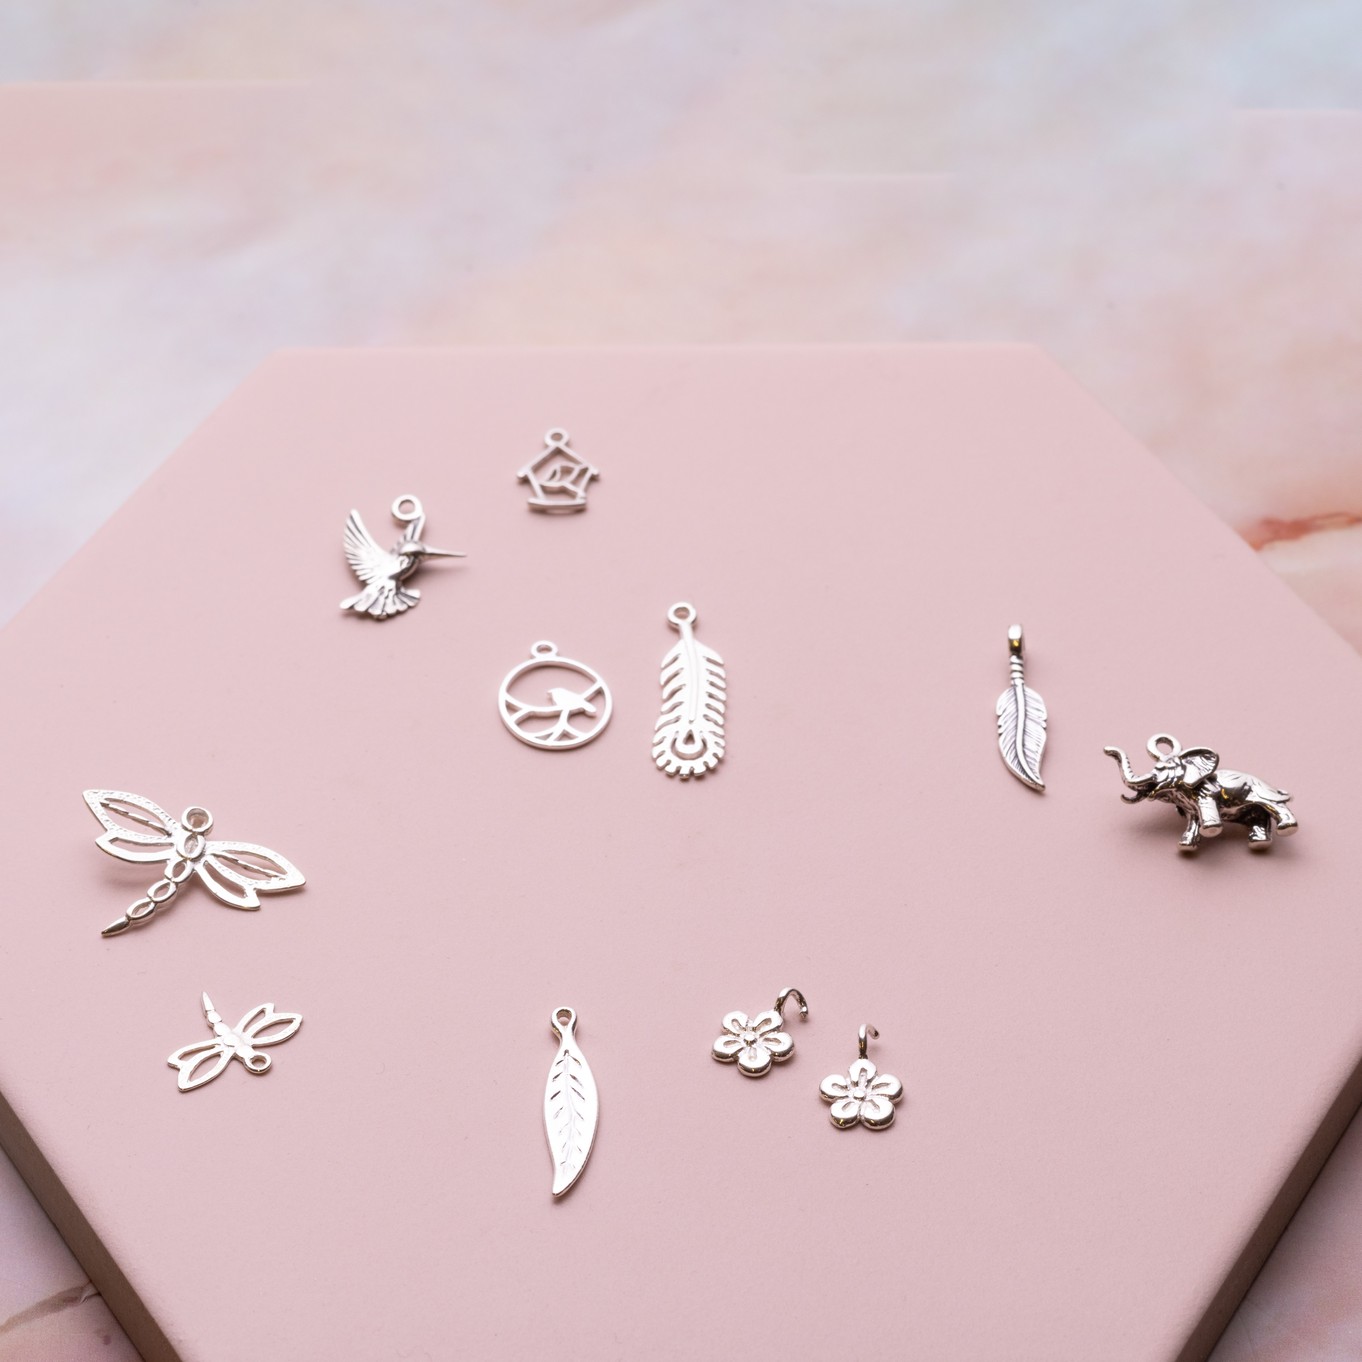
- Charm Bracelet: Add tiny charms to a sterling silver beading chain bracelet to create a delicate charm bracelet with personal significance.
- Layered Necklace: Use multiple chains of varying lengths with beads or small pendants to create a layered, boho-inspired necklace.
Bead Jewellery Using Memory Wire
Jewellery making with memory wire is perfect for creating flexible, durable designs that hold their shape, making it ideal for bracelets, rings, and chokers. Memory wire is a hardened, silver plated stainless steel wire that retains its coil shape, allowing pieces to simply wrap around the wrist or neck without the need for a clasp.
To make jewellery with memory wire, cut the wire to the desired length, usually leaving a small overlap. Beads with a hole size slightly larger than the wire diameter work best; simply slide them onto the wire in your chosen pattern. To secure the ends, use round-nose pliers to create a small loop at each end, preventing beads from slipping off. For extra flair, you can add charms or dangles to the loops or finish off with a half drilled bead which can be glued on.
Memory wire jewellery is easy, beginner-friendly, and requires minimal tools, making it a fantastic choice for quick projects or statement designs. For more advice on how to use memory wire click here.
Metal Clay Jewellery
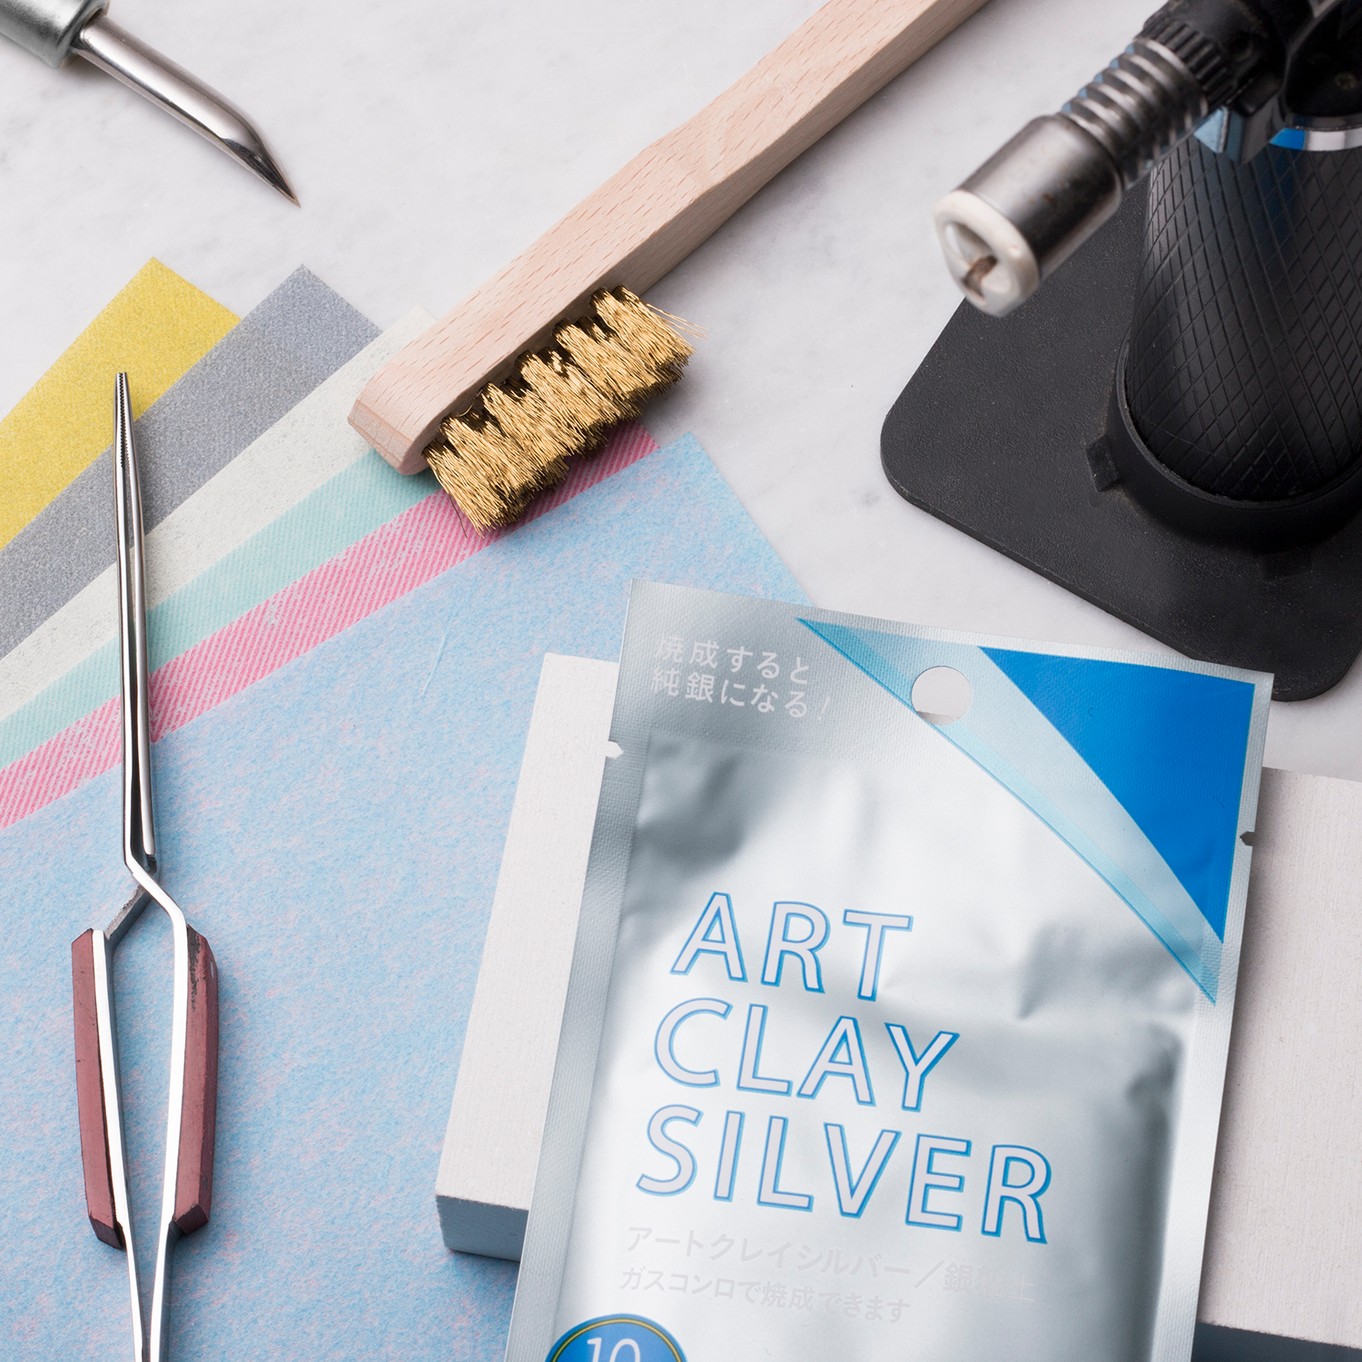
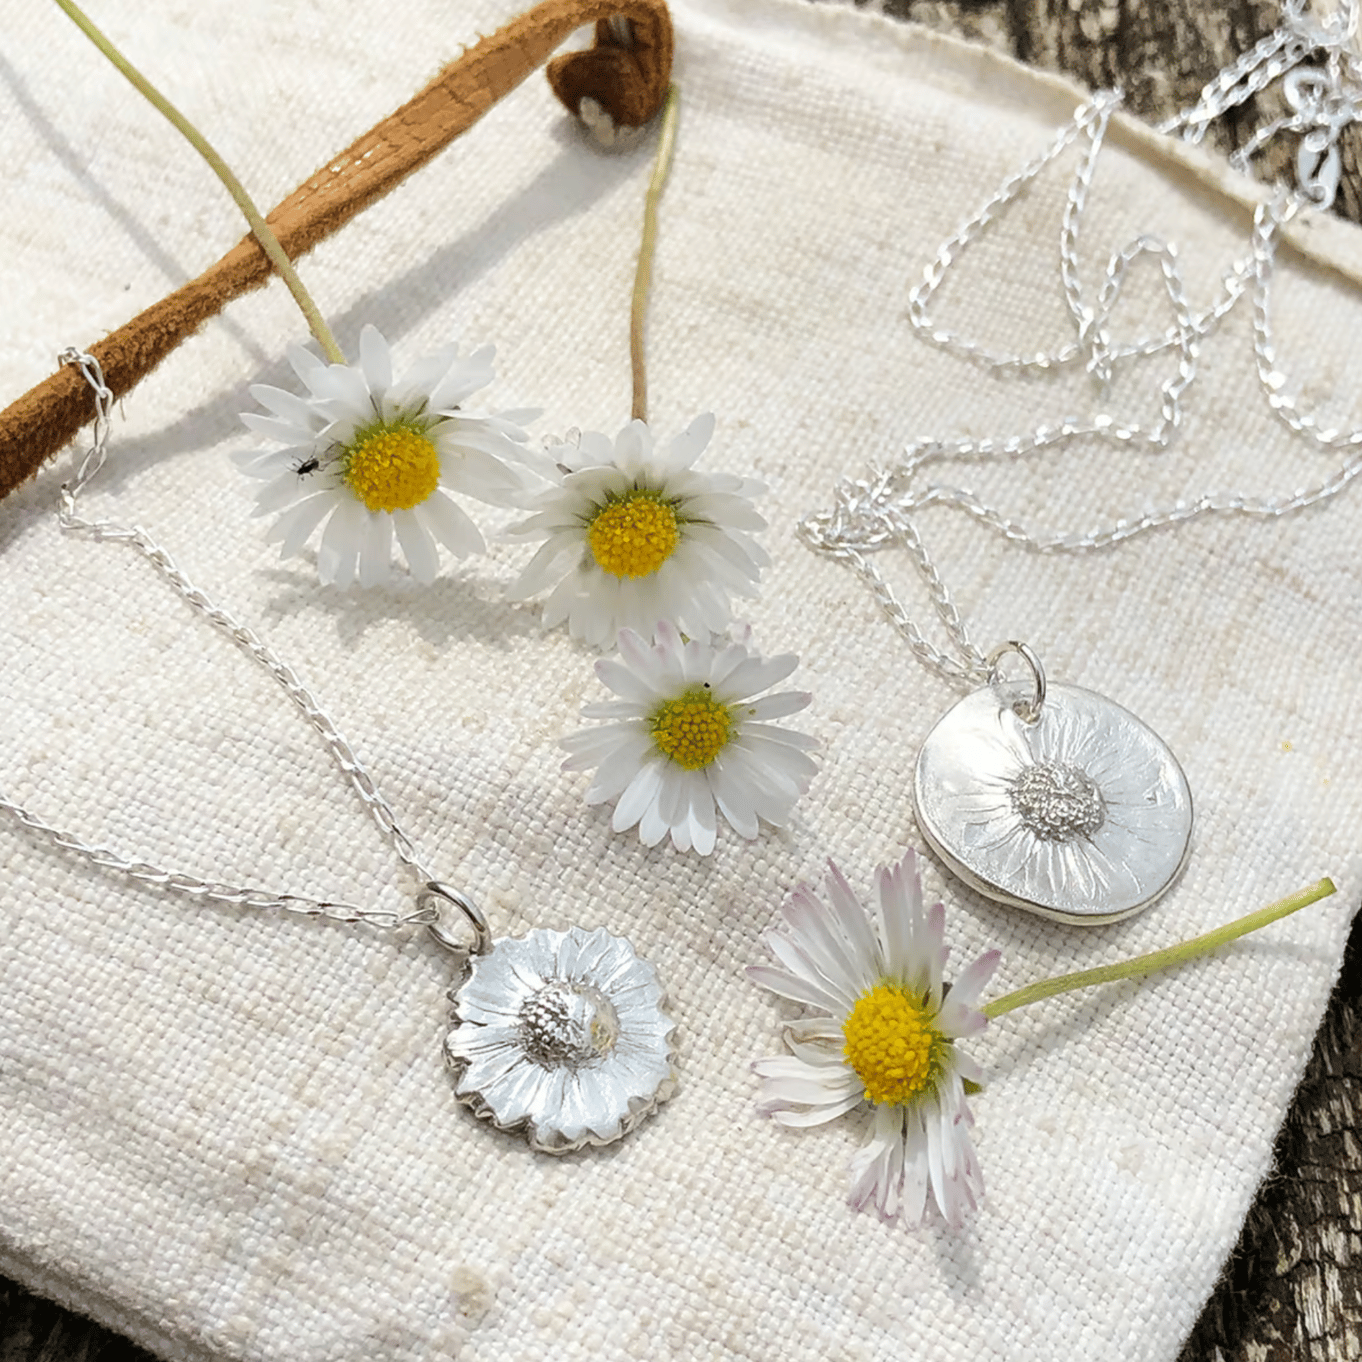
This amazing Metal Clay can be moulded, sculpted and formed just like modelling clay and can be fired, in most cases, with a gas torch or even on a gas hob (alternatively in a kiln).
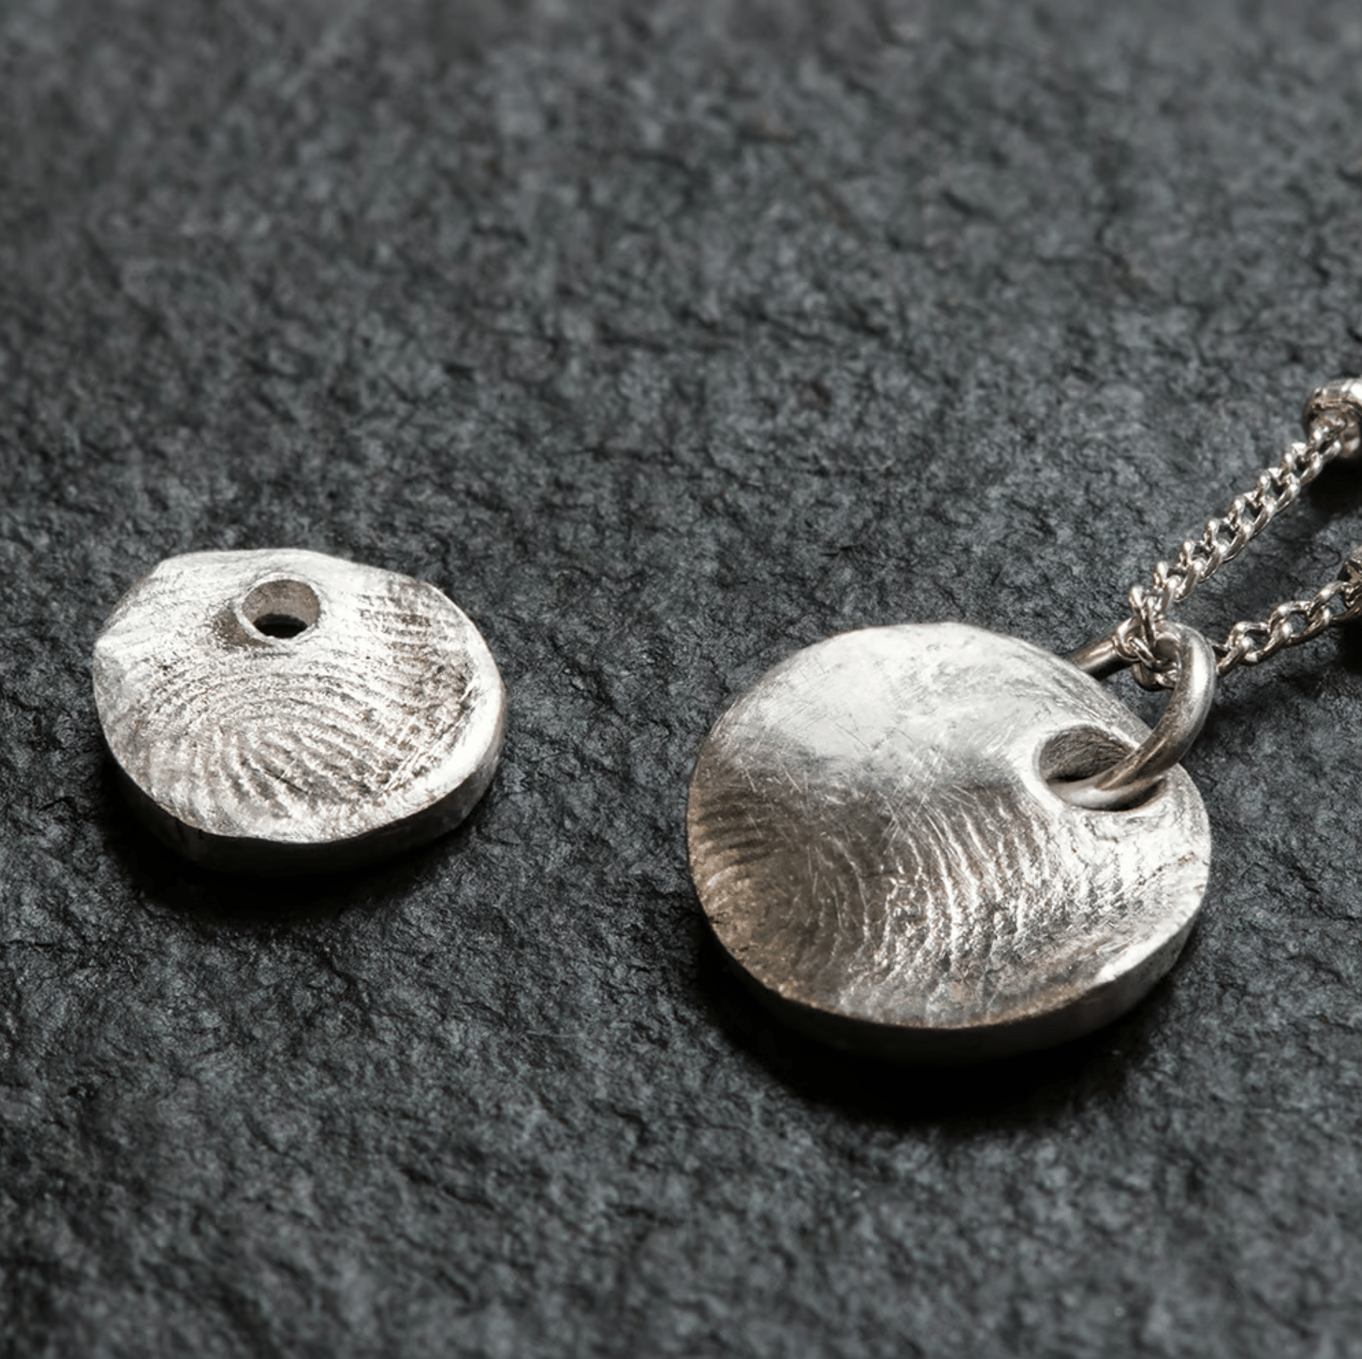
Once fired the clay turns into 99.9% pure silver which is hall markable and even purer than sterling silver
Your imagination is probably the most important tool you will need for using Precious Metal Clay. Using some basic modelling skills (think of playdough and plasticine) and a few tools, you will be amazed at the high class and professional-looking results you can achieve using this clay.
Small pieces can easily be fired using a hand-held gas torch and larger or multiple pieces can be fired in a kiln but the beauty of the Art Clay brand is that you can even fire small pieces on your gas hob at home!
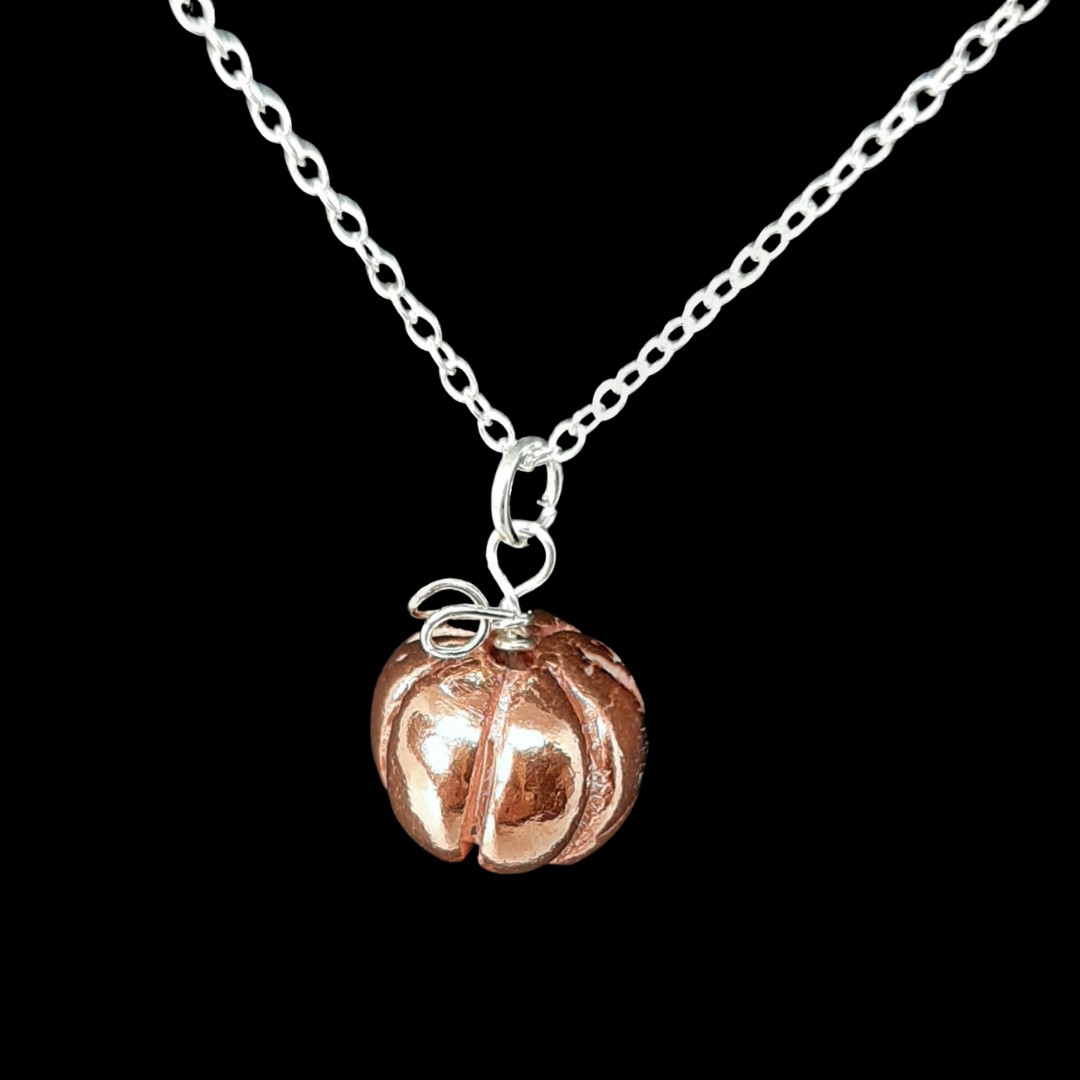
Or why not try Art Clay Copper which is an excellent affordable option for anyone wanting to try working with metal clay.
You can roll, mould, carve, stamp and set stones into just as you can when working with silver clay!
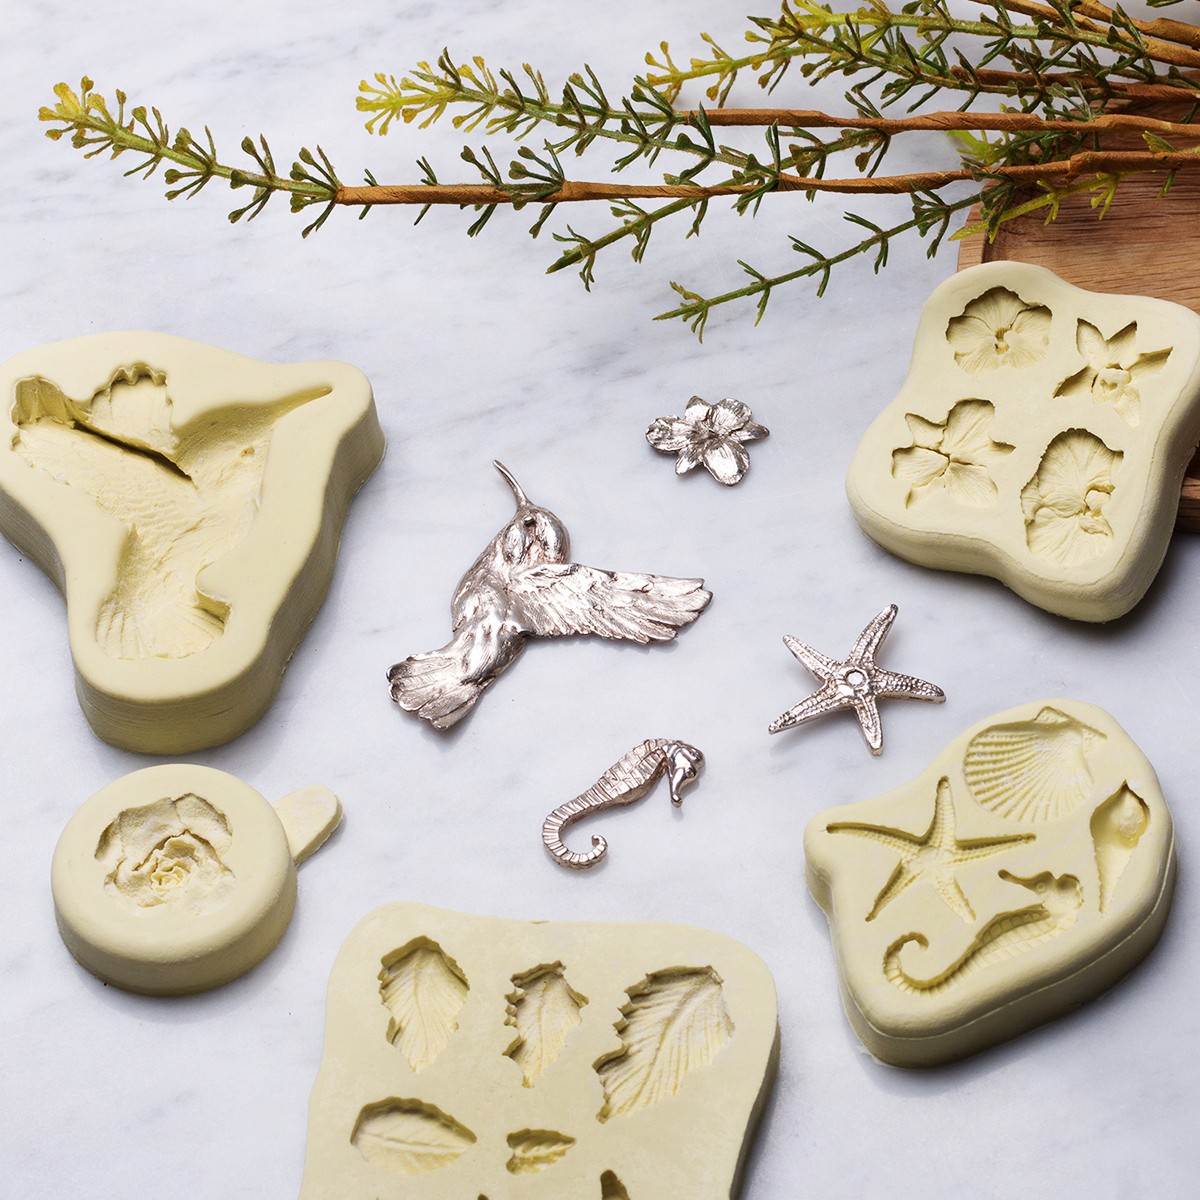
Create Charms & Pendants With Metal Clay Moulds
Explore our metal clay moulds to craft beautiful pendants, perfect to pair with one of our stylish chains!
Discover our collection of metal clay tutorials, filled with creative ideas and step-by-step guidance to inspire your next jewellery-making project.
Haven't Found The Right Project? Explore Beginner Kits
Our Jewellery Making Kits section has so many beginner friendly projects to try using various gemstones, settings and supplies.
Each kit has online step by step instructions and a one-click shopping list and tool list with all the jewellery making supplies you need to complete the design.
Also in this section:
- How To Make A Bracelet
- 5 Designs for Mother's Day
- Mocha Mousse Colour Of The Year 2025
- Our Favourite Customer Designs of 2024
- Easy Handmade Jewellery Ideas For Beginners
- Our Jewellery Book Recommendations
- 14 Jewellery Designs Using Metal Clay - Copy
- Trending 'Peach Fuzz' Gemstones & Jewellery Designs
- Our Favourite Customer Designs of 2023
- How To Make Your Own Chakra Jewellery
- Our Favourite Customer Designs Of 2022
- Handmade Garnet Jewellery Designs We Love
- Trending Magenta Gemstones & Jewellery Designs
- Top 12 Best Selling Gemstone Cabochons
- Our Favourite Customer Jewellery Designs Of 2021
- 12 Good Luck Charms To Add To Your Jewellery
- Handmade Jewellery Creations Using Turquoise
- Handmade Birthstone Jewellery Inspiration
- Our Favourite Customer Jewellery Designs Of 2020
- 12 Things To Do At Home If You Love Jewellery Making
- Favourite Customer Jewellery Designs Of 2019
- 20 Handmade Heart Jewellery Designs
- 16 Amethyst Jewellery Designs We Love
- Easy Handmade Mother's Day Jewellery Gift Ideas
- 11 Amazing Handmade Aquamarine Jewellery Designs
- 17 Jewellery Designs Using Liver Of Sulphur
- Customisable Earrings For Non Pierced Ears
- 25 Additional Jewellery Making Supplies For Your Collection
- Our Favourite #KernowcraftXmas Designs
- 25 Jewellers Creating Bespoke Engagement Rings
- 15 Statement Onyx Jewellery Designs We Love
- 9 Gemstone Ring Designs We're Obsessed With
- What Is Rose Gold Filled?
- Australian Opal Jewellery Designs
- Handmade Floral Jewellery Designs
- Using Crystals For Jewellery Making
- 4 Reasons To Do A Craft Course
- DIY Hair Accessories With Gemstones
- 18 Handmade Emerald Jewellery Designs
- What Is Granulation & Jewellery Designs We Love
- 10 Jewellery Making YouTube Channels To Watch
- Favourite Customer Designs Of 2018
- Favourite Customer Jewellery Designs Of 2017
- Prosecco & Rubies’ Top Tips for Buying the Perfect Gift
- Out Of This World, Galaxy Jewellery Designs!
- How Has Making Jewellery Helped You?
- Opal Jewellery Designs We Love Right Now
- 4 Jewellery Making Books For Beginners
- 16 Sea Glass Designs We Love
- Jewellery Making With Peridot
- Jewellery Designs Using Ruby Gemstones
- 19 Boho Inspired Jewellery Designs
- What Jewellers Think Of Alligator Tape
- Top 20 #KernowcraftNature Designs
- The Gemstones For Nature Lovers
- How To Help The Environment As A Jewellery Designer
- 14 Jewellery Designs Inspired By Nature
- 22 Jewellery Designs Inspired By The Sea
- Making Your Own Wedding Jewellery
- Top 6 Chains For Your Jewellery Designs
- Soldering For Jewellers Book Review
- Make Your Own Festival Jewellery
- 10 Tips For Creating A Jewellery Wedding Collection
- Customer Creations in 2016
- 10 Reasons To Do Jewellery Making With Your Kids
- Our Favourite Halloween Inspired Jewellery Designs
- 5 Minute Handmade Jewellery Gifts This Christmas
- 6 Ways To Support Small Businesses This Christmas

