Family Nest Bead Pendant Necklace
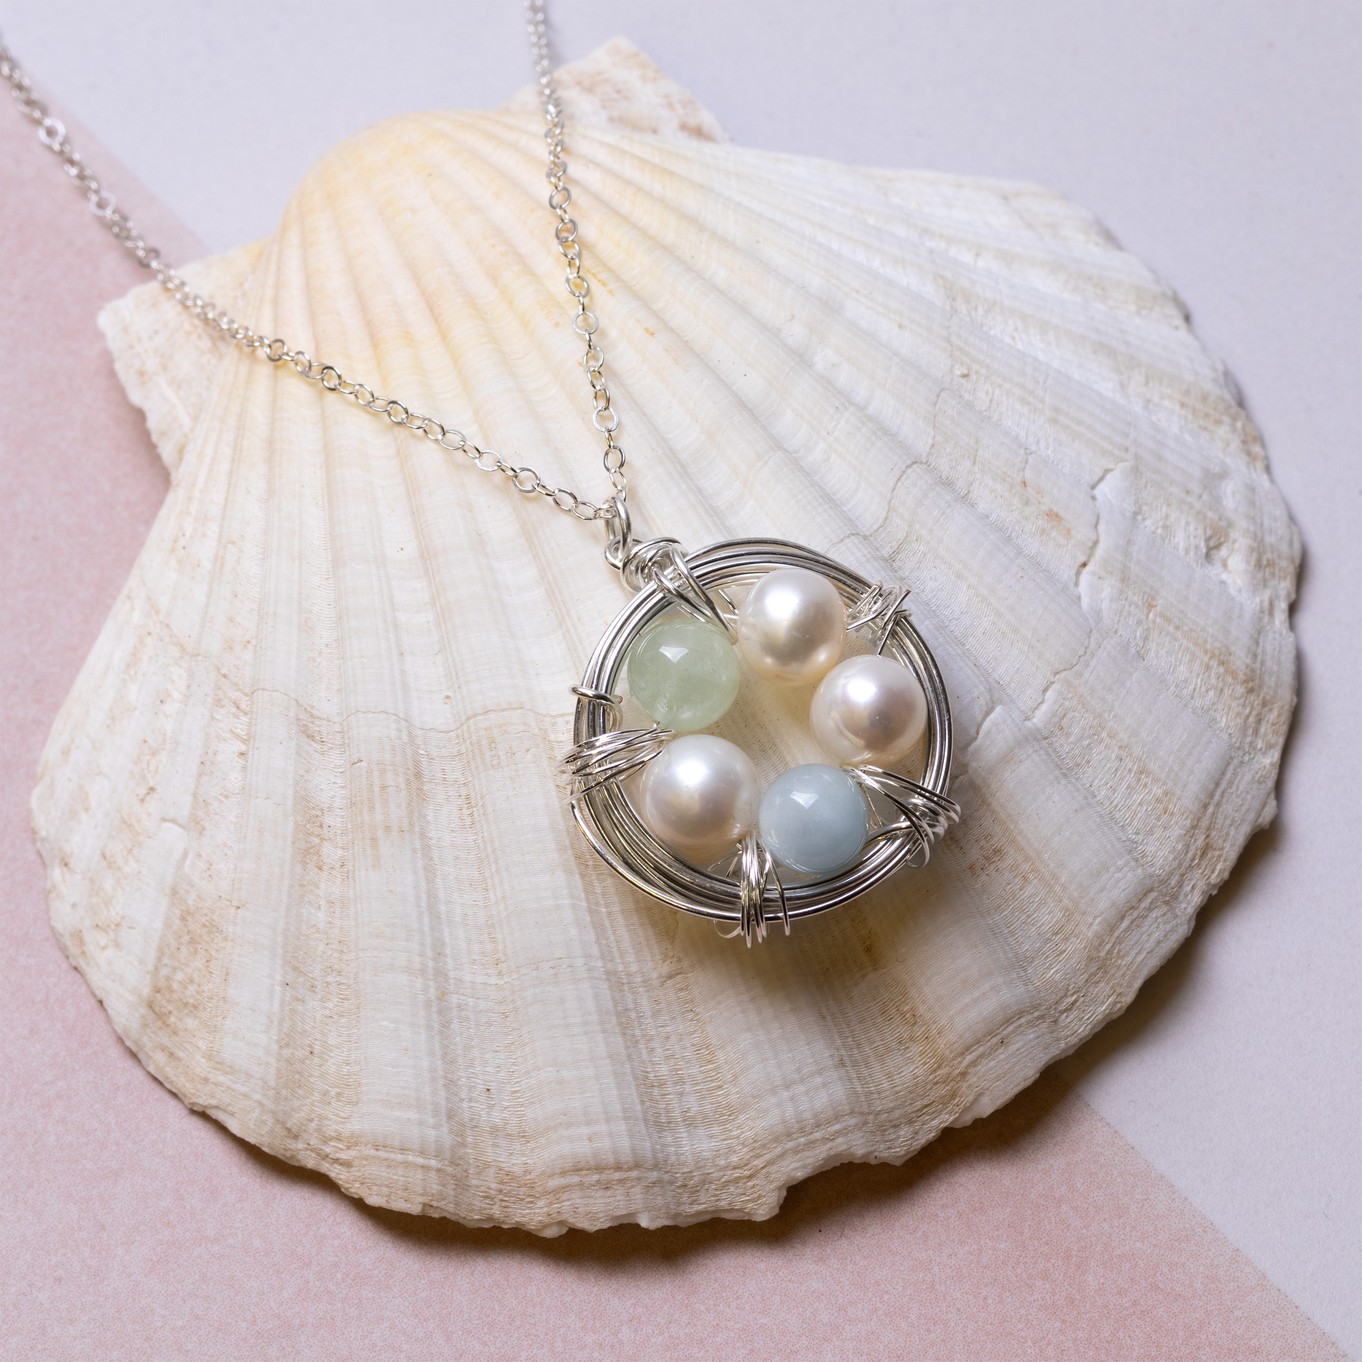
Create a meaningful piece with our Family Nest Pendant Necklace Kit - perfect for beginners and hobbyists! This jewellery making kit for adults includes everything you need to craft a beautiful wire nest pendant, complete with bead “eggs” to represent loved ones. A simple yet stunning project, ideal for gifting or keeping as a cherished piece. Start your jewellery-making journey today!
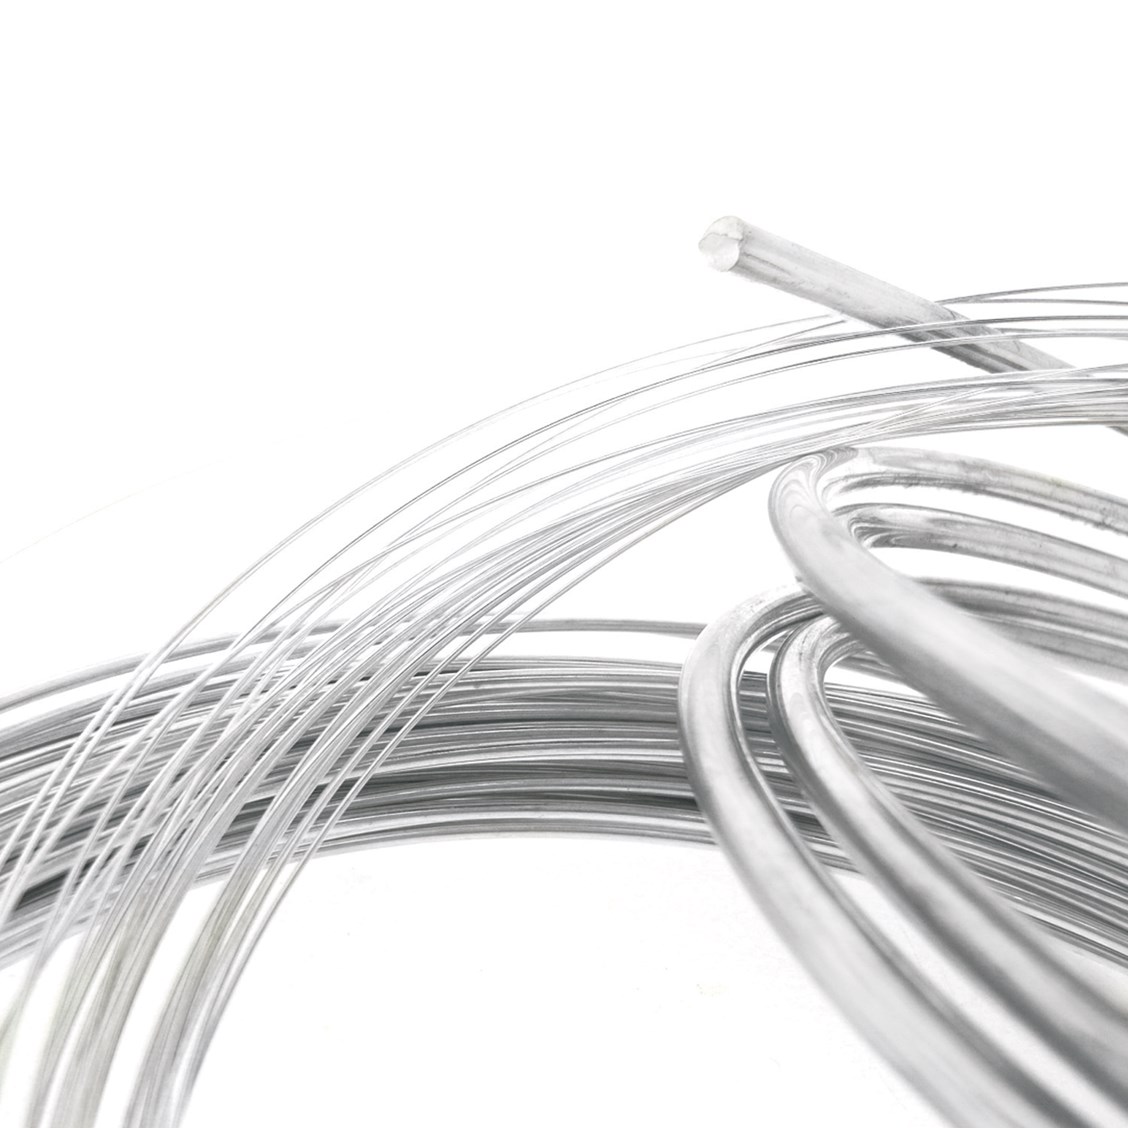
This project can be made using
your favourite gemstone beads and your choice of wire, whether that's silver, gold, brass or copper.
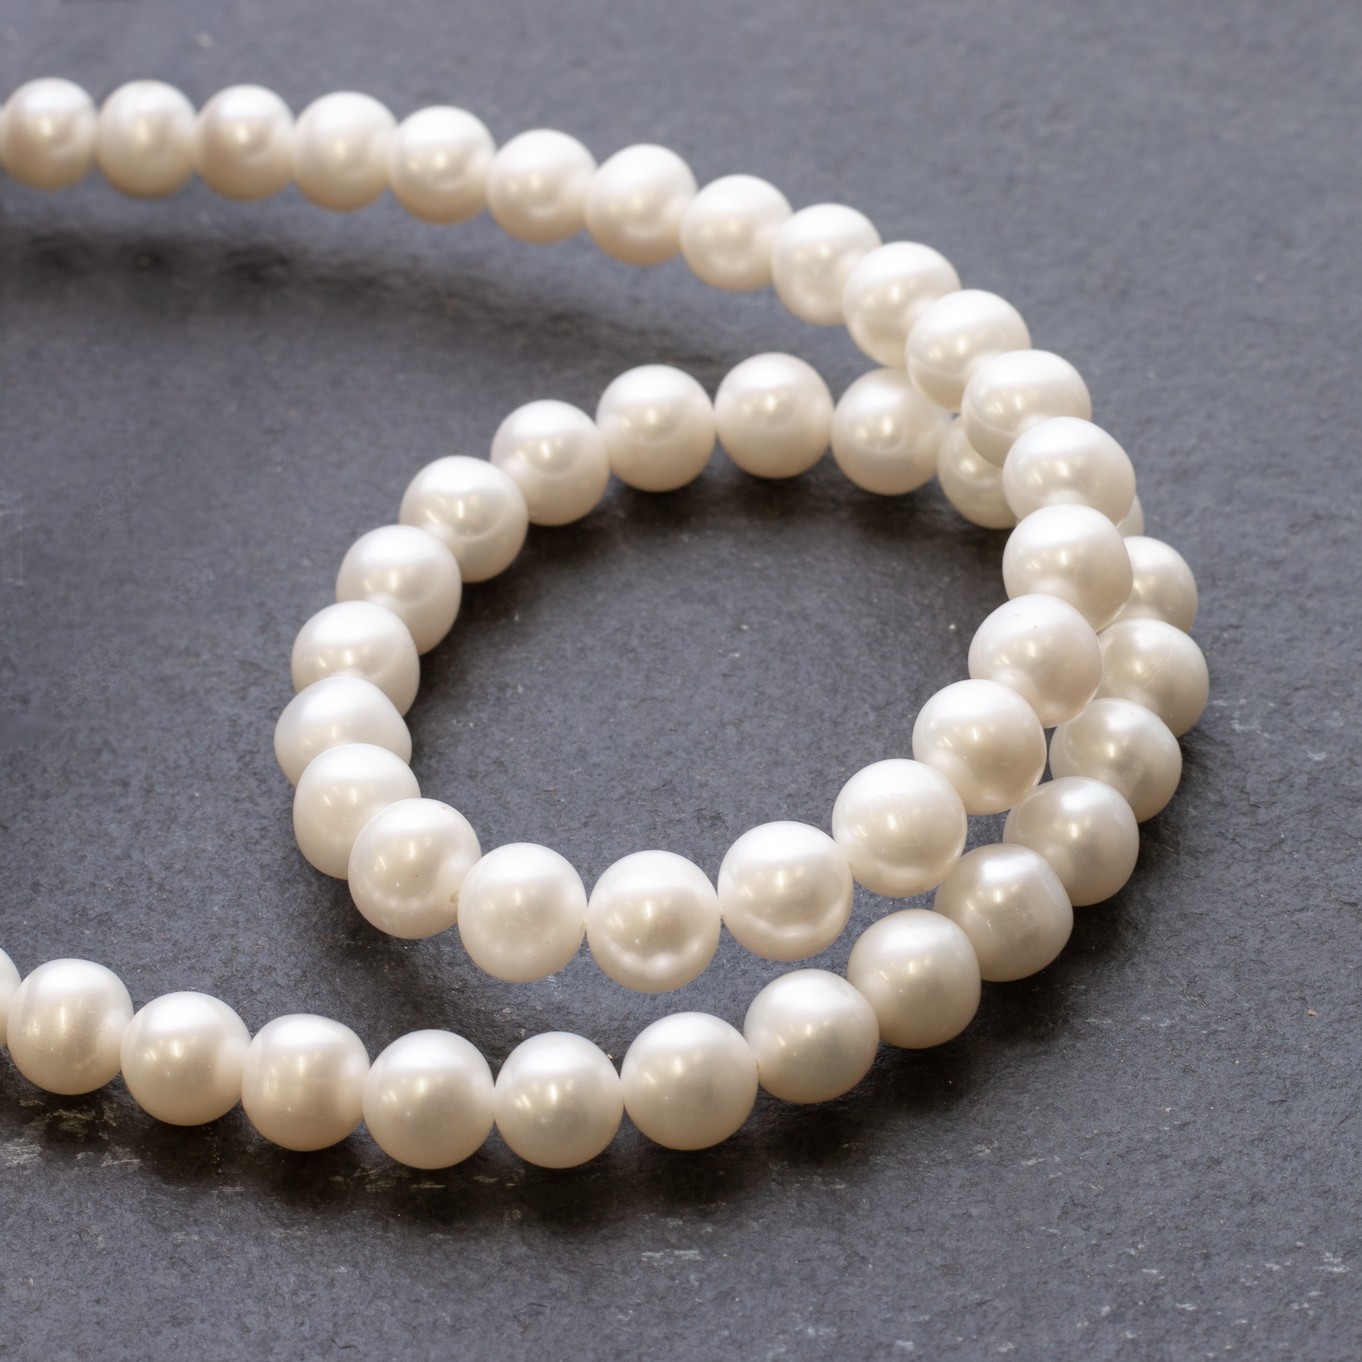
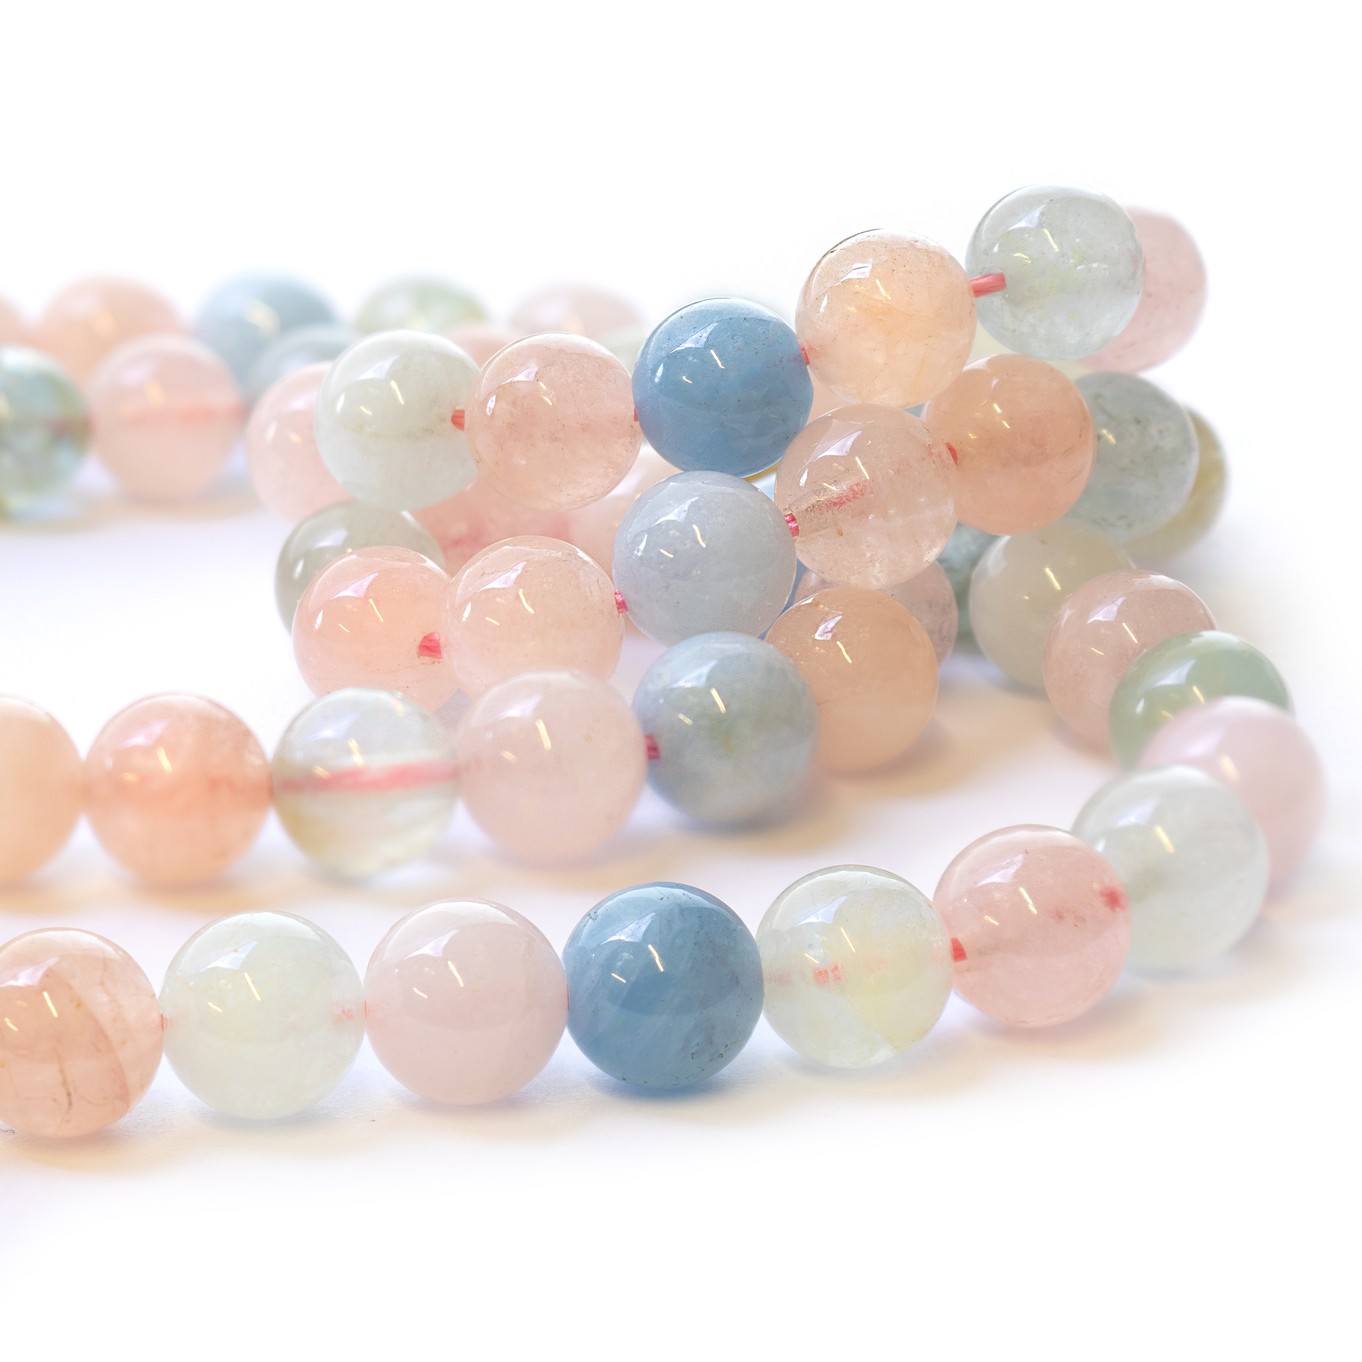
We've made our nest necklace using 8mm aquamarine and morganite gemstone beads alongside our 9mm pearls however, 6mm makes a lovely delicate design.
To make this design personalised, we chose to use birthstone gem beads.
Follow along with our step by step process below and buy all the tools and supplies you need online to get making.
STEP BY STEP INSTRUCTIONS
1. Using your 35cm piece of 0.8mm wire, wrap around the wheatsheaf mandrel as many times as you like in order to get the thickness of the 'nest' that you desire.
2. Once you have reached your desired thickness, slide your 'nest' off the mandrel and hold firmly in place.
3. Bend the ends of the wire around your 'nest' using your fingers to hold the wire tightly in place.
4. Using a pair of side cutters, snip the loose ends of the wire away. We used a file to soften those sharp ends, resulting in a much neater finish.
5. Take a 30cm length of 0.3mm wire, wrap one end around the edge of your 'nest.'
Carefully thread your chosen gemstone beads (we've picked aquamarine and morganite with pearl beads), looping them into a circle.
6. Secure them by wrapping the opposite end of the wire around the edge of your 'nest,' holding the beads tightly in place with your thumb as you do so.
Trim the excess wire off with your side cutters.
7. Take another 30cm length of 0.3mm wire and wrap around the 'nest' and the circle of beads you've created. This will start to hold your 'eggs' into place.
Repeat this step twice.
Cut away any loose pieces of wire and file the sharp edges.
8. Using 15cm of 0.8mm wire, wrap around the last unsecured piece of your 'nest' and 'eggs.'
Cross the two ends of your wire over.
9. With your round nose pliers, create a loop (this is to attach your jump ring later).
Trim away any excess wire.
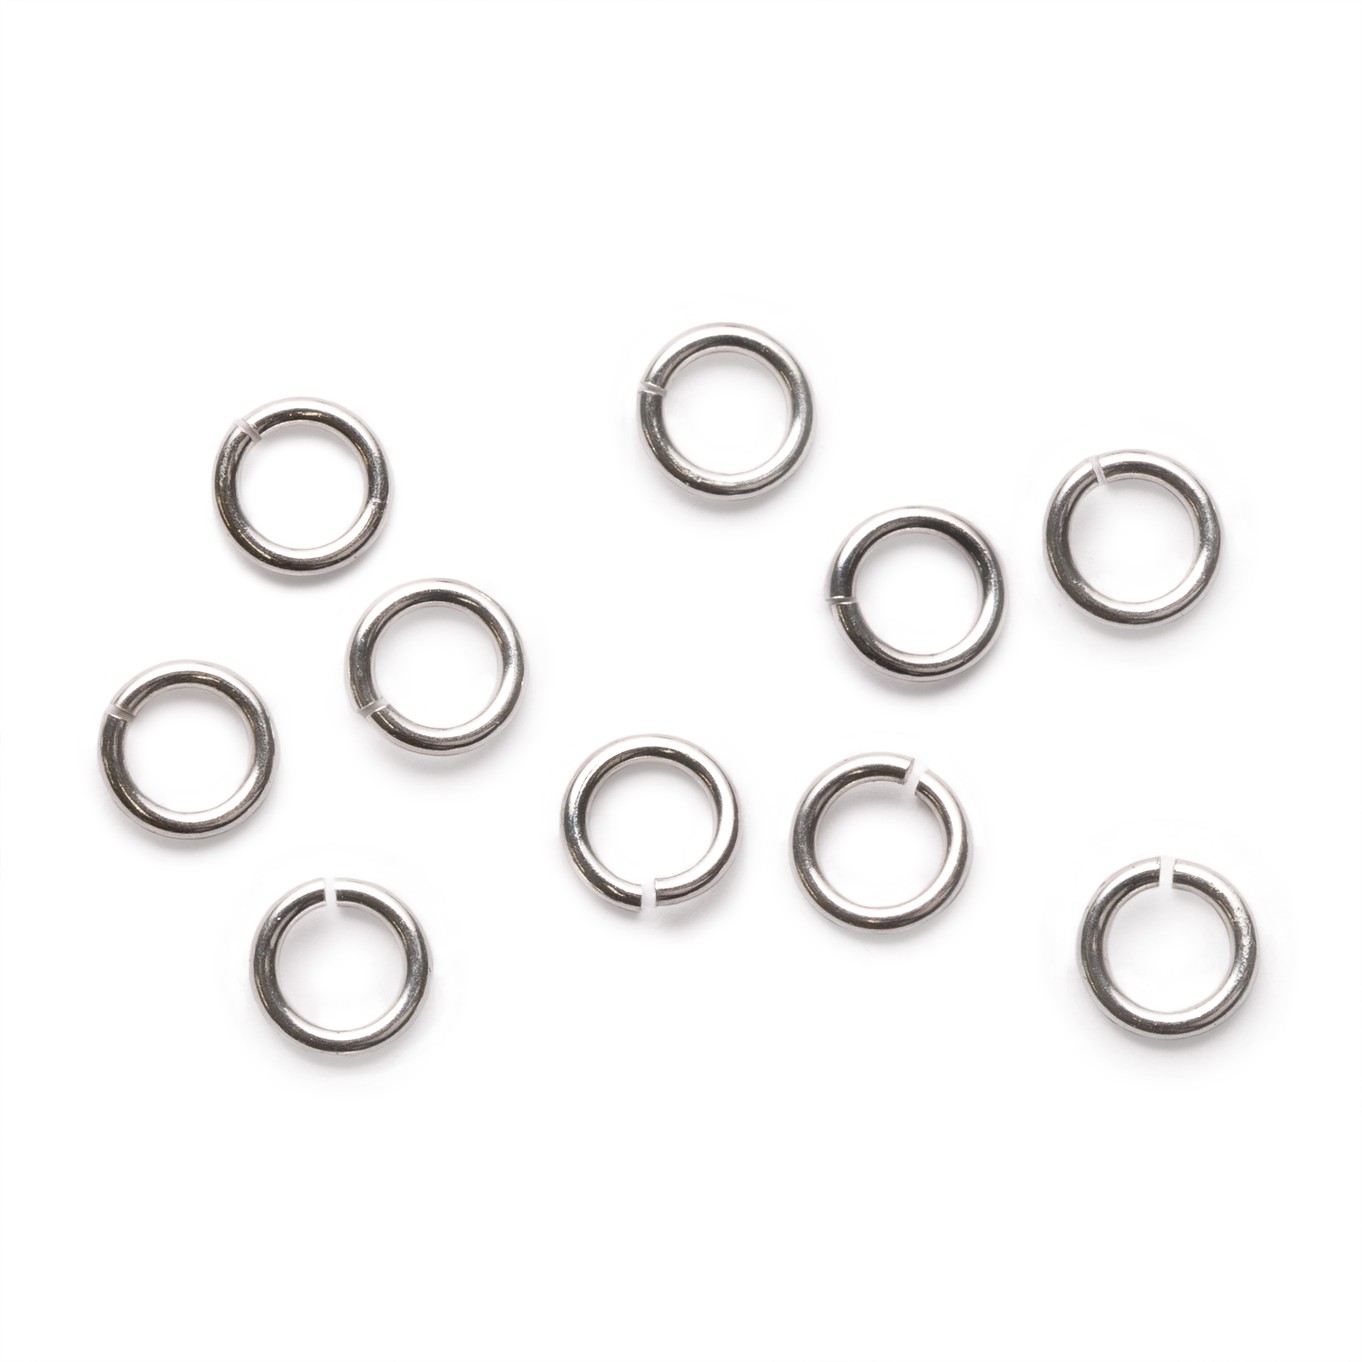
10. Take your flat nose and your snipe nose pliers to carefully twist open a jump ring.
Attach your chain and hook the loop of your 'nest' through the jump ring.
11. Twist your jump ring shut using your flat nose and snipe nose pliers.
File down any sharp points of your 'nest,' leaving you with a beautiful gift for someone special!
Watch our tutorial on making your own family nest pendant below
Recommended Tools & Supplies
Wheatsheaf Mandrel (if you don't have one you could use a large cotton reel or even a lip balm pot!)
Gemstone beads - always check your chosen beads fit the wire comfortably
Ready made necklace chain or thread
File (optional for a softer, cleaner finish)
Kernowcraft's jewellery making kits are aimed to inspire you - therefore the step by step instructions are available online only with a shopping list, where you can easily customise the design to suit you. We recommend printing or bookmarking this page ready to follow.
The suggested products used in this project are suggestions to inspire you. Products used were compatible at the time of making but do be aware that gemstones are natural and hand cut stocks can vary, so do use your own common sense as to the compatibility of each item when making.
Your Shopping List
There are one or more items out of stock at present.