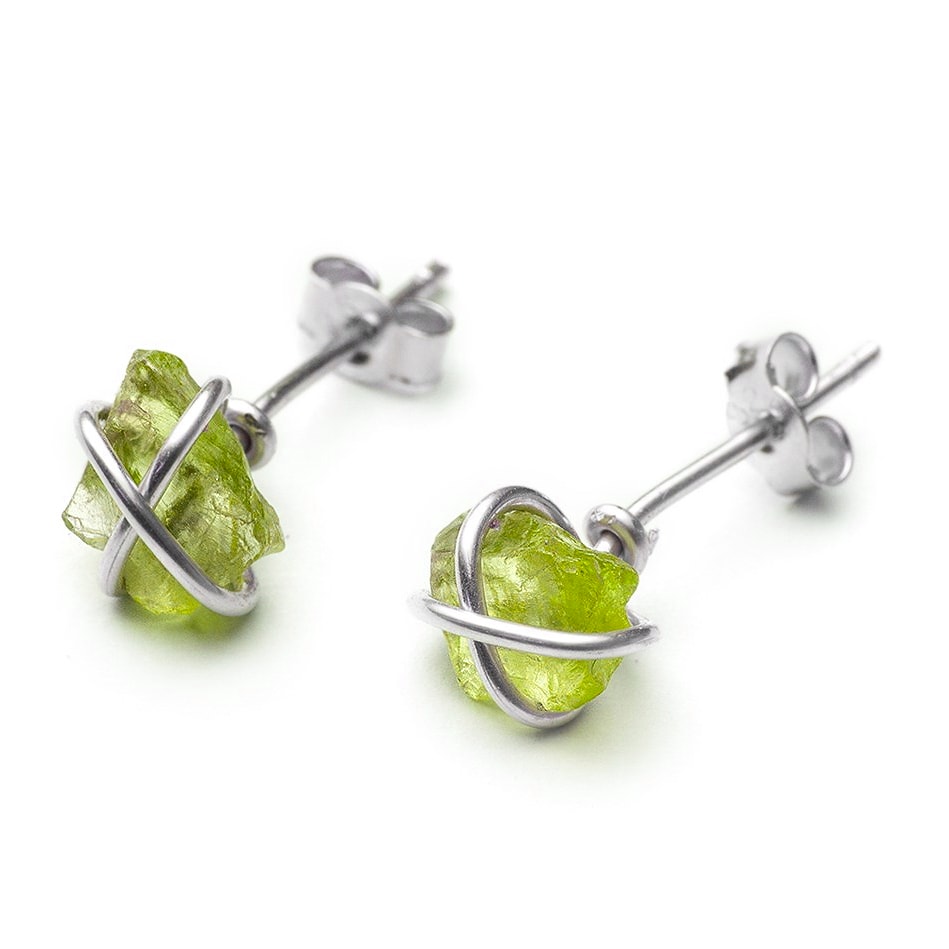
Rough Peridot Wire Wrap Stud Earrings

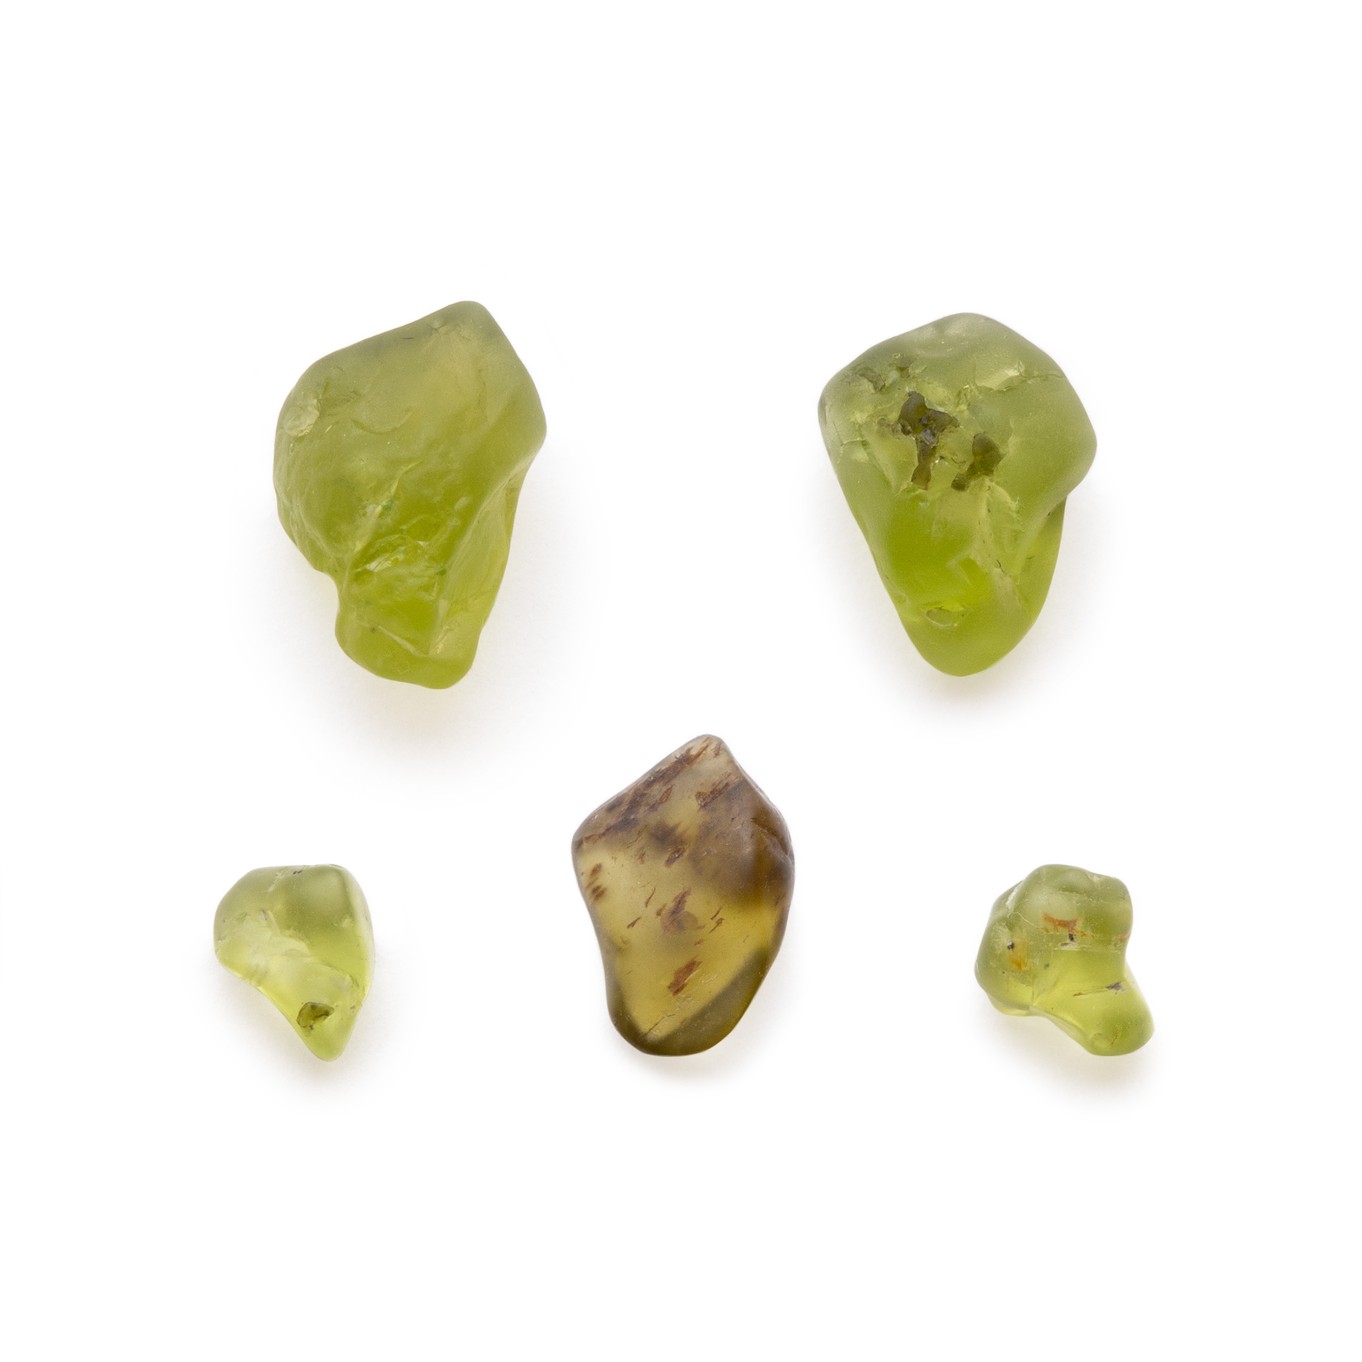
Wire wrap these pretty rough gems to make some simple earstuds. You only require a few hand tools to create them and no need to solder. You could also create earrings using some of our other rough gems which are available in stones such as topaz, garnet, turquoise, aquamarine and opal.
STEP BY STEP INSTRUCTIONS
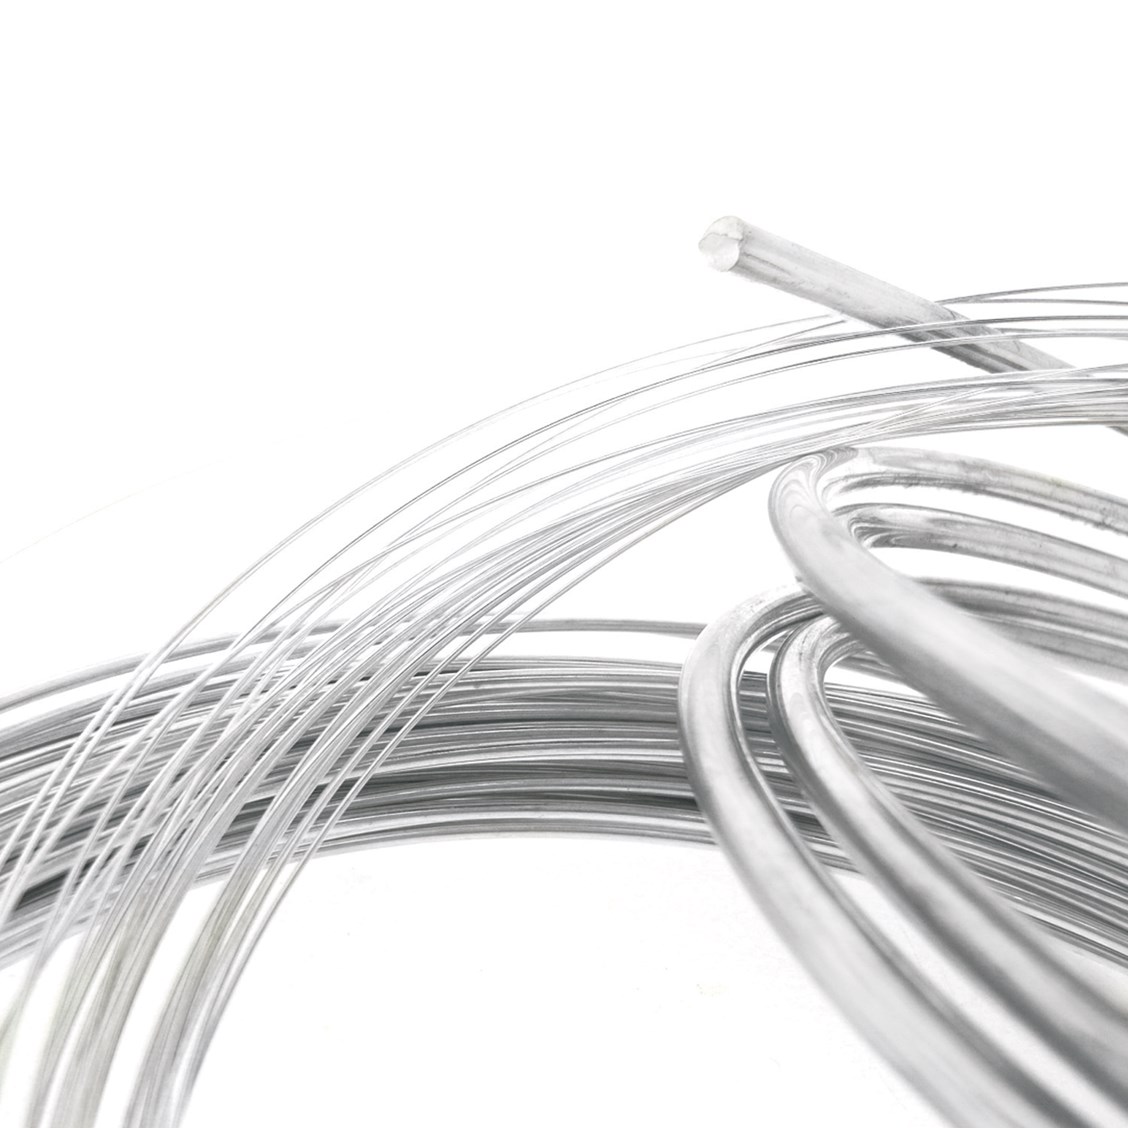
The earstuds we made only needed around 10cm of the silver wire for each earring, but we have included a little extra in the shopping list in case there is a size difference in the gem or how you wish to create your wire wrap. We left the wire in a continuous length and only cut when we had completed the first earstud so not to waste any wire.
To start, use snipe nose pliers to bend a right angle in the wire about 1cm from one end - this short end will be the earstud post that will go through your ear once completed. Hold your gem on top of the bend of wire and either use your hands to bend the wire around the stone or note where you need to bend the wire and use round nose pliers to make a bend in the wire so it will wrap over the top of the stone.
Then continue to wrap the wire behind the gem, when the wire meets the stem of the earwire post, bend it at right angles up around the stone and over the top so it hold the stone in place and you have a cross of wire over the front of the stone.
The final step to trap the gemstone in place is to bring the wire round the back of the stone and bend it around the stem at the base of the stone, neatly to secure the stone in place. The 0.8mm wire is the best suited to earwires but it is quite stiff to work with - especially on such a small piece with tight bends in the wire, so just ensure you hold the stone securely in place and keep the wire wrapped closely around it.
Use side cutters to trim the end of the wire and use your snipe nose pliers to squeeze the end so it is tucked very neatly against itself and so will not rub on your skin.
Finally use a cup burr held in a pinvice (or your Dremel if you have one) to round the end of the ear post so that there are no sharp edges that will be uncomfortable when you put the earstud into your ear. If you dont have a cup burr you could use a sanding stick to smooth the end of the wire.
If you are concerned that your wire wrapping is not secure enough to hold the gem without fear of it coming loose you could use a drop of Devcon 5 minute epoxy on the back of the stone to help to secure it (we didn't feel the need to do this on the pair we made).
SUGGESTED TOOLS FOR THIS PROJECT
Side cutters - to cut wire, not suitable for memory wire
Snipe nose pliers or flat nose pliers
Round nose pliers- to form loops in wire
Devcon 5 Minute Epoxy Glue - for super-fast, high strength, high quality bonds
Cup burr - to smooth the ends of wire
Pinvice - to hold the cup burr, this tool has a swivel head allowing you to use pressure whilst twisting the burr on the wire
Sanding sticks - to smooth the end of the wire so it is not sharp
You may like to get our pack of pliers & side cutters which is an economical way of buying all the pliers you will need for every project!
BOOKS WHICH MAY INTEREST YOU
The New Encyclopedia Of Jewellery Making Techniques - Jinks McGrath
The Encyclopedia of Wire Jewellery Techniques By Sarah Withers
Kernowcraft's jewellery making kits are aimed to inspire you - therefore the step by step instructions are available online only with a shopping list, where you can easily customise the design to suit you. We recommend printing or bookmarking this page ready to follow.
The suggested products used in this project are suggestions to inspire you. Products used were compatible at the time of making but do be aware that gemstones are natural and hand cut stocks can vary, so do use your own common sense as to the compatibility of each item when making.
Your Shopping List
There are one or more items out of stock at present.
Special requests: Closest match for earrings please


