How To Make A Bezel Set Cabochon Ring With 'Made By Oonagh'
Make your own cabochon ring with guest tutor, Oonagh from 'Made By Oonagh'!
This is a great project to try as a beginner’s introduction to fabricating your own simple bezel stone setting, soldering and making a ring!
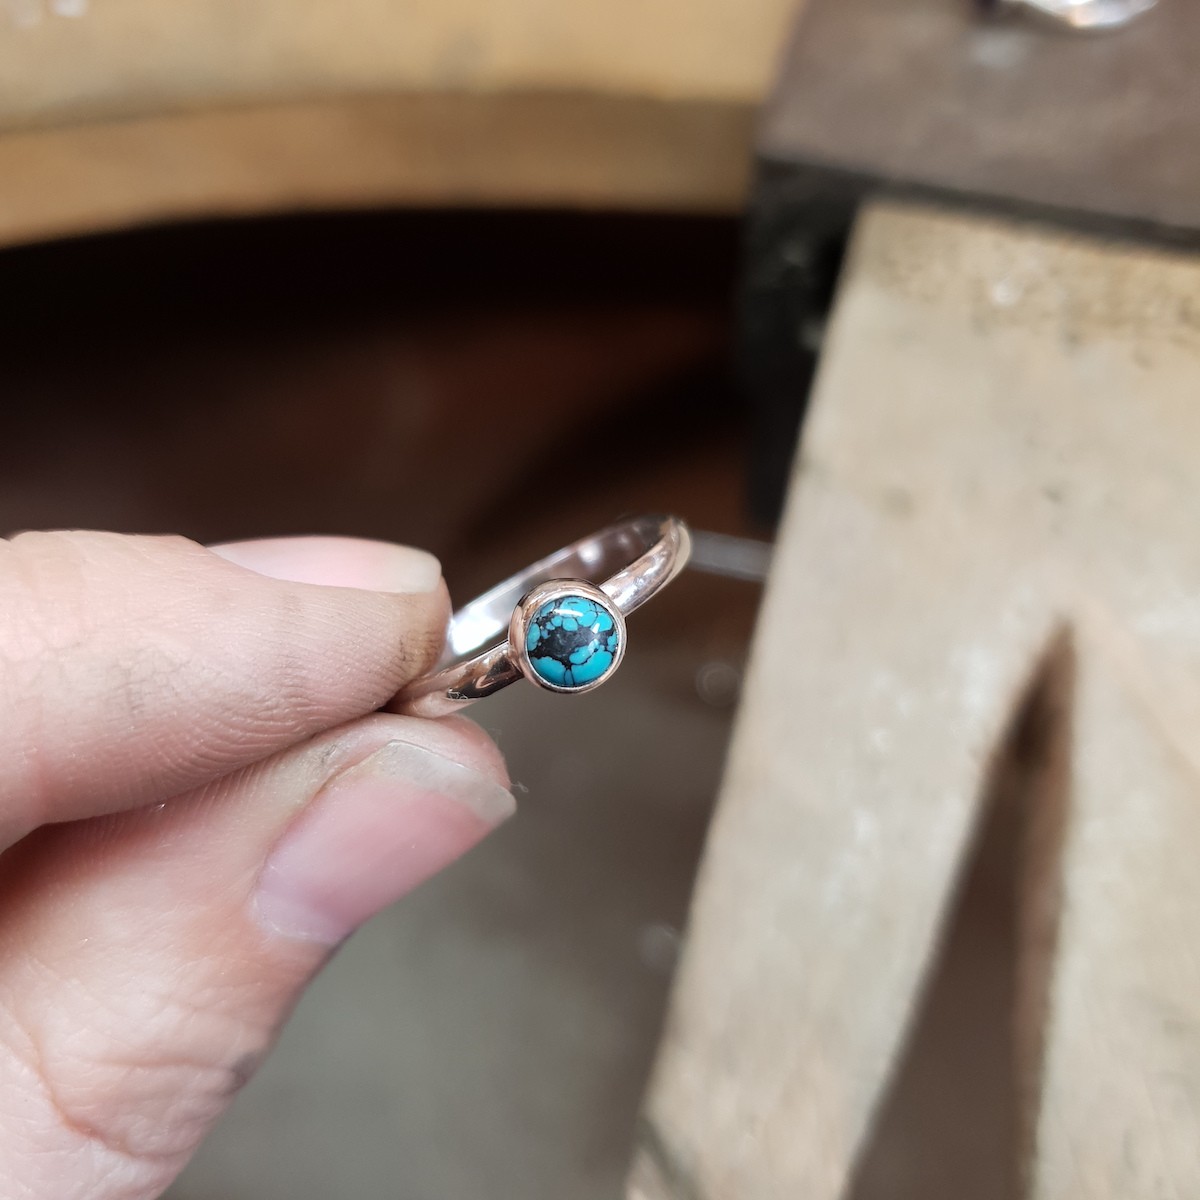
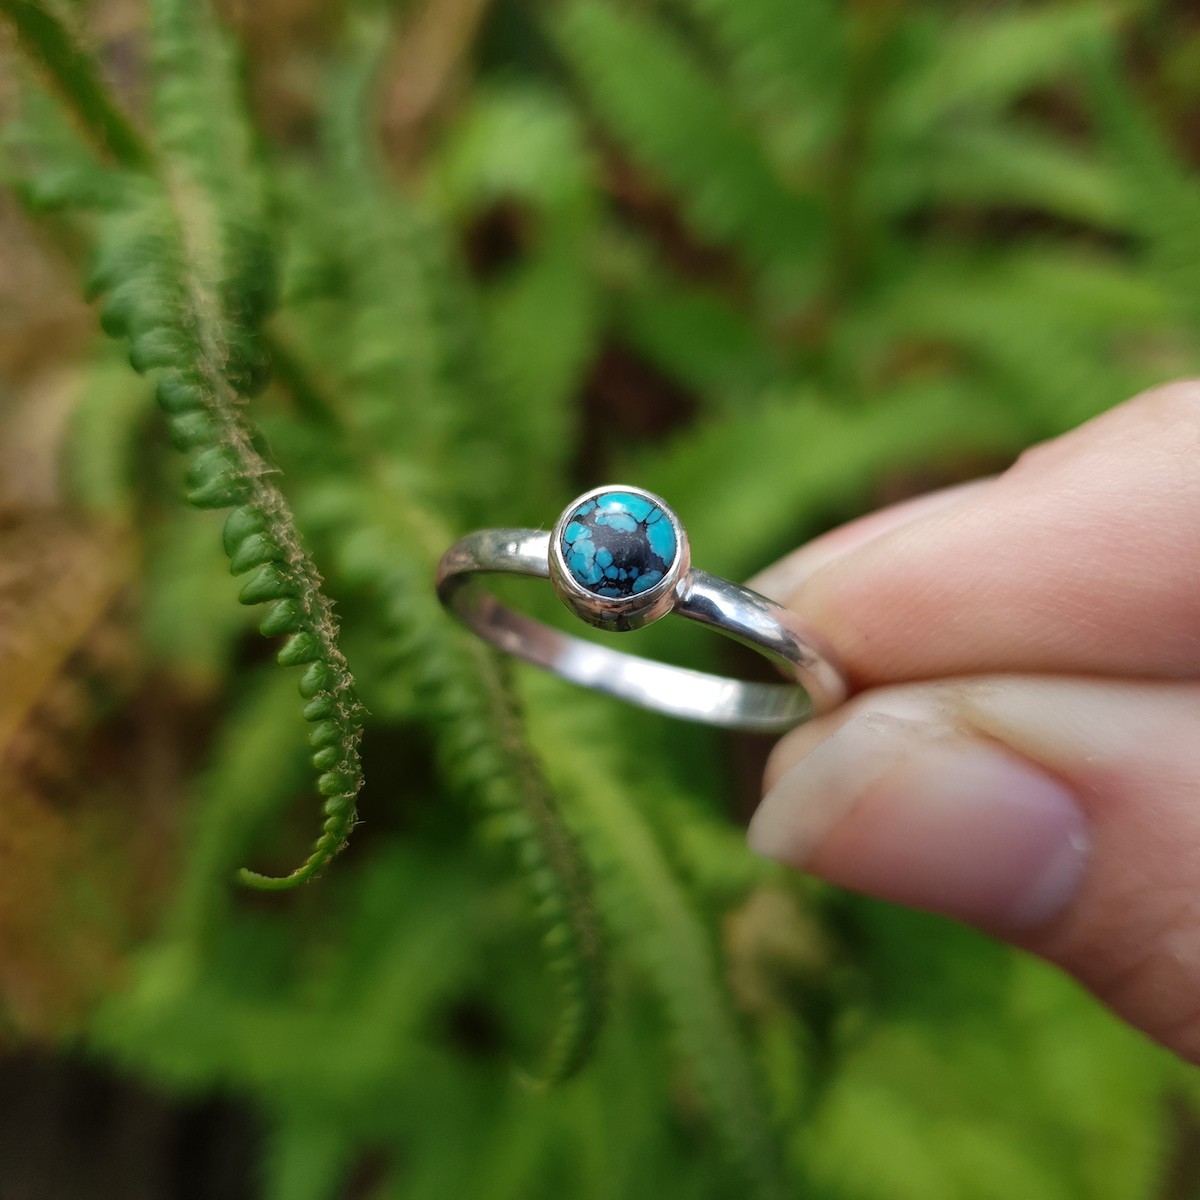
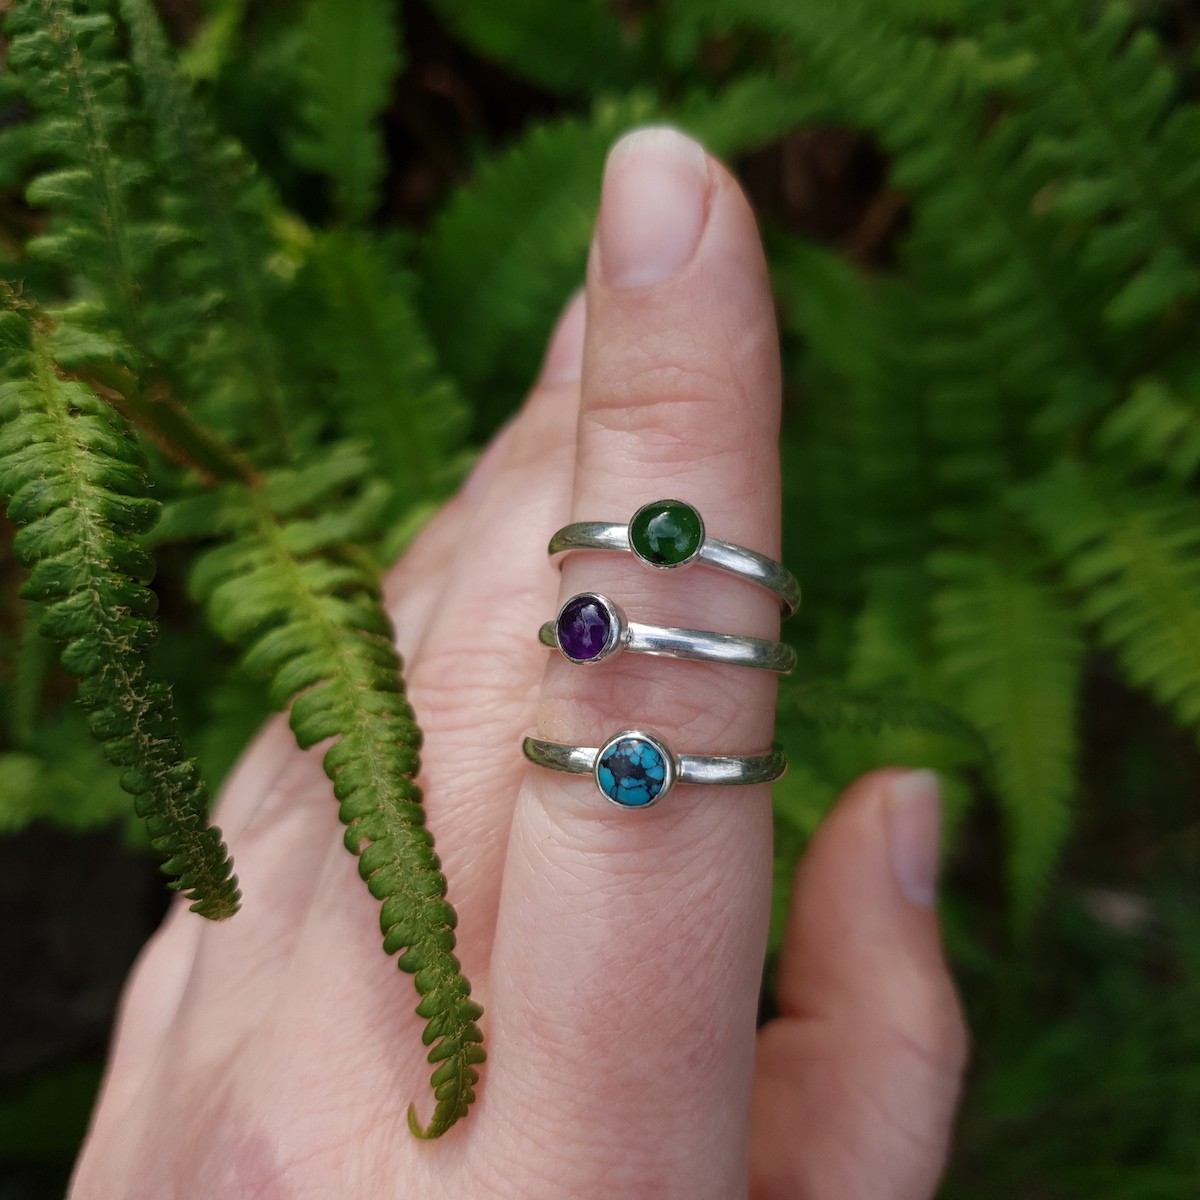
This tutorial is for a sterling silver D wire ring with a 5mm round bezel set cabochon but the techniques and process are transferable to other size and shape cabochons and ring wire. This ring design is perfect for wearing as stacking rings and looks amazing with lots stacked up together, so the possibilities are endless.
About The Tutor
I'm a fire loving Aries metalsmith jeweller based in a lovely little town in Devon. Playing with gemstones. fire, fusing, melting and soldering are my favourite parts of creating jewellery. I'm bit of a gemstone hoarder and love working with all sorts of beautiful natural gemstones especially opals!
You can find our more about Oonagh and her beautiful handmade jewellery in our 'Meet The Jeweller' interview series.
Follow Oonagh on Instagram & Facebook
Recommended tools and supplies
- Gemstone cabochon (I’ve chosen a 5mm round Chinese spider web matrix turquoise)
- Sterling silver wire in preferred shape/thickness (I’ve chosen 2.3mm x 1.5mm D-shaped wire)
- 0.3mm sterling silver sheet (for bezel wall)
- 0.5mm sterling silver sheet (for setting back plate)
- Bench peg
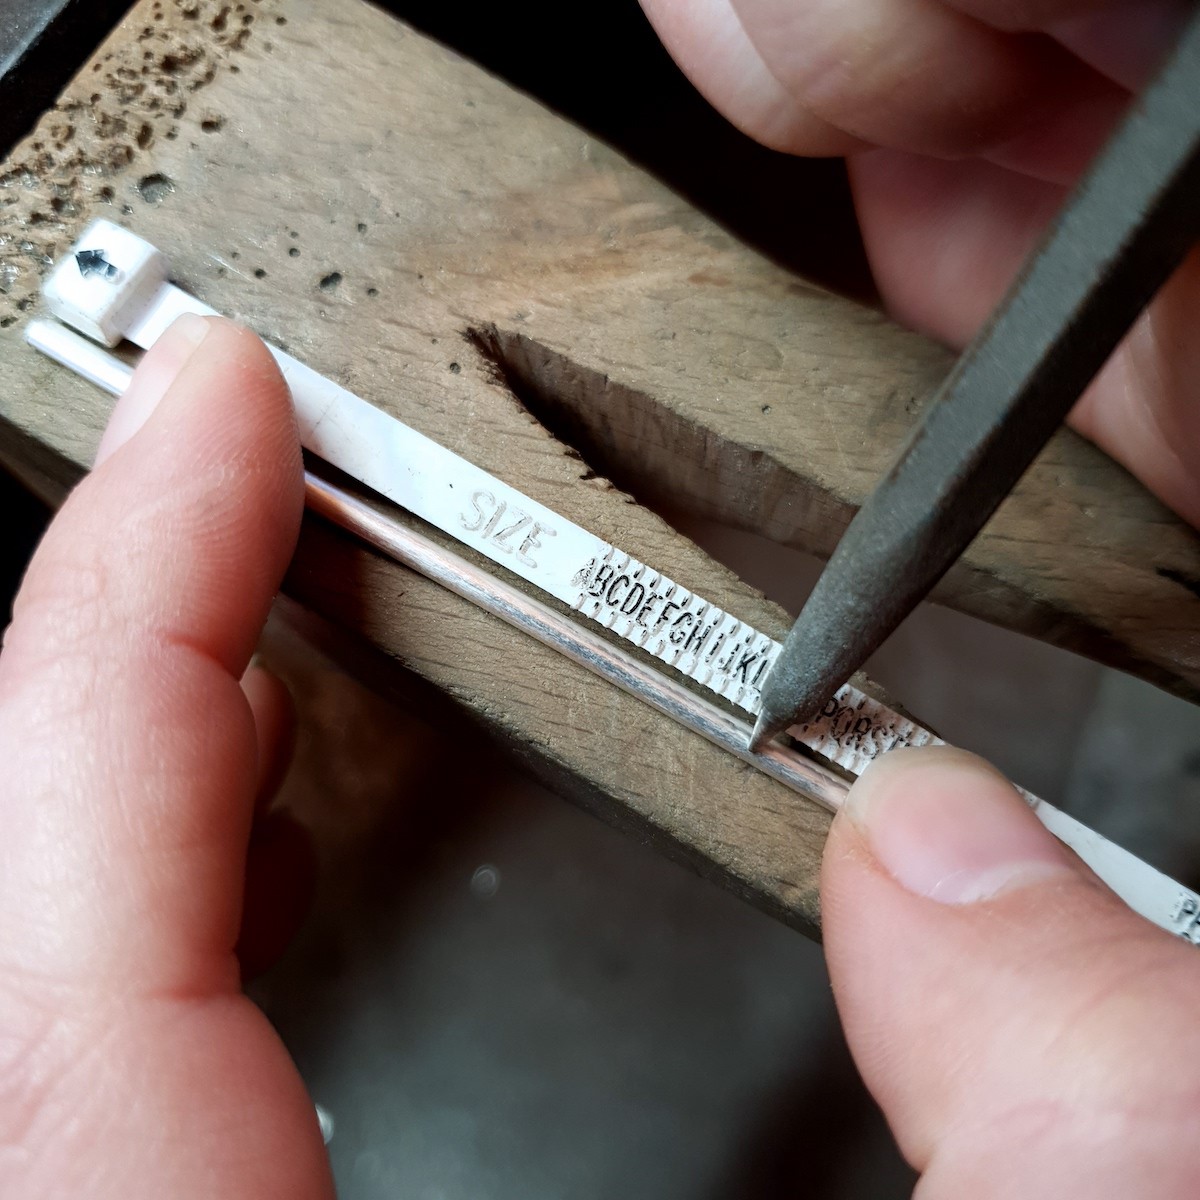
- Ring sizer/ruler
- Scribe
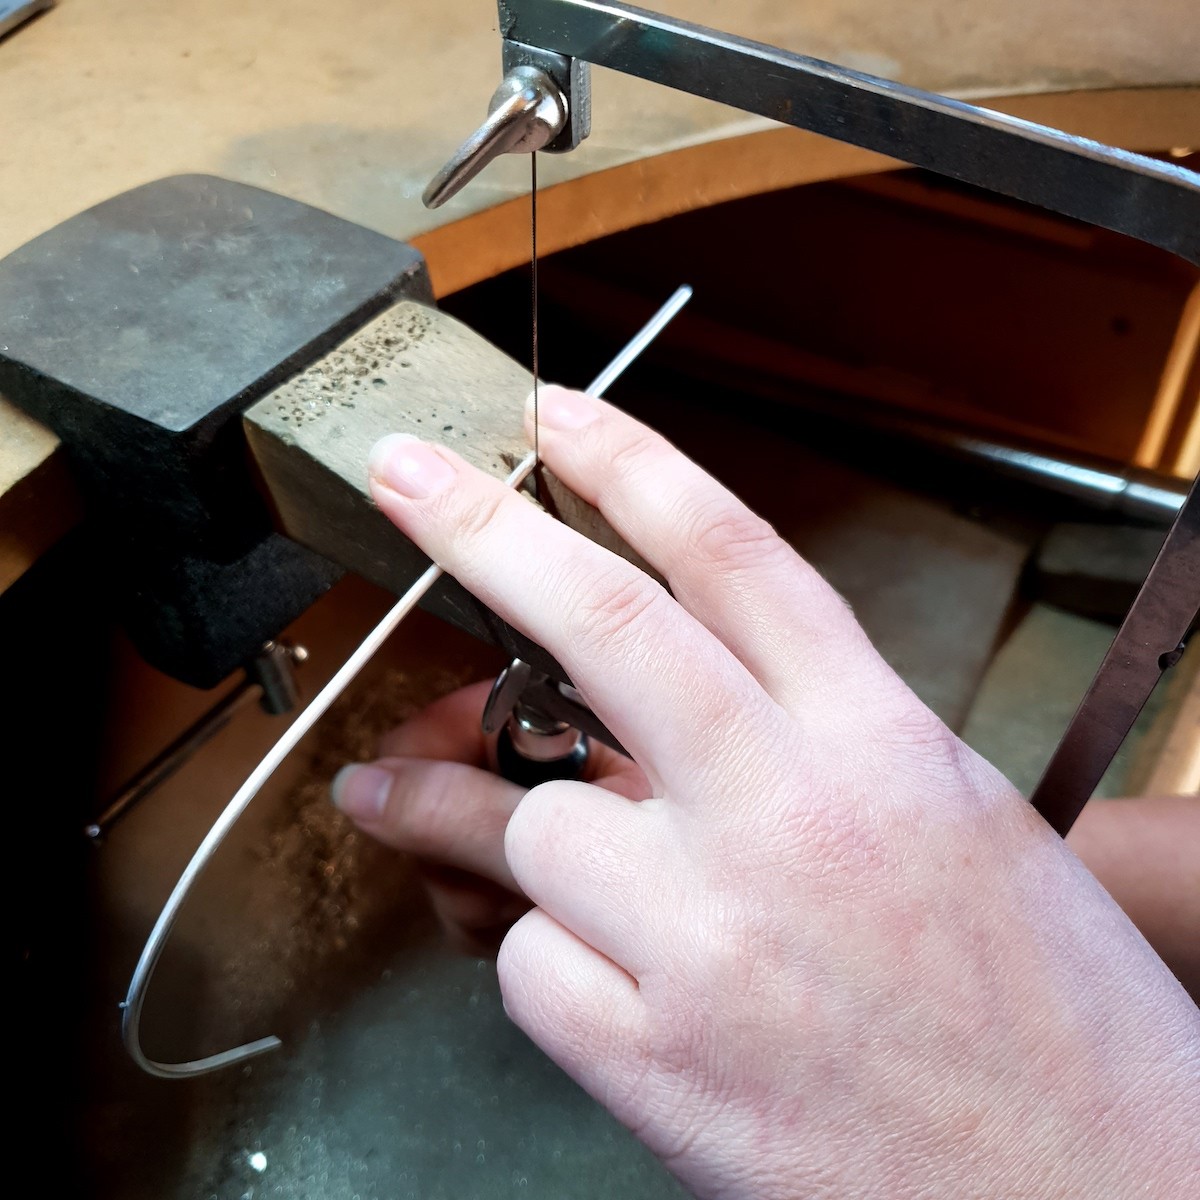
- Saw frame, saw blades & beeswax
- Files (flat & half round)
- Triblet/Ring mandrel
- Hammer (rawhide mallet or nylon)
- Soldering block
- Flux
- Hard & easy solder (paste or strip)
- Gas torch
- Water (for quenching hot metal)
- Caliper gauge
- Shears
- Small round mandrel
- Round nose pliers
- Wet and dry sanding papers/Emery paper/Emery stick
- Third hand/Tweezers
- Safety pickle & plastic tweezers
- Dental floss
- Ring clamp
- Pusher
- Bezel rocker
- Burnisher
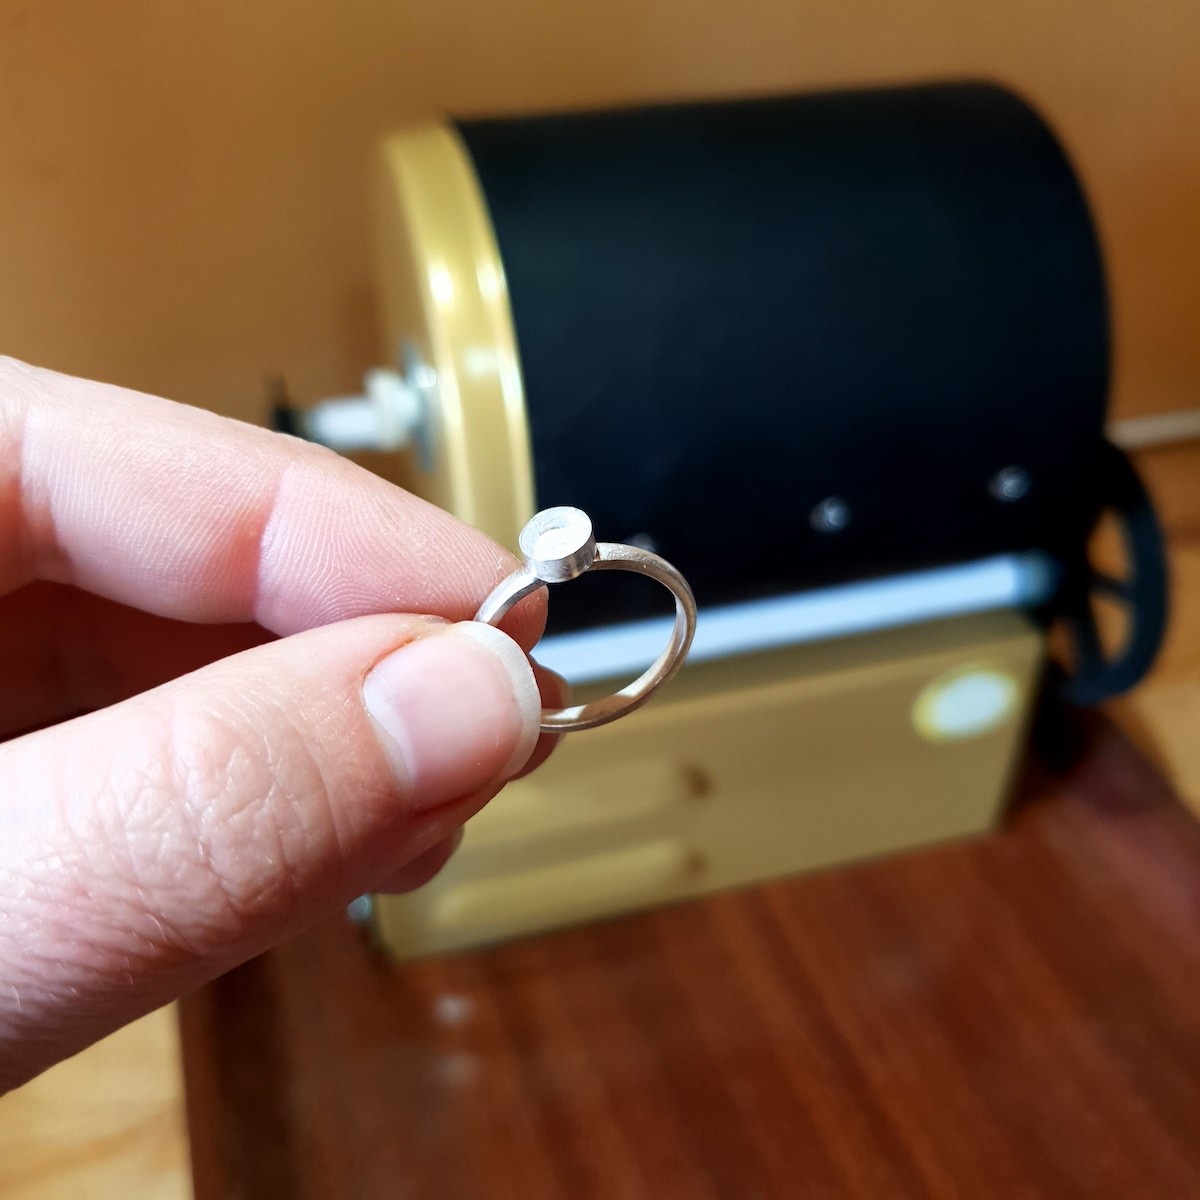
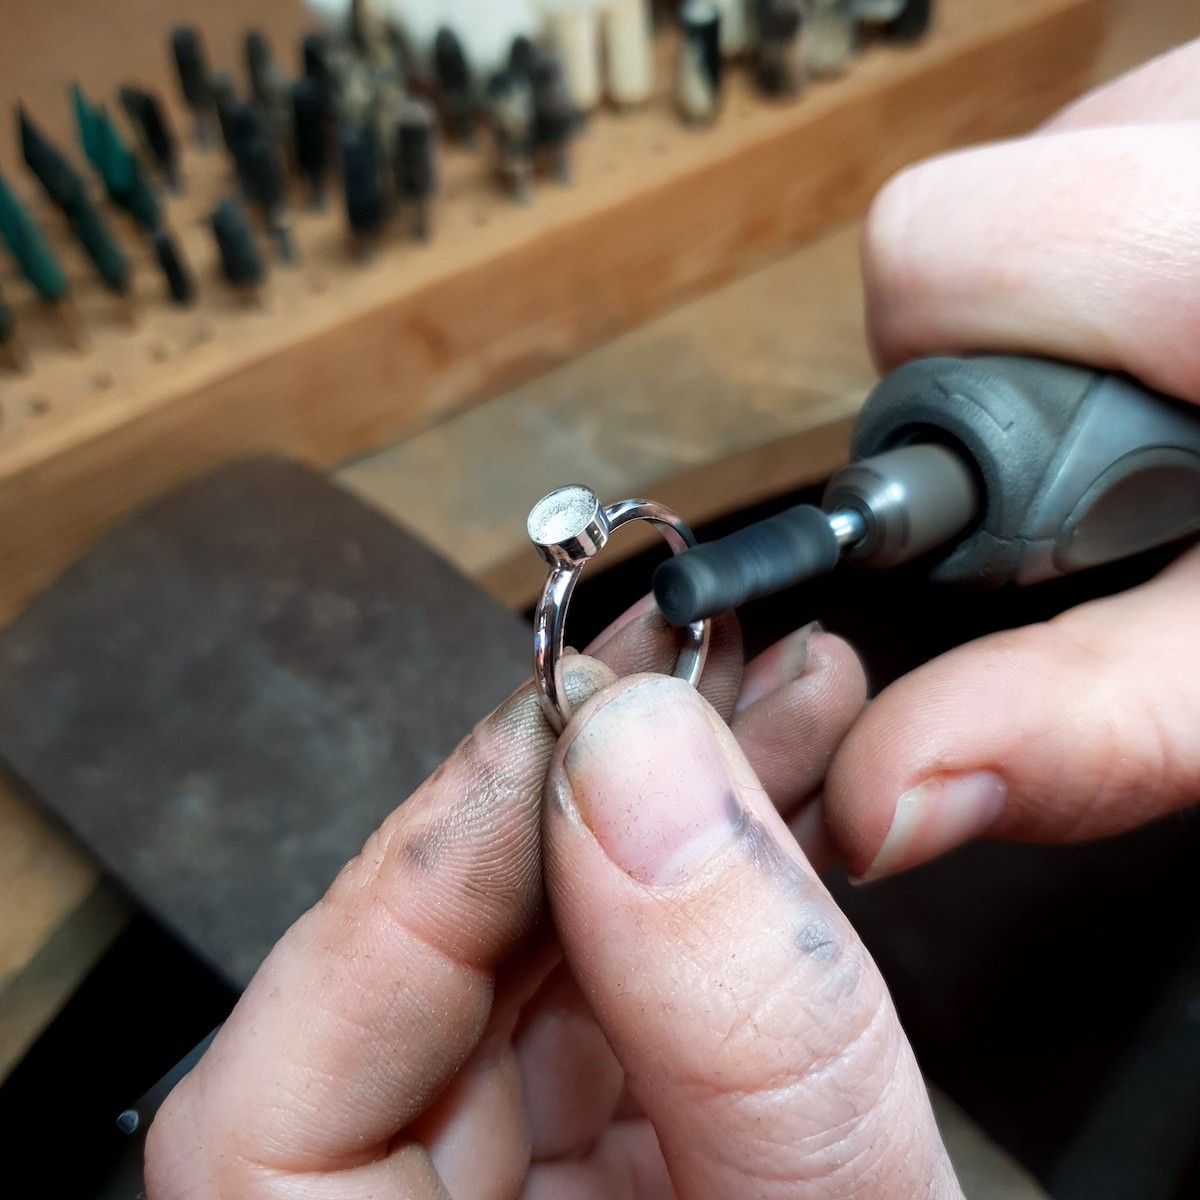
- Polishing papers, power tool (such as Dremel 4000 Multi Tool) with silicone burrs or barrelling machine
Follow Oonagh's Step By Step Tutorial Below
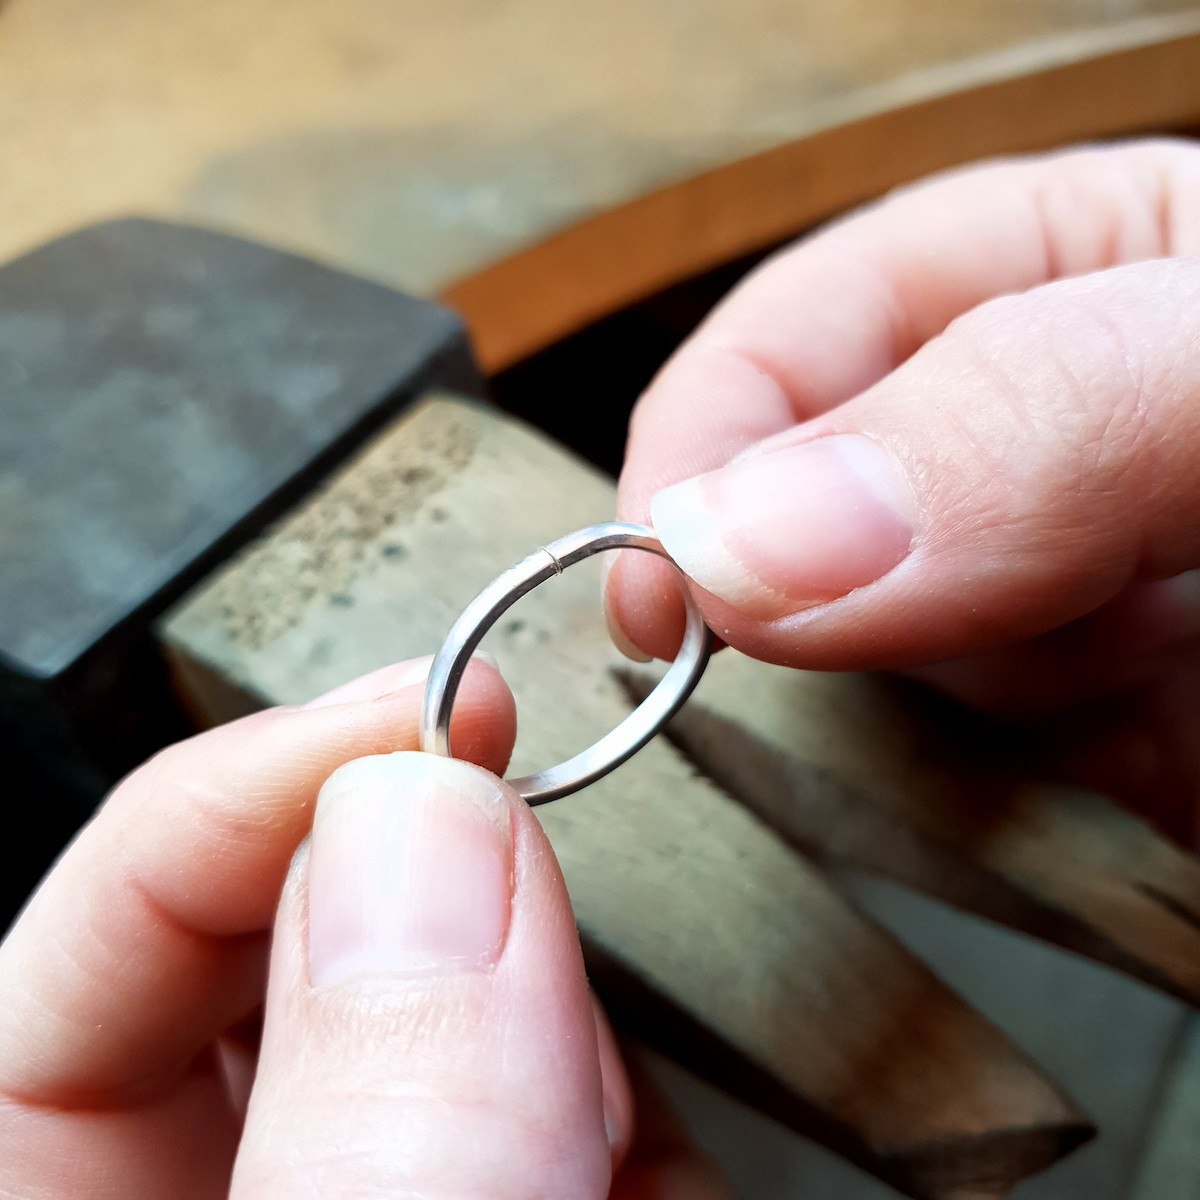
4. Solder
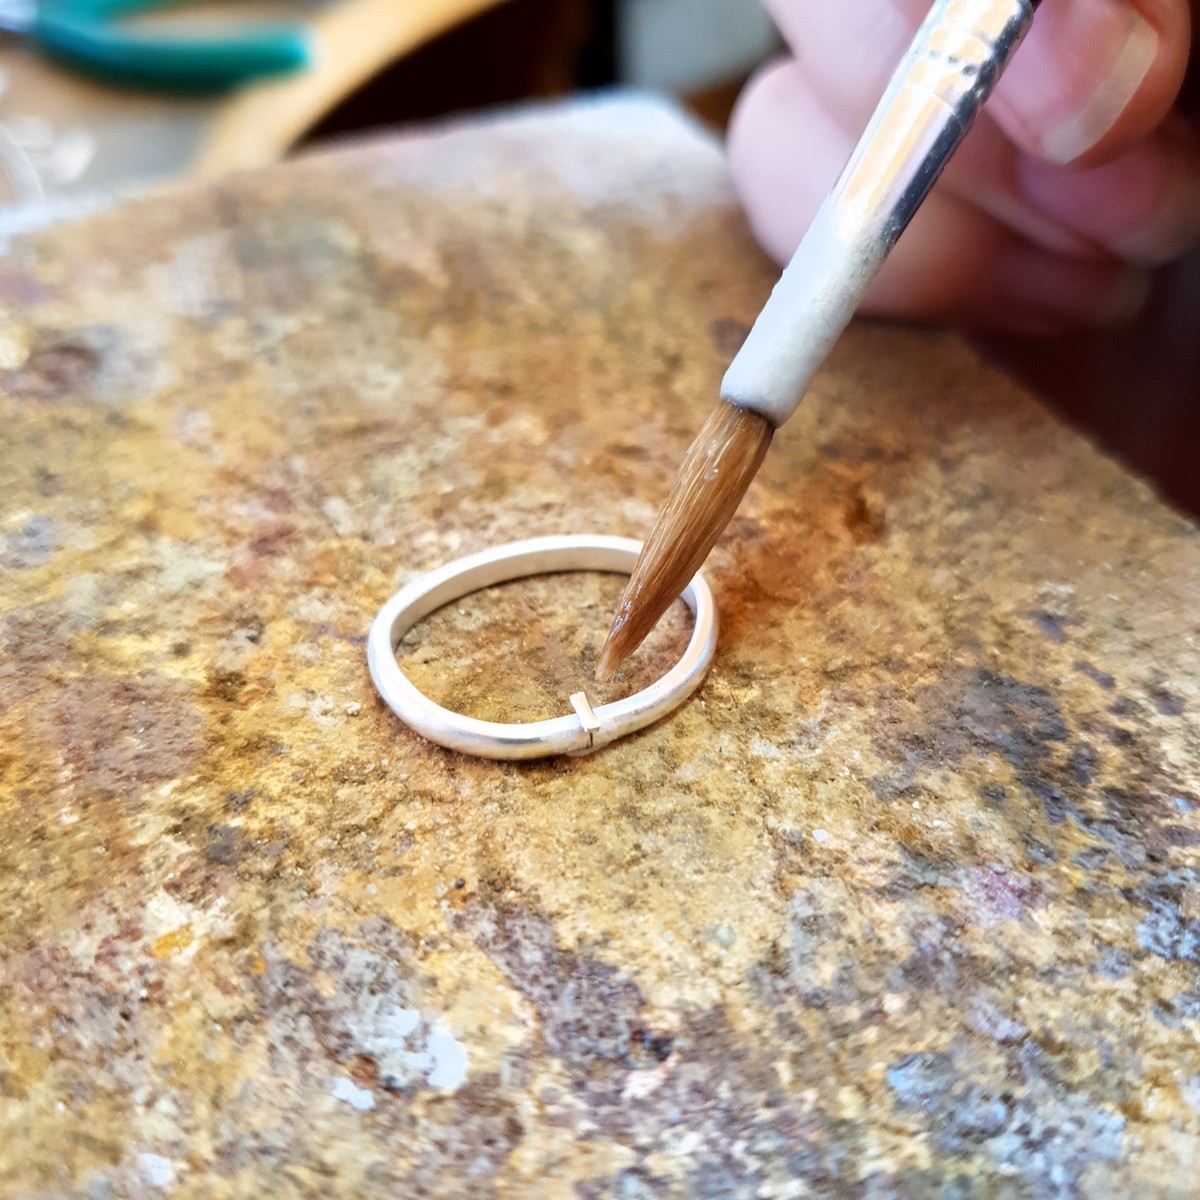
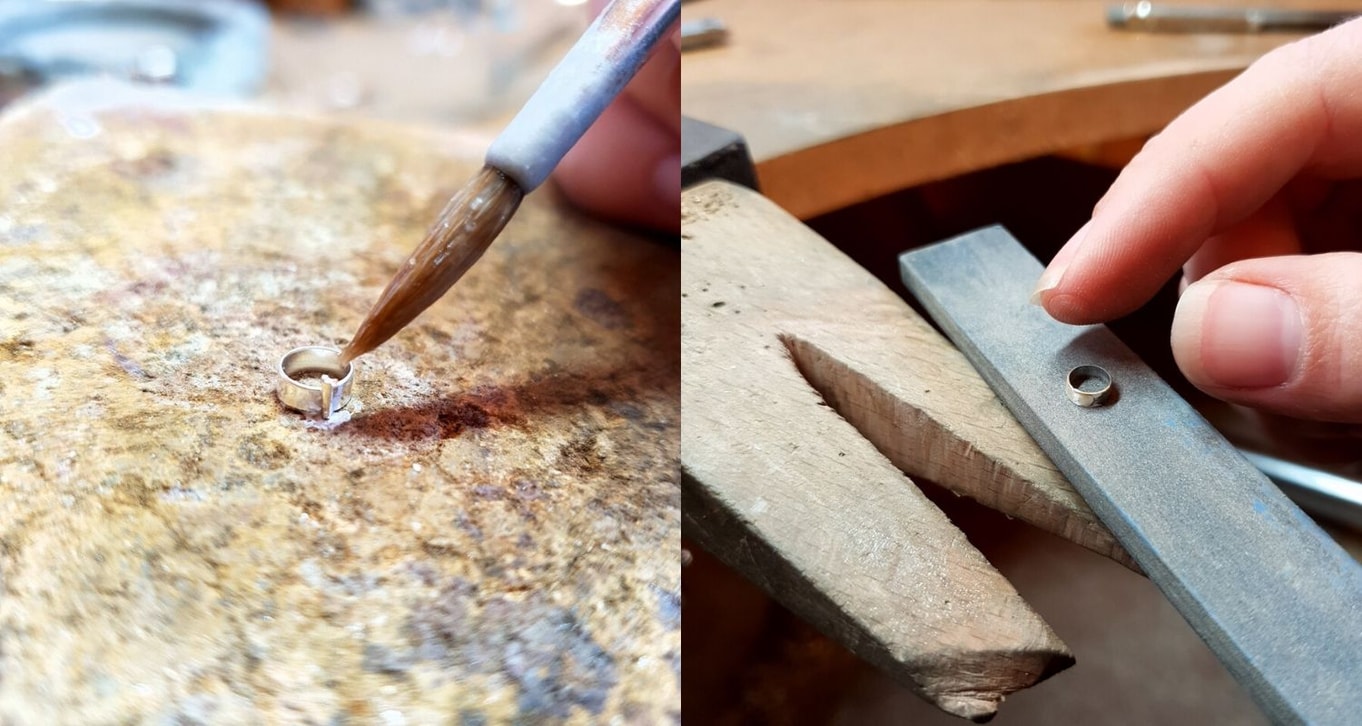
Flux the join and place a piece of hard solder on it. Using a gas torch start by heating the whole ring equally, keeping the flame moving in circles until the flux bubbles and burns away then focus more of the heat on the join (still keeping the torch moving) until the solder flows sealing the join. Quench the ring in water.
9. Flux & solder
Make sure the ends of your bezel line up perfectly with no gap. Flux and place hard solder on the join on outside of the bezel, using your torch slowly heat the whole bezel until the solder flows along the complete join. Quench in water.
10. File
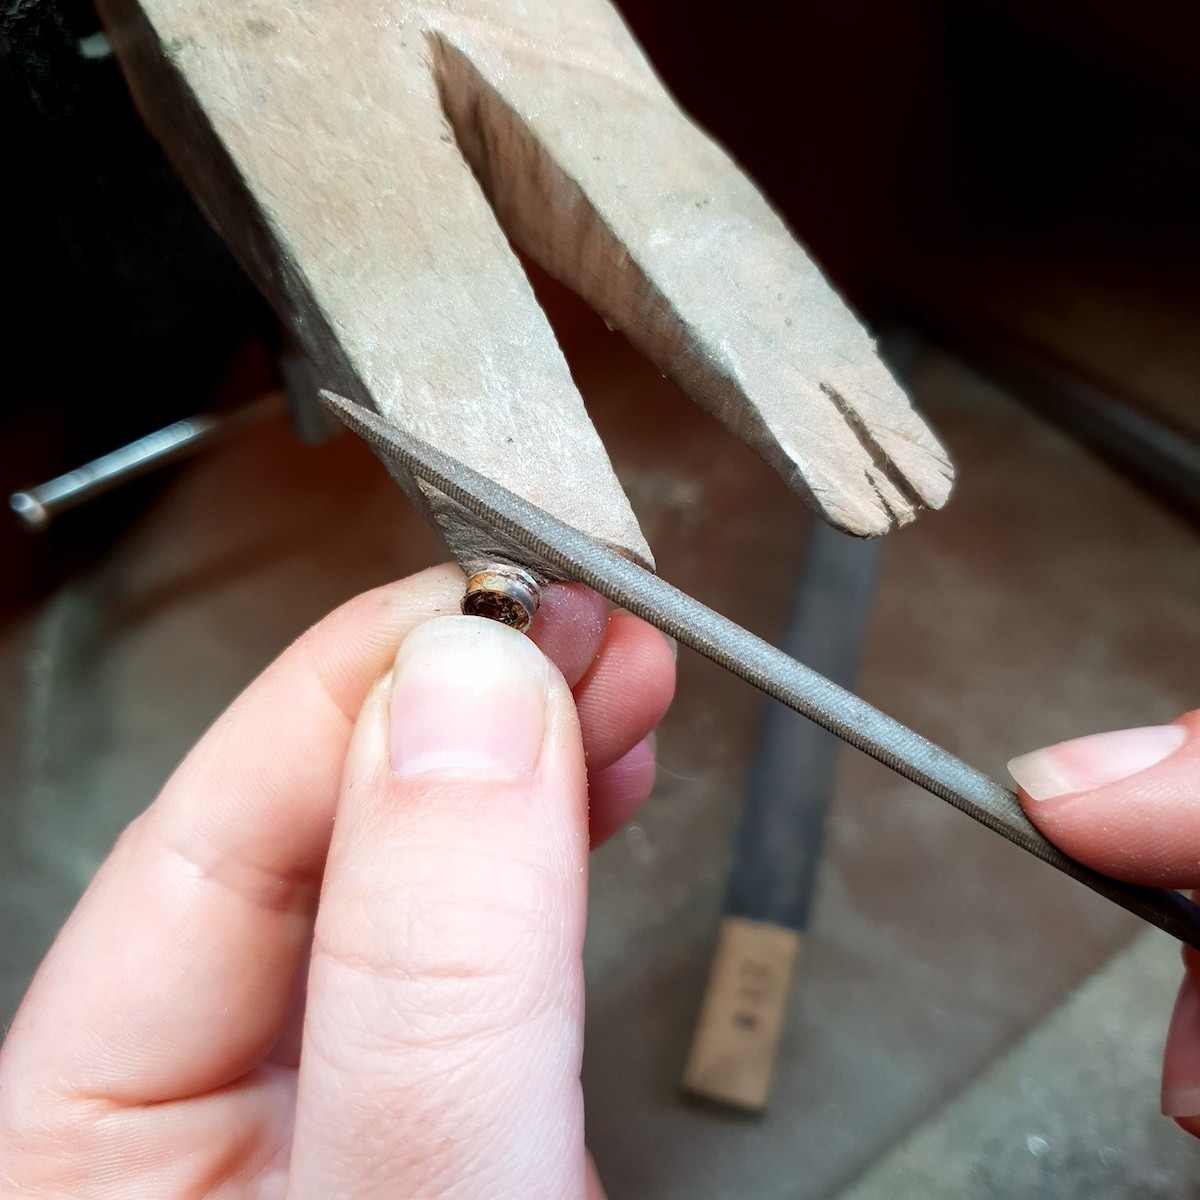
File away any excess solder (careful not to file the bezel too thin).
11. Flatten bezel
Flatten the ends of the bezel of a flat surface using either emery paper or an emery stick.
12. Add back plate to your bezel
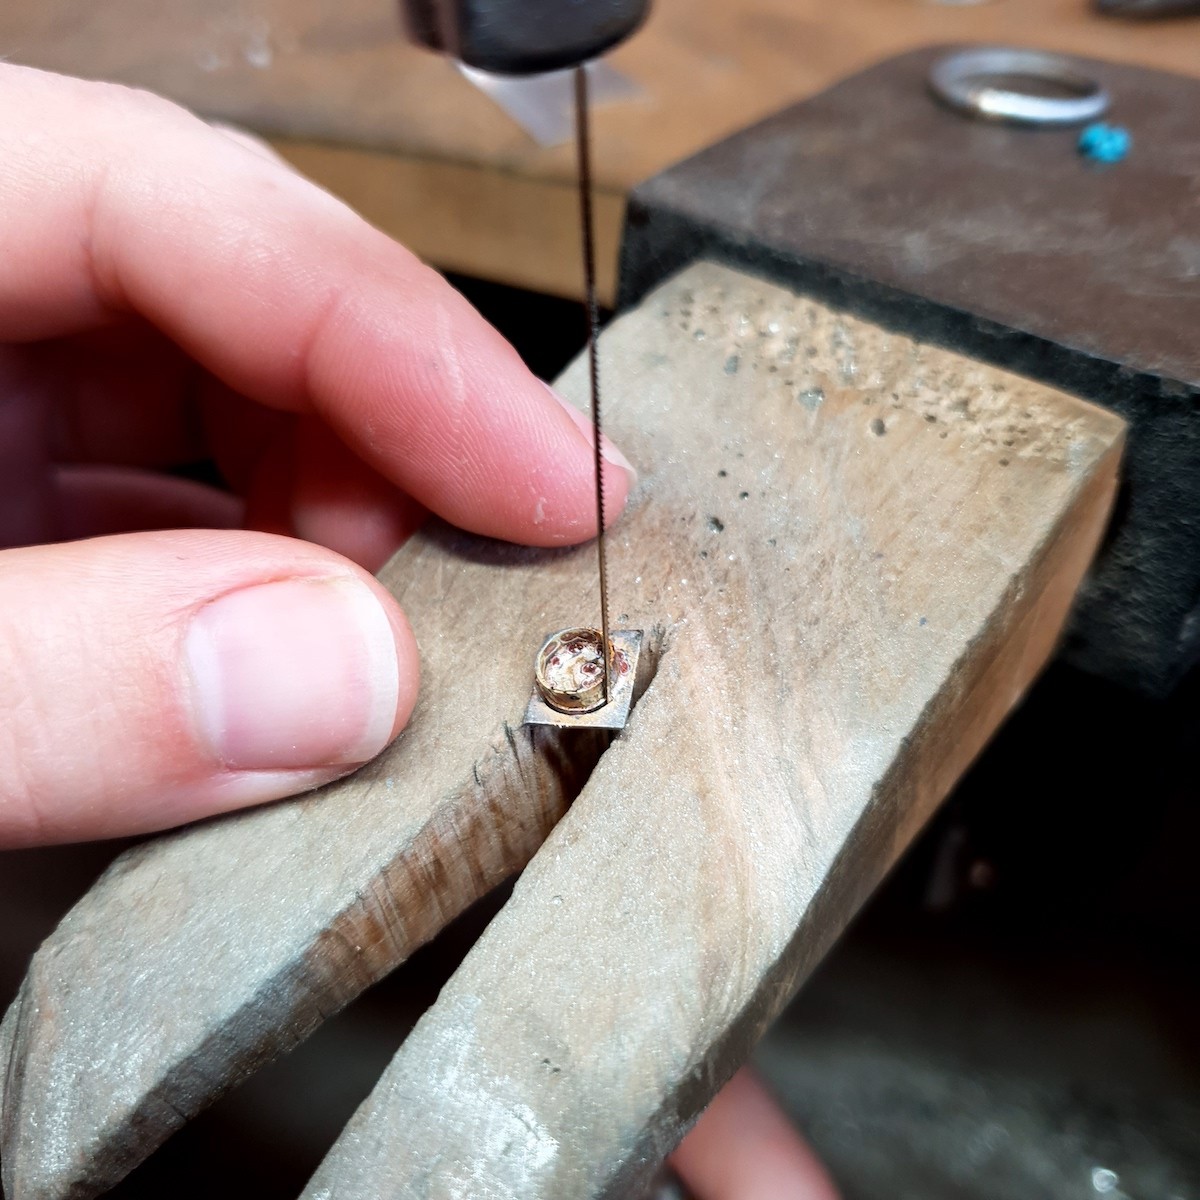
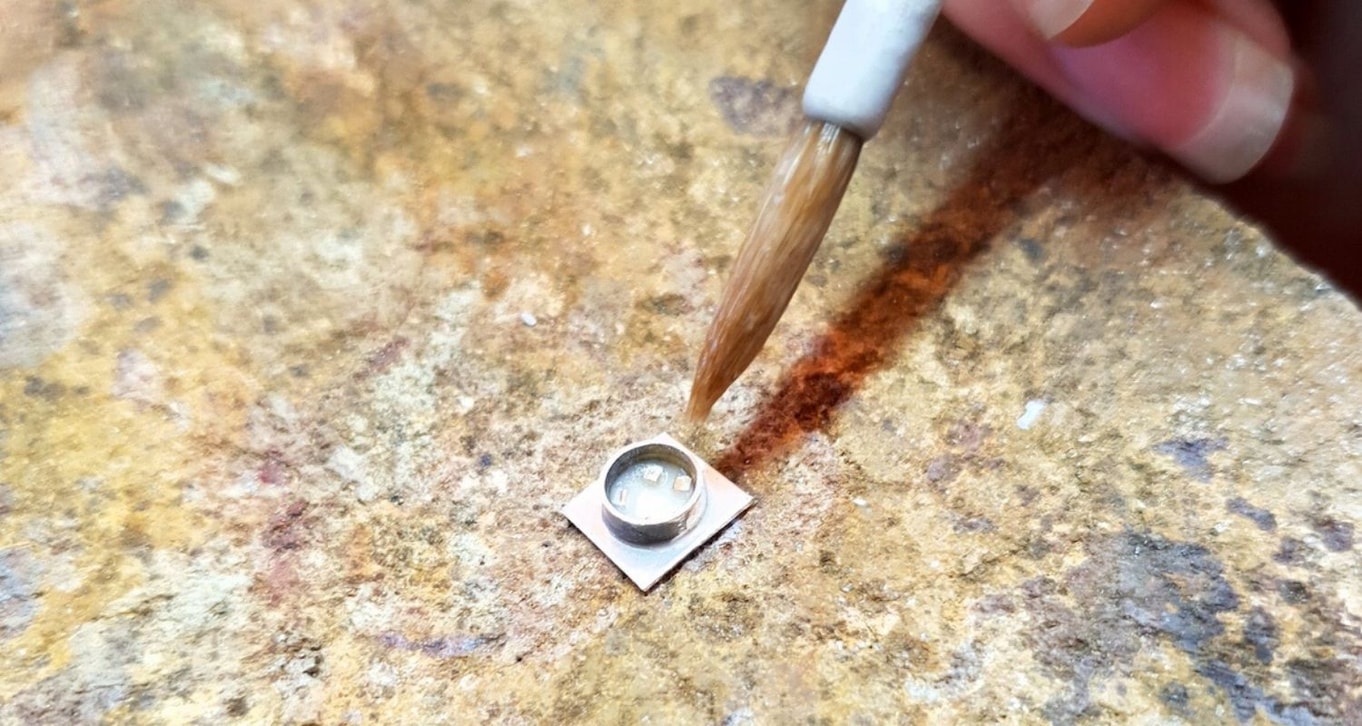
Place your bezel on a small piece of 0.5mm sterling silver sheet a little bigger than the bezel to make heating it evenly easier. Flux all around the join between the bezel and back plate sheet and place a few pieces of hard solder on the inside of the bezel at the base.
13. Solder
With your torch circle the flame around the outside, focusing the heat on the back plate then when you see that start to heat the a ‘warmer’ colour start moving the flame in circles over the whole setting, until the solder flows around the bezel. Quench in water.
17. Flux
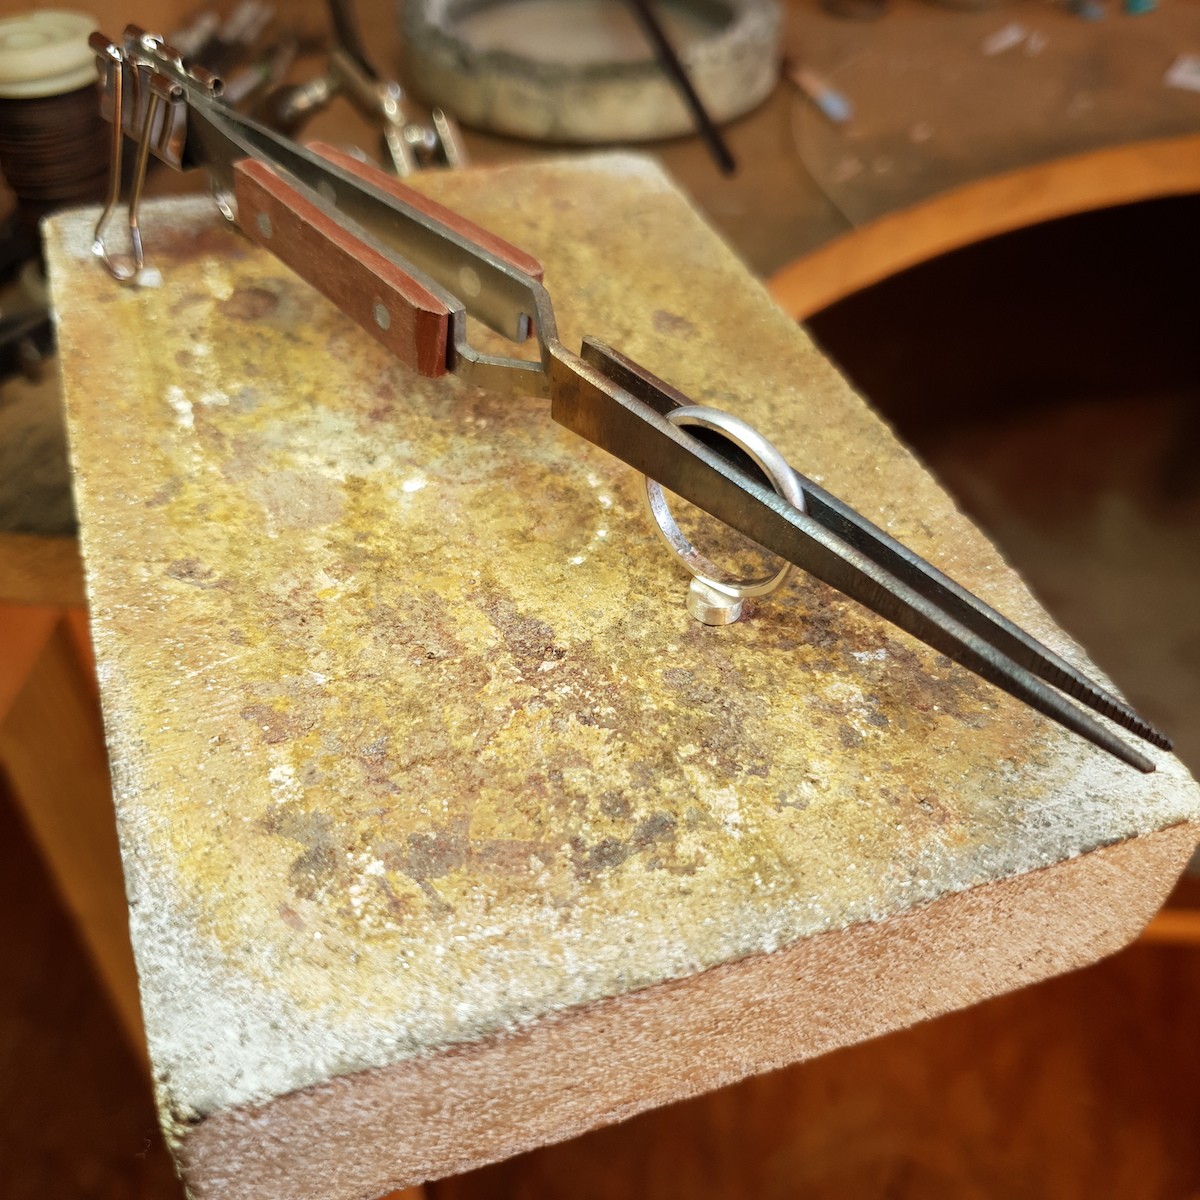
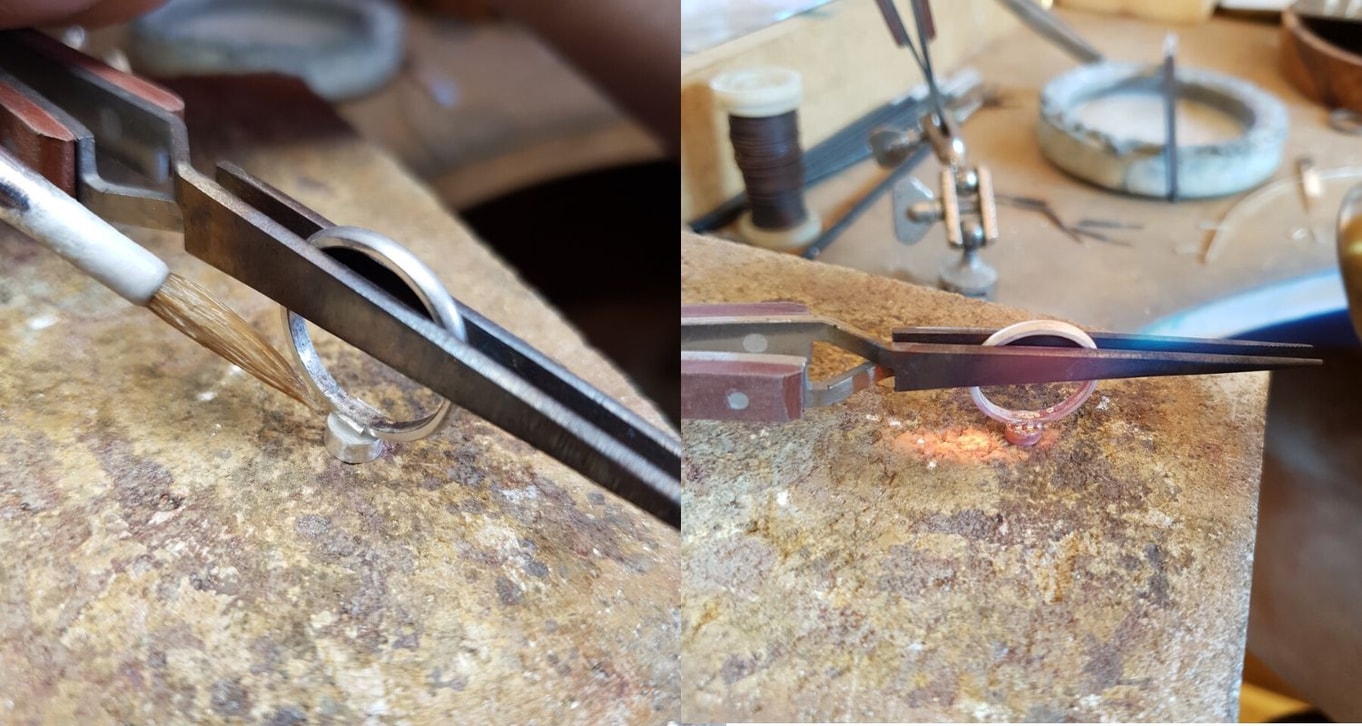
Flux the contact point between the band and setting then place a piece of easy solder either side of where the ring meets the setting.
18. Solder
The setting is smaller so will heat a lot faster so slowly heat the ring band first until the flux burns away and the band starts to turn a ‘warmer’ colour. Then circle the flame over the whole band and setting until the solder flows around the contact point.
19. Pickle
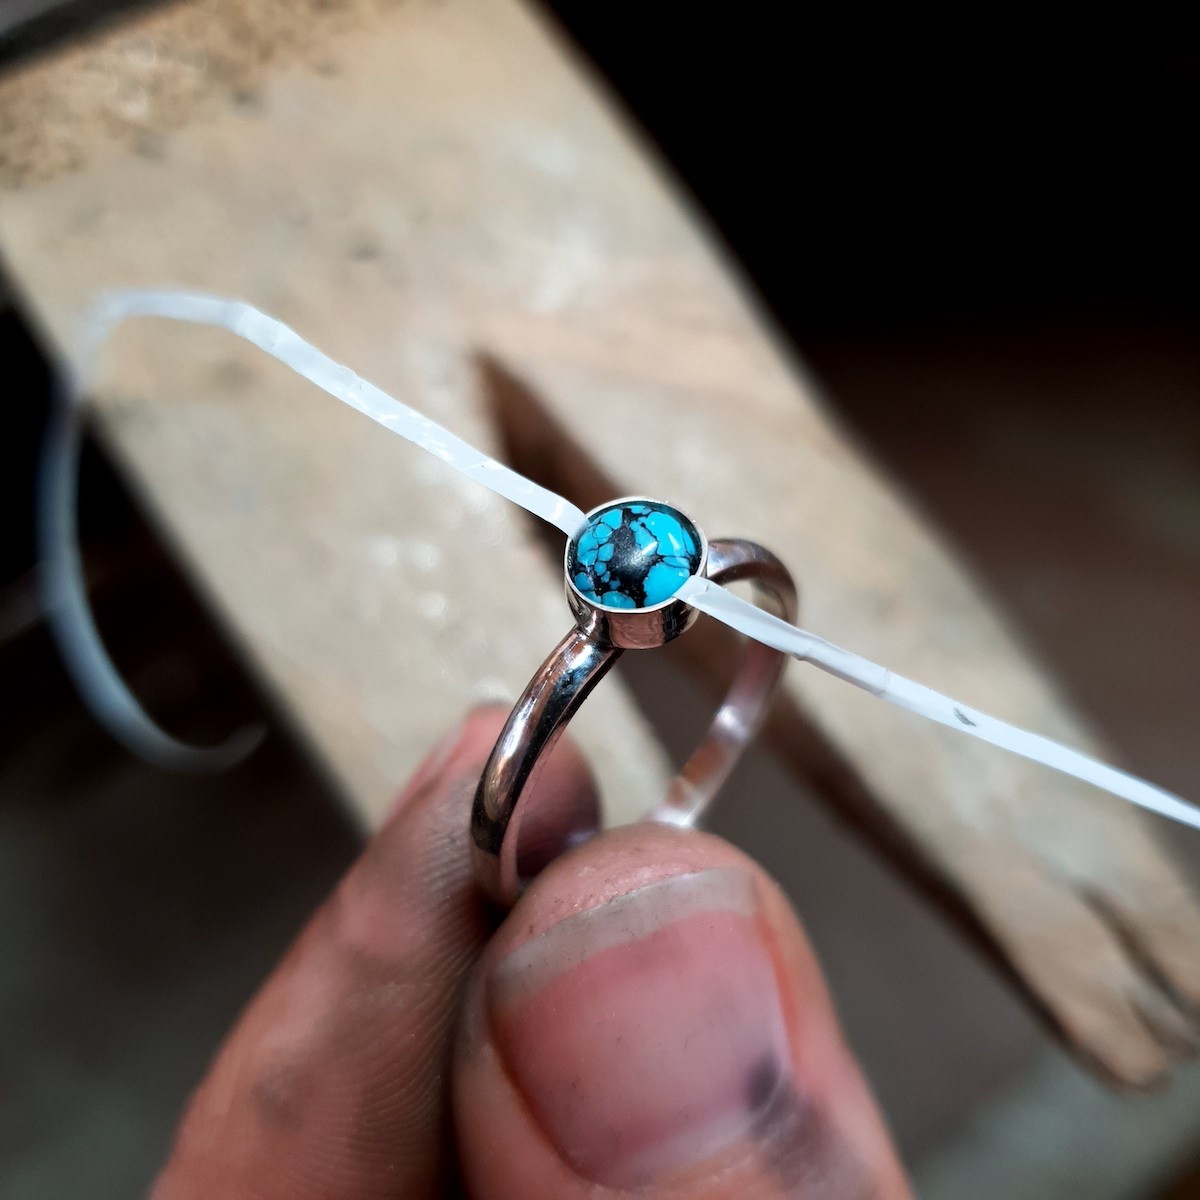
Soak in safety pickle until the whole ring turns white (about an hour in warm pickle). Remove from the pickle bath using plastic tweezers and rinse in clean water.
20. Clean
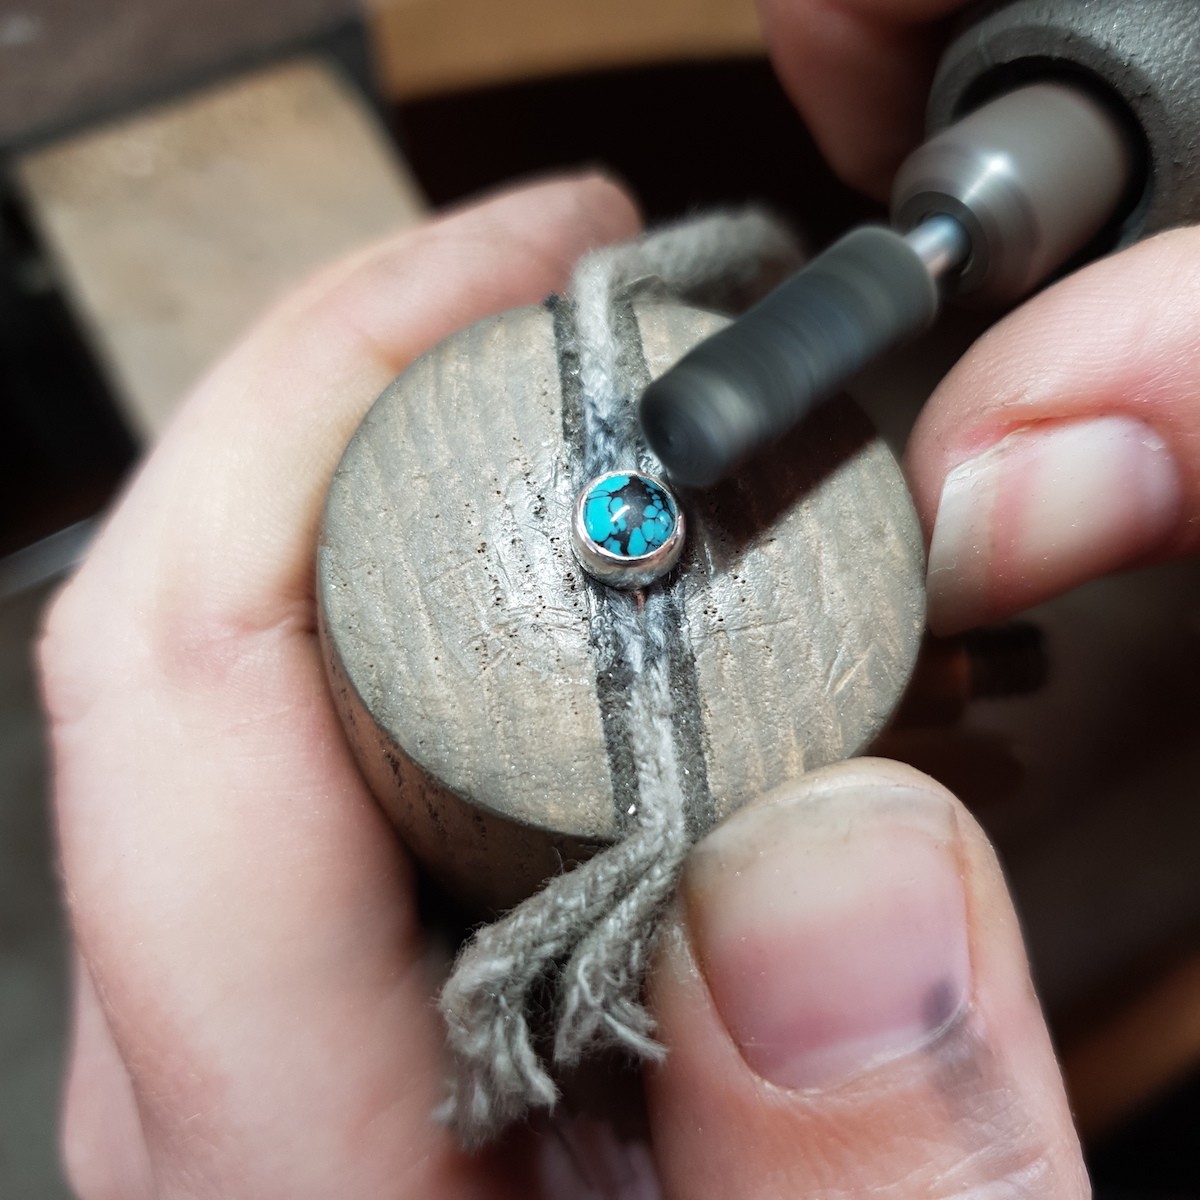
Clean up any marks left inside and outside of your ring using wet and dry sanding sheets or emery stick.
24. Set the stone
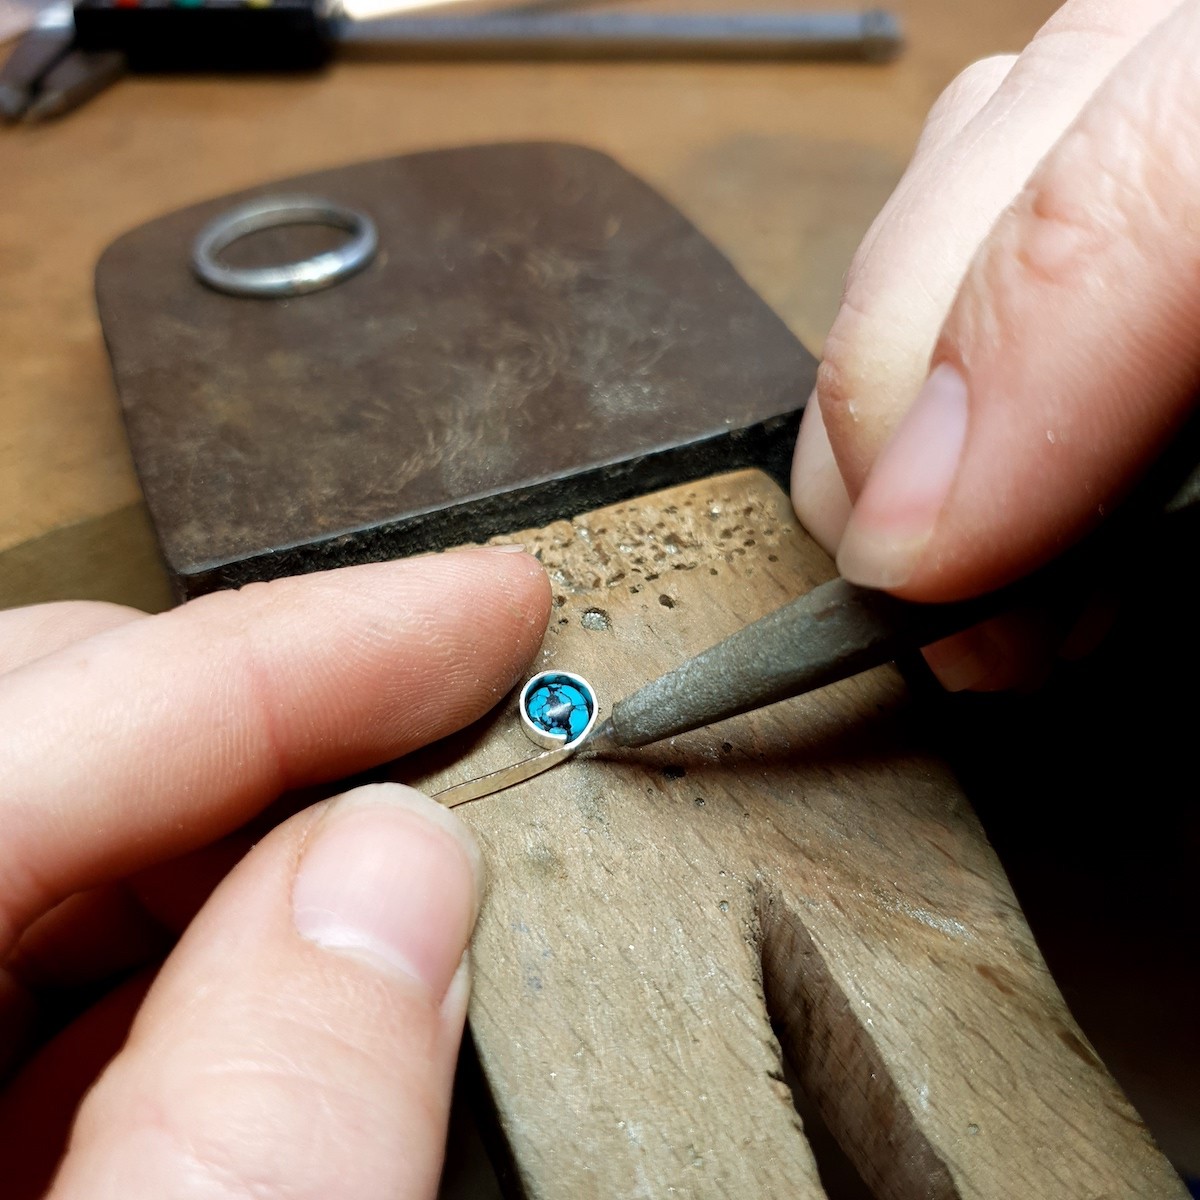
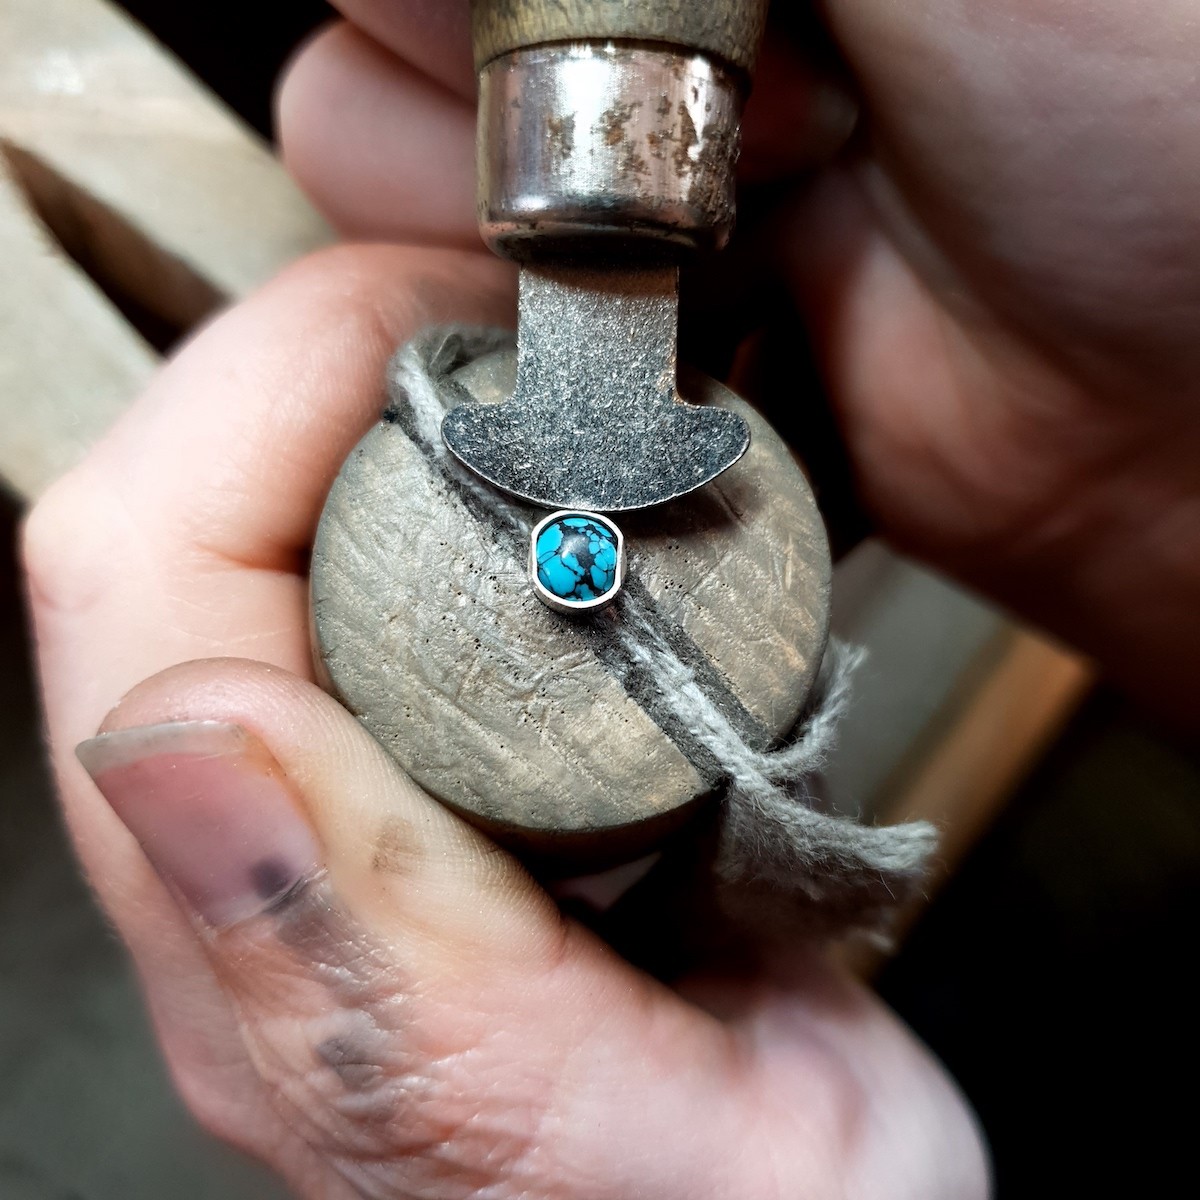
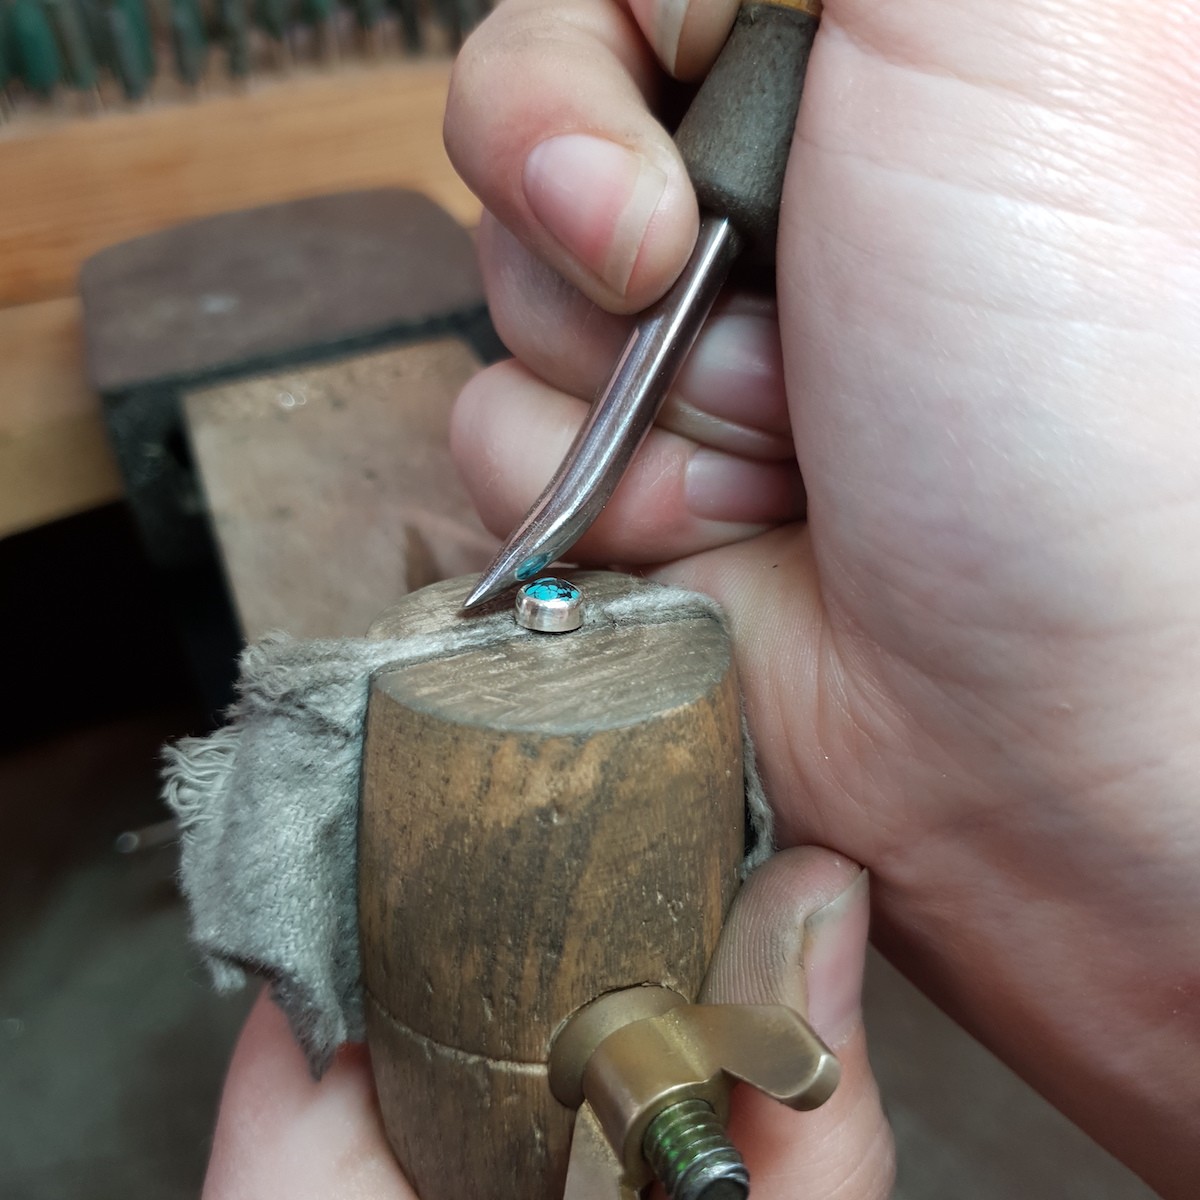
Now you’re ready to set your stone! Place your ring in a ring clamp and tighten it up. Place the stone into the setting making sure it’s firmly pushed all the way in. With a bezel rocker or pusher start pushing the bezel wall in over the edges of the stone - start by pushing in the opposite corners (NE, SW, SE then NW and so on) then work your way evenly around the setting until it is flush to the stone and your stone doesn’t move at all.
What cabochon will you use?
Choose your favourite gemstone cabochon from Kernowcraft to have a go for yourself! Share your photos on social media with us by tagging @kernowcraft & @madebyoonagh.

