How To Make Earwires
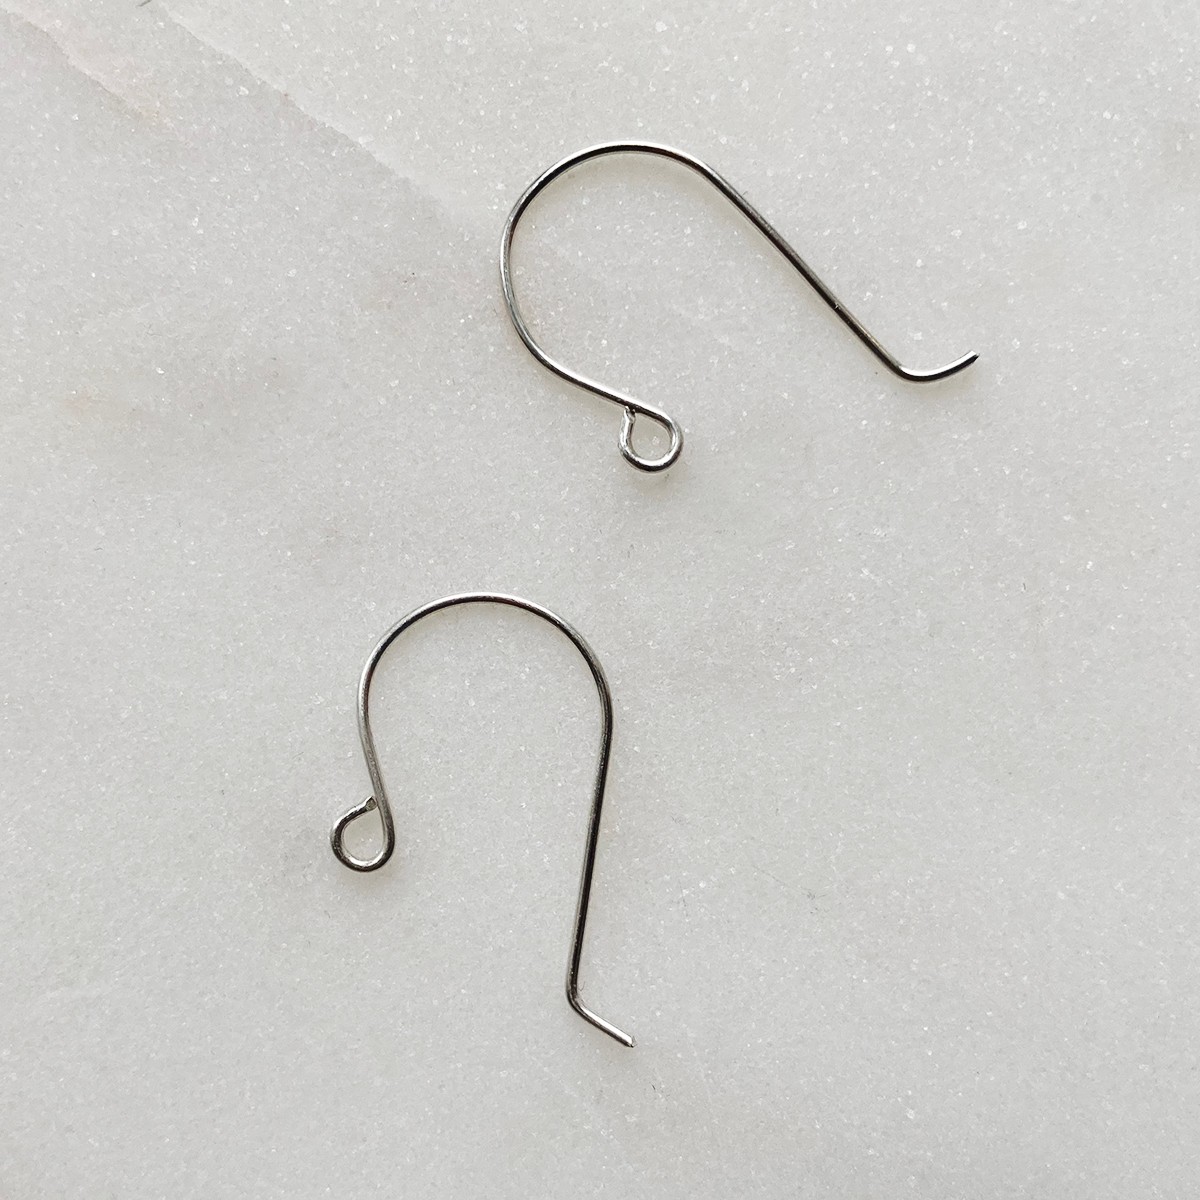
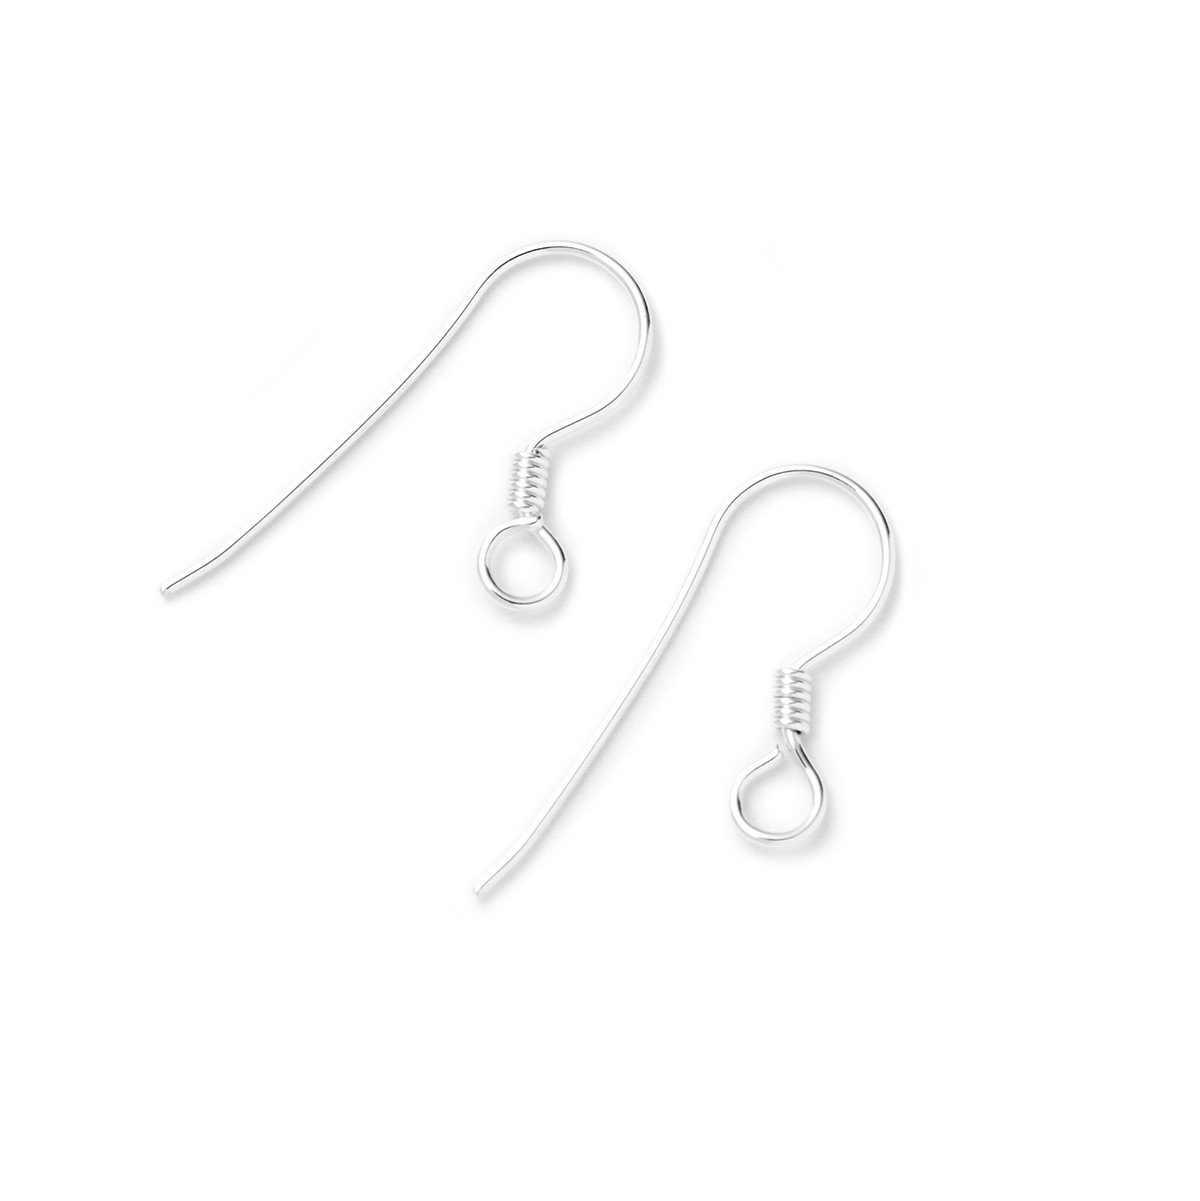
If you're a jewellery making beginner and wish to start making your own earwires rather than buying ready-made ones, this tutorial is for you.
We provide two brilliant options, including how to make earwires from scratch with some basic tools as well as showing you our popular ear wire maker tool that will have you making lots of earwires in minutes!
Find all the jewellery making tools and supplies you need for these projects on our website, all listed below.
You'll also find lots of charms, gemstones and settings online to help you make creative components to hang from your earwires.
Check out our jewellery making kits for inspiration
Project 1: Recommended Supplies
- Ruler
- Marker pen
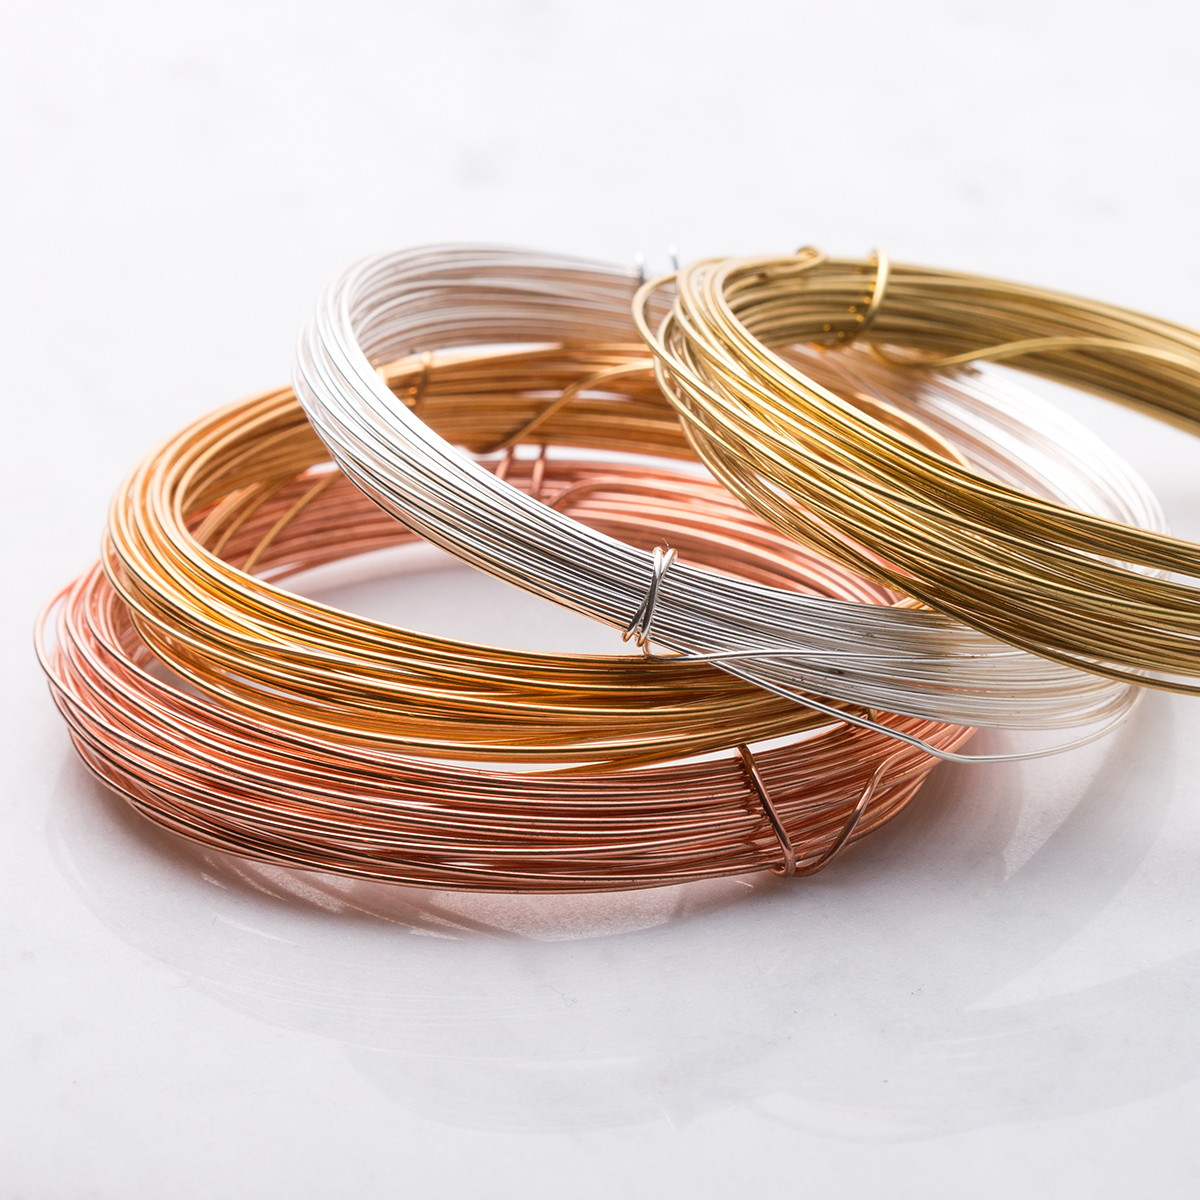
- 0.8mm round wire of your choice (we've used sterling silver)
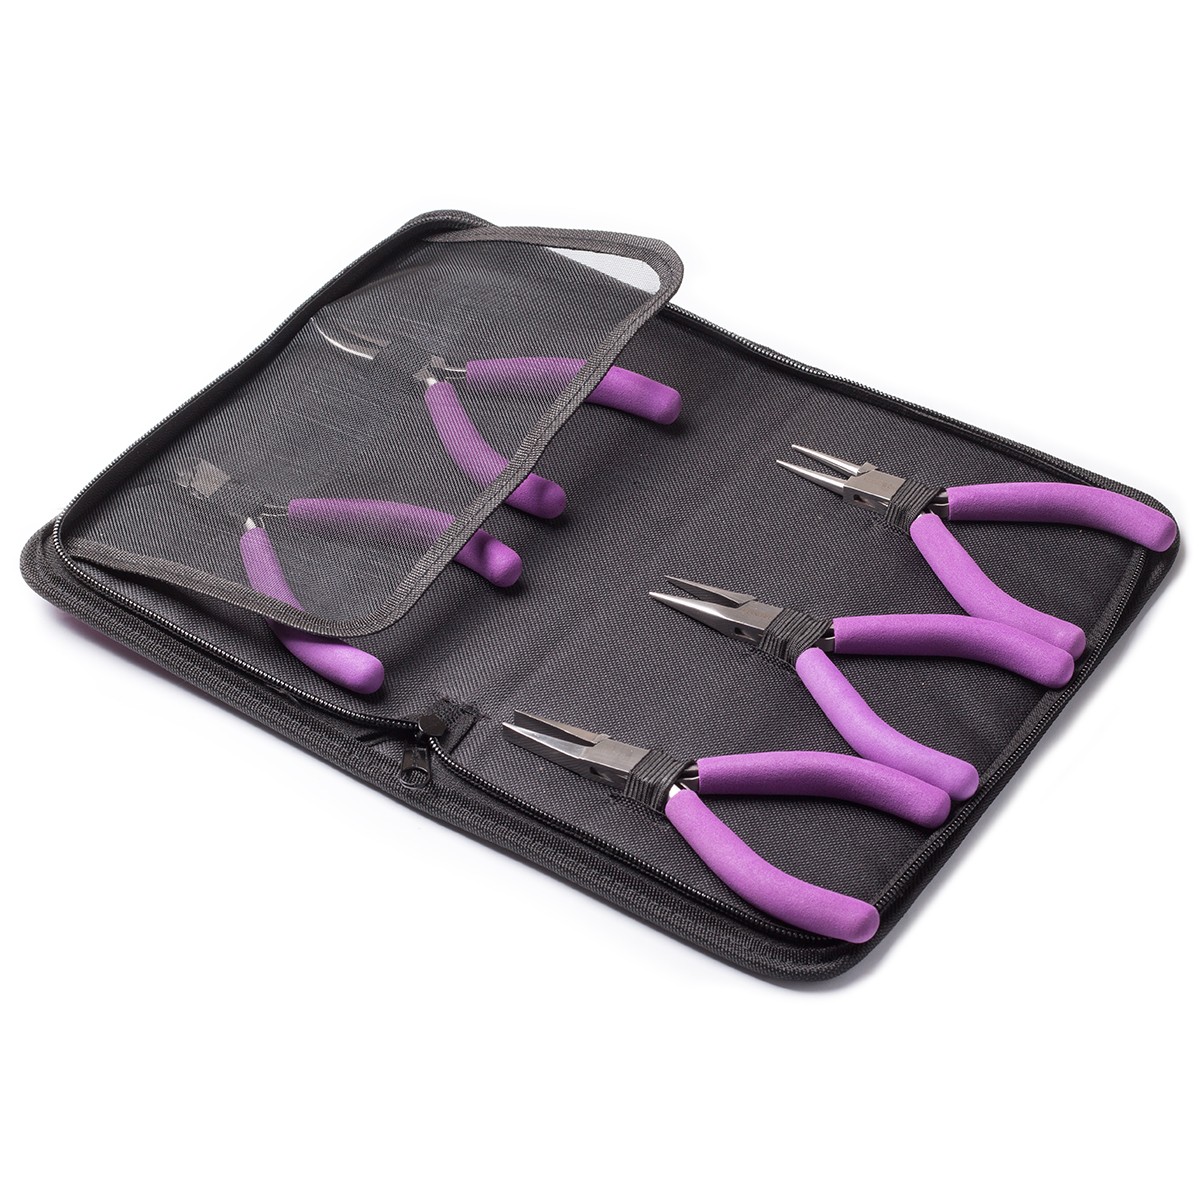
- Side cutters
- Round nose pliers
- Snipe nose pliers
- Pin vice and cup burr - or file
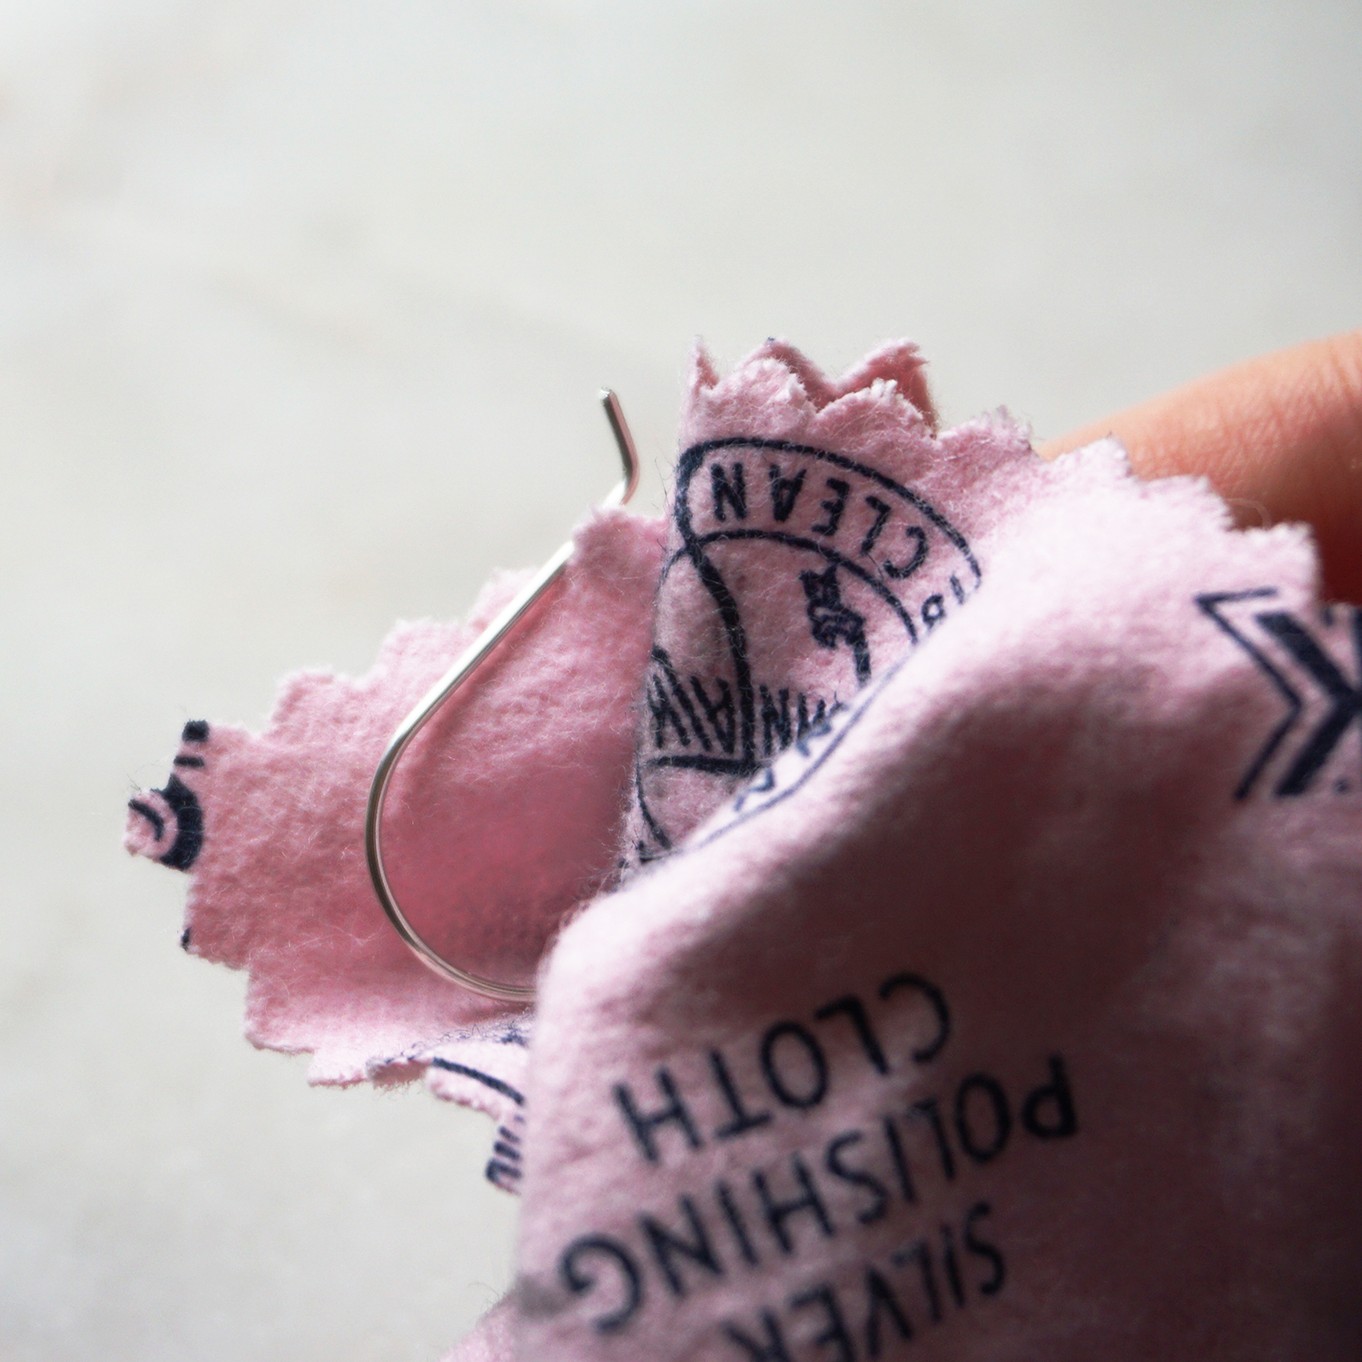
- Polishing cloth
- Optional: rawhide mallet/jewellers hammer & steel block for work hardening the earwires
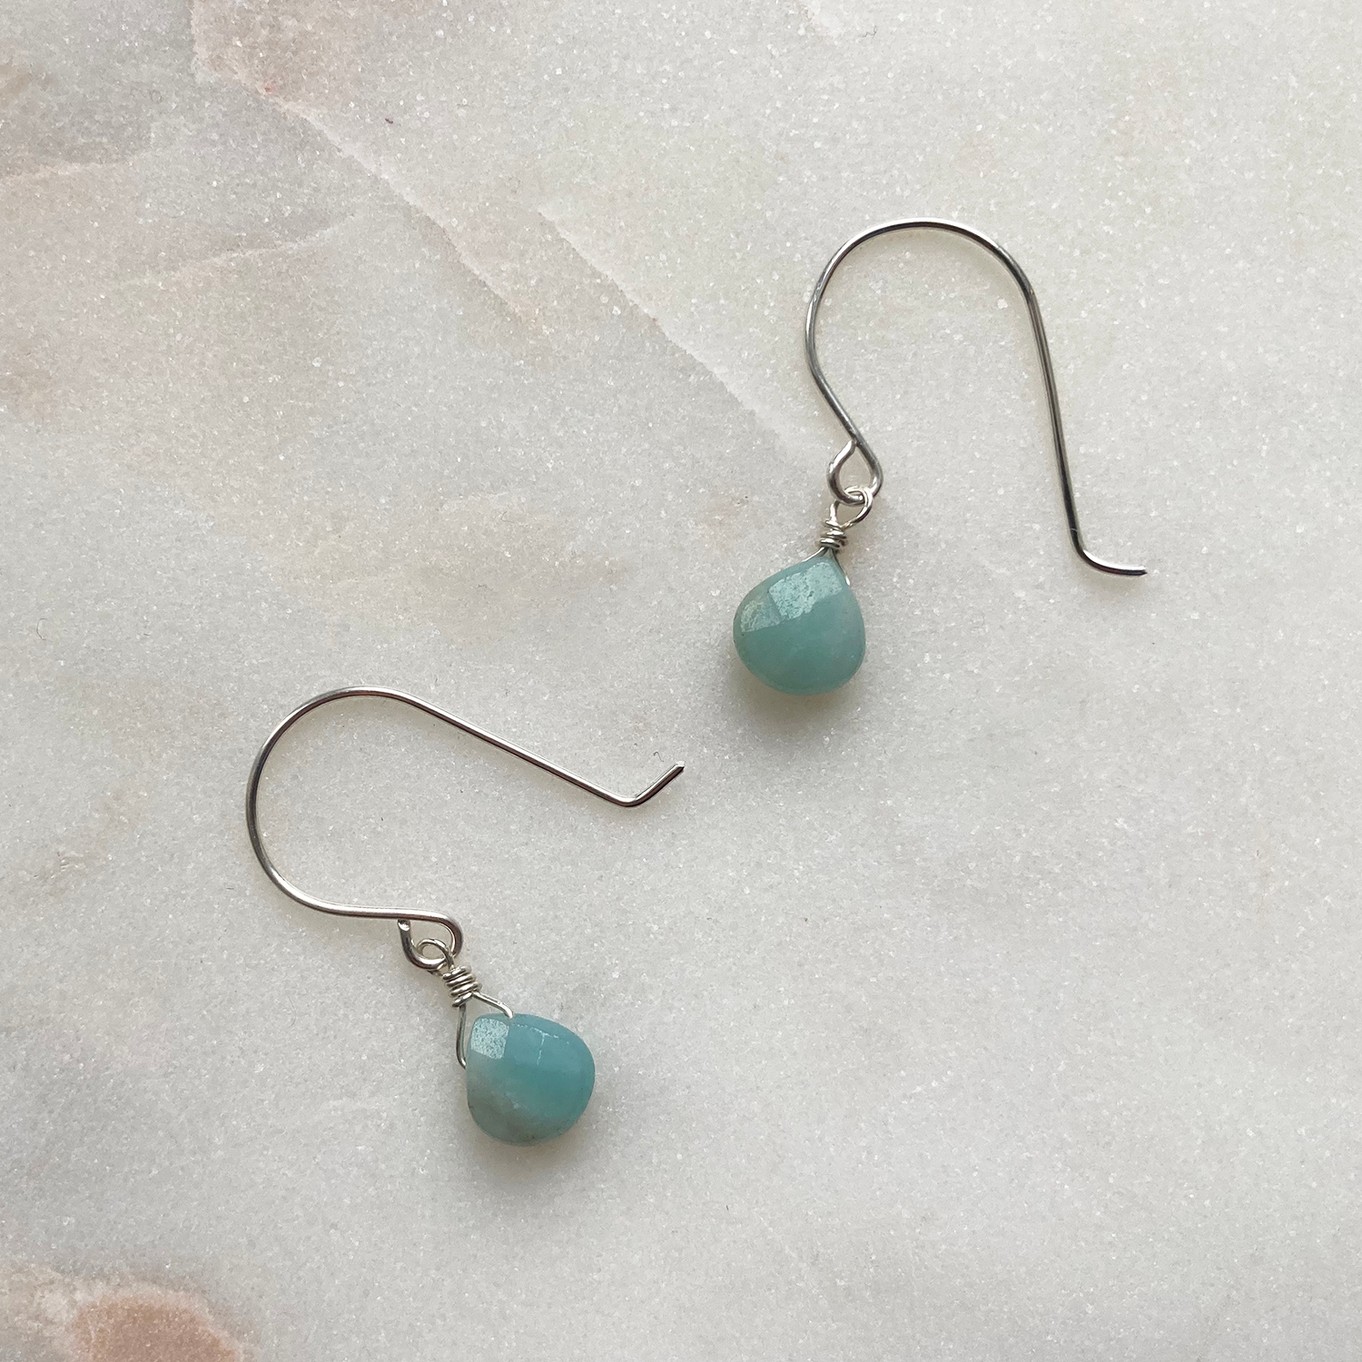
- Optional: your choice of gemstones, beads or charms to hang from the earwires. Project features amazonite briolette beads
- Follow our tutorial on how to wire wrap a briolette bead
Watch How To Make Earwires
Follow Step By Step Photo Instructions
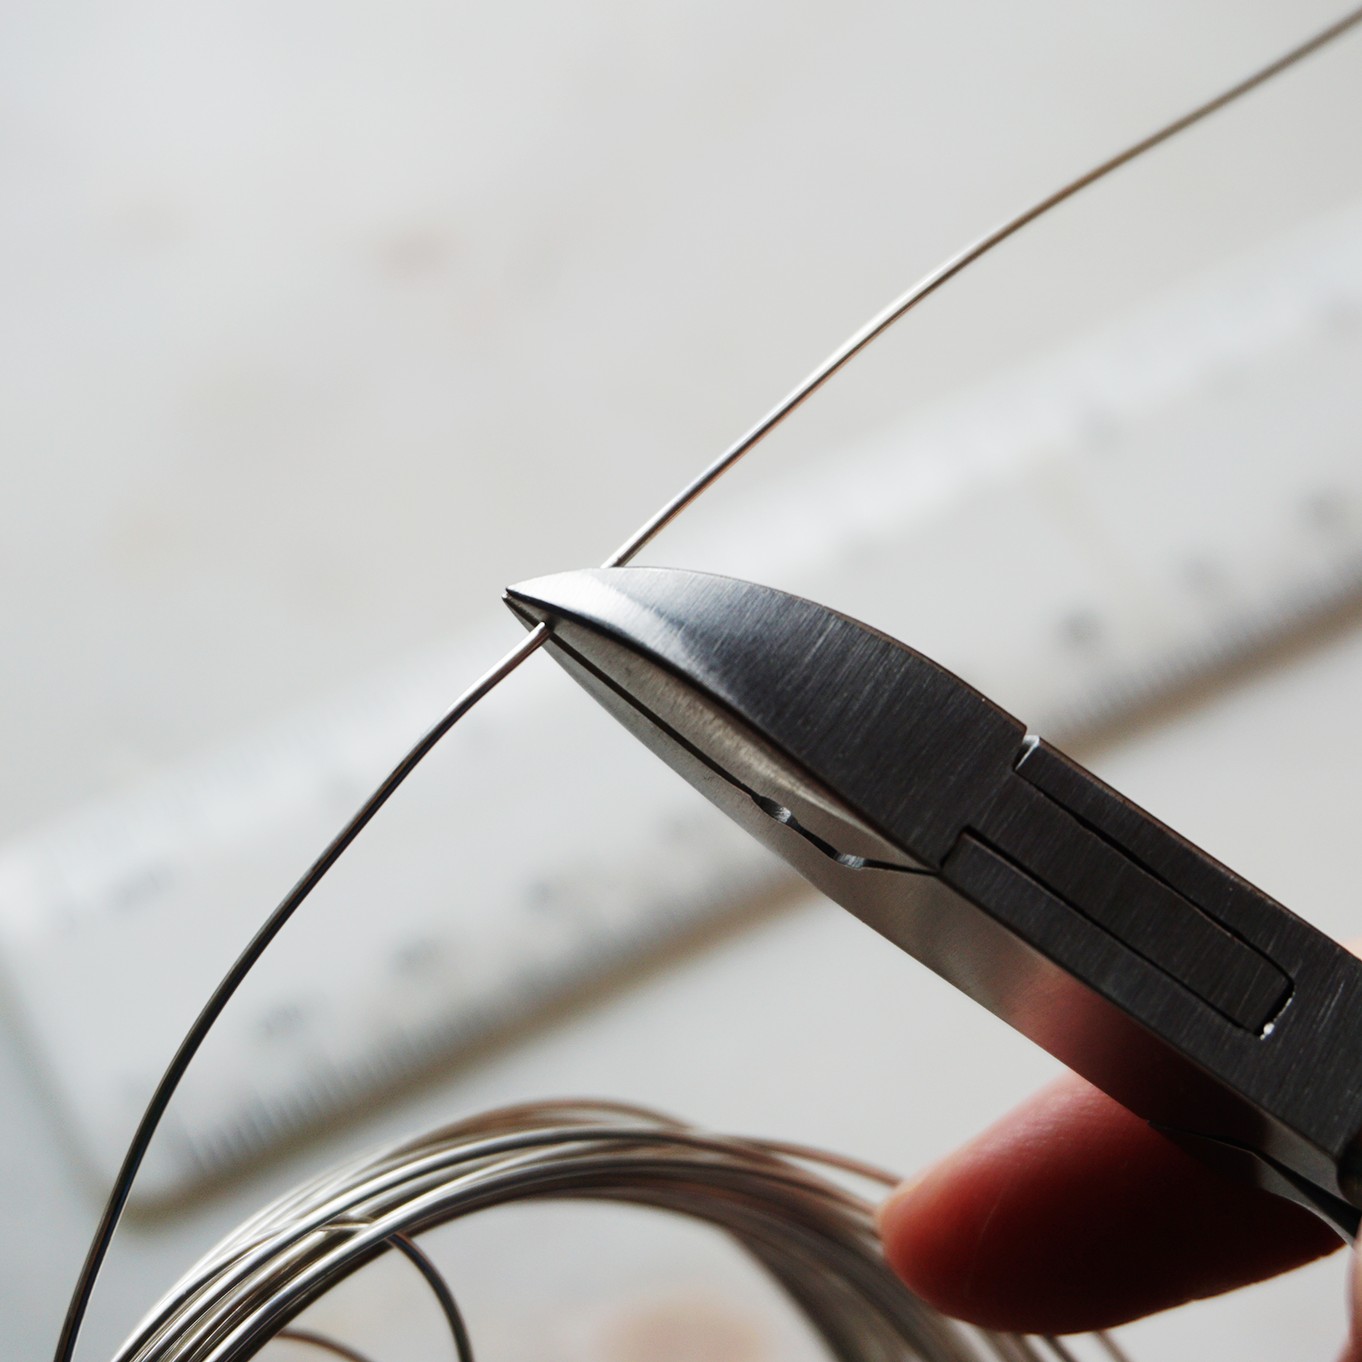
Step 1: Cut Wire
Begin by measuring 6cm of 0.8mm round wire and cut with side cutters. Experimenting with different lengths of wire will allow you to create various sizes of earwires, so have a play to find out what you prefer.
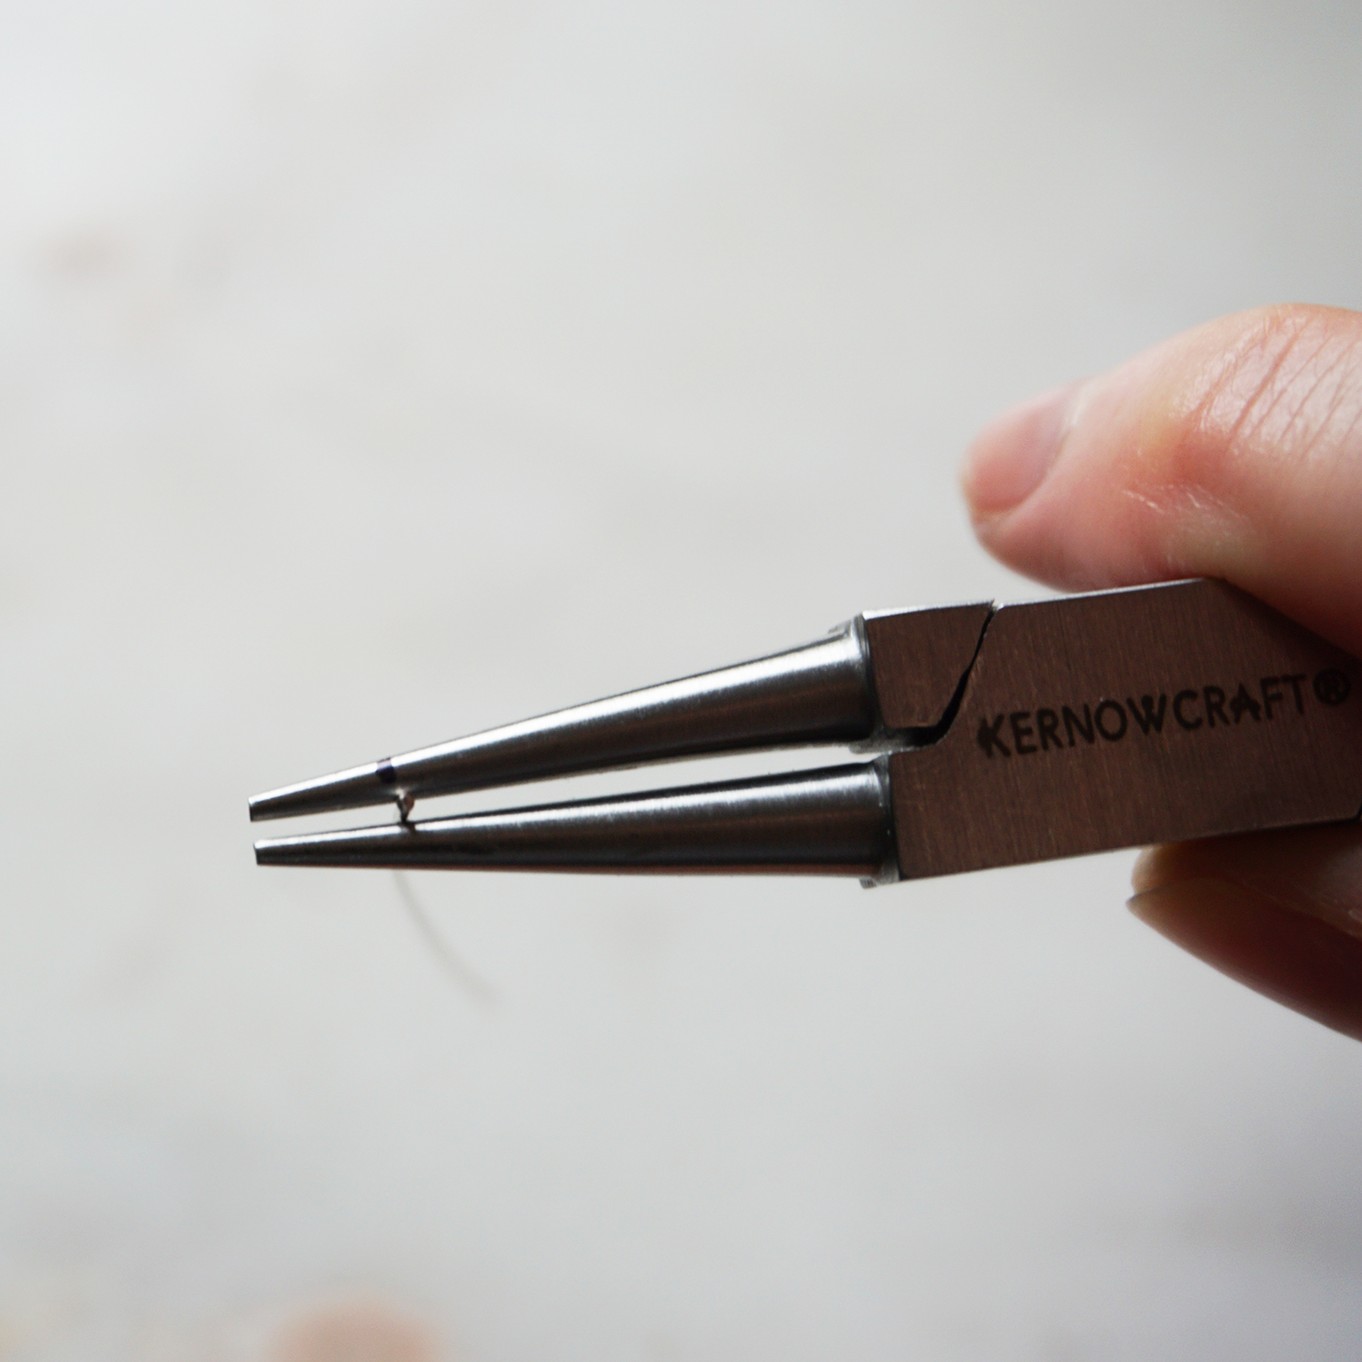
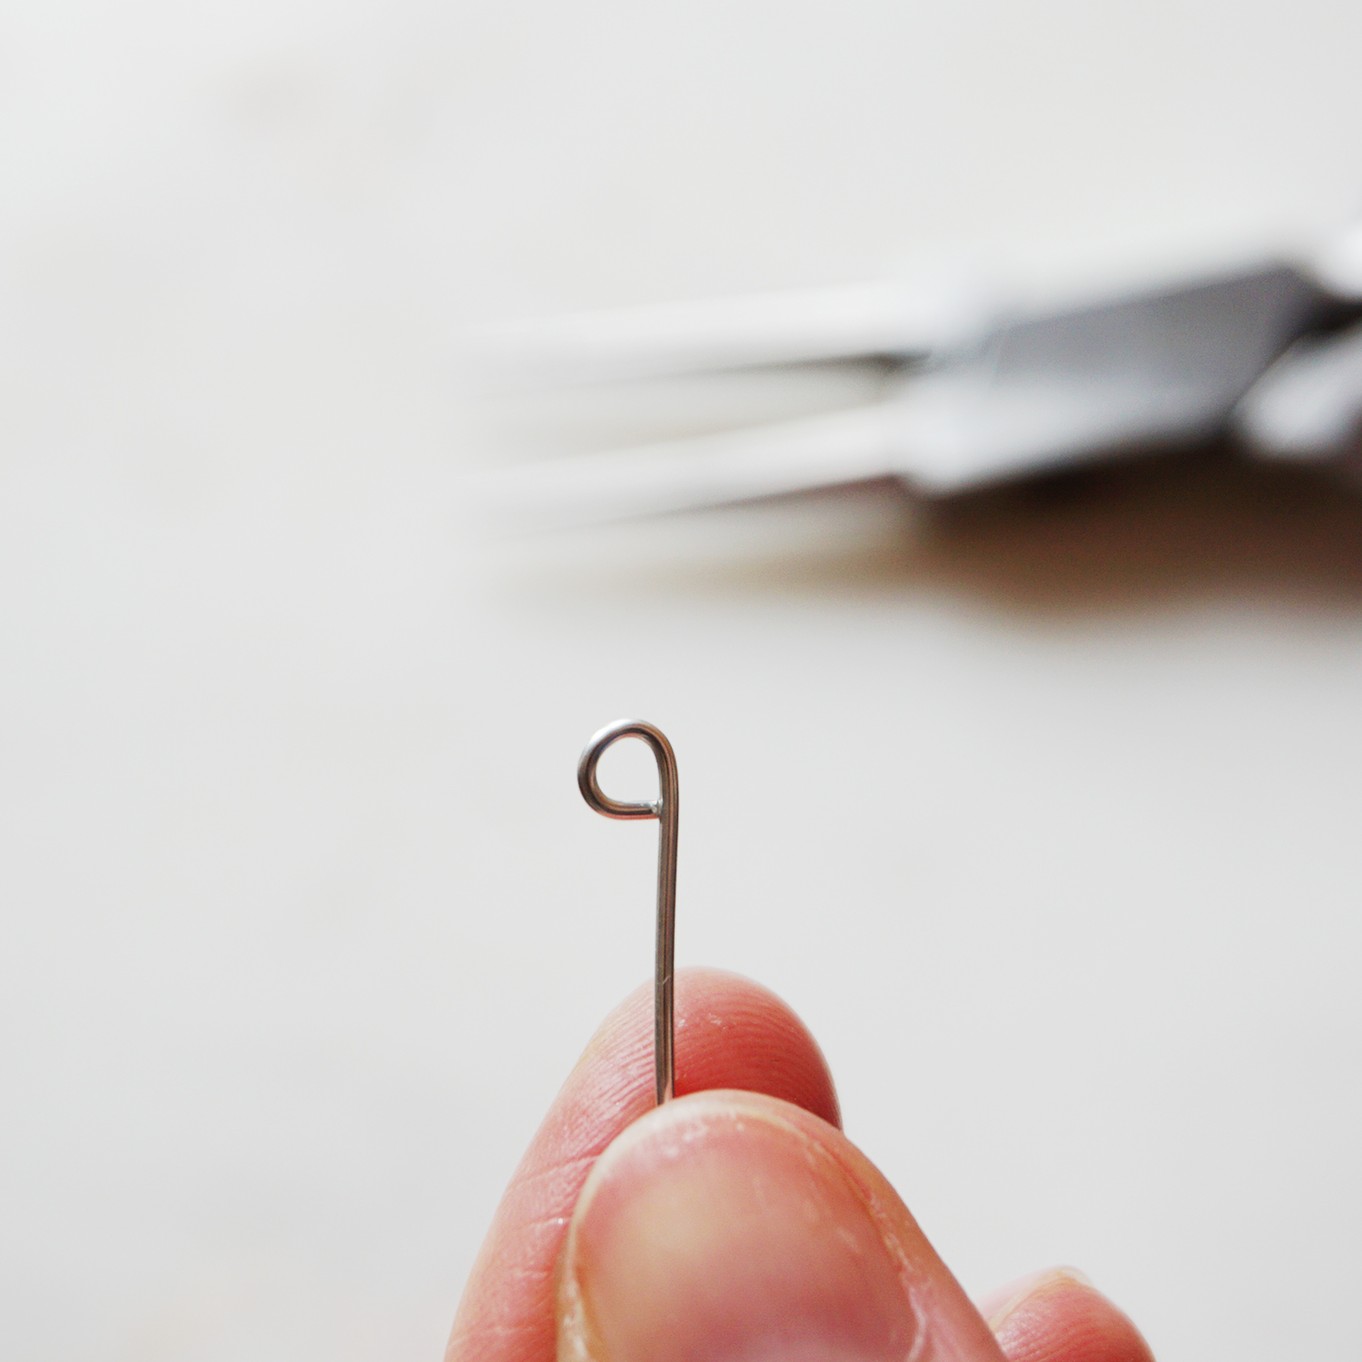
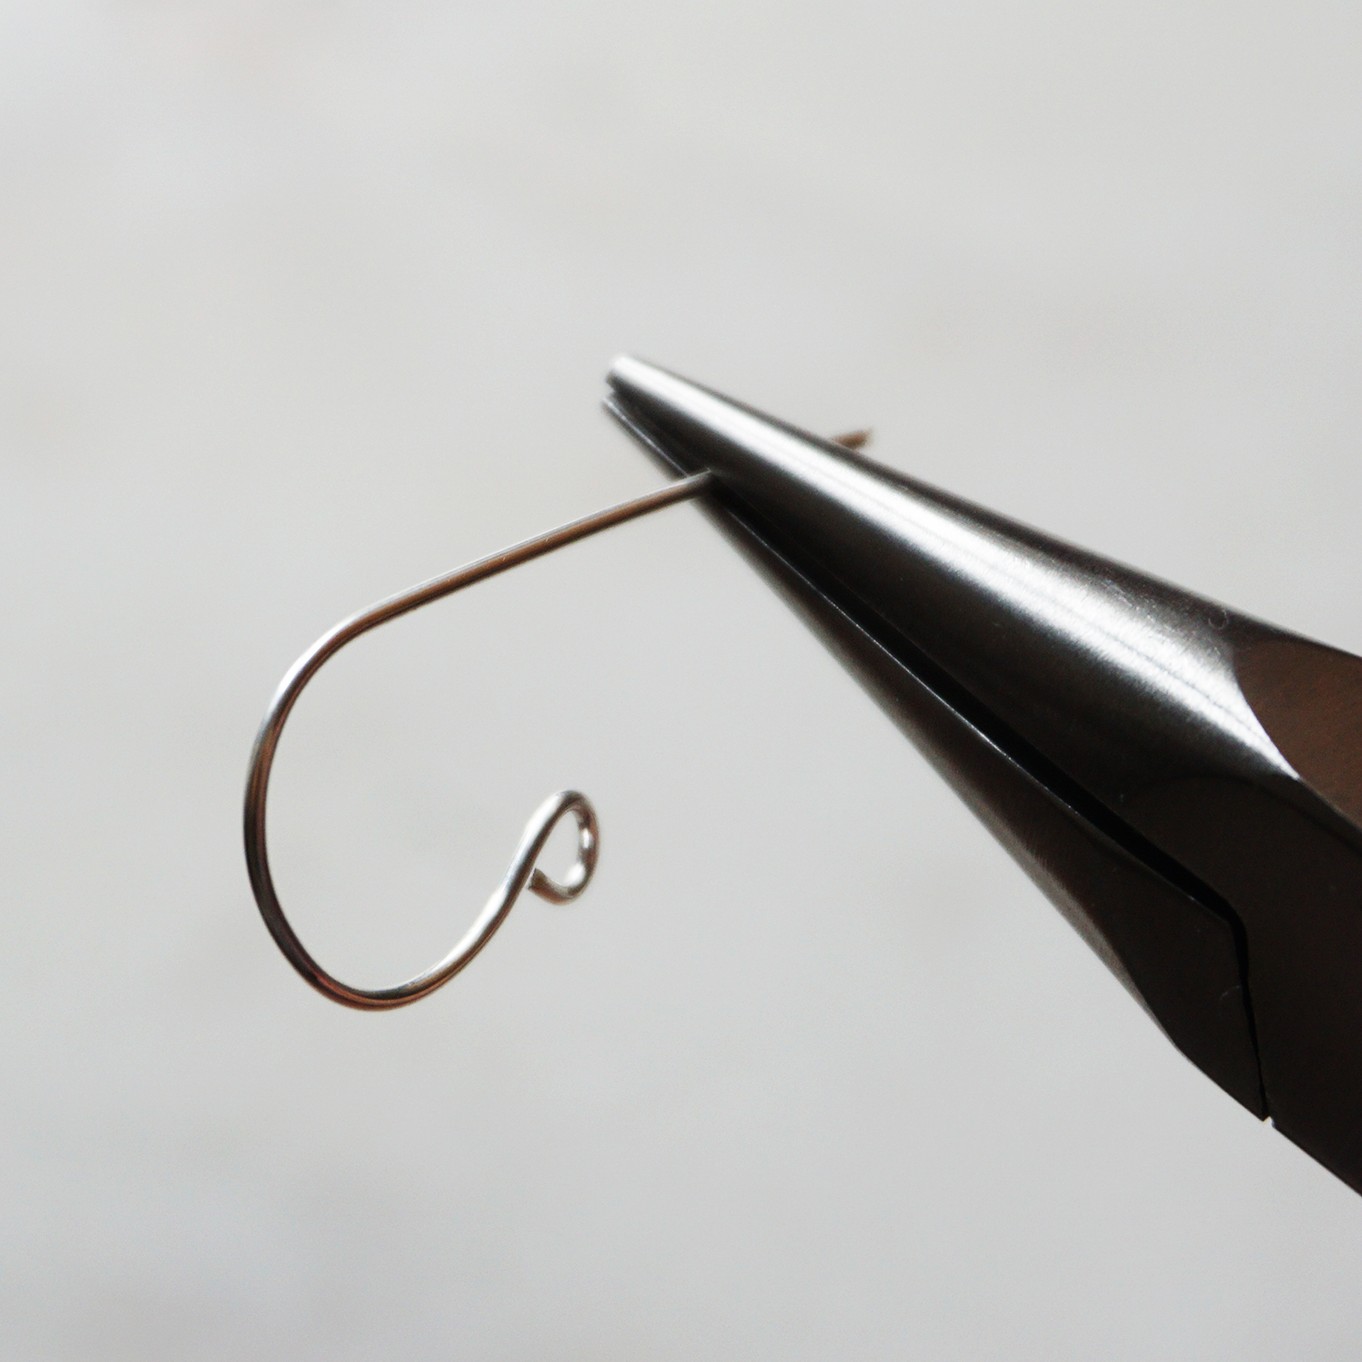
Step 2: Form A Loop
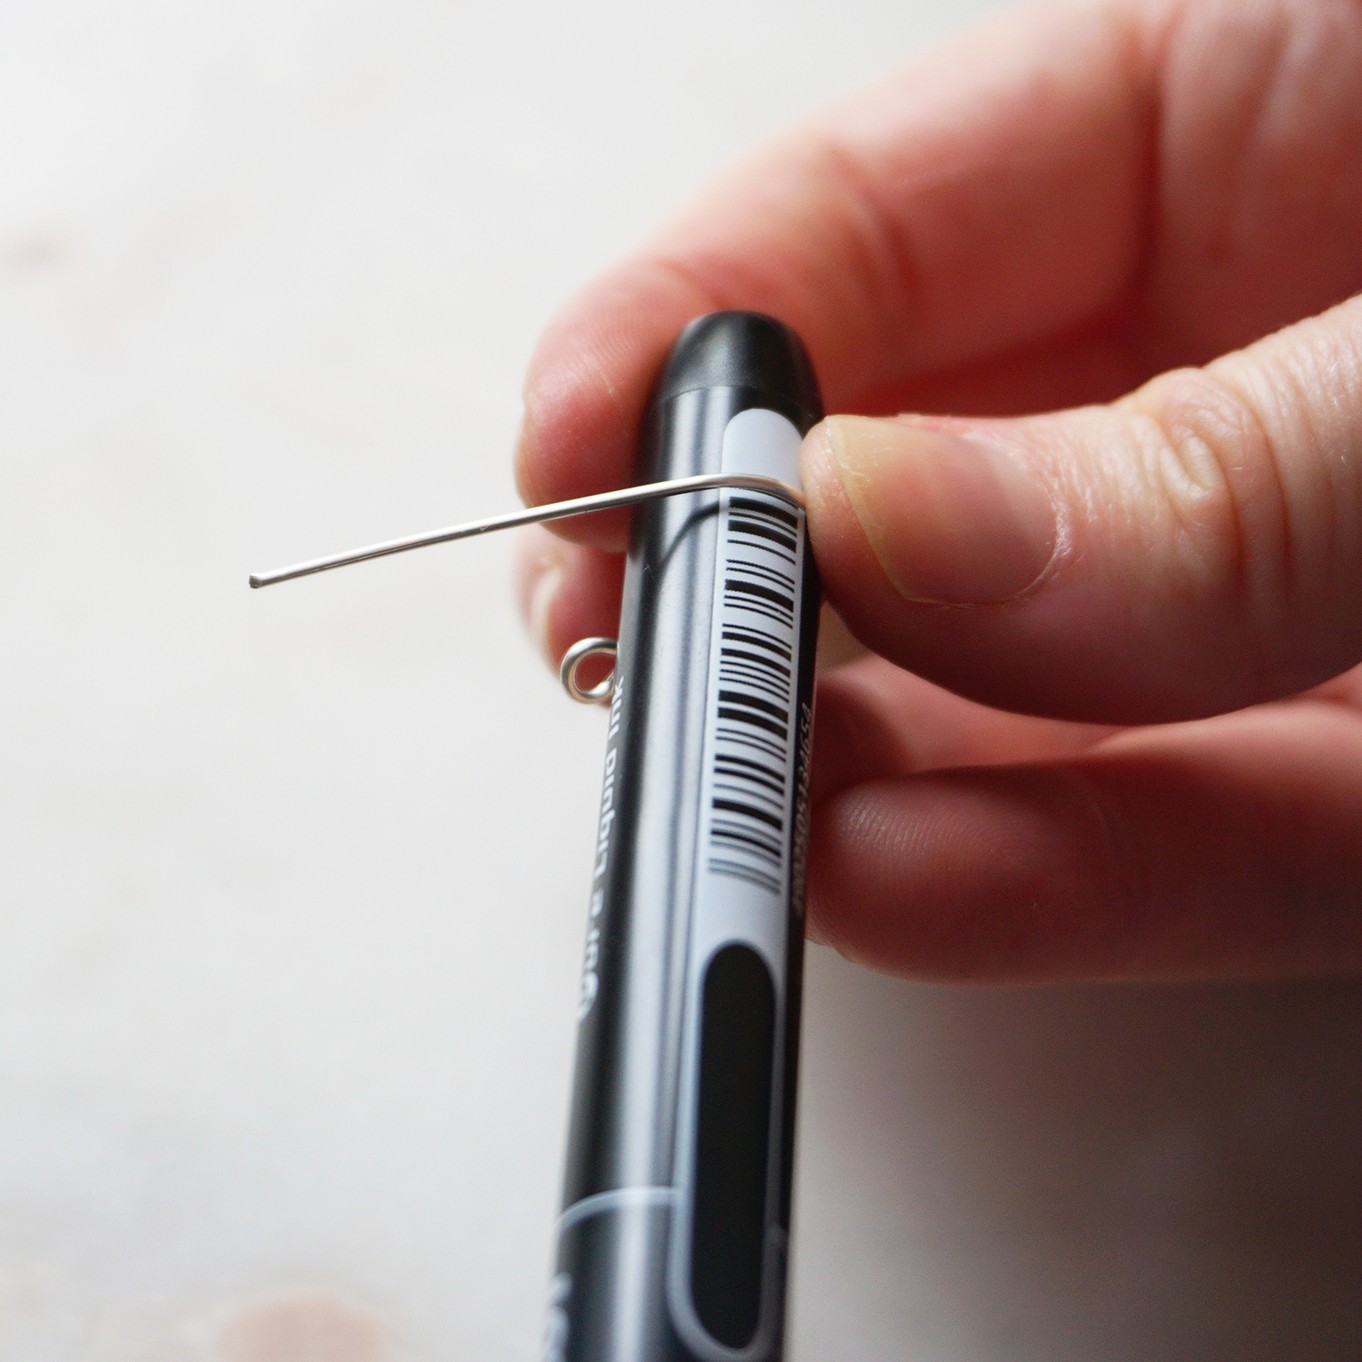
We have marked our round nose pliers with a marker pen about 0.5cm from the tip, that way you can make sure that all the earwires that you make are consistent in shape. Hold the tip of your wire at this mark, and begin twisting the pliers to form a loop at the end of the wire.
Step 4: Flick The Tip
Use snipe nose pliers to hold the end of the wire and flick upwards. If the tip is a little longer than you like, use your side cutters to trim.
Step 5: Smoothen The Tip
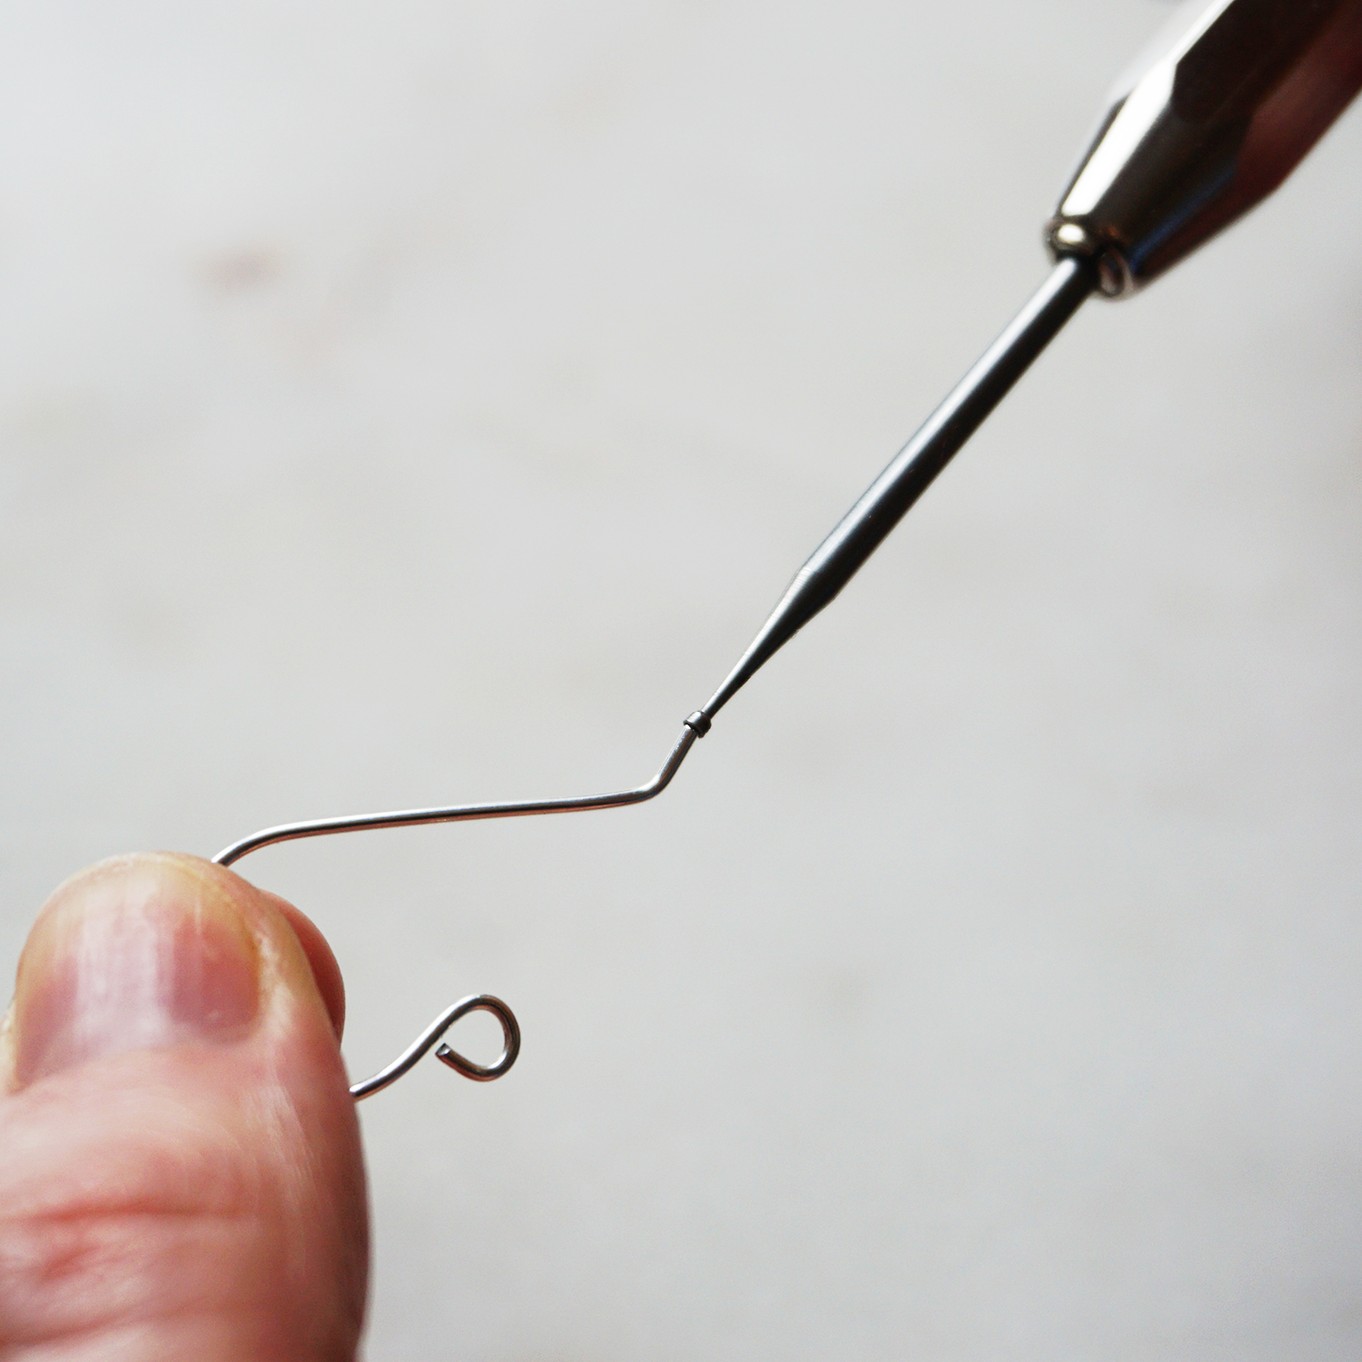
The end of your wire is probably going to be sharp - so don't put it through your ear just yet! We want the end to be nice and smooth so it's comfortable to put in your ear. We like to use a pin vice with a cup burr to easily twist around the edge to quickly smoothen the end. Alternatively, you can use a file but this will take a little longer.
Step 6: Work Harden
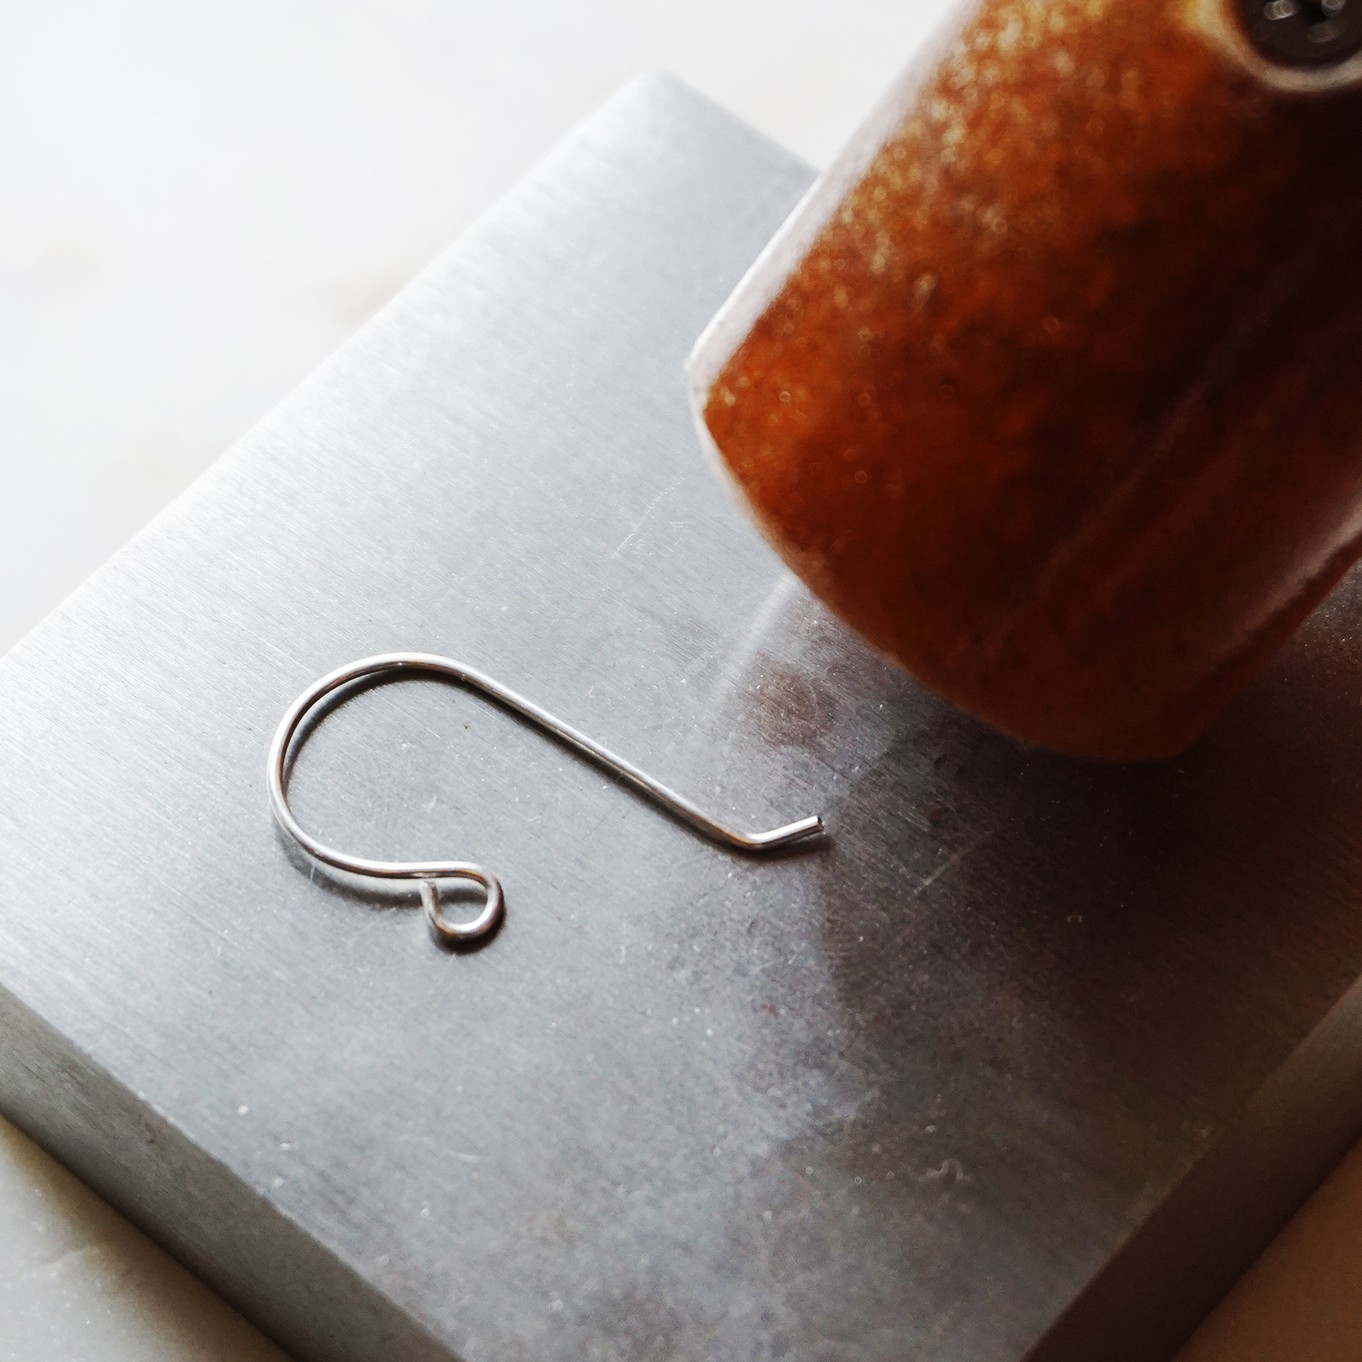
You may find that your earwire is quite soft and easy to bend out of shape. To work harden the metal all you need to do is pop it onto a steel block and gently tap with a rawhide mallet. You’ll soon find it’s much firmer.
Watch our video below for more tips on work hardening your wire or read the advice page.
Step 7: Polish
Use a polishing cloth to buff your earwire to a high shine!
Step 8: Repeat
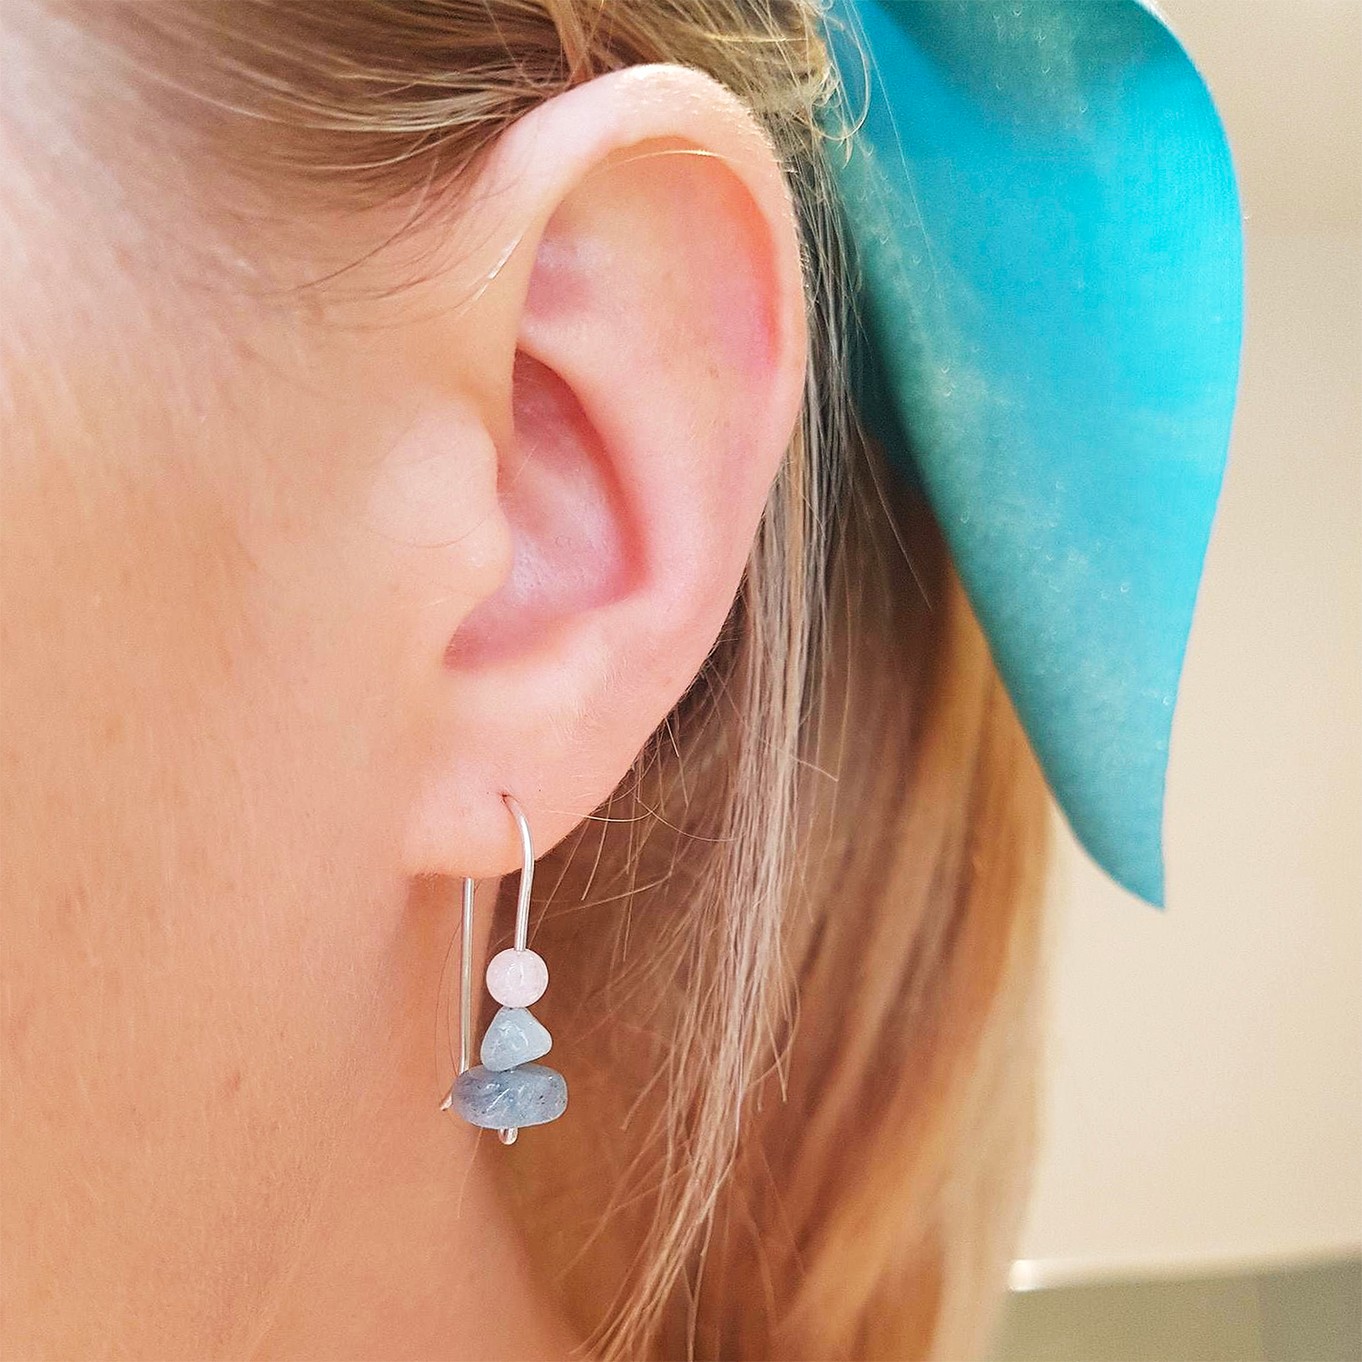
Repeat the previous steps to create your second earwire and you're finished! Now it's time to get creative by adding your own handmade charms. Simply use snipe nose pliers to open the loop of the earwire and attach whatever you like - in this case, we've added some beautiful wire wrapped amazonite briolette beads.
Browse Tools & Supplies
Project 2: Save Time With Bead Buddy 1-Step Ear Wire Maker
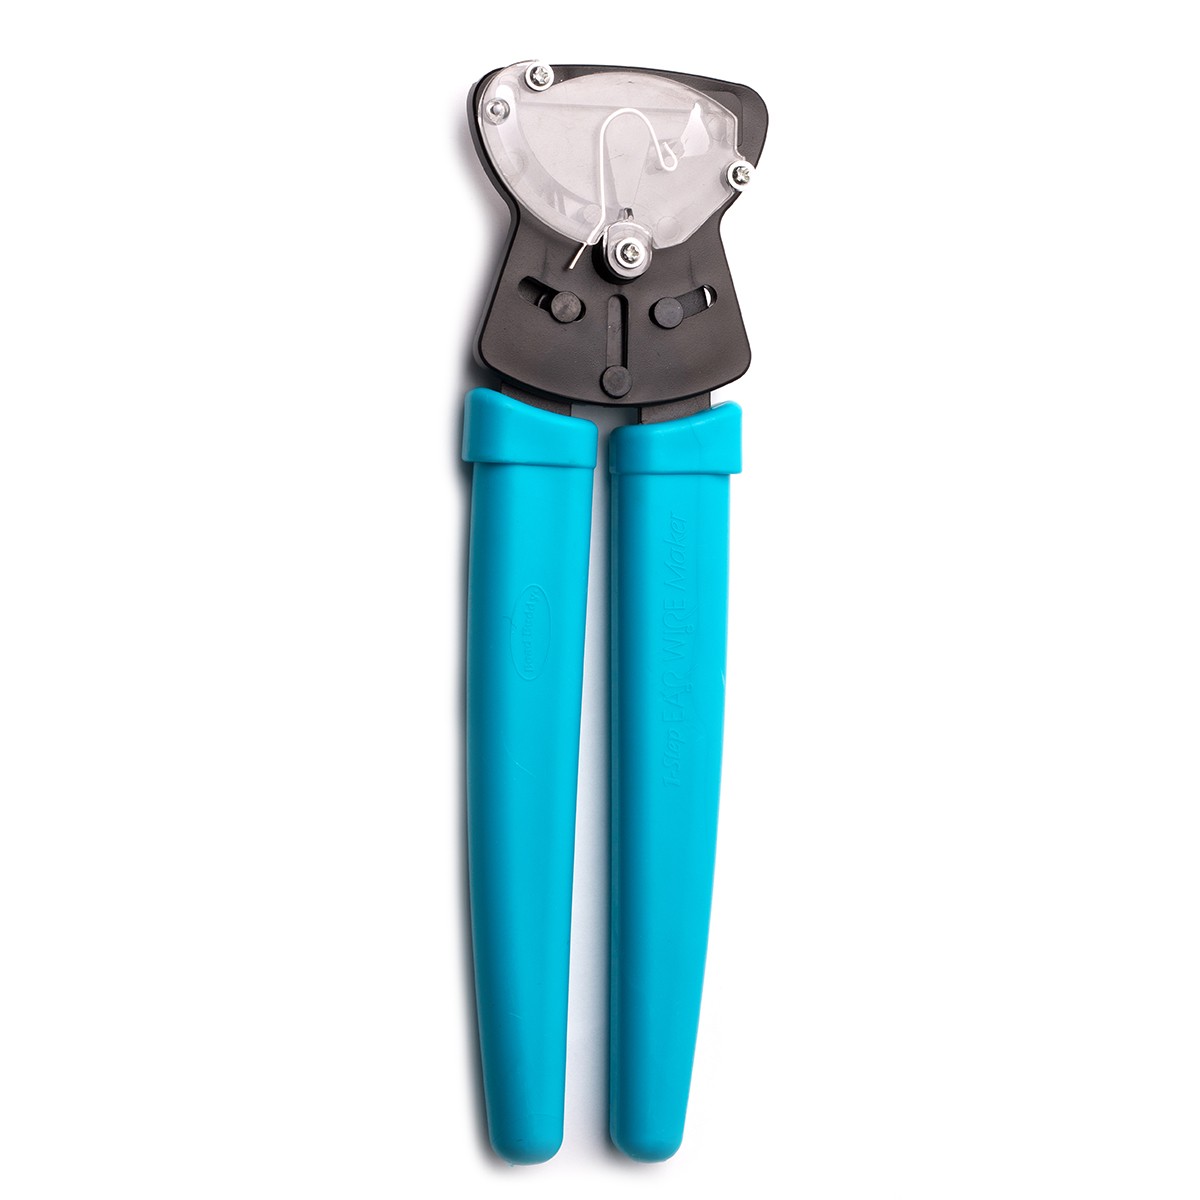
We are thrilled to introduce the Ear Wire Maker to our range of jewellery making supplies, it's cost effective and will help you save time.
Watch our video tutorial below and see how simple and easy it is to use and get all the jewellery making supplies you need here with Kernowcraft.
Project 2: Recommended Supplies
- Ruler
- Ear Wire Maker
- 0.8mm round wire of your choice (we've used sterling silver)
- Side cutters
- Snipe nose pliers
- Files, sandpaper or pin vice with cup burr
- Optional: rawhide mallet/jewellers hammer & steel block for work hardening the earwires
- Optional: your choice of charms to hang from the earwires. Shop our pineapple charms featured in the video here.
Watch Our Tutorial Below On How To Make Earwires With Bead Buddy Ear Wire Maker...
Step By Step Instructions
1. Measure 2 inches of 0.8mm wire and cut using side cutters.
2. Spread the handles of the ear wire maker apart and insert the wire as shown in the video.
3. Squeeze the handles together to form the earwire.
4. Smooth the edge of the earwire with a file, sandpaper or pin vice with cup burr.
5. Optional: work harden the earwires by gently tapping them on a steel block using a rawhide mallet or jewellers hammer.
6. Use snipe nose pliers to twist open the loop of the earwire, attach a component such as a charm and close to secure.
Watch How To Work Harden Your Ear Wires To Ensure They Don't Lose Their Shape
Prefer To Use Ready Made Earwires?
Maybe handmade earwires aren't for you and you prefer the look of ready-made ones!
We have so many high quality earwires to choose from including popular shepherds crook and kidney wire earwires.
We also have earring drops and studs for setting stones in a range of metals to suit your designs.
You May Like This Project
Guest tutor, Emma from Evren Blue shows you how easy it is to create your own earwires featuring beautiful gemstone beads!
This is a great beginner-friendly project. You need relatively few tools and the end result is something you can make over and over again, with any combination of beads and adapted to any style you like.
With photo step by step instructions and a handy shopping list.

