Copper Clay Pumpkin Pendant Tutorial
Hi, it's Sam from Rock And Rose Jewellery and today I'm sharing with you a metal clay tutorial on creating your own copper clay pumpkin pendant, perfect for spooky season!
This is a great tutorial to follow if you are new to copper metal clay, this project also doesn't need fancy tools or lots of jewellery making experience. There are lots of instructions out there on how to use it and opinion is divided as to whether torch or kiln firing is better but I have found torch firing works well, you just have to experiment with the size of your piece.
I hope this inspires you to create some unique metal clay designs for yourself!
About Copper Clay
Copper clay is a great way to start your metal clay journey as it's an affordable option compared to silver clay. You can roll, mould, carve, stamp and even set stones in the clay! Once fired in a kiln or using a gas torch, you will be left with a solid piece of copper. Don't forget if you wish to also use silver clay as well as copper, you must keep your tools separate to avoid contamination as this may result in failed firings.
Read more about using copper clay on Kernowcraft's advice page
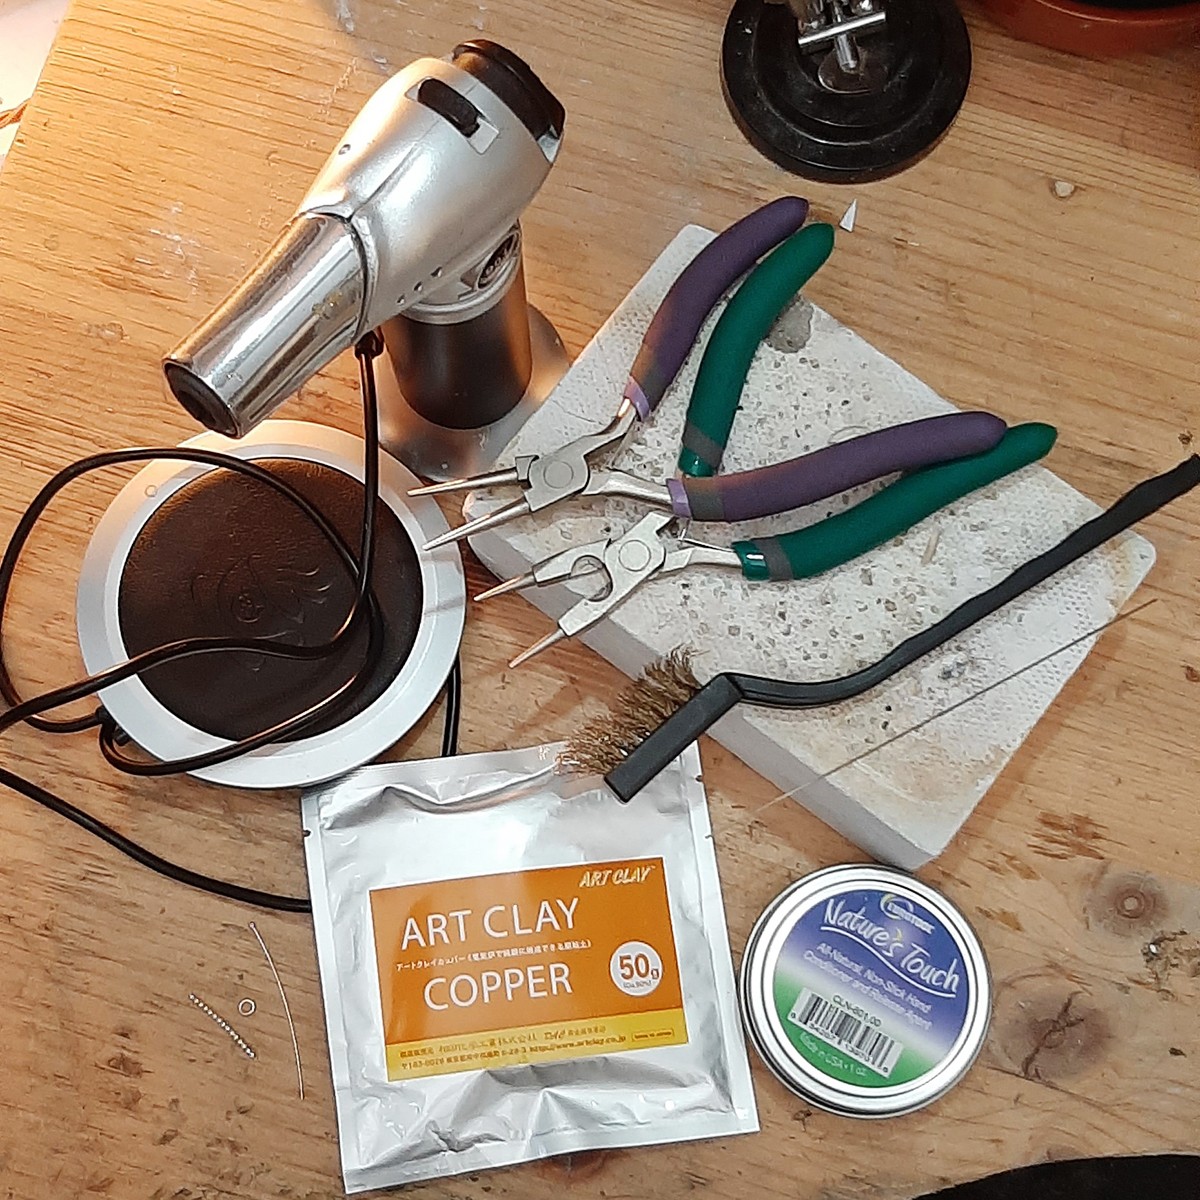
Recommended Tools & Supplies
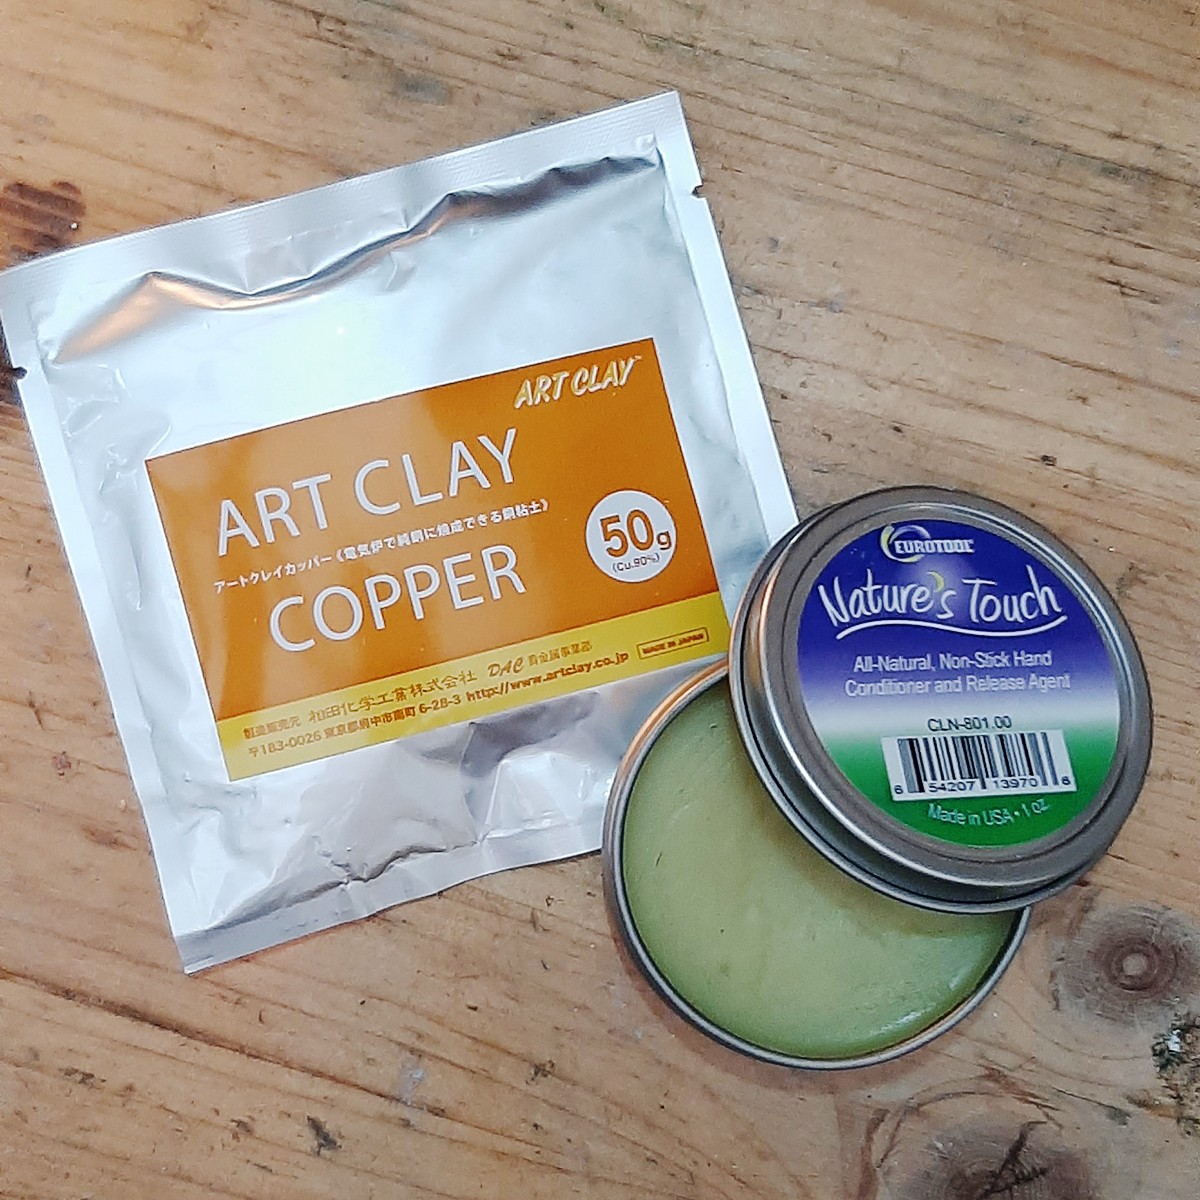
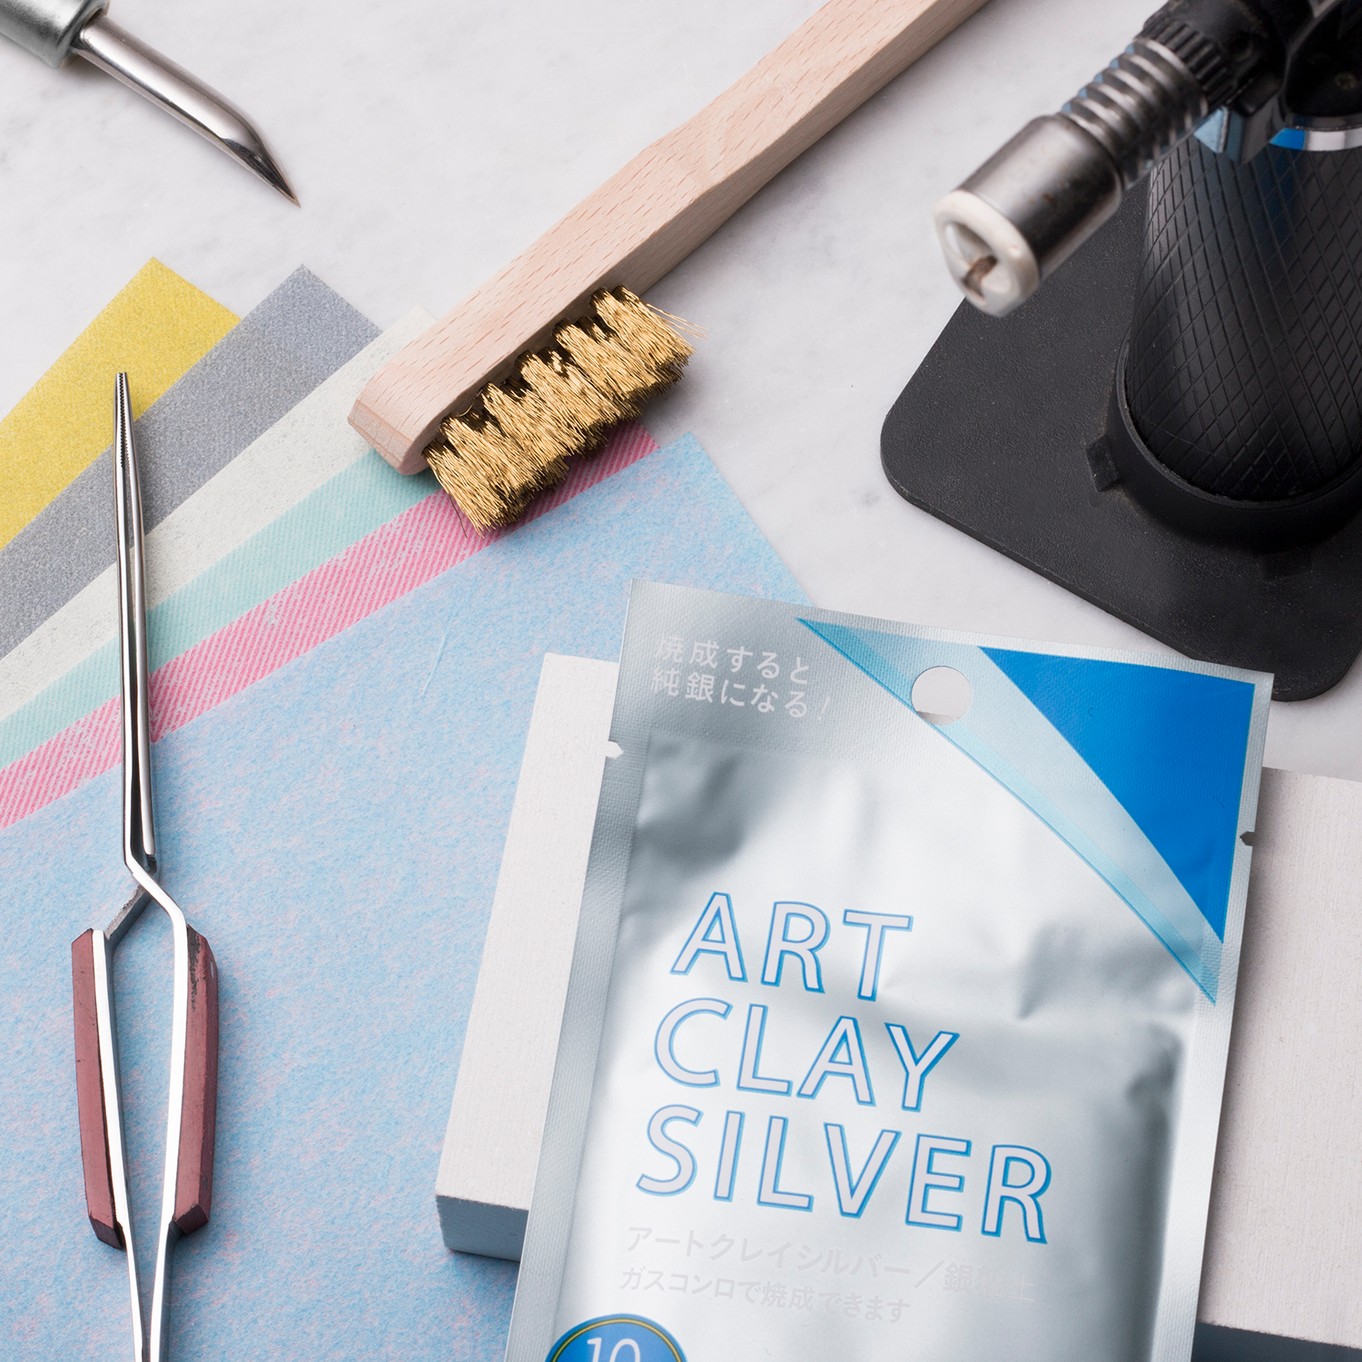
- Art Clay Copper
- Natures touch balm
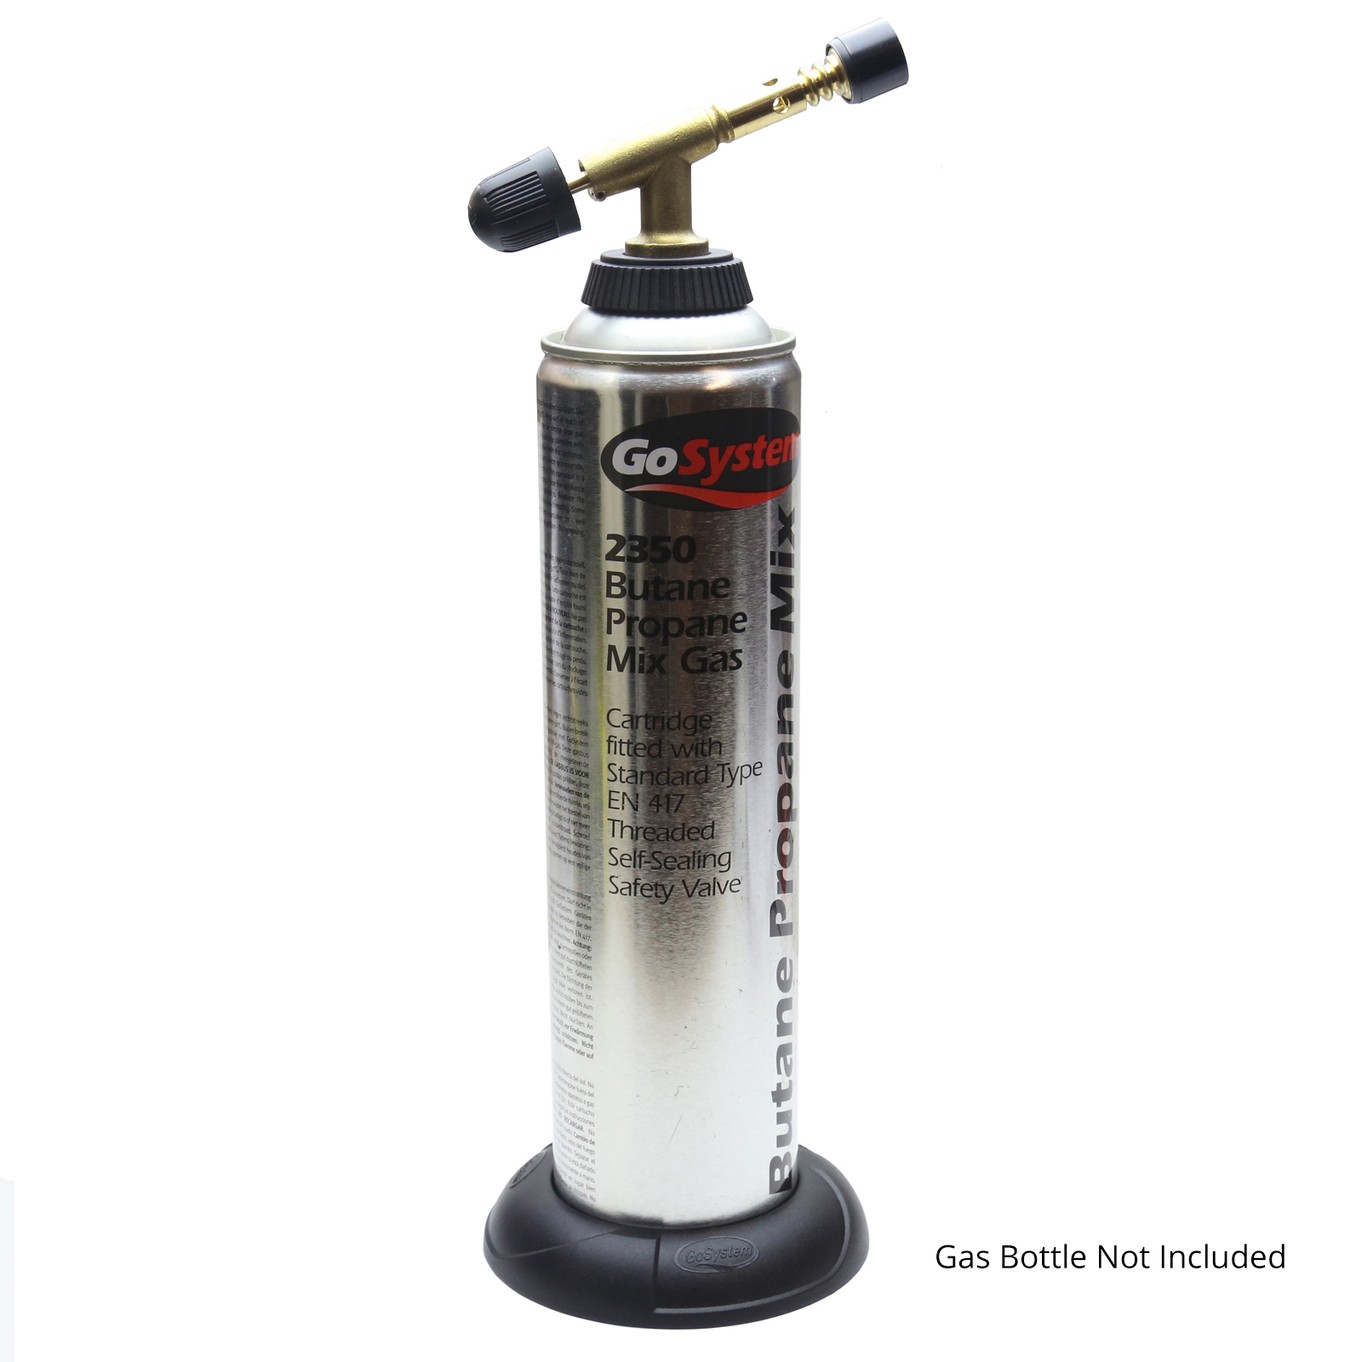
- Gas torch
- Soldering block and tweezers
- Bowl of water for quenching
- Wire brass brush
- Small piece of round wire
- Saw blade or thin metal wire
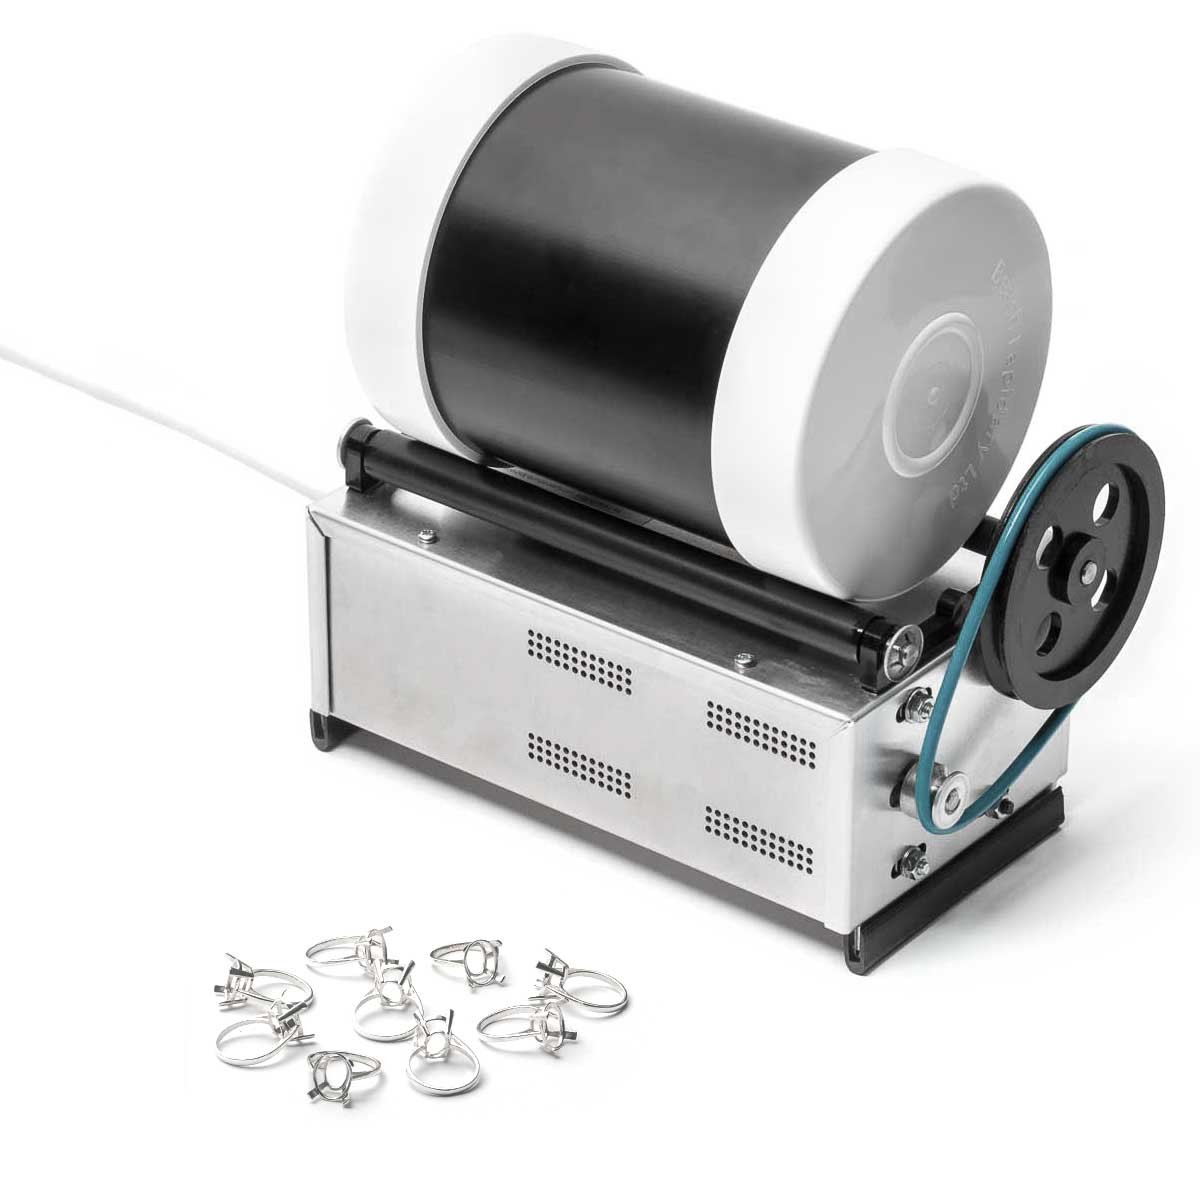
- Polishing tools - barrelling machine or polishing papers
- Beaded head pin - ensure your chosen headpin is flexible enough to wrap
- 1 x round nose pliers
- 1 x flat nose pliers
- Jump ring
- Necklet chain
Step 1: Forming
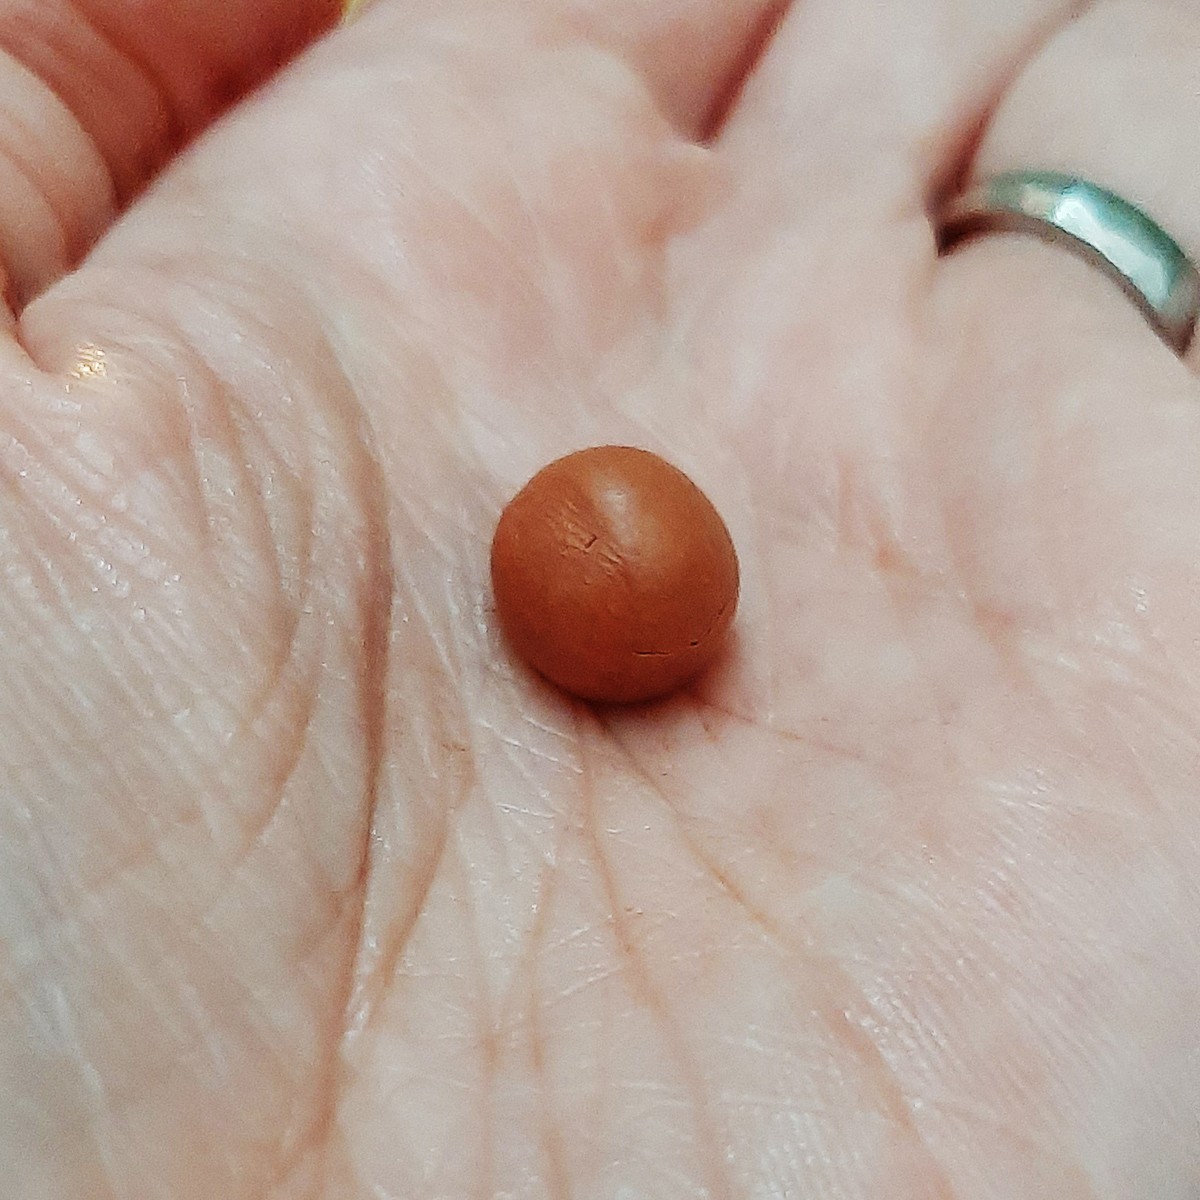
Break off a small amount of the copper clay. Make sure you wrap up the clay you're not using straight away to avoid it tarnishing or drying out, copper clay dries out quicker than silver clay. Mould the clay using your hands. Apply some balm to your fingers to stop your skin from drying out the clay. Use a flat, clean surface to roll if required. Form a ball about 10mm diameter and then flatten slightly. The shrinkage of Art Clay Copper during firing is under 10% in length, so be sure to factor this in when designing and making your piece.
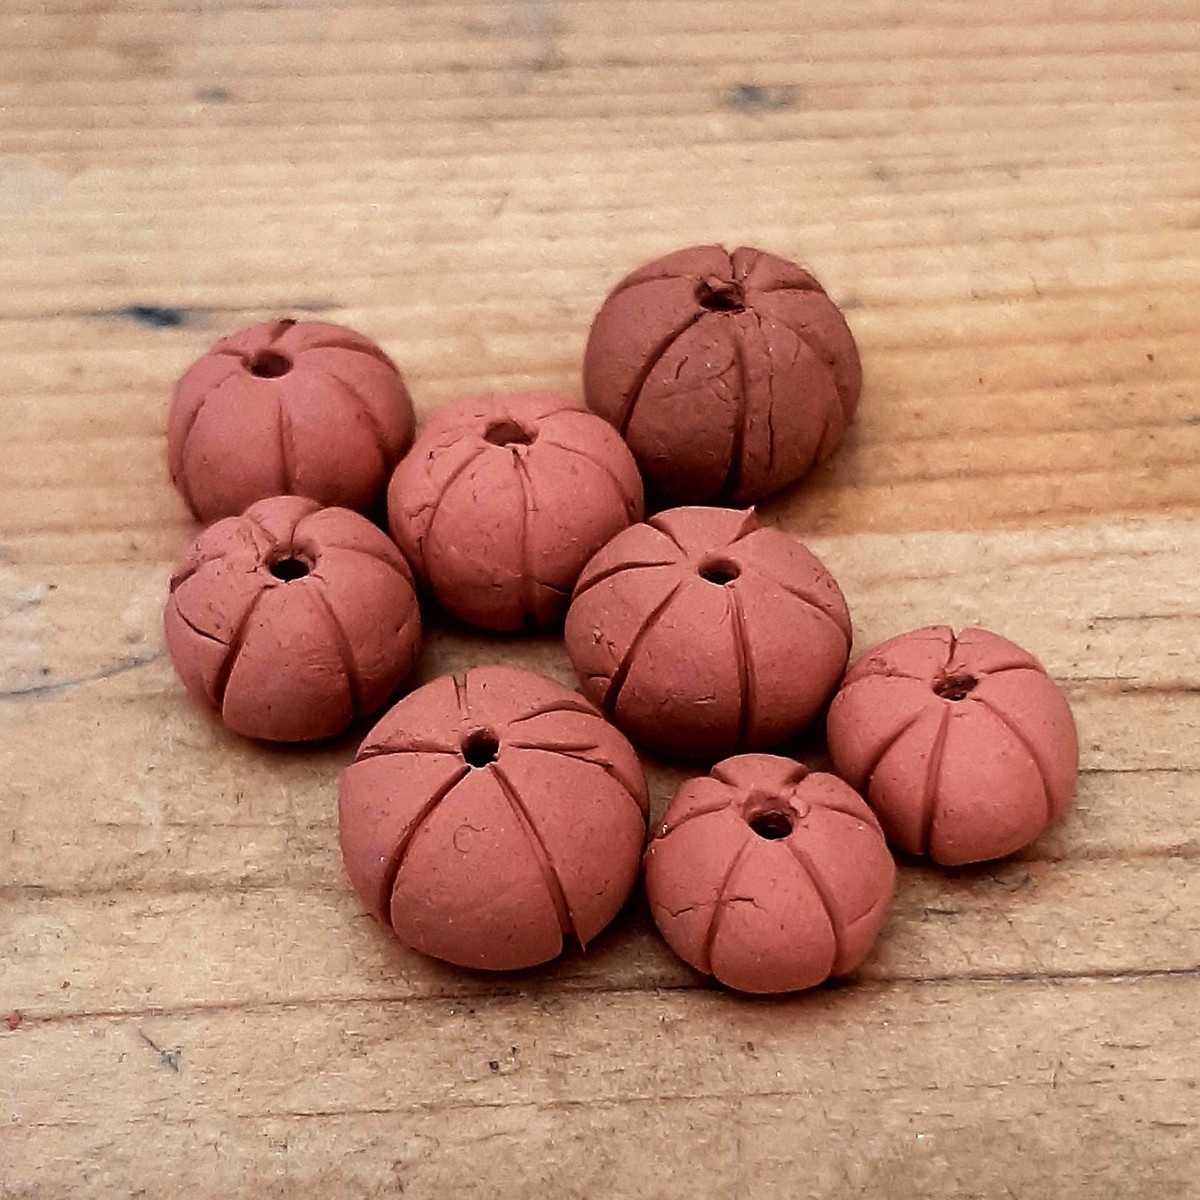
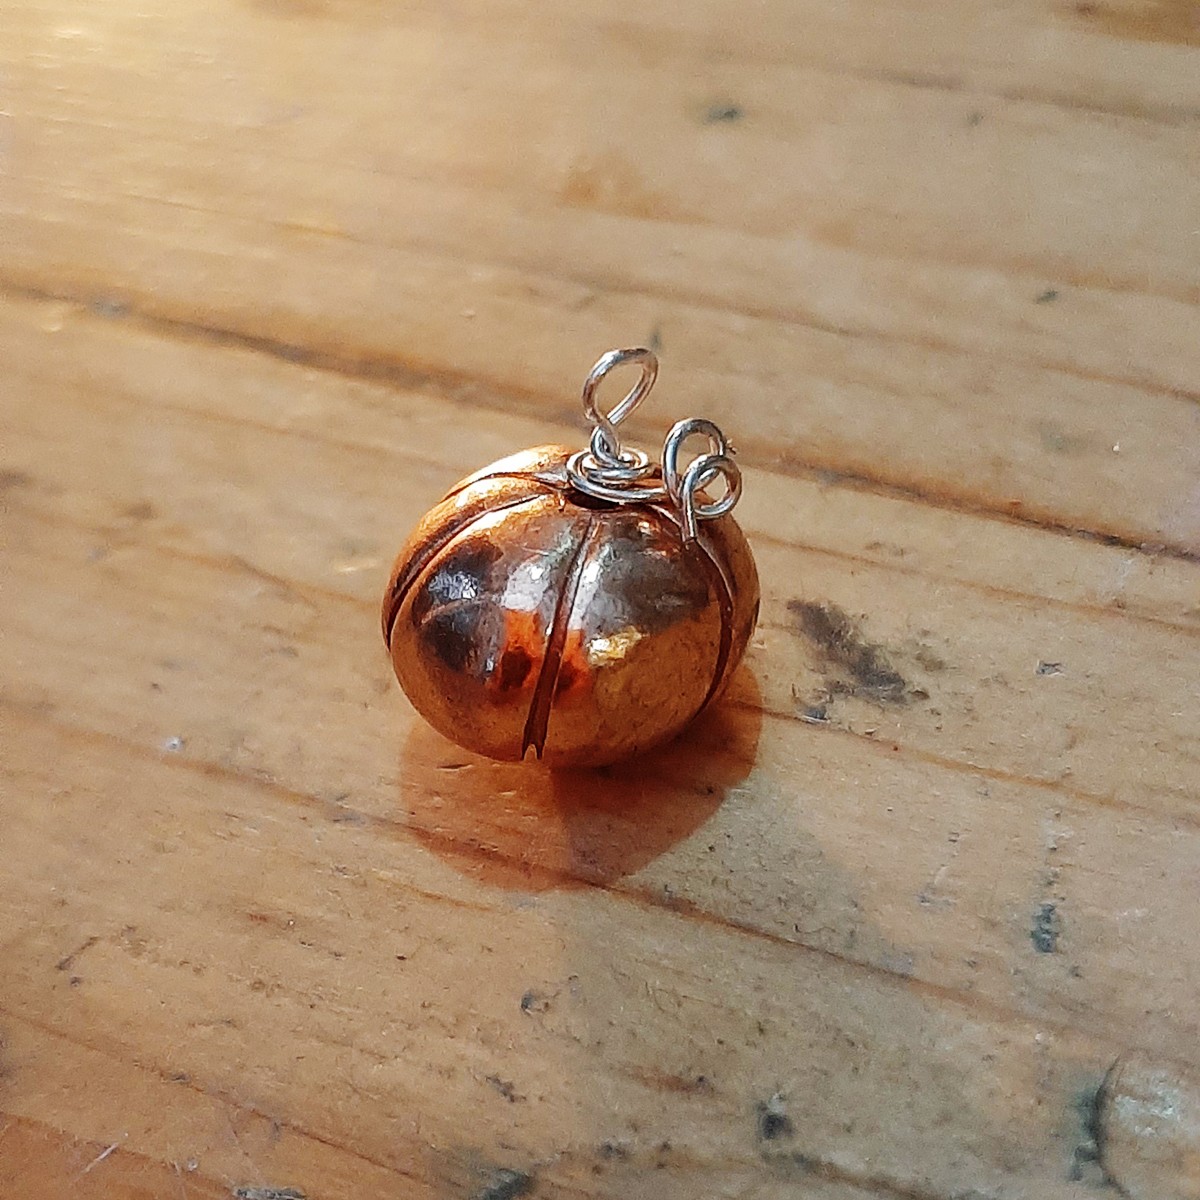
Push a thin round wire through the centre of the ball to make the bead hole. I used a 2mm diameter wire. While the wire is still through the clay use a strip of thin wire (I like to use a spare saw blade) to draw/form lines in the clay ball to form the pumpkin shape.
Step 2: Dry For 24 Hours
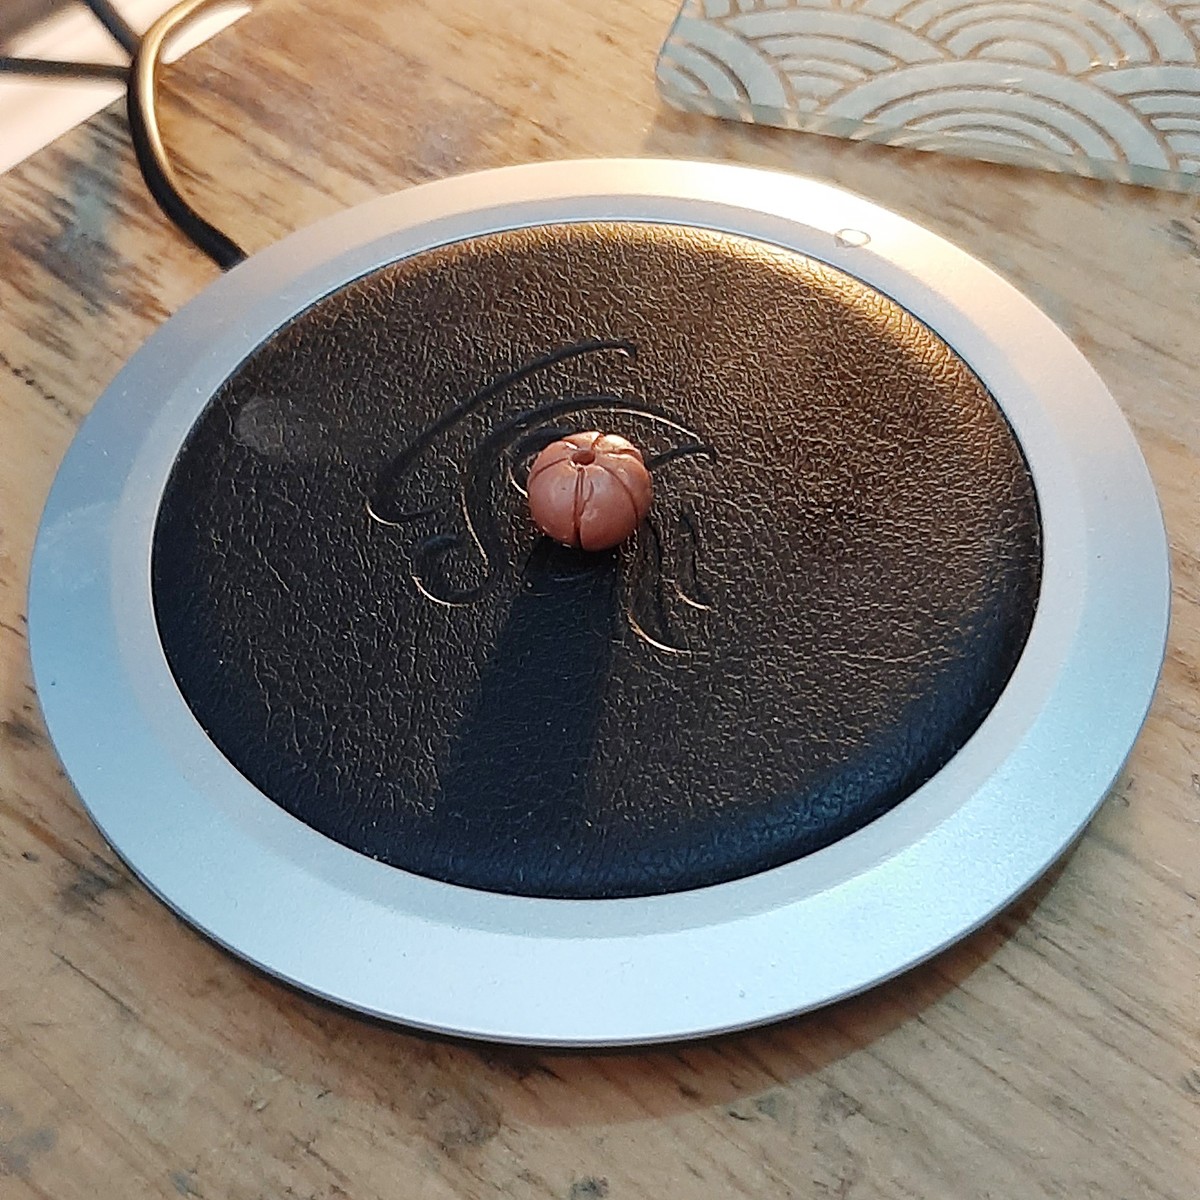
Gently remove the wire from the pumpkin and leave to dry overnight or 24 hours to ensure the clay has dried all the way through. You can use a standard mug heater to speed up the process.
Check the pumpkin has dried all the way through by putting your dried design on a piece of stainless or glass plate while still warm. Leave for a couple of seconds, then remove your piece from the plate. If you do not see any vapour cloud on the plate where the piece was, drying is completed.
Step 3: Fire The Copper Clay
Put your clay pumpkin on a soldering block and fire it using a gas torch. It is very important that you get the clay hot enough, so I recommend firing using a gas torch with a big, bushy flame. The pumpkin may look like it is catching fire but that's just the binder in the clay starting to burn off. It will then turn white and then black/charcoal and then start to glow a cherry red. Start the timer at this point and keep firing consistently for 2.5 minutes. Once the timer has gone off, pick up your pumpkin using tweezers and quench in water immediately.
Step 4: Polish Your Pumpkin
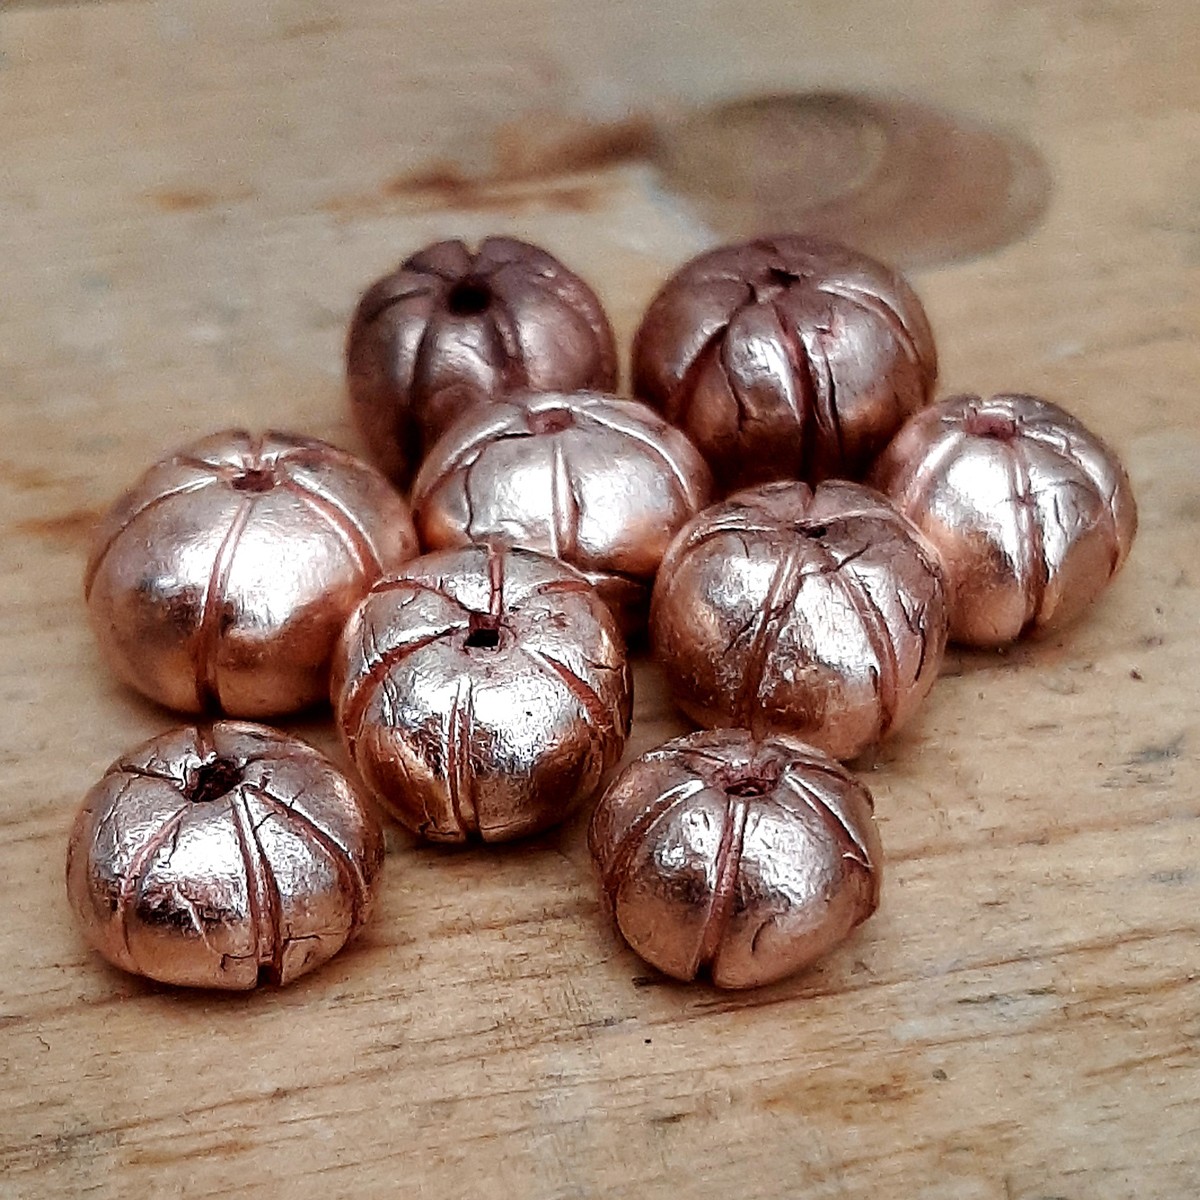
Scrub the pumpkin bead with a brass wire brush to bring it up to a shine and remove any oxidisation from the firing process. The remaining clay will be rubbed away and the copper will appear. You now need to polish the bead so I put it in a barrelling machine for about 2 hours. If you’d prefer to hand polish your pumpkin, you can work your way through the colour grades of polishing papers.
Step 5: Threading
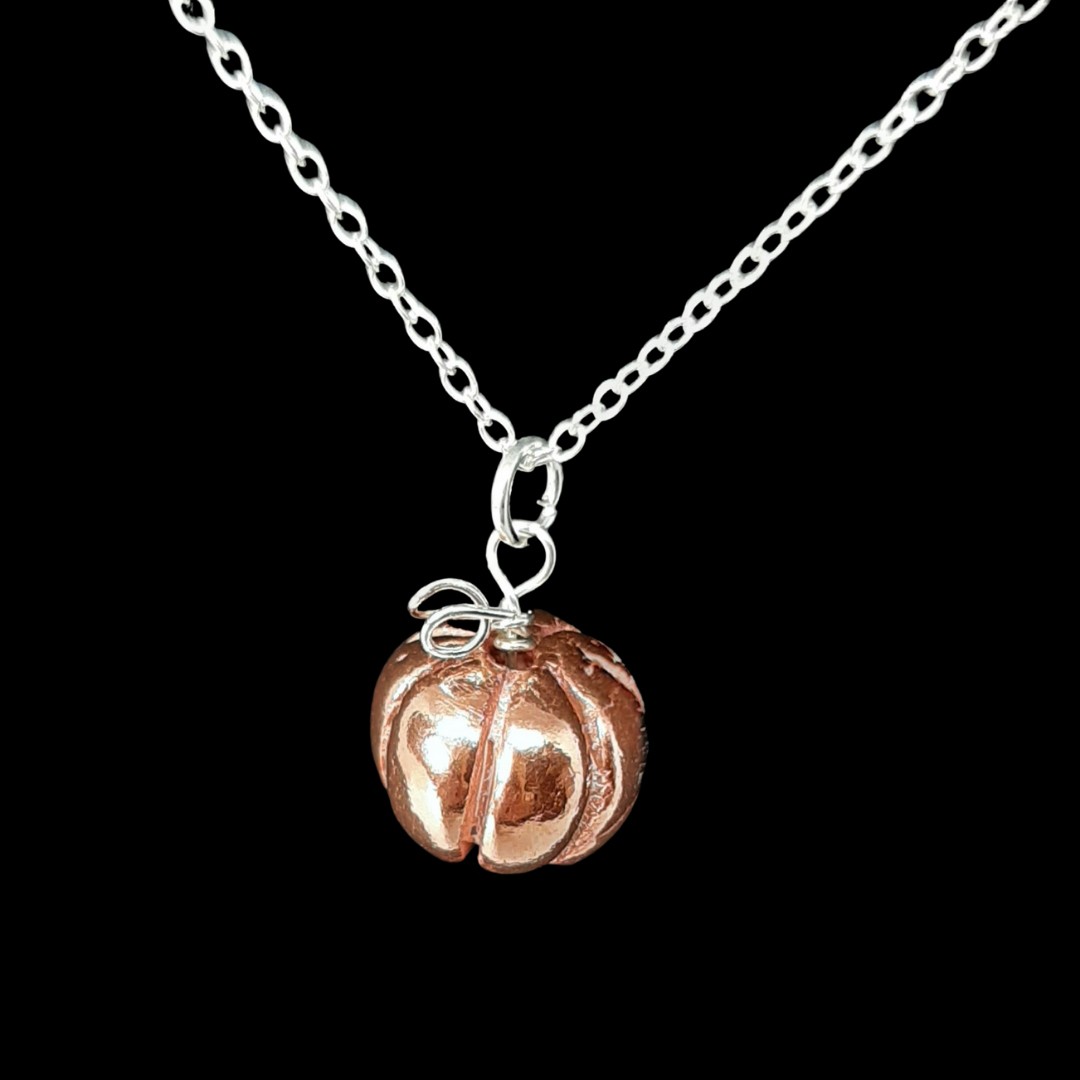
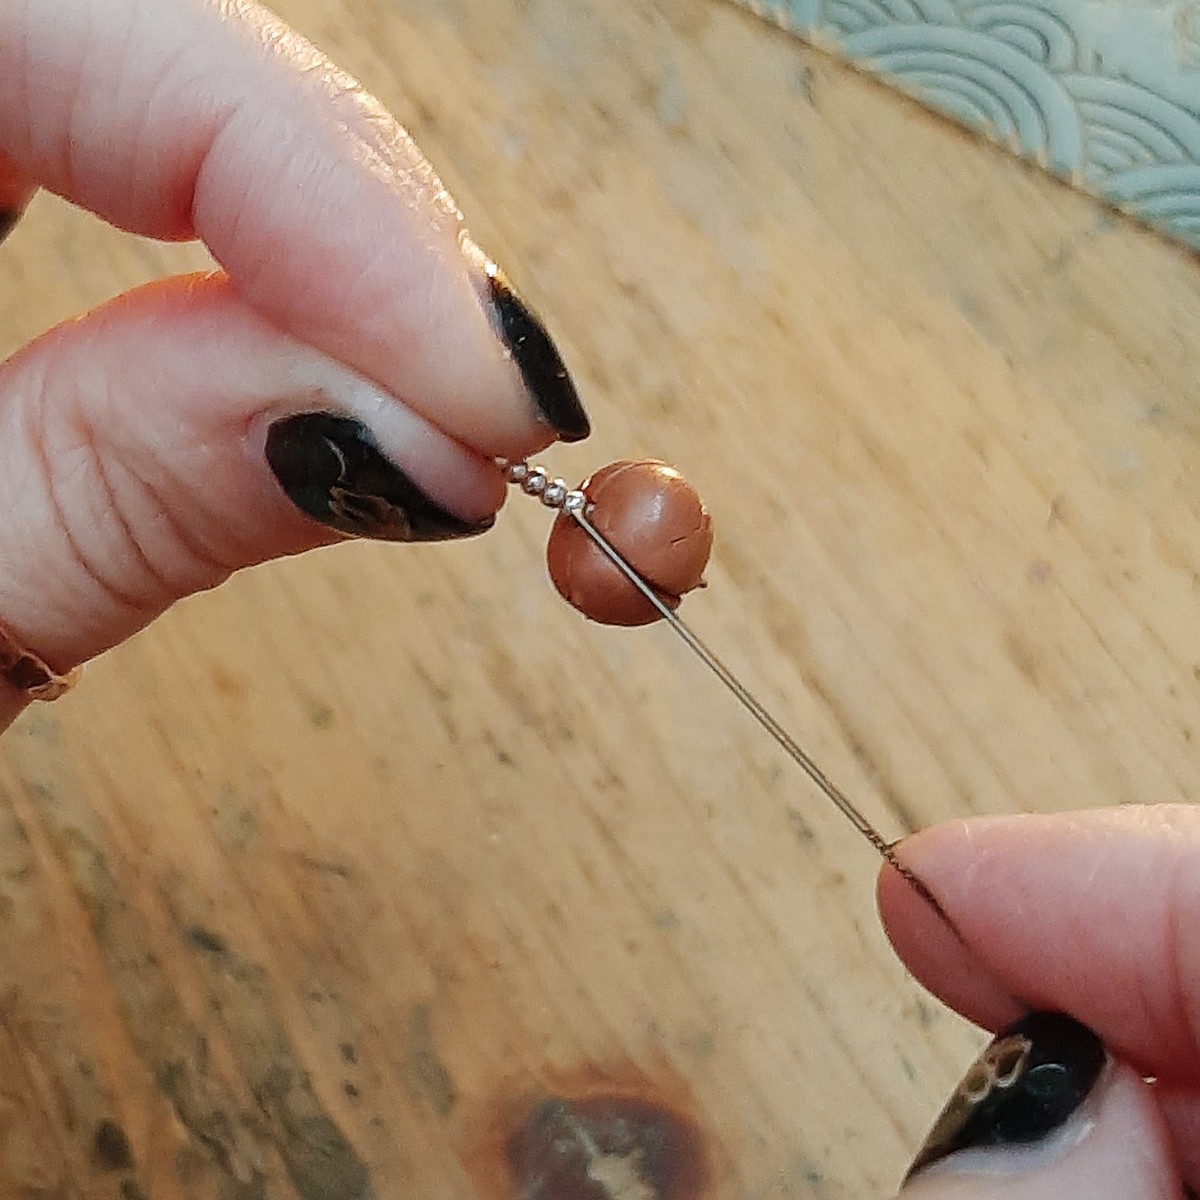
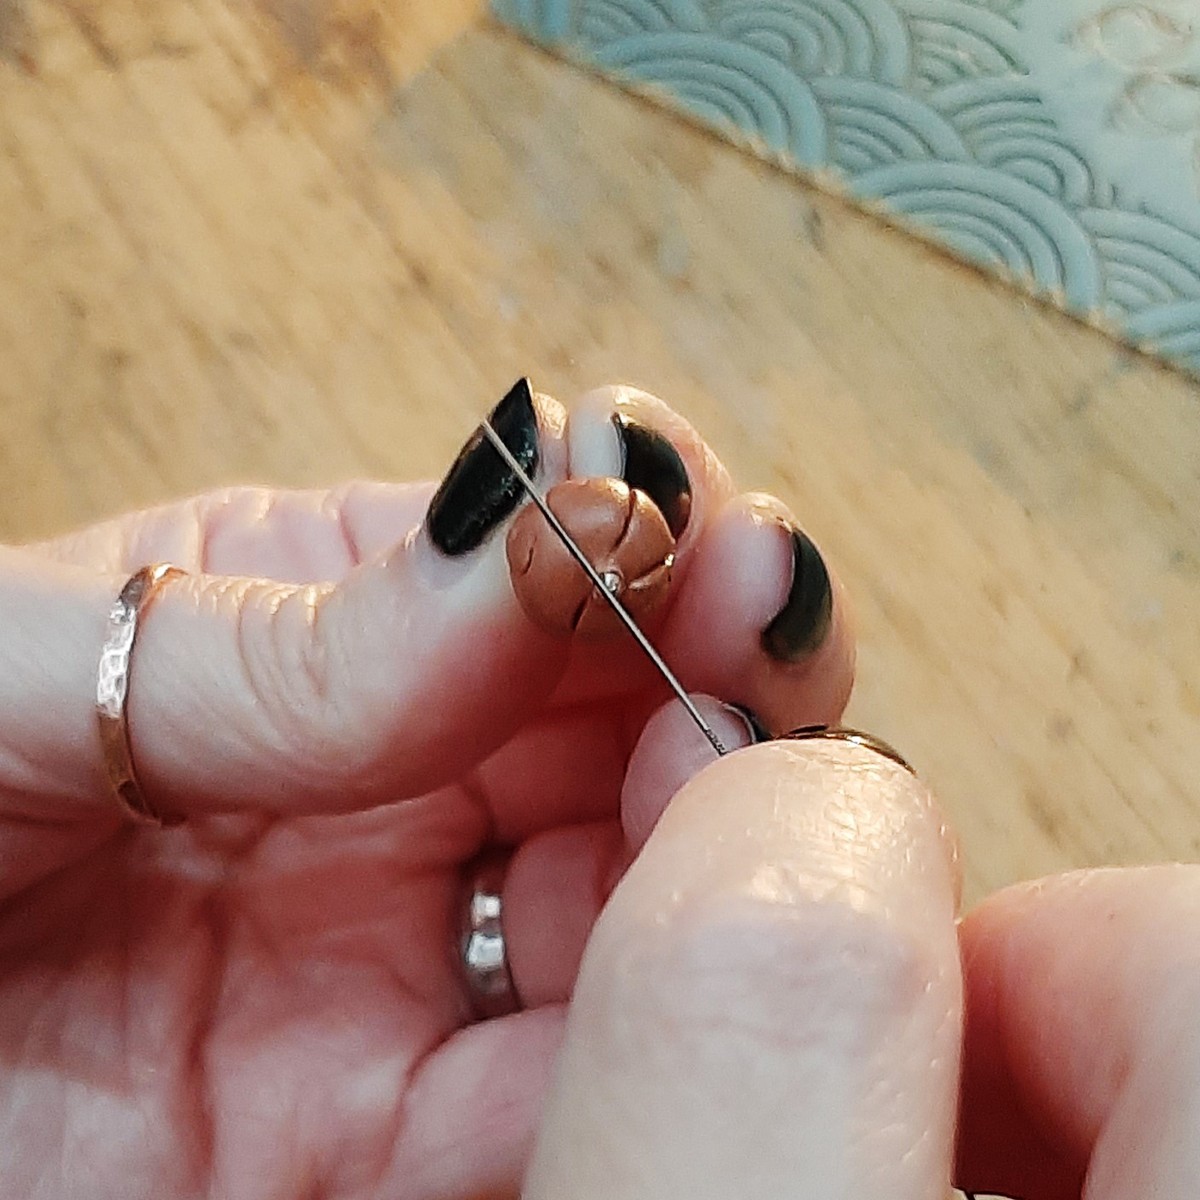
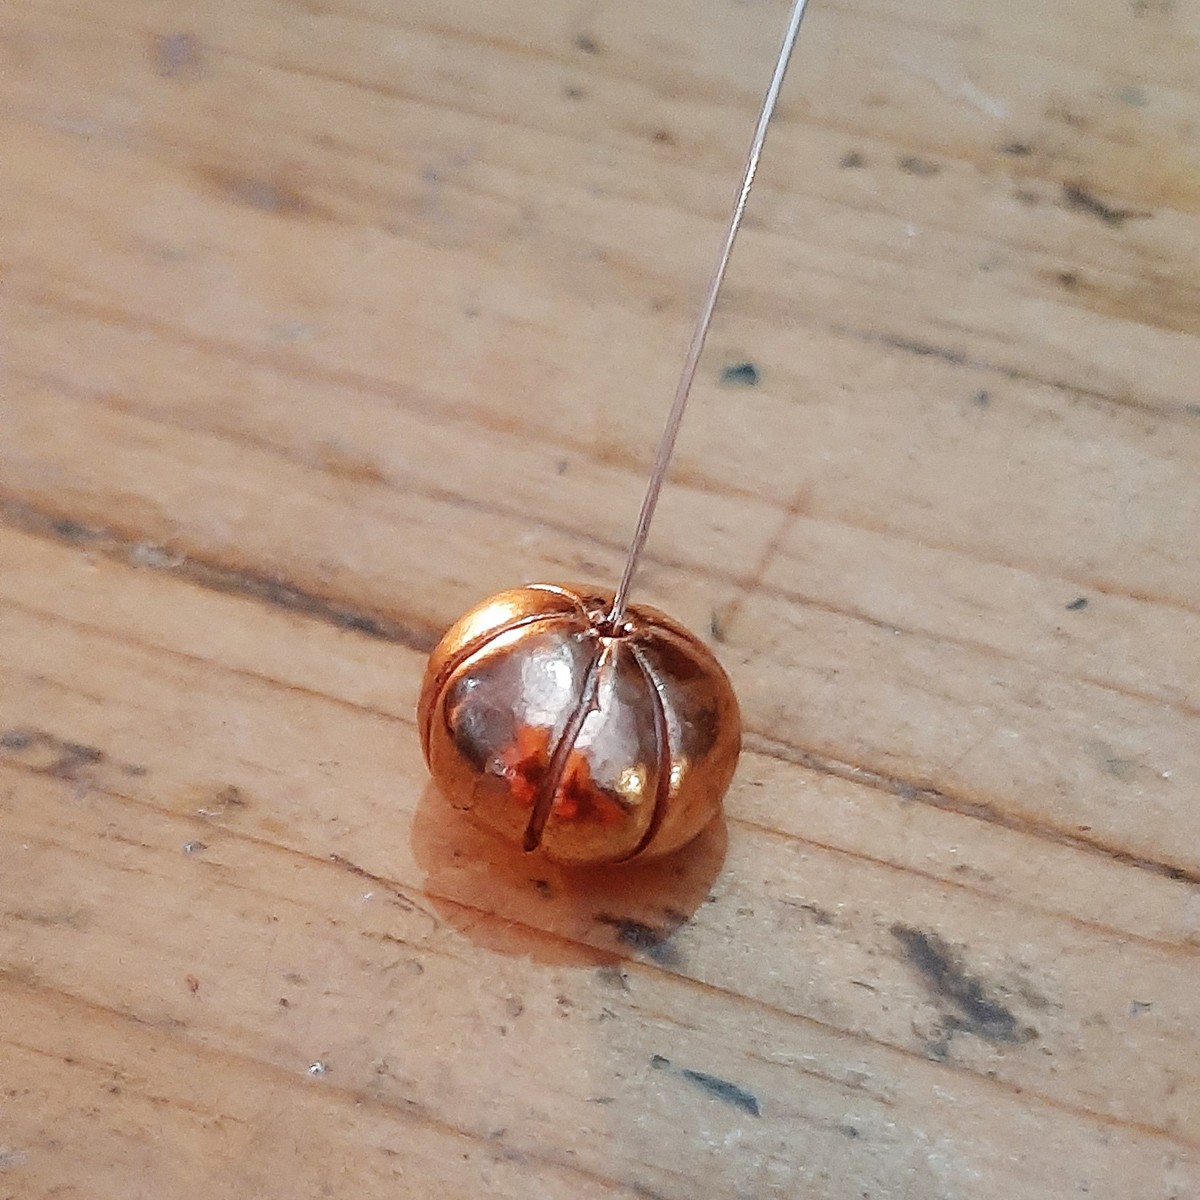
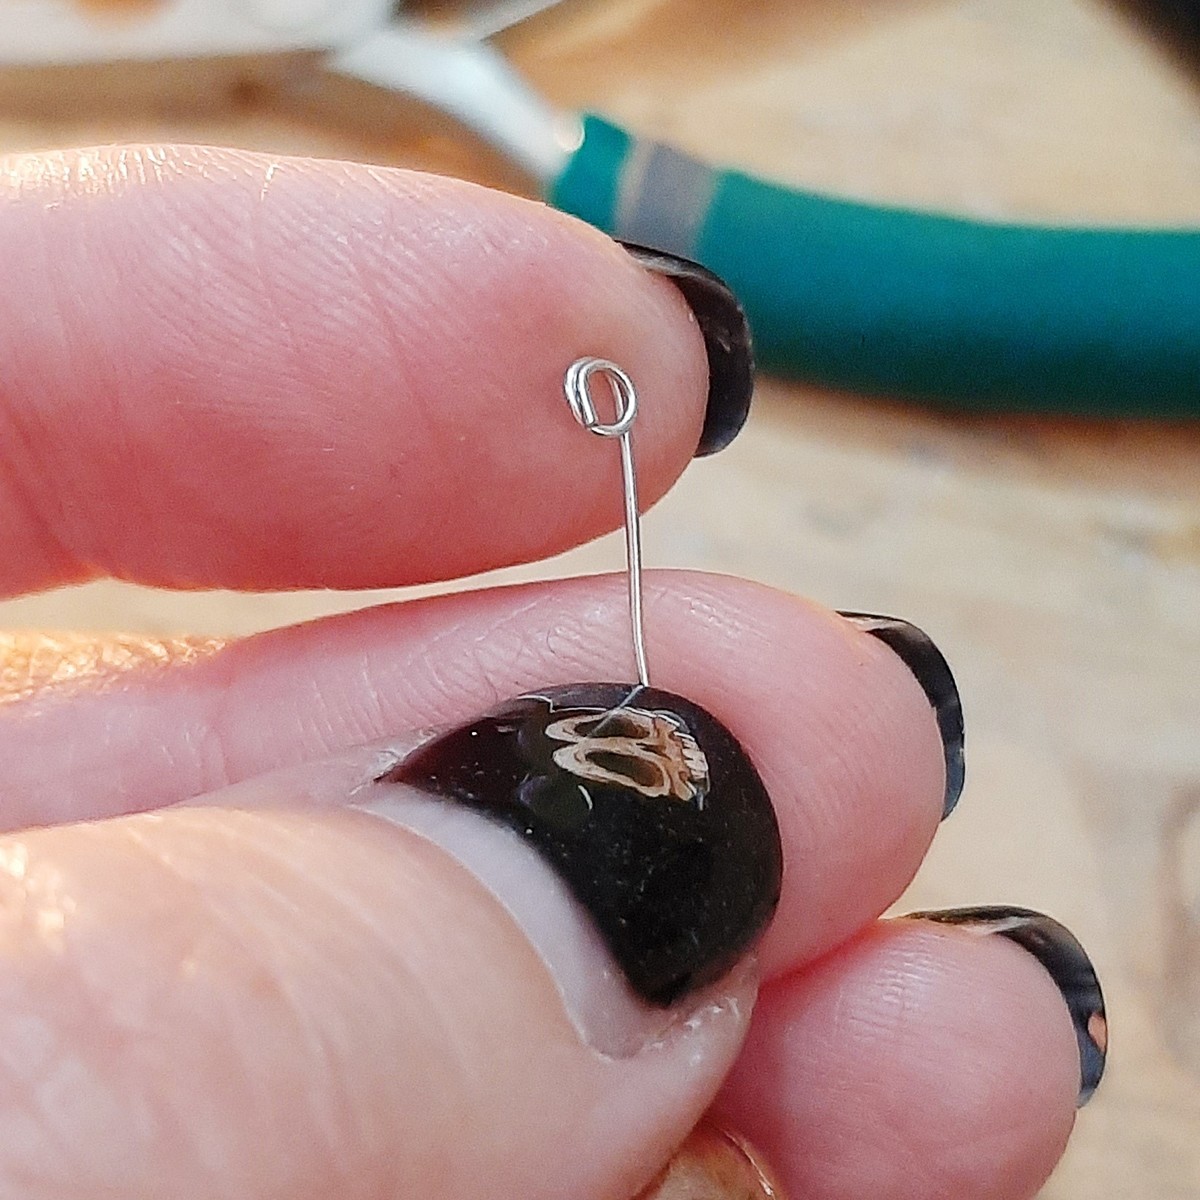
To hang the pumpkin bead from a chain you need to create a loop with a headpin. I used a silver one to add contrast, but you can use any colour you wish. Pass the headpin through the hole in the pumpkin and using pliers wrap the headpin around round nose pliers a couple of times to create the pumpkin stem. Remove the pliers and create a loop with the round nose pliers, you can use snipe nose pliers to help you manipulate the shape. Twist the rest of the head pin around the base of the headpin as shown. Take the end of the headpin and pull to create a twist that represents the stem of a pumpkin. Attach a jump ring and put on a necklet chain of your choice.
Your Copper Clay Necklace Is Finished!
A unique copper pumpkin pendant perfect to wear for Halloween, Autumn or if you're like me, all year round!
For more information on firing copper clay please check out this Kernowcraft article.
About Guest Tutor, Sam
Sam lives and works in Cheshire with her husband and her puppy. Her unique gothic jewellery is influenced by different cultures, ancient history, and a fascination with memorial jewellery. She is inspired by a personal desire to create pieces for people who want a delicate touch of the gothic with their everyday outfits.
Sam loves the hints and tips she can find on Kernowcraft’s tutorial pages which supplement the jewellery making lessons she's had. She’s very happy to be sharing this tutorial with us!
Follow Rock And Rose Jewellery
Website www.rockandrosejewellery.co.uk
Instagram @rockandrosejewellery
Facebook @rockandrosejewellery
And So To Shop Profile @rockandrosesam
Shop All Metal Clay Tools & Supplies
Kernowcraft supplies all the metal clay supplies you need to create unique jewellery designs! Find our wide range of metal clay products, as well as tools and accessories.
Follow More Metal Clay Tutorials
You'll find more guest tutorials to create interesting designs plus handy advice pages to help you in your metal clay journey.
Also in this section:
- Your Questions Answered On Working With Metal Clay
- Essential Tools For Working With Metal Clay
- Three Ways To Fire Metal Clay
- How To Use Two Part Moulding Compound For Metal Clay
- Working With Art Clay Copper
- Making Metal Clay Pendants Using Flowers With Silver Nutshell
- How To Make Fingerprint Jewellery With Metal Clay
- Metal Clay & Enamel Flower Earring Tutorial
- Copper Clay Pumpkin Pendant Tutorial
- Create Charms & Pendants With Metal Clay Moulds
HAVE A QUESTION?
If you have any questions, feel free to get in touch with our friendly team who will be more than happy to give you advice over email or on the phone.
You can learn more and find inspiration by visiting our Jewellery Making Tutorials, Jewellery Making Kits and YouTube Channel. Don't forget to follow us on social media and tag us in your designs on Instagram & Facebook, we would love to see!

