Preparing For Your Jewellery Craft Stall
Claire shares her top tips on preparing for a successful craft stall!
Whether you run a handmade jewellery business or you're a hobbyist, this is a busy time for jewellery makers - whether that's selling at craft stalls, preparing commissions and making Christmas gifts for family and friends.
If you're new to jewellery making, this could be the perfect time to attend a craft stall and show off what you have to offer, it not only will boost your confidence but you'll also get to network with like-minded people and potential customers.
It's always best to do research before the busy period, it's not too late to find local craft events in your local area, find out the most popular events and have some fun!
Today Claire Halligan, from Pop Up Jewellery Ltd talks us through her 'Survival Guide' on running a successful craft stall. Read below as she shares her top tips and how to relax and have fun in the process.
Anyone who has done stalls or is even thinking about doing one knows it can feel a bit like moving house! Luckily I have decided to write this post to help some of my fellow designers and crafters out!
- Claire Halligan, founder of Pop Up Jewellery Ltd
Step 1: Prepare Your Products
Once you know the location, the size of the table and the power you have, you can now plan on the jewellery you will be taking.
When doing a stall you can never know how many products to bring because you never know what the day is going to be like. I always take about 60 pieces of jewellery and create order forms for customers to order an item on the day.
Try going for as many pieces of items you can manage but be realistic and make sure you don't stress yourself out!
Step 2: Plan & Practice Your Stall Layout
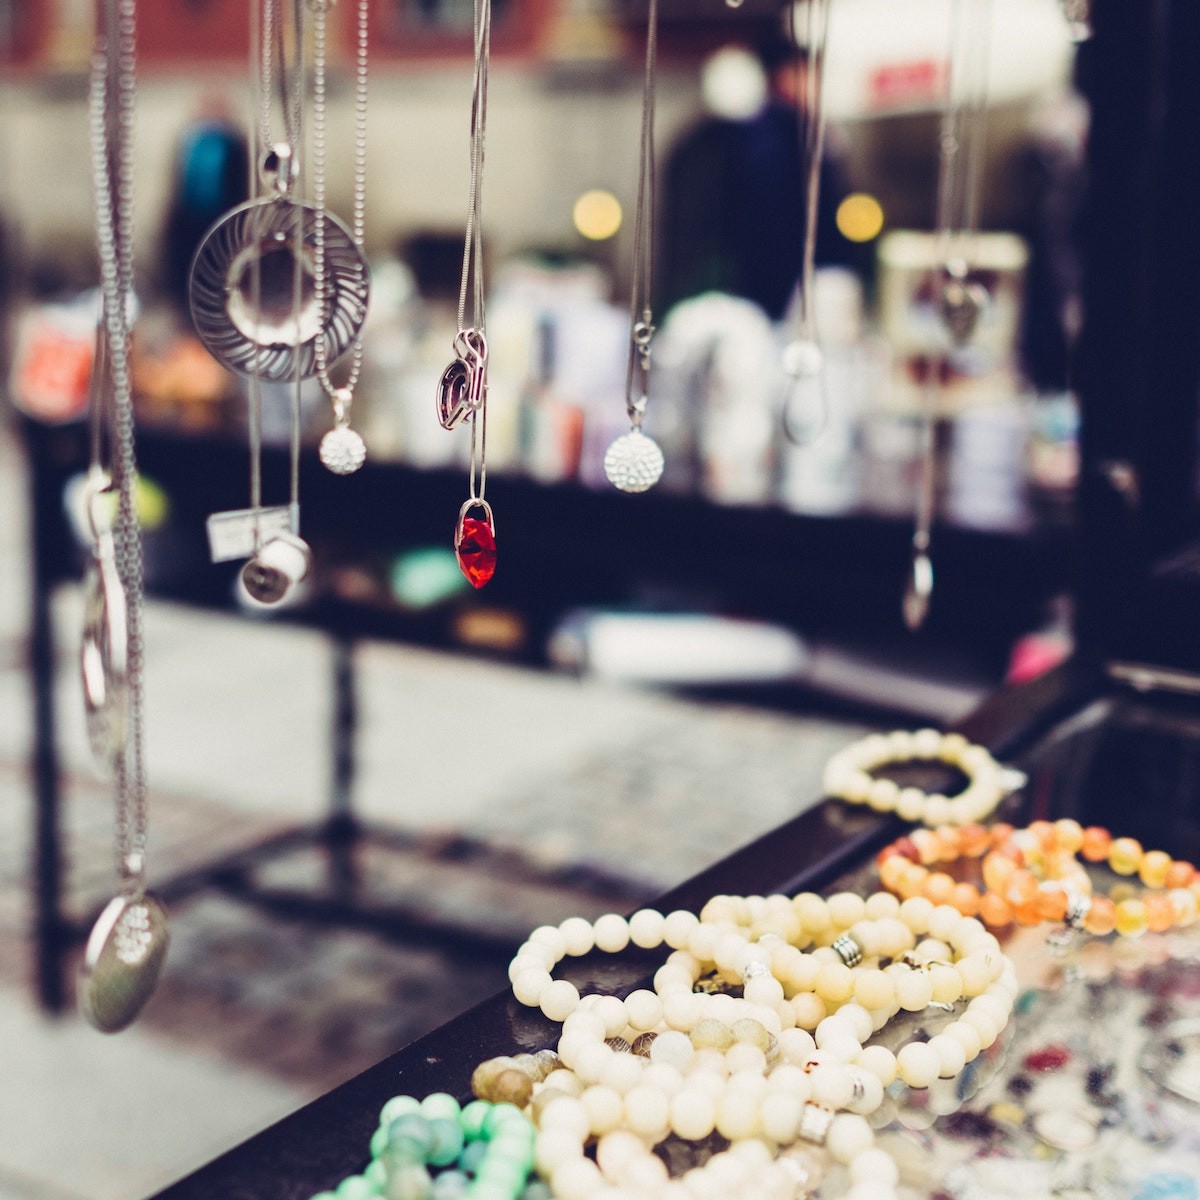
At a stall, it's important to show your jewellery off, so a stall layout can be a real strength for your business. When it comes to my own stall I prefer the minimalistic and neat approach, as I personally feel this suites my jewellery best.
Look at other stall layouts, look at your work and a few weeks before your stall try a dummy run of your stall layout. Take pictures of each setting so you can refer back to the pictures and find which one works best for you. Don't forget to try and put your own style on your stall layout as best you can!
P.S. Ikea does the best stuff for stall stands!
Step 3: Consider Taking A Card Machine
This is such a game changer as over the course of my stall experience, most of my customers pay with card and if you think about it - we always have a card on us!
There are many card readers out there, although the two I have heard work best are PayPal and Izettle.
Step 4: Sort The Essentials
Lint Roller
If you have a dog or any form of pet a lint roller Is going to be your
Portable Charger
Whoever made the portable charger is a God to me! Especially since I need my phone to use my card machine and my phone has next to no battery so a portable charger is so handy - especially if you want to keep your social media updated.
Tape
Your new best friend
Scissors
Handy for everything
Price Tags
This was my first
Step 5: Prepare The Night Before
Okay so far everything has been prepared! You have your products, your card machine, your stall items and your essentials!
Pack everything up the best you can the night before and now all that's left is a good nights sleep.
Step 6: Wake up and get the kettle on!
So you have woken up at the crack of dawn on the day of your stall, the first thing to do before anything is properly wake up and don't rush! Get yourself a cuppa and take five minutes to yourself and breathe...
Don't forget to take some warm clothes, a chair to sit yourself on and a flask of tea to keep you going!
Step 7: Market time
Set up your stall and relax... all the hard work is done!
Now it's time to chat to your customers, get those sales in and pat yourself on the back sunshine!
Check out these great craft fair setups by jewellers below!
Joy from Wild Stone Creations just attended her first ever craft stall event! We asked her what inspired her to take the step...
I was motivated by my fellow crafting friends to just go for it and try a craft fair. I also wanted to stay authentic to my brand with a handcrafted feel and purchased half of my displays from other Etsy crafters or I made them myself.
Sarah Drew Jewellery gives us her top craft stall tips below!
I'm constantly reassessing how to set up an effective stall and change it all the time, even at a fair responding to what's working best. It's a lot of trial and error. I think the main thing is to be neat and clear so your products are shown really well. Visible prices are very important; people don't often want to ask. Little cards with product descriptions help I think and different heights to keep your stall looking interesting. Oh and lights - especially important for jewellery.
Also in this section:
- 8 Reasons To Do A Jewellery Making Course
- 5 Steps To Creating A Profitable Jewellery Business
- Jewellery Photography Guide
- 12 Tips When Taking Photos Of Jewellery On Your Phone
- 5 Tips for Photographing Your Jewellery
- Jewellery Packaging Ideas
- 10 Packaging Tips For Your Handmade Jewellery
- All Your Questions Answered On Hallmarking Jewellery By London Assay Office
- The Power of The Jewellery Making Community
- Jewellery Making, Copyright & Being Unique
- 6 Ways To Support A Small Business
- Running A Handmade Jewellery Business On A Budget
- Preparing Your Jewellery Craft Stall
- Jewellery Craft Market Vlog & Packing List With Mareike
- 21 Tips For A Successful Craft Stall
- 10 Reasons Your Jewellery Business Needs Social Media
- How To Use Instagram For Your Handmade Jewellery Business
- How To Set Up An Etsy Shop For Your Handmade Jewellery Business
- Creating A Brand For Your Handmade Jewellery Business
- Branding Your Jewellery Business
- 11 Marketing Tips For Your Handmade Jewellery Business
- 16 Website Tips For Your Handmade Jewellery Business
- Choosing A Brand Name For Your Handmade Jewellery Business
- Creating A Logo For Your Jewellery Business
- How To Price Your Handmade Jewellery
- Top Tips For Designing A Business Card For Your Handmade Jewellery Business
- Sending Newsletters For Your Handmade Business
- How To Run A Social Media Giveaway For Your Handmade Jewellery
- How To Work With Influencers To Sell Your Handmade Jewellery
- 3 Ways To Measure A Customer's Ring Size As A Jeweller
- The Handmade Jewellery Business Christmas Checklist
- 26 Blog Post Ideas for Jewellery Makers
- 4 Ways To Refresh Your Handmade Business
- Top Tips For Selling Handmade Jewellery Online With Carole Allen
- 15 Tips To Stay Safe In The Workshop


