How To Make A Decorative Ring Setting For A Free Form Cabochon
Creating a bezel setting for an irregular shaped stone can seem like a tough task - but don't worry, we've got a step by step tutorial to make it easy for you.
You could use this technique on any irregular or free form gemstone of your choice, such as a boulder opal or a piece of sea glass you found on the beach. The process can also be replicated for calibrated cabochons as well.
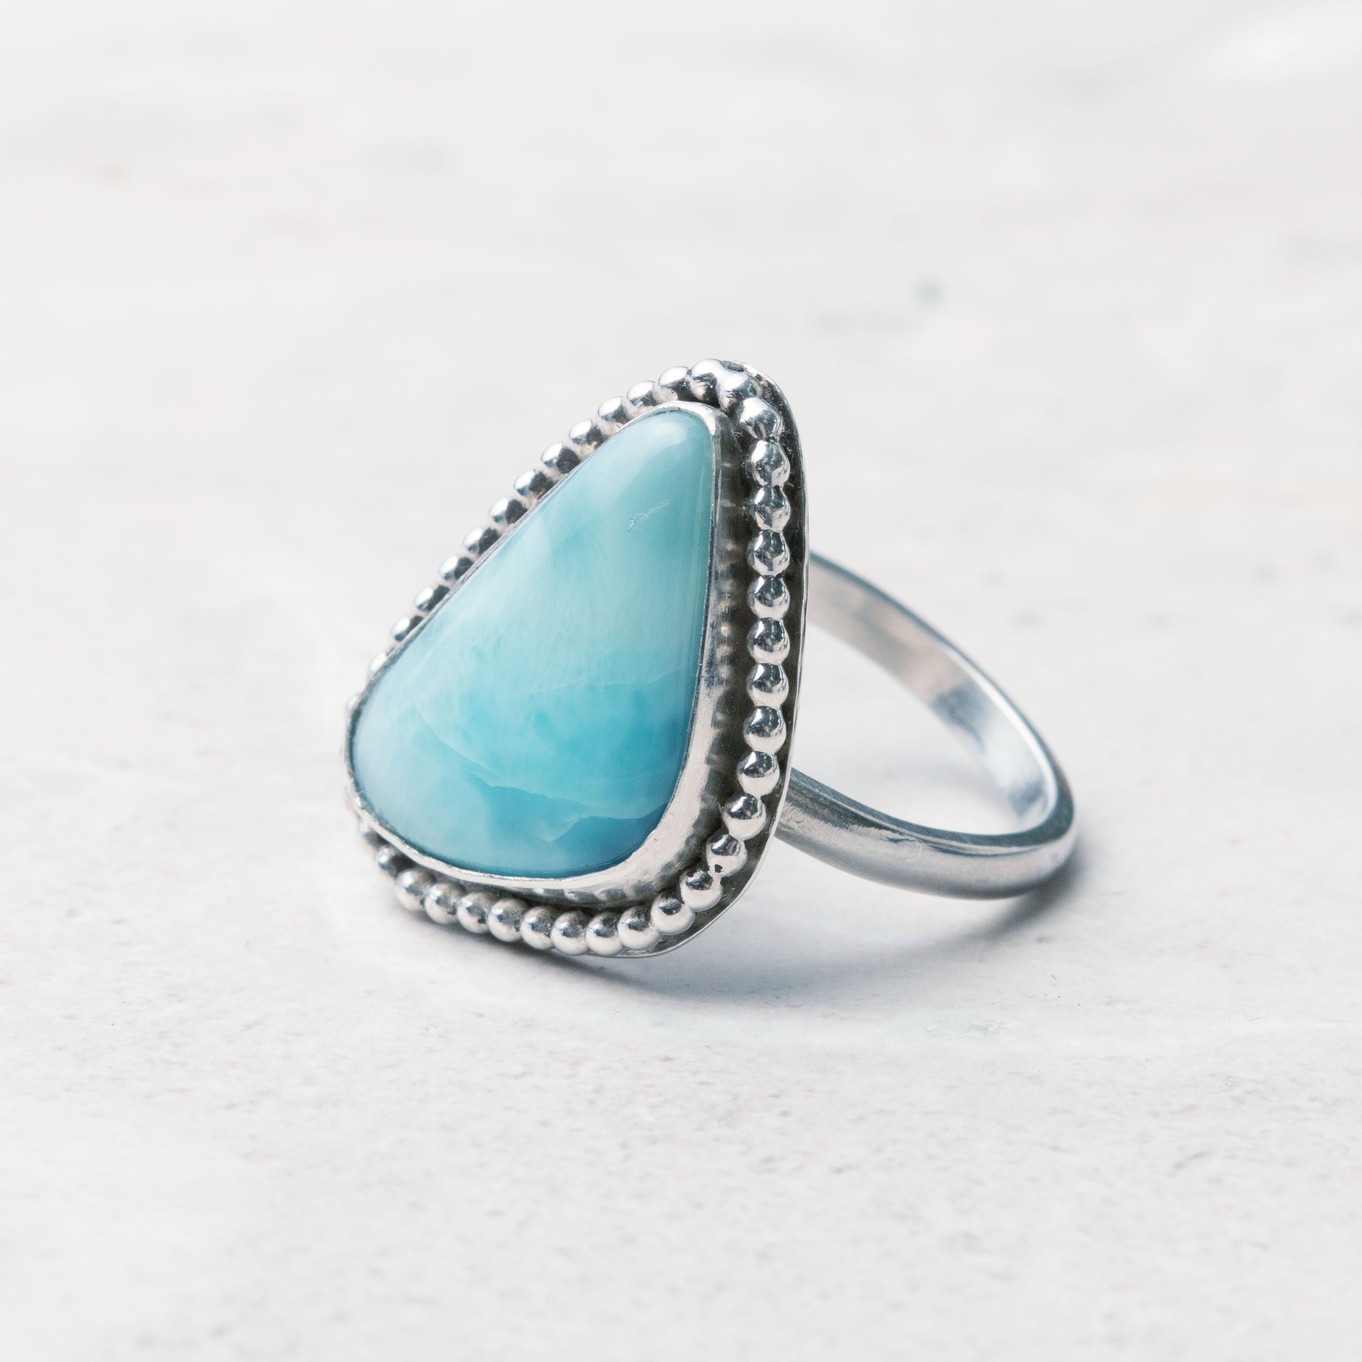
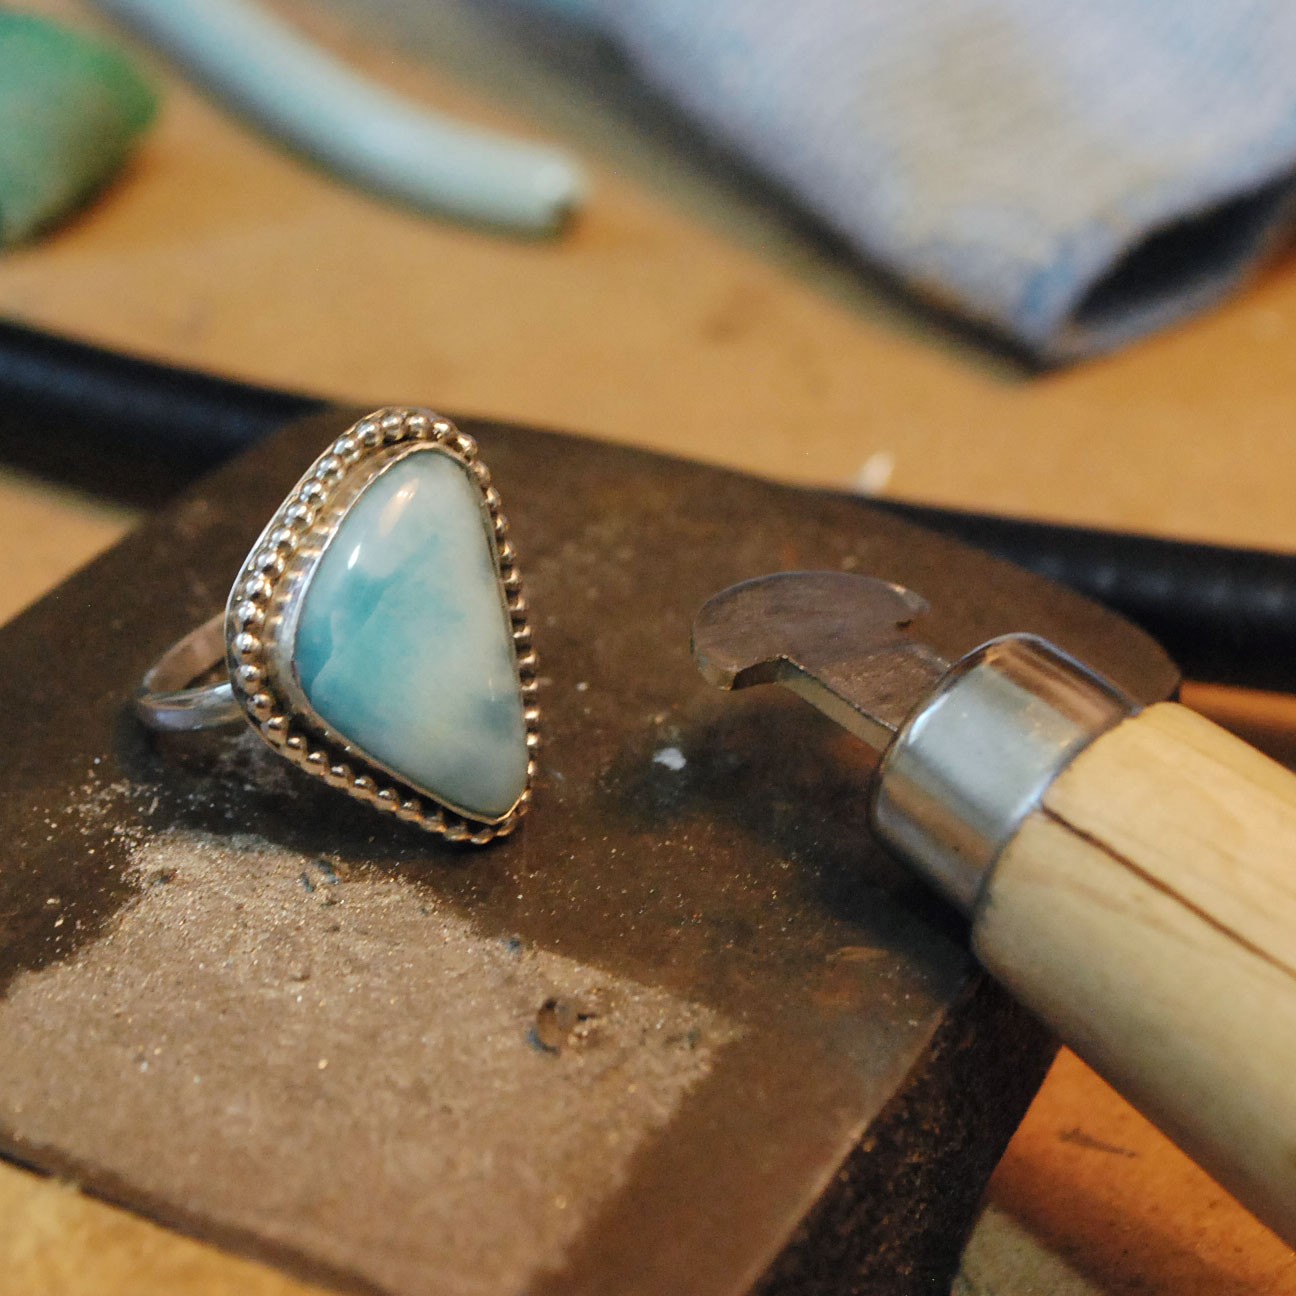
Within this jewellery making tutorial Hayley, Kernowcraft's Buyer shows you how to create a bezel set ring with a larimar cabochon. This is such a beautiful statement ring, with that gorgeous pop of colour and we hope it helps you find some inspiration for your next project!
-
The techniques within this jewellery making tutorial can be used to create a design with more detail or something that is simple to suit your taste and brand. Take a look at the bottom of this page for inspiration using
Project Tools & Supplies:
- Your chosen cabochon
- Bench peg & anvil
- Bezel strip
- Silver sheet (0.5mm used in this project)
- Beaded wire (1.5mm used in this project)
- Metal cutters, saw frame, saw blades & beeswax
- Files
- Plastic tweezers
- Quench bowl & water
- Wet and dry sanding sheets
- Bezel rocker or pusher
- Burnisher
- Polishing papers, power tool (such as Dremel Multi Tool) with silicone polishers or barrelling machine
- Plain ring band - supplies + tutorial here
- Ring mandrel
Step 1: Measure Bezel Strip
Begin by measuring the depth of your chosen stone and select the appropriate bezel strip length. The idea is to have just enough bezel to push over the stone during setting, so you can ensure the beauty of the stone is not hidden by too much bezel!
Tip: Where the stone begins to dome, is the height where you need the bezel.
This is tricky on a free-form stone as they can be irregular but remember that the setting can be adjusted once the bezel is in place.
Step 2: Cut Bezel
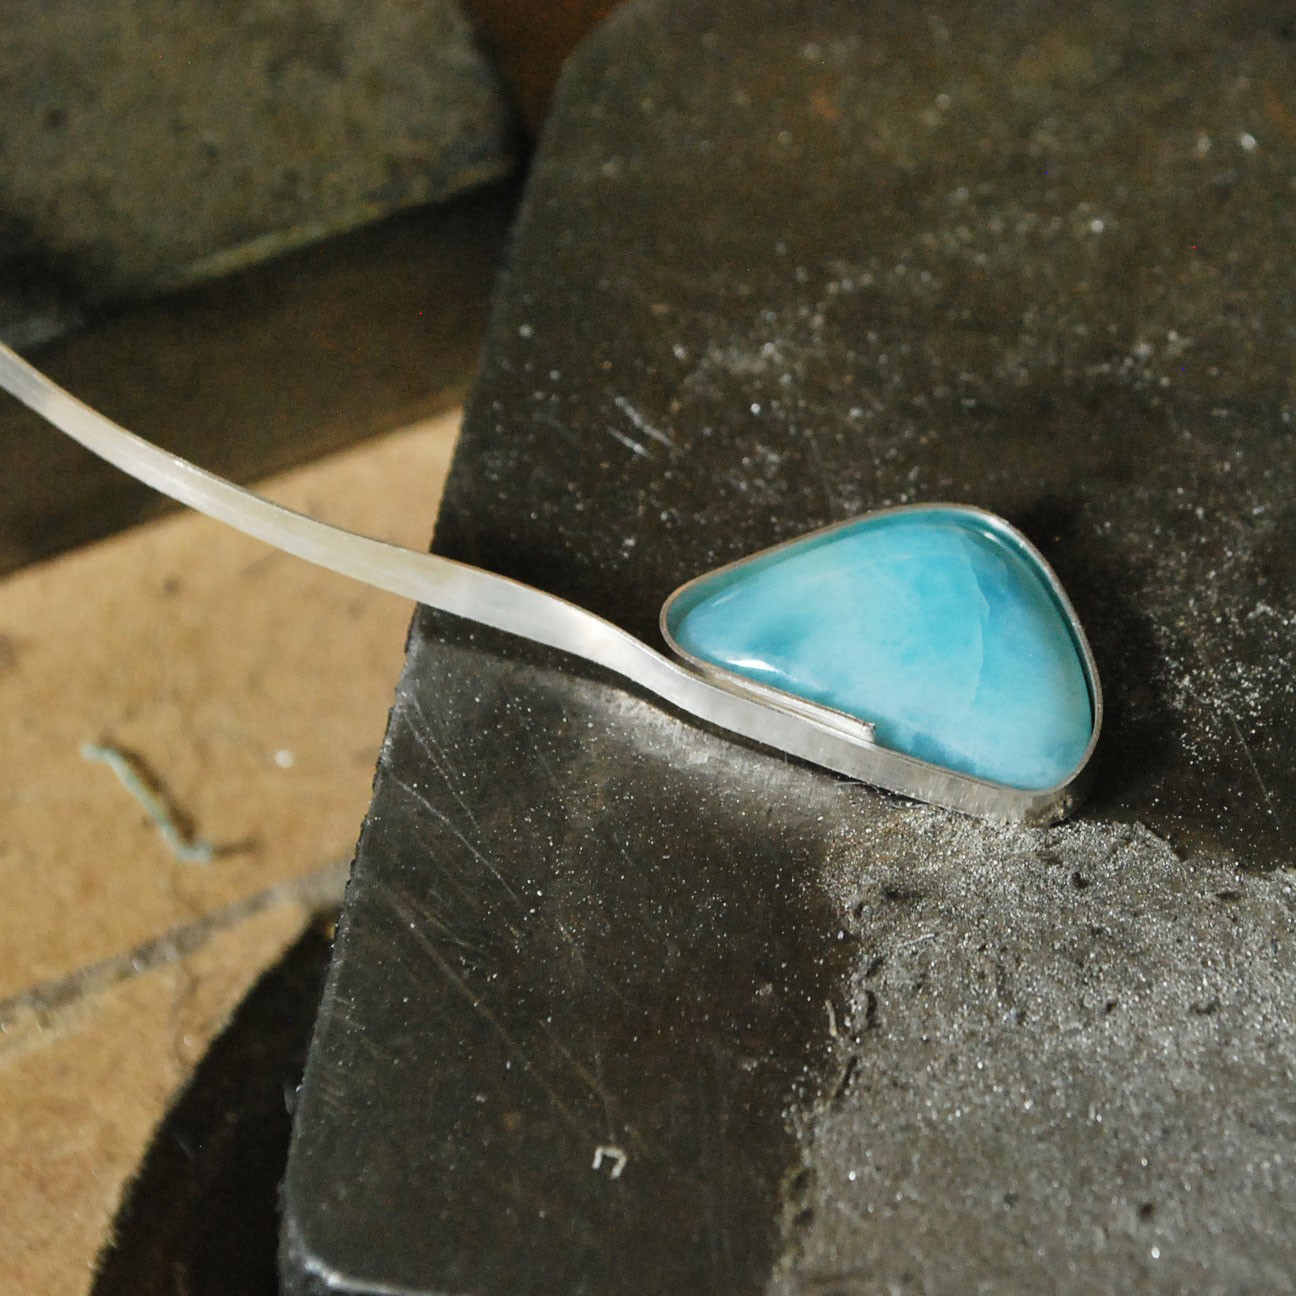
Next wrap the bezel strip around the stone and use a scriber to mark on the strip where you will need to cut.
Always try and have the join on the straightest section of the stone for ease and use the edge of the bezel strip as a guide as this will give you matching ends; having ends that match perfectly will make it easier for you to solder them together.
Tip: Use your files to create a neat flushed join if the ends are not perfectly aligned.
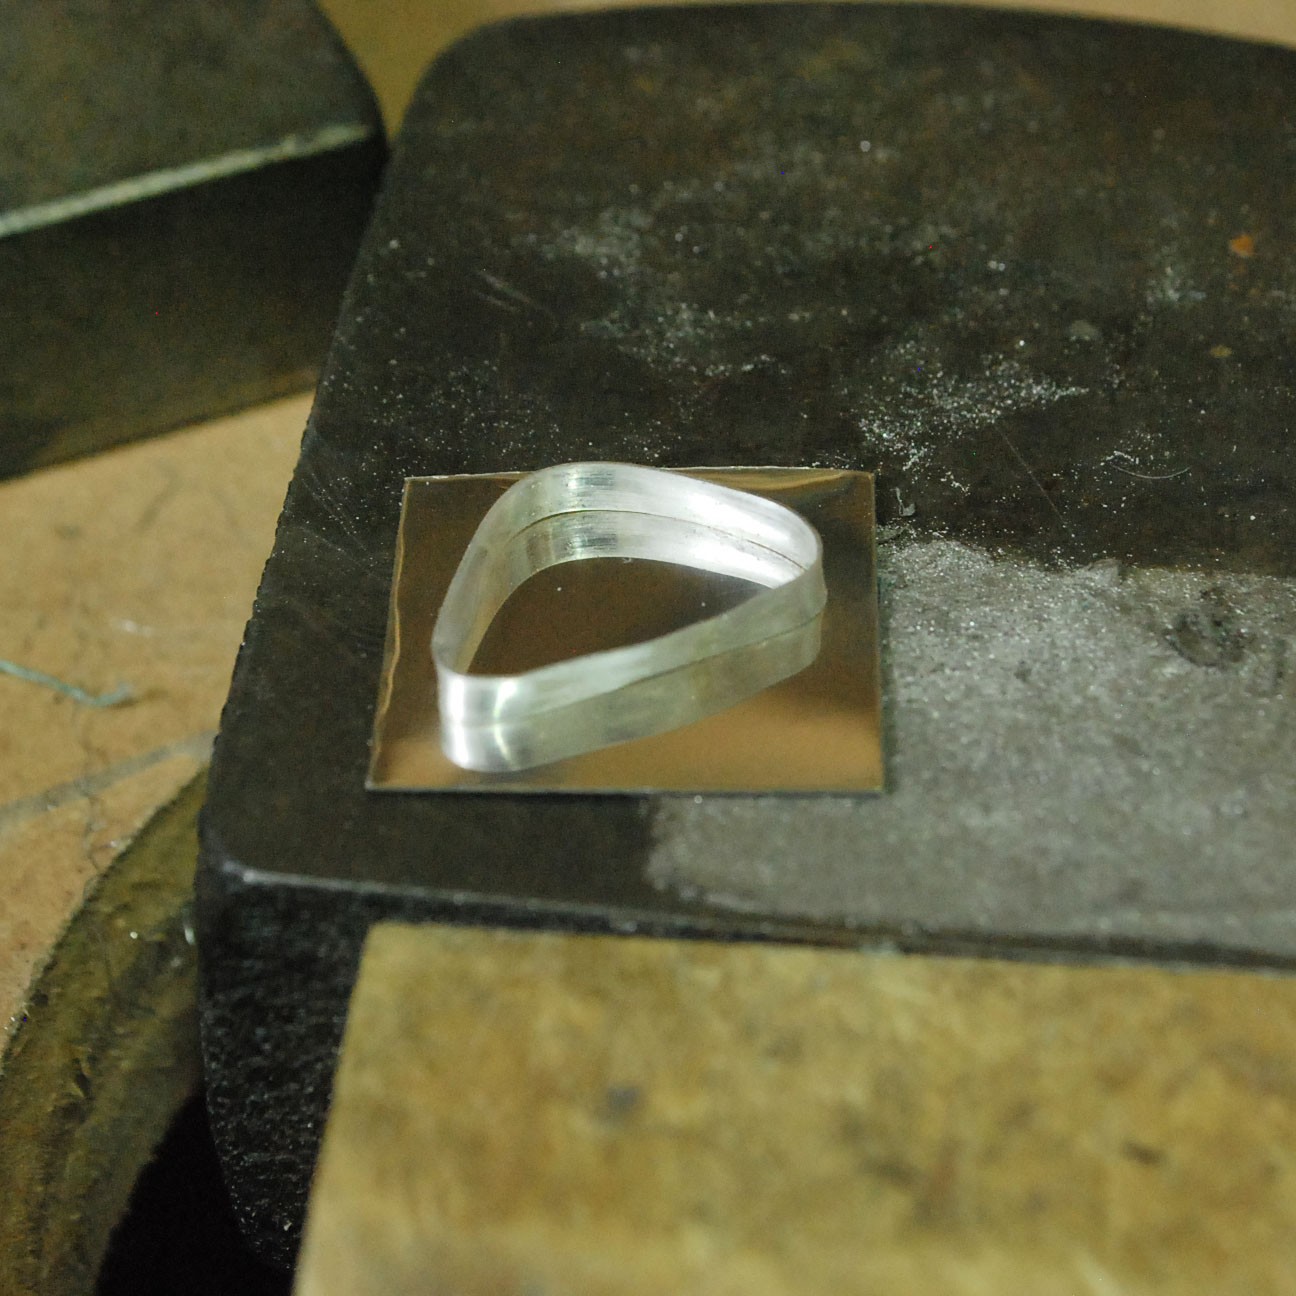
Step 3: Solder & Pickle
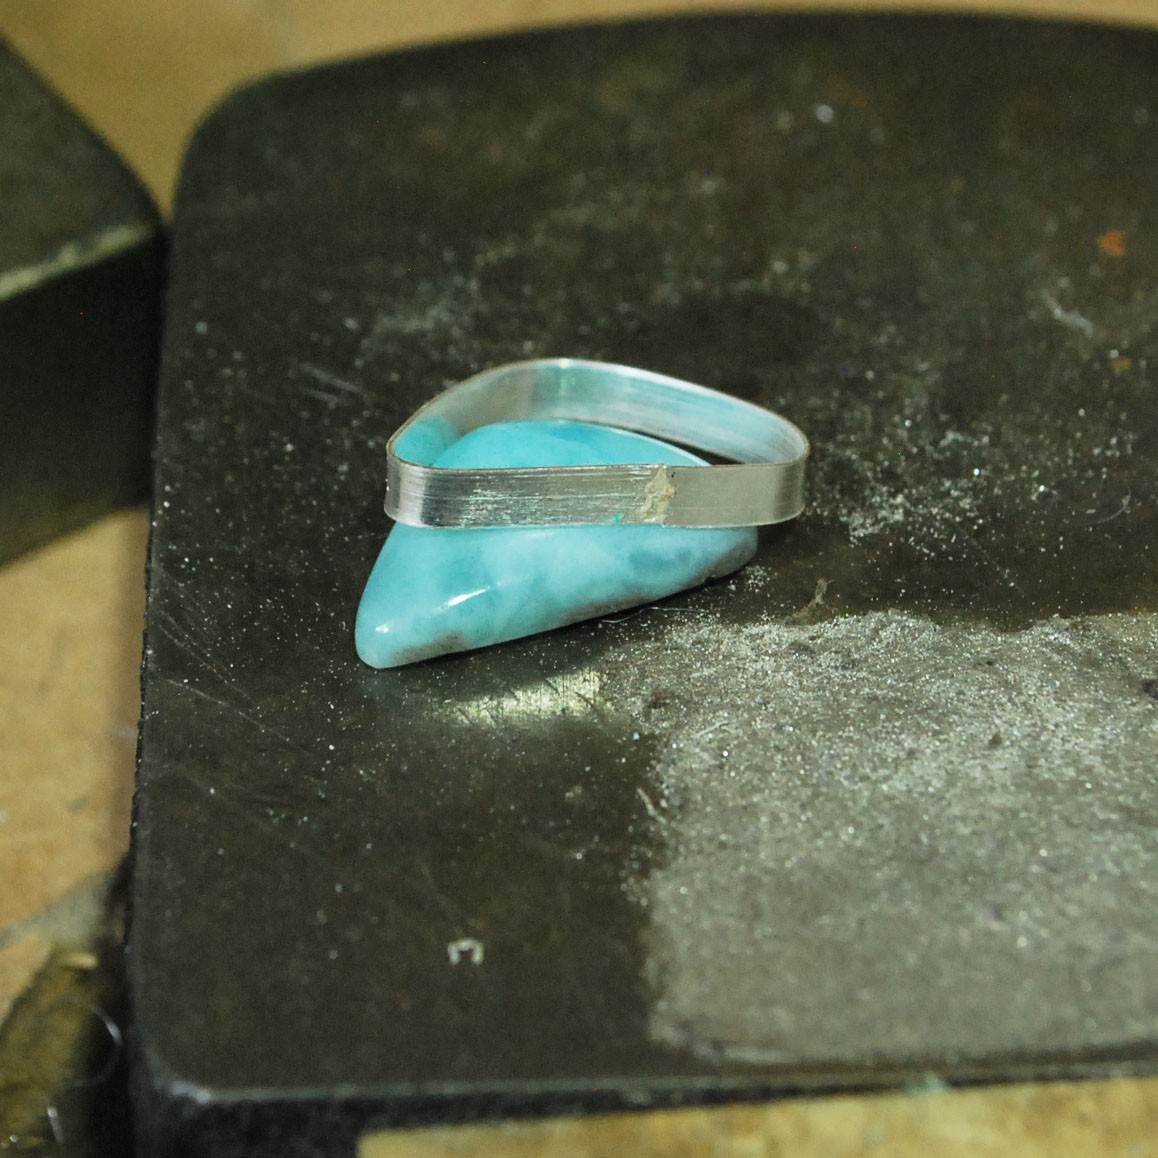
Before you solder the bezel strip check that your stone fits snuggly within the setting and that the ends actually meet.
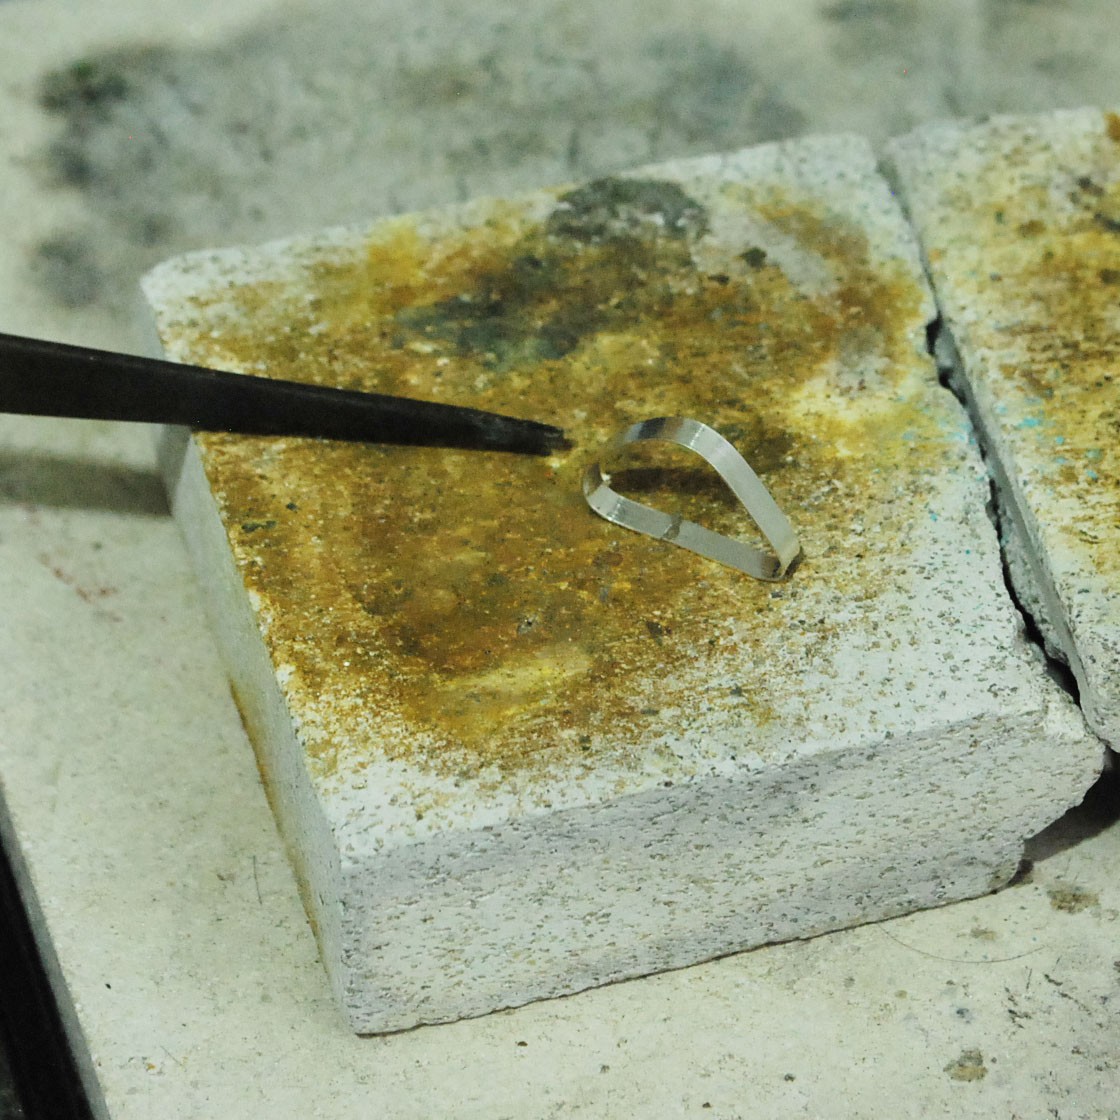
Flux the join (solder paste already has flux incorporated in it so there is no need to flux if using this) and use hard solder paste or pallions to solder the ends together and then quench and pickle your piece to remove fire stain. Remove from the pickle after a few minutes and inspect the join.
File and clean up the join using files and wet and dry papers.
Step 4: Attach
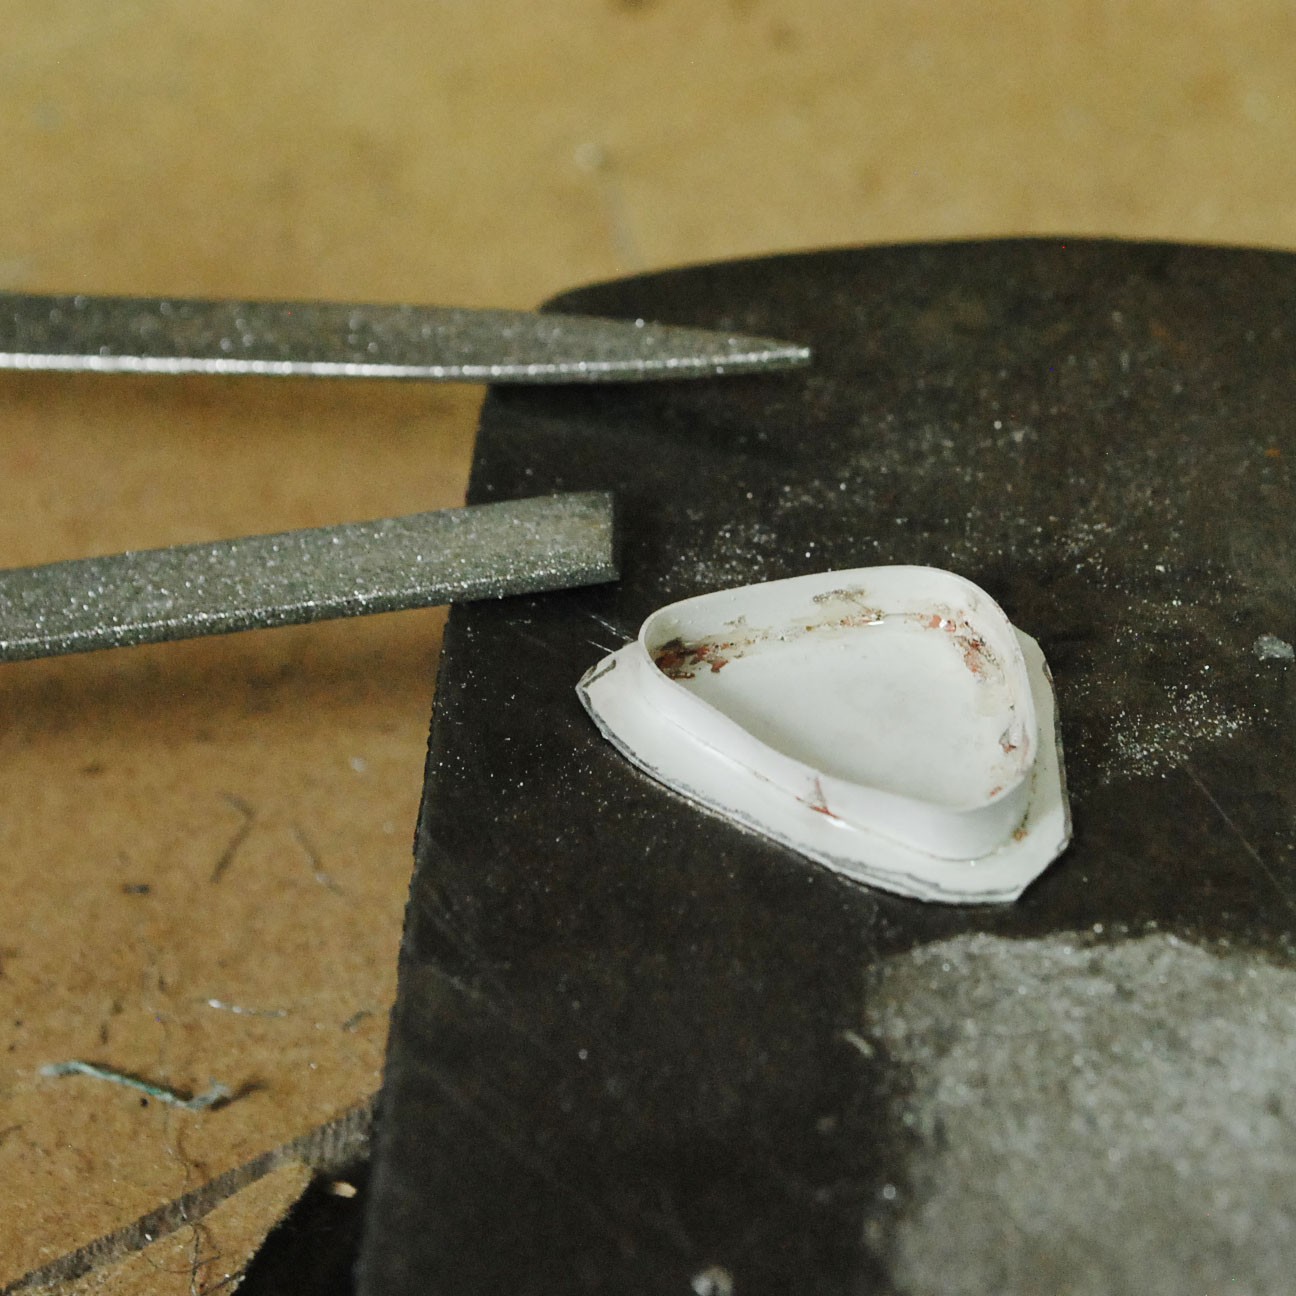
Use a jewellers saw to cut the required amount of metal sheet needed for the design. Now it's time to place the bezel on the silver sheet that you are using and use medium solder to join them together.
The bezel must touch the sheet all the way around and there must be no gaps. Flux the area (if using pallions) where you are going to solder the bezel onto the silver sheet, place solder on the inside of the bezel then place onto your design.
Solder the 2 together, then quench and pickle.
Step 5: Trim Sheet
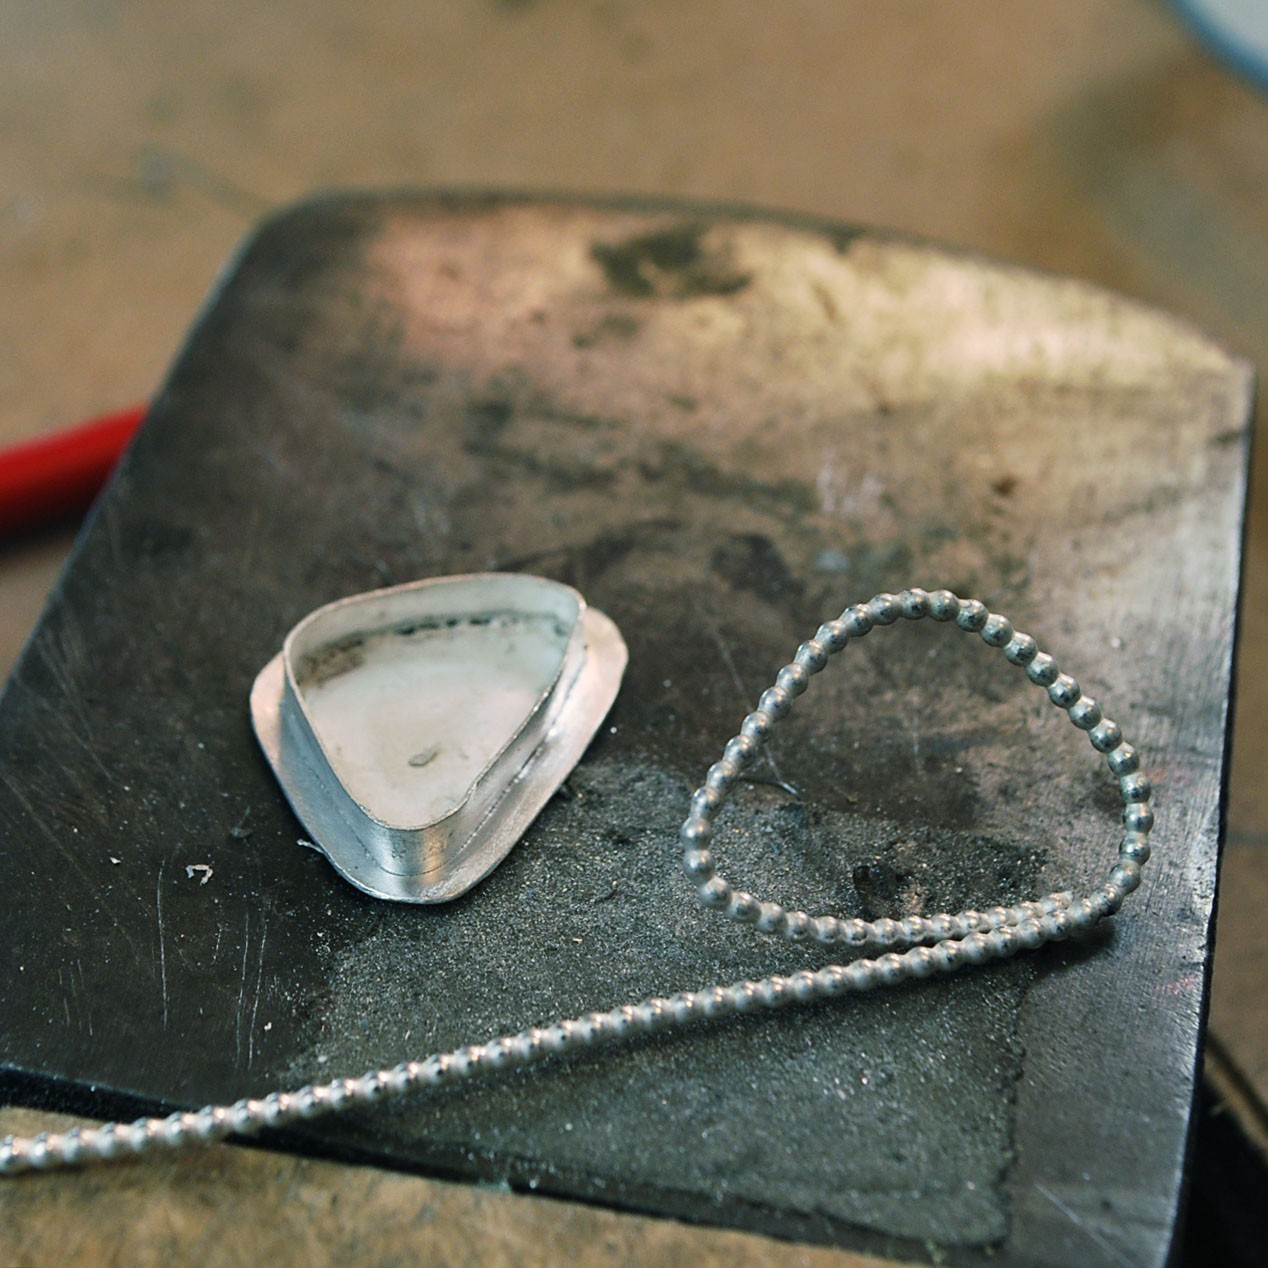
Using jewellery snips cut the excess metal sheet and file smooth, leaving a 2mm gap around the edge so that you can add some beaded wire to the design.
Step 6: Wrap Beaded Wire
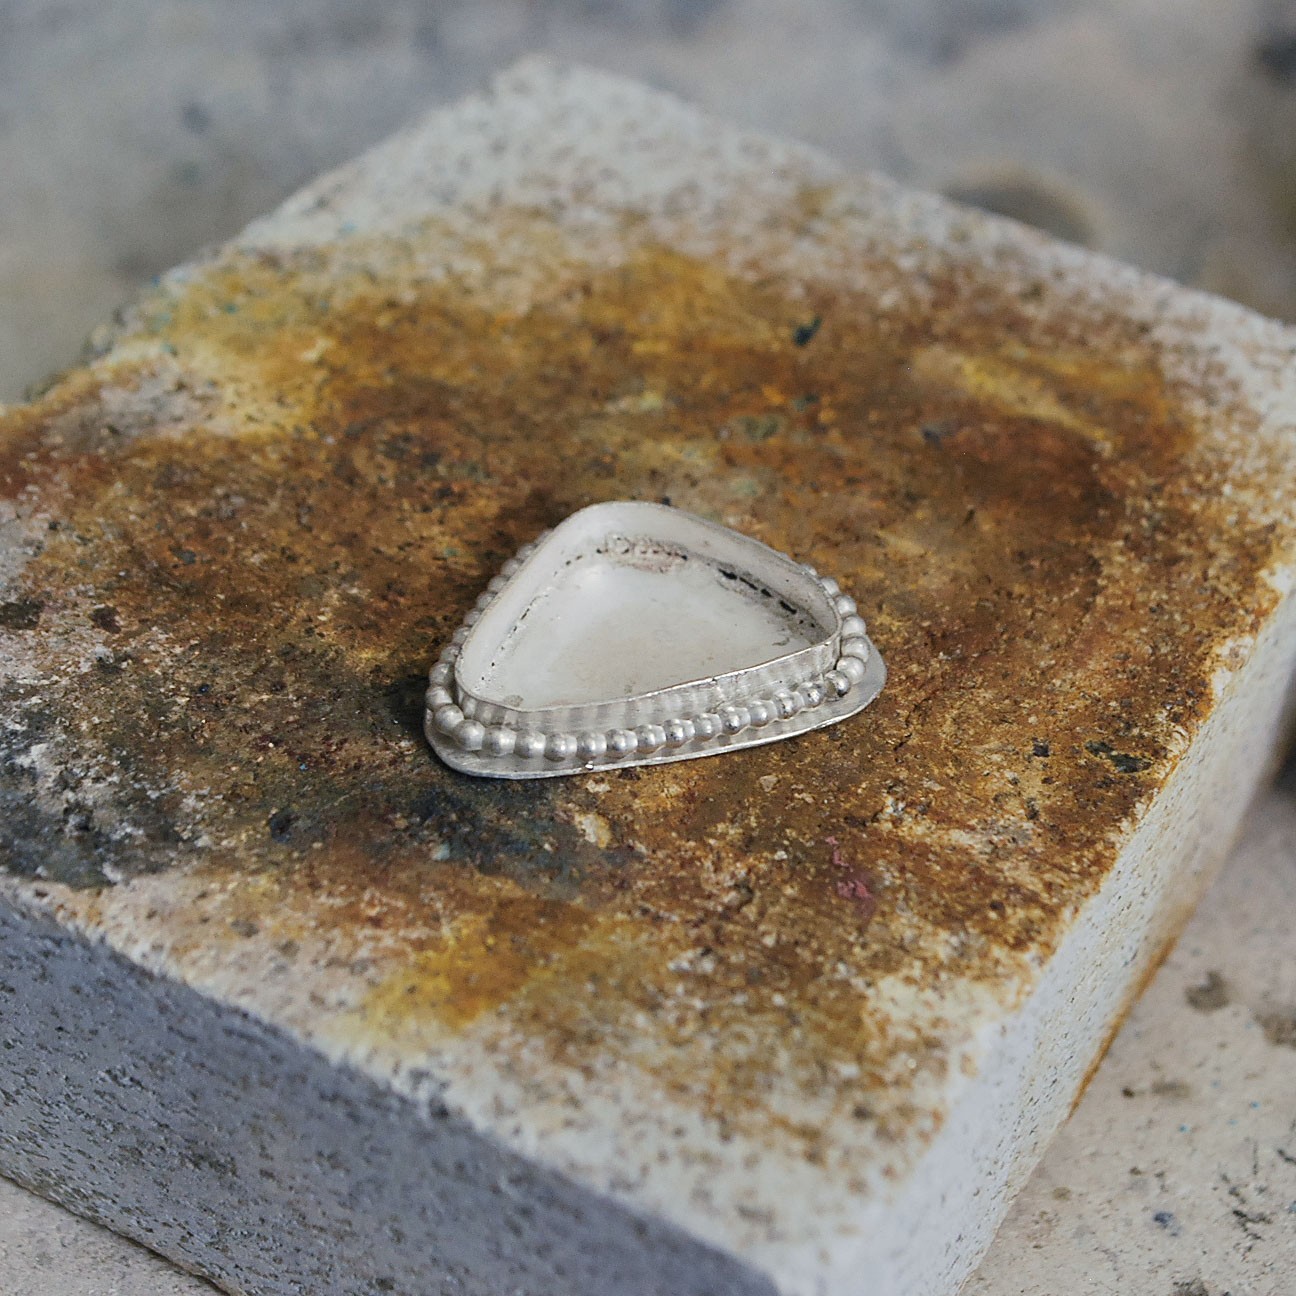
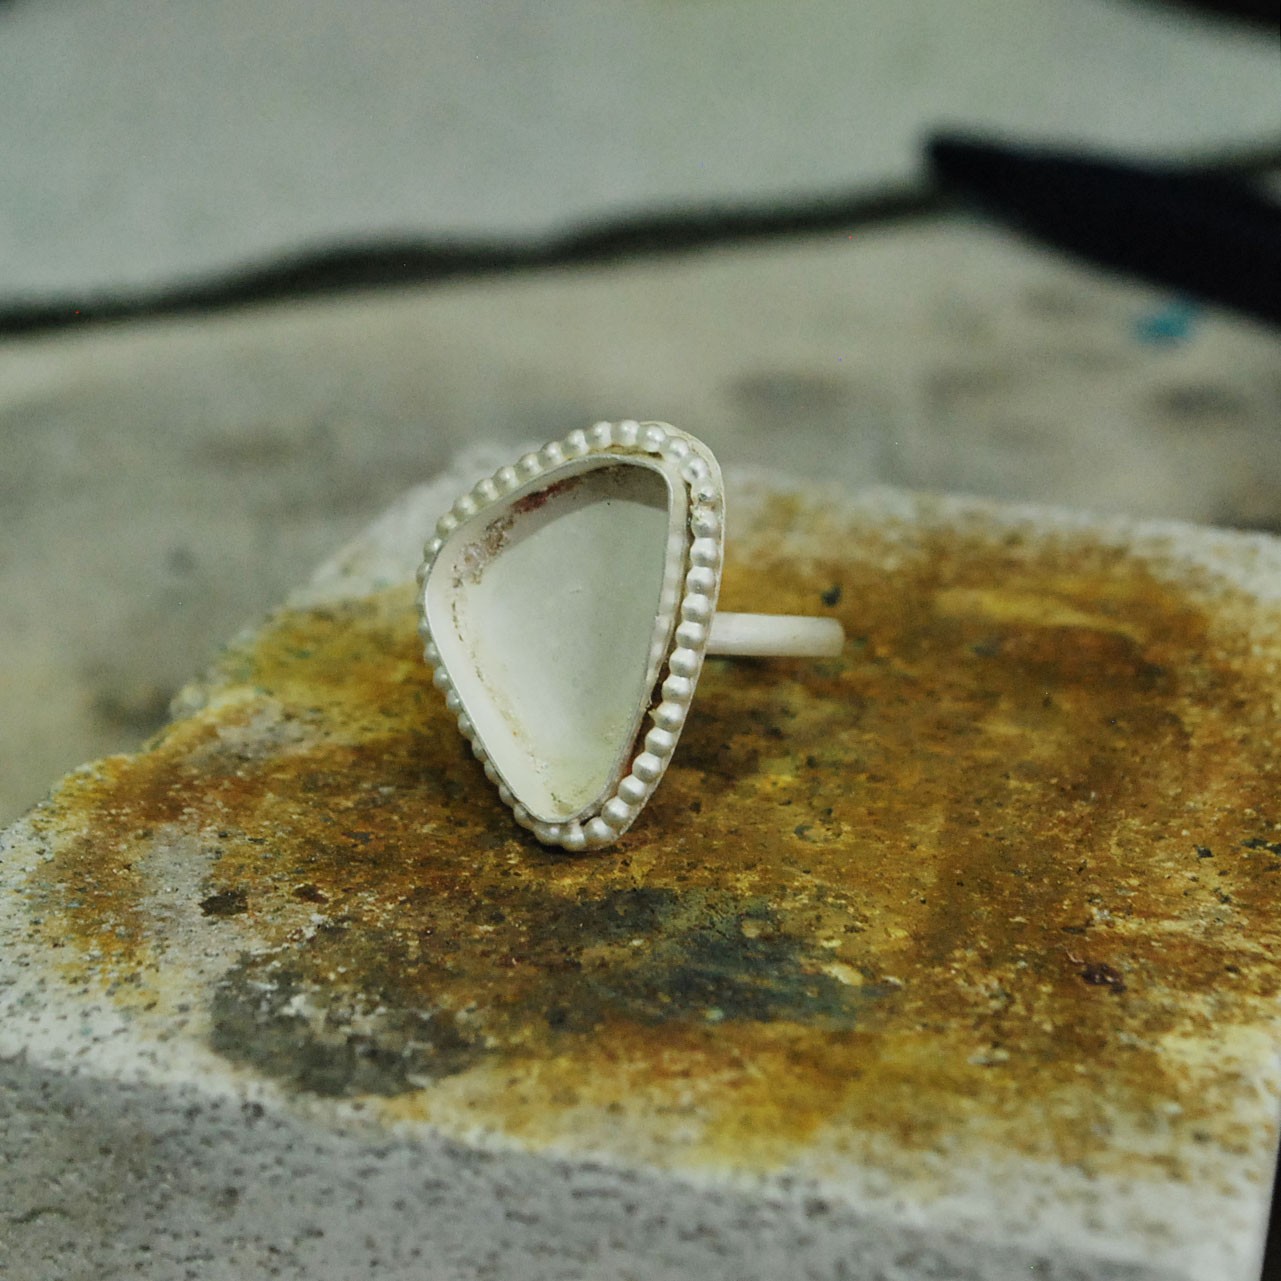
Next wrap the setting with the beaded wire (here we have used 1.5mm), cut the amount you need using your saw and make sure that the wire touches at the ends.
Using easy solder and the same soldering techniques mentioned in the previous steps, join the beaded wire to the setting on the 2mm section that surrounds the bezel setting.
Step 7: Create Ring Band
Once you have worked out the correct length that you
At this stage cut more wire than what you need so that the ends overlap next to each other, so that you can use a saw to cut through both ends at the marked length (this way you will have two ends that fit perfectly together). Follow our step by step tutorial on how to make a ring band here.
Using the solder techniques mentioned in the previous stages, solder the ring together with easy solder, quench and pickle.
Step 8: Solder & Pickle
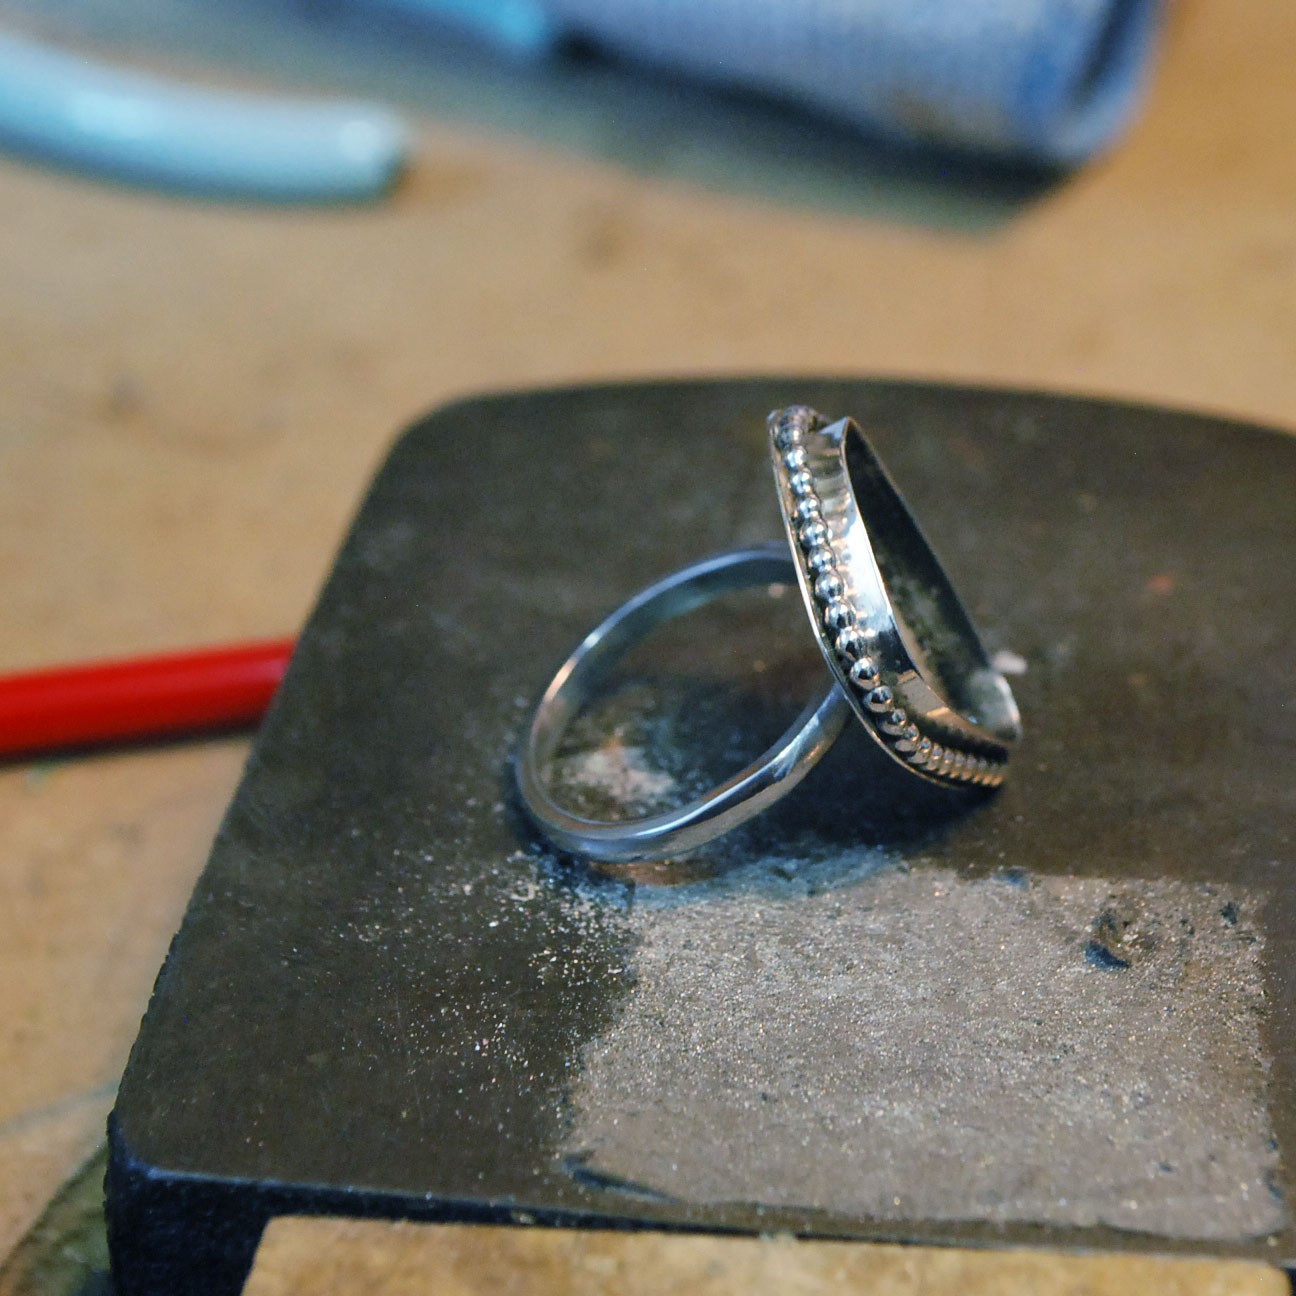
Remove the ring from the pickle and shape it on a ring mandrel, remembering to turn the ring over on the mandrel for an even shape.
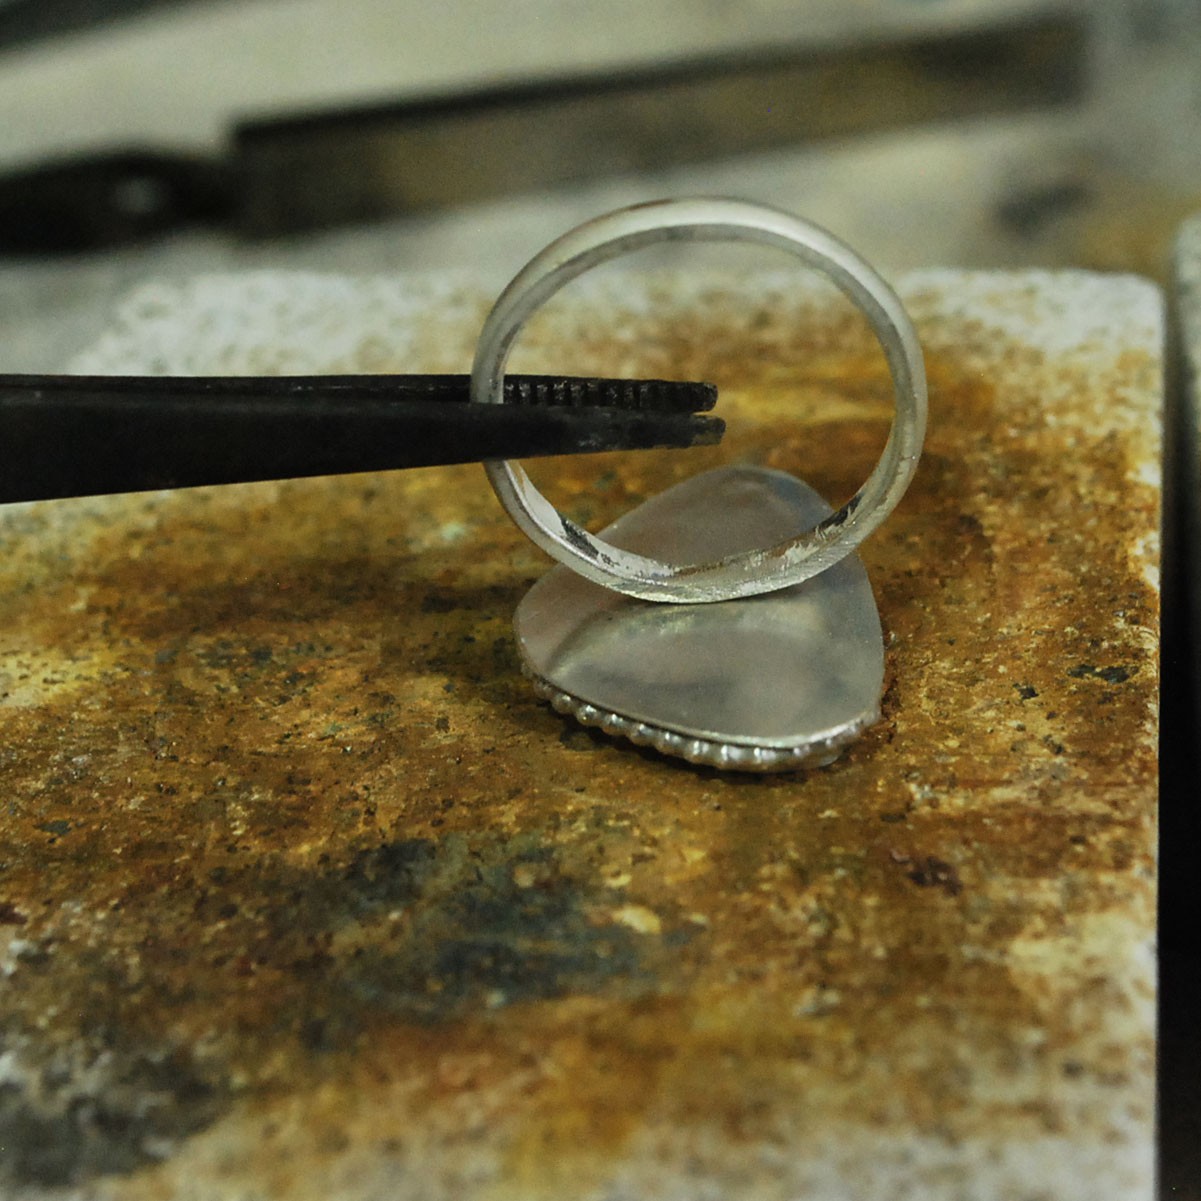
File the edge of the ring where the setting will sit so that it is flat - this will make it easier to solder the two flat pieces together.
Place the bezel setting upside down on a soldering block and using a third-hand, place the ring with the flat edge down onto the setting and line it up centrally. Solder the two pieces together using easy solder. Quench and pickle the piece.
Step 8: Polish
Clean up your design using files, wet & dry papers, polishing papers/silicon polishers and at this point check the depth of the bezel setting against your stone.
Tip: Lay dental tape across the setting so that the stone can be easily removed after checking the depth, this will ensure you are happy with the depth.
Once the stone is in the setting, it will be hard to get it out again. The aim is to have the minimum amount of bezel protruding above the stone, so that when you push the bezel edge over it you won't be hiding it. If the height of the bezel needs reducing - you can use your
Step 9: Push Bezel Over Stone
Using your pusher or bezel rocker gently push the bezel over the stone in a downward motion - be careful not to touch the stone especially if it is a soft or an opal as you may mark the top of it!
Start at an awkward section and then move around the stone, each time pushing in the opposite direction to the section you have just done, until you have pushed the bezel over the stone all the way around.
Step 10: Burnish
Continue to do this until you have a smooth finish that is flush against the stone.
Use a burnisher on the section of the bezel you have just pushed or rubbed over, to give it a high polished look.
Free Form Bezel Setting Examples By Jenny From Sea Surf Rocks
The products used in this project are suggestions to inspire you. Products used were compatible at the time of making but do be aware that stocks can vary, so do use your own judgement as to the compatibility of each item when making.
More Pages In This Category
- The Essential Tools For Setting Gemstones
- Your Guide To Stone Setting Burrs For Jewellery Making
- What Is A Bezel Rocker?
- Types Of Settings & How To Use Them
- Types Of Settings For Calibrated Cabochon Stones
- Types Of Settings For Faceted Stones
- Types Of Settings For Free-Form Stones & Crystals
- Calibrated Gemstones & Size Tolerance In Jewellery Making
- Ready Made Settings vs Making Your Own Settings
- 7 Ways To Make Your Own Gemstone Ring
- How To Set Earstuds For Half Drilled Beads
- How to Set Flat Plates and Milled Edge Jewellery Settings
- How To Set Snaptite Settings
- How To Set Gemstones In Gallery Wire Settings
- How To Set Backset Settings
- How To Set Wraptite Settings
- How To Use Huggie Claw Settings For Crystals & Sea Glass
- What Are Bell Caps For Jewellery Making?
- How To Set A Pre-Notched Setting
- How To Set Claw Settings
- How To Make A Decorative Ring Setting For A Free Form Cabochon
- How To Make A Tube Setting For A Faceted Stone
- 4 Drilled Sea Glass Earring Projects
- Jewellery Making With Sea Glass: Drilling & Stone Setting Tutorials
- How To Drill Sea Glass For Jewellery Making
- How Much Bezel Strip/Gallery Wire Do I Need?
- Types Of Bezel Cups
- How to Adjust Bezel Settings to Fit Cabochons
- How To Set A Cabochon In A Bezel Setting
- How To Make A Gemstone Ring With A Bezel Cup
- How To Make A Bezel Set Cabochon Ring With 'Made By Oonagh'
- How To Make A Sea Glass Ring With Bezel Setting
- How To Make Bezel Set Cabochon Earstuds
- How To Make A Sea Glass Necklace With Backless Bezel Setting
- How To Bezel Set A Free Form Cabochon Onto A Textured Silver Pendant
- How To Make A Textured Pendant With A Freeform Gemstone Slice
- How To Make A Claw Set Cabochon Pendant
- How To Make A Prong/Claw Setting For Irregular Shapes Stones
- How to Make A Wire Edged Setting
- How To Make A Balled Claw Ring Setting
- Making An Australian Boulder Opal Pendant With Stardust Mine
- The Process Of Remodelling A Gemstone Ring With 'Honey Bee Design'
Need advice or help with your order?
Contact our friendly team by emailing us at [email protected] or give us a call on 01872 573 888 - we look forward to hearing from you!

