How To Set Gemstones In Claw Settings
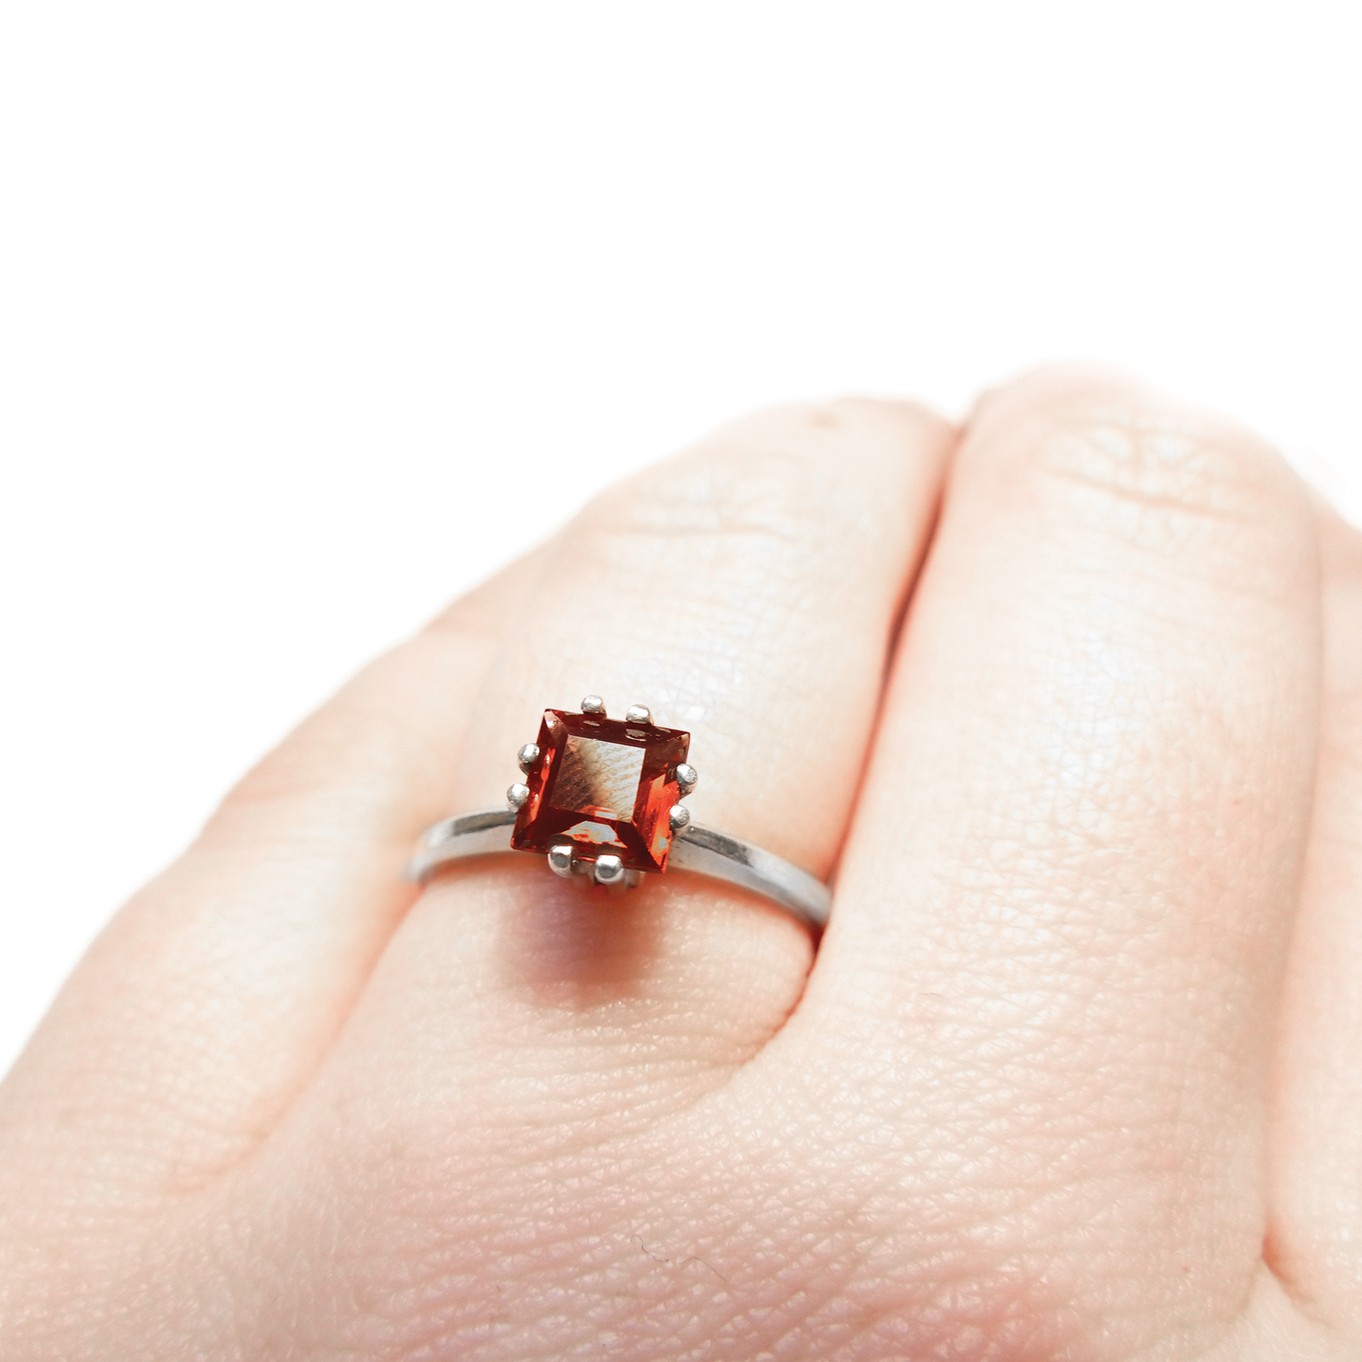
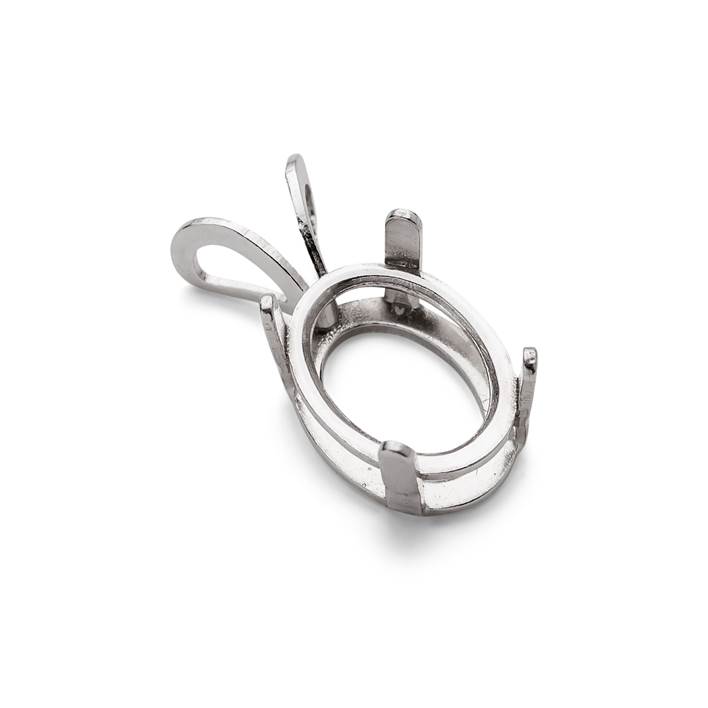
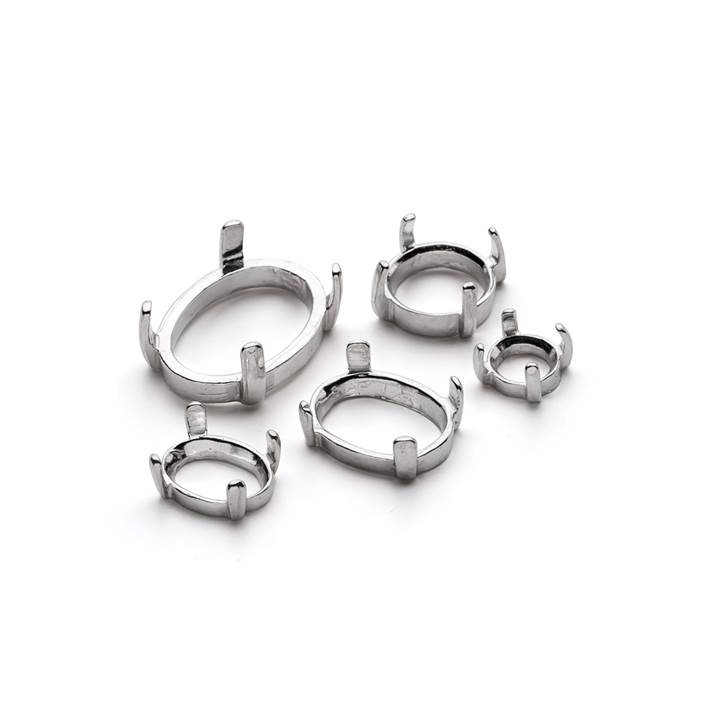
Claw settings offer an alternative to the usual bezel style cabochon gemstone settings as well as a beautiful way to set a faceted gemstone. These settings are great if you don't want to or do not have time to make your own stone settings. They are perfect for turning into rings, earrings, pendants and brooches. We supply claw settings for both gemstone cabochons and faceted stones.
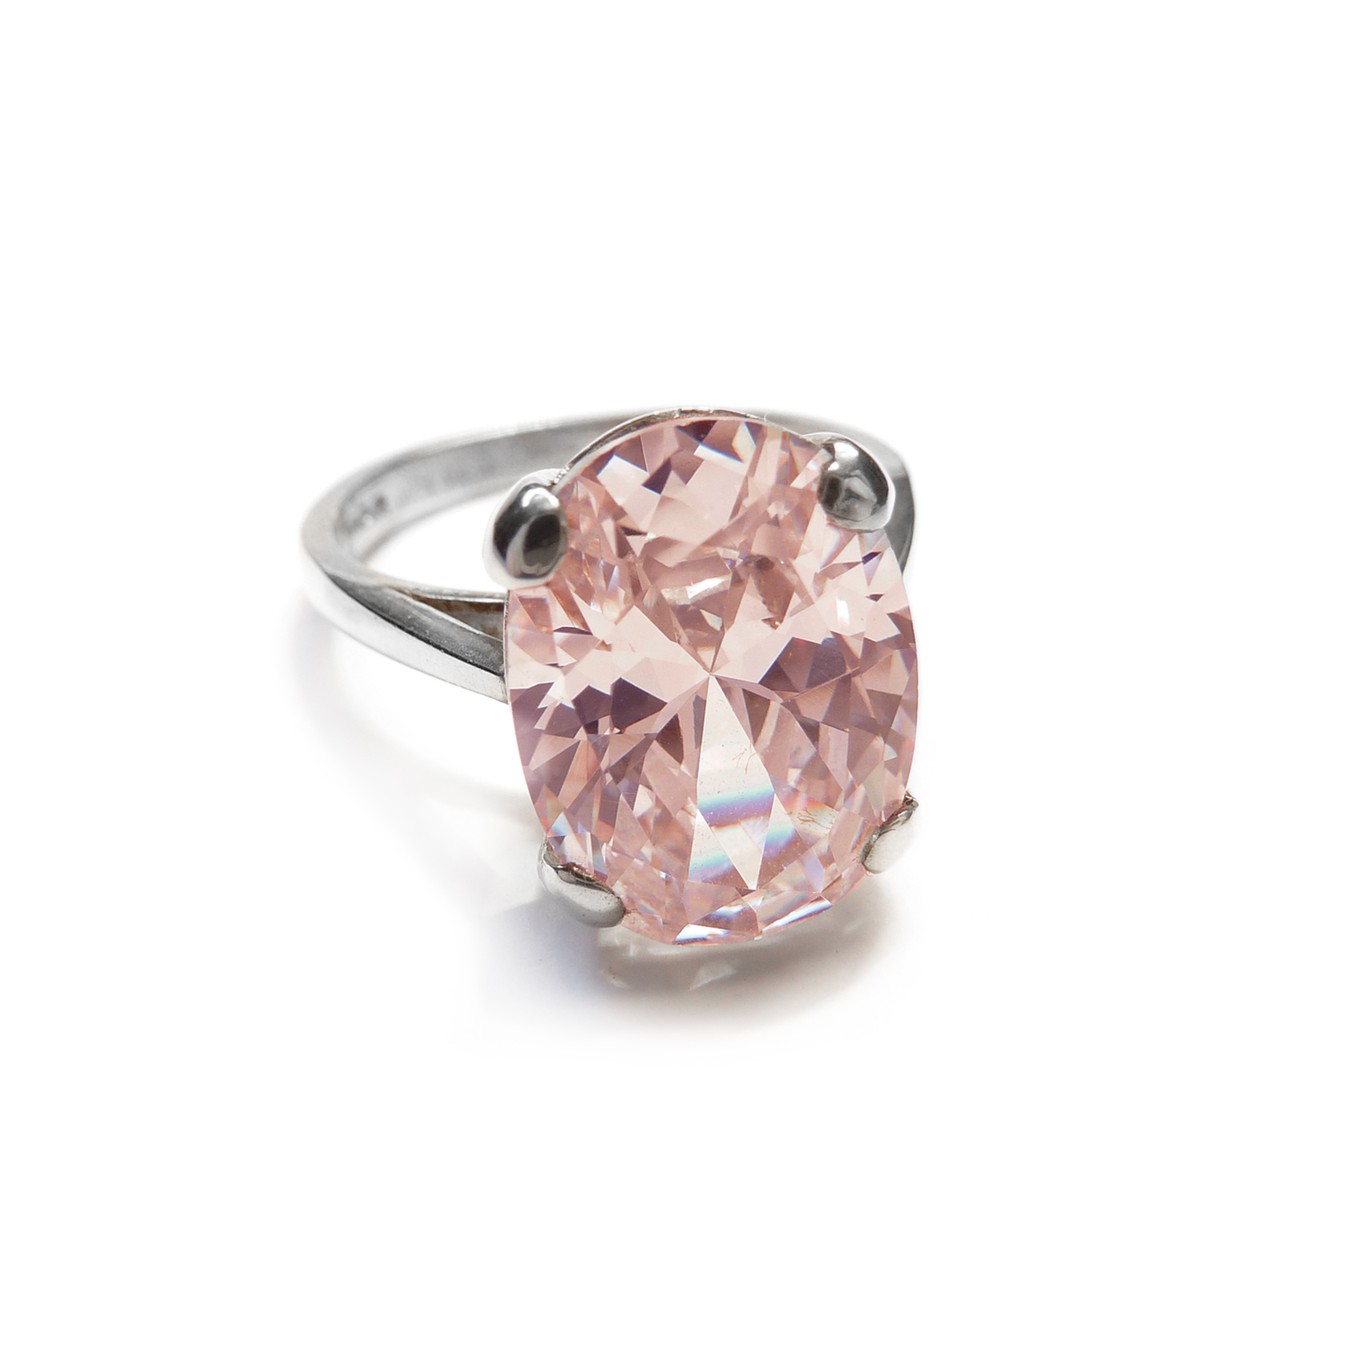
The following step by step instructions show how to set a faceted gemstones in a clawed ring setting.
Some claw settings are also suitable for setting cabochon stones. Instead of cutting notches in the claws (which are to fit over the angled sides of a faceted stone), you would want to file the claws so they are are more flexible and easy to bend over the dome shape of the cabochon stone.
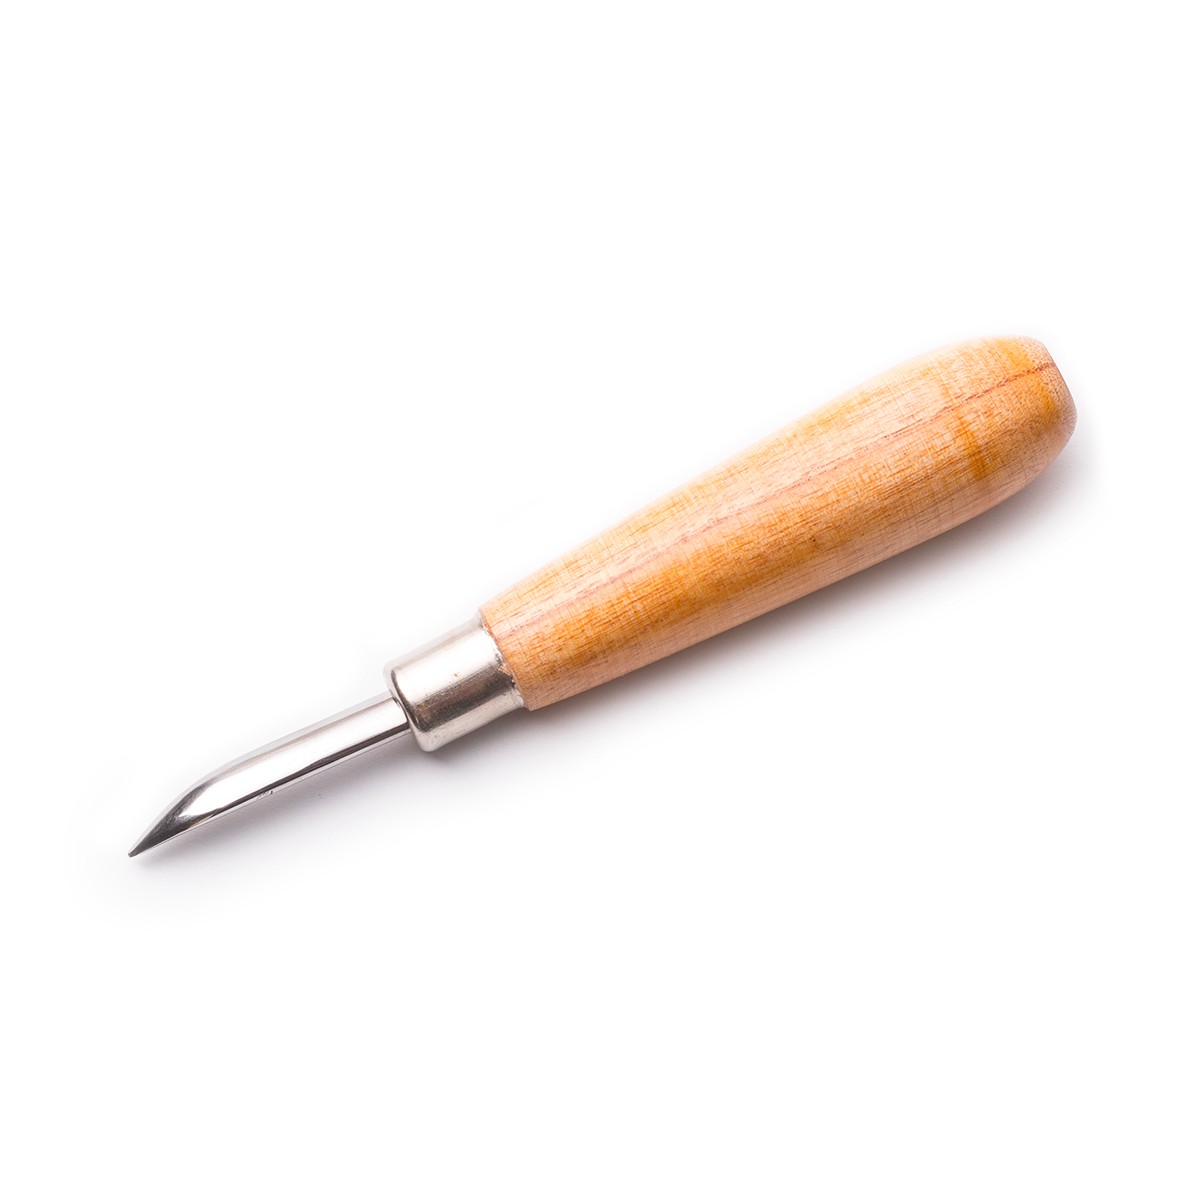
Recommended Tools
Optional
Step 1
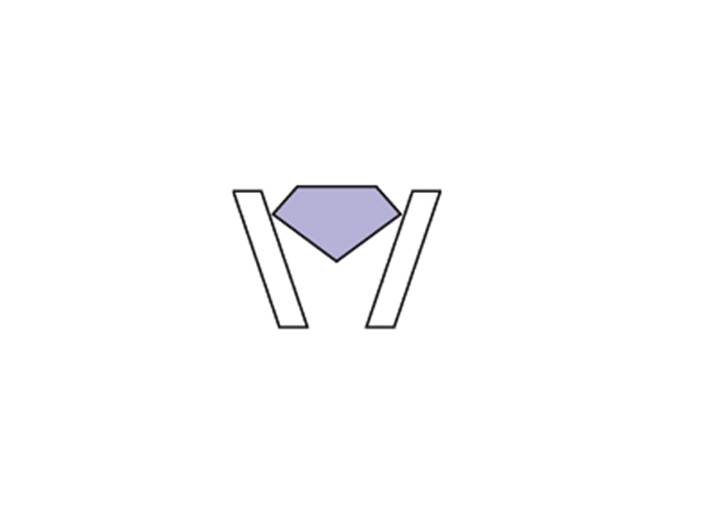
Whilst holding the ring in a clamp and place the faceted gemstone in position. If necessary ease the claws out to allow the stone to sit at the correct depth or alternatively remove some of the metal from inside the setting using a suitable sized burr.
If the claws are too long they may be cut to the required length using side cutters or saw.
Step 2
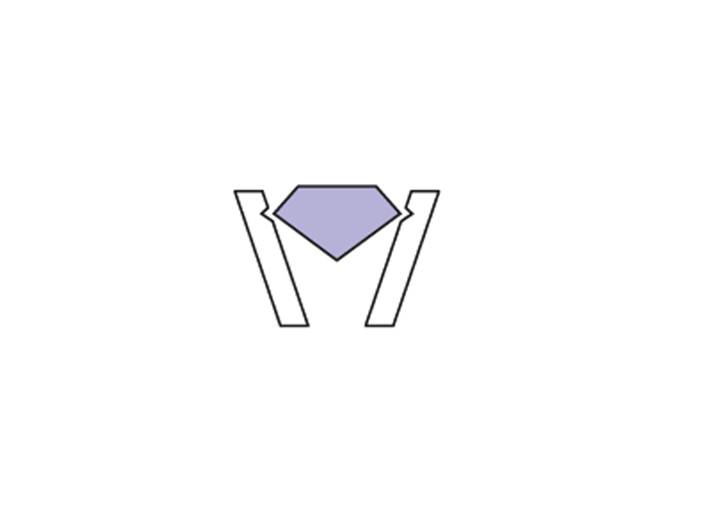
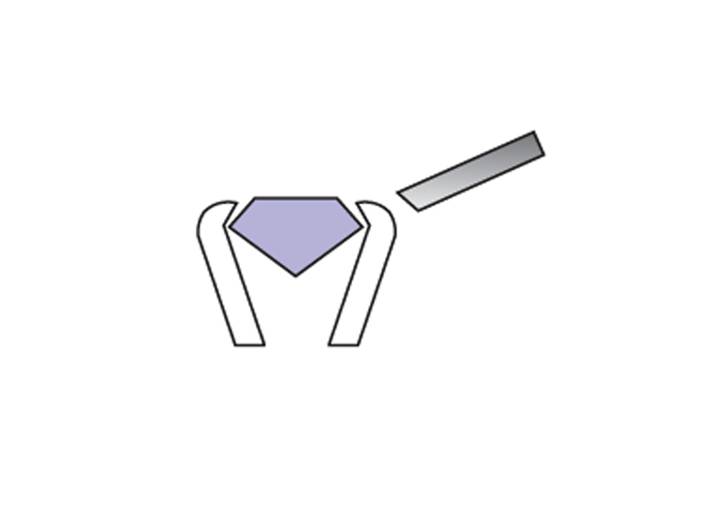
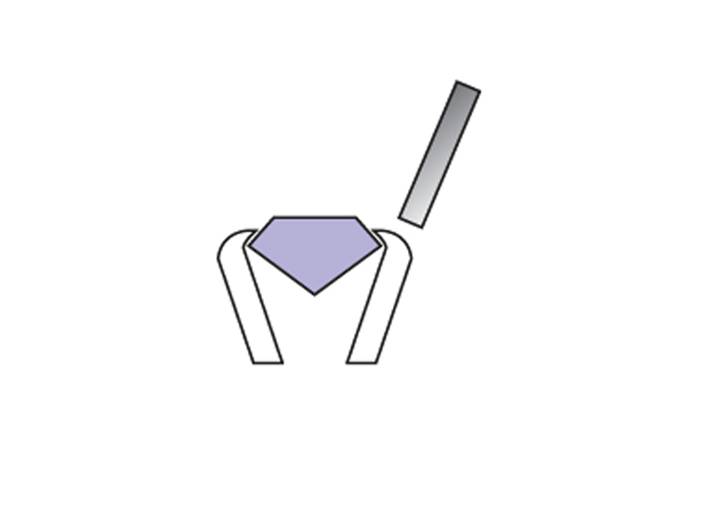
The following images will show you the principals of the techniques to adjust the setting to fit your stone and then set the stone in place.
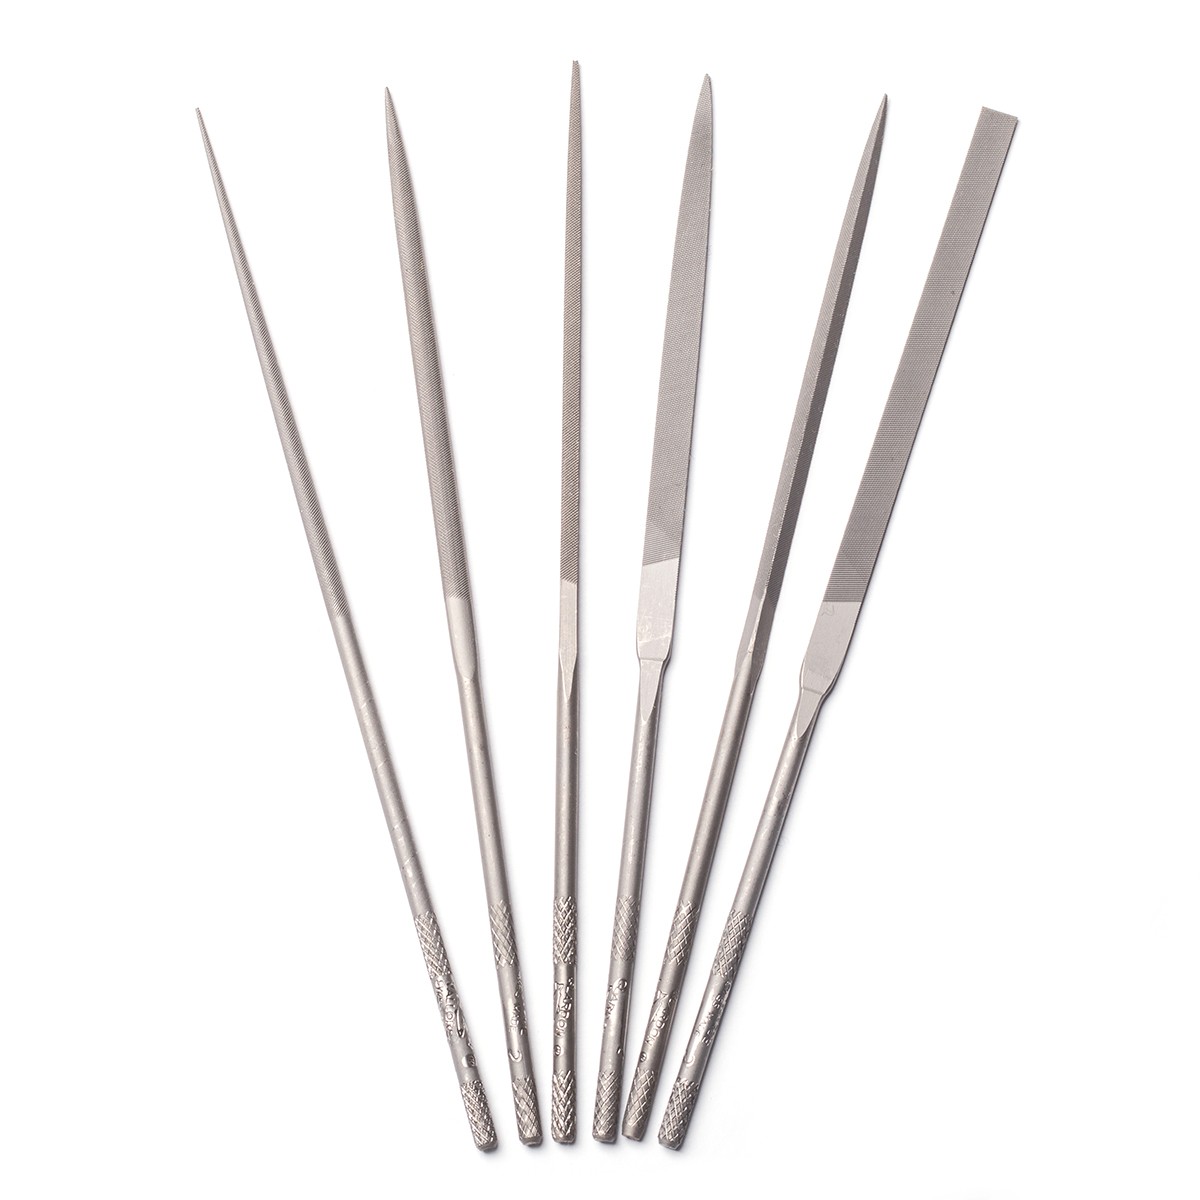
You will want to remove the stone from the setting so you don't damage it whilst cutting and filing the claws, but remember to keep checking the fit of the stone in the setting as you go. Using a needle file, graver or burr, cut a fine groove in the claw where the girdle of the gemstone touches the claws.
Step 3
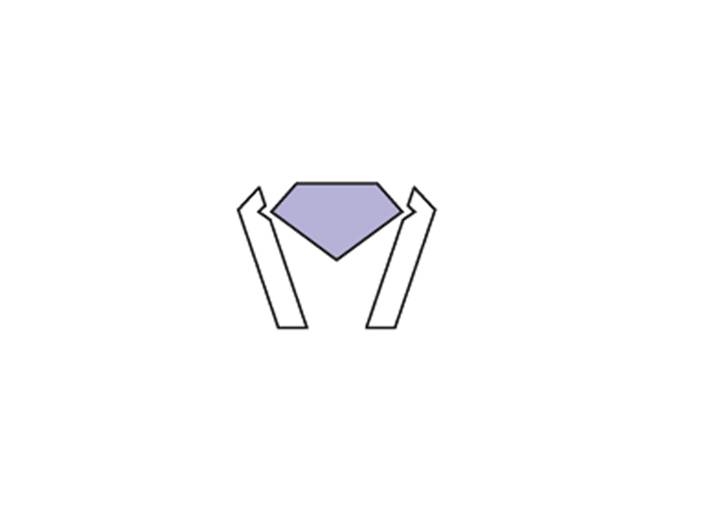
File the top of the claws to an angle of about 45 degrees using a needle file.
Keep checking your stone in the setting so you don't remove too much metal by mistake.
Filing the claws so the metal is thinner will make it easier to ease the claws over the stone.
Step 4
Without using any undue force place the stone into position making sure that it is level.
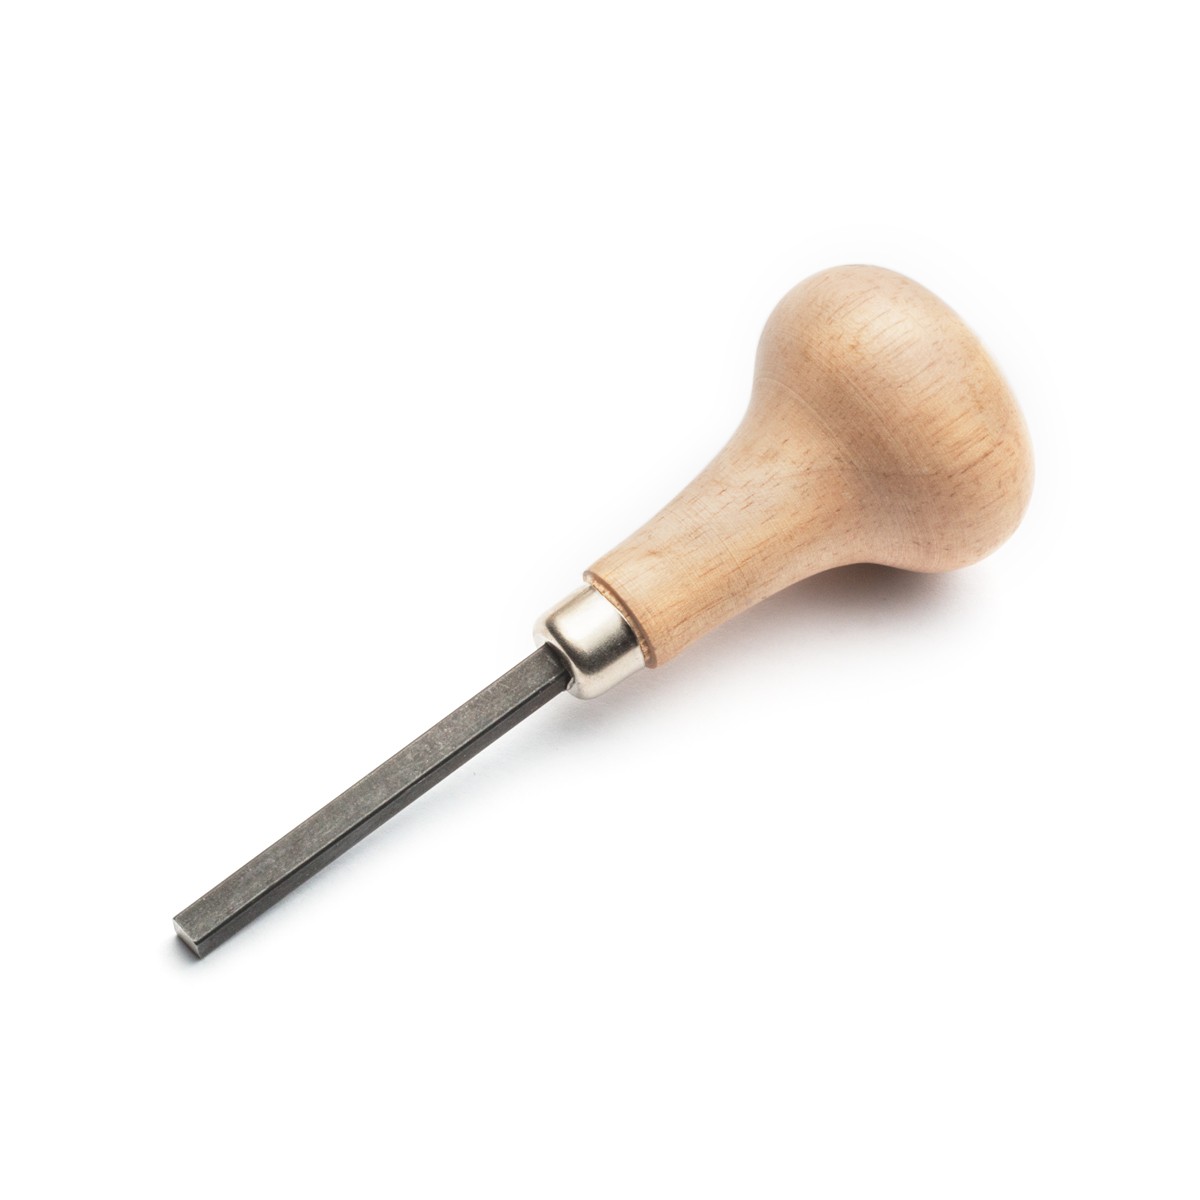
Using a pusher or stone setting pliers gently ease the claws over until the gemstone is sitting level and is held firmly in place.
Shop Top Tools
Shop our range of claw ring settings to use with your favourite faceted stones. These ring settings are aimed for experienced jewellers, as they will need adjusting and depending on the stone will need notches to secure the stone in place.
Further Reading With Our Jewellery Making Books On Stone Setting
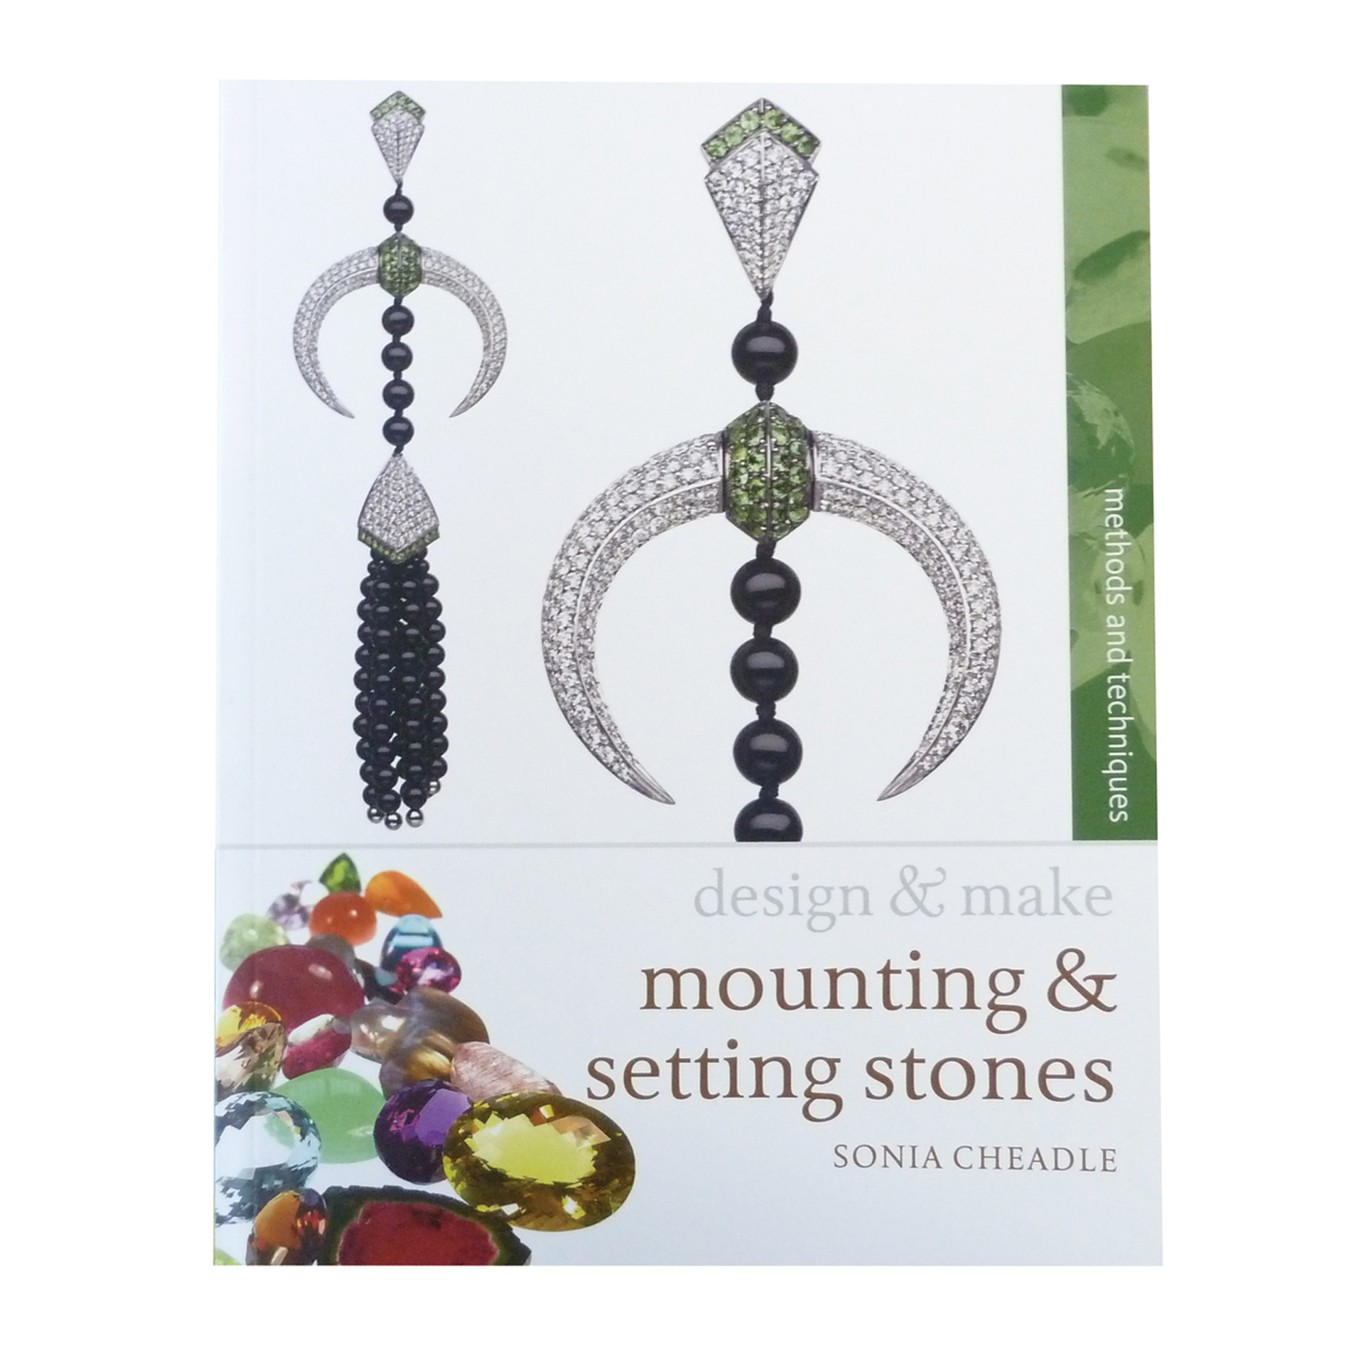
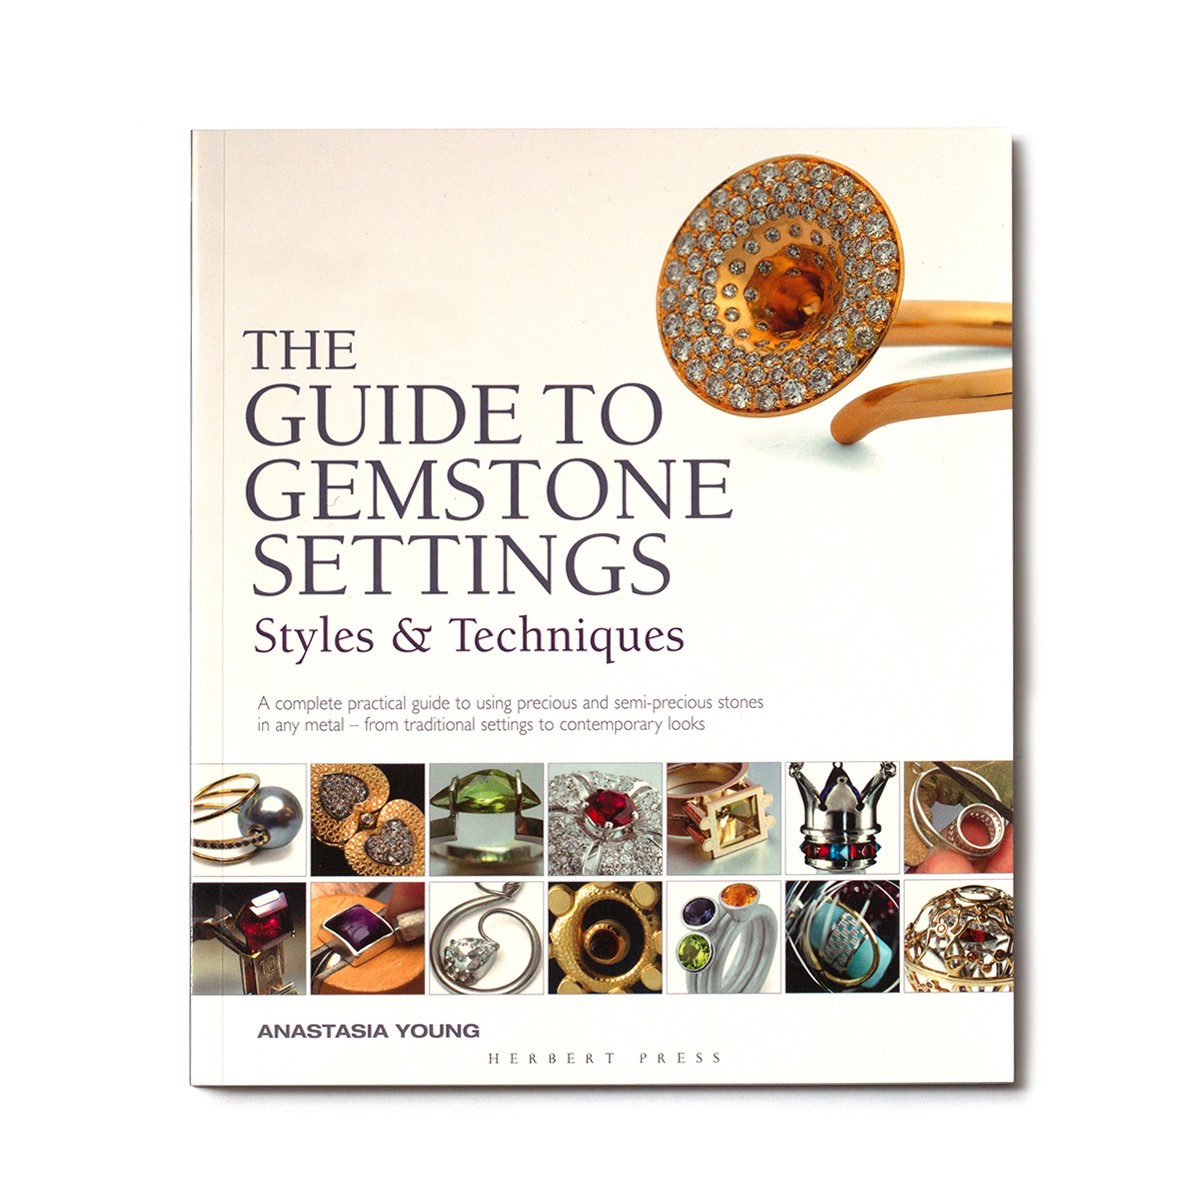
Perfecting claw settings take time, practice and patience! We recommend doing some further reading with our brilliant jewellery making books which goes into further information on how to set stones, with plenty of techniques and styles to try.
Beginner Friendly Claw Settings
These ready made settings are aimed at beginners, they are light enough to be bent over the stone and secure it in place without the need to add notches.
Claw Pendant Setting
This beginner friendly pendant has a lovely classic setting. The claws on these pendants are not pre-notched and are light enough to be bent over the stone to secure it in place.
Shop Faceted Stones
Explore our wide range of gemstone faceted stones to use with our range of faceted stone settings.
Claw Settings For Cabochon Stones
These simple sterling silver claw settings are available in a range of sizes and a great alternative to a bezel setting. Simply use a pusher to push the claws over your chosen cabochon stone and solder onto your design.
Shop Cabochons
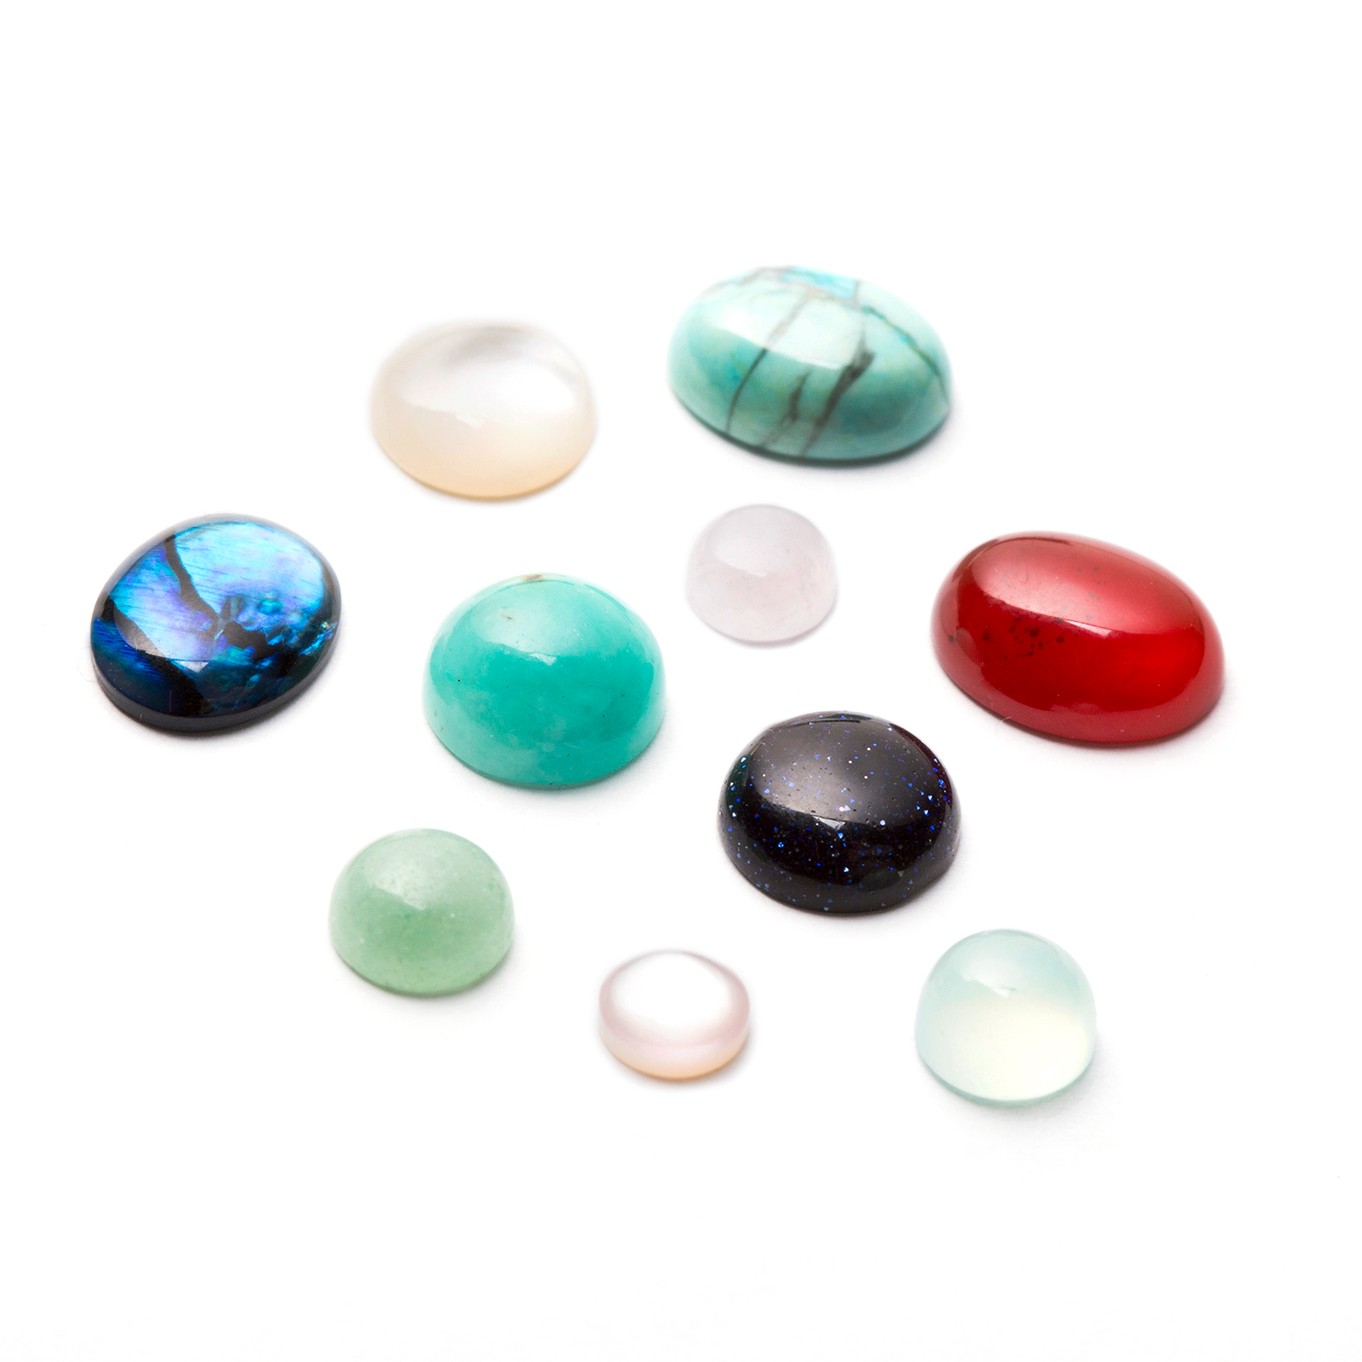
Choose from over 500 beautiful gemstone cabochons to use in your handmade jewellery designs. Don't forget to check out our cabochon settings too!
Also in this section:
- The Essential Tools For Setting Gemstones
- Your Guide To Stone Setting Burrs For Jewellery Making
- What Is A Bezel Rocker?
- Types Of Settings & How To Use Them
- Types Of Settings For Calibrated Cabochon Stones
- Types Of Settings For Faceted Stones
- Types Of Settings For Free-Form Stones & Crystals
- Calibrated Gemstones & Size Tolerance In Jewellery Making
- Ready Made Settings vs Making Your Own Settings
- 7 Ways To Make Your Own Gemstone Ring
- How To Set Earstuds For Half Drilled Beads
- How to Set Flat Plates and Milled Edge Jewellery Settings
- How To Set Snaptite Settings
- How To Set Gemstones In Gallery Wire Settings
- How To Set Backset Settings
- How To Set Wraptite Settings
- How To Use Huggie Claw Settings For Crystals & Sea Glass
- What Are Bell Caps For Jewellery Making?
- How To Set A Pre-Notched Setting
- How To Set Claw Settings
- How To Make A Decorative Ring Setting For A Free Form Cabochon
- How To Make A Tube Setting For A Faceted Stone
- 4 Drilled Sea Glass Earring Projects
- Jewellery Making With Sea Glass: Drilling & Stone Setting Tutorials
- How To Drill Sea Glass For Jewellery Making
- How Much Bezel Strip/Gallery Wire Do I Need?
- Types Of Bezel Cups
- How to Adjust Bezel Settings to Fit Cabochons
- How To Set A Cabochon In A Bezel Setting
- How To Make A Gemstone Ring With A Bezel Cup
- How To Make A Bezel Set Cabochon Ring With 'Made By Oonagh'
- How To Make A Sea Glass Ring With Bezel Setting
- How To Make Bezel Set Cabochon Earstuds
- How To Make A Sea Glass Necklace With Backless Bezel Setting
- How To Bezel Set A Free Form Cabochon Onto A Textured Silver Pendant
- How To Make A Textured Pendant With A Freeform Gemstone Slice
- How To Make A Claw Set Cabochon Pendant
- How To Make A Prong/Claw Setting For Irregular Shapes Stones
- How to Make A Wire Edged Setting
- How To Make A Balled Claw Ring Setting
- Making An Australian Boulder Opal Pendant With Stardust Mine
- The Process Of Remodelling A Gemstone Ring With 'Honey Bee Design'
HAVE A QUESTION?
If you have any questions, feel free to get in touch with our friendly team who will be more than happy to give you advice over email or on the phone.
You can learn more and find inspiration by visiting our Jewellery Making Tutorials, Jewellery Making Kits and YouTube Channel. Don't forget to follow us on social media and tag us in your designs on Instagram & Facebook, we would love to see!

