Types Of Settings & How To Use Them
With so many settings to choose from, it can be difficult to know what to do with your favourite stone!
So we've put together a list of all the different setting types you can use in your creations.We've separated them into three categories depending on your current skill level so you know what type of setting is best for you.
We always encourage our customers to try new techniques and branch out, so give everything a go! If you need any advice or help, we're always here to help, just get in touch.
This page focuses on the following settings:
Beginner
- Snaptite setting
- Back set setting
- Gallery wire setting
- Glue-in setting
- Wraptite setting
Intermediate
- Pre-notched setting
- Claw setting
- Bezel setting
Advanced
- Make-your-own setting
Beginner
Snaptite Setting
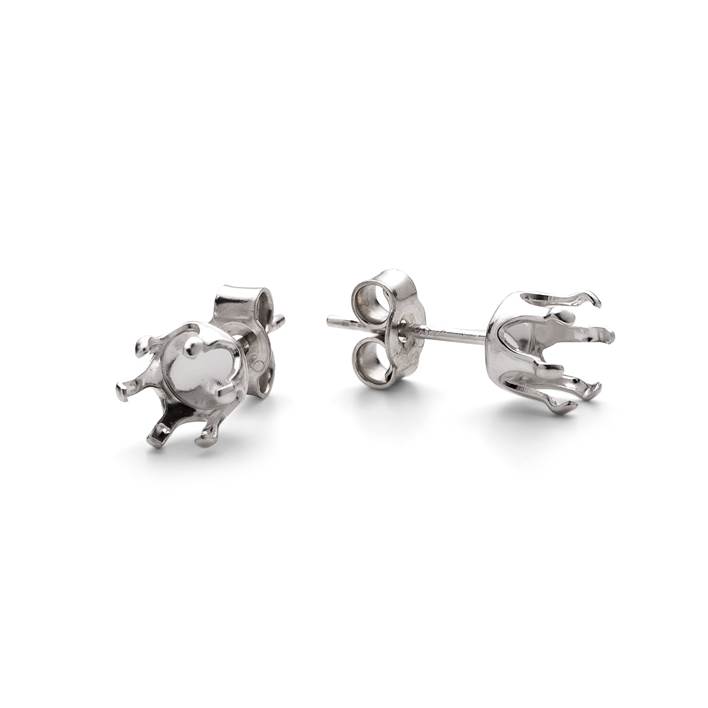
Snaptite settings are for faceted stones and are available in various shapes and sizes, for both pendants and earrings, as well as loose settings which you can either solder onto your own designs, or thread onto a cord.
The pre-notched, tensioned claws 'snap' and grip around the stone, so they're really simple to use and require no tools at all. Simply set your stone face down on a hard surface, line up your snaptite setting over it, then apply some pressure onto the stone from above. The stone will click into place, and you're finished!
Whilst you don't actually need any specific tools to set stones in these simple settings we would suggest checking the claws are holding your stone securely, or gently smoothing the claw over the stone with a pusher to prevent them catching on clothing.
Snaptite settings are such a nice simple easy setting that you can create a huge range of jewellery really quickly and easily, with any faceted gemstone that fits!
Back Set Settings
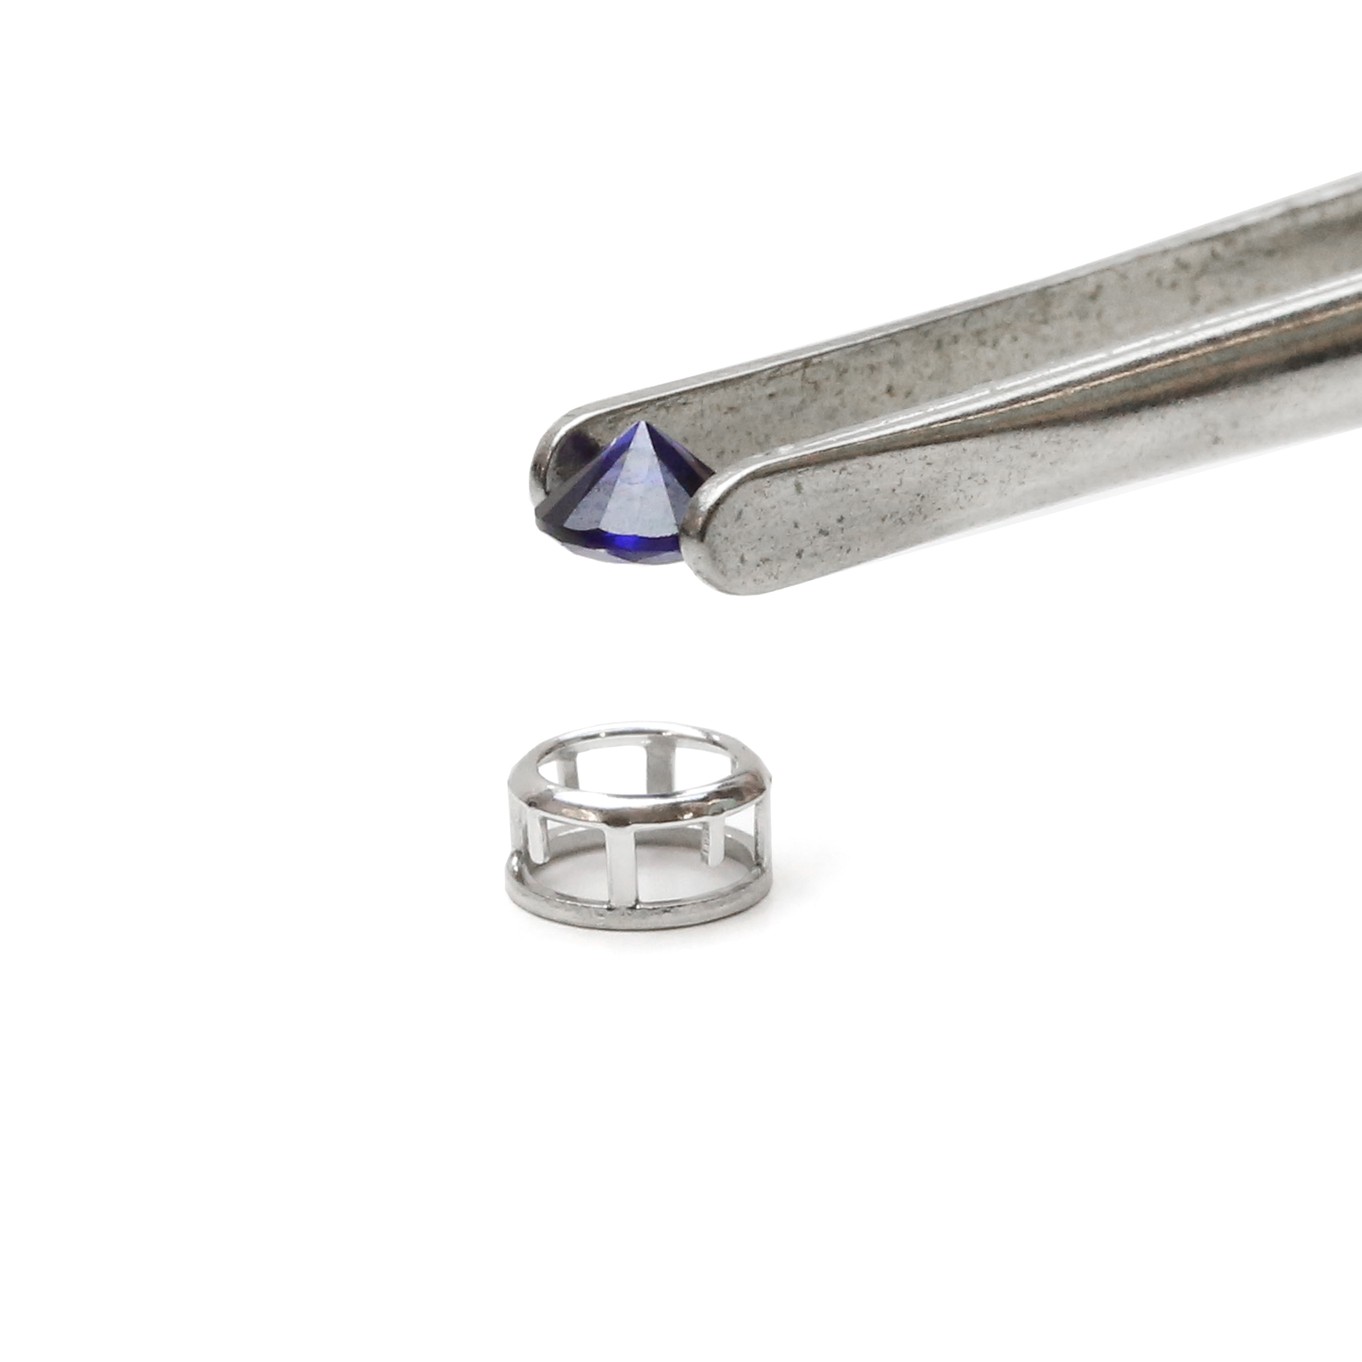
Backset settings are another super easy setting for faceted stones that requires no specialist tools. They are probably one of the easiest designs to set too.
Simply place your slide setting face down, and insert your chosen stone into the setting (with the pointed side of the stone upwards). Use tweezers to push the small claws on the setting over the back of the stone and it's set!
These settings are available as pendants (some of which could be used for making drop earrings too) and as earstuds.
Gallery Wire Settings
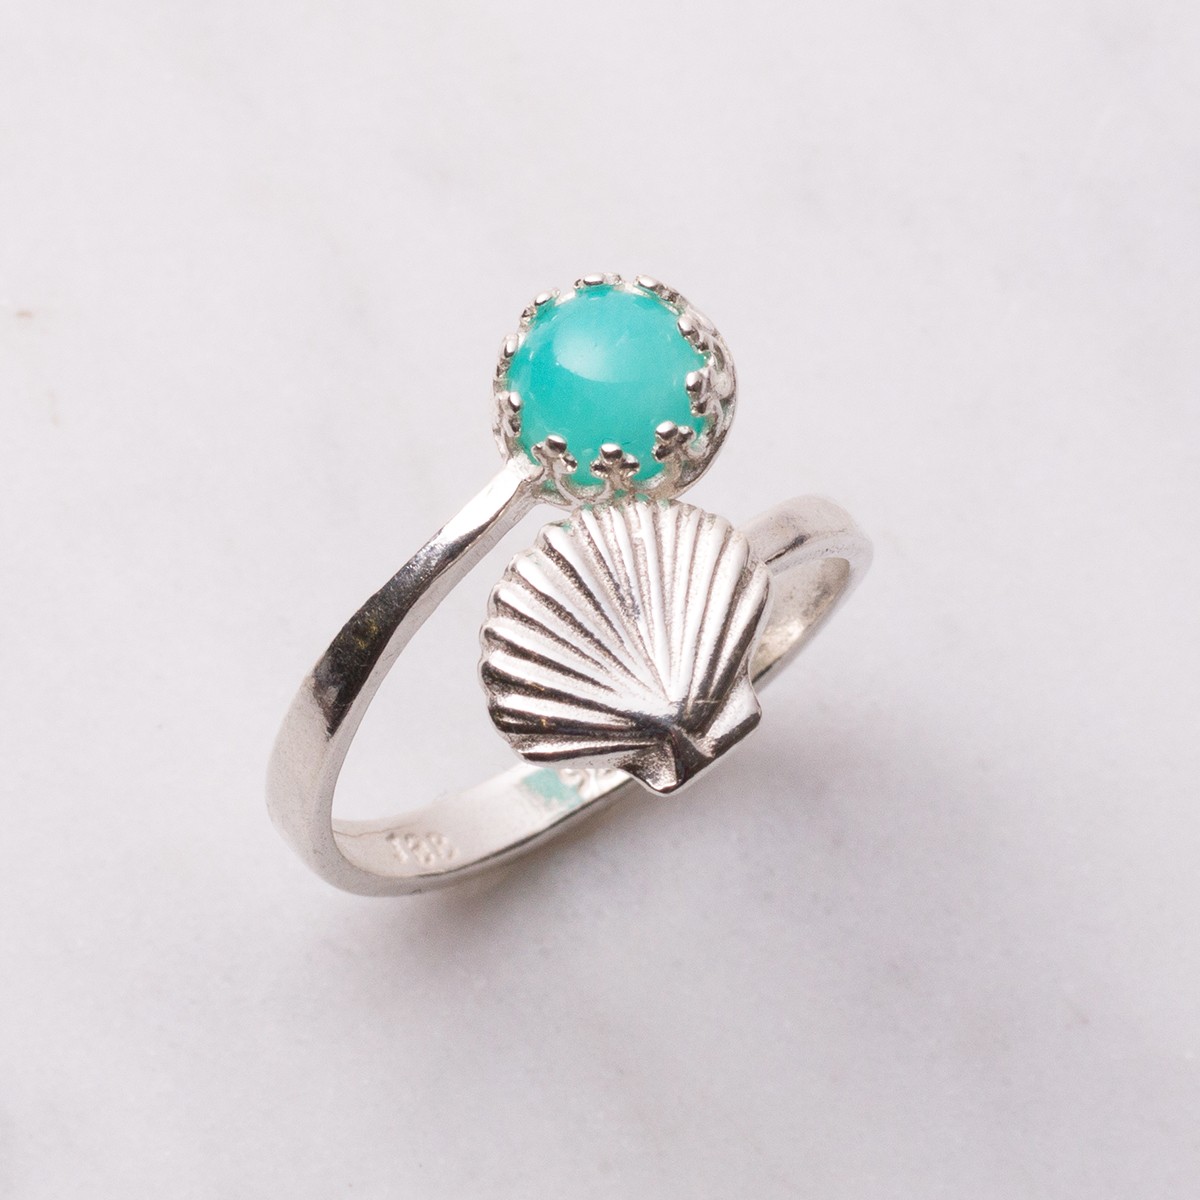
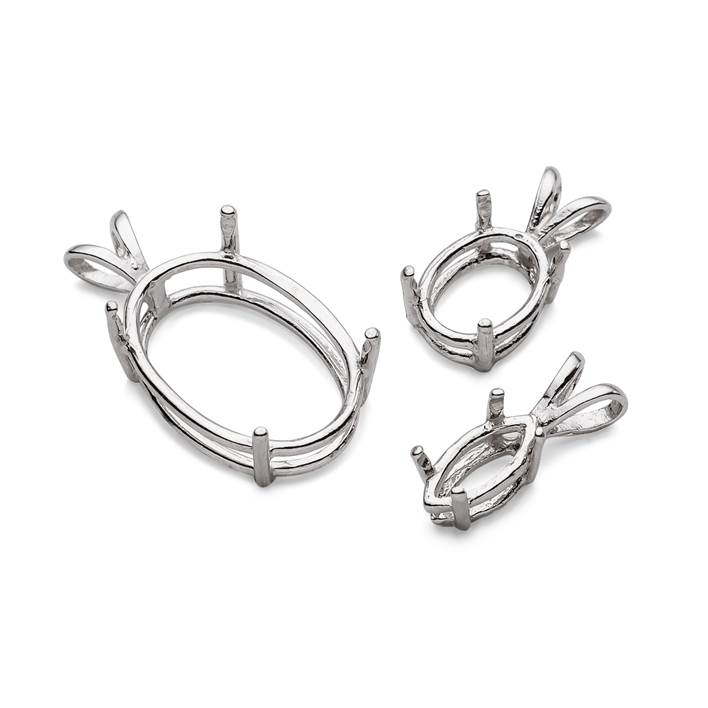
Gallery wire settings are made for cabochons and are available in various sizes. We sell these settings as pendants (also perfect for making drop earrings), as links and ring settings.
Gallery wire settings only require one tool - a bezel rocker. Simply place your cabochon stone into the gallery wire setting, ensuring it fits well and is level. Then with a bezel rocker, gently push the gallery wire over your stone, alternating on opposite sides to ensure an even set. Once you have smoothed the wire over the stone on all sides, your stone is set. If you find you have quite a shallow cabochon, you can raise it up a little with a loop of wire in the base of the setting, you could also use a little glue in the base if you want to ensure an even more secure setting.
Link gallery settings are a really nice way to create interesting and original designs, why not try attaching a wire wrapped briolette to the lower loop of the setting to make a longer pendant or drop earrings, or link multiple settings together with jump rings to create a chain.
Glue-in Settings
Glue in settings are another setting to use with cabochons, as cabochons have a flat back this makes them most suitable for this type of setting. If you like the look of faceted gems but want to use a glue in setting, have a look at our faceted top cabochons which have the sparkly faceted look but with the easy to set benefit of having a flat back as well.
Glue-in settings are as simple as they sound, but there are a few things you can do to ensure a really secure setting. First pick a really strong glue - We recommend you use the Devcon 5 minute epoxy, it's the strongest and most reliable we've found (a visual guide for mixing and using this glue can be found here), also roughing up the surface on both the stone and the setting will help the glue key onto the surface and bond securely, so scratch the surfaces a little where you wish the stone to stick.
Mix equal amounts of the glue together, then use a pin or cocktail stick to apply a small amount of glue to just one of the surfaces and sit the stone gently into the setting. try not to use too much glue, so it doesn't go everywhere, but if you do have any excess, just wipe it off with a damp cloth before it dries. You can then leave your stone to set. Although it does dry in 5 minutes, we recommend leaving the epoxy to set for an hour to ensure maximum strength and durability over time. For detailed step by step instructions on using glue to set stones click here.
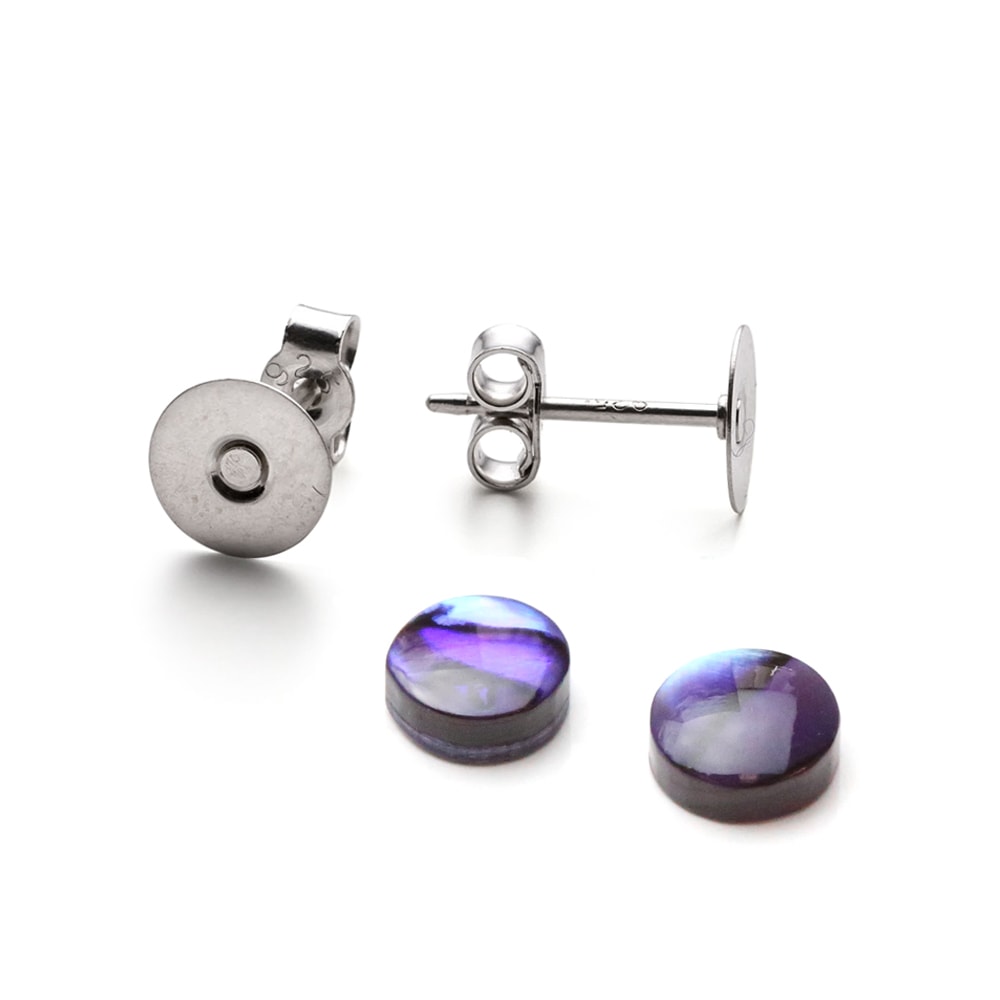
These settings are available with various finishes: flat plate settings, milled edge settings and petal edge settings.
These are also available in lots of shapes and sizes, for earrings, pendants, pins, rings, and loose settings that can be soldered onto your designs.
Wraptite Settings
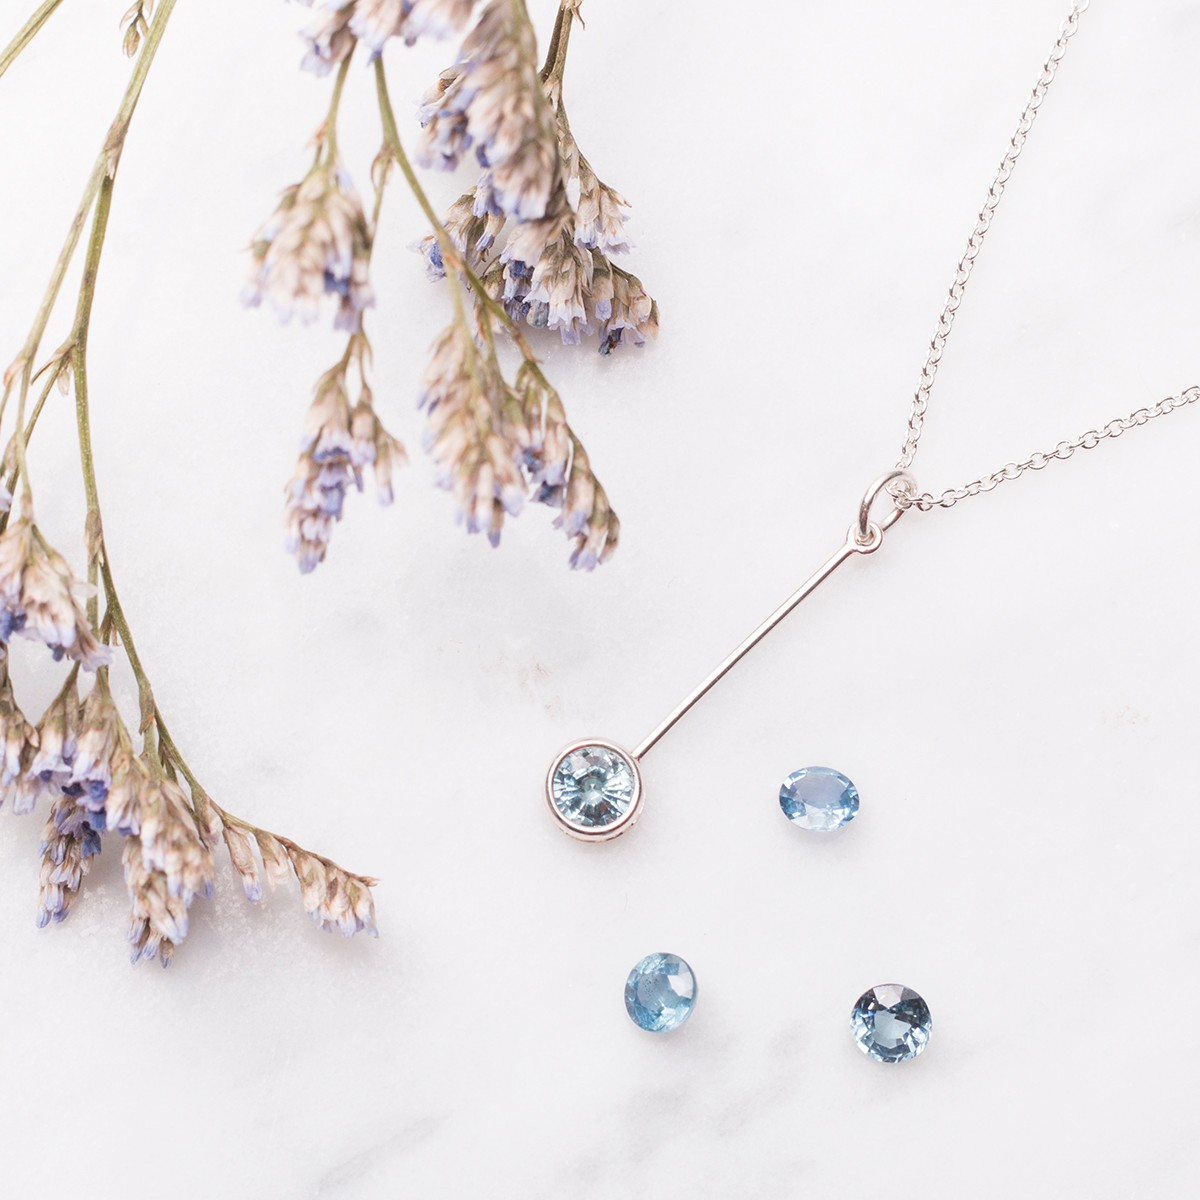
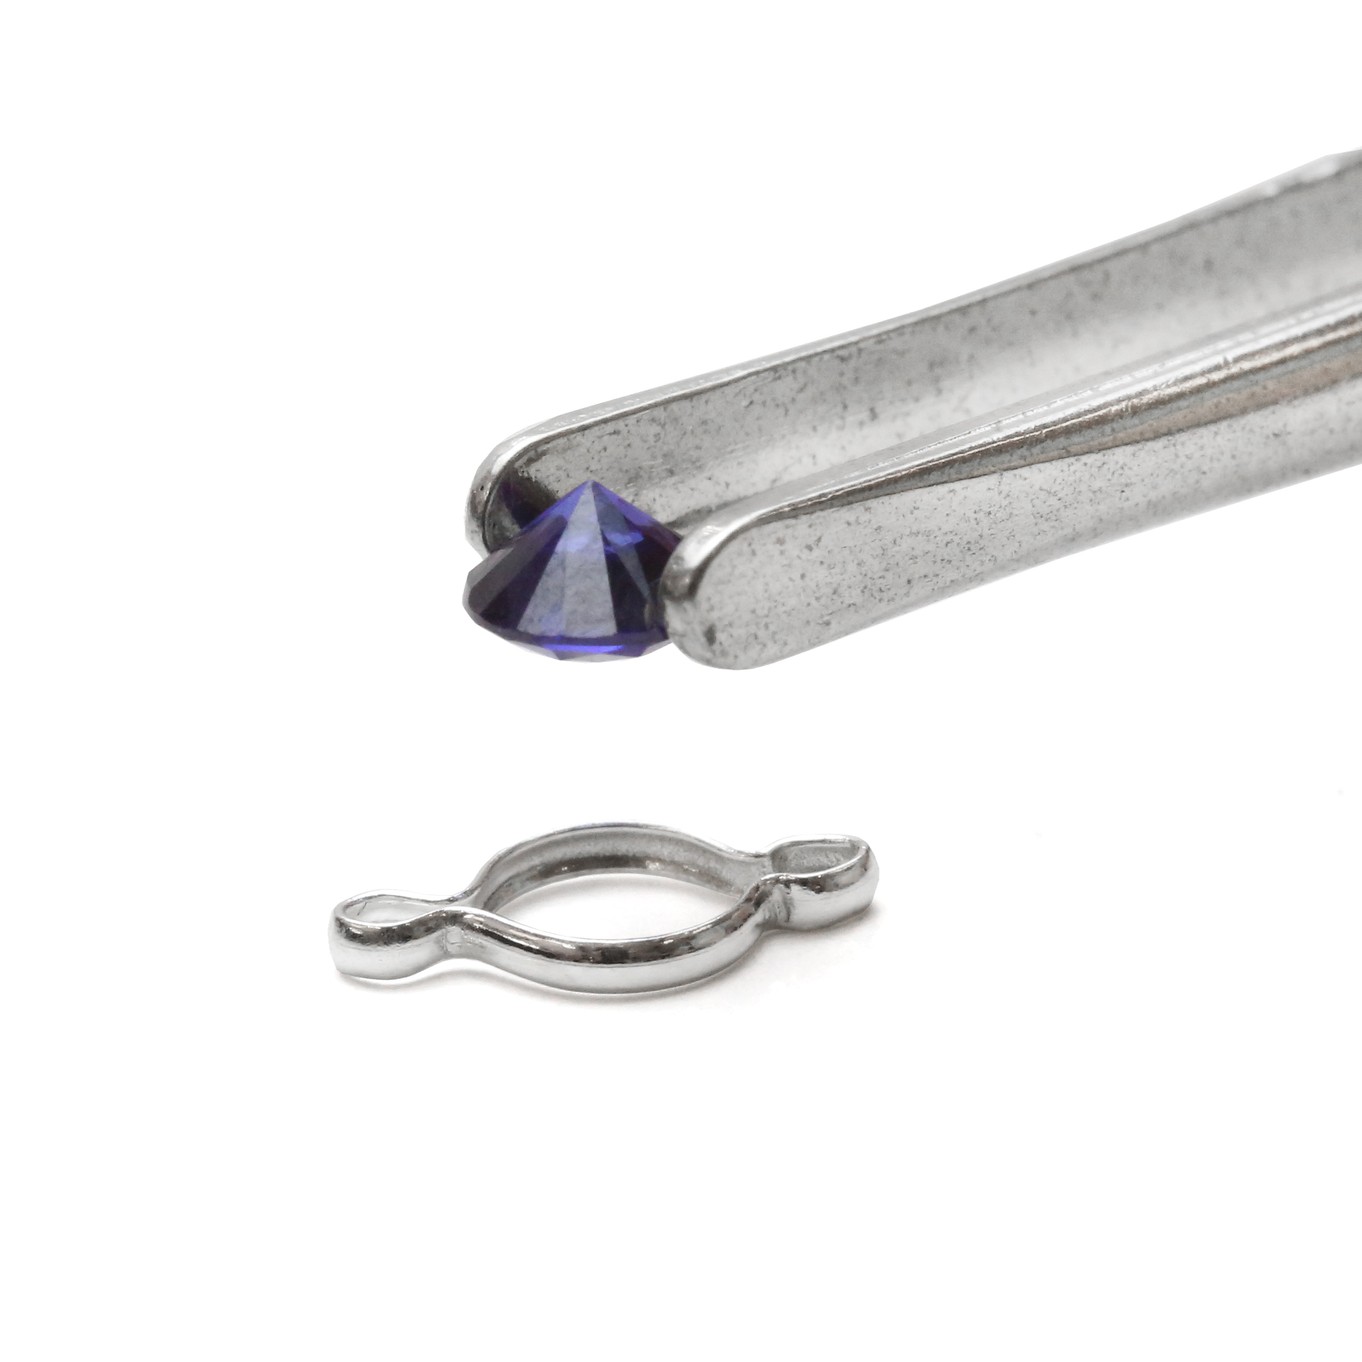
Our range of wraptite settings are for faceted stones and available as pendants and link connectors, for both round and oval gemstones.
You'll just need a pair of round nose pliers for these; just pop your stone into the middle of the setting, and use your pliers to gently squeeze the small loop at the end of the setting, which will cause the setting to hug your stone tightly in place.
To prevent you closing your loop too tight and accidentally closing it, try placing some wire inside before squeezing, this way you will ensure you still have enough room to attach a jump ring to the pendant. You now have a beautifully set stone!
If set correctly this should hold your stone securely, but if you are concerned you could add a very small dab of glue onto the inside of the rim of the metal for absolute security, but be aware that a little will go a long way so apply conservatively so it does not smudge onto the rest of the stone.
Intermediate
Pre-notched Settings
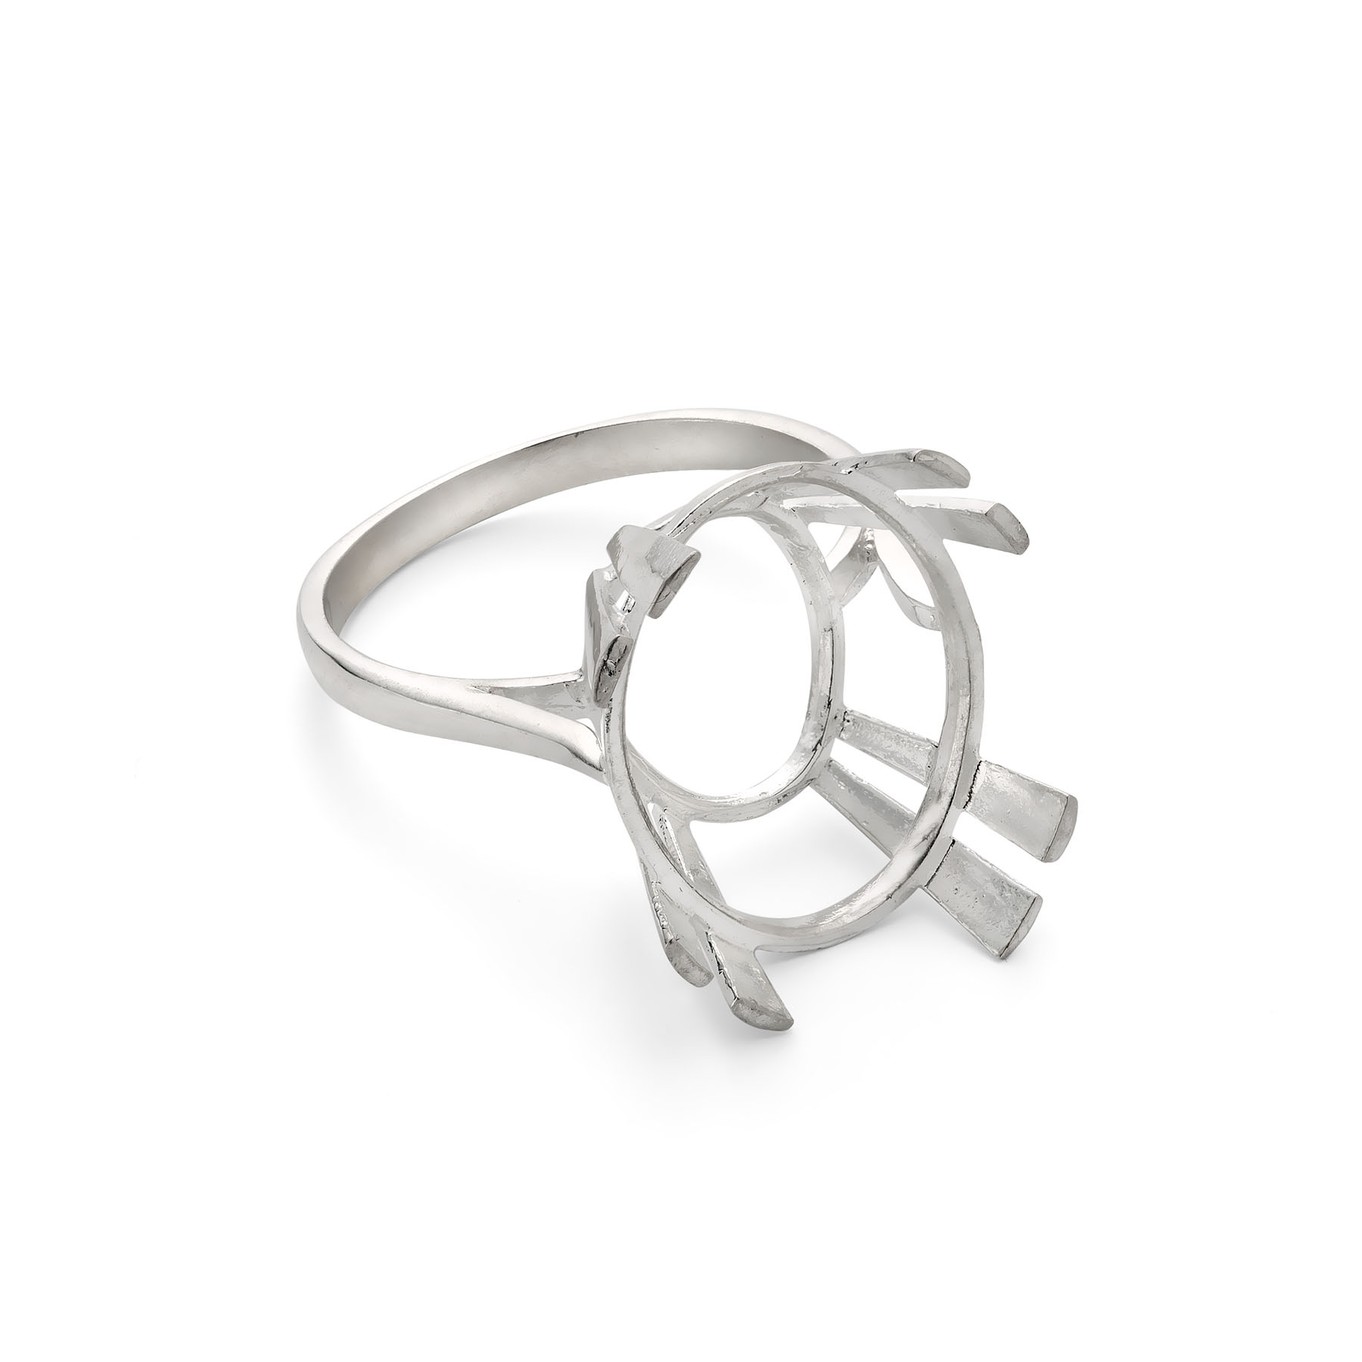
These settings are a great introduction to claw setting faceted stones. The claws are sturdy and the settings have a high-end look when finished. The claws come with pre-notched indentations where your gemstone will fit, so you don't need to file and cut your own - this makes the setting process so much easier and therefore you will probably only need a pair of snipe nose pliers and a pusher to set your stone in place.
First, check the size of your stone in the setting, if it won't drop into place easily, use your pliers to open the prongs of the setting just enough to fit your stone inside. Place your stone carefully into the setting, ensuring it's completely level, and the fit is nice and snug. You can then either push the claws over the stone using a pusher (as detailed in our instructions here) or using pliers. To set the stone using pliers hold onto the ring (using a ring clamp will make this much easier) and with your pliers, place the jaws underneath the setting and on top of the prongs, applying pressure gently so that the prongs hold your gemstone tightly in place. (Don't squeeze too hard, or your stone may pop out!) Make sure your stone is still flat and level. Now, hold the gemstone with your thumb, and squeeze the pliers at a 45 degree angle to fold the top of the claw above the notch down onto your stone. Then move on to the prong opposite (working in a criss-cross fashion keeps the stone level) and finish on the third and fourth prongs.
Once you have tightened all of the prongs, your stone is set!
Claw Settings
Traditional claw settings are similar to the pre-notched settings described above. The only difference is you have to trim the claws (if needed) file down the claws and make your own notches. Although this is more difficult, it also gives you the freedom of using slightly different sized stones, as you can seat them exactly where you want in the setting. Practicing on ready made settings like this will give you the confidence to try making your own claw settings from scratch.
You'll need slightly more tools here, so make sure you have some stone setting pliers, some needle files, a pusher, and some side cutters or saw. We've put together some step by step instructions detailing the process and techniques needed here. You'll need to adjust the claws to fit your stone so keep checking with your stone so that you ensure a good fit and don't remove more metal than needed.
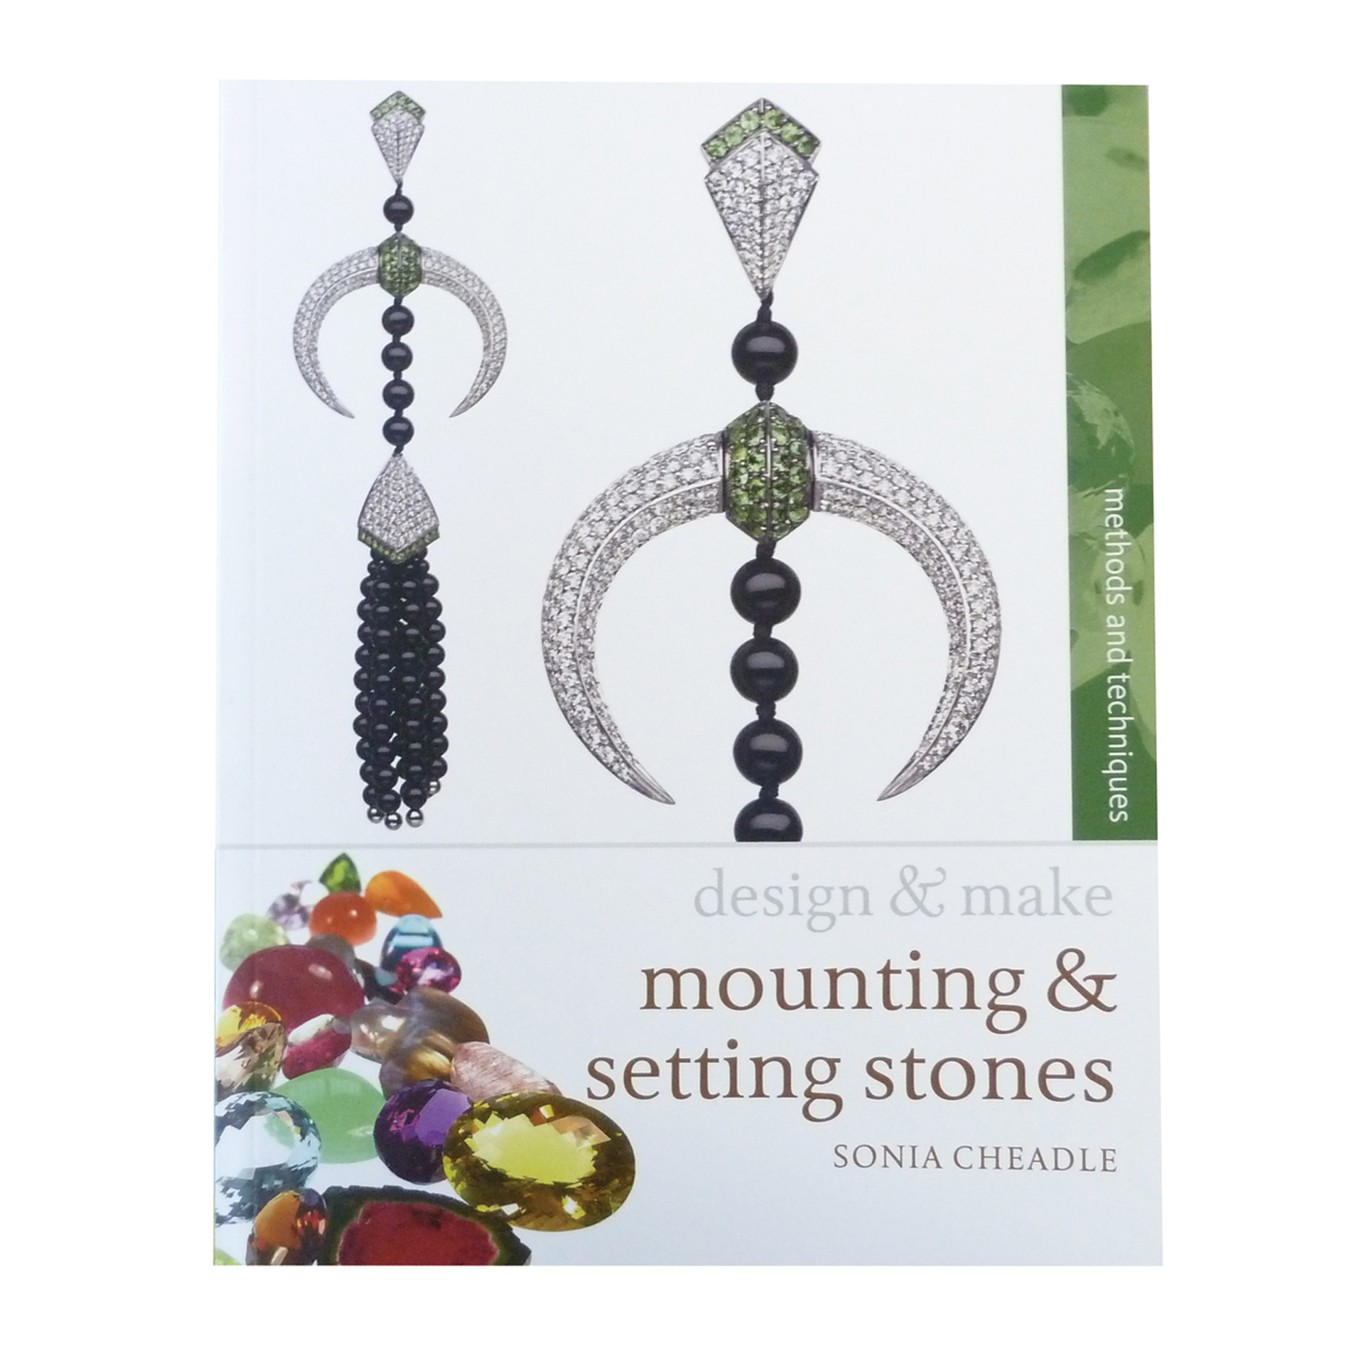
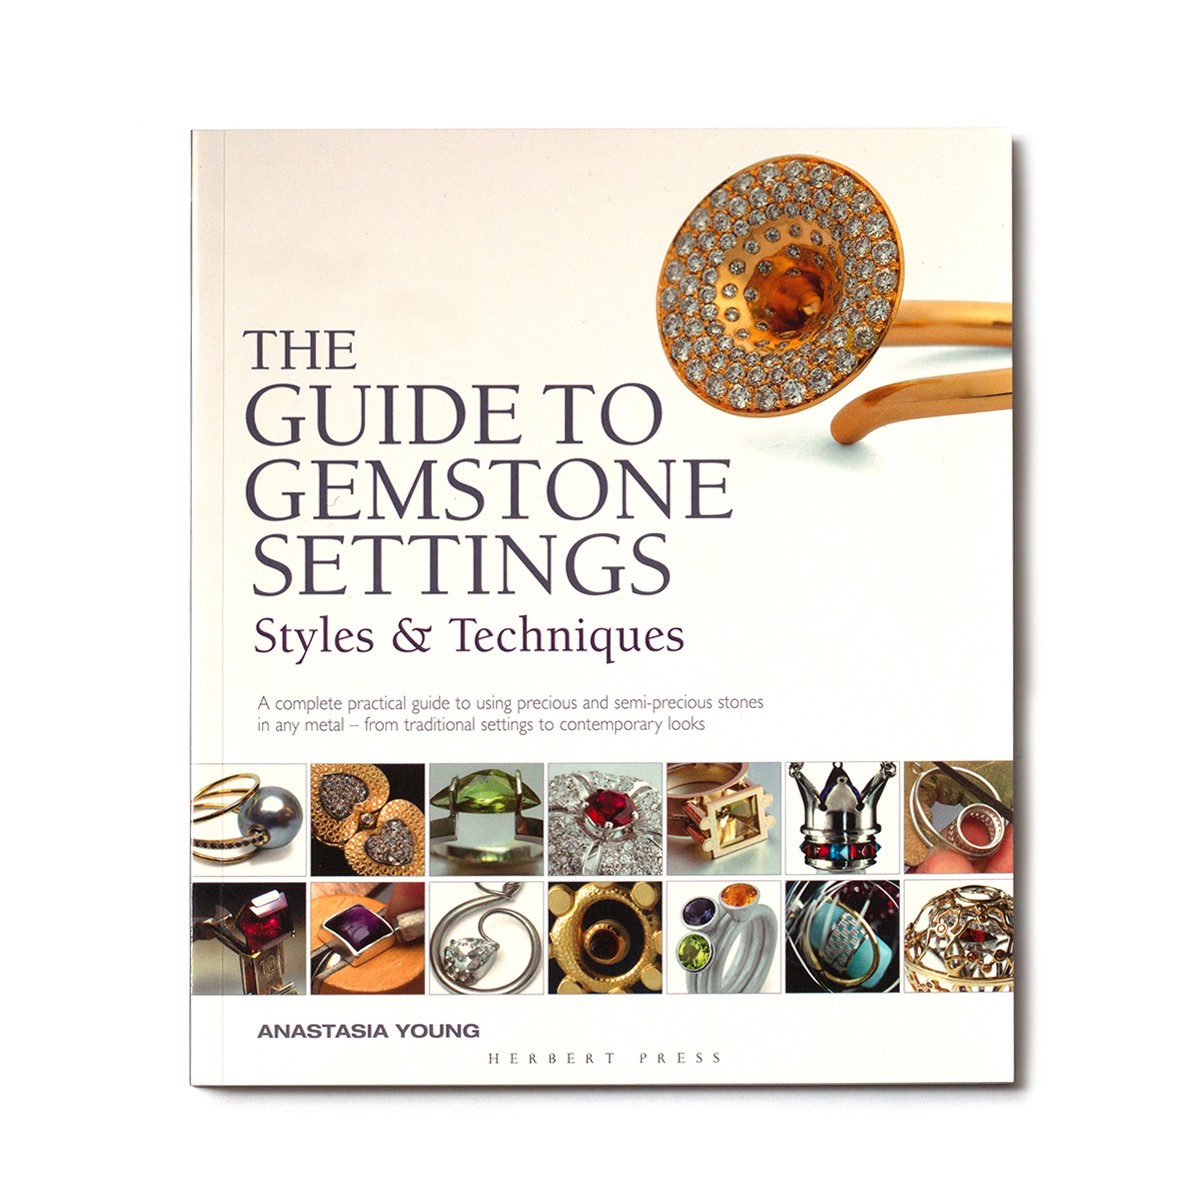
We have some really good books that will help with teaching you all you need to know, so have a look at our range here. One of our favourites is Stonesetting For Contemporary Jewellery Makers by- Melissa Hunt this is a really informative and inspiring book which always comes up as the best recommended stone setting books.
Bezel Settings
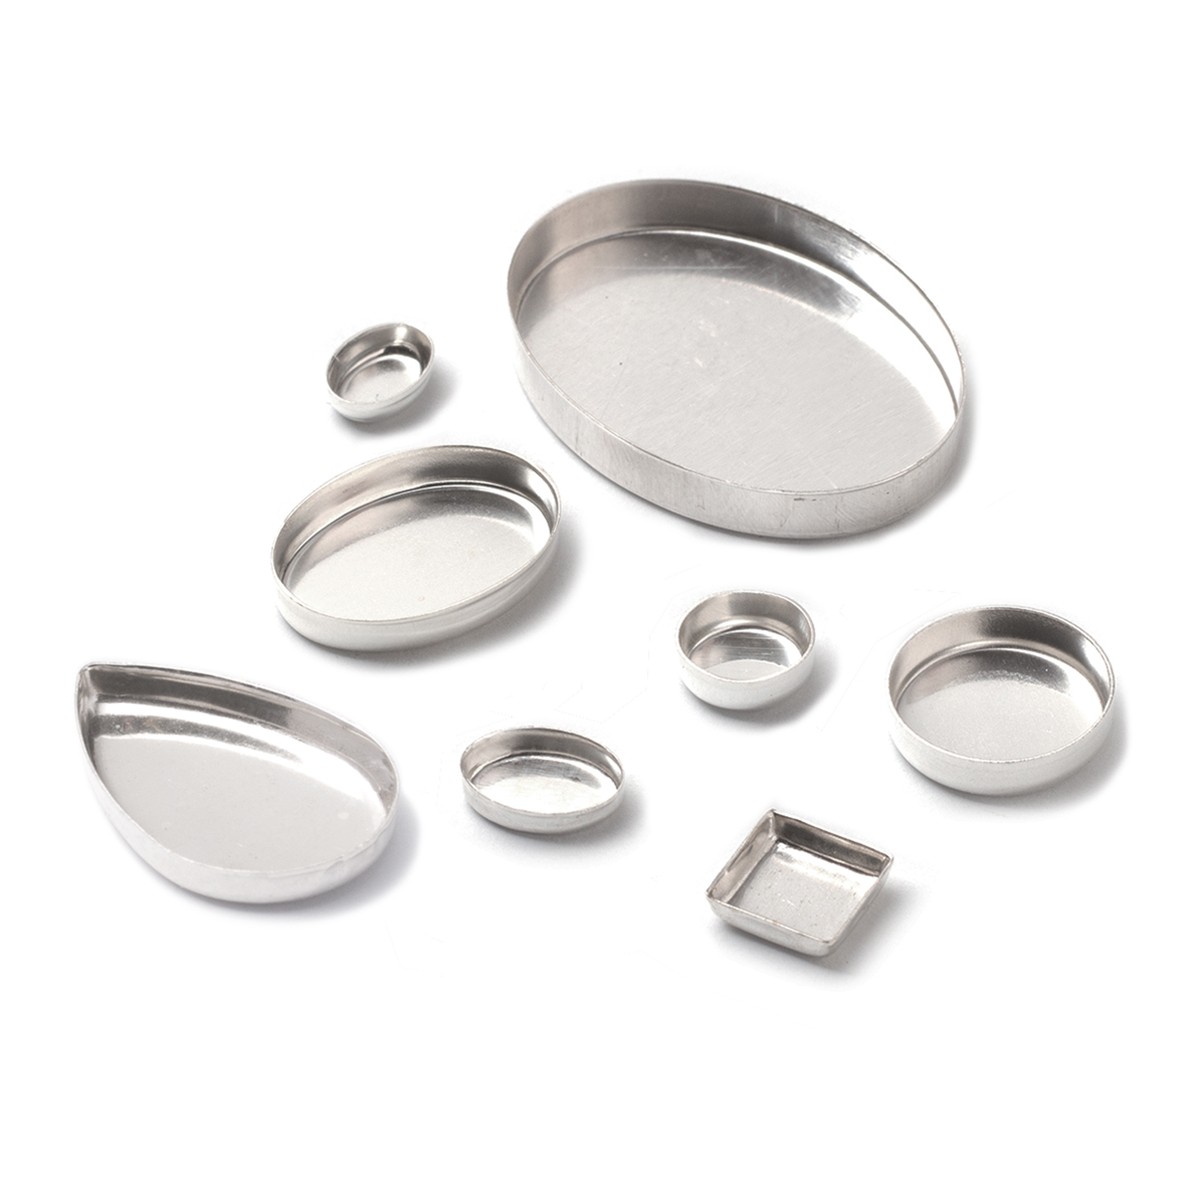
Bezel settings are generally for cabochons, you can set faceted stones in a bezel setting but for most of the pre-made bezel settings that we are talking about here - which have a closed back, they will be for cabochons. Useful tools are a bezel rocker, a burnisher, a set of needle files, and sandpaper or sanding sticks.
Set your stone in place, ensuring a snug, level fit. If the stone doesn't quite sit right and you have a heavy bezel, you can use a graver or stone setting burr to remove some metal from the inside and give it a little more room.
Next, file the edges of the bezel at a 45-degree angle (doing this will help the top edge lie smoothly against the with no sharp lip). Then with your stone in place use your pusher to roll the edges of the bezel over the stone, creating a smooth edge all the way around. Work your way around the stone bit by bit at opposite sides, to ensure you're even on both sides, and the stone sits centrally. Keep working until the bezel is flat against your stone all the way around, and finish with a burnisher, which will smooth the metal out and neaten the design.
For more information, we have a page dedicated to this setting here
Advanced
Make Your Own Settings
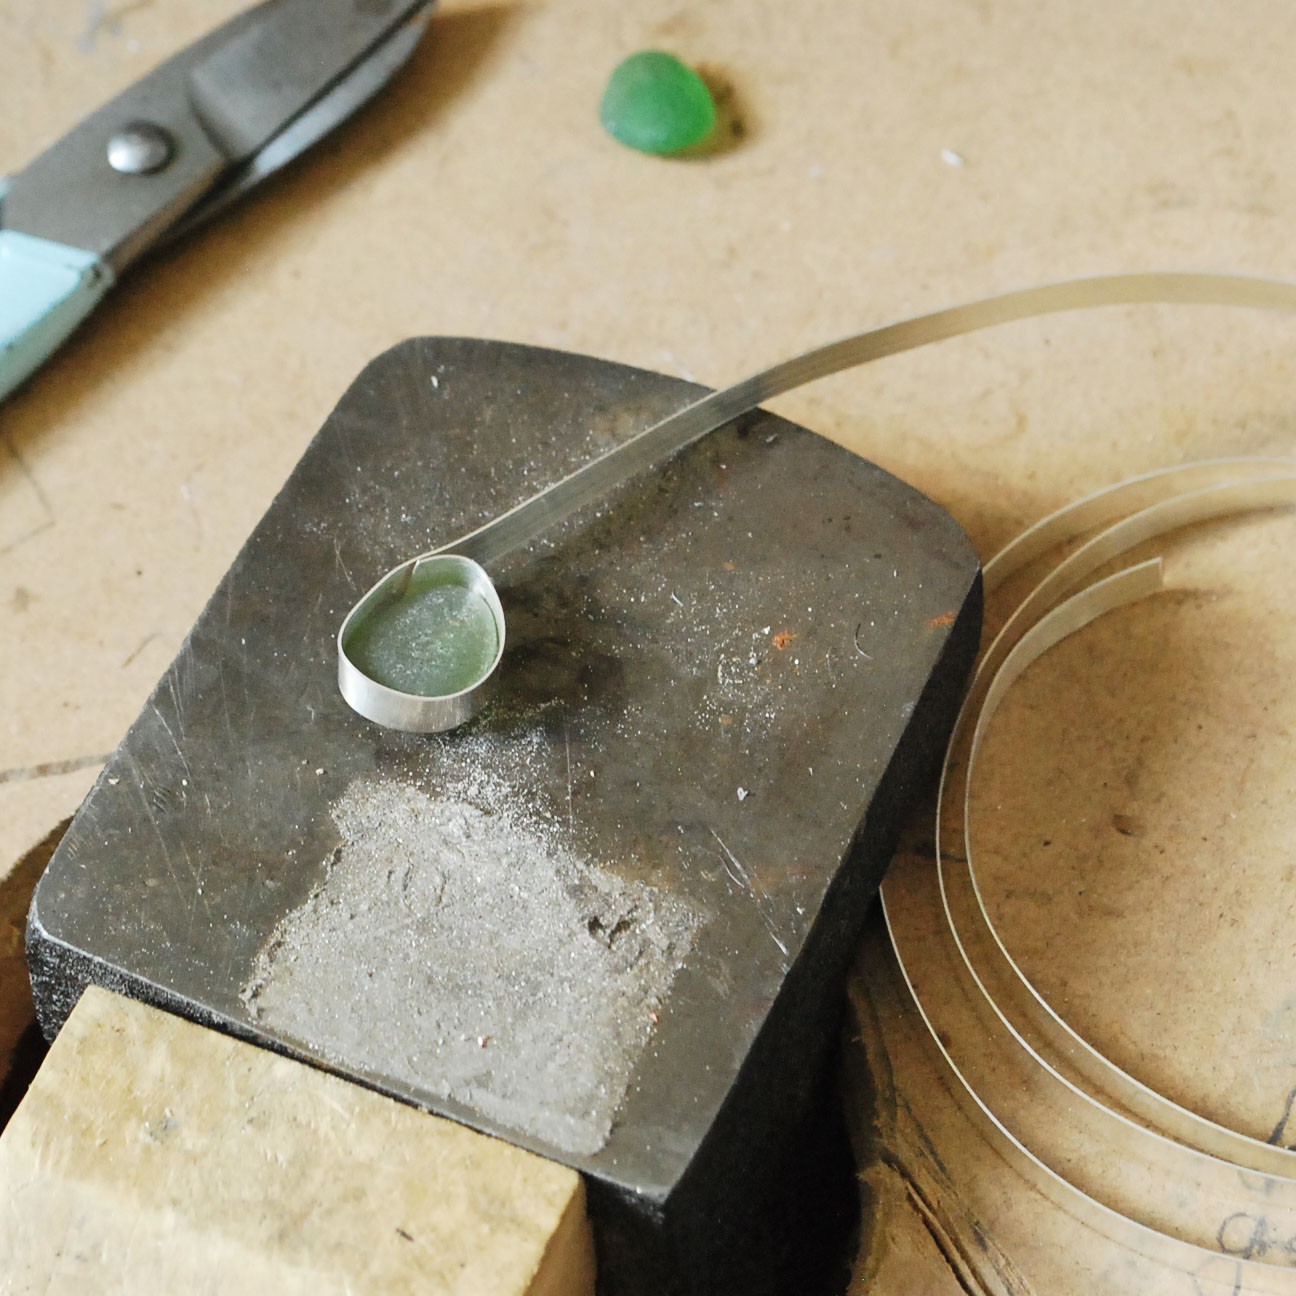
In a whole new level from everything else, is making your own settings. There are several types of settings you can create from scratch. Notably, wire-edged settings, prong/claw settings, bezel settings and tube settings. These require knowledge of soldering and working with metals. So they make good projects for improving your skills. We've discussed the pros and cons of creating your own settings before!
To help you get started, here's a list of the materials most often used when creating your own settings from scratch:
Bezel strip (or bezel wire) is made from fine silver (so slightly purer and softer than sterling silver), this thin and flexible strip is easy to rub over the stone, we sell two different sizes for different depths of stones.
You can solder your bezel stip onto silver sheet as a backplate for your setting.
The little prongs all around the gallery wire help you to bezel over your stone easily and are a more decorative option when compared to plain bezel wire. File the top of the prongs, to thin them down a little and smooth them out before setting for a neater look which will also stop them from catching on clothes etc.
These are a great option for your first time creating your own bezels, as the prongs can cover up any imperfections which may be much more noticeable on smooth bezel strip.
You can use a silver tube as a way to achieve a bezel effect with a faceted stone. Choose a section of tubing with a diameter that is 0.5mm bigger than the stone you'd like to set. (for a 3mm stone, you'll need 3.5mm tubing) Then use a burr the same size as the stone, to drill a hole for it to sit in. You can then use a bezel rocker to rub over the top and hold it in place!
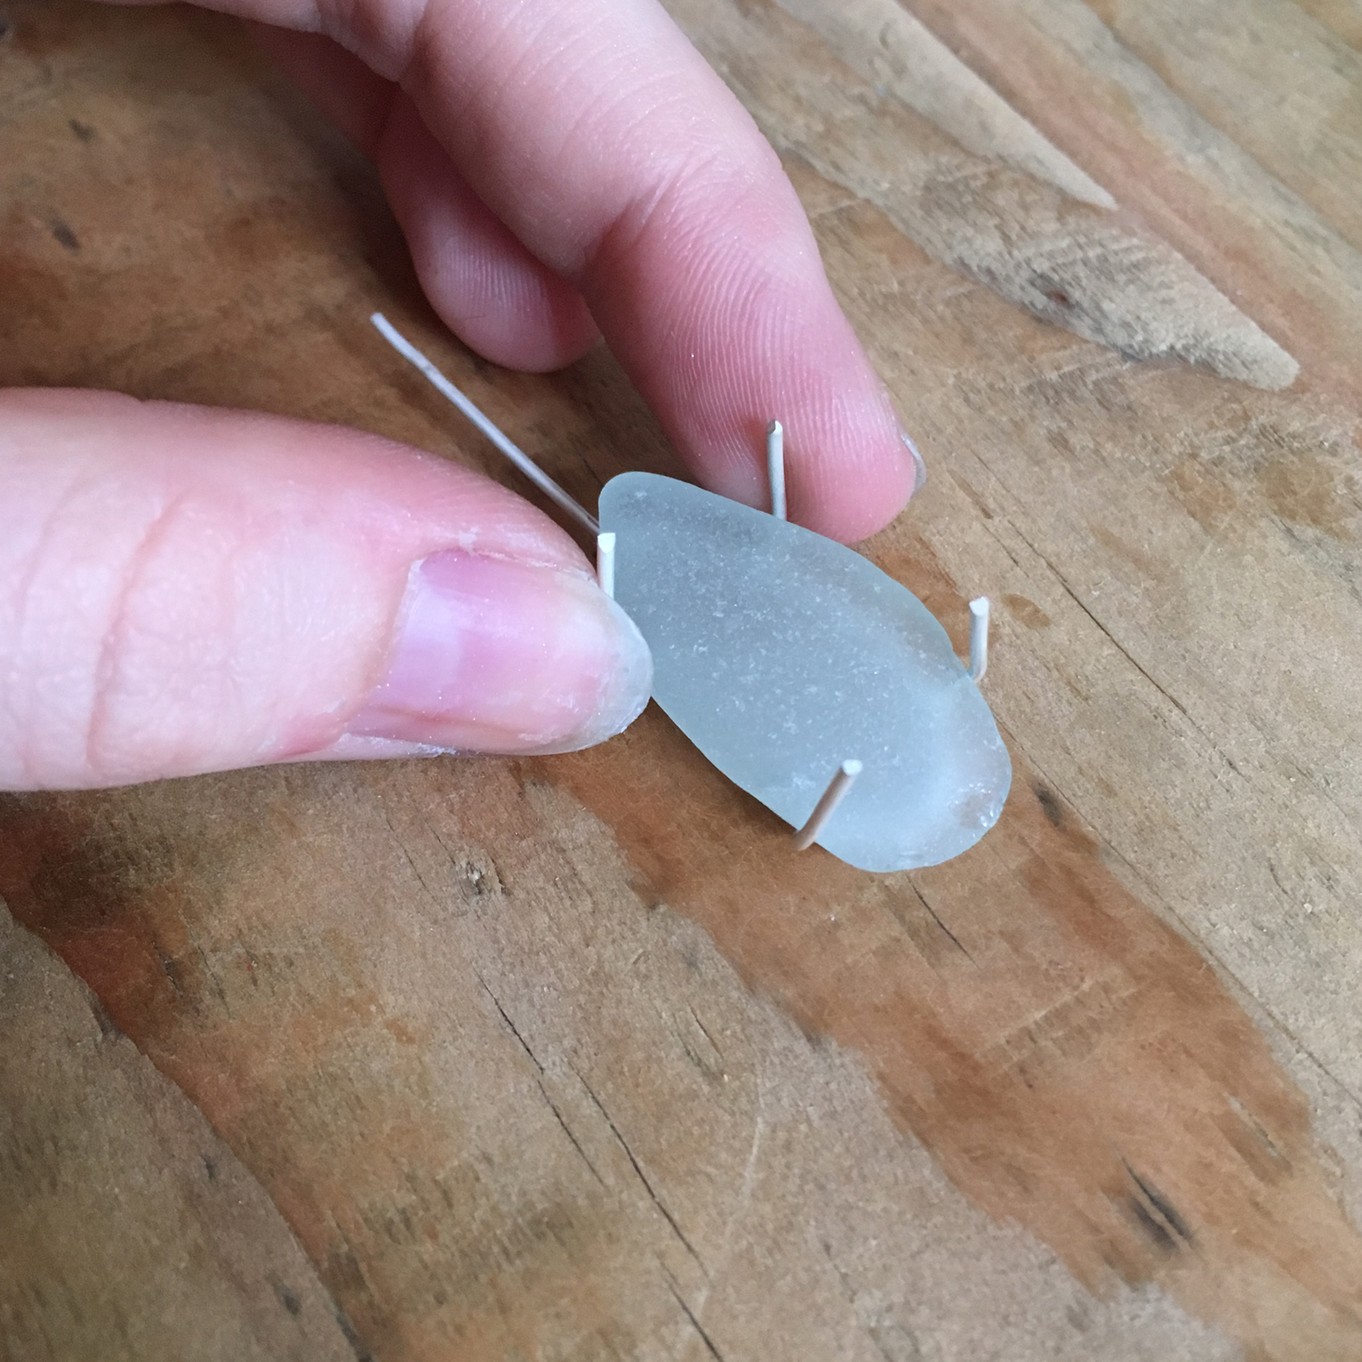
You can use silver wire to create claw/prong settings, attaching a connecting ring, and bending around your stone. You can also use them for a wire edge setting.
The silver sheet is used as a base plate for the back of any setting, adding structure, securing your stone, and adding some extra finish to a design.
With all of these materials combined with your own creativity, you'll have access to limitless possibilities for setting designs! Creating your own designs is much more difficult to explain briefly in this post, so you may be interested to read more in-depth.
Books On Stone Setting
More information can be found within the pages of the many books we sell on the subject of stone setting. There's a huge wealth of knowledge available, and it's always handy to have a book nearby to guide you through the steps as you work!
Also in this section:
- The Essential Tools For Setting Gemstones
- Your Guide To Stone Setting Burrs For Jewellery Making
- What Is A Bezel Rocker?
- Types Of Settings & How To Use Them
- Types Of Settings For Calibrated Cabochon Stones
- Types Of Settings For Faceted Stones
- Types Of Settings For Free-Form Stones & Crystals
- Calibrated Gemstones & Size Tolerance In Jewellery Making
- Ready Made Settings vs Making Your Own Settings
- 7 Ways To Make Your Own Gemstone Ring
- How To Set Earstuds For Half Drilled Beads
- How to Set Flat Plates and Milled Edge Jewellery Settings
- How To Set Snaptite Settings
- How To Set Gemstones In Gallery Wire Settings
- How To Set Backset Settings
- How To Set Wraptite Settings
- How To Use Huggie Claw Settings For Crystals & Sea Glass
- What Are Bell Caps For Jewellery Making?
- How To Set A Pre-Notched Setting
- How To Set Claw Settings
- How To Make A Decorative Ring Setting For A Free Form Cabochon
- How To Make A Tube Setting For A Faceted Stone
- 4 Drilled Sea Glass Earring Projects
- Jewellery Making With Sea Glass: Drilling & Stone Setting Tutorials
- How To Drill Sea Glass For Jewellery Making
- How Much Bezel Strip/Gallery Wire Do I Need?
- Types Of Bezel Cups
- How to Adjust Bezel Settings to Fit Cabochons
- How To Set A Cabochon In A Bezel Setting
- How To Make A Gemstone Ring With A Bezel Cup
- How To Make A Bezel Set Cabochon Ring With 'Made By Oonagh'
- How To Make A Sea Glass Ring With Bezel Setting
- How To Make Bezel Set Cabochon Earstuds
- How To Make A Sea Glass Necklace With Backless Bezel Setting
- How To Bezel Set A Free Form Cabochon Onto A Textured Silver Pendant
- How To Make A Textured Pendant With A Freeform Gemstone Slice
- How To Make A Claw Set Cabochon Pendant
- How To Make A Prong/Claw Setting For Irregular Shapes Stones
- How to Make A Wire Edged Setting
- How To Make A Balled Claw Ring Setting
- Making An Australian Boulder Opal Pendant With Stardust Mine
- The Process Of Remodelling A Gemstone Ring With 'Honey Bee Design'
HAVE A QUESTION?
If you have any questions, feel free to get in touch with our friendly team who will be more than happy to give you advice over email or on the phone.
You can learn more and find inspiration by visiting our Jewellery Making Tutorials, Jewellery Making Kits and YouTube Channel. Don't forget to follow us on social media and tag us in your designs on Instagram & Facebook, we would love to see!

