The Essential Tools For Stone Setting
Beginners Guide To The Basic Stone Setting Tools
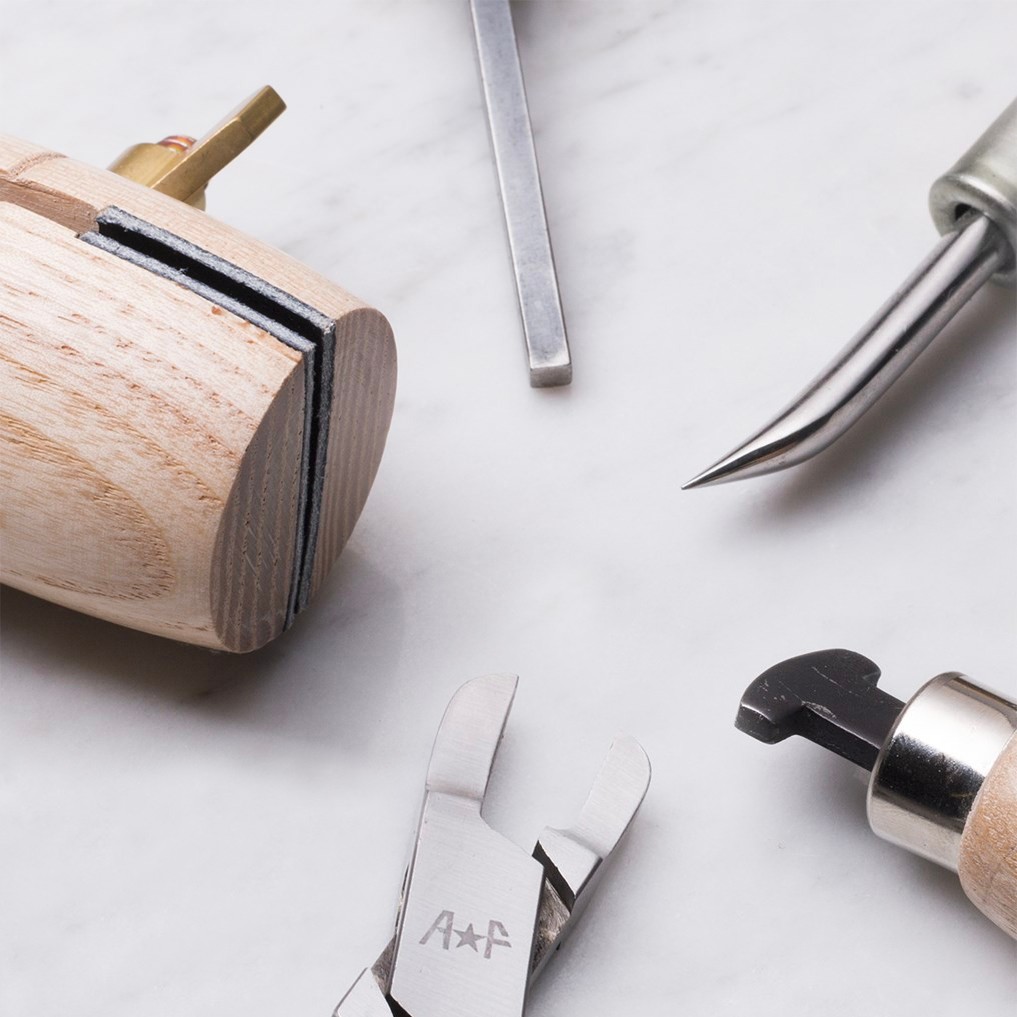
If you are looking to start setting gemstones in your handmade jewellery designs, the following list of tools will help to get you started!
As you progress to more difficult settings you will want to expand your tool collection, but with these few toolbox
Shop Gemstones & Supplies With Kernowcraft
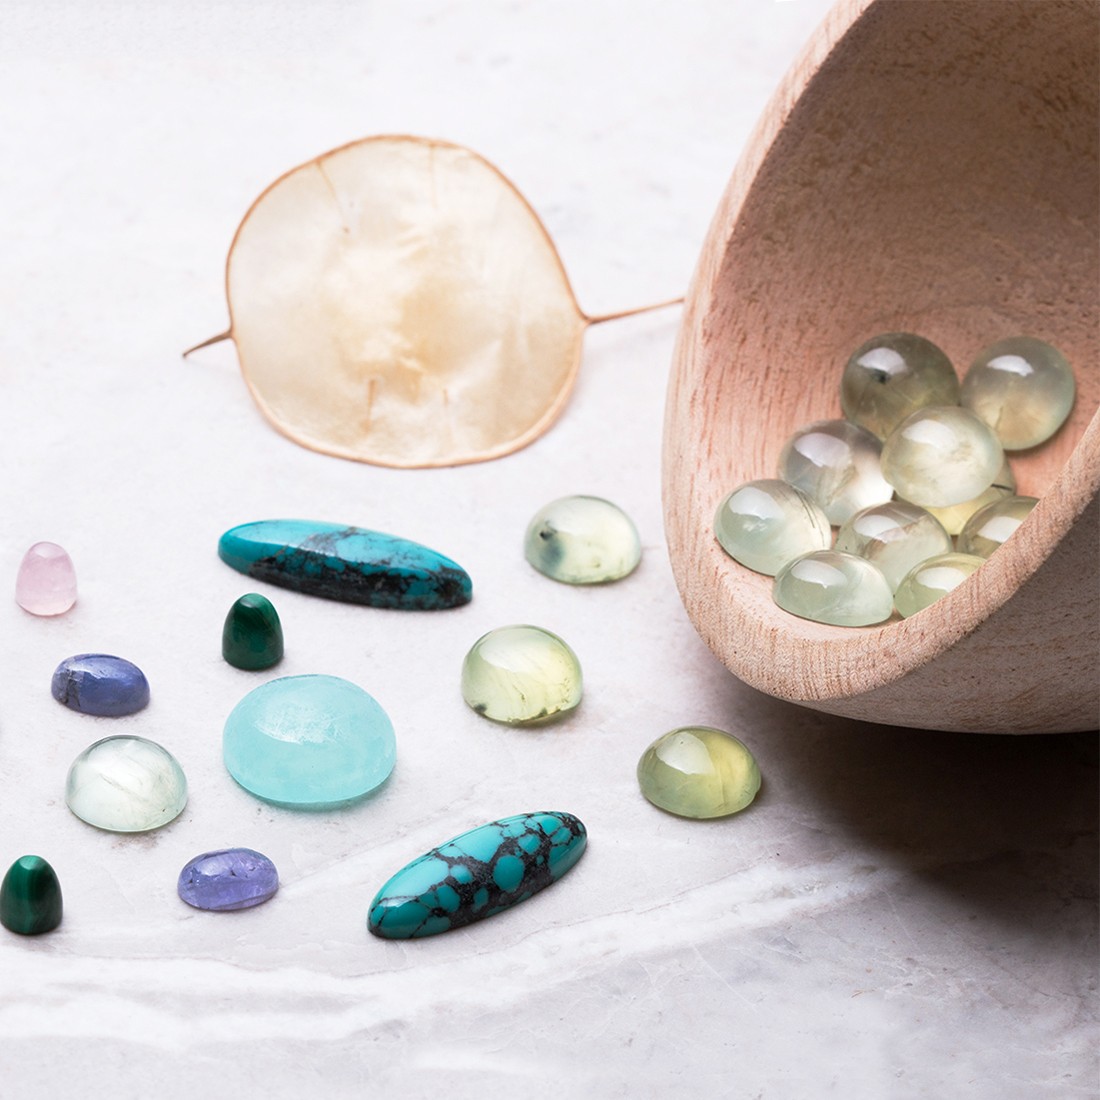
Discover our large collection of cabochons, faceted stones and gemstone beads to use in your handmade jewellery designs! You'll be able to choose from a wide range of shapes and sizes.
Not only do we offer sparkling gems, you'll also find all the jewellery making tools and supplies you could need from metal, findings, settings, chain to gift boxes.
Discover Essential Stone Setting Tools
Bezel Rocker
What is it?
A bezel rocker, also known as a bezel roller, is an essential tool for setting cabochon gemstones with a bezel setting.
Why do I need it?
This bezel rocker (or bezel roller) gives a lovely, even result when used to 'roll' the bezel over a stone
The bezel rocker allows you to achieve a professional and neat finish, providing an even result when used to roll the bezel over the stone. A bezel rocker also prevents creases or unsightly marks on the metal. This tool can be used on your own handmade bezel settings, pre-made bezel cups, as well as other pre-made settings for cabochon gemstones such as gallery wire.
How to use
Simply push the bezel around the gemstone, working from all sides and gently rocking back and forth with downward pressure until the stone is secure in place.
Pusher
What is it?
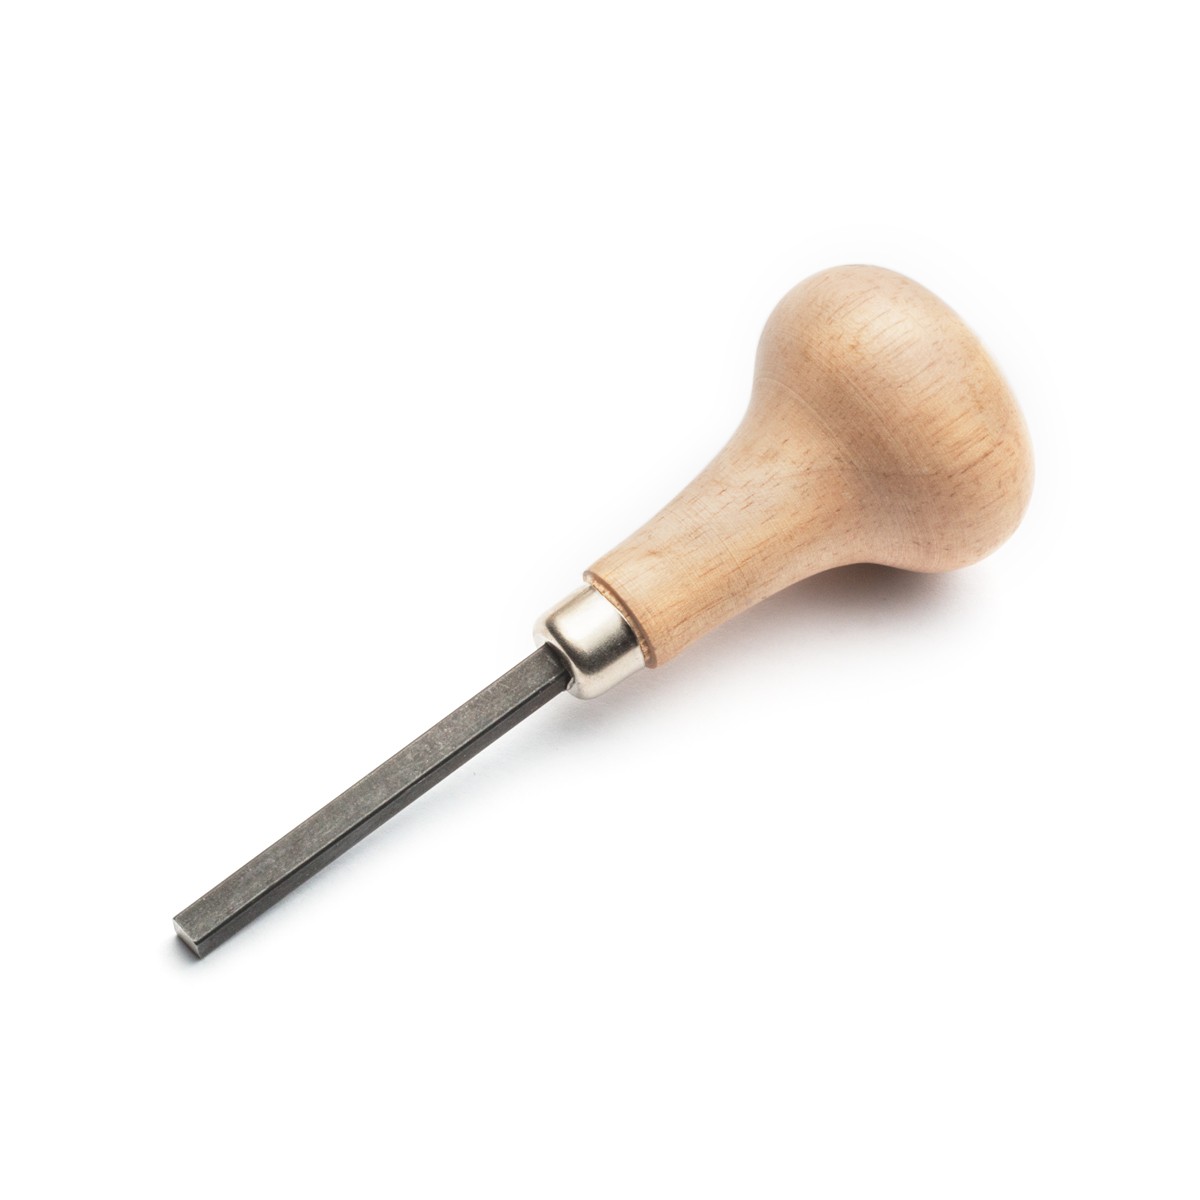
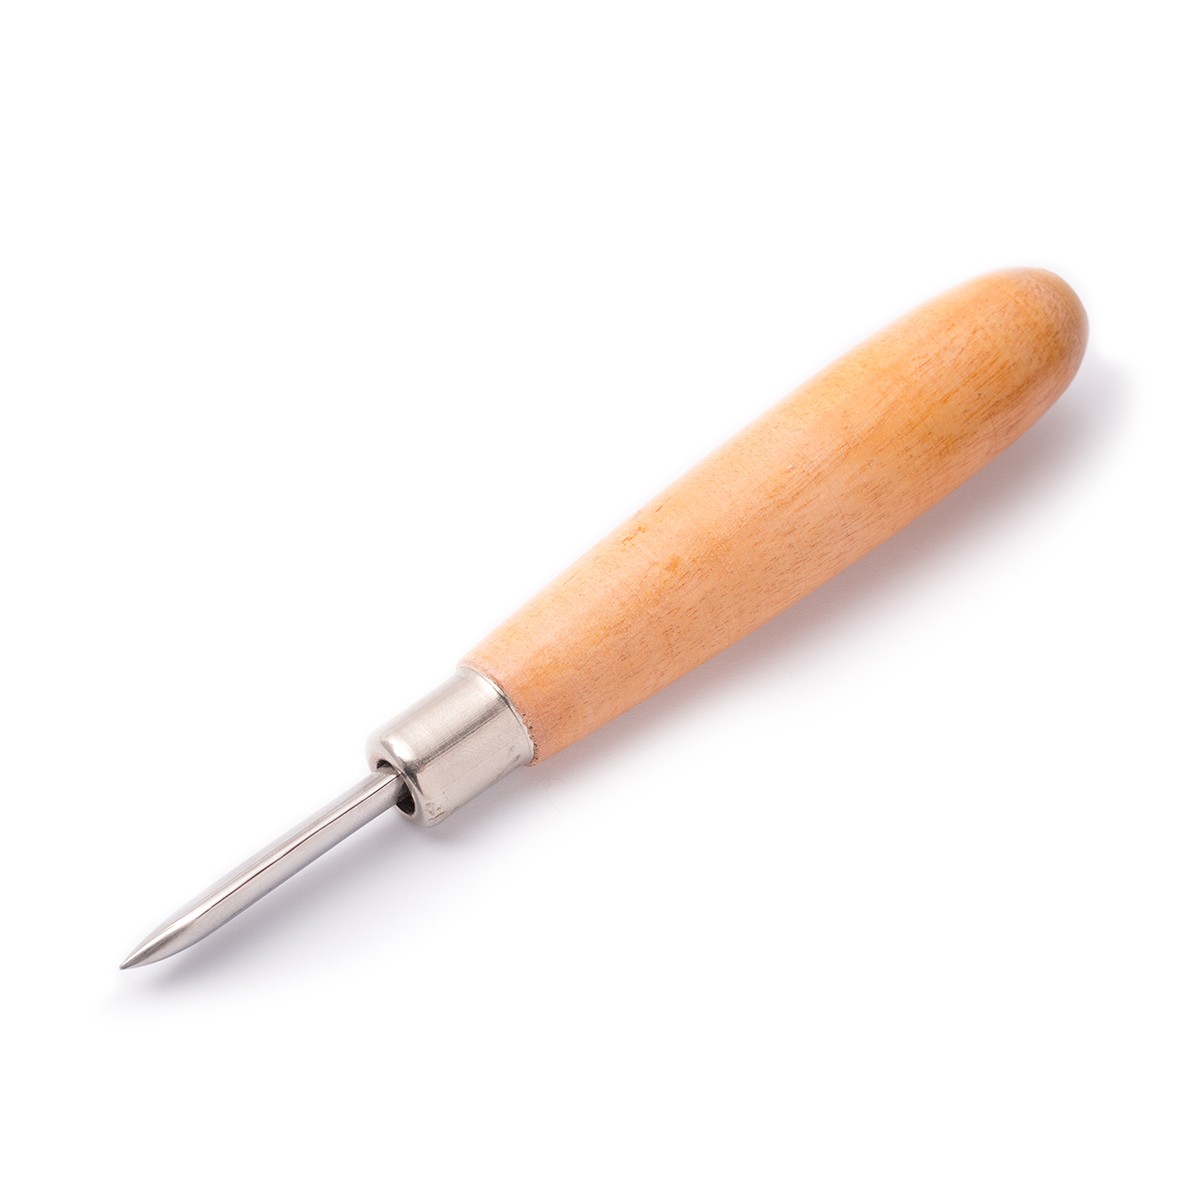
A pusher, also known as a prong pusher is a tool used for pushing claws over faceted stones or pushing bezels over a cabcohon stones.
It is particularly brilliant when working with pre-notched settings as you can use the pusher to push the claws over the top of the gemstone.
Why do I need it?
The square metal rod is slightly rounded on the corners and polished on the end to minimise setting marks and scratches.
How to use
The wooden handle is designed to fit comfortable into the palm of your hand, allowing you to grip the rode between your fingertips and add pressure with control to the areas of the setting you would like to push around the gemstone.
Burnisher
What is it?
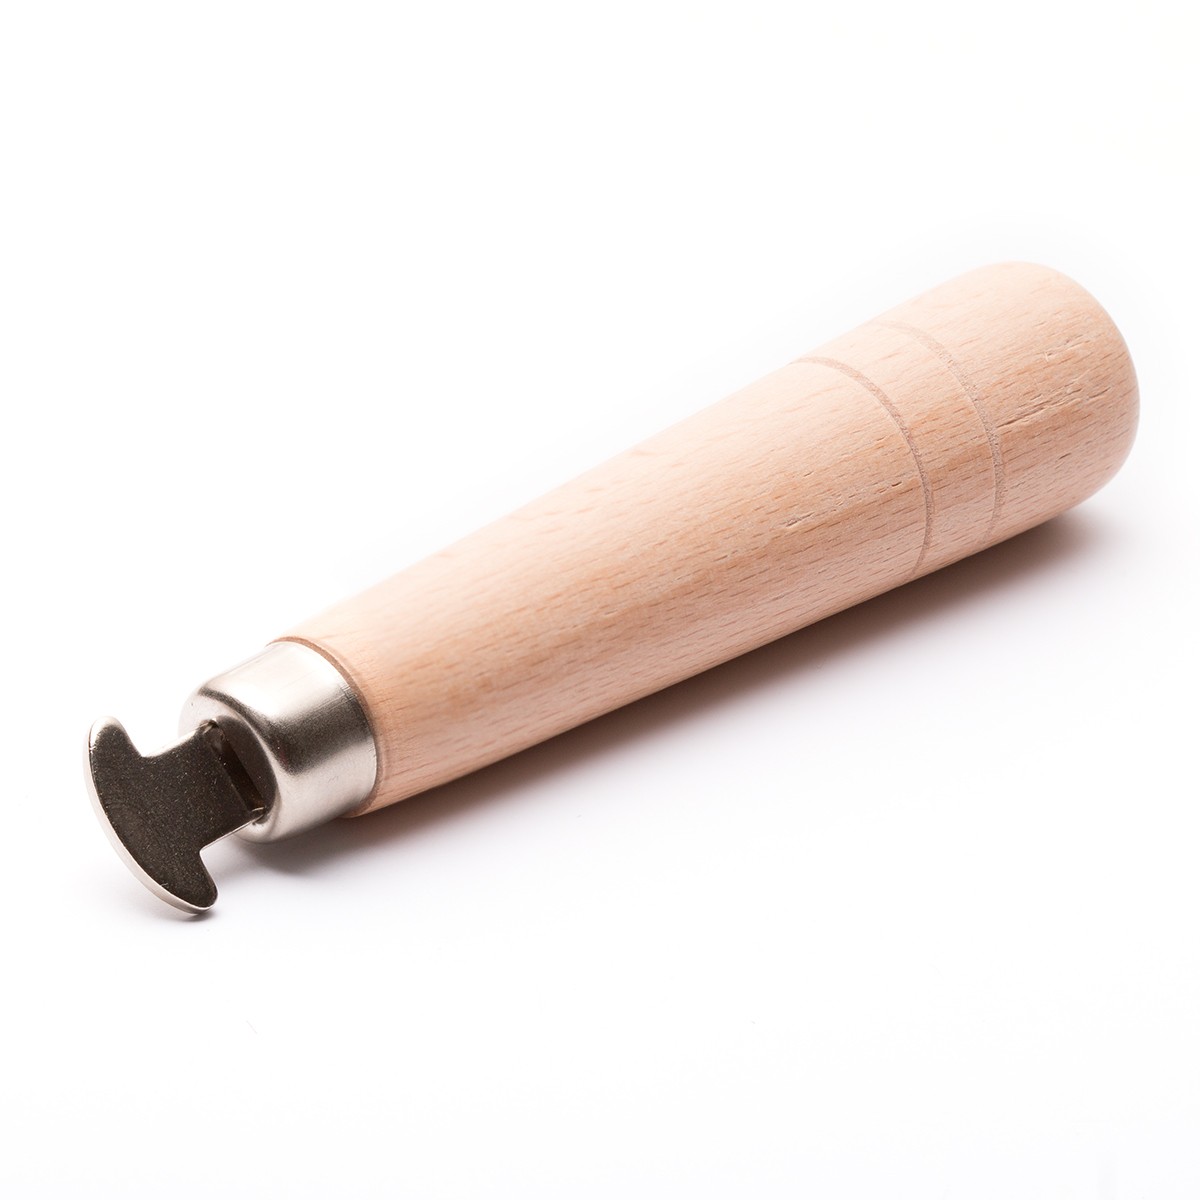
A burnisher is a jewellery making tool that gives a high shine and professional finish to your gemstone setting.
Why do I need it?
Great for polishing out marks that were made during the setting process. When rubbed onto softer metals such as sterling silver, gold and copper, a burnisher smooths and shines the metal and is great for hardening metals.
It's also an essential tool for metal clay artists - as the soft nature of the pure silver makes it particularly receptive to burnishing. For smaller metal clay pieces, burnishing is often all that is needed for polishing and textures can be greatly enhanced when raised areas are burnished, creating a distinct and interesting contrast
How to use
Simply rub over the metal of your setting - it takes a few moments but soon your metal will begin to shine. A burnisher can also be used to rub metal over a cabochon stone when setting in a bezel cup or using fine silver bezel strip.
Ring Clamp
What is it?
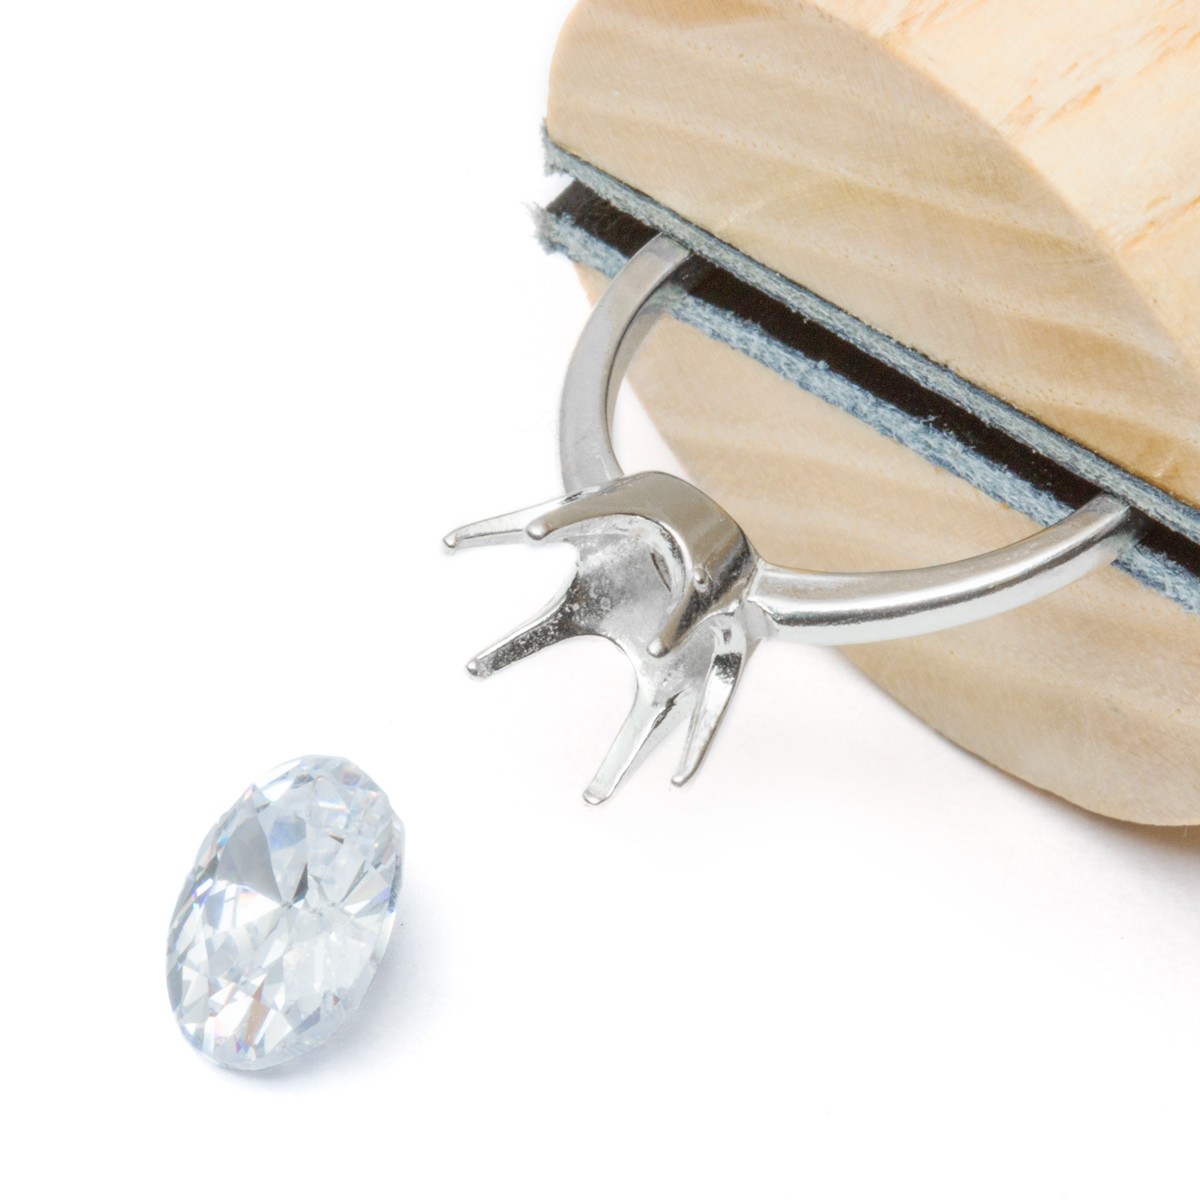
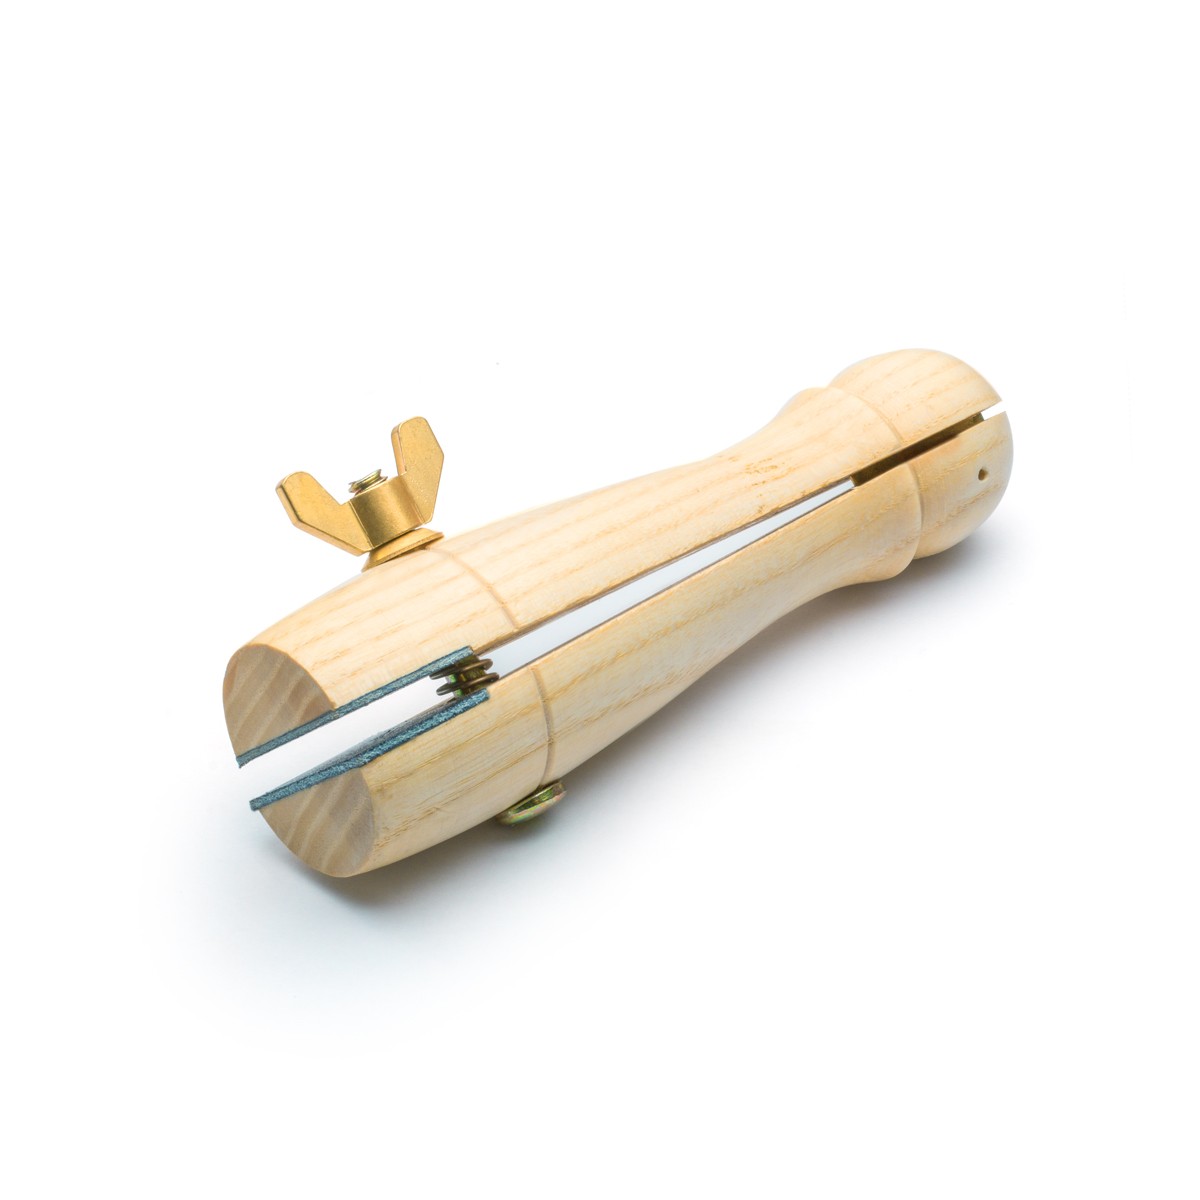
A ring clamp is an essential tool that really helps when setting gemstones in rings or other small pieces of jewellery that are difficult to hold. It also comes in very handy when wire-wrapping!
Why do I need it?
A ring clamp has leather-lined jaws that don't make a mark on the metal but allow you to hold a ring in place. Using a ring clamp speeds up the stone setting process and makes it much easier, resulting in a more professional finish.
How to use
Simply unscrew the wing-nut to open the jaws, insert the shank of the ring (the bottom part of the ring) so that the setting are facing up. Tighten the wing-nut to hold in place allowing you to use more pressure than if the ring was being held in the hand.
Needle Files
What is it?
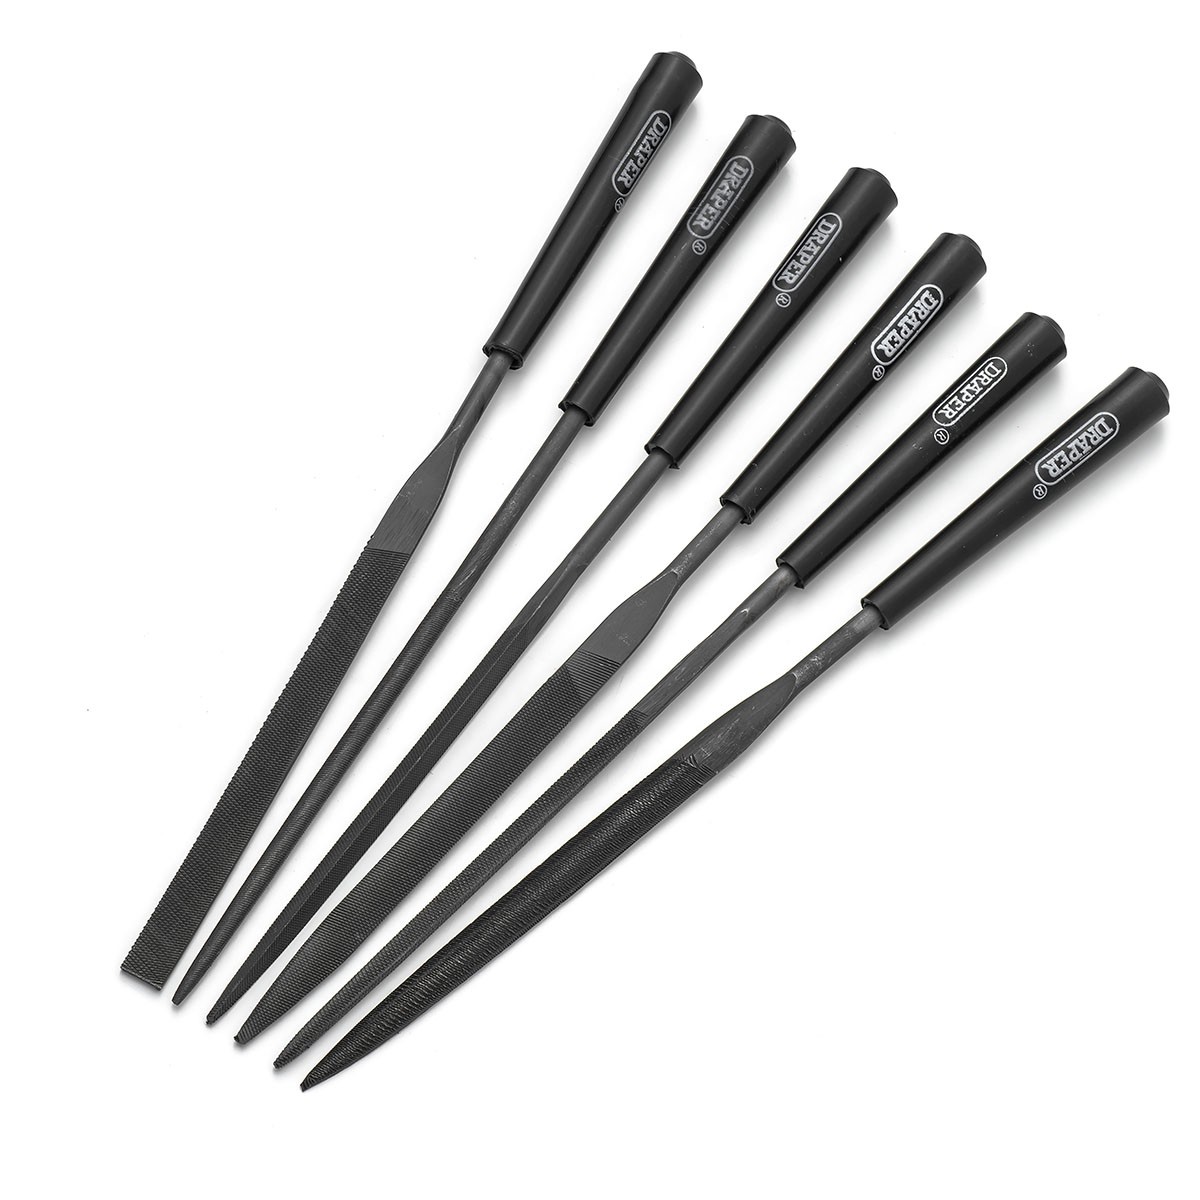
Needle files file down metals and allows you to make required adjustments to settings to ensure your gemstones are a better fit.
Why do I need it?
Needle files are perfect if you are just starting out in stone setting. They can be used to file down the height of a bezel to make it fit your gemstone neatly, they can also be used to make the inside of the bezel finer and easier to push over the gemstone. They are also great tools for other silversmithing work so you will be sure to get plenty of use out of them. The needle files are fully hardened and tampered so are ideal for controlled and accurate filing of metal.
How to use
Choose one of the 6 files according to what you want to achieve - each shape will help you to file different areas of your design, and rub against the area of metal you want to erode.
Pin Vice
What is it?
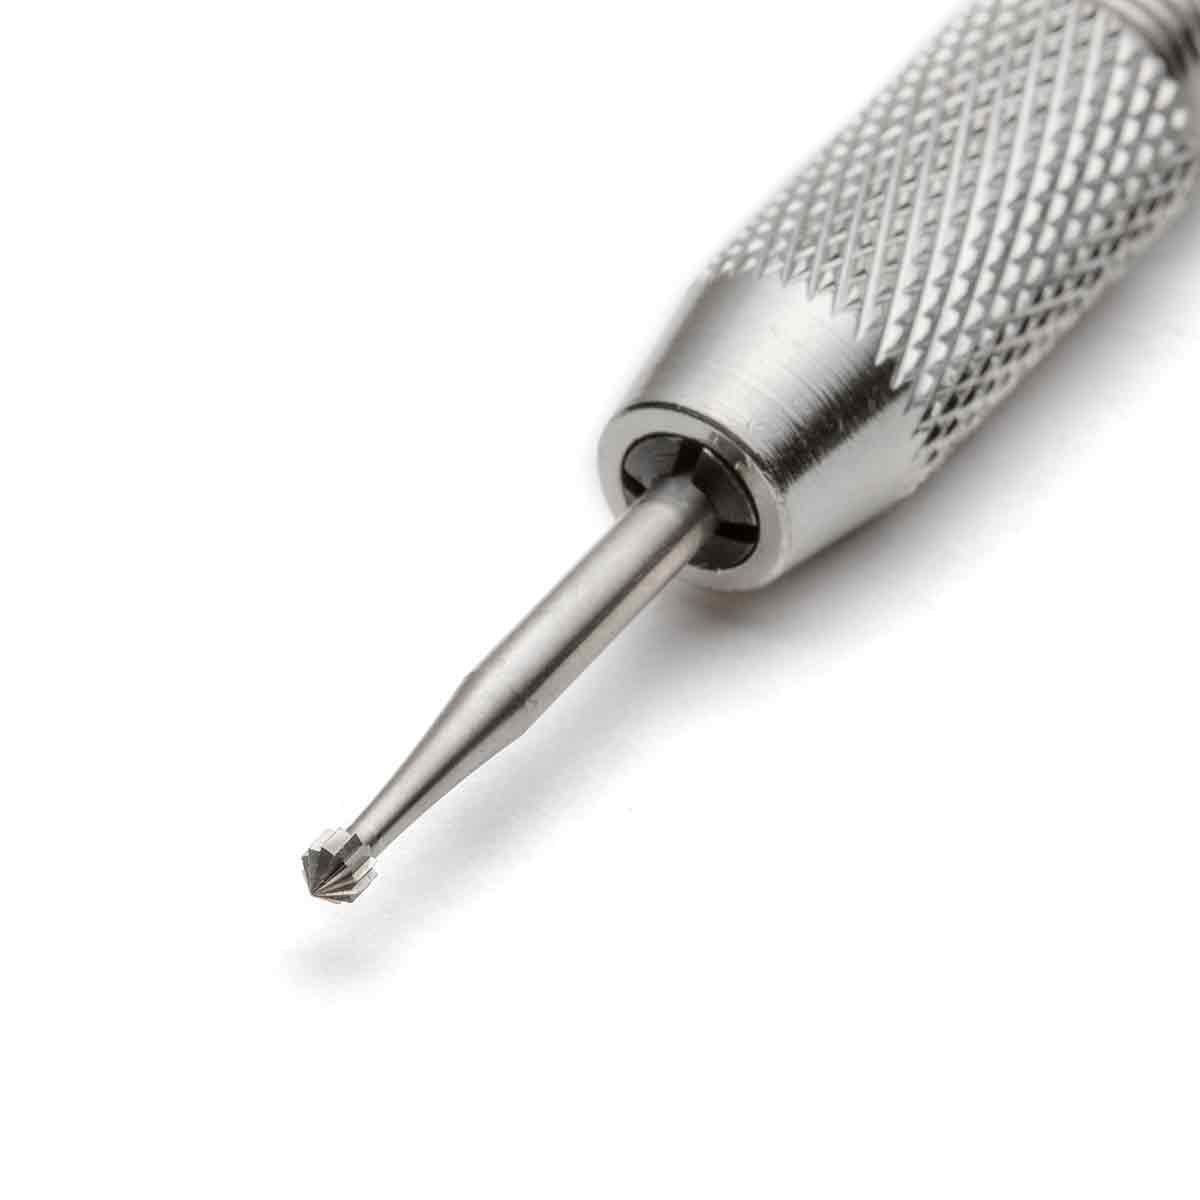
A pin vice is a really useful tool for precise work in jewellery making - when working by hand would be more suitable than using an electric drill or multitool such as the Dremel Multi Tool.
Why do I need it?
A pin vice allows you to make small adjustments by hand when setting stones, you can attach a stone setting burr (among other attachments) which is used to adjust setting depths. A pin vice is perfect for when you would like to make those extra fine detail adjustments that aren't always easy with an electric tool.
How to use
As it can be used with many different attachments, it is an often-used tool in the jewellery making workshop. Examples include using for hand drilling using twist drill bits, for fine and precise stone setting adjustments using stone setting burrs, with a cup burr for rounding sharp ends of wire, enlarging and neatening holes in beads with diamond-tipped bead reamer points as well as marking metal when designing and cutting metal sheet.
You may also like to check out...
Stone Setting Tool Kit
If you are just starting up with stone setting then we have the perfect kit for you!
Our stone setting kit was put together by our buying team who are all experts in silversmithing, it is aimed at providing you with all you need to get started with stone setting.
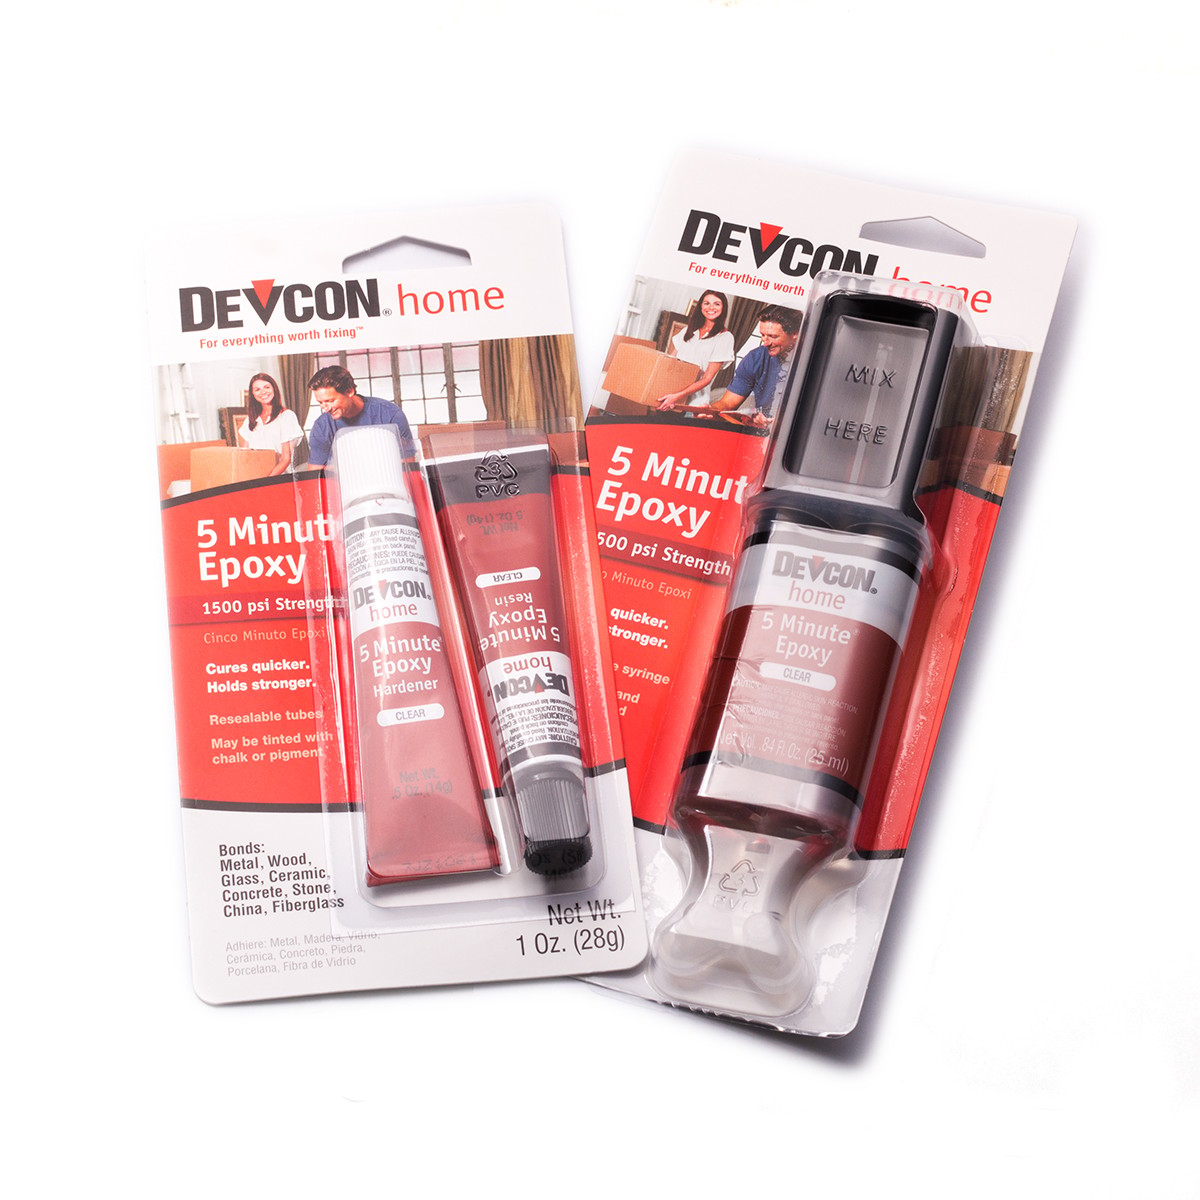
Devcon 5 Minute Expoxy Glue
Glue is also great to have handy in your took kit! Devcon 5 Minute Epoxy glue is Kernowcraft's most recommended and reliable glue and an incredibly popular choice with jewellery makers.
It is super-fast drying, high strength, high quality bonds. It sets clear and is excellent for filling gaps, making it great for setting stones in jewellery mounts.
Jewellery Making Books We Recommend For Stone Setting
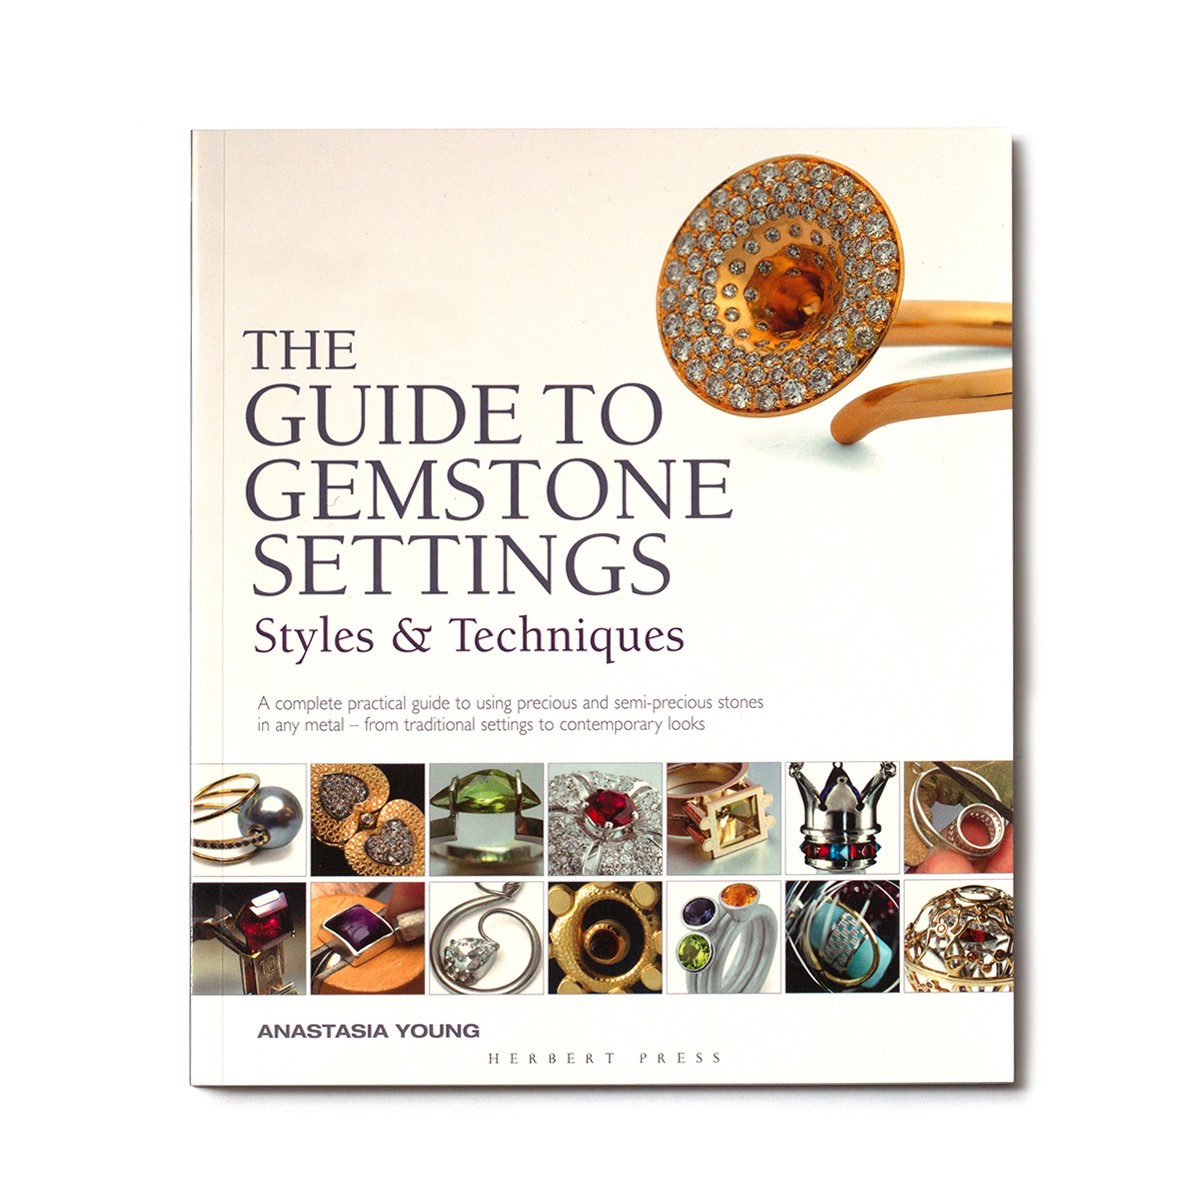
The Guide To Gemstone Settings by Anastasia Young
Exploring traditional, modern and experimental approaches to stone settings, this useful resource is great for both beginners and advanced jewellers. Full of projects, diagrams and clear photography ready to inspire your creations.
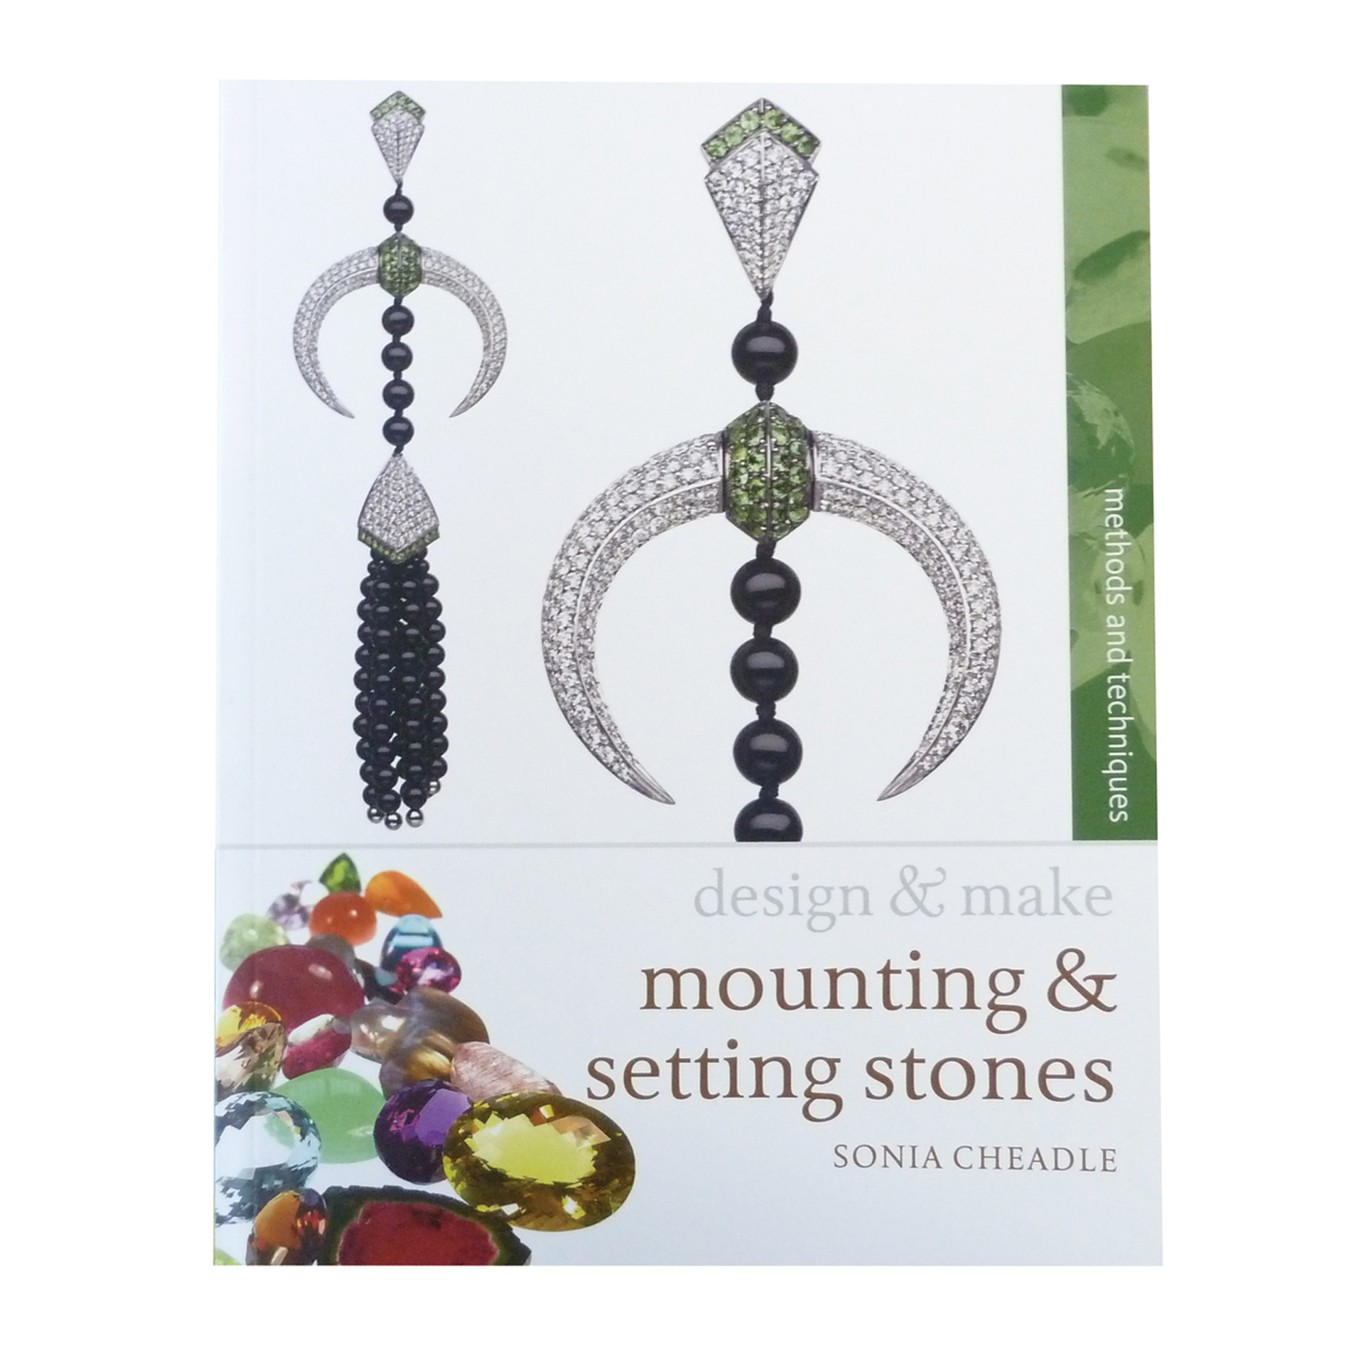
Design & Make: Mounting & Setting Stones by Sonia Cheadle
This wonderful book by award winning designer Sonia Cheadle is a clear and practical introduction to mount construction and the processes of stone setting. Suitable for all levels wanting to learn new skills, this book explains how different stones and cuts relate to their mounts with easy-to-follow, illustrated explanations.
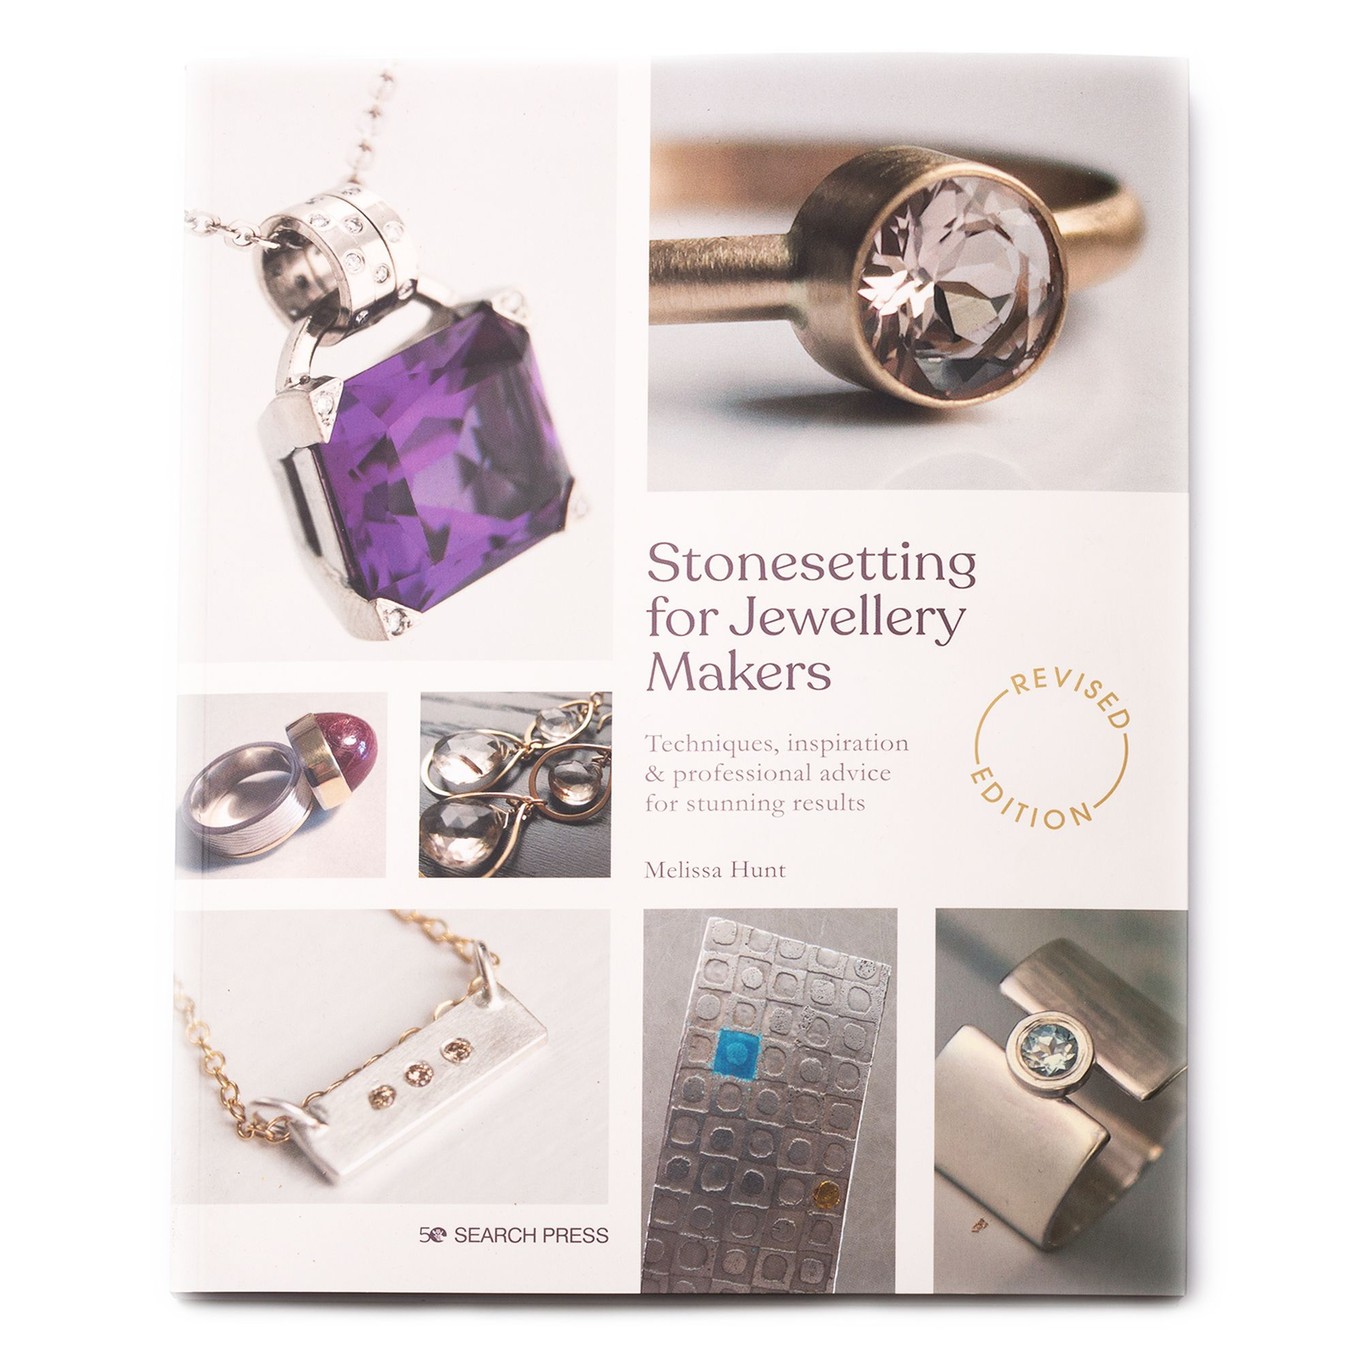
Stonesetting for contemporary jewellery makers by melissa hunt
Whether learning to make settings from scratch or choosing and working with ready-made mountings, this book teaches you varied techniques, treatments, and innovations used in jewellery making specifically stone setting.
Jewellers' Quick Reference Guide To Working With Gemstones by Sally Spencer
When stone setting, it is important to take into consideration the gemstones you are working with. Sally's book is a fantastic resource filled with gemmological information which will help minimise those frustrating times when you accidentally damage a stone!
Follow Stone Setting Tutorials
- The Essential Tools For Setting Gemstones
- Your Guide To Stone Setting Burrs For Jewellery Making
- What Is A Bezel Rocker?
- Types Of Settings & How To Use Them
- Types Of Settings For Calibrated Cabochon Stones
- Types Of Settings For Faceted Stones
- Types Of Settings For Free-Form Stones & Crystals
- Calibrated Gemstones & Size Tolerance In Jewellery Making
- Ready Made Settings vs Making Your Own Settings
- 7 Ways To Make Your Own Gemstone Ring
- How To Set Earstuds For Half Drilled Beads
- How to Set Flat Plates and Milled Edge Jewellery Settings
- How To Set Snaptite Settings
- How To Set Gemstones In Gallery Wire Settings
- How To Set Backset Settings
- How To Set Wraptite Settings
- How To Use Huggie Claw Settings For Crystals & Sea Glass
- What Are Bell Caps For Jewellery Making?
- How To Set A Pre-Notched Setting
- How To Set Claw Settings
- How To Make A Decorative Ring Setting For A Free Form Cabochon
- How To Make A Tube Setting For A Faceted Stone
- 4 Drilled Sea Glass Earring Projects
- Jewellery Making With Sea Glass: Drilling & Stone Setting Tutorials
- How To Drill Sea Glass For Jewellery Making
- How Much Bezel Strip/Gallery Wire Do I Need?
- Types Of Bezel Cups
- How to Adjust Bezel Settings to Fit Cabochons
- How To Set A Cabochon In A Bezel Setting
- How To Make A Gemstone Ring With A Bezel Cup
- How To Make A Bezel Set Cabochon Ring With 'Made By Oonagh'
- How To Make A Sea Glass Ring With Bezel Setting
- How To Make Bezel Set Cabochon Earstuds
- How To Make A Sea Glass Necklace With Backless Bezel Setting
- How To Bezel Set A Free Form Cabochon Onto A Textured Silver Pendant
- How To Make A Textured Pendant With A Freeform Gemstone Slice
- How To Make A Claw Set Cabochon Pendant
- How To Make A Prong/Claw Setting For Irregular Shapes Stones
- How to Make A Wire Edged Setting
- How To Make A Balled Claw Ring Setting
- Making An Australian Boulder Opal Pendant With Stardust Mine
- The Process Of Remodelling A Gemstone Ring With 'Honey Bee Design'
HAVE A QUESTION?
If you have any questions, feel free to get in touch with our friendly team who will be more than happy to give you advice over email or on the phone.
You can learn more and find inspiration by visiting our Jewellery Making Tutorials, Jewellery Making Kits and YouTube Channel. Don't forget to follow us on social media and tag us in your designs on Instagram & Facebook, we would love to see!

