7 Ways To Fasten A Necklace or Bracelet
Whilst it is not the most exciting part of jewellery design, fastenings are really important! They need to be secure, easy to navigate and blend in with the rest of the design.
There are many things that depend on the way you fasten your necklace or bracelet design such as the size of cord, thread, wire or chain that you are using as well as the look and style of the design itself.
In this blog post we've put together 7 different ways you can fasten both bracelets and necklaces so that next time it comes to choosing which method will work best for your design, you will have plenty of options.
This page features the following:
1. Finished Necklet & Bracelet Chains
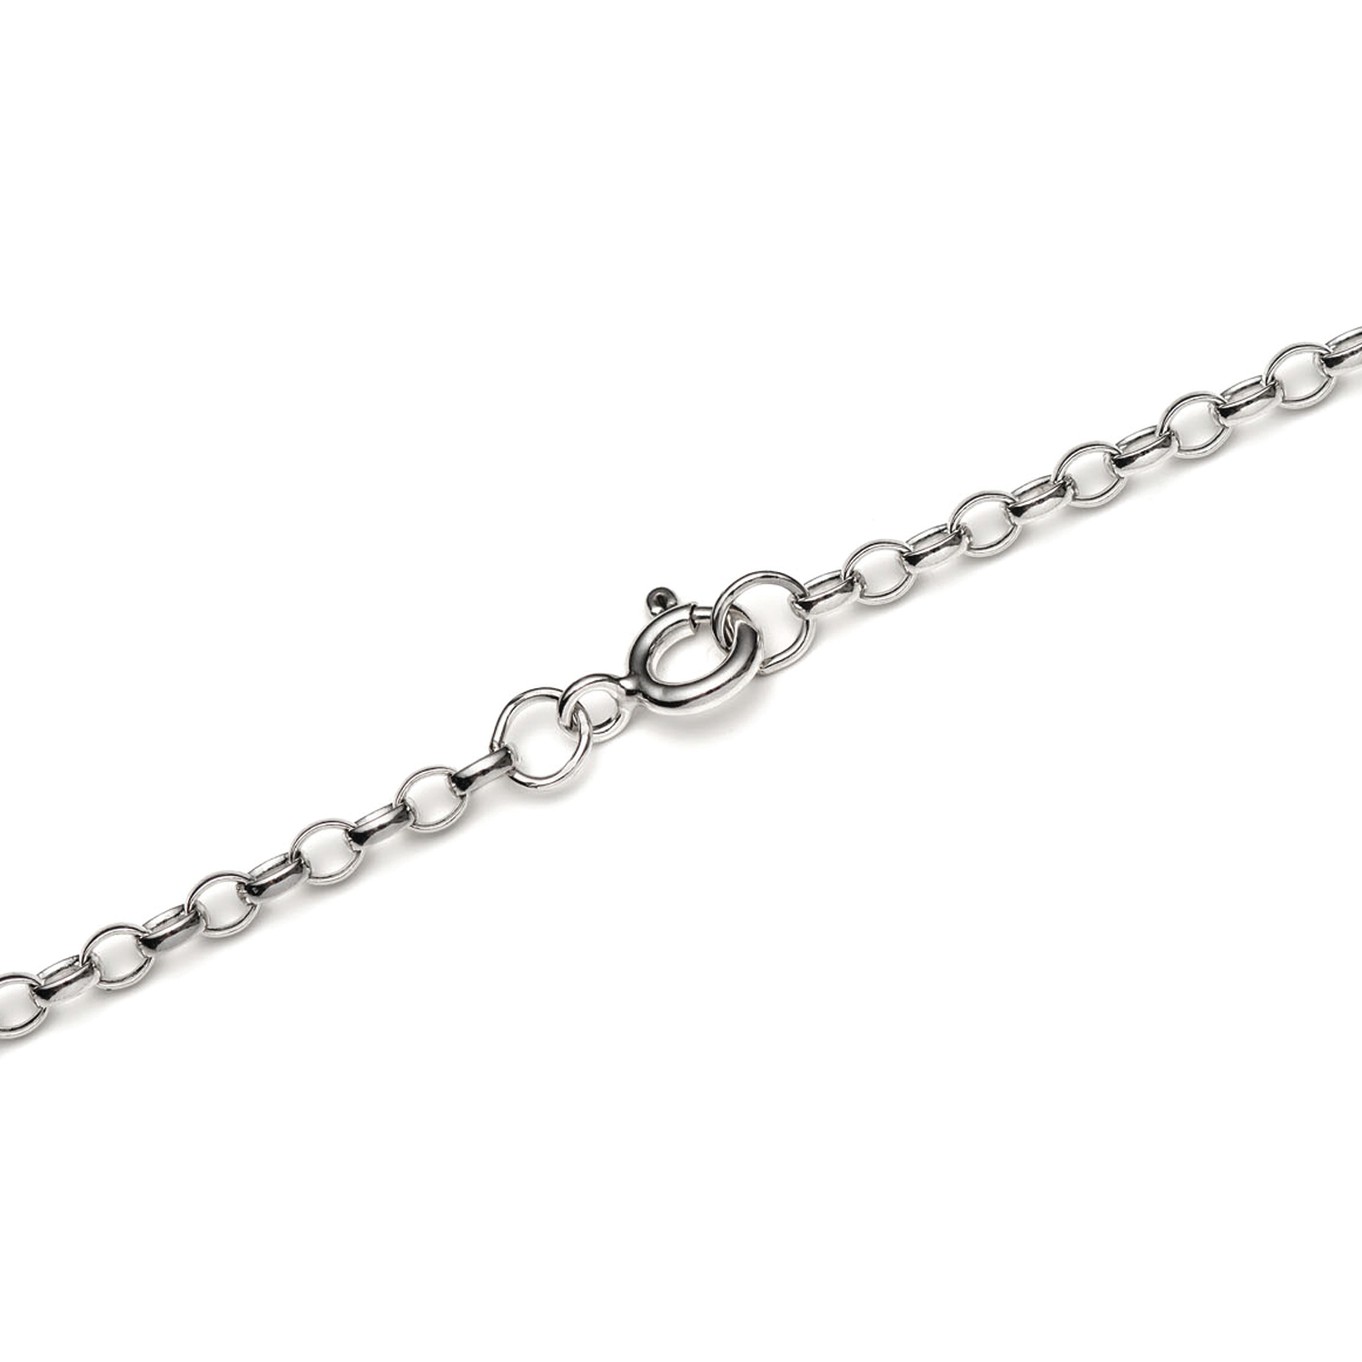
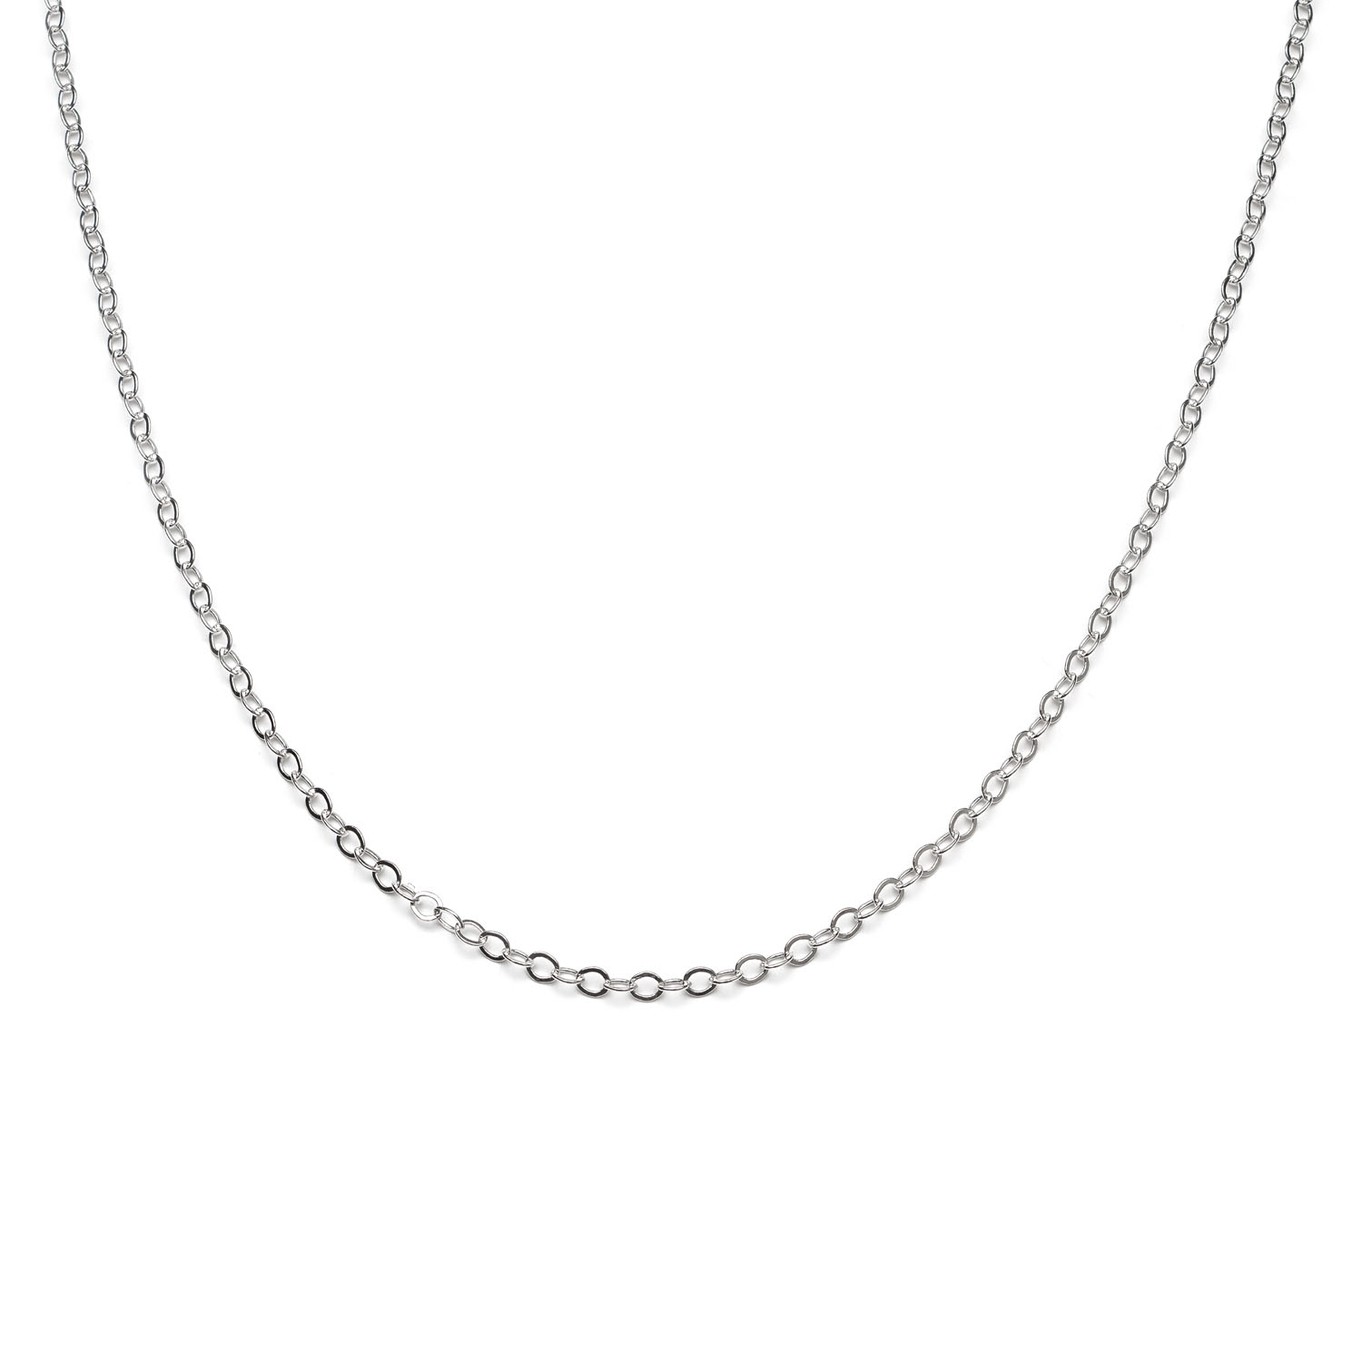
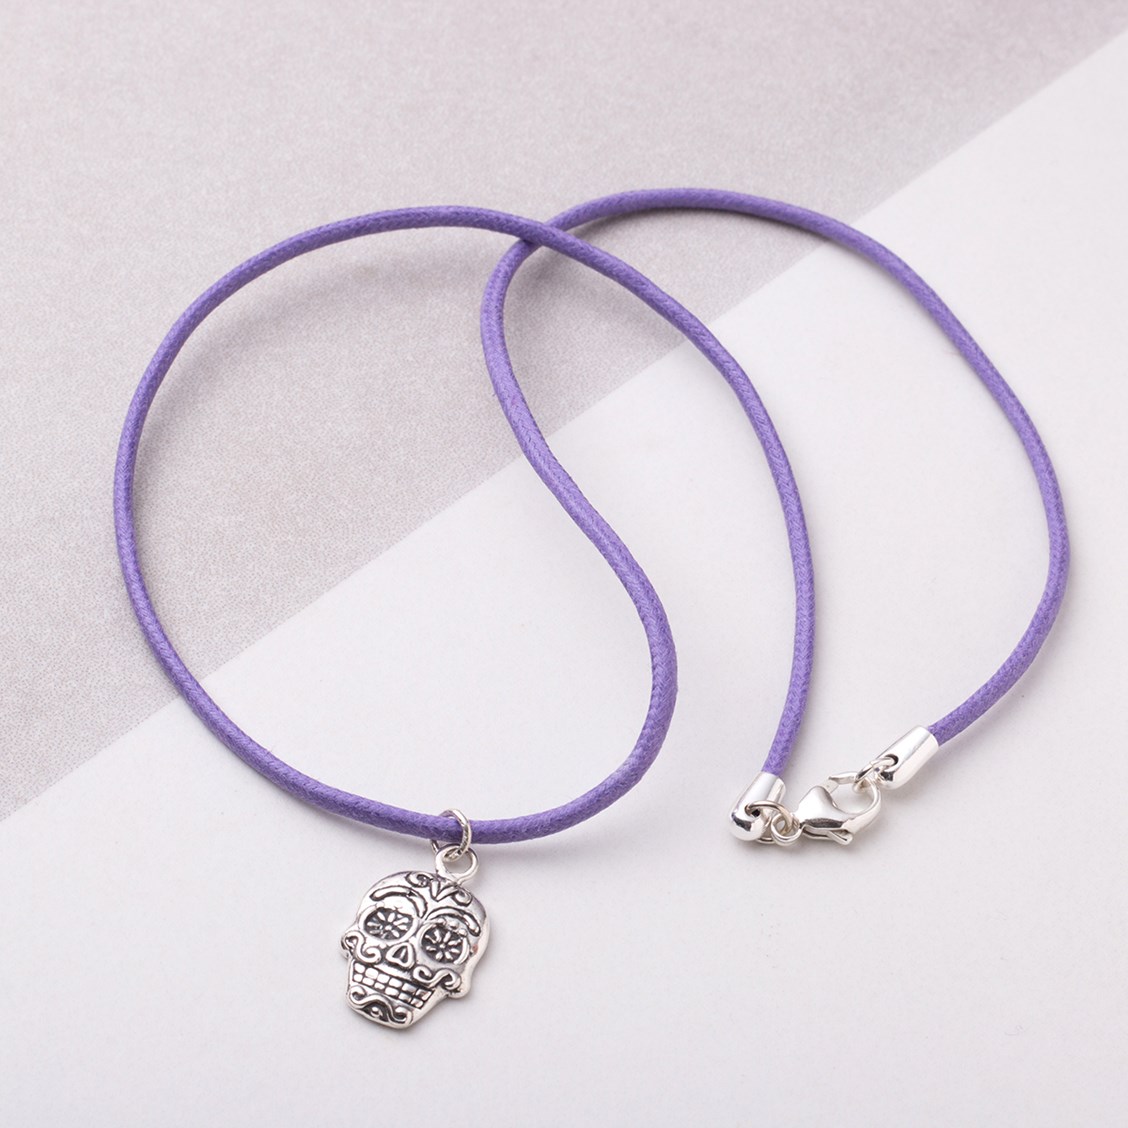
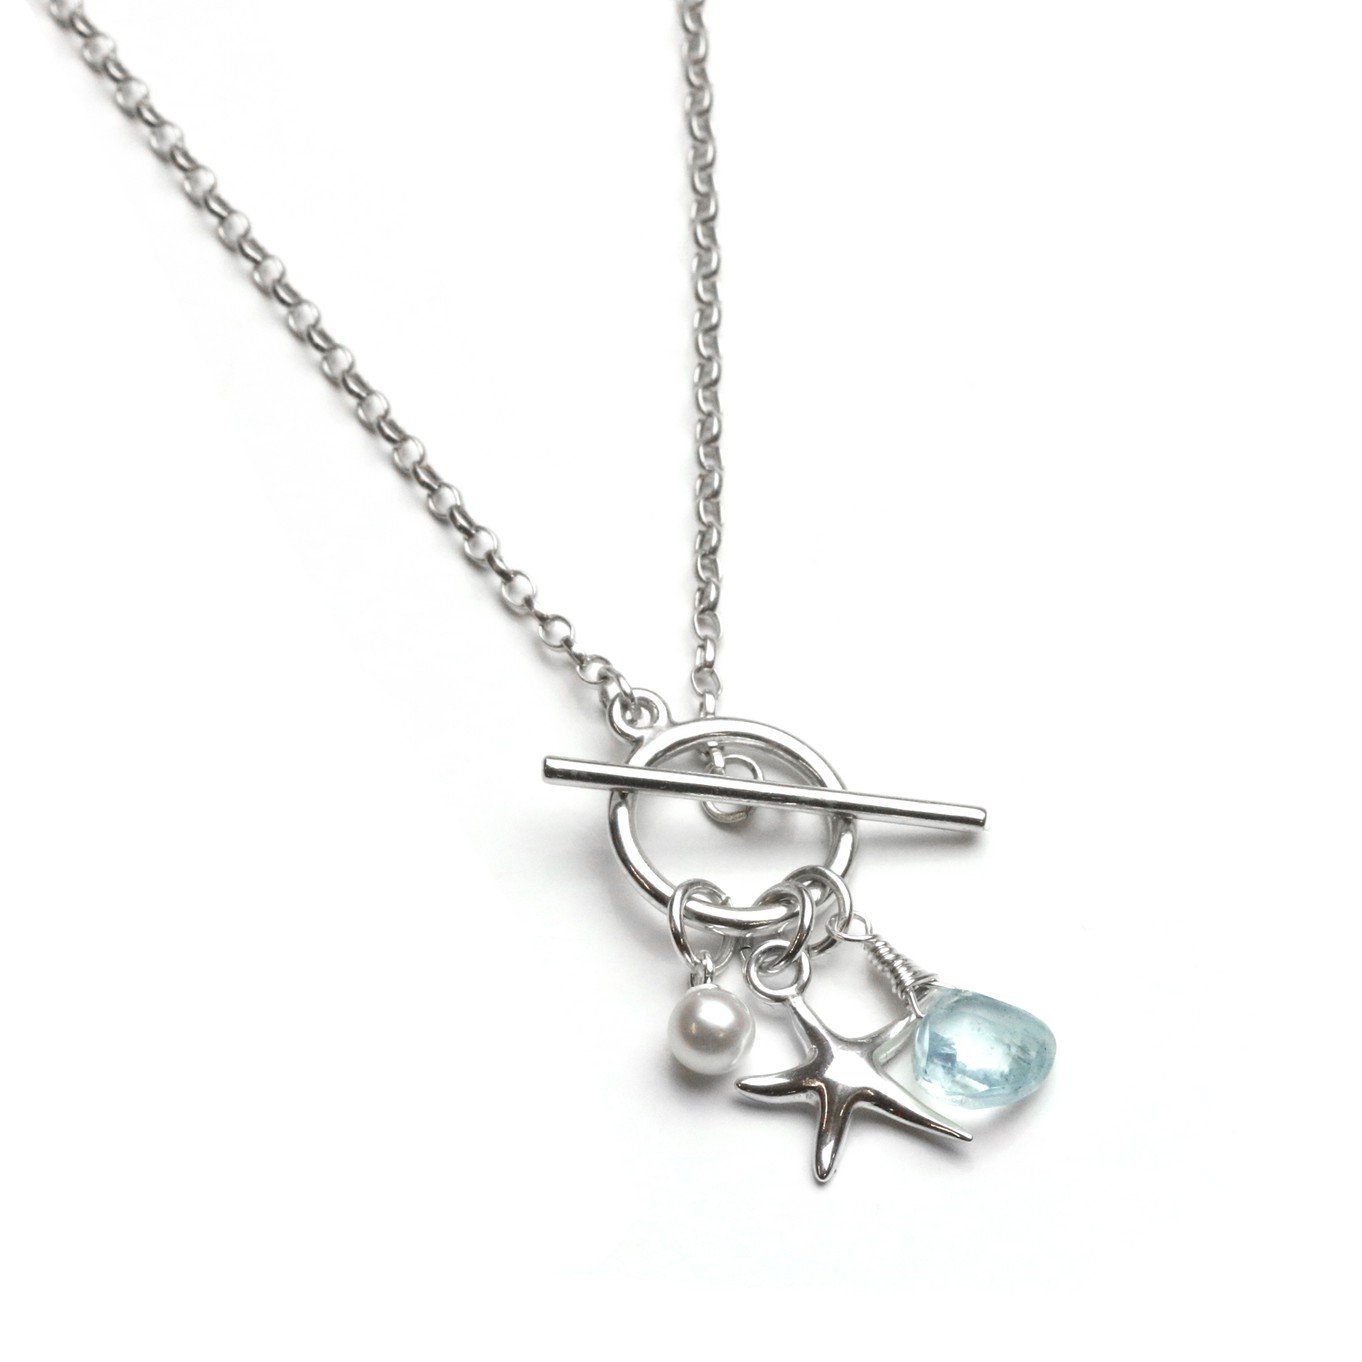
One of the most simple and popular ways to create a necklace or bracelet design is to use and adapt ready-made chain. Many of the chains we supply at Kernowcrafft come already finished with a clasp, so you can simply add a pendant or charm.
Adapt Finished Chains
Another popular way to use finished necklet and bracelet chain is to cut it in half using side cutters and incorporate elements into your design. Watch our video tutorials below for examples, such as adding a wire-wrapped briolette bead or crystal point.
Make your own necklet and bracelet chains
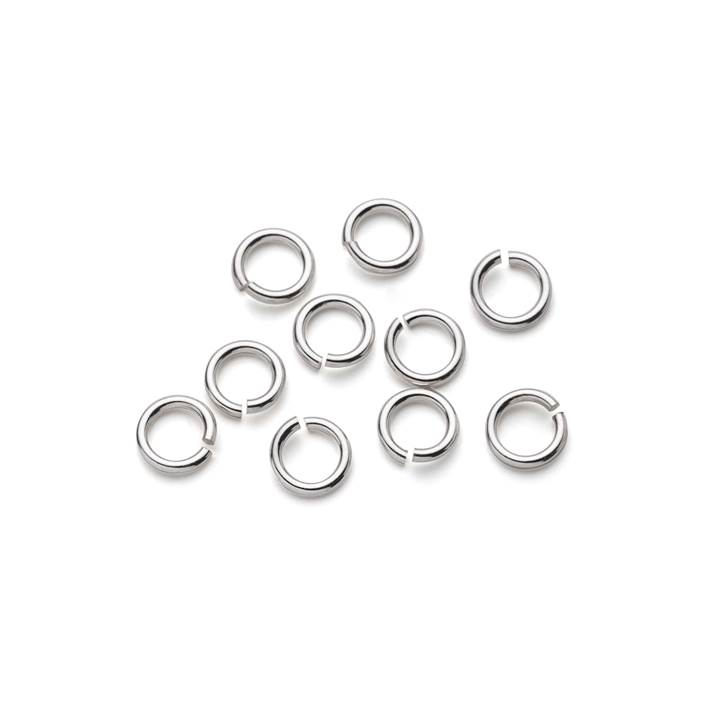
You can also make your own necklet and bracelet chains from scratch by purchasing loose chain, using a pair of snipe nose pliers to open two jump rings and attaching to each end of the chain before adding a clasp and closing the jump rings to secure.
Purchasing the supplies separately and making them yourself is a more affordable option than buying finished chain.
Shop Loose Chain
At Kernowcraft, we stock a wide selection of loose chain in a range of styles to suit your design and style
Shop Jump Rings
Jump rings are essential for joining your jewellery findings and components together. Shop our wide selection of metals and sizes available.
Shop Clasps
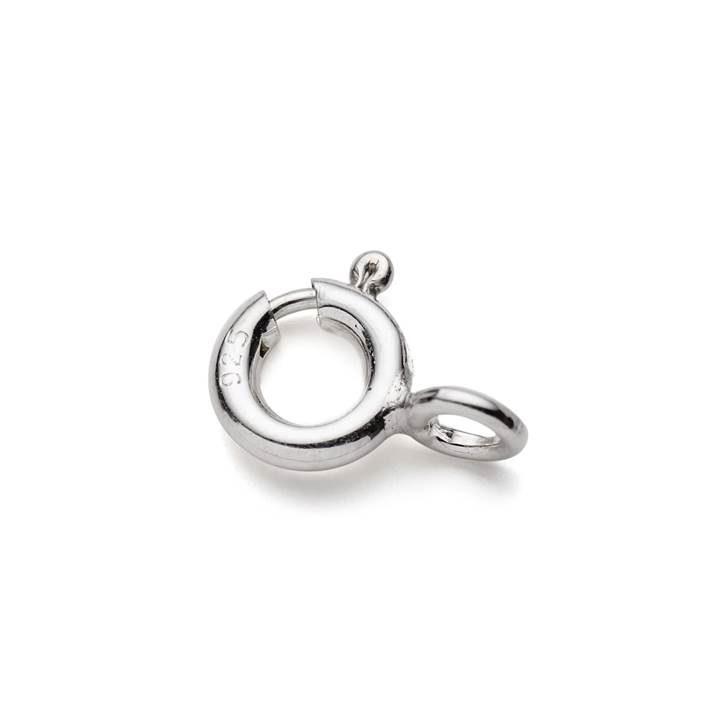
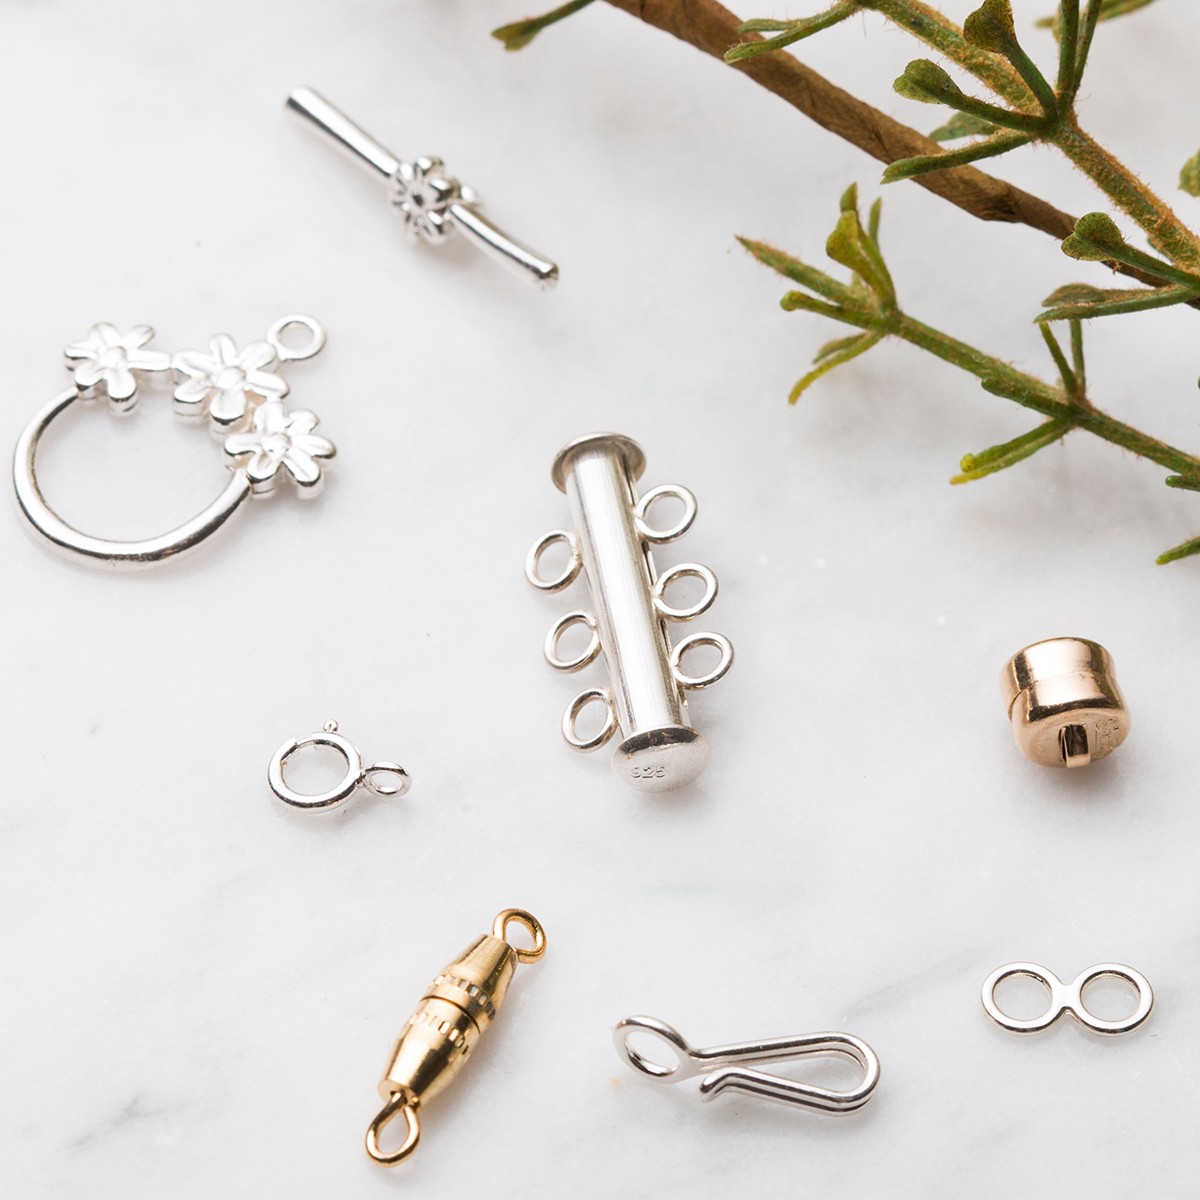
A clasp is an essential component to fasten your bracelet and necklace designs, there are many styles to choose from and it's important to that this into consideration for your overall design.
Watch how to open and close jump rings properly
2. Cord Ends & End Caps
Cord ends and end caps are beginner-friendly and are great for using on designs that have thicker cords and thonging. They come in a range of styles and designs as featured below.
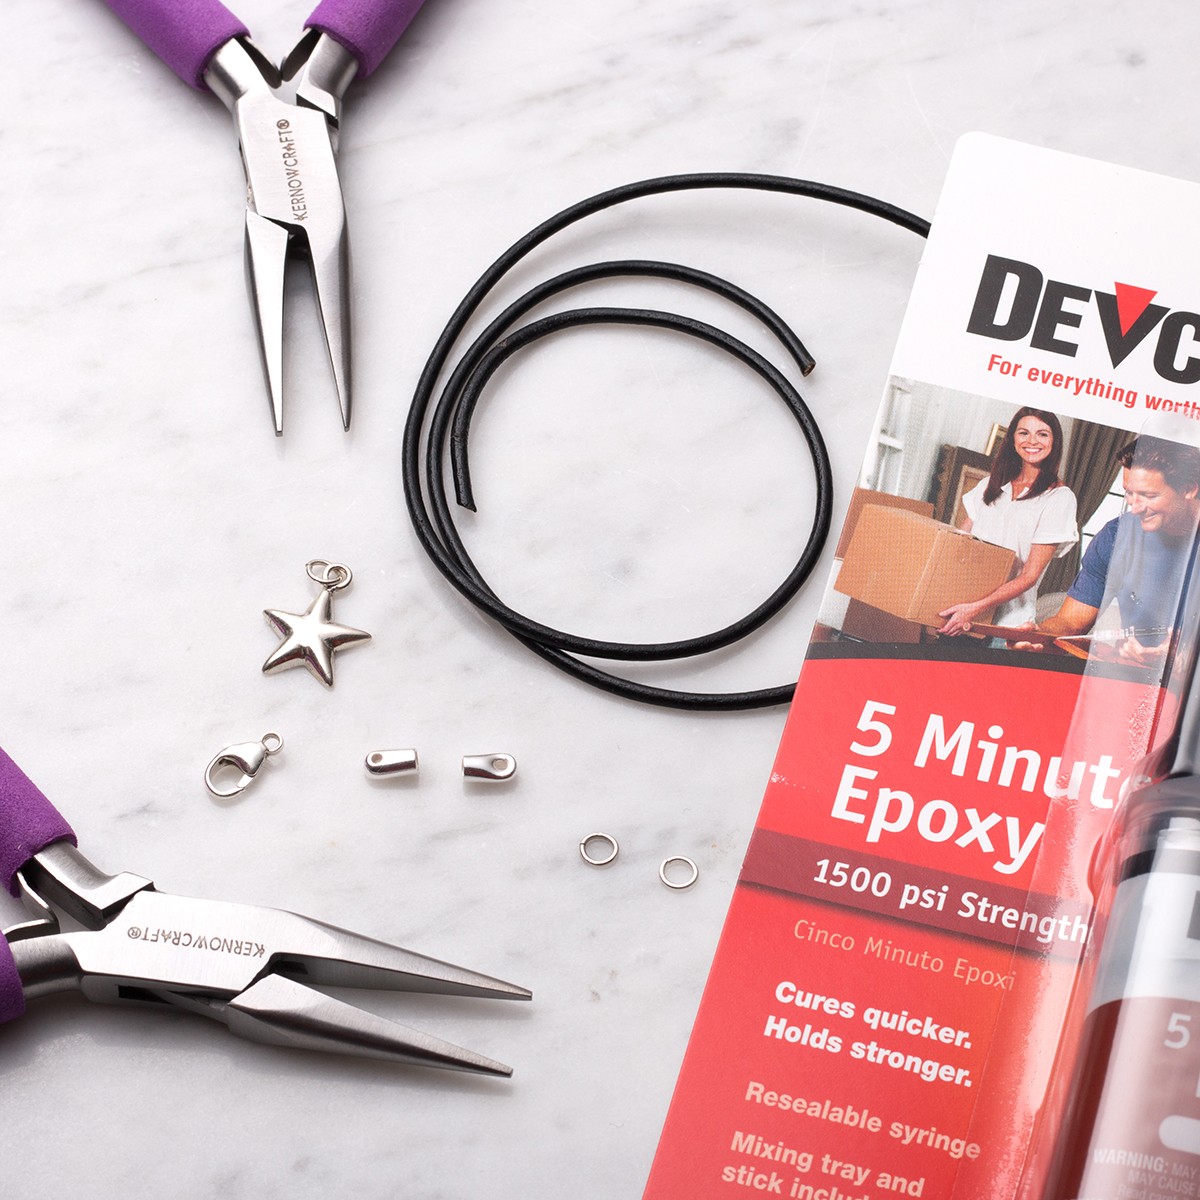
TIP! We recommend using Devcon 5 Minute Epoxy Glue to help ensure cords are well and truly secure.
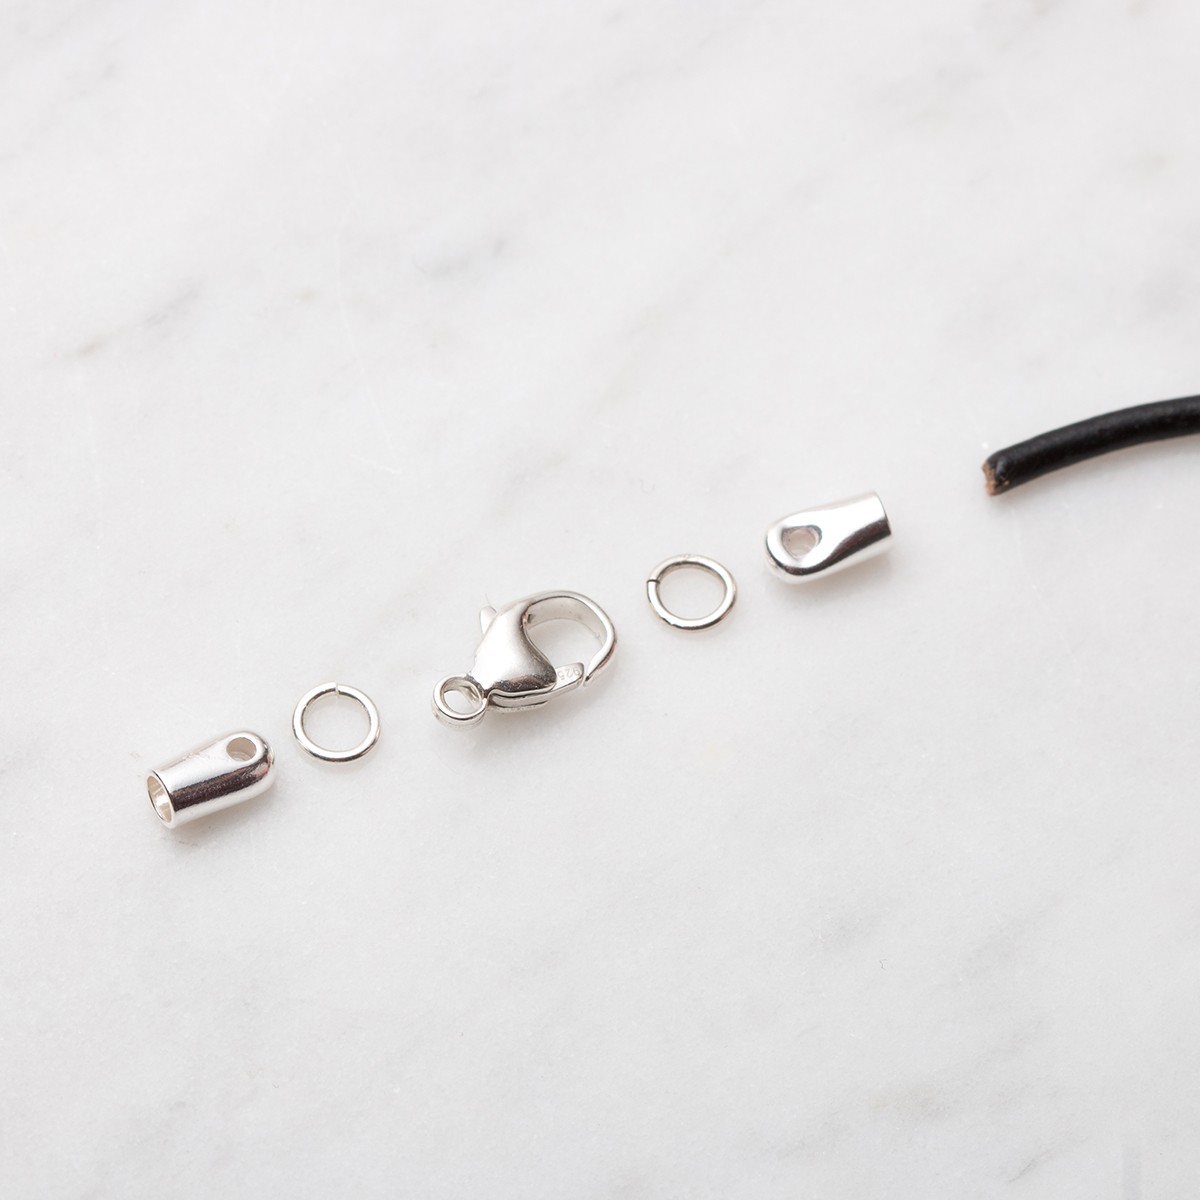
Glue-On End Caps
Our sterling silver end caps or silver plated cord ends work well with cotton cord and leather thonging, providing a really nice professional finish.
We recommend scoring the inside of the end cap and applying Devcon 5 minute epoxy glue, then insert the cleanly cut end of the cord or leather as deep as possible and leave to set.
TIP: We found that placing a piece of wire through the eye in the cap can help prevent the cord from being glued in too deep and blocking the hole - just be careful not to glue the wire in place!
Pinch Cord Ends
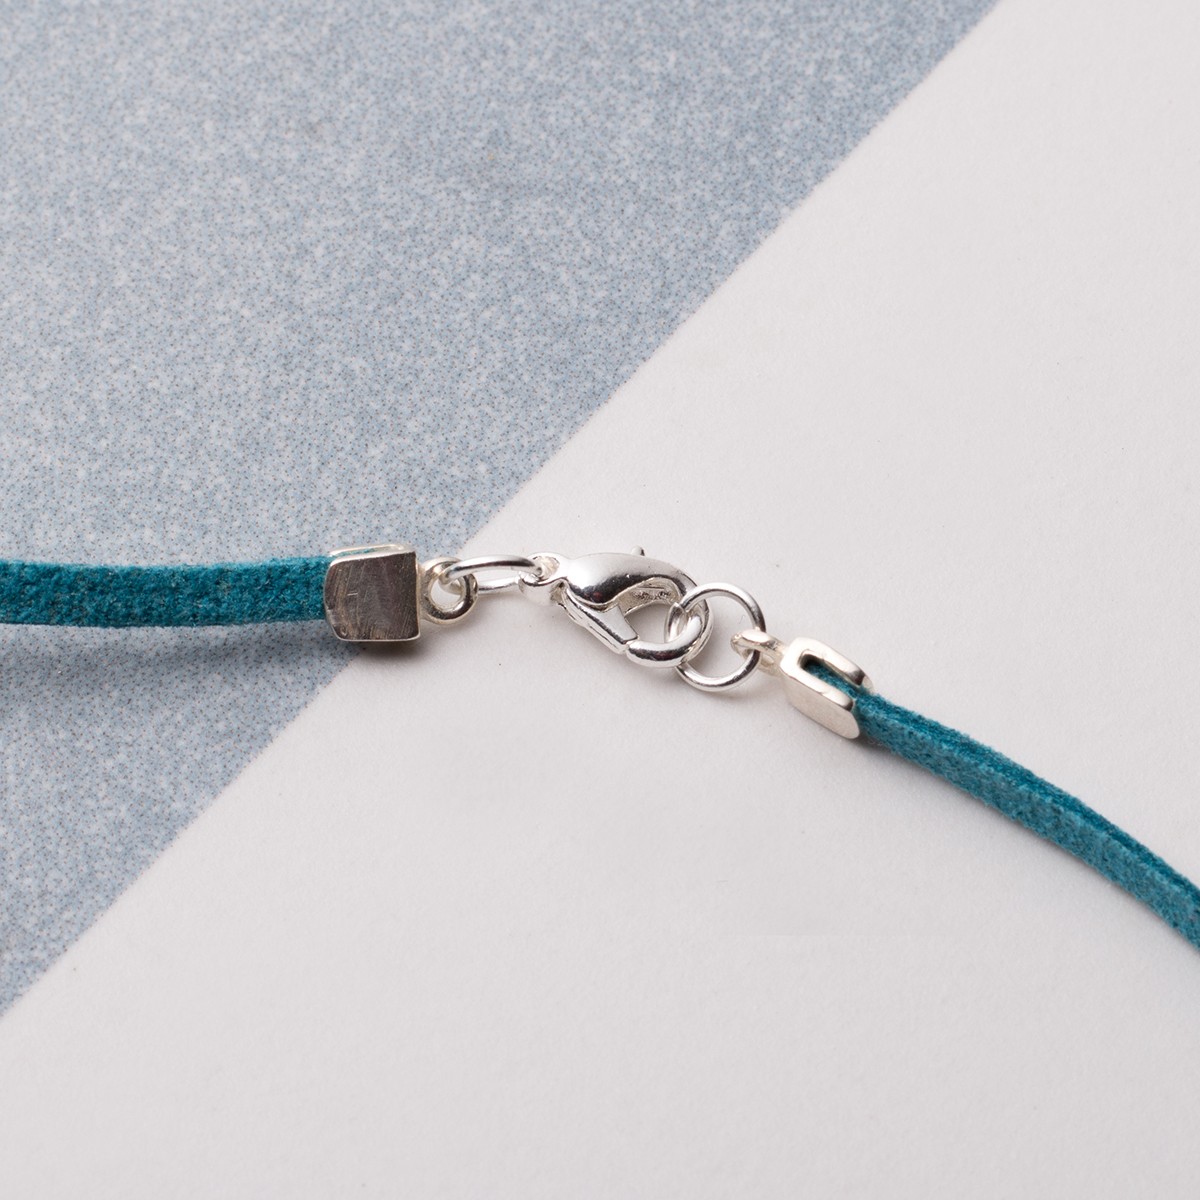
Alternatively, there are pinch style cord ends that are perfect for a more flat material such as our micro fibre flat suede or leather thonging. They come with a loop ready to add your jump ring and clasp. Simply place your cord inside the cord end and squeeze with pliers to close – the small raised 'bumps' will help to securely grip the cord.
We also recommend checking out our classic box style cord ends, similar to pinch style where you fold the sides over thong or cord with pliers to secure in place and then add jump rings and a clasp to complete your necklace or bracelet design.
Crimps are an easy and sleek way to secure a design using thread, flex-rite or cords (depending on your crimp size).
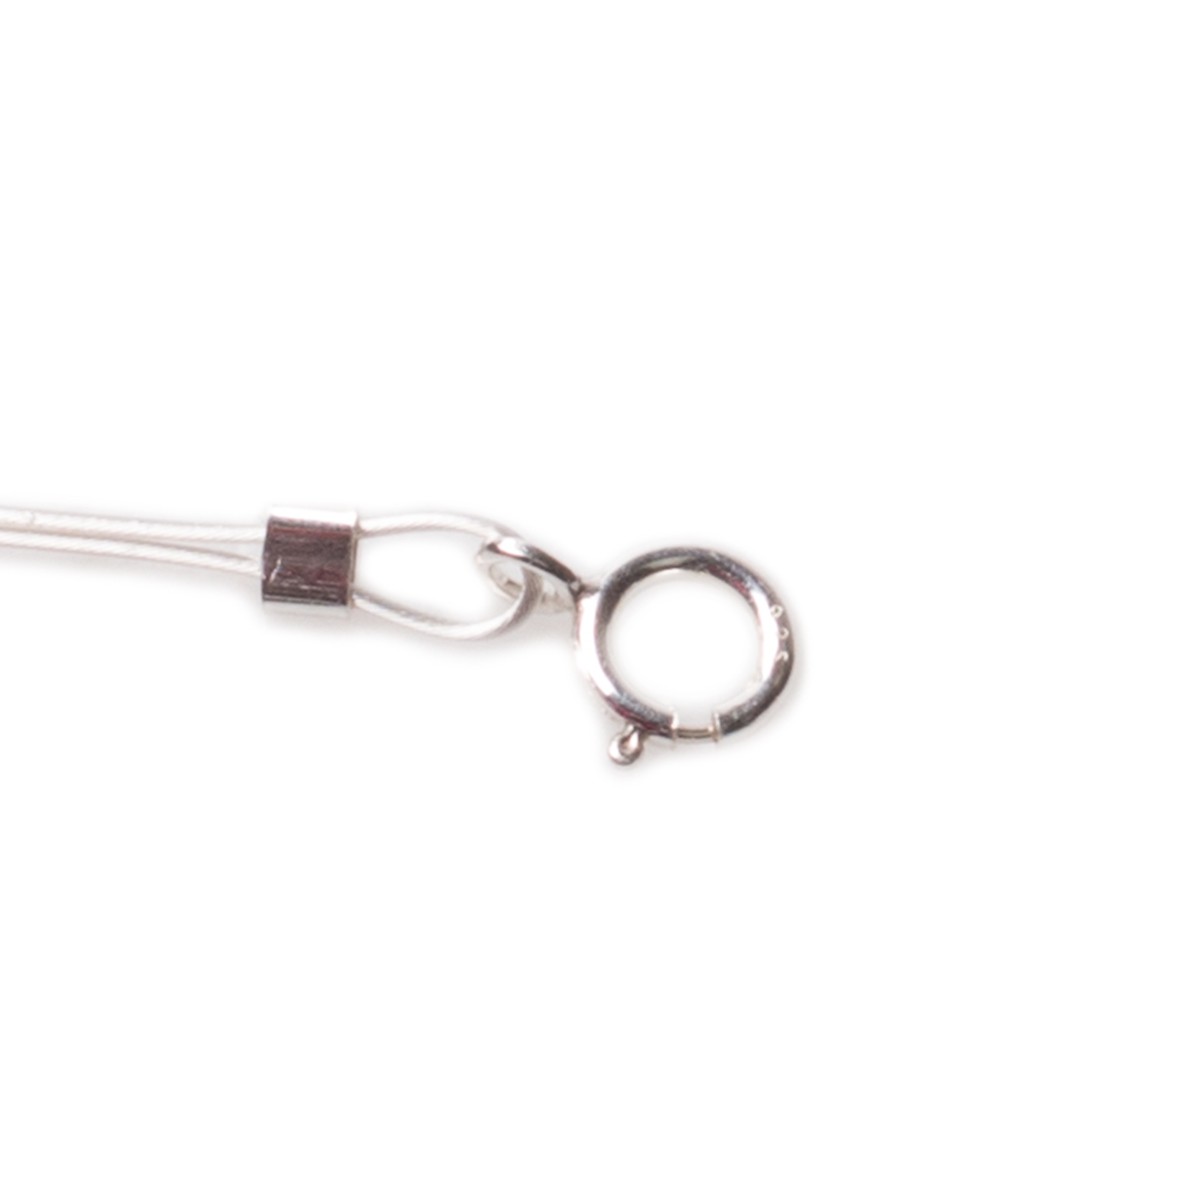
Simply thread the material through the crimp, loop it back around on itself and squeeze the crimp together using snipe nose pliers. This will create a secure loop for you to attach a clasp or other finding.
Crimps are not ideal for very fine thread or silk as it is possible that it could slip out - however you could try creating a knot within the thread to give the crimp more to hold onto.
You can close crimps with snipe nose pliers, or for small, neat crimps try our magical crimping pliers or for mini crimps our micro crimping pliers.
Crimps With Loop
Crimps with loops are beginner-friendly, providing a neat finish for necklaces and bracelets without the need for seperate crimps, jump rings and wire guardians. All you need to do is insert your thread into the crimp and squeeze the central band of the tube with snipe nose pliers to grip it firmly. The crimp holds its shape as it is only the centre of the tube that is flattened and your clasp can be attached directly to the loop.
Wire Guardians
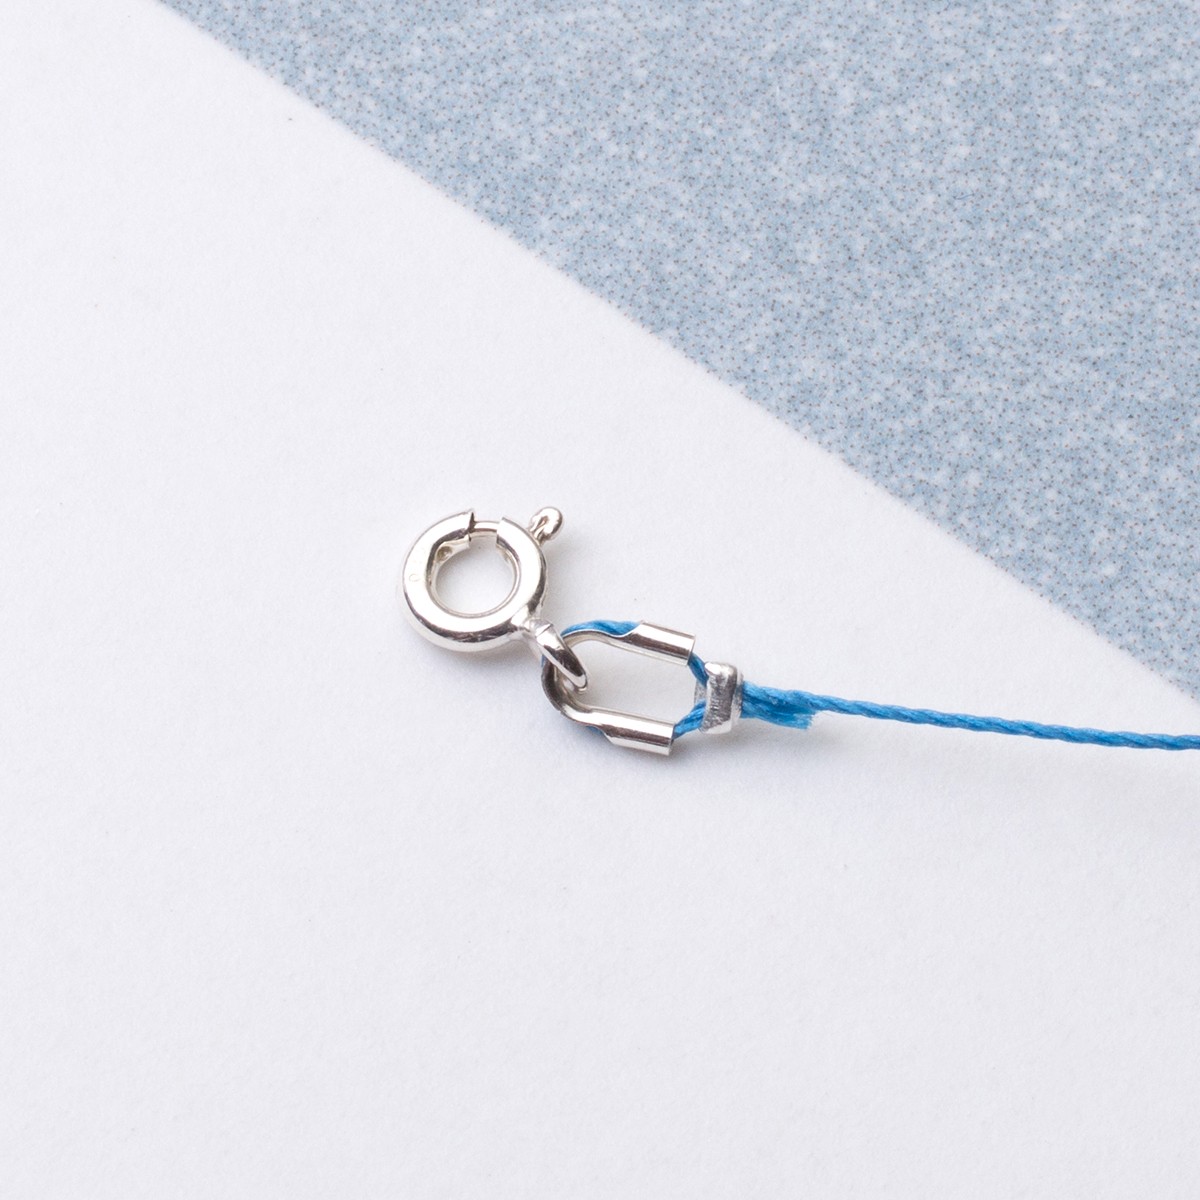
Wire guardians (also known as thread protectors) are a really clever alternative to using gimp wire, preventing your stringing material from wearing against your findings. To finish your necklace; thread a crimp on after your last bead and simply feed your thread or wire through the protector. Slip your clasp, necklet-end or jump ring over the protector and the thread together, pass the thread back down through your crimp and fasten as you would normally.
Watch How Easy Crimps With Loops Are To Use In These Jewellery Making Projects
Watch us create a necklace using gemstone beads, beading chain, a clasp and crimps with loops.
Watch us make a minimal briolette necklace using Flex-rite jewellery wire, a clasp and crimps with loops.
4. Knots
With some designs a certain type of knot will work perfectly and this option makes jewellery making accessible to everyone.
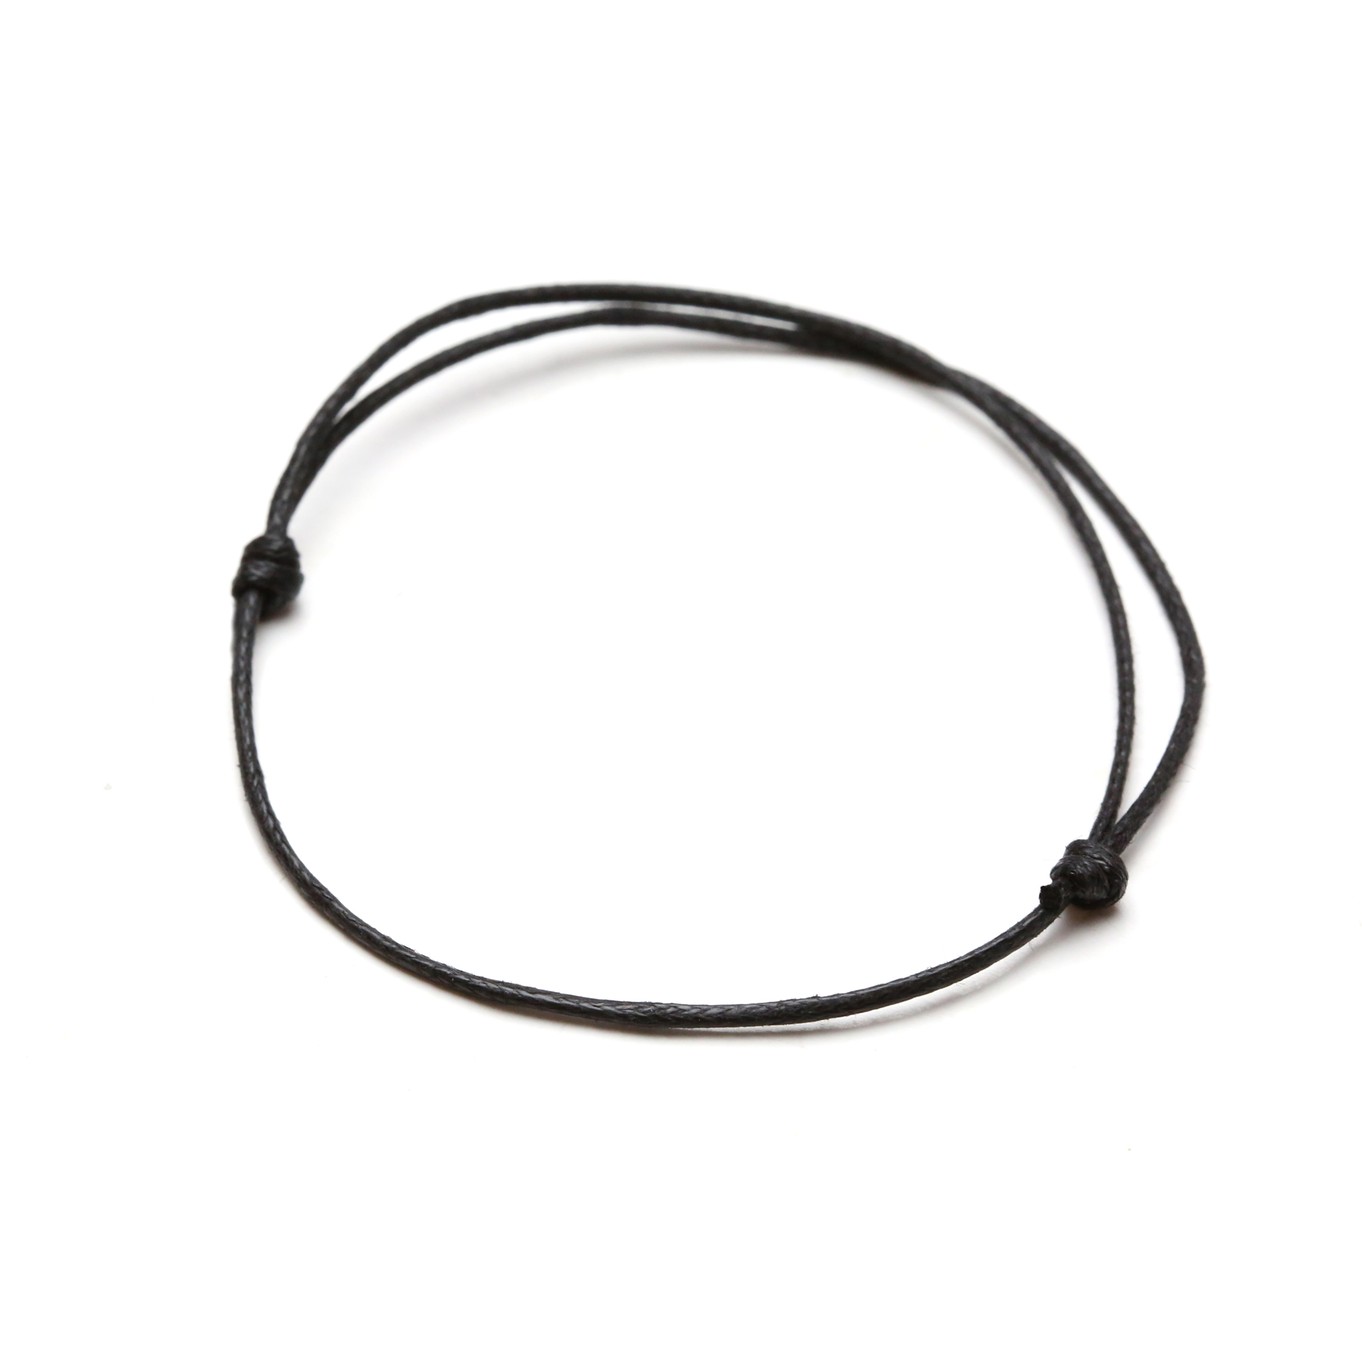
How To Make A Sliding Knot
One popular method is using a sliding knot which works well with cotton, silk and leather cords and allows you to create a fastening that you can adjust accordingly.
Follow our step by step tutorial with photos, plus explore our selection of threads and cords on our website to have a go for yourself. Don't forget to also check out our range of large-holed beads and charm beads to add to your designs.
Necklet Ends, Knot Covers & Bead Tips
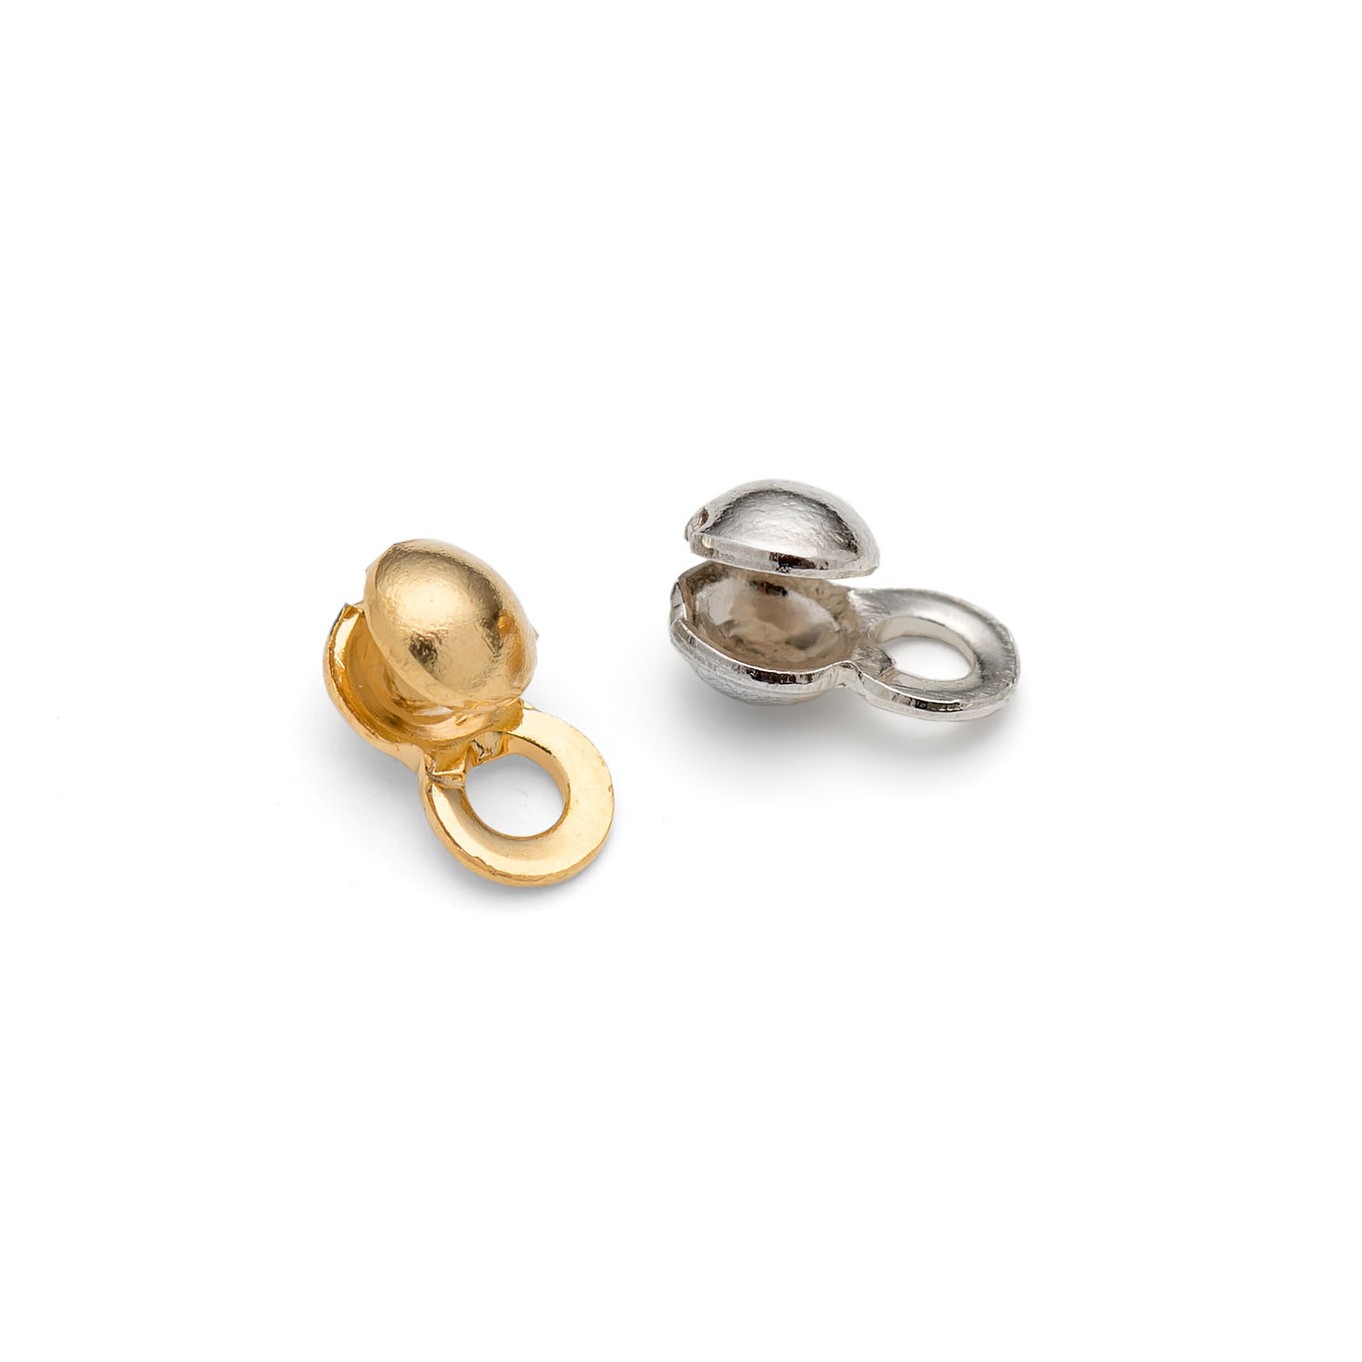
These types of findings are perfect for beaded bracelets and necklets that need to be finished with a knot. A knot cover has a clam-like cup that holds and hides the knot in your thread, simply use a pair of pliers to close the cover over the knot.
A necklet end works the same way however it is a little more sturdy for heavier necklace designs. Bead tips also give a neat, professional finish by providing a loop for attaching to clasps or jump rings at the same time as concealing the knot.
5. Toggle Clasps
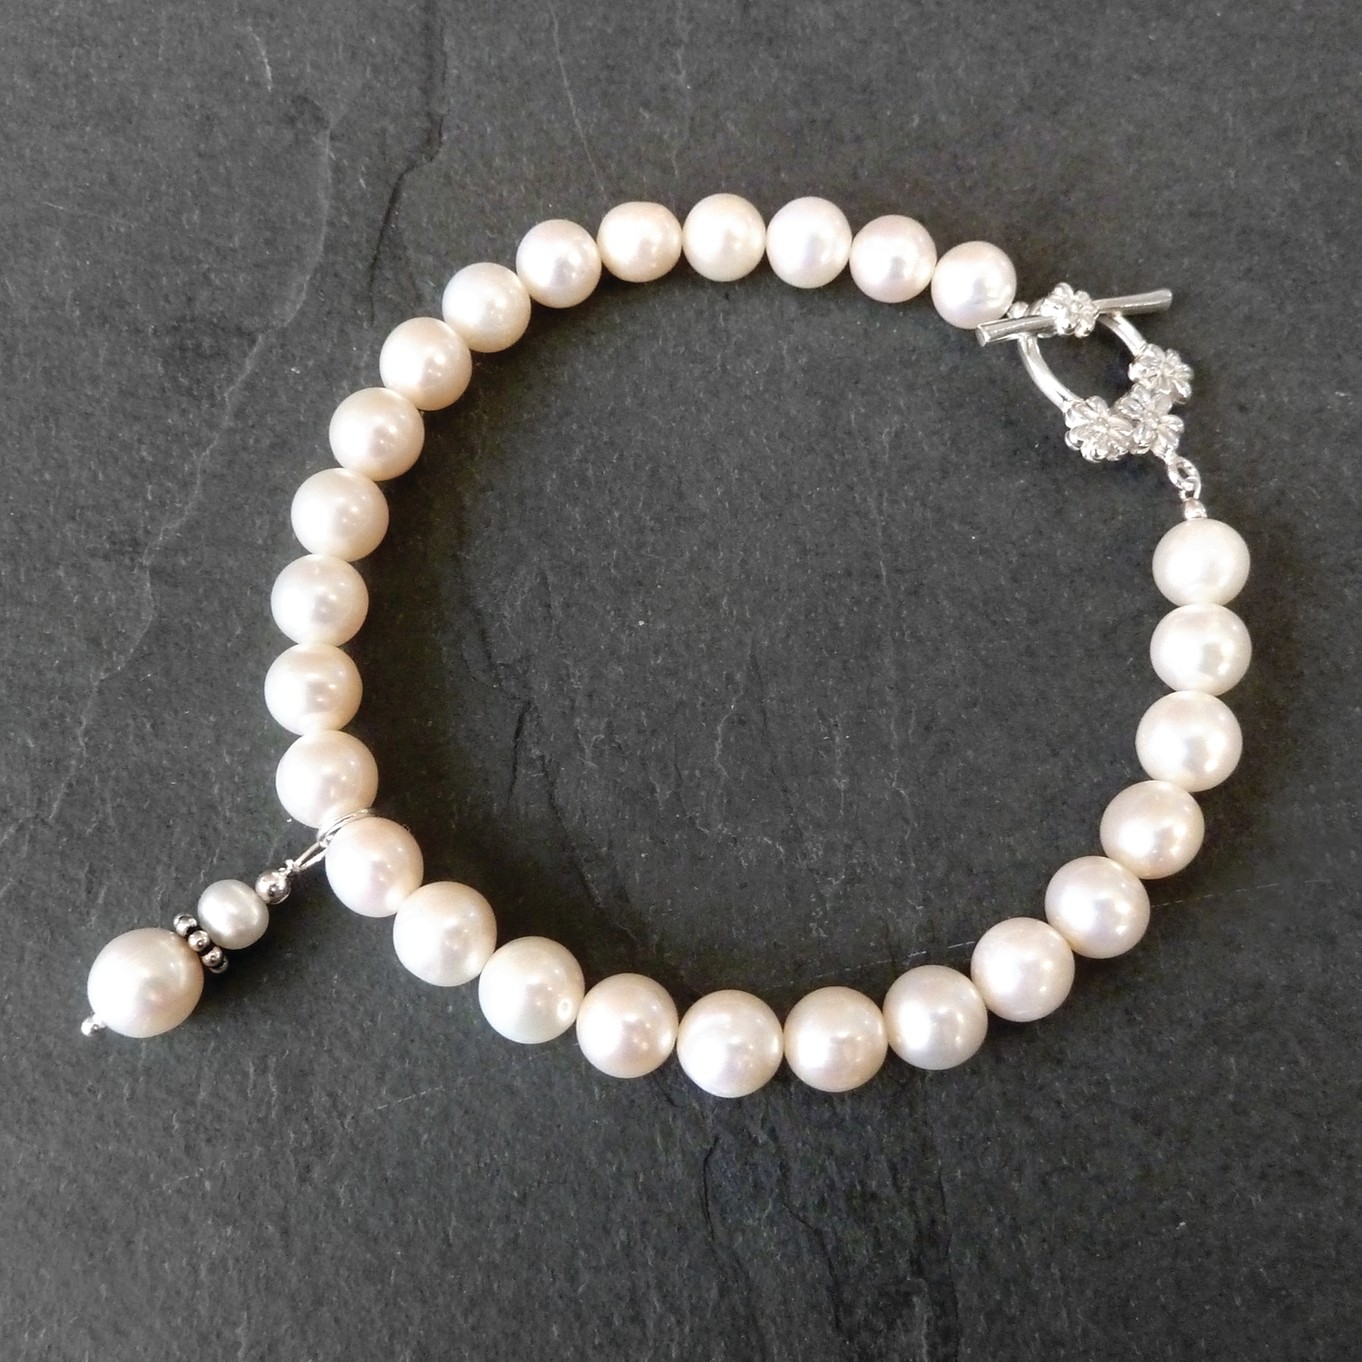
Toggle clasps are a really easy and secure way to fasten both necklets and bracelets as well as adding extra interest and decoration to your design.
All of our toggle clasps have closed loops attached to them ensuring they are secure when knotted onto threads. Ensure your design has enough weight to it to create resistance on the toggle clasp, otherwise, you risk it coming undone.
More Popular Clasps For Fastening Necklaces & Bracelets
6. Magnetic Clasps
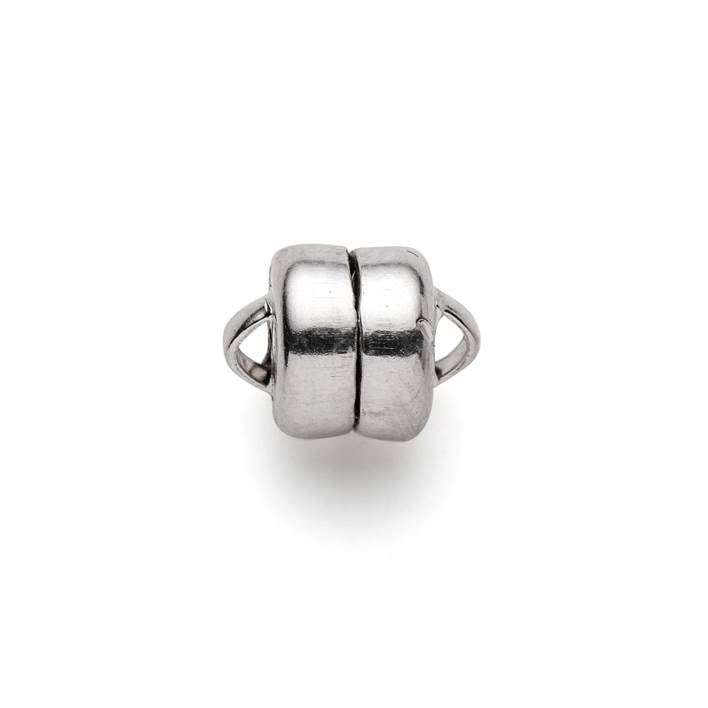
Magnetic clasps are a really good option for those who struggle with fastening and unfastening clasps. We have magnetic clasps that come with loops ready to attach your design to.
7. Screw Fastener
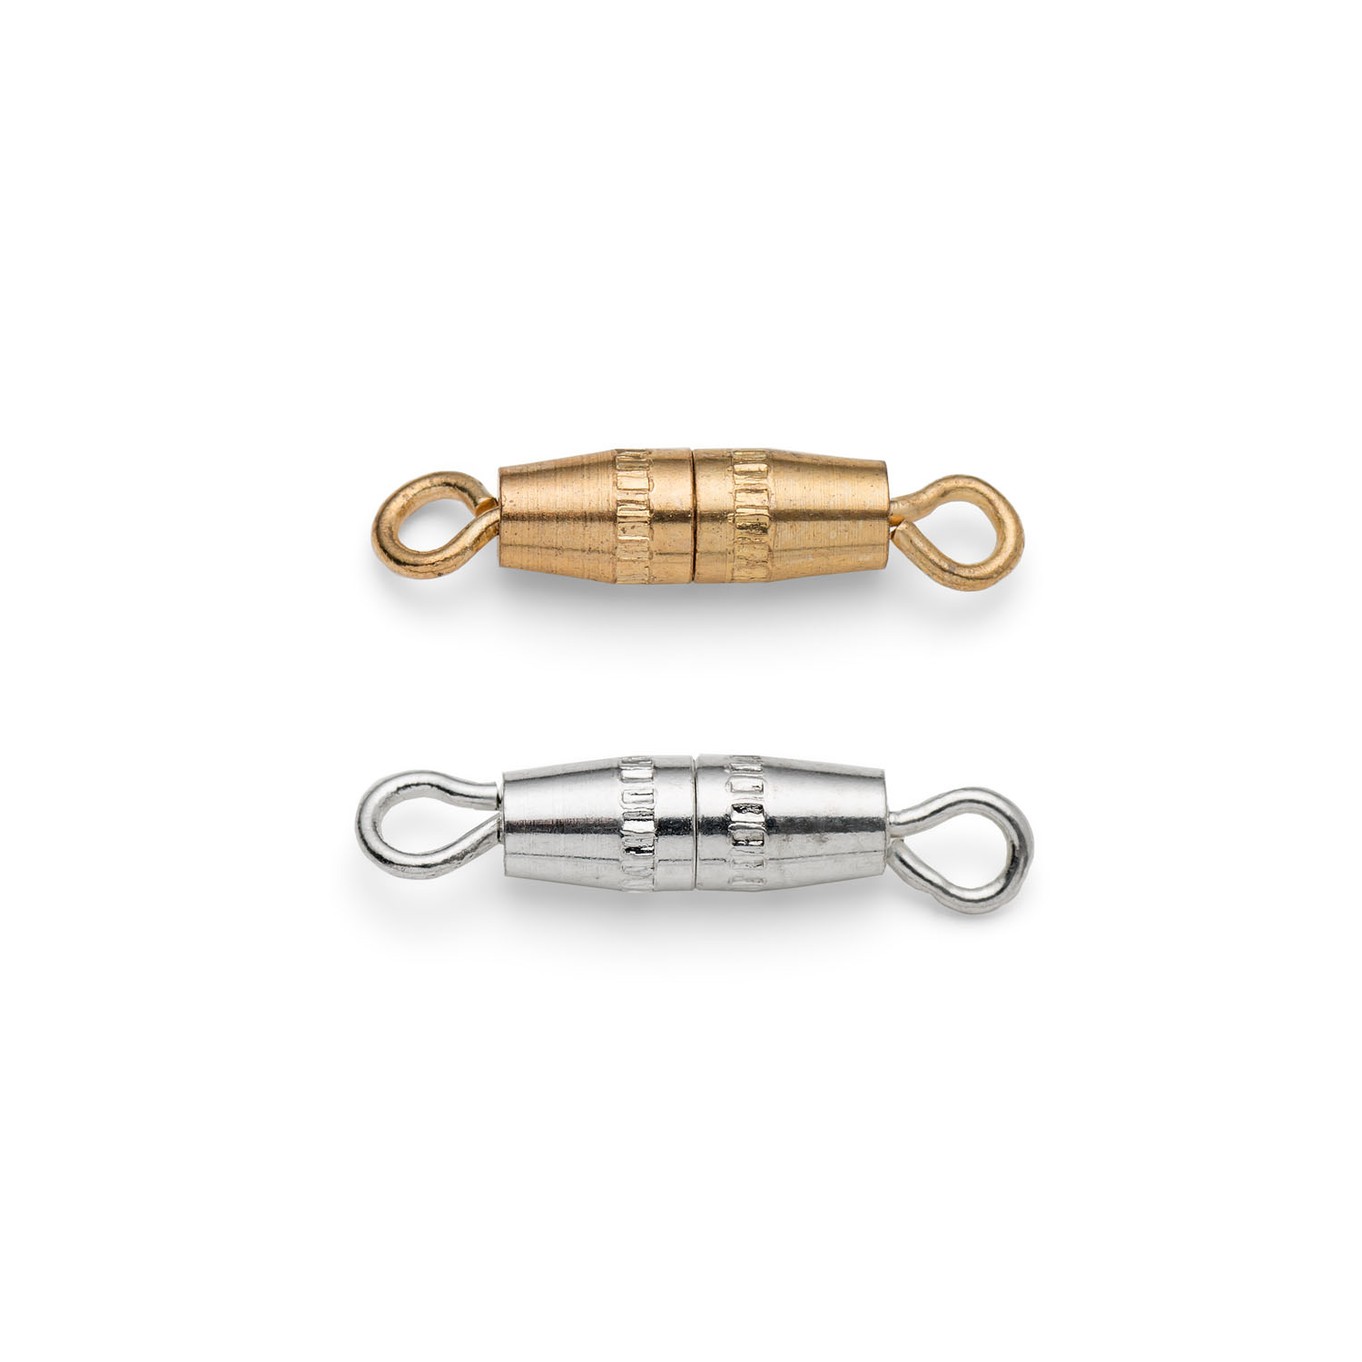
Another neat and secure way to fasten both necklaces and bracelets. Their simple and unintrusive design will compliment any piece of jewellery. Simply knot your thread onto the loops provided.
More Helpful Jewellery Making Tutorial Pages
Guide To Jewellery Findings
We show you a basic guide on the many findings available and their uses for jewellery making
Shop Jewellery Findings
Shop our range of findings including earwires, clasps, jump rings, bails and components to complete your handmade jewellery designs
Shop Threads & Cords
Explore the many thread options available, from jewellery wire, silkon thread, cotton cord to elastic thread.
Also In This Section:
- How To Start Jewellery Making
- How To Make Jewellery At Home
- Choosing A Jewellers Workbench
- 12 Basic Tools For Jewellery Making Beginners
- What Is A Cabochon And Faceted Stone?
- Your Guide To Metals For Jewellery Making
- Your Guide To Jewellery Findings
- Types Of Chain For Jewellery Making & Necklet Chain Length Guide
- CM to Inches For Chain Length Conversions
- Jewellery Making Tools For Cutting Metal Wire & Sheet
- A Quick Guide to Jewellery Making Hammers
- The Pliers You Need For Jewellery Making
- The Jewellery Pliers Set For Beginners
- What Are Parallel Pliers For Jewellery Making?
- How To Open And Close Jump Rings For Jewellery Making
- Types Of Earring Findings For Jewellery Making
- How To Make Earrings For Beginners
- Easy Ways To Customise Hoop Earrings
- How To Make Earwires
- 2 Ways To Make Wire Earrings
- How To Make Your Own Balled Head Pins For Earrings
- 7 Ways To Fasten A Necklace or Bracelet
- How To Make An Easy Charm Necklace
- Easy Ways To Make Charm Jewellery
- Sea Glass Jewellery Making Projects For Beginners
- How To Make A Ring: 5 Beginner Projects
- Beginner Jewellery Making Projects Using Glue
- Choosing Glue For Jewellery Making & Top Tips
- How To Use Devcon Epoxy Glue For Jewellery Making
- Time Saving Jewellery Making Tools & Supplies
- How To Make A Ring Smaller With A Ring Size Adjuster
- How To Use A Safety Chain
- How To Tighten & Loosen Earring Backs
- Everything You Need To Repair Broken Jewellery At Home
HAVE A QUESTION?
If you have any questions, feel free to get in touch with our friendly team who will be more than happy to give you advice over email or on the phone.
You can learn more and find inspiration by visiting our Jewellery Making Tutorials, Jewellery Making Kits and YouTube Channel. Don't forget to follow us on social media and tag us in your designs on Instagram & Facebook, we would love to see!

