How To Make An Easy Charm Necklace
If you're at the very start of your jewellery making journey, creating a simple charm necklace is a great place to start as it's really simple and quick.
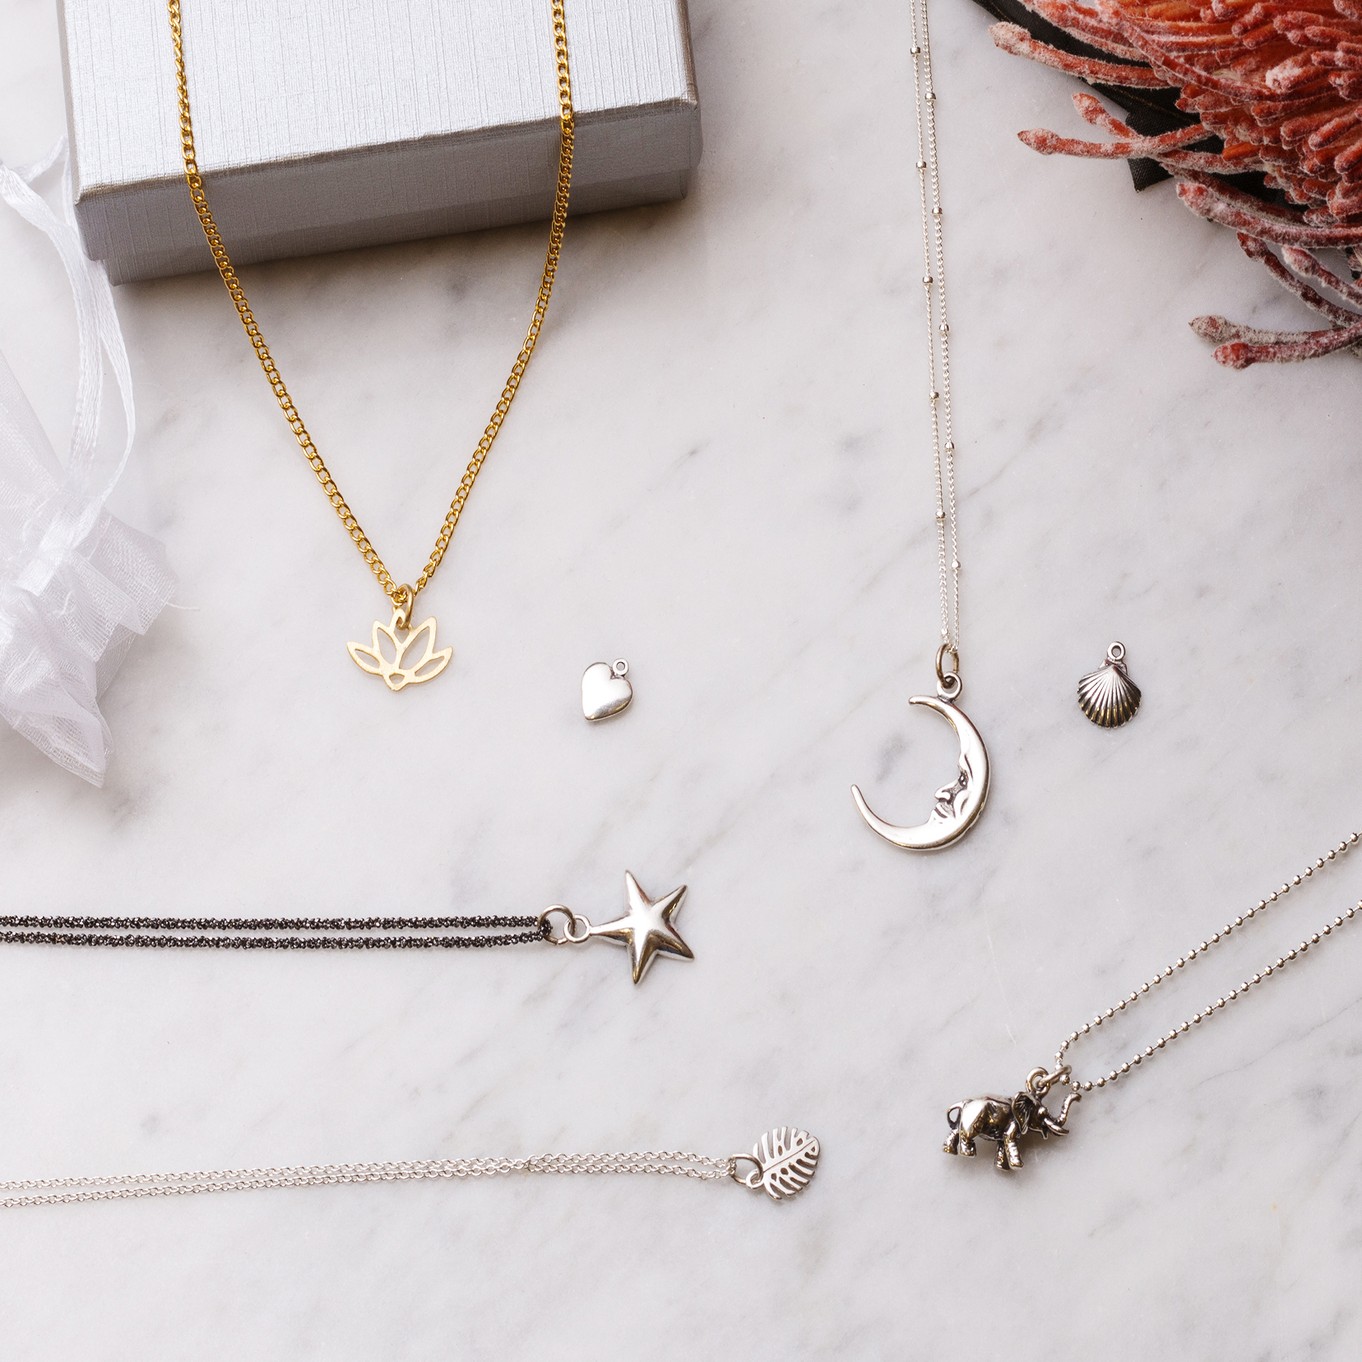
Creating a charm necklace only requires a pair of jewellery making pliers and a few required supplies including your chosen charm, jump ring and a ready made necklet chain. You also have the option of making your own necklet chain from loose chain, jump rings and a clasp.
The best thing about using charms is that there are so many styles to choose from, so you can get creative with choosing your favourites.
You can keep your charm necklace simple or have fun experimenting by adding gemstones, wire wrapped elements or even more charms to make your design your own.
Watch our video below of creating a simple charm necklace where you will also find the tools and supplies you need to make your own.
Head over to our jewellery making kits section to discover beginner friendly projects including lots of charm jewellery ideas - each kit has online step by step instructions and a handy shopping list.
Watch The Tutorial To See How Easy It Is To Make Your Own Charm Necklace
Step By Step Instructions
1. Use a pair of snipe nose or flat nose pliers to grip either side of the jump ring and open the jump ring by twisting it open away from you.
2. Attach the loop of your chosen charm.
3. Attach the necklet chain.
4. Use your pliers to then twist the jump ring back towards you to close, letting the ends of the jump ring slide next to each other. To get a really secure fit, twist the ring slightly past the closed position and then back again letting the natural spring of the metal align the ends to a tight, closed position.
Your charm necklace is ready to wear!
Recommended Tools & Supplies
Jewellery Charms
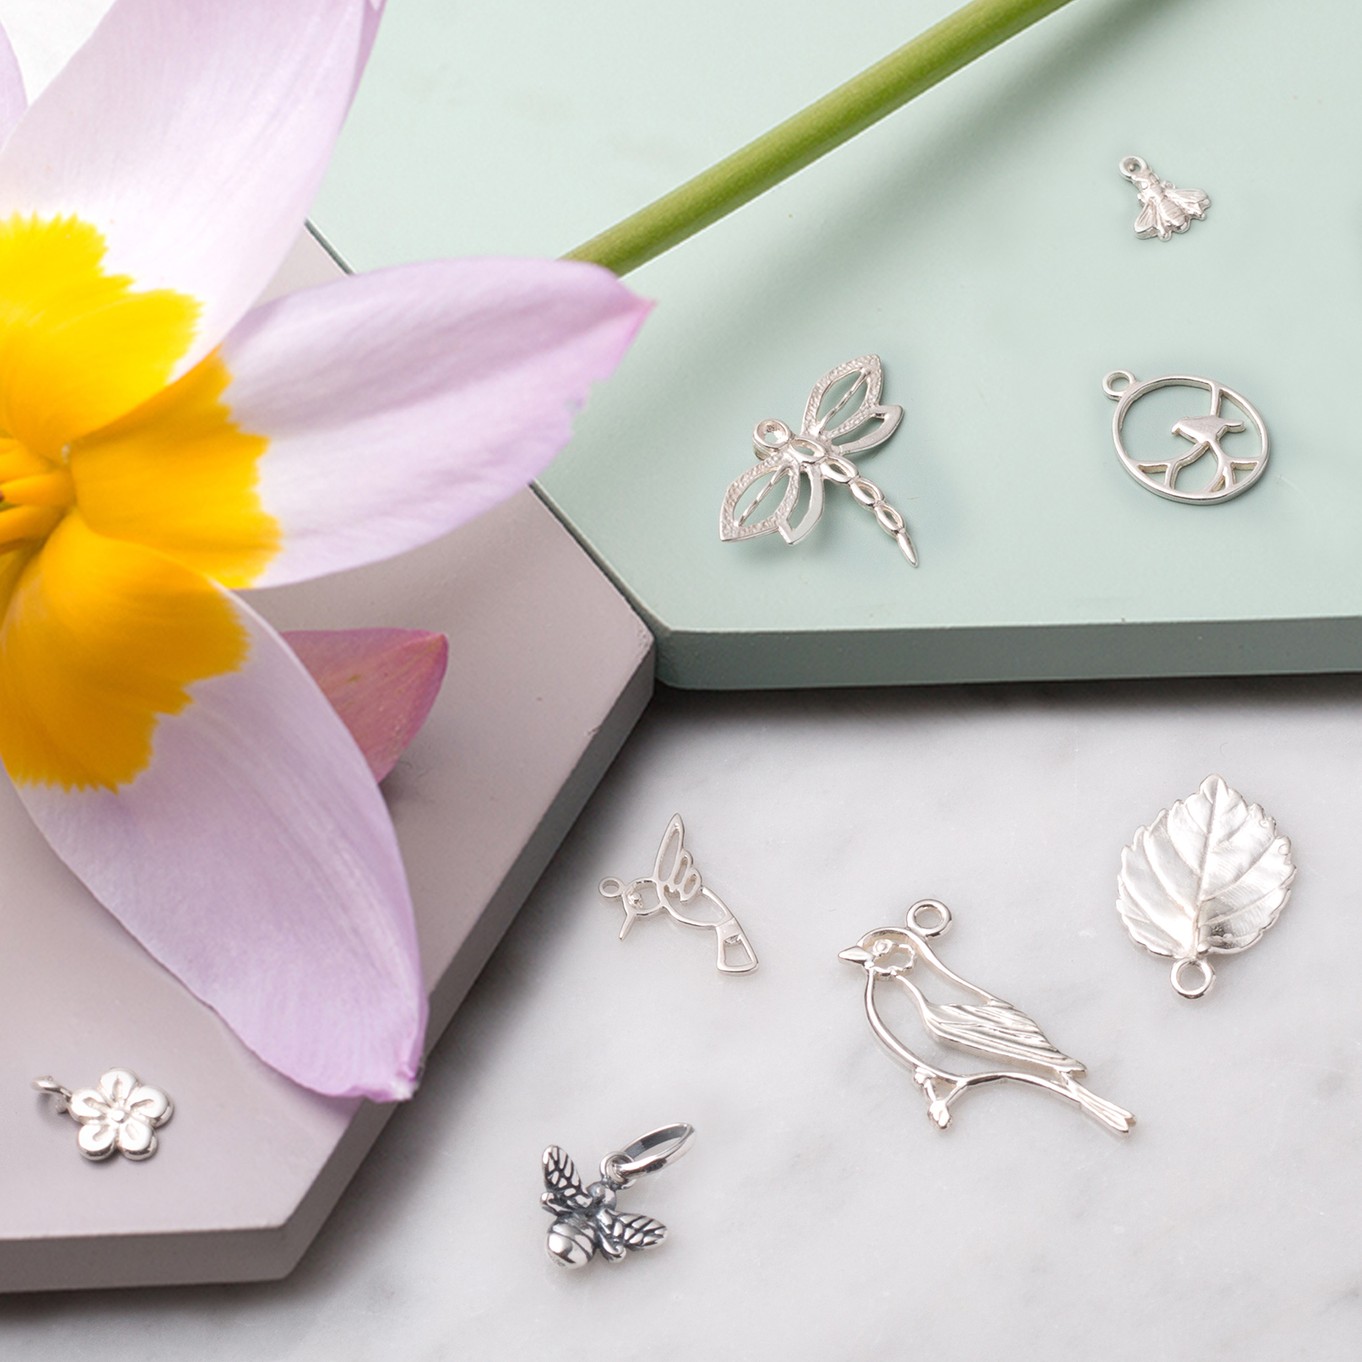
Choose from our beautiful collection of high quality, sterling silver and gold vermeil charms for your necklace or jewellery designs. Whether you're a nature, coastal or geometric lover, we have charms for all tastes.
Some charms will come with a jump ring already attached or with a bail, so you may not need to add a jump ring!
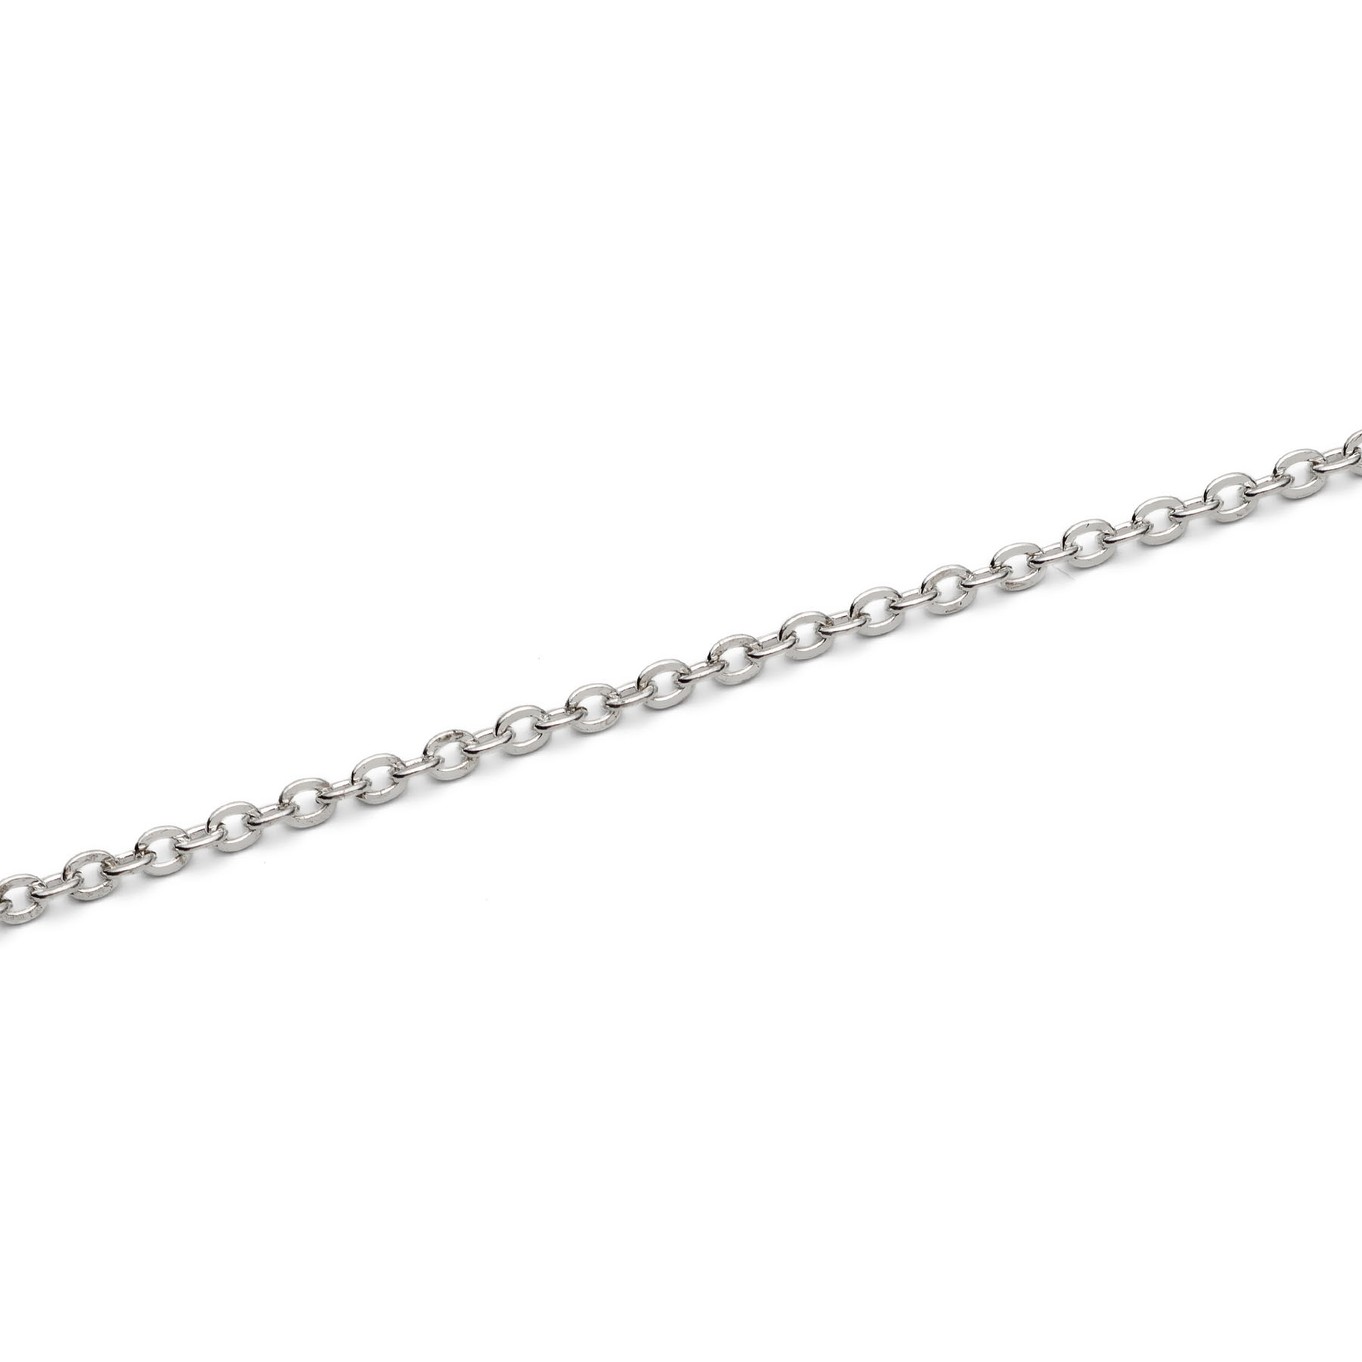
Ready Made Necklet Chain
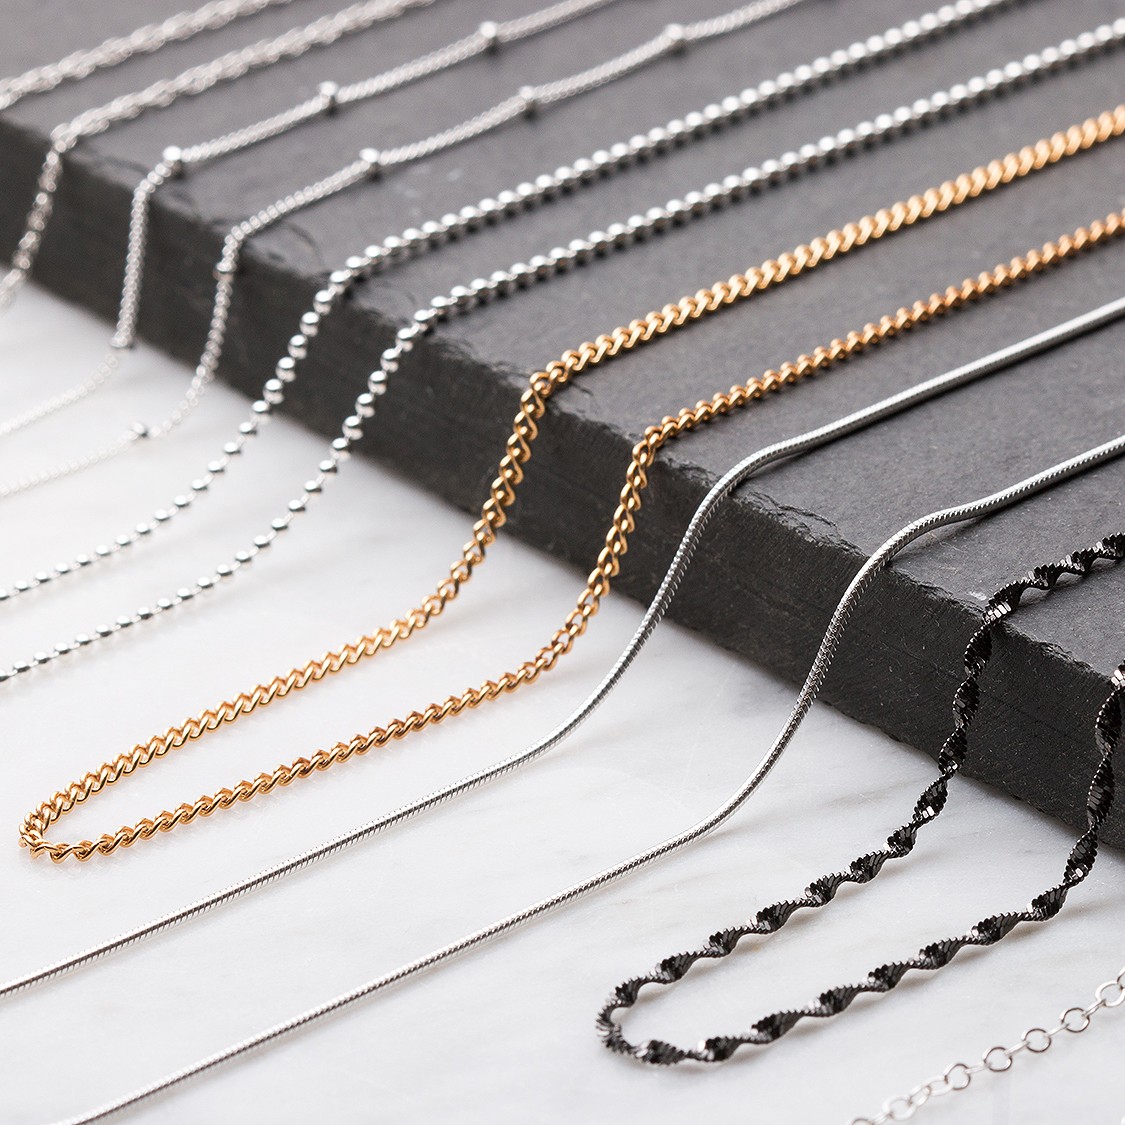
You will also need a necklet chain with the clasp already attached. Take your pick from our range of necklet chains in various styles and lengths, 45cm is the most popular length for necklaces. Choosing the style of the chain will depend on what charm you have chosen and your personal preference. If you're unsure of what style to go for, trace chain is a good basic chain which will suit most charms.
Jump Rings
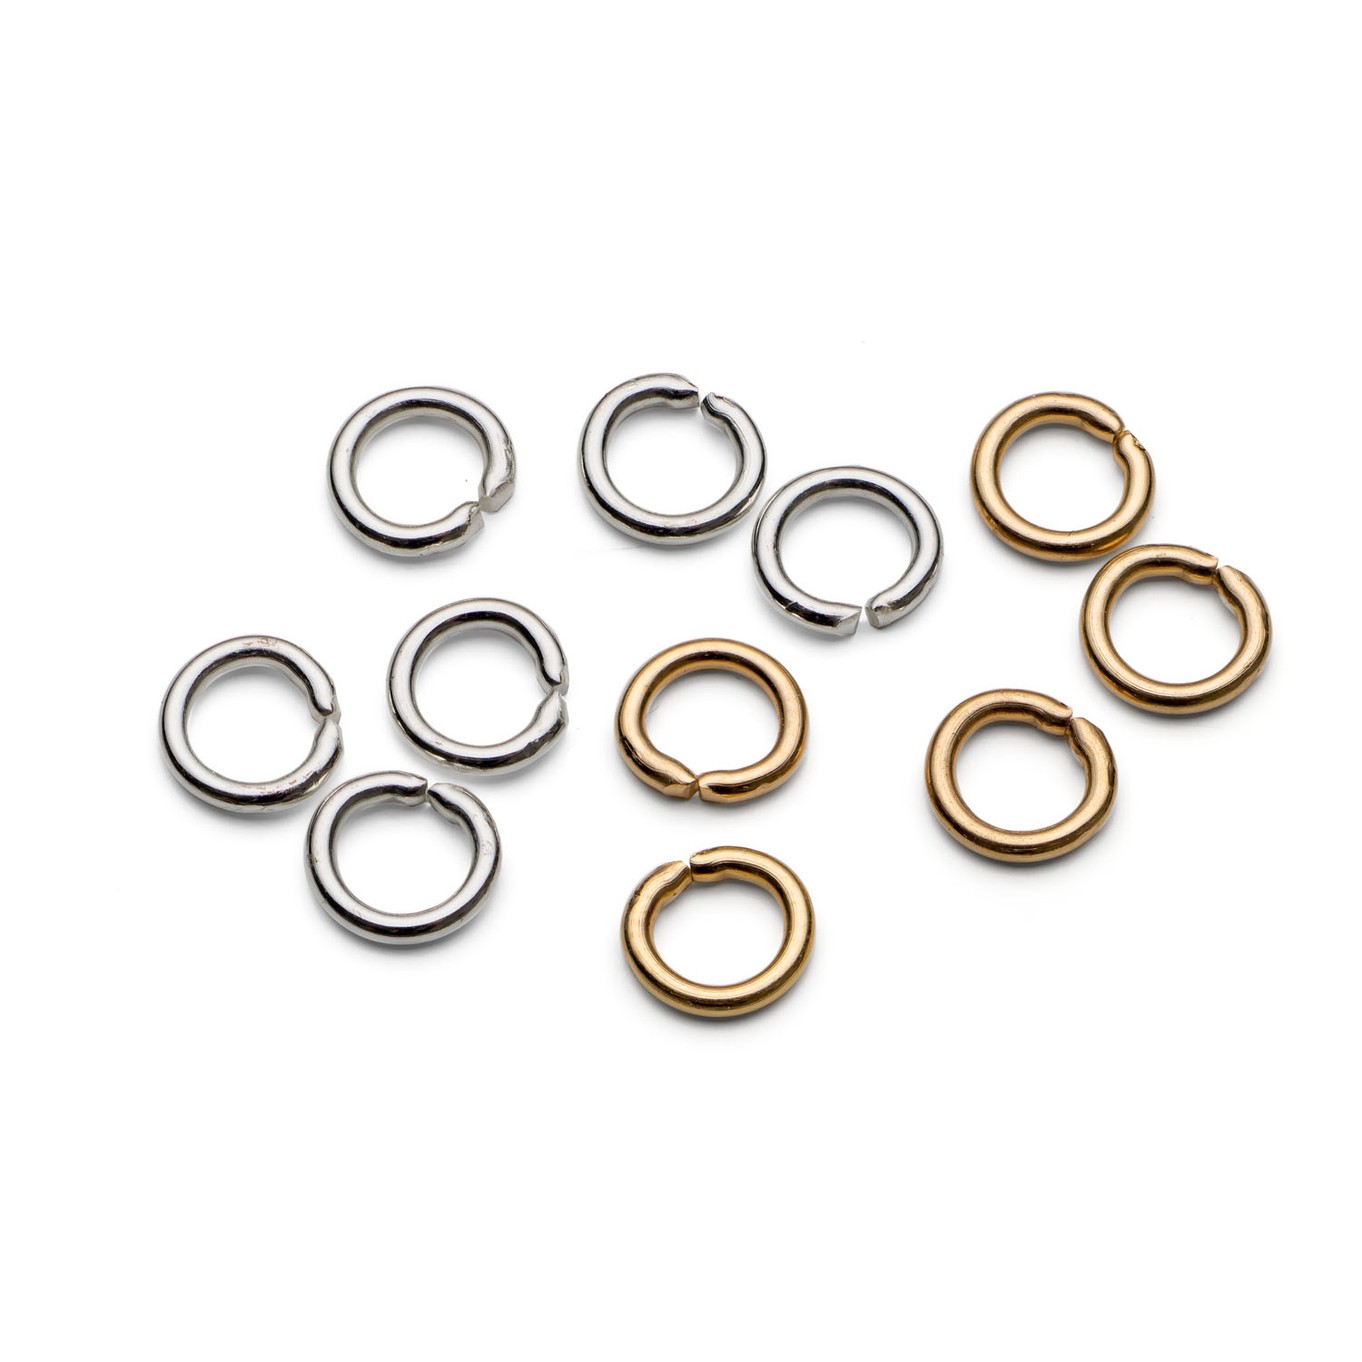
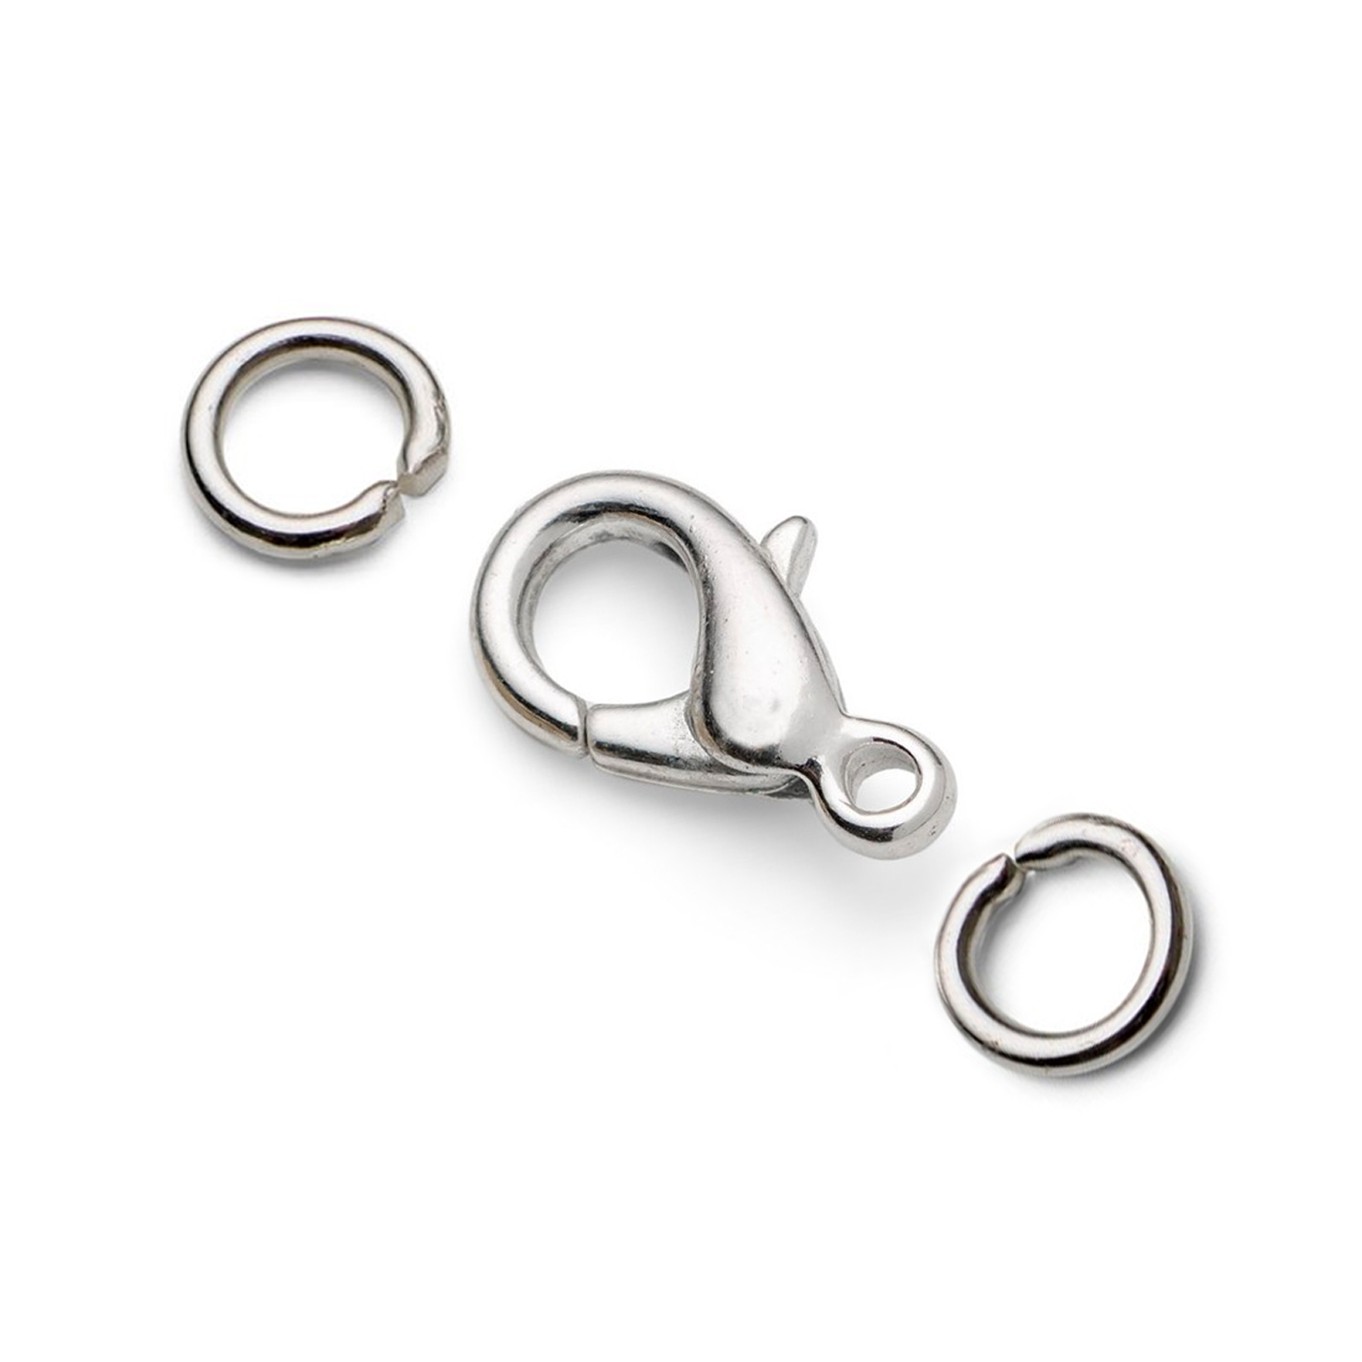
Jump rings are essential when it comes to any form of jewellery making, they are little components that often go unnoticed but are important for connecting components together.
The size of jump ring you need will depend on the charm you have chosen, 5mm is a good all-rounder however we would recommend stocking up on a few different sizes just in case.
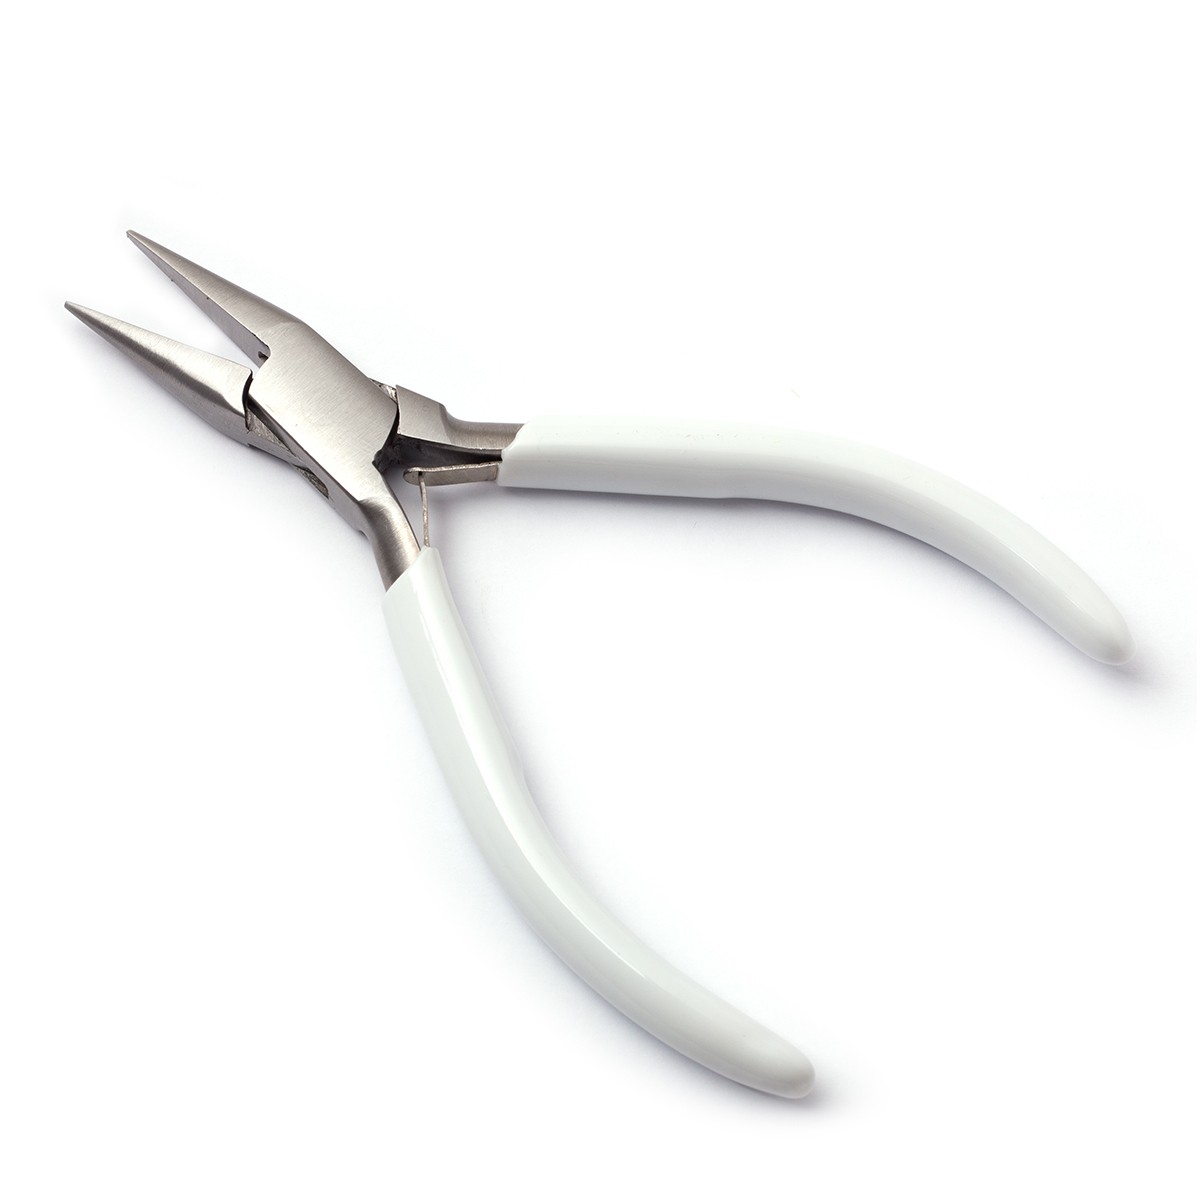
Pair Of Pliers - Snipe Nose or Flat Nose Pliers
The only jewellery making tools you need for making a charm necklace is a pair of pliers. We recommend choosing either snipe nose or flat nose pliers, as these have wider jaws which make it easier to grip onto the jump ring when opening and closing them.
Watch How To Open & Close A Jump Ring With The Correct Technique
It's important that you use the correct technique for opening and closing jump rings - remember to always twist and never pull! This ensures your jewellery is secure and helps maintain the shape of the jump ring.
How To Make A Necklace Chain
Using ready made necklet chains makes creating necklaces really easy, however you may be keen to make them yourself. Find out how to do so below with a few simple steps.
You will need:
Cut Your Desired Length Of Loose Chain
We recommend choosing a necklet chain with large enough links that you can cut as well as easily attach jump rings.
Use side cutters to trim your loose chain to your desired length - 45cm is a popular length for necklaces.
Attach Jump Rings & Clasp
Use a pair of snipe nose or flat nose pliers to twist open a jump ring and attach to the last link on the chain, then twist closed.
Open another jump ring and attach it to the other loose end of the chain link as well as hooking on the loop of your chosen clasp, twist the jump ring closed.
Fasten your clasp to the jump ring and your necklet is complete and ready to wear.
TIP: Ensure your jump rings are closed tightly and are sturdy enough for your necklace. You can also solder the jump rings closed for peace of mind that they will not come apart.

Ways To Customise Your Charm Necklace
Now you have the basics down on how to make a simple charm necklace, you can now experiment with adding more elements to your designs such as gemstones. Check out some of our ideas below using Kernowcraft gems and supplies!
Add Multiple Charms
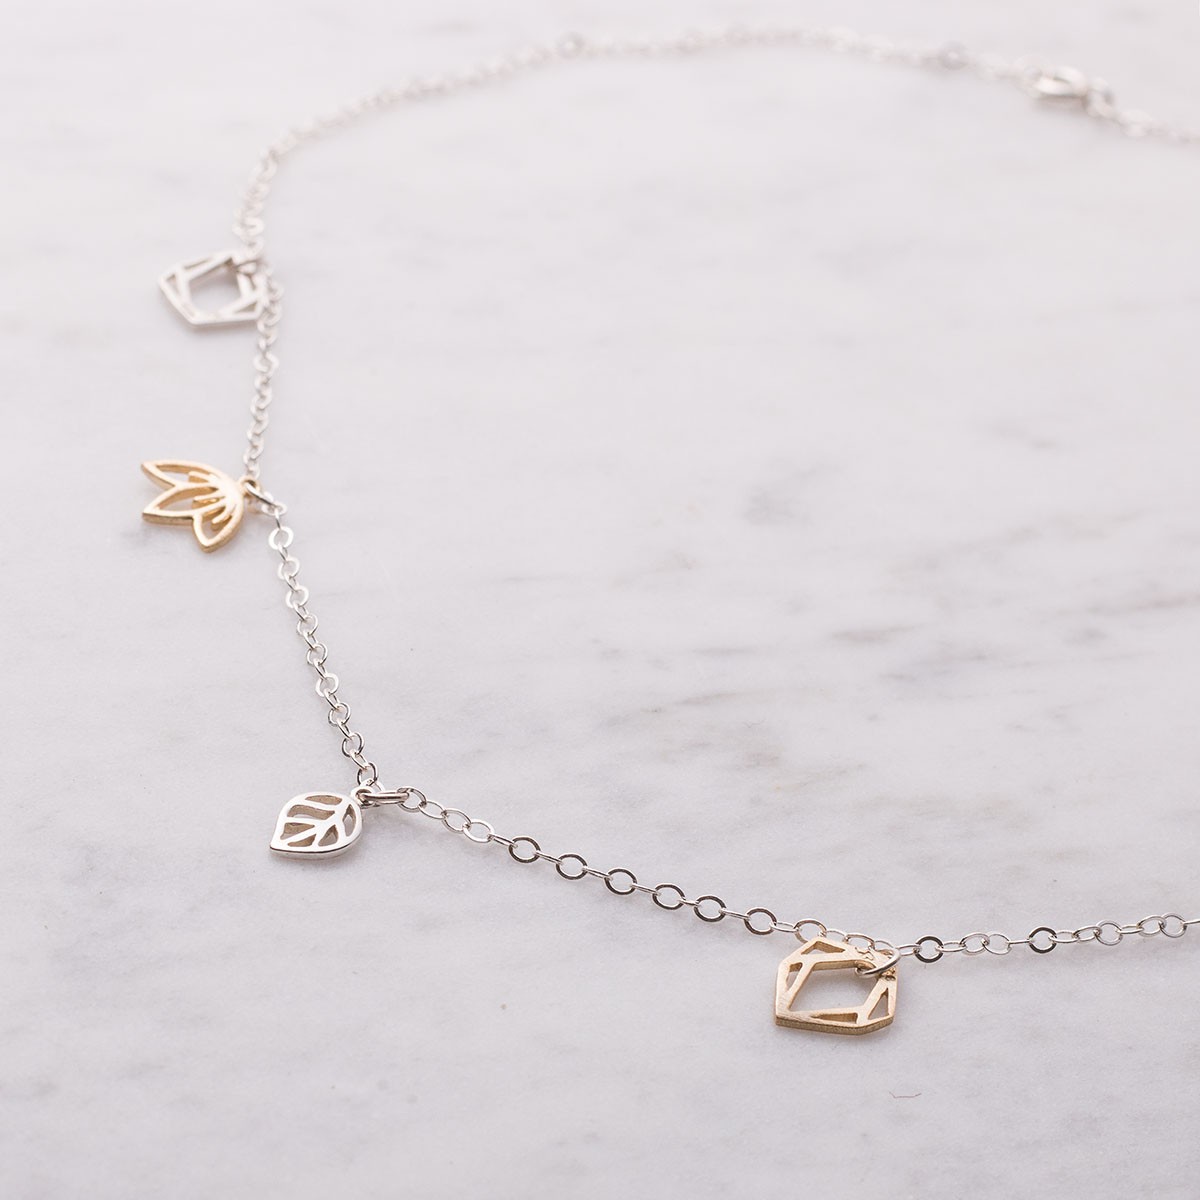
In this design, we've added our sweet nature inspired charms in mixed metals for an eye catching design. The links in the medium flat trace chain are big enough to attach jump rings, so the charms sit pretty spaced out across the chain for a multiple charm necklace design.
Add A Gemstone Charm
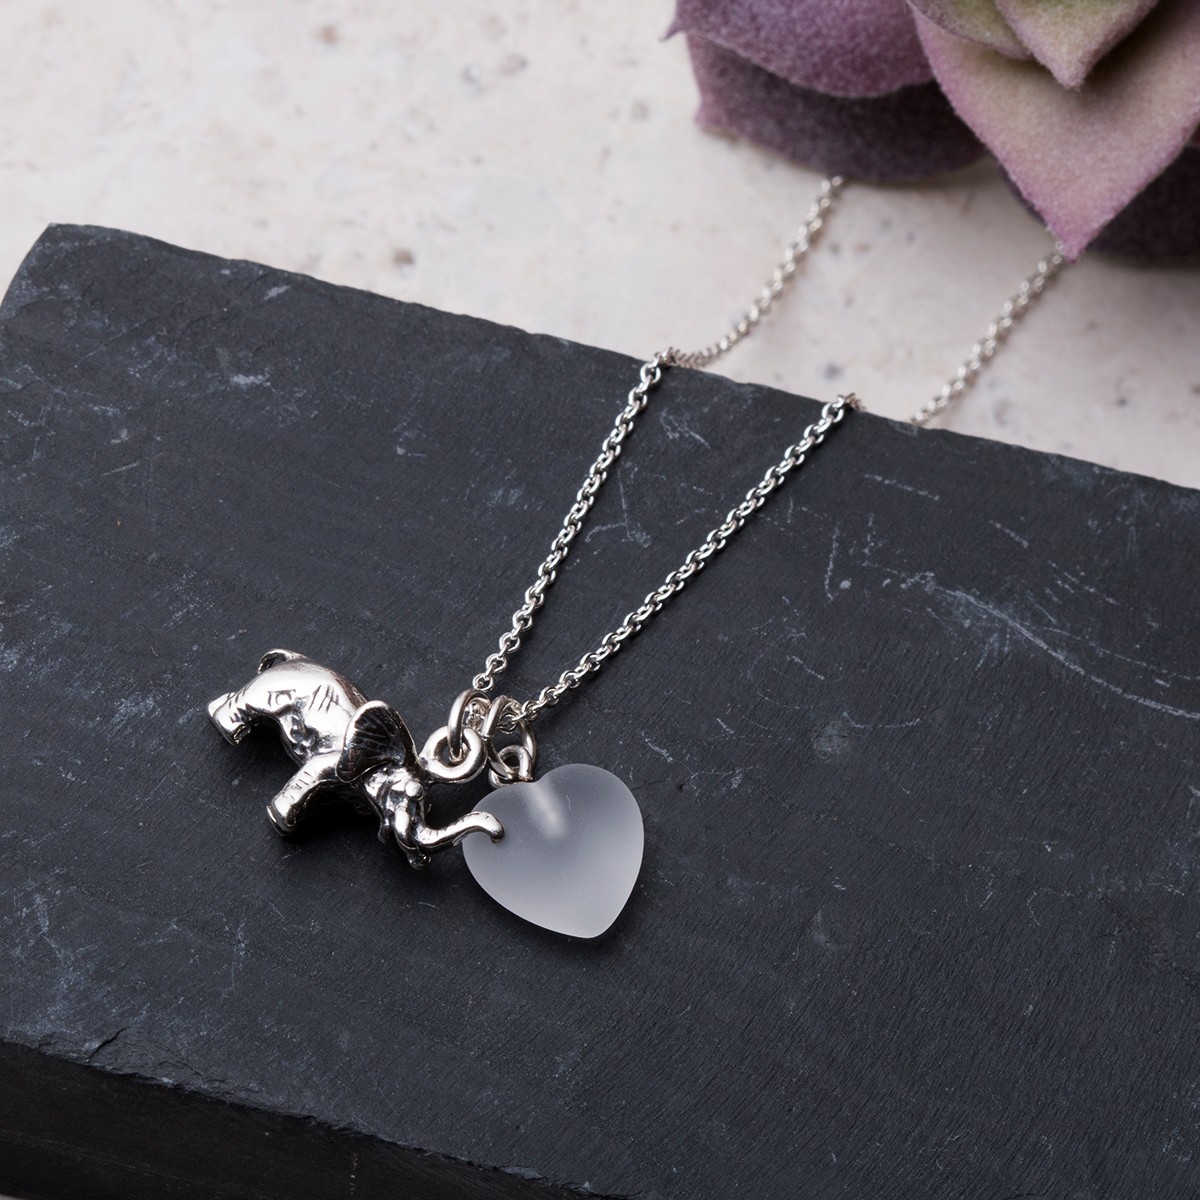
In this sweet design, we've featured our sterling silver elephant charm alongside a top drilled bead, which has been secured by gluing in a peg with loop and attached to the necklet chain with a jump ring.
Add A Wire Wrapped Briolette Bead
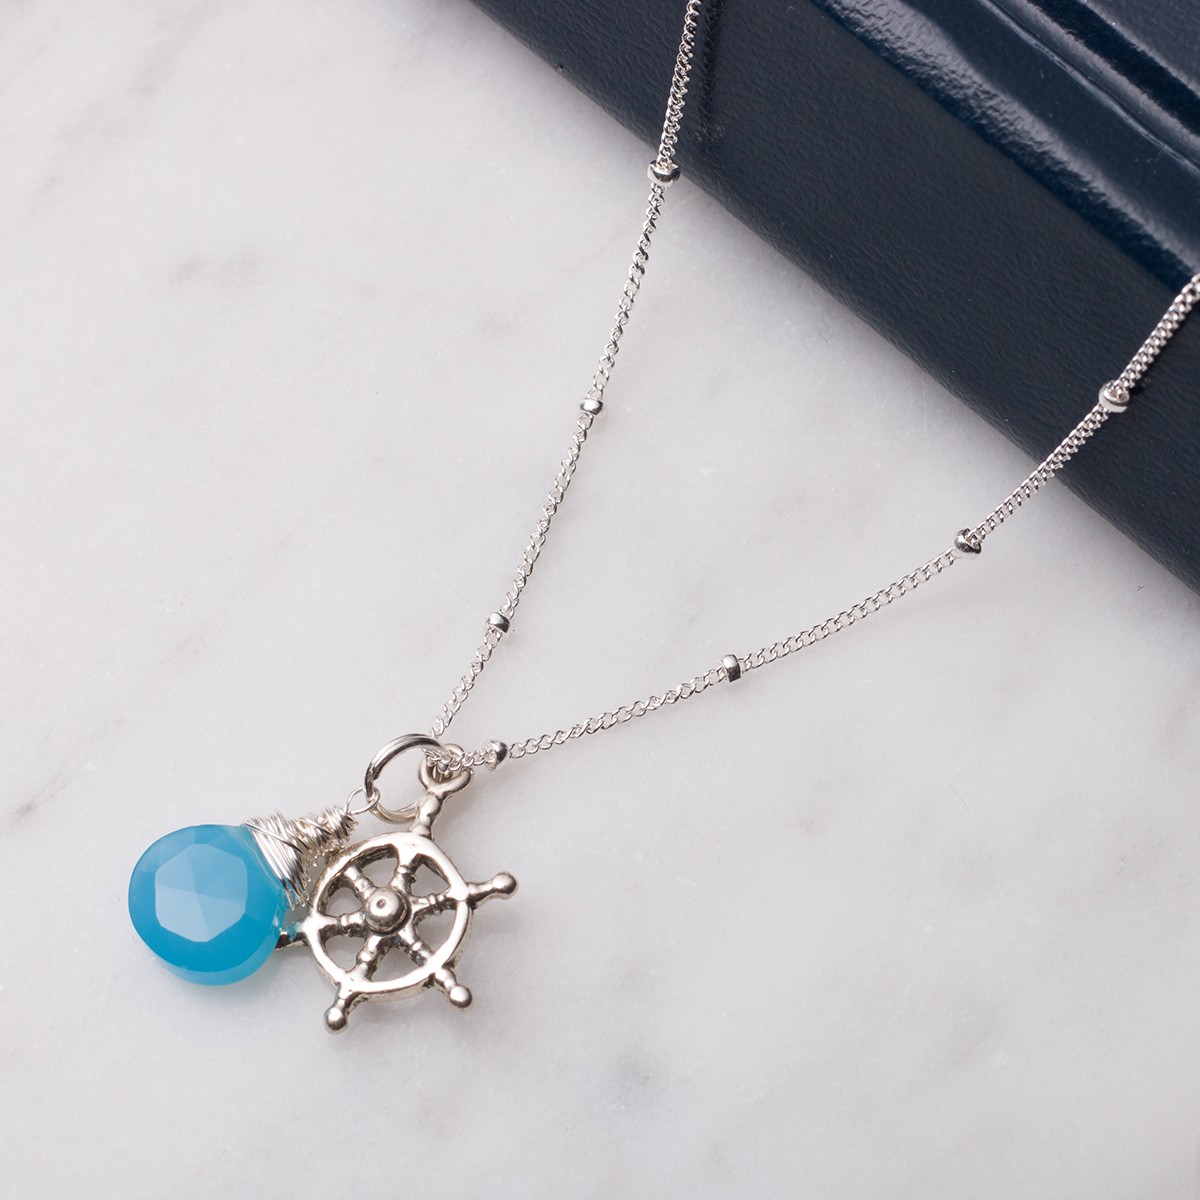
In this design, we've added a stunning wire wrapped briolette bead alongside our ship's wheel charm. Also features our decorative satellite chain which has delicate silver beads spaced along the length of the chain, perfect for modern designs.
Add A Wire Wrapped Bead
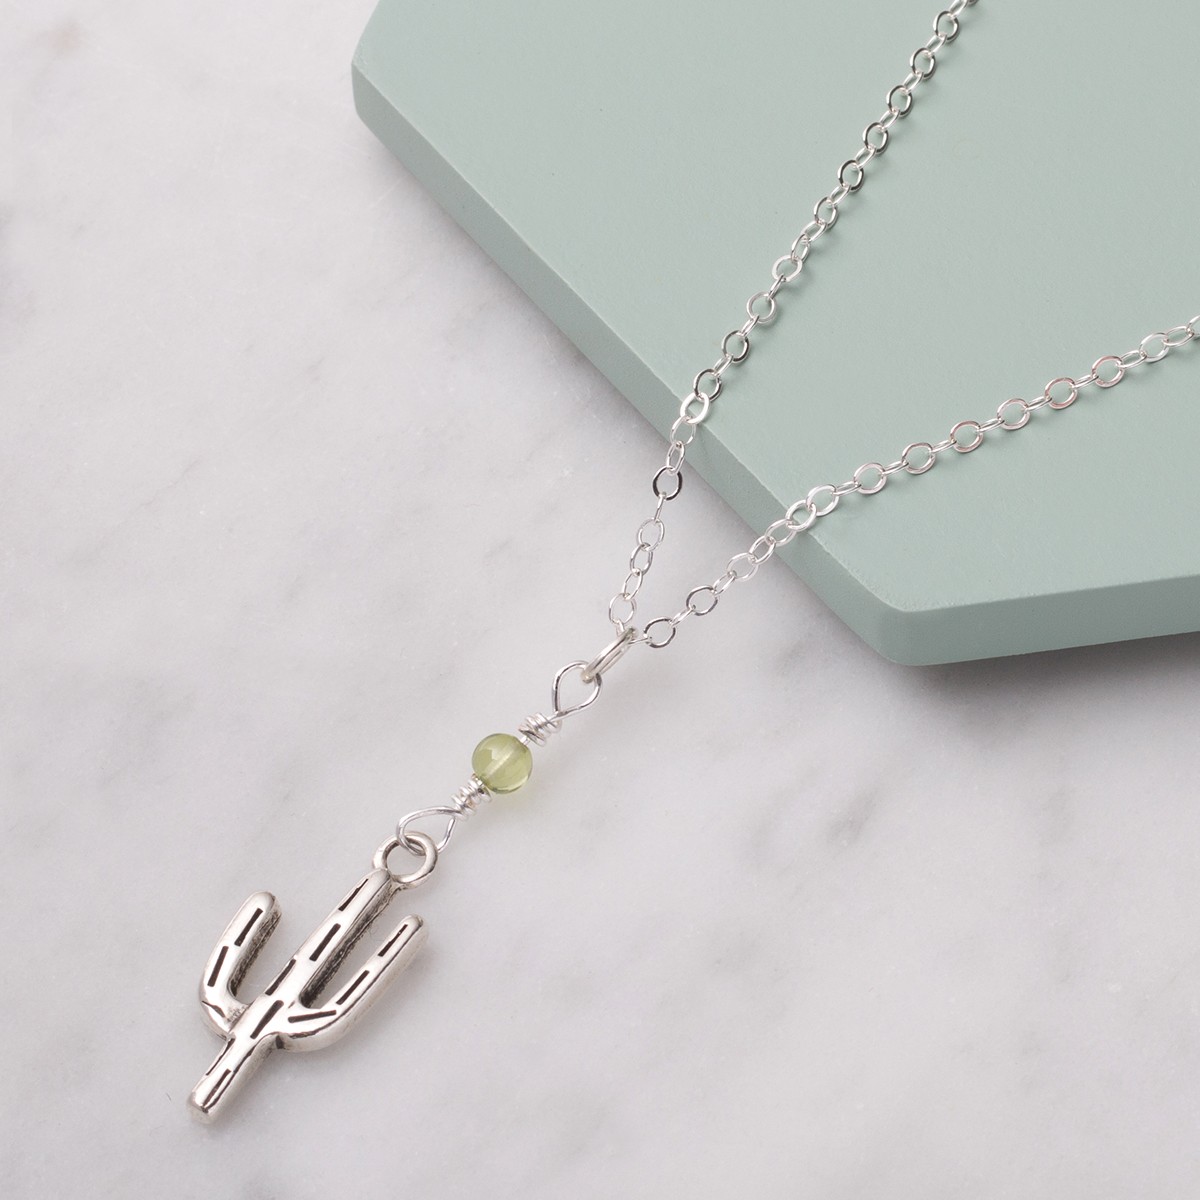
This is a great way to add some length to your necklace designs, while also adding a pop of colour. In this cactus charm necklace, we've added a wire wrapped peridot bead which we think looks really effective.
Follow our tutorial on how to make a wire wrapped bead chain
Also in this section:
- How To Start Jewellery Making
- How To Make Jewellery At Home
- Choosing A Jewellers Workbench
- 12 Basic Tools For Jewellery Making Beginners
- What Is A Cabochon And Faceted Stone?
- Your Guide To Metals For Jewellery Making
- Your Guide To Jewellery Findings
- Types Of Chain For Jewellery Making & Necklet Chain Length Guide
- CM to Inches For Chain Length Conversions
- Jewellery Making Tools For Cutting Metal Wire & Sheet
- A Quick Guide to Jewellery Making Hammers
- The Pliers You Need For Jewellery Making
- The Jewellery Pliers Set For Beginners
- What Are Parallel Pliers For Jewellery Making?
- How To Open And Close Jump Rings For Jewellery Making
- Types Of Earring Findings For Jewellery Making
- How To Make Earrings For Beginners
- Easy Ways To Customise Hoop Earrings
- How To Make Earwires
- 2 Ways To Make Wire Earrings
- How To Make Your Own Balled Head Pins For Earrings
- 7 Ways To Fasten A Necklace or Bracelet
- How To Make An Easy Charm Necklace
- Easy Ways To Make Charm Jewellery
- Sea Glass Jewellery Making Projects For Beginners
- How To Make A Ring: 5 Beginner Projects
- Beginner Jewellery Making Projects Using Glue
- Choosing Glue For Jewellery Making & Top Tips
- How To Use Devcon Epoxy Glue For Jewellery Making
- Time Saving Jewellery Making Tools & Supplies
- How To Make A Ring Smaller With A Ring Size Adjuster
- How To Use A Safety Chain
- How To Tighten & Loosen Earring Backs
- Everything You Need To Repair Broken Jewellery At Home
HAVE A QUESTION?
If you have any questions, feel free to get in touch with our friendly team who will be more than happy to give you advice over email or on the phone.
You can learn more and find inspiration by visiting our Jewellery Making Tutorials, Jewellery Making Kits and YouTube Channel. Don't forget to follow us on social media and tag us in your designs on Instagram & Facebook, we would love to see!

