How To Make A Wire Wrapped Bead Chain
Turn your favourite gemstone beads into a beautiful chain!
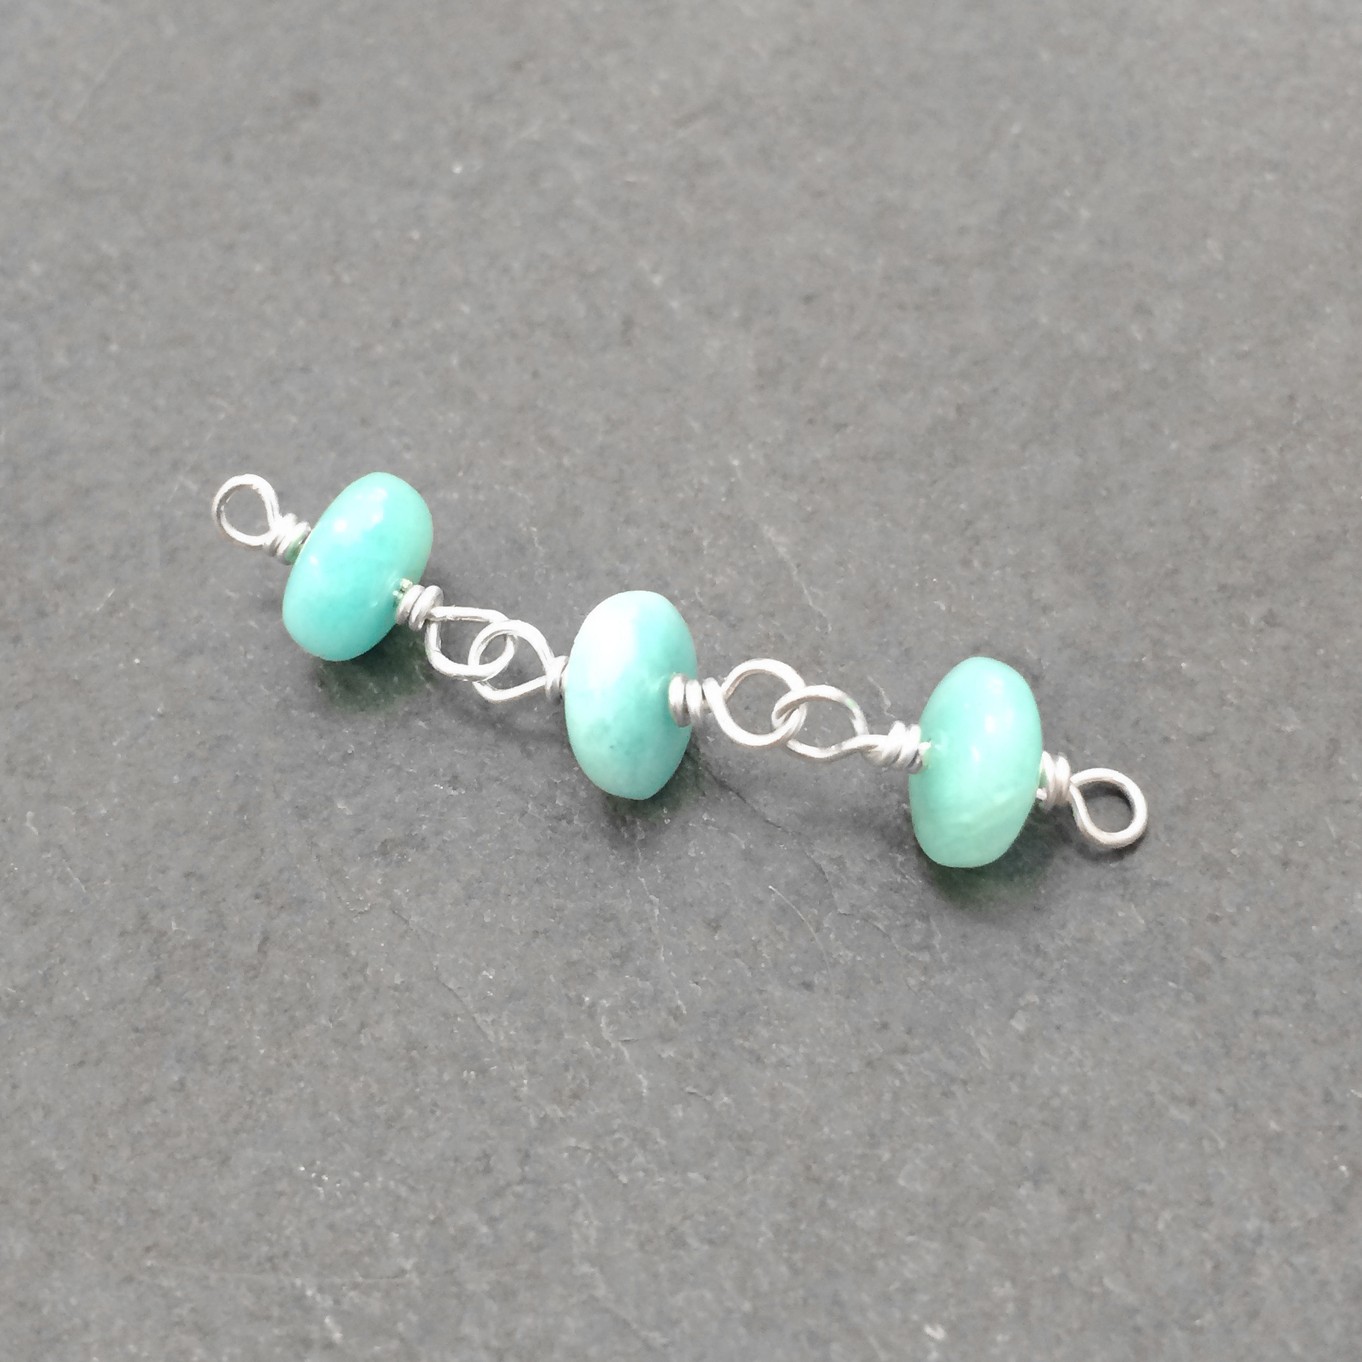
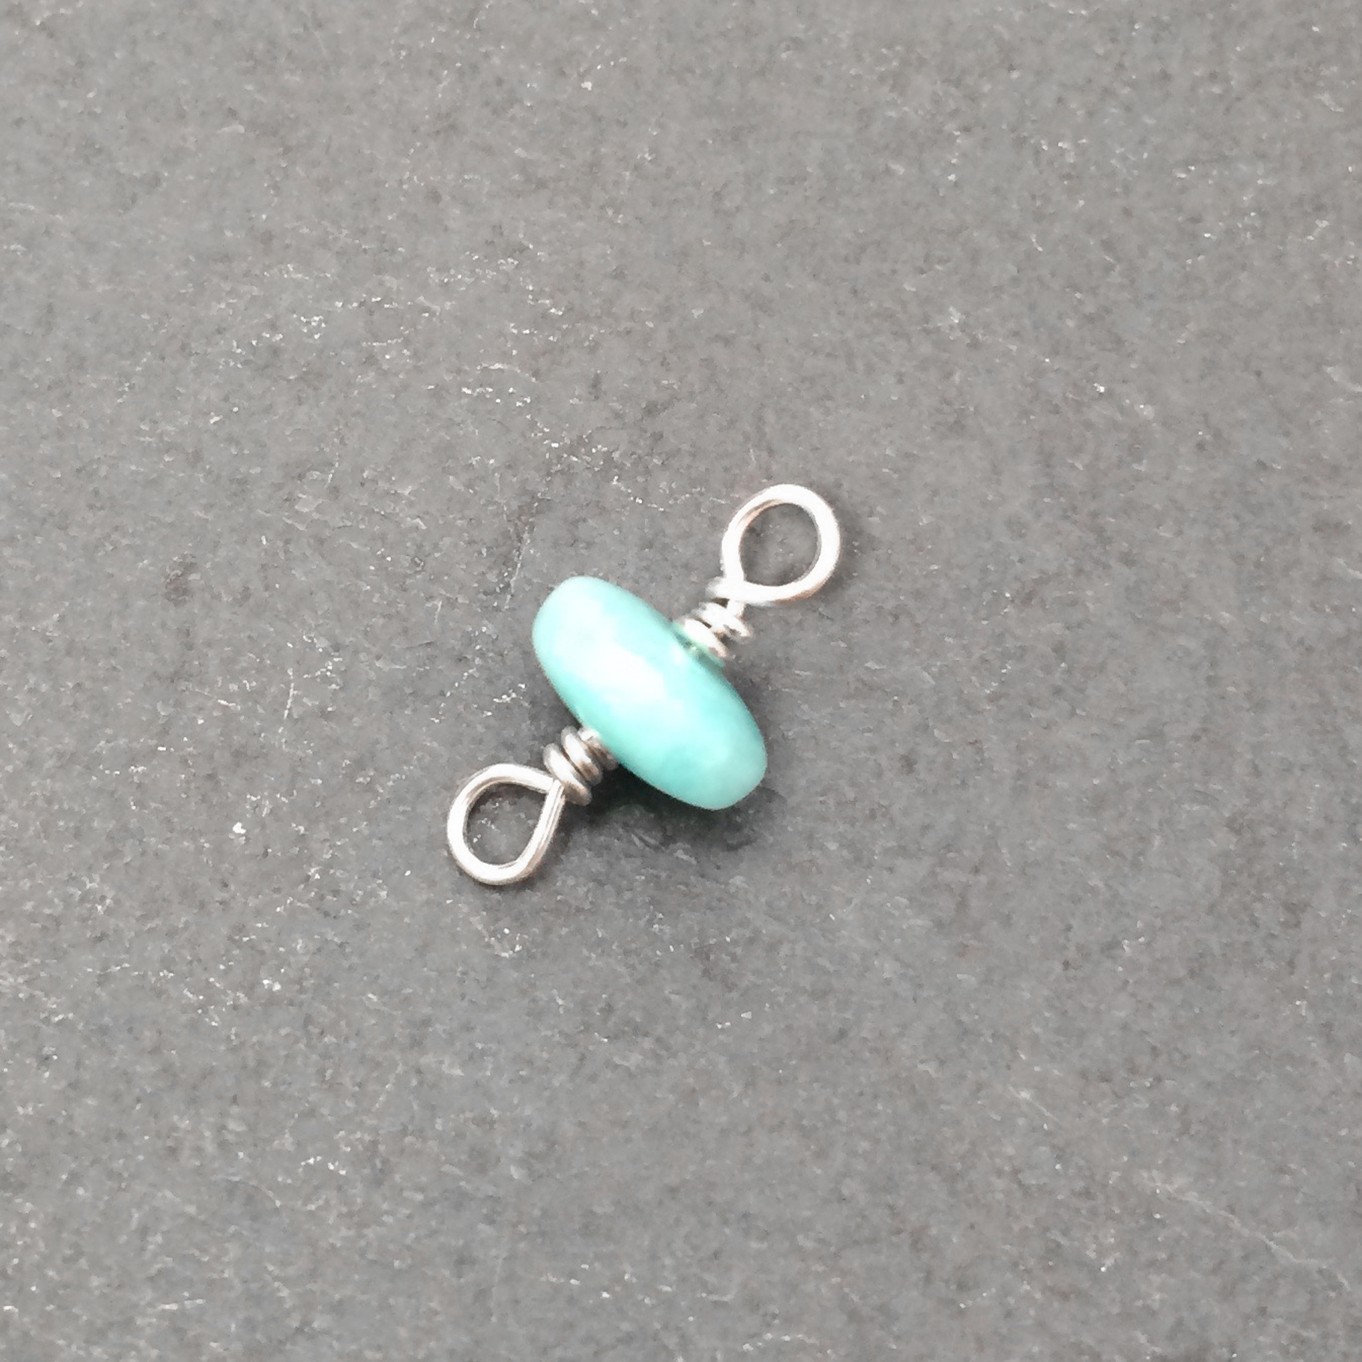
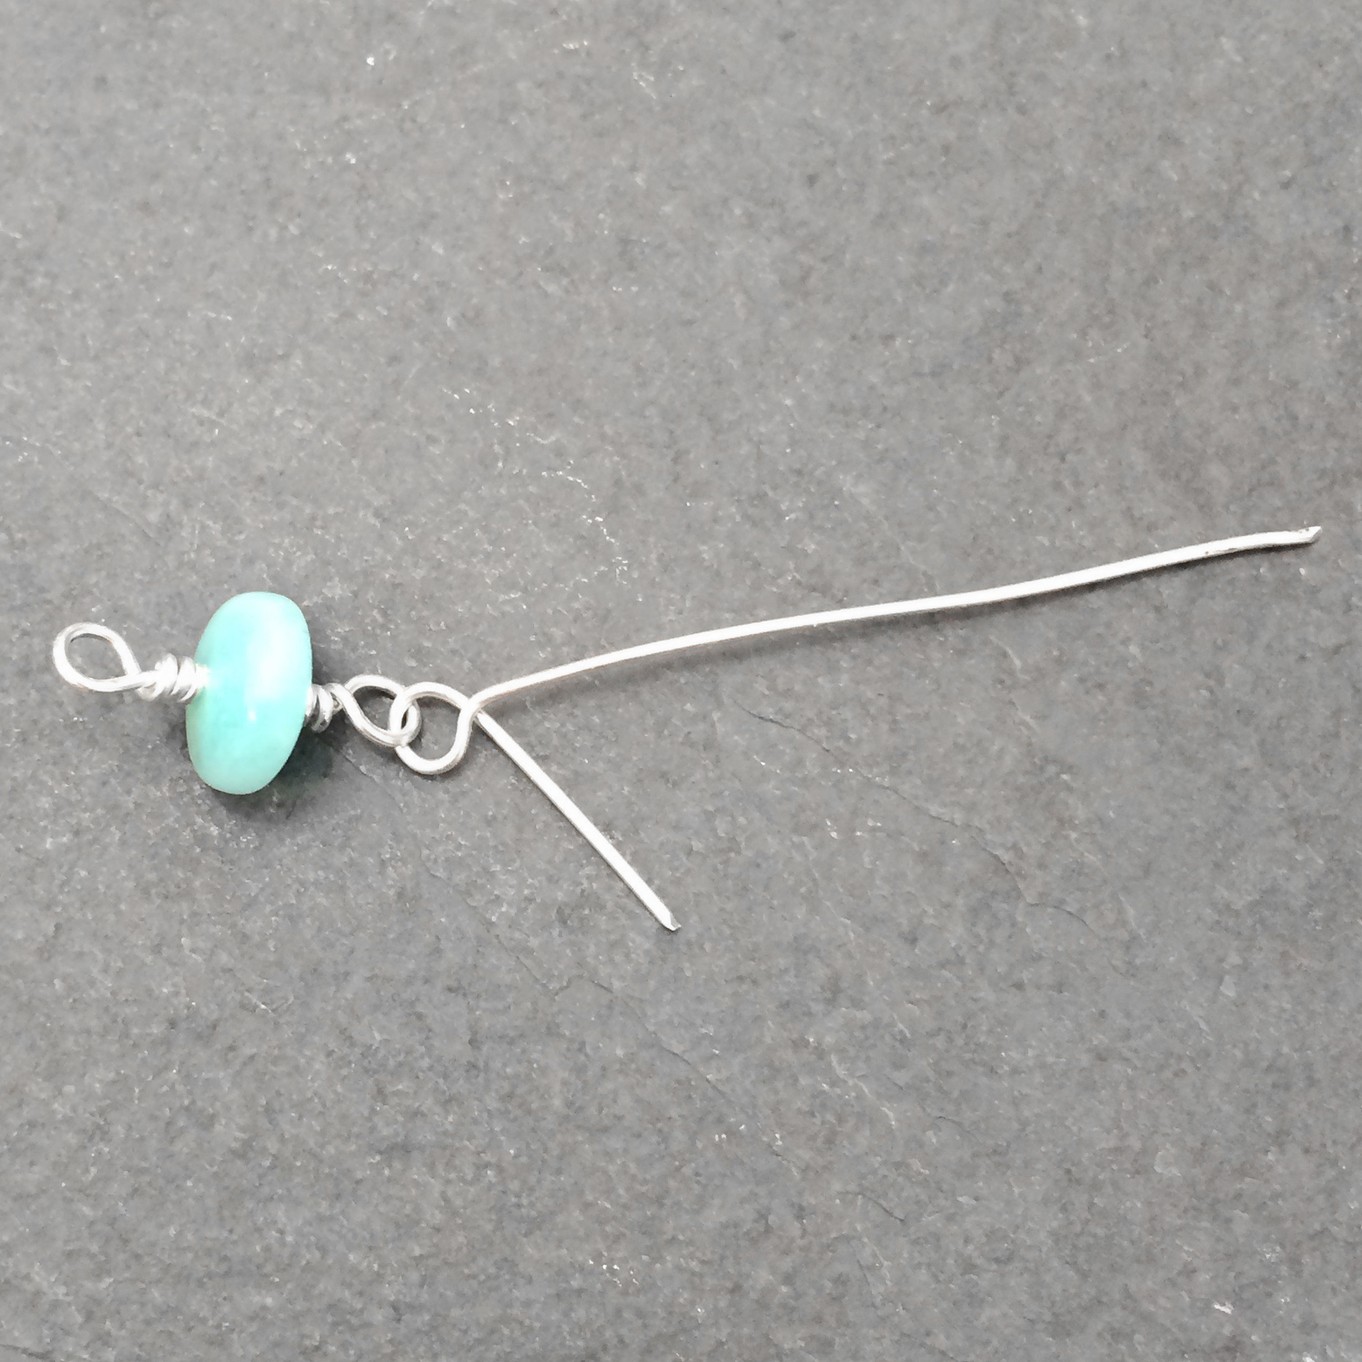
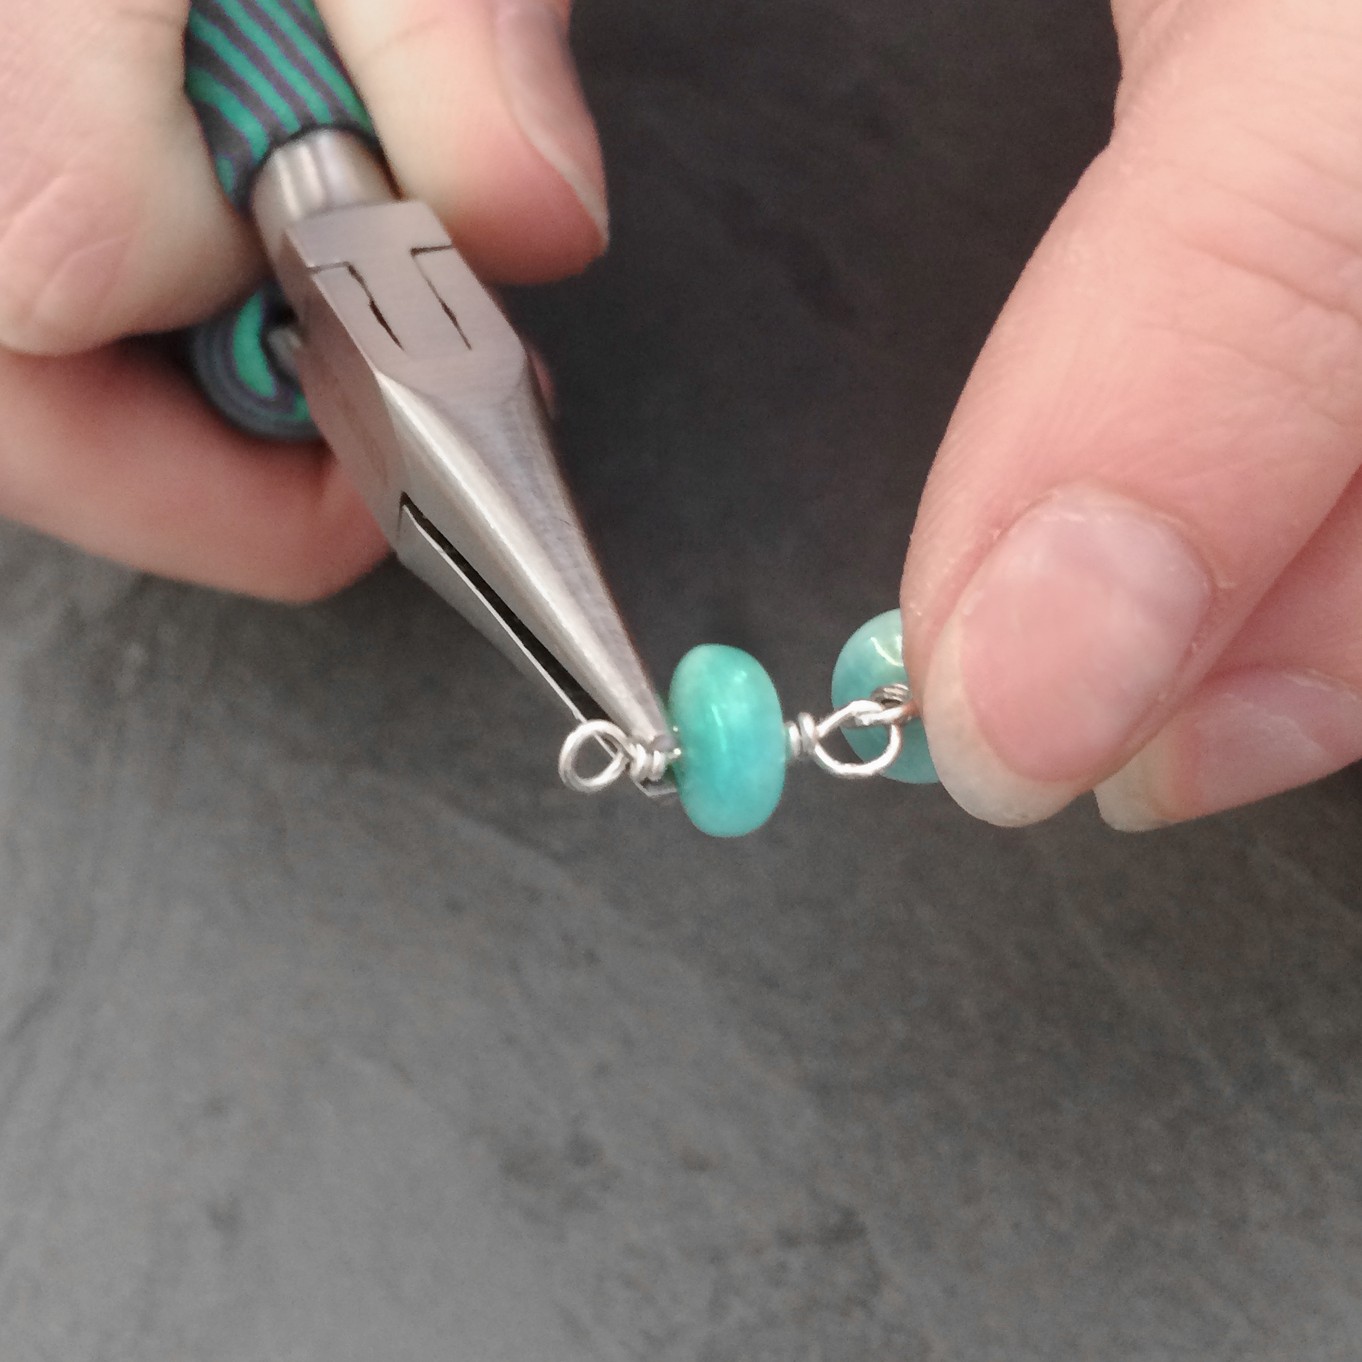
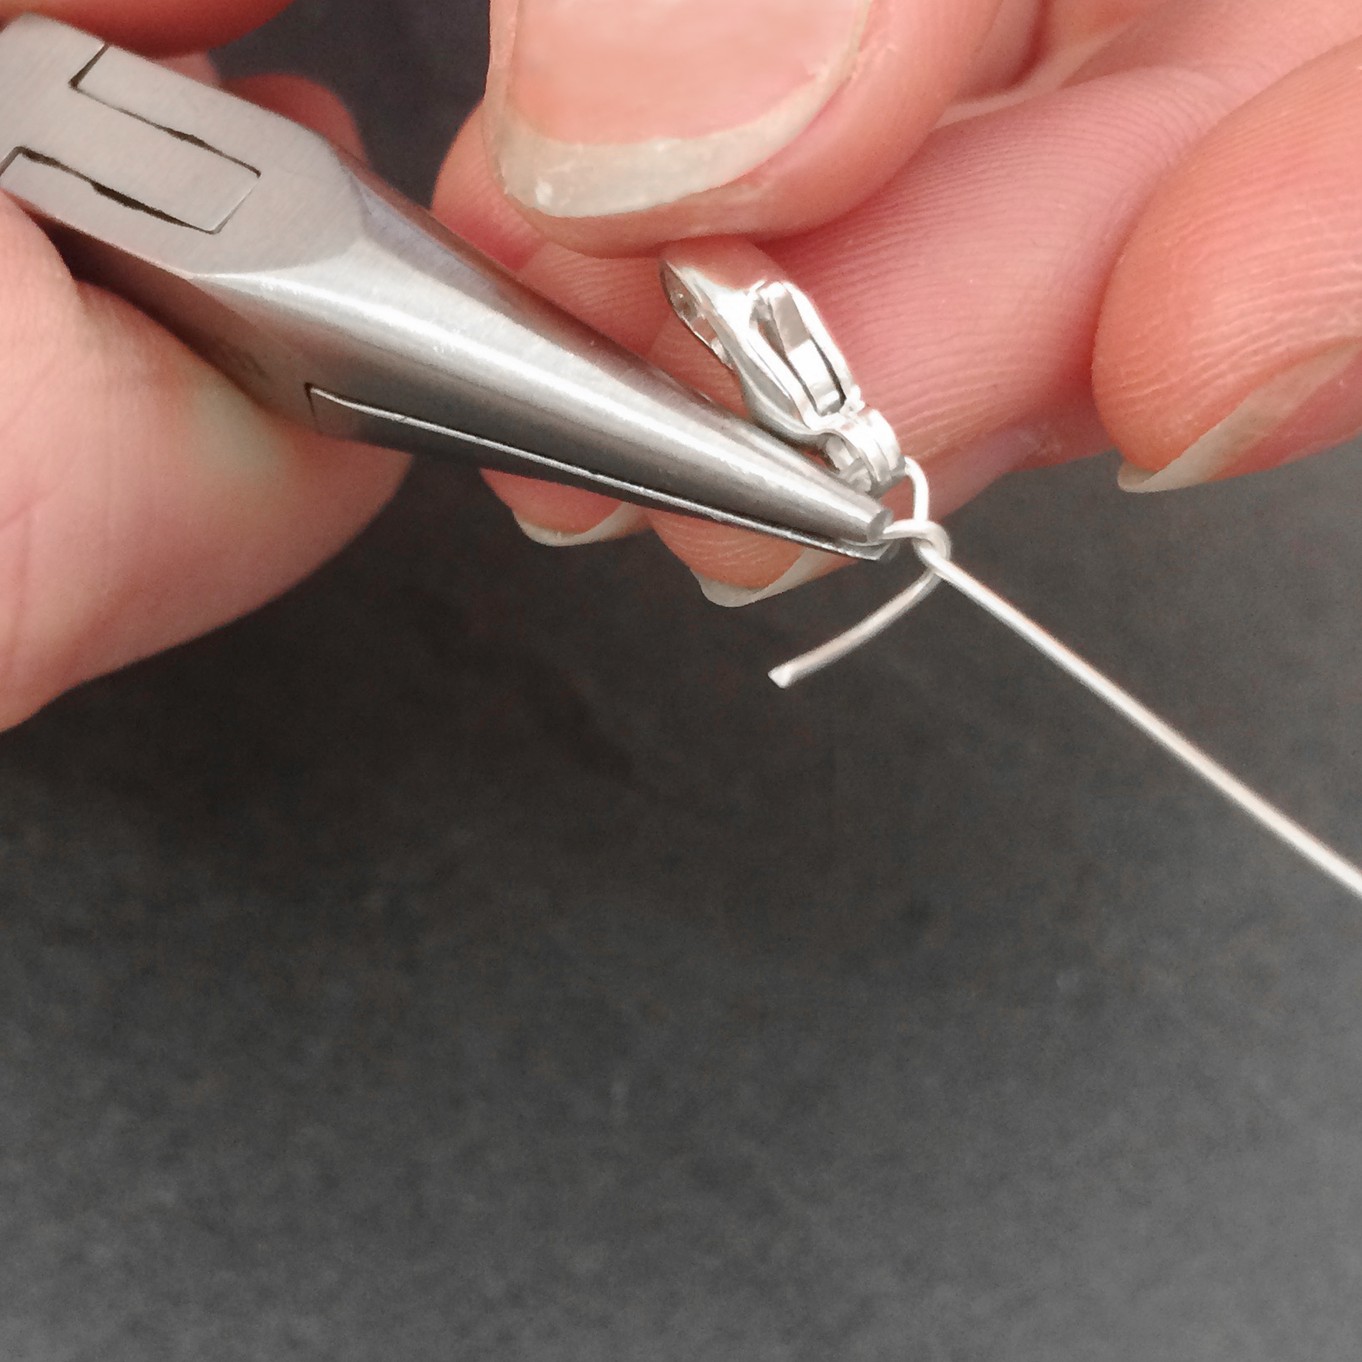
This page provides step by step instructions on how to wire wrap individual beads to form a delicate beaded chain. Great for incorporating in your necklace, bracelet and earring designs.
This is a great technique to learn to enable many design options, it also helps your beads to go further.
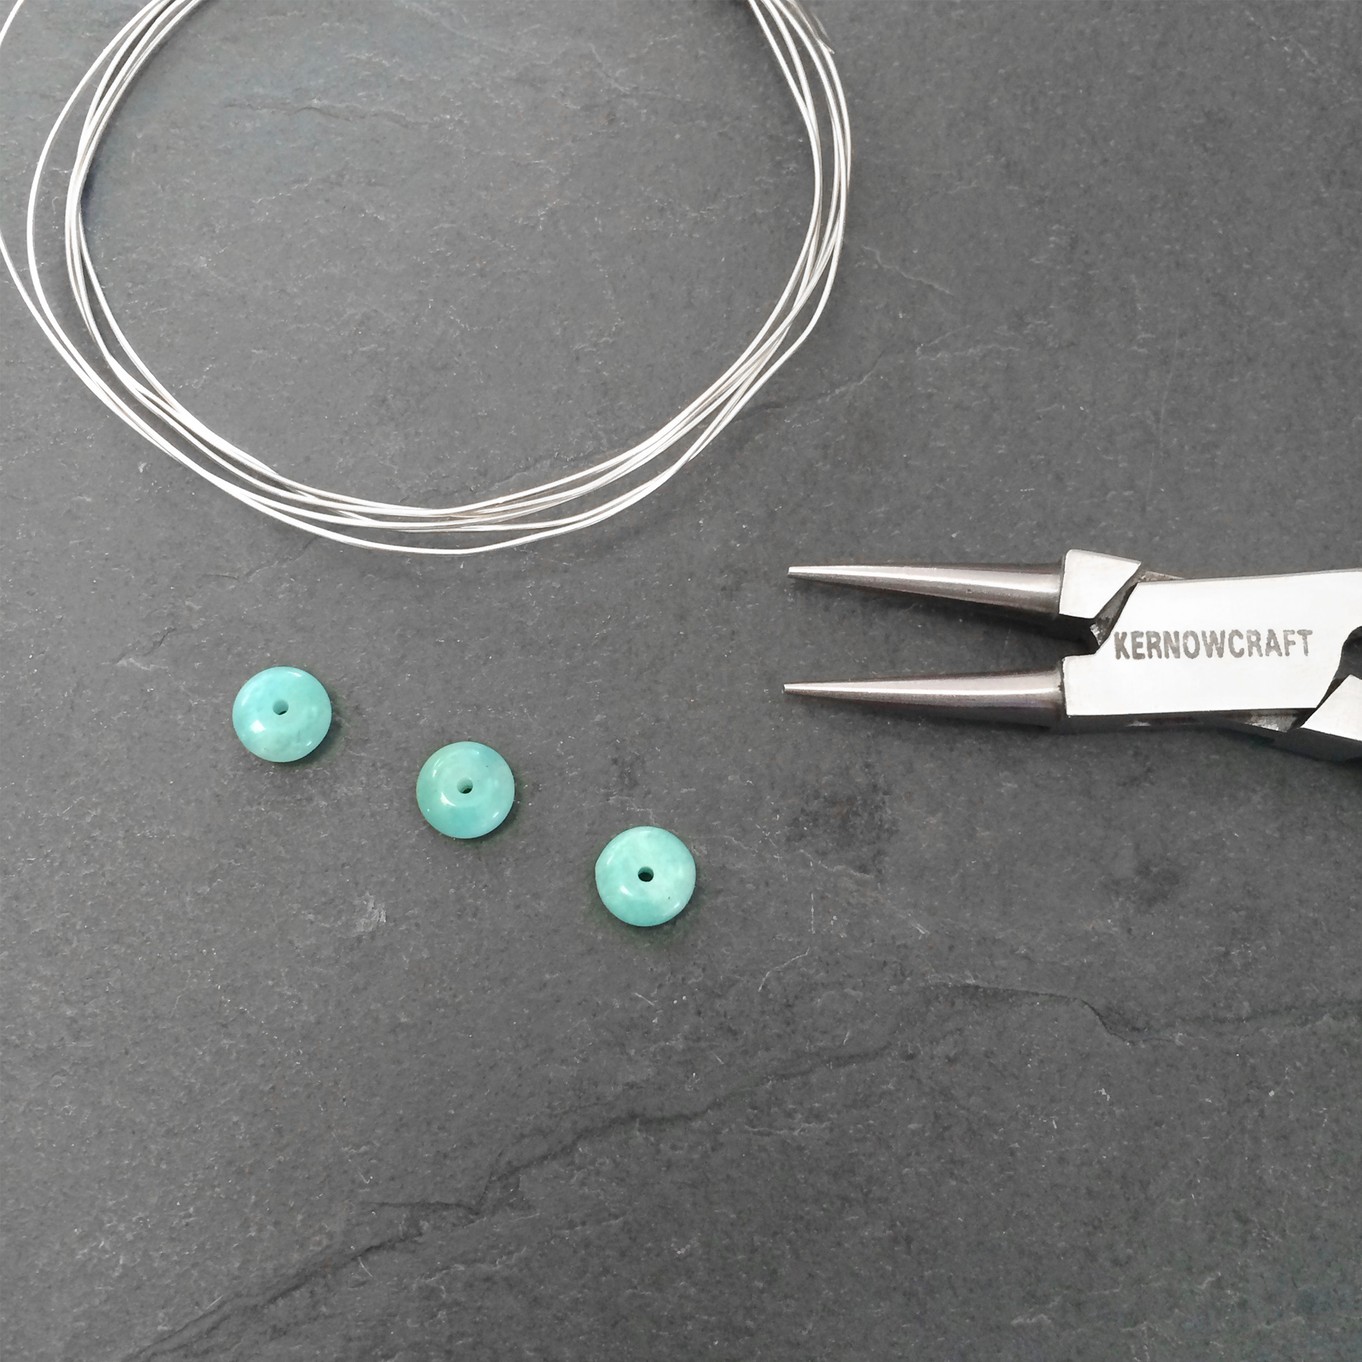
In this tutorial we've used some amazonite beads that are approximately 8x5mm. As the hole in the bead is approximately 0.7mm, we chose to use 0.5mm sterling silver wire.
You can use any fully drilled beads of your choice and suitable-sized jewellery wire. You can use all the same beads or create your own design with different shapes and different coloured gemstone beads - have fun experimenting!
You Will Need
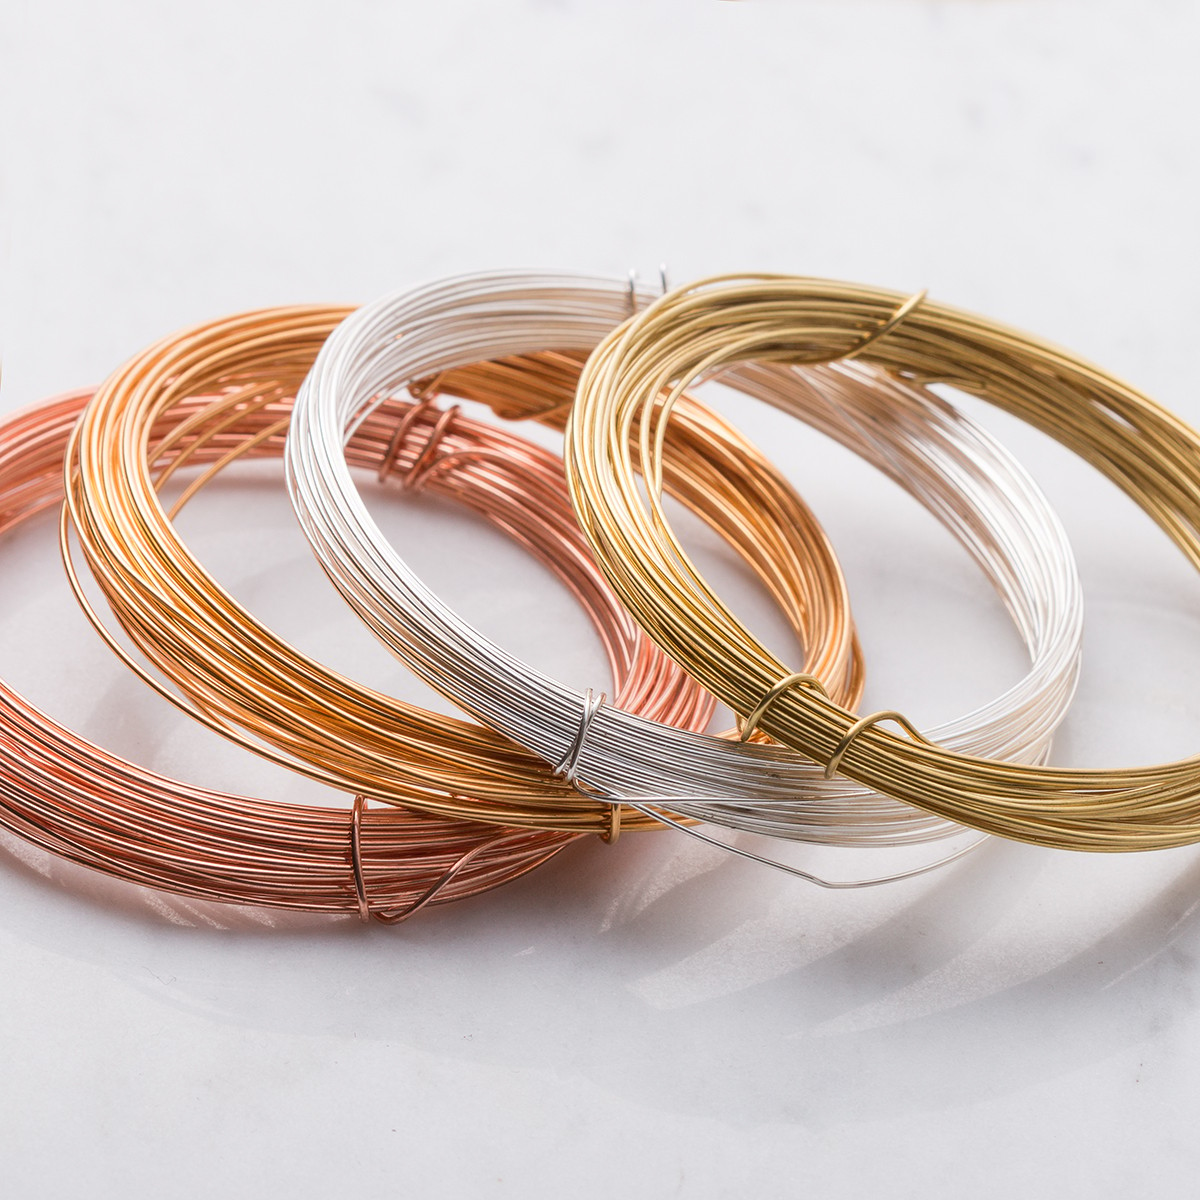
Metal Wire
Choose from our selection of metal wire to complete your beading chain. Including plated, sterling silver, 9ct gold, copper, brass and more.
Choose a suitable diameter wire for your beads, that will run smoothly through the holes (smaller beads = smaller holes). We would usually recommend using between 0.3mm and 0.5mm wire depending on your choice of beads.
Gemstone Beads
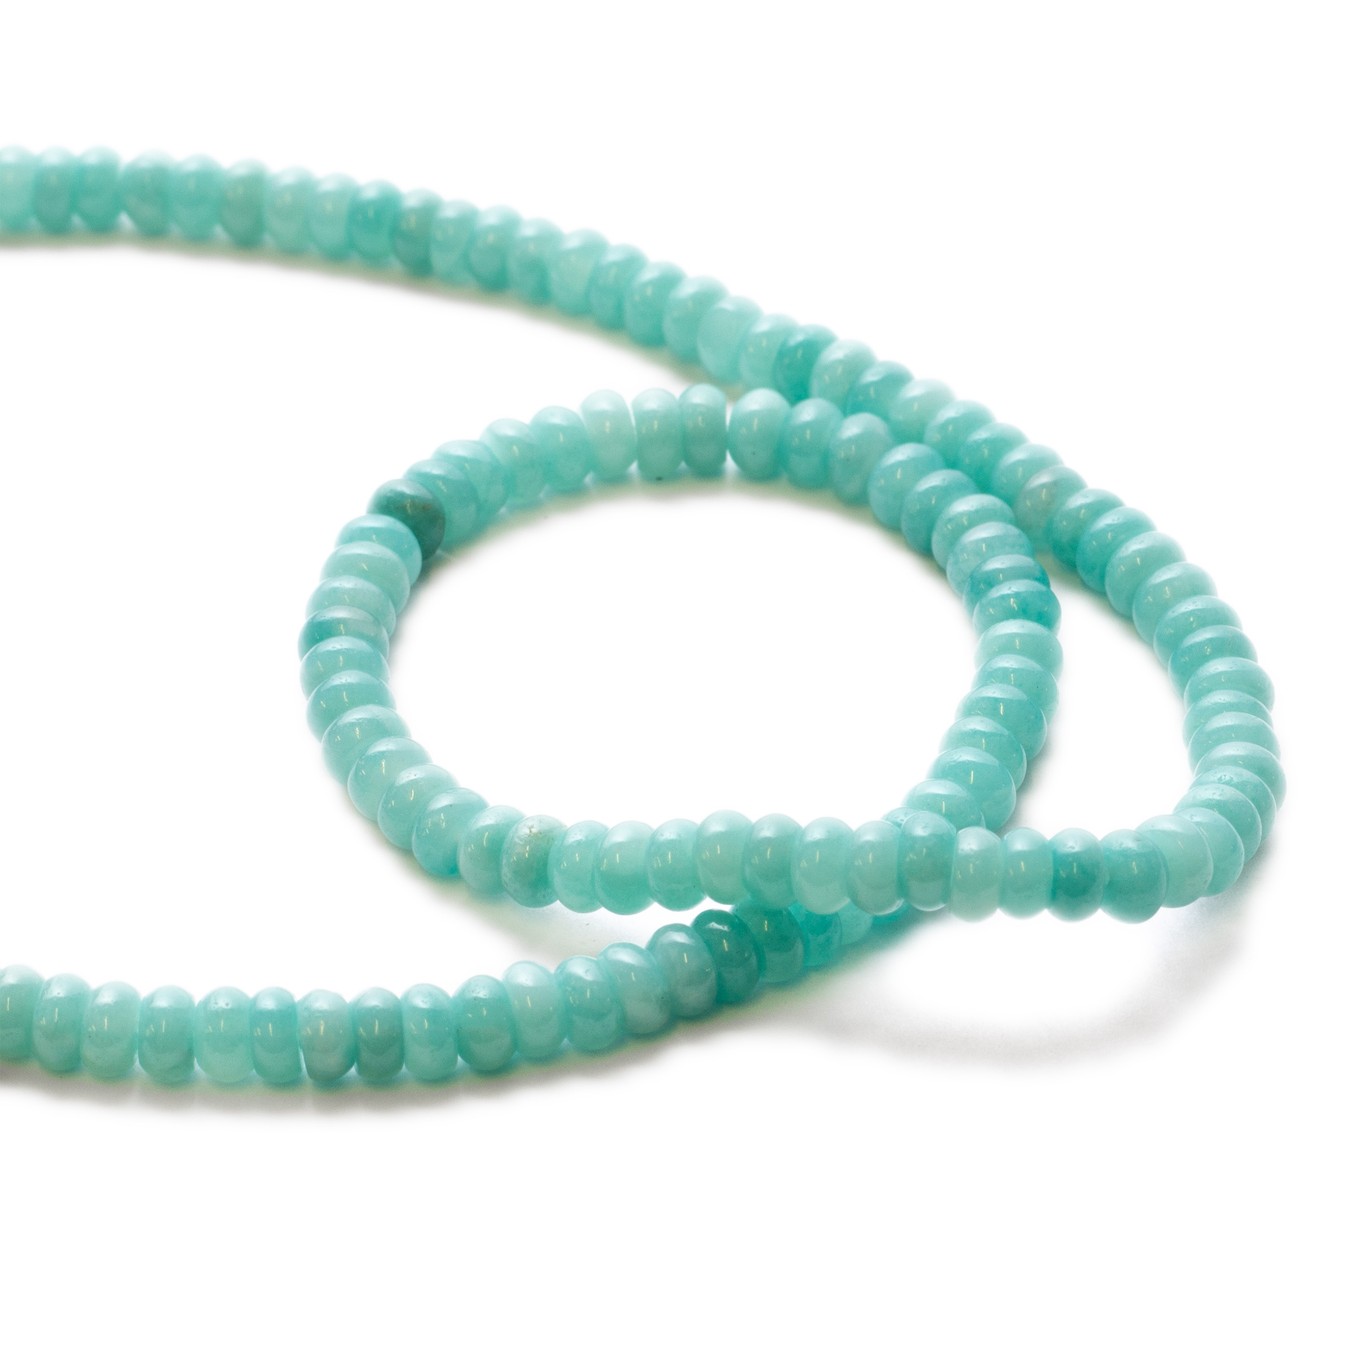
You will need a gemstone bead! We have so many beautiful beads to choose from in a range of gemstones in many shapes and sizes to choose from.
In this tutorial, we've used some amazonite beads. Just check the hole of your chosen bead is big enough to allow the wire to go through.
Jewellery Making Pliers
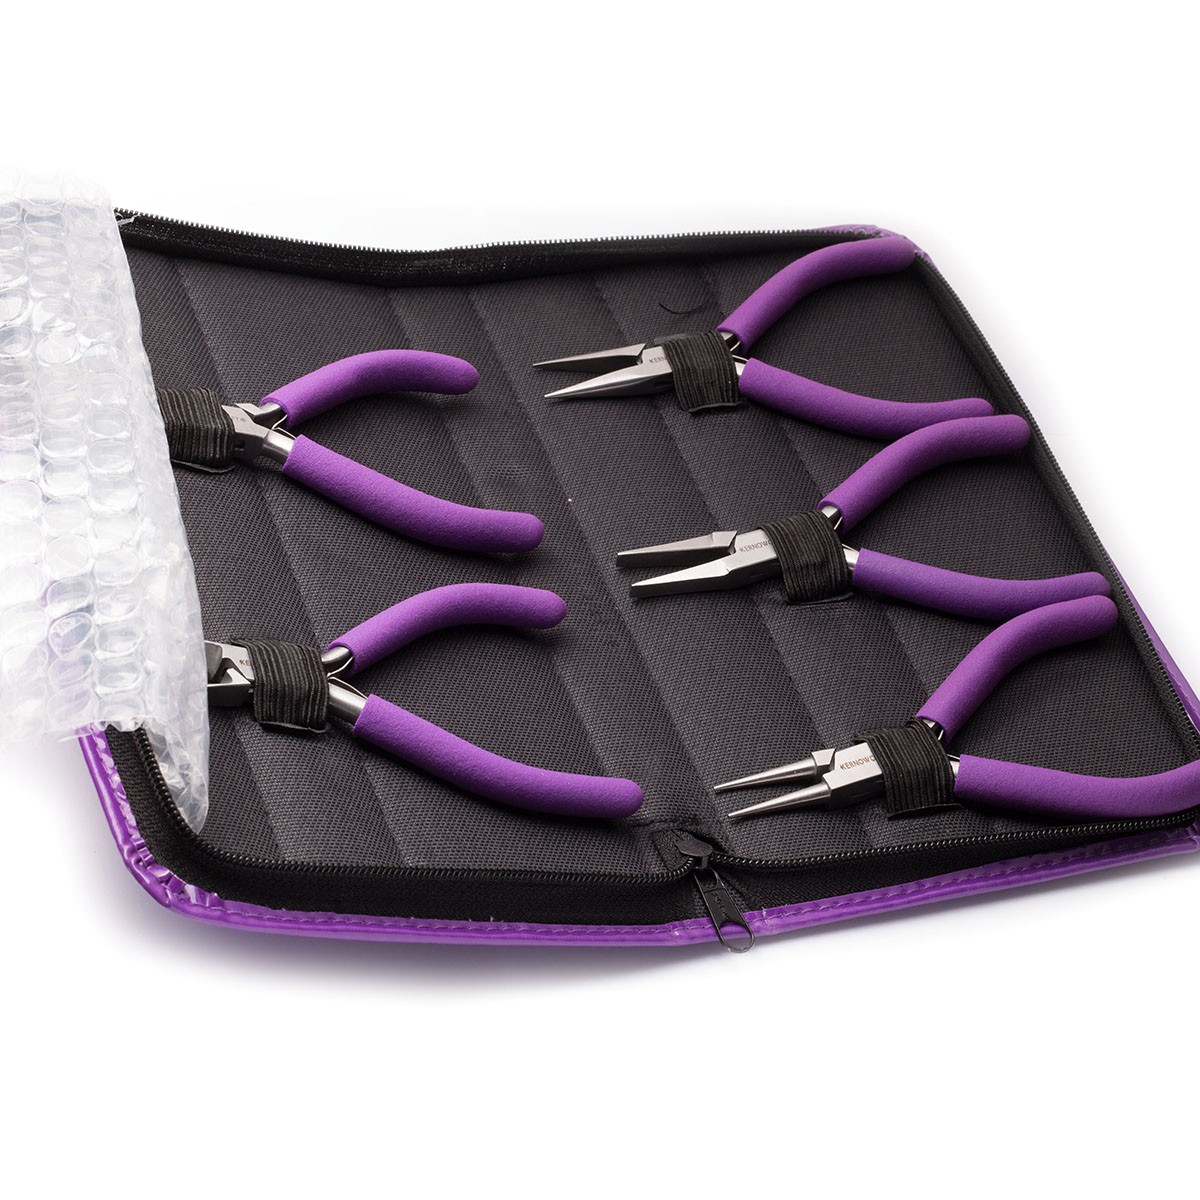
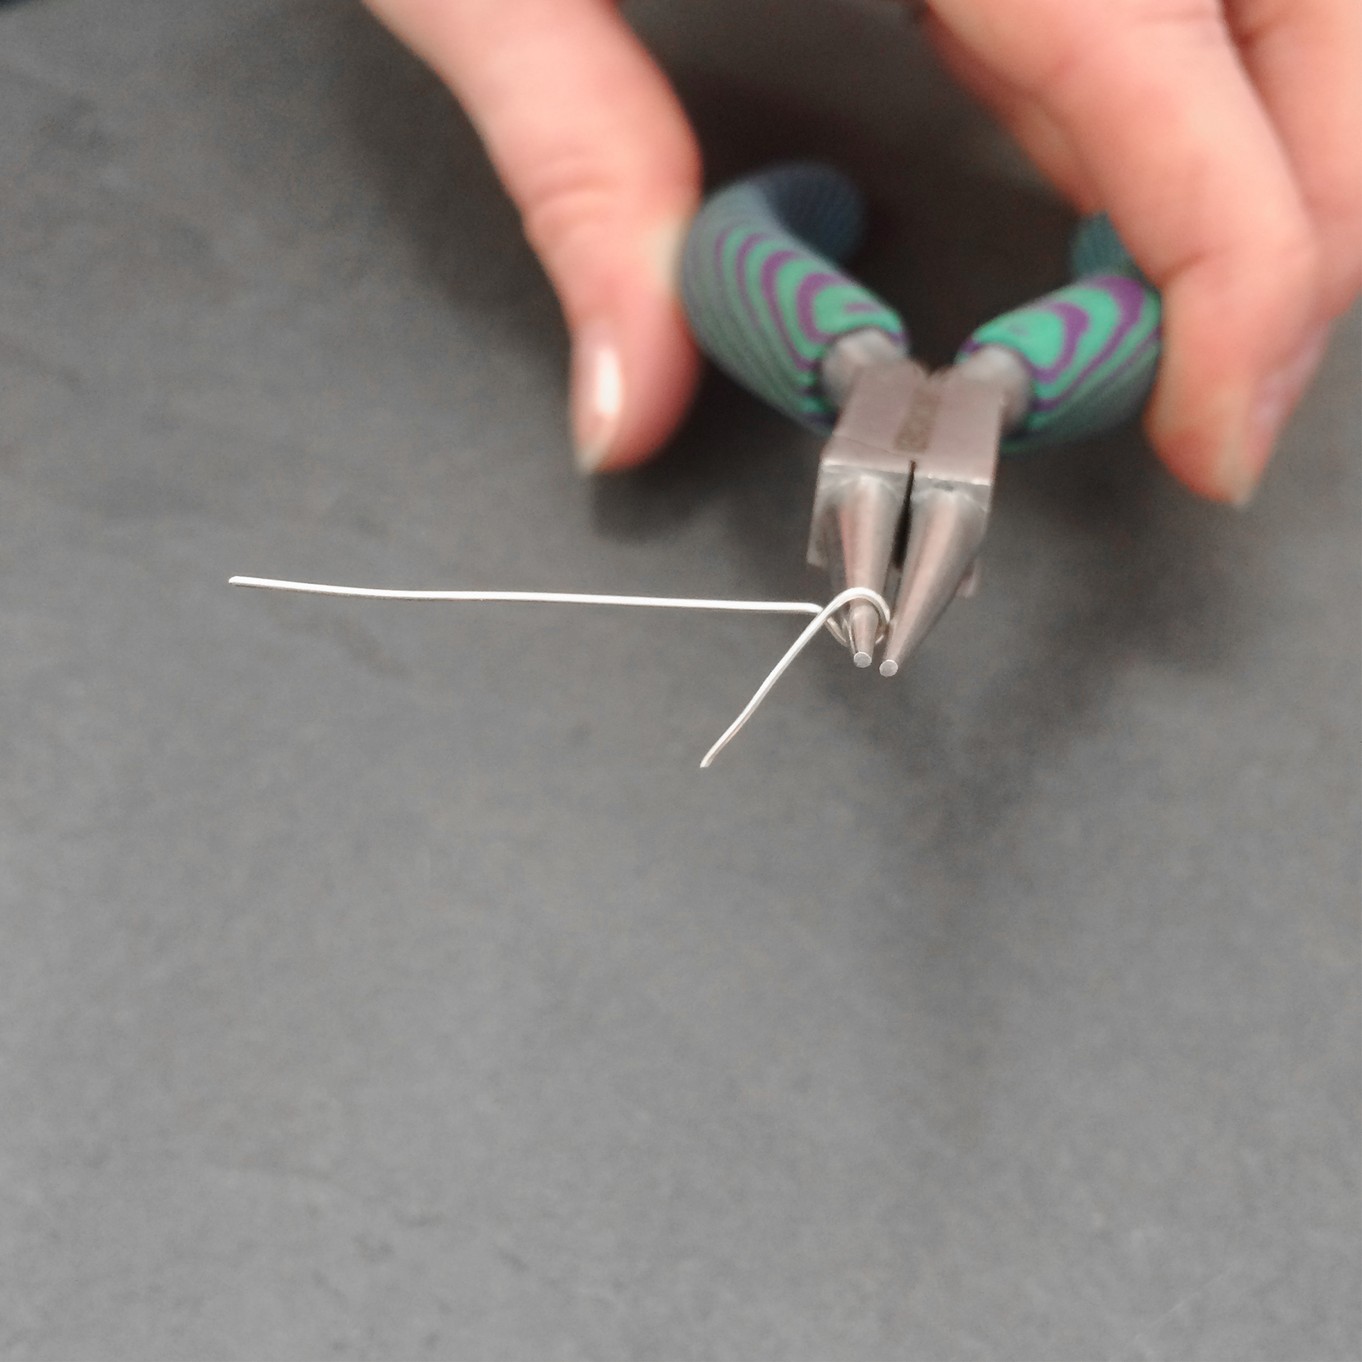
This tutorial requires a few pliers to complete the look including round nose pliers, snipe nose pliers and side cutters.
All of these are available individually or in our popular pack of pliers.
Follow Our Wire Wrapped Bead Chain Tutorial Below...
Step 2
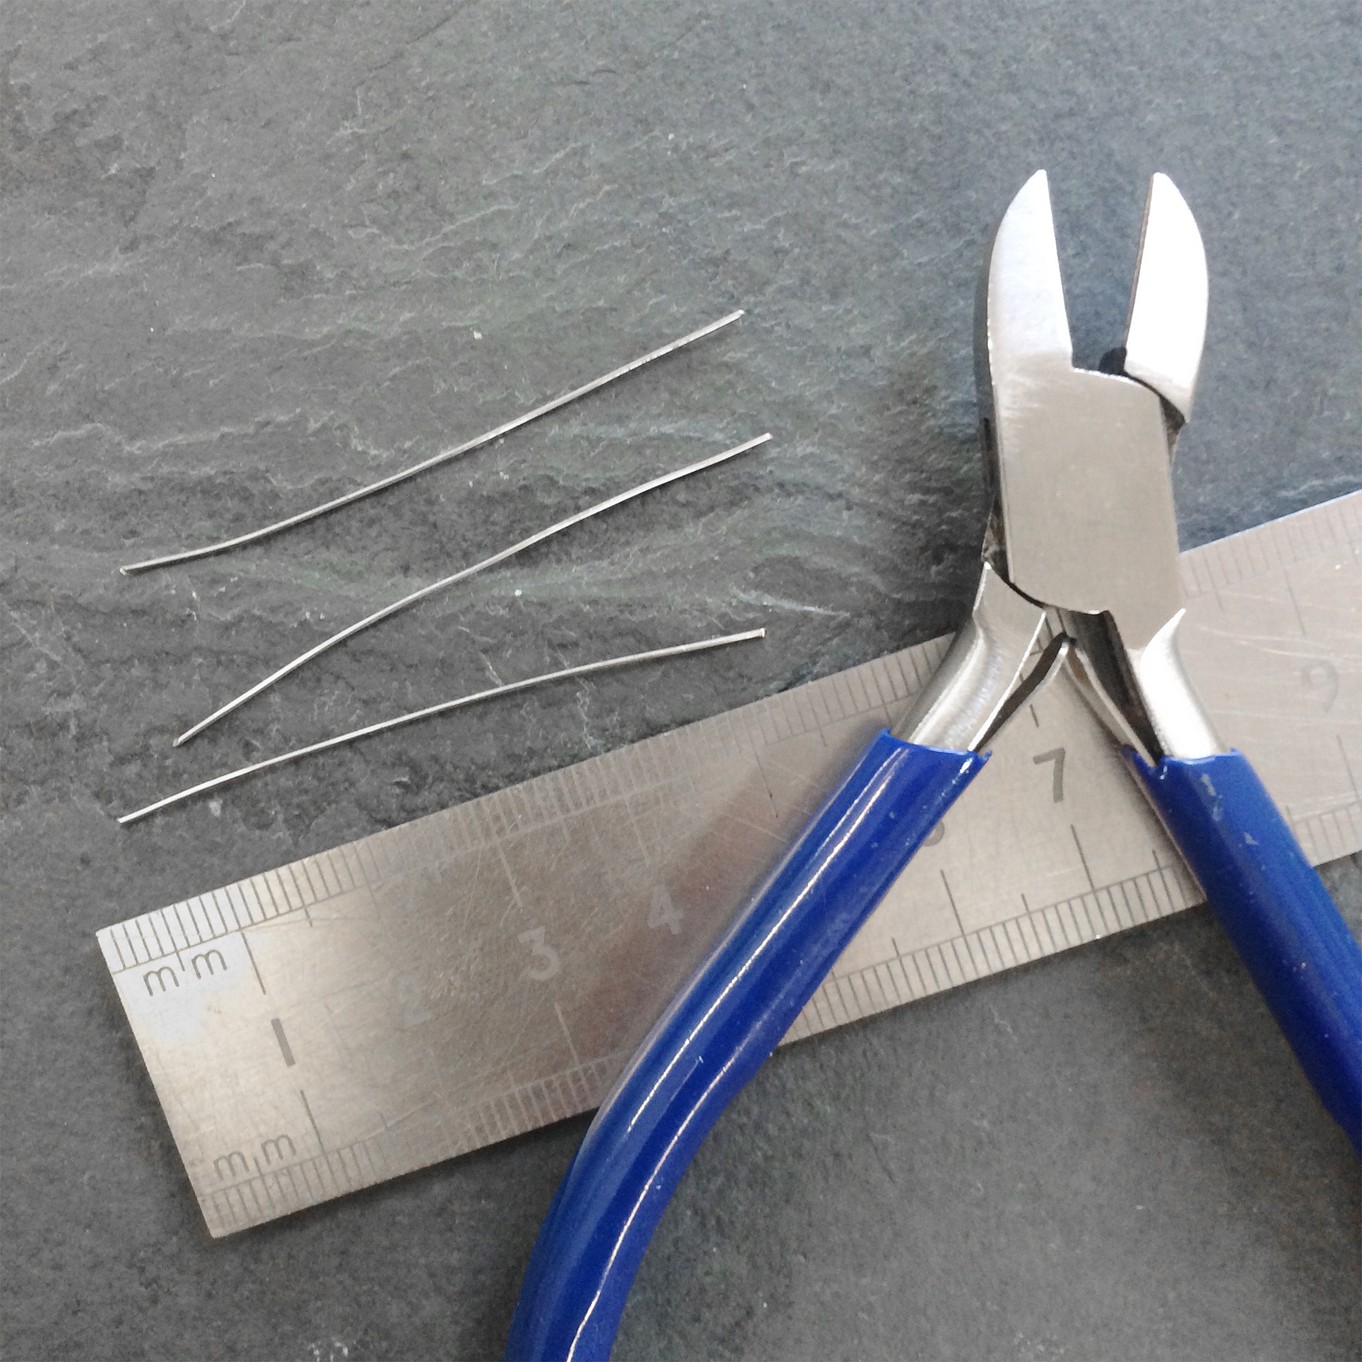
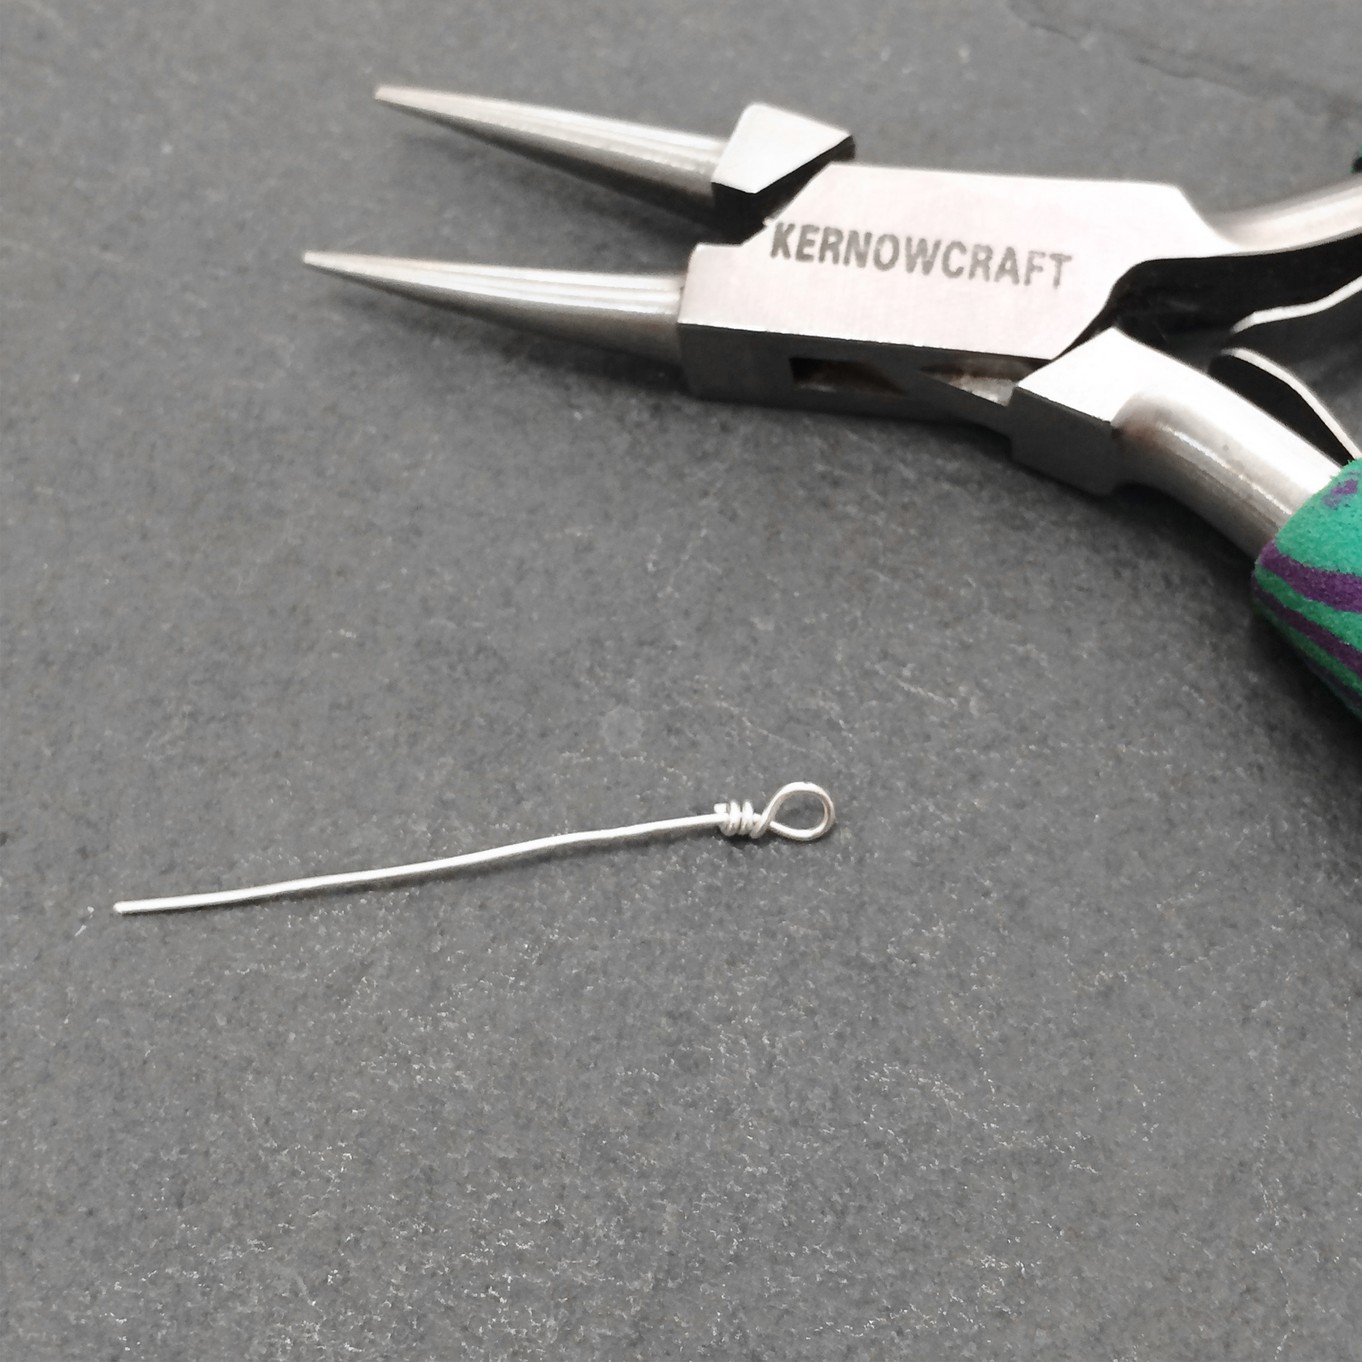
Use side cutters to cut a length of wire. Approximately 5cm of wire per bead should do, but do bear in mind different wire gauges and bead sizes will require different lengths so it's worth trying a few first to see which will leave you with least wastage (the beads used here are around 5mm wide).
Tip: Having a bit more wire than you need will make wrapping easier.
Top tips for beginners:
- Choosing your metal wire: silver plated wire (copper core) wire is a popular choice for beginners as it is cheap, however bear in mind that sterling silver wire is a lot softer and more malleable and easier to work with and when using small diameters it is still an affordable option.
- Always choose a wire that is suitable for the beads you are using. The wire needs to run smoothly through with no resistance. Never force a wire through a bead as invariably this will cause the bead will break. Remember the smaller the bead, the smaller the hole. Most pearls and faceted rondelle beads have quite small holes, so a 0.3mm wire is a good place to start, for larger beads (perhaps 5mm - 7mm) you may be able to use a 0.5mm wire. Having a few different diameters of wire in your beading kit will help you be prepared for the different beads and projects you might to work on.
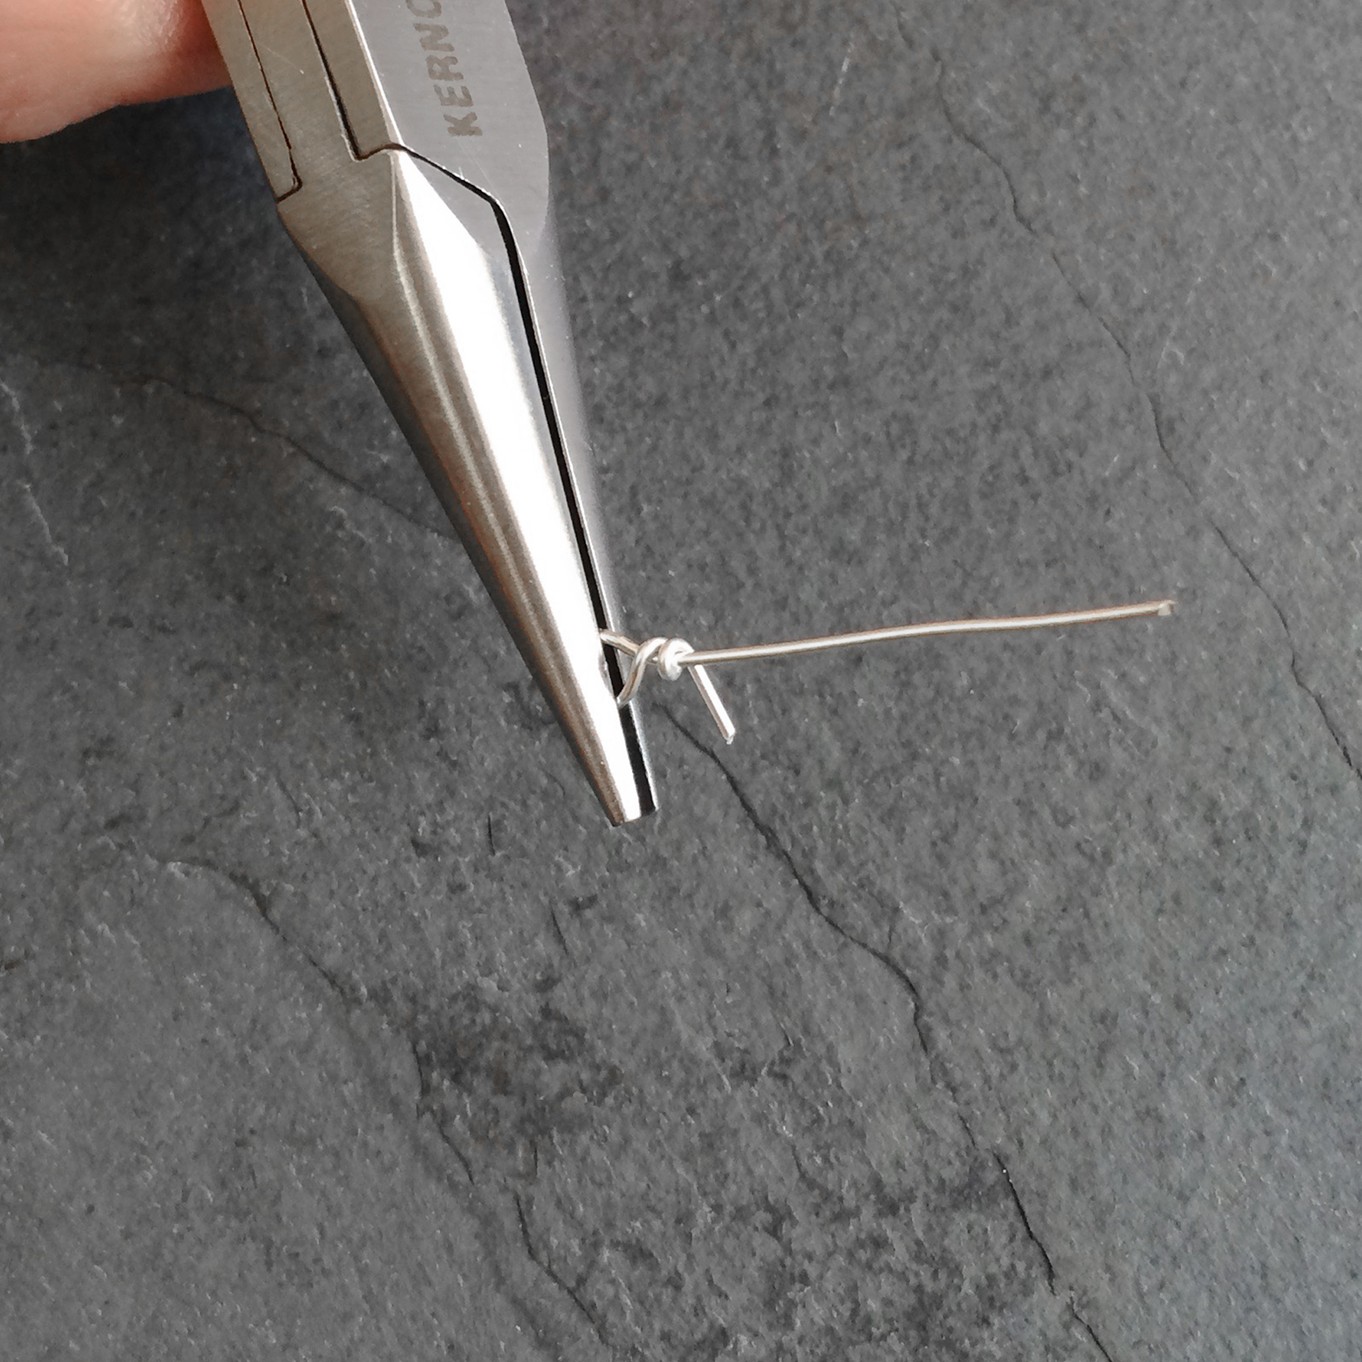
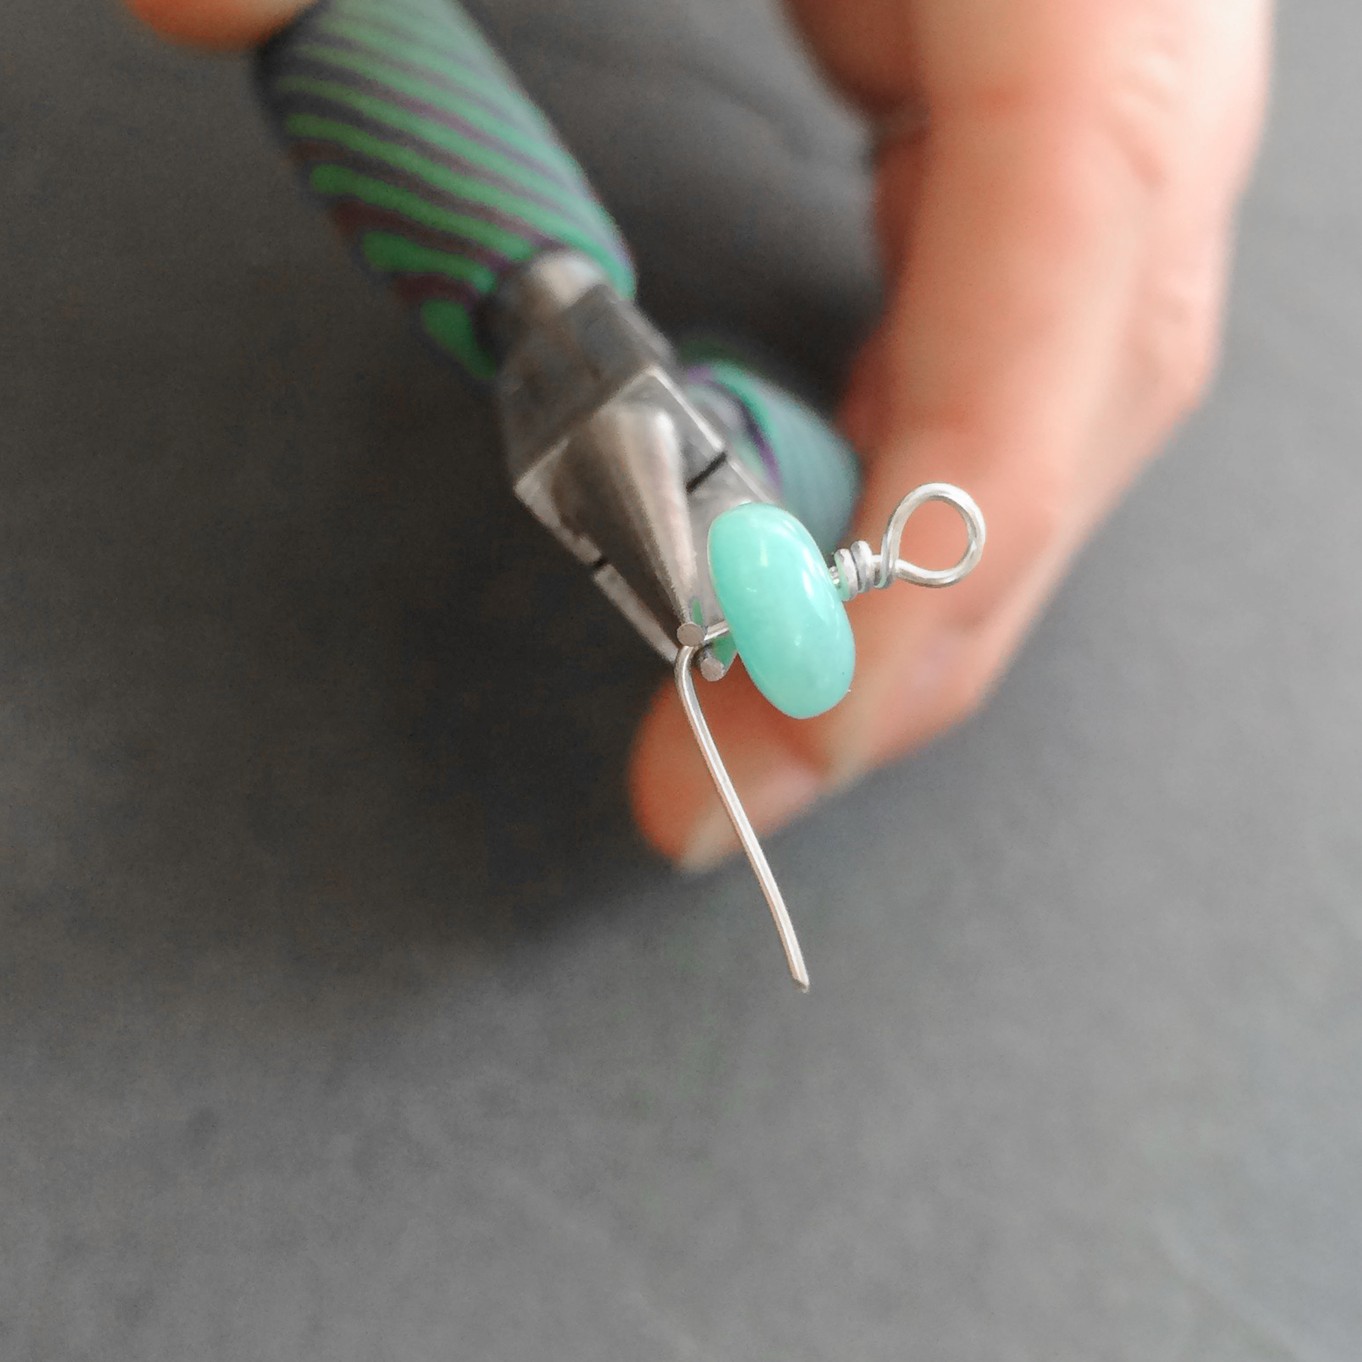
- Practice getting your wire wraps neat with one sitting up against the other, holding the wire taught at a right angle will help you do this.
- If you find the loops you are making are off to one side and not sitting centrally above the bead, use your round nose pliers to align them: insert the tip of the round nose pliers into the loop, and whilst gently gripping the wire, tilt the pliers, so the loop sits directly above the stem. This small detail will give your wire wrapping a much neater finish.
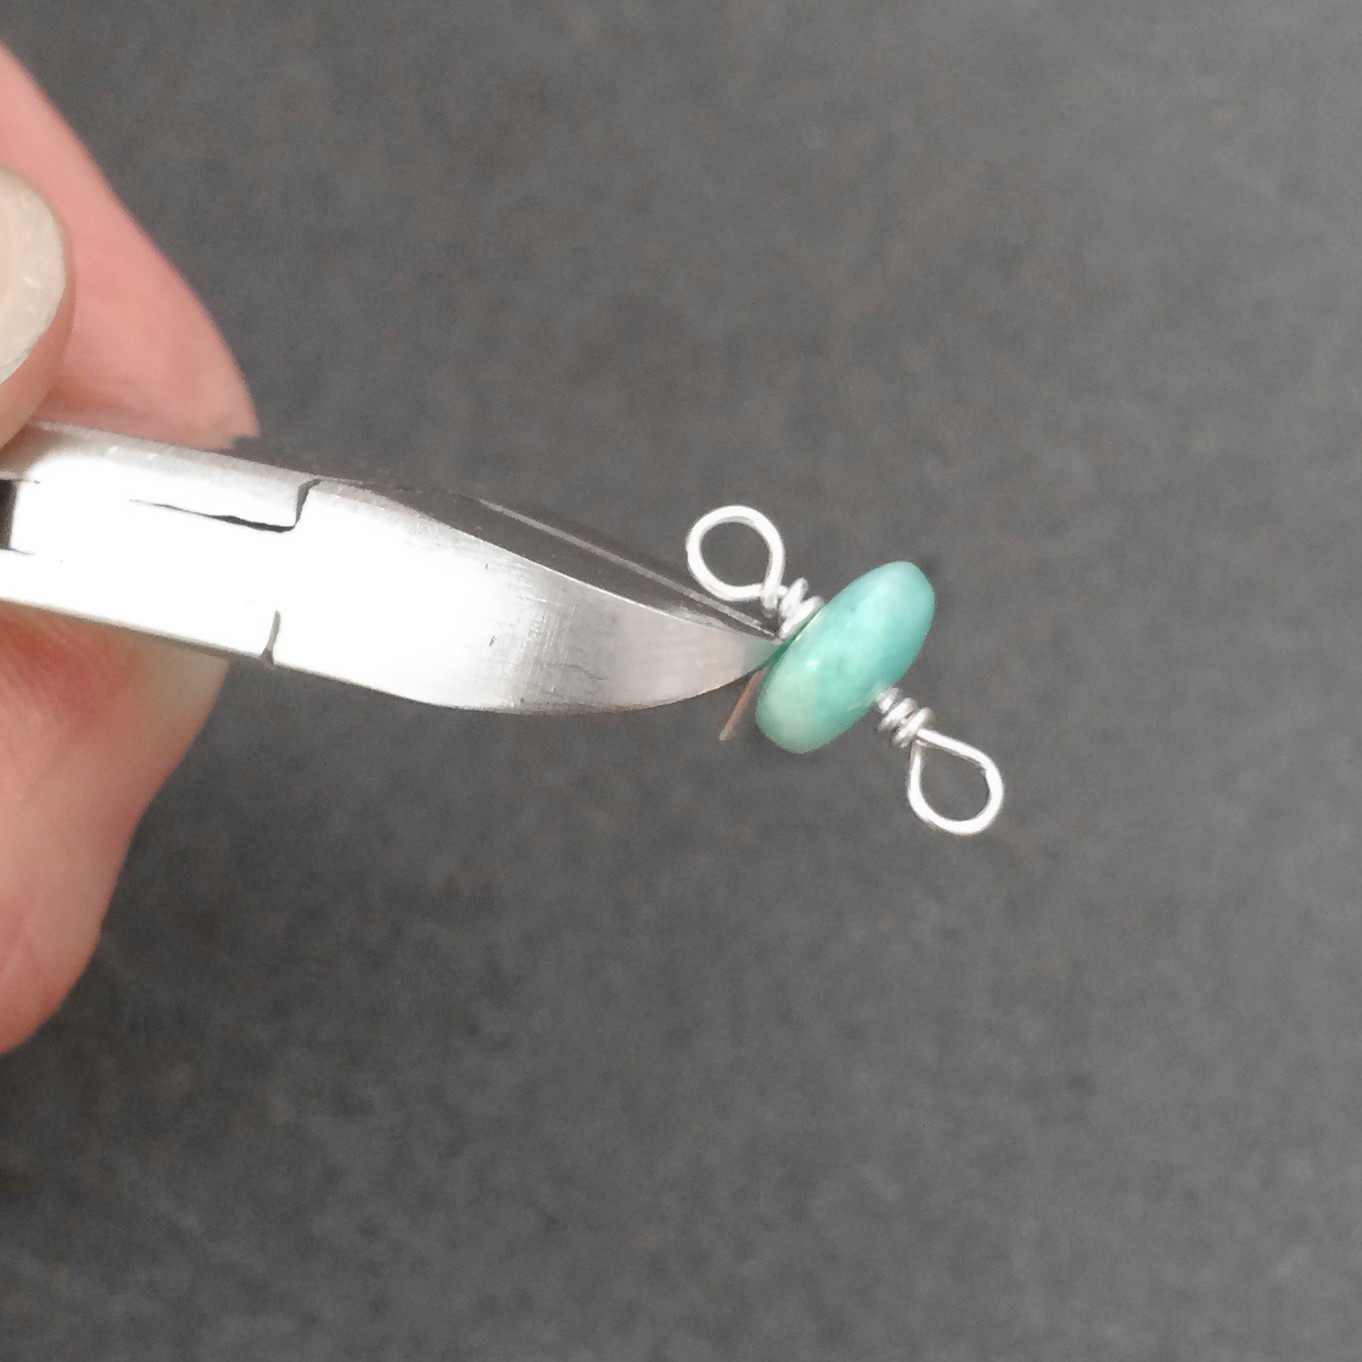
- Make sure any loose ends of wire are tucked in neatly (use snipe nose pliers to do this) so that your designs do not catch on clothing whilst you are wearing your jewellery.
The products used in this project are suggestions to inspire you. Products used were compatible at the time of making but do be aware that stocks can vary, so do use your own judgement as to the compatibility of each item when making.
Also in this section:
- How To Make A Wire Wrapped Nest Necklace
- Tools For Making Jewellery Using Wire
- Your Guide On Choosing Wire For Jewellery Making
- Compare Jewellery Designs Using Different Sized Wire
- Wire Gauge Coversions
- How To Work Harden Jewellery Making Wire
- How To Use Nylon Jaw Pliers For Jewellery Making
- How To Use A Thing-A-Ma Jig For Jewellery Making
- How to Wire Wrap a Bead With a Headpin
- How To Wire Wrap A Bead
- How To Make A Wire Wrapped Bead Chain
- How To Wire Wrap A Briolette
- Wire Wrapped Cluster Briolette Earring Tutorial
- How To Make Wire Wrapped Bead Necklace With Handmade Clasp
- How To Wire Wrap A Rough Crystal
- How To Make Valentine's Day Earrings: Wonky Wire Hearts
- How To Make A Wire Wrapped Crystal Necklace
- 6 Wire Wrapped Ring Projects & Essential Tools
- How To Make A Wire Wrapped Bead Ring
- How To Make An Anxiety Ring
- How To Make A Wire Wrapped Gemstone Ring
- How To Make A Wire Wrapped Cabochon Pendant
- How To Make A Tree Of Life Pendant
- How To Wire Wrap A Gemstone Donut
- How To Make Christmas Tree Earrings
- Simple Sterling Silver Wire Scroll Earrings
- Soldered Circle Hoop Earrings With Beads Tutorial
- How To Make Wire Hoop Earrings & Customise Them
- Metal Charm Hoop Earring Tutorial
- How To Make A Wire Word Necklace
- 4 Wire Wrapped Gemstone Tube Bead Projects
- Festival Inspired Crystal Necklace Tutorial
HAVE A QUESTION?
If you have any questions, feel free to get in touch with our friendly team who will be more than happy to give you advice over email or on the phone.
You can learn more and find inspiration by visiting our Jewellery Making Tutorials, Jewellery Making Kits and YouTube Channel. Don't forget to follow us on social media and tag us in your designs on Instagram & Facebook, we would love to see!

