How To Use A Thing-A-Ma Jig For Jewellery Making
What is a Thing-A-Ma Jig?
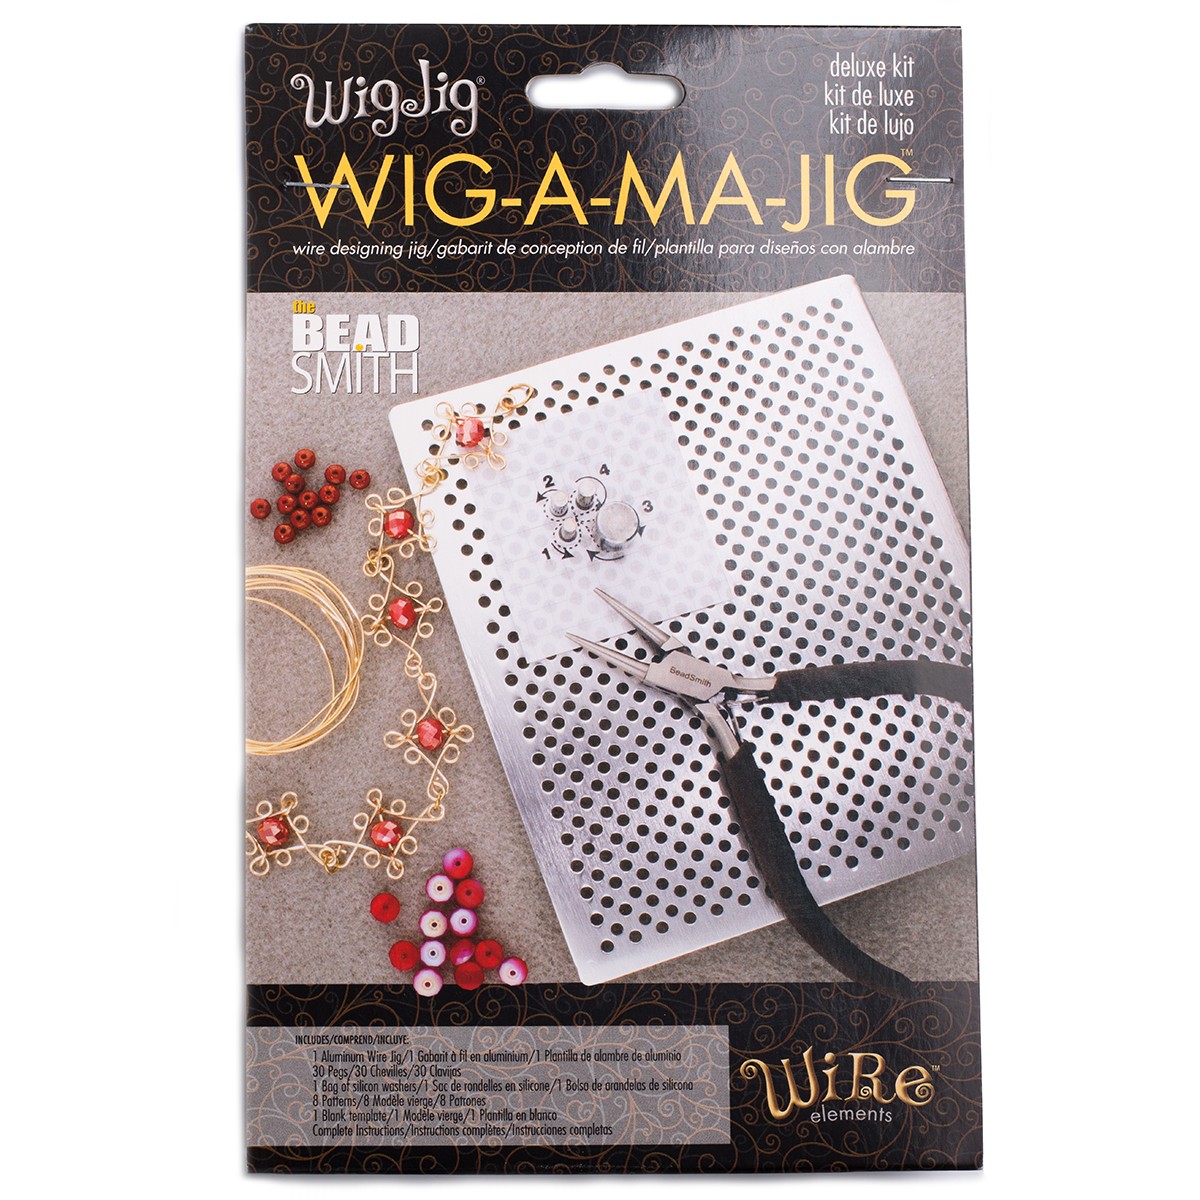
A Thing-A-Ma Jig is a wire jig by Beadsmith, a brilliant tool that enables you to create your own loops and designs using metal wire.
The designs you make using the jig can then be incorporated into your jewellery and used as links in earrings, necklaces and bracelets.
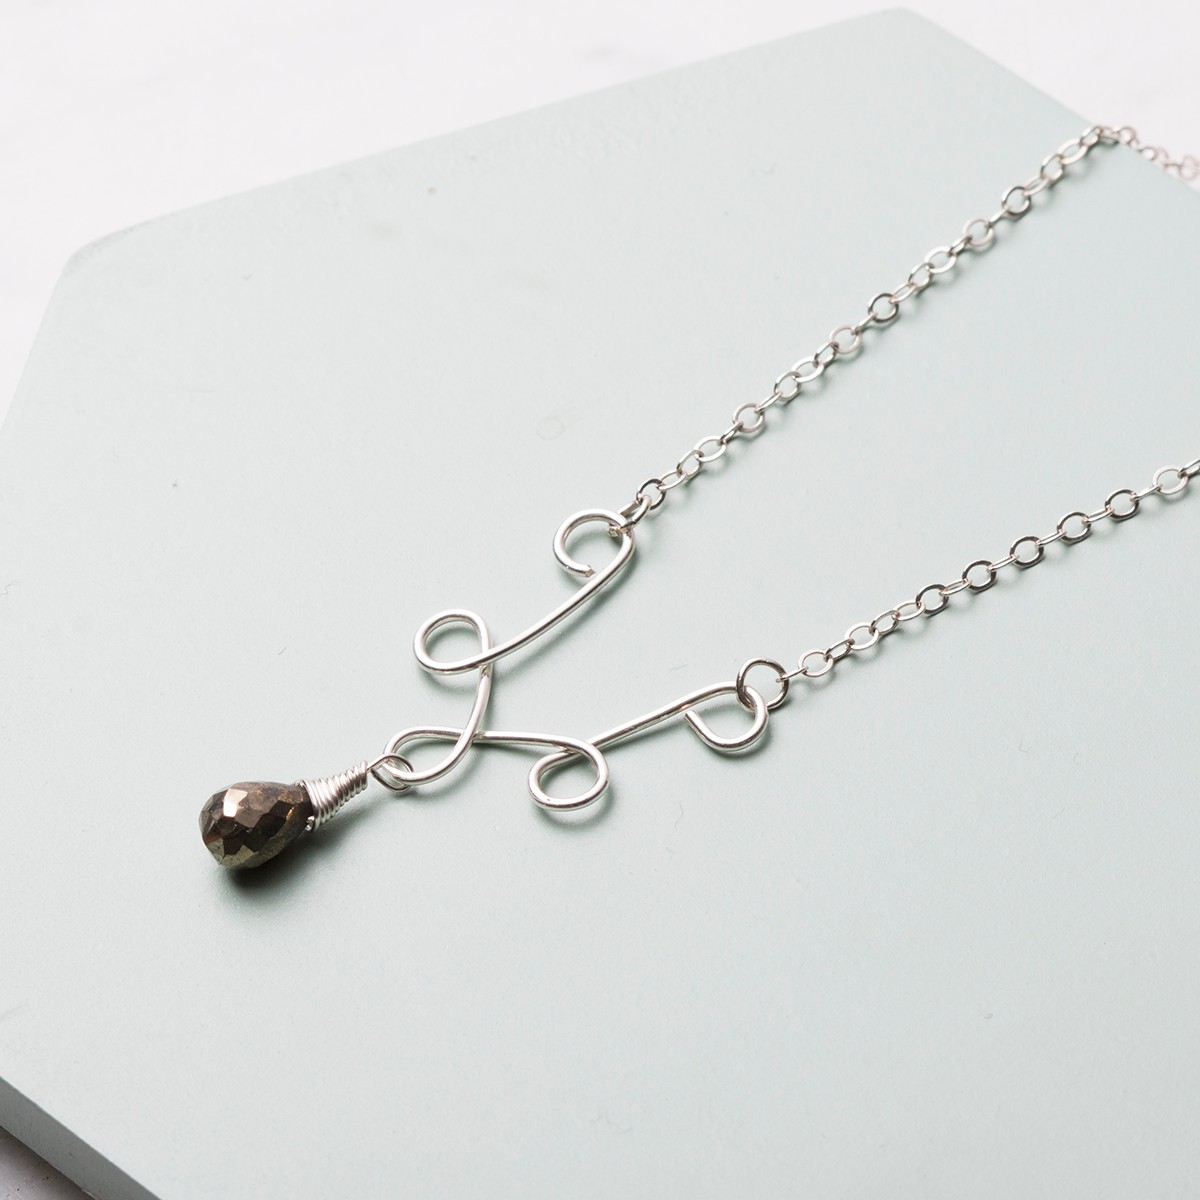
Here's an example of how we made a simple loop design and created a necklace by attaching it to chain and hanging a pretty wire wrapped pyrite briolette bead for added detail. Follow our tutorial on how to wire wrap a briolette bead.
If you're looking for a high-quality jig that will last, we recommend going for a metal jig as it's far stronger and more durable than other, cheaper plastic versions on the market.
The Pack Contains:
- Metal board
- 30 assorted sized pegs
- Clear plastic washers to hold the pegs in place
- Set of instructions to get you started, with templates so you can create your own designs
Recommended Supplies & Tools
- Wire jig
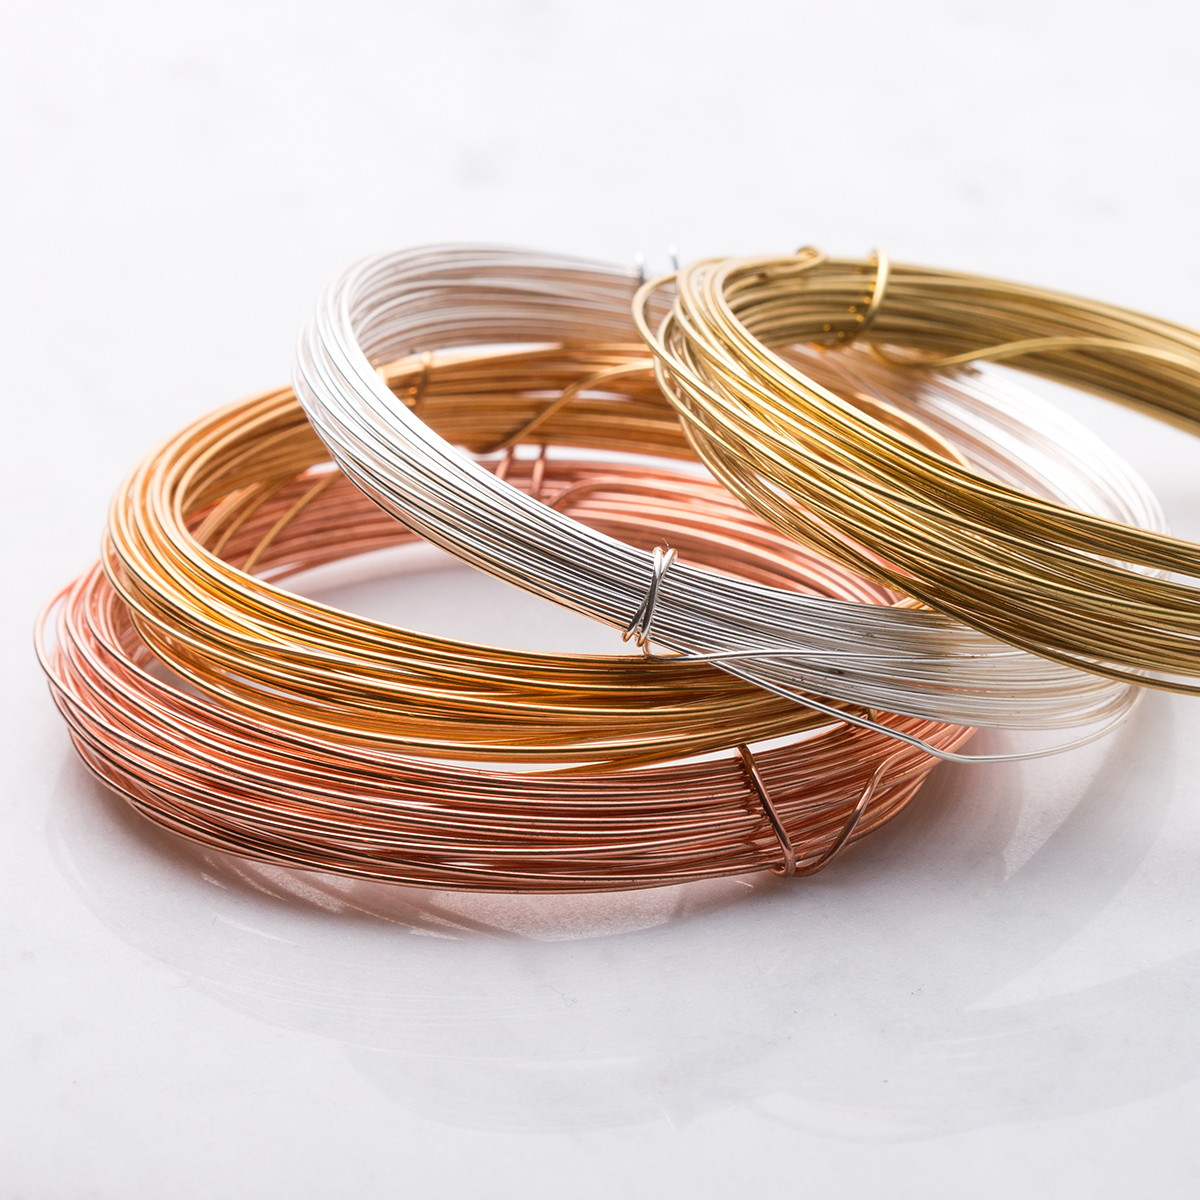
- Metal wire (we recommend 0.6mm or 0.8mm)
- Round nose pliers
- Snipe nose pliers
- Side cutters
- Nylon jaw pliers
- Optional: steel block
- Optional: repousse hammer
Watch Our Tutorial On How To Use A Thing-A-Ma Jig...
Basic Instructions
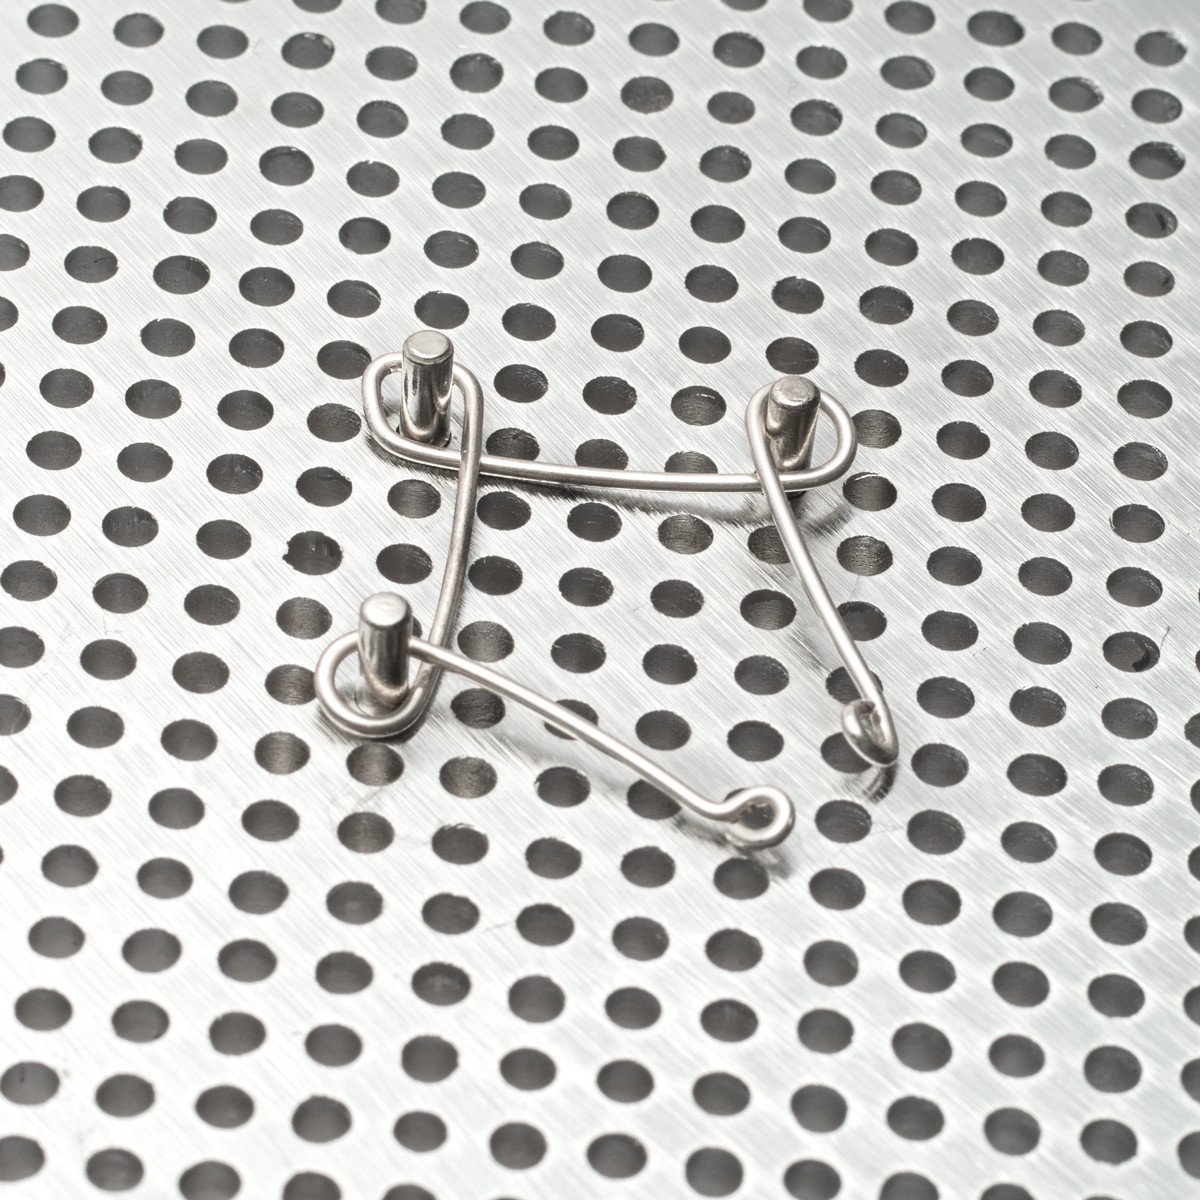
Begin by deciding the design you would like to create, the Thing-A-Ma Jig comes with basic patterns to practice with which is a great place to start. Place your pegs in the slots in the metal board and secure in place with the plastic washers. Using round nose pliers, form a loop at the top of a piece of wire, then place over the peg and begin forming your chosen shape. Trim any excess wire using side cutters and then manipulate the shape with snipe nose pliers and your fingers, you can then work harden the piece by using nylon jaw pliers or a repousse hammer.
Get started...
Choose from our range of wire
Choose from plated, sterling silver, 9ct gold, copper, brass and more in a range of sizes to suit your handmade jewellery designs.
Shop Jig
Ready to give it a go and make unique and fancy shapes with wire? Shop our Deluxe Thing-A-Ma Jig and get creating professional designs every time.
Please note: packaging and name may vary, but the product is the same
Recommended Tools
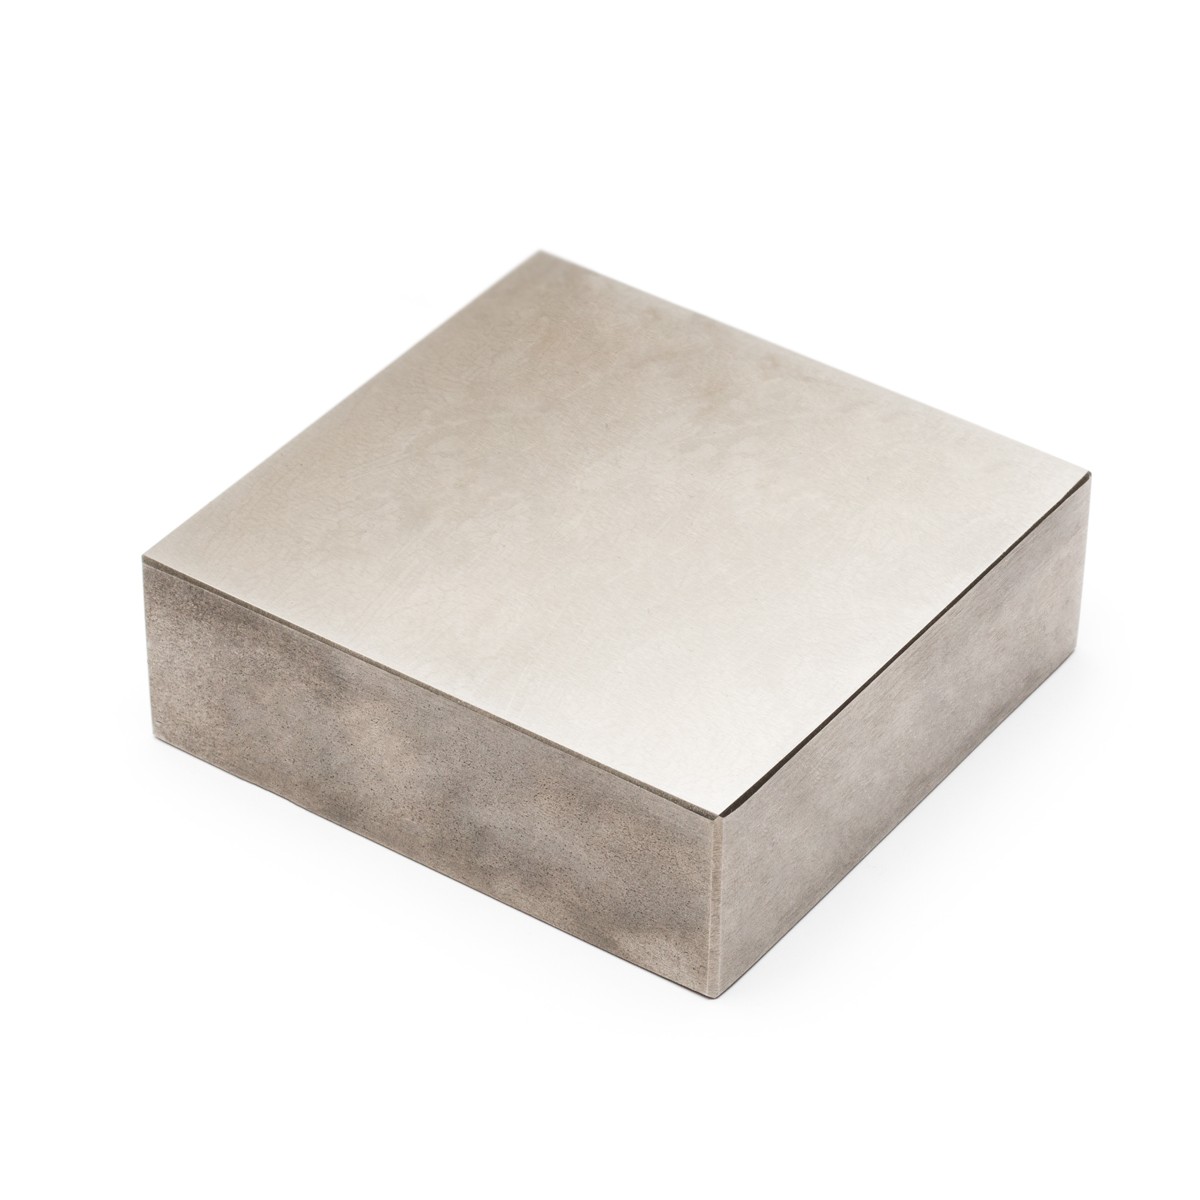
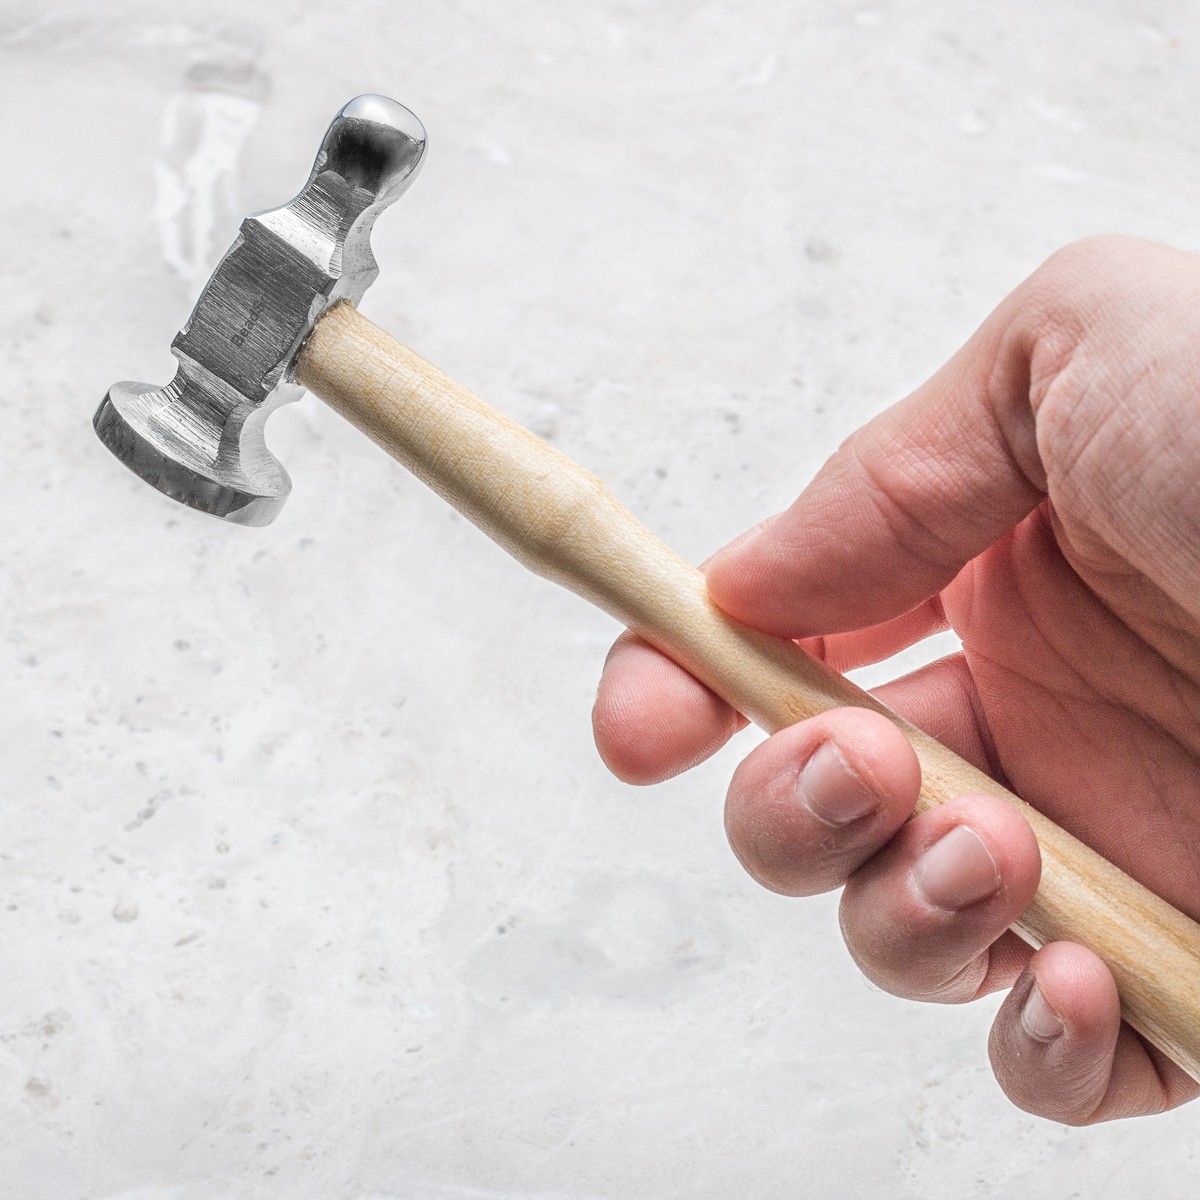
Once you have finished creating your wire design using the Thing-A-Ma-Jig, the best way to work harden and flatten your piece is by placing it on a steel block and using a repousse hammer (also known as a chasing hammer) to gently tap your design. This gives a professional finish, ready to incorporate into your design.
Pack Of Pliers & Side Cutters
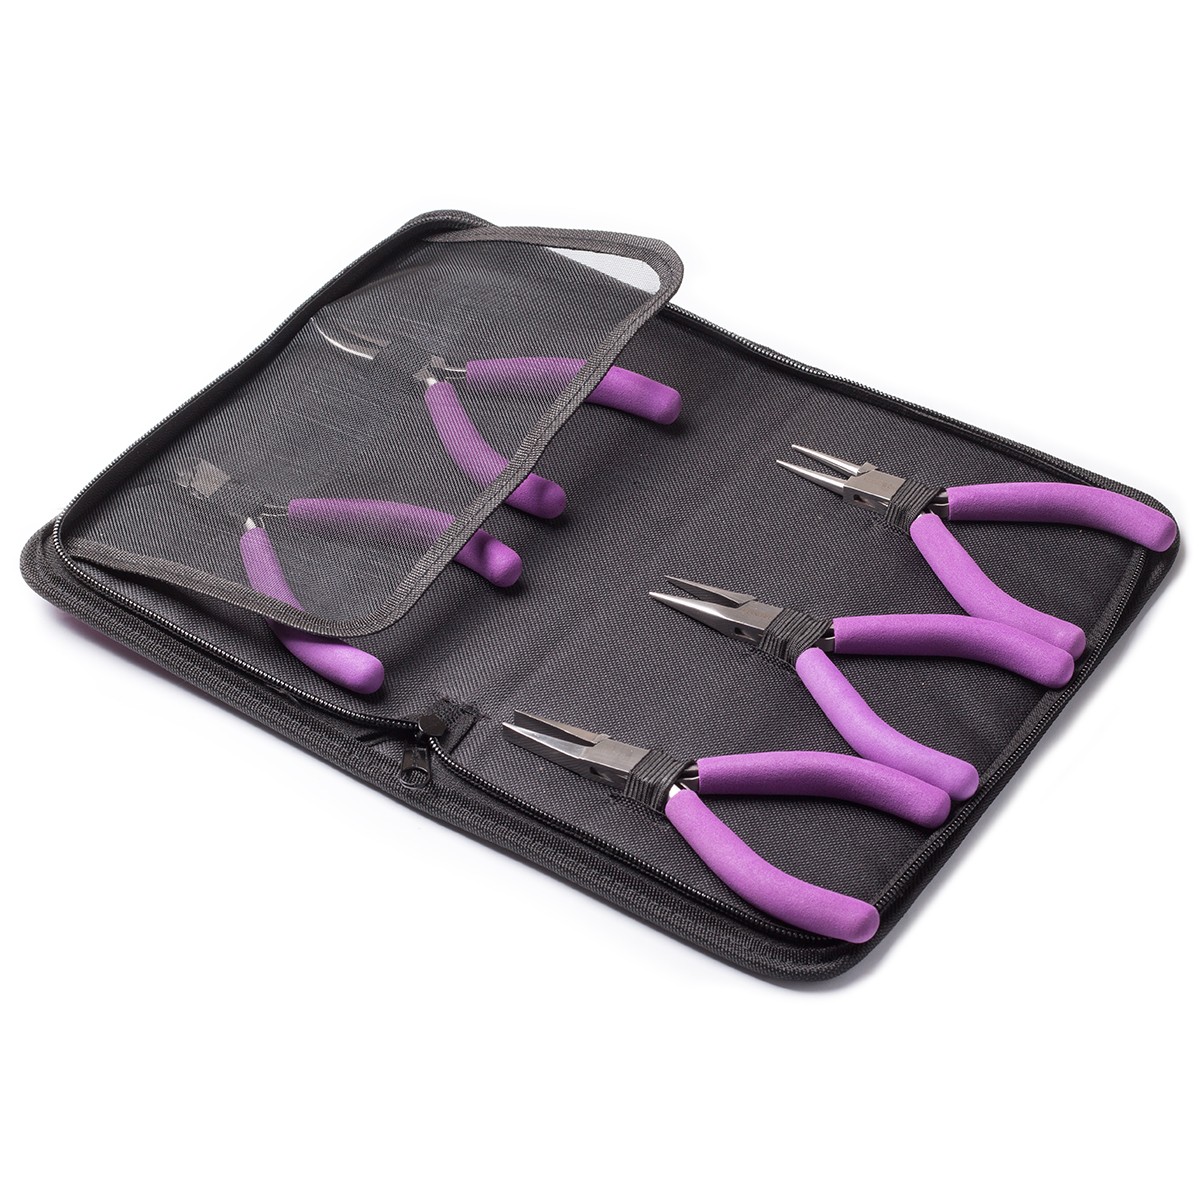
When using a metal jig, you will need jewellery pliers and cutters in order to form the initial loop, cut the wire and manipulate it into shape.
Our pack of pliers has all the pliers you need for jewellery making, including: snipe nose pliers, flat nose pliers, round nose pliers, bent nose pliers, side cutters. We also have individual pliers available, round nose pliers, snipe nose pliers and side cutters are recommended for this project.
Nylon Jaw Pliers
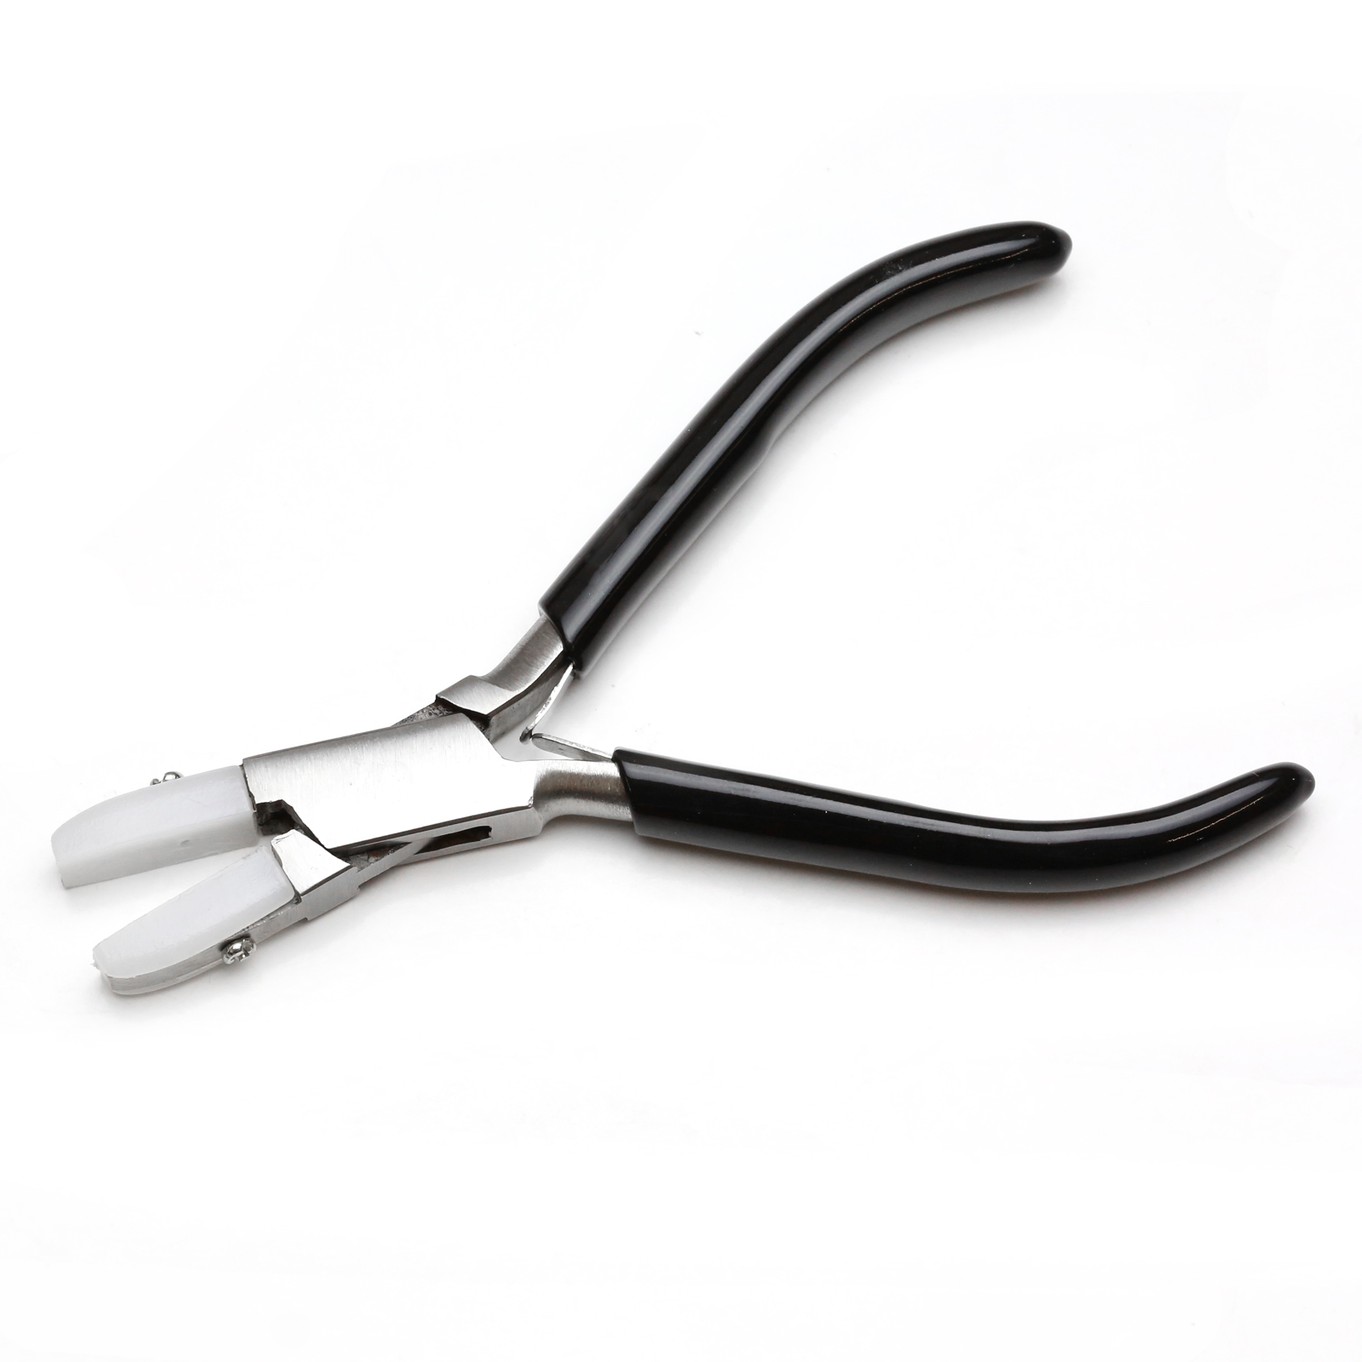
These nylon jaw flat nose pliers are also from Beadsmith - they are an essential tool for wire working as they will not damage, mark or scratch your wire. These are also great for straightening your wire as well as work hardening it to keep its shape.
Check out these amazing designs by our customers...
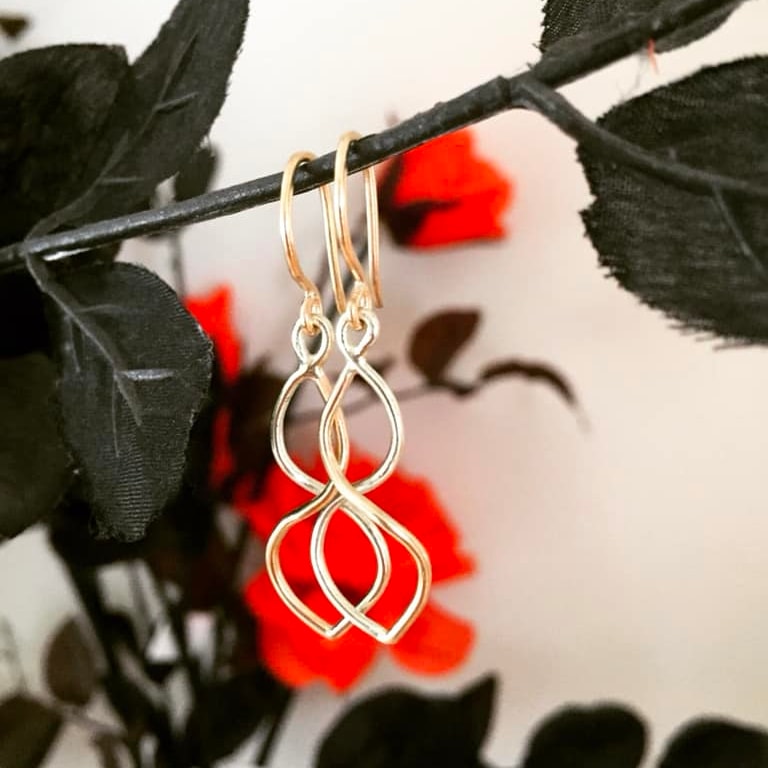
Katarzyna makes these beautiful hanging, silver wire earrings with the help of a jig!
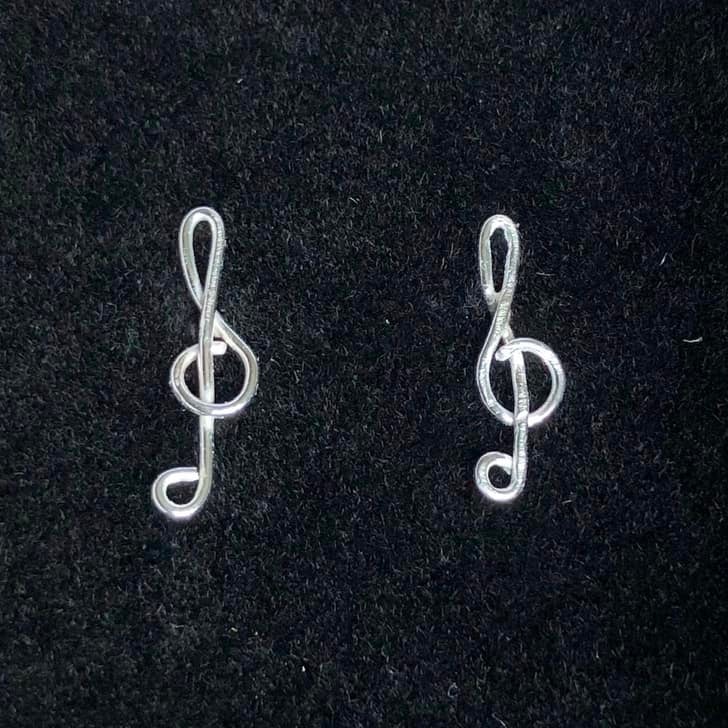
Chris from The Secret Wardrobe: "I used a wire jig to make these tiny stud earrings. It was impossible without using a jig."
Also in this section:
- How To Make A Wire Wrapped Nest Necklace
- Tools For Making Jewellery Using Wire
- Your Guide On Choosing Wire For Jewellery Making
- Compare Jewellery Designs Using Different Sized Wire
- Wire Gauge Coversions
- How To Work Harden Jewellery Making Wire
- How To Use Nylon Jaw Pliers For Jewellery Making
- How To Use A Thing-A-Ma Jig For Jewellery Making
- How to Wire Wrap a Bead With a Headpin
- How To Wire Wrap A Bead
- How To Make A Wire Wrapped Bead Chain
- How To Wire Wrap A Briolette
- Wire Wrapped Cluster Briolette Earring Tutorial
- How To Make Wire Wrapped Bead Necklace With Handmade Clasp
- How To Wire Wrap A Rough Crystal
- How To Make Valentine's Day Earrings: Wonky Wire Hearts
- How To Make A Wire Wrapped Crystal Necklace
- 6 Wire Wrapped Ring Projects & Essential Tools
- How To Make A Wire Wrapped Bead Ring
- How To Make An Anxiety Ring
- How To Make A Wire Wrapped Gemstone Ring
- How To Make A Wire Wrapped Cabochon Pendant
- How To Make A Tree Of Life Pendant
- How To Wire Wrap A Gemstone Donut
- How To Make Christmas Tree Earrings
- Simple Sterling Silver Wire Scroll Earrings
- Soldered Circle Hoop Earrings With Beads Tutorial
- How To Make Wire Hoop Earrings & Customise Them
- Metal Charm Hoop Earring Tutorial
- How To Make A Wire Word Necklace
- 4 Wire Wrapped Gemstone Tube Bead Projects
- Festival Inspired Crystal Necklace Tutorial
HAVE A QUESTION?
If you have any questions, feel free to get in touch with our friendly team who will be more than happy to give you advice over email or on the phone.
You can learn more and find inspiration by visiting our Jewellery Making Tutorials, Jewellery Making Kits and YouTube Channel. Don't forget to follow us on social media and tag us in your designs on Instagram & Facebook, we would love to see!

