How To Wire Wrap A Bead
Wire wrapping a bead is a simple wire wrapping technique but just needs a little perseverance to produce neat and consistent results.
Once mastered you will be able to create a wide range of beautiful gemstone jewellery.
The following step by step instructions shows how to create this technique which is particularly suited to using with gemstone beads that have small holes. This is because the 0.3mm (28 gauge) wire is very fine and flexible and is great for wire wrapping.
However, you can create the same effect with larger holed beads and thicker wire, it will just be a little more difficult! We recommend starting small so that you can master the technique with ease.
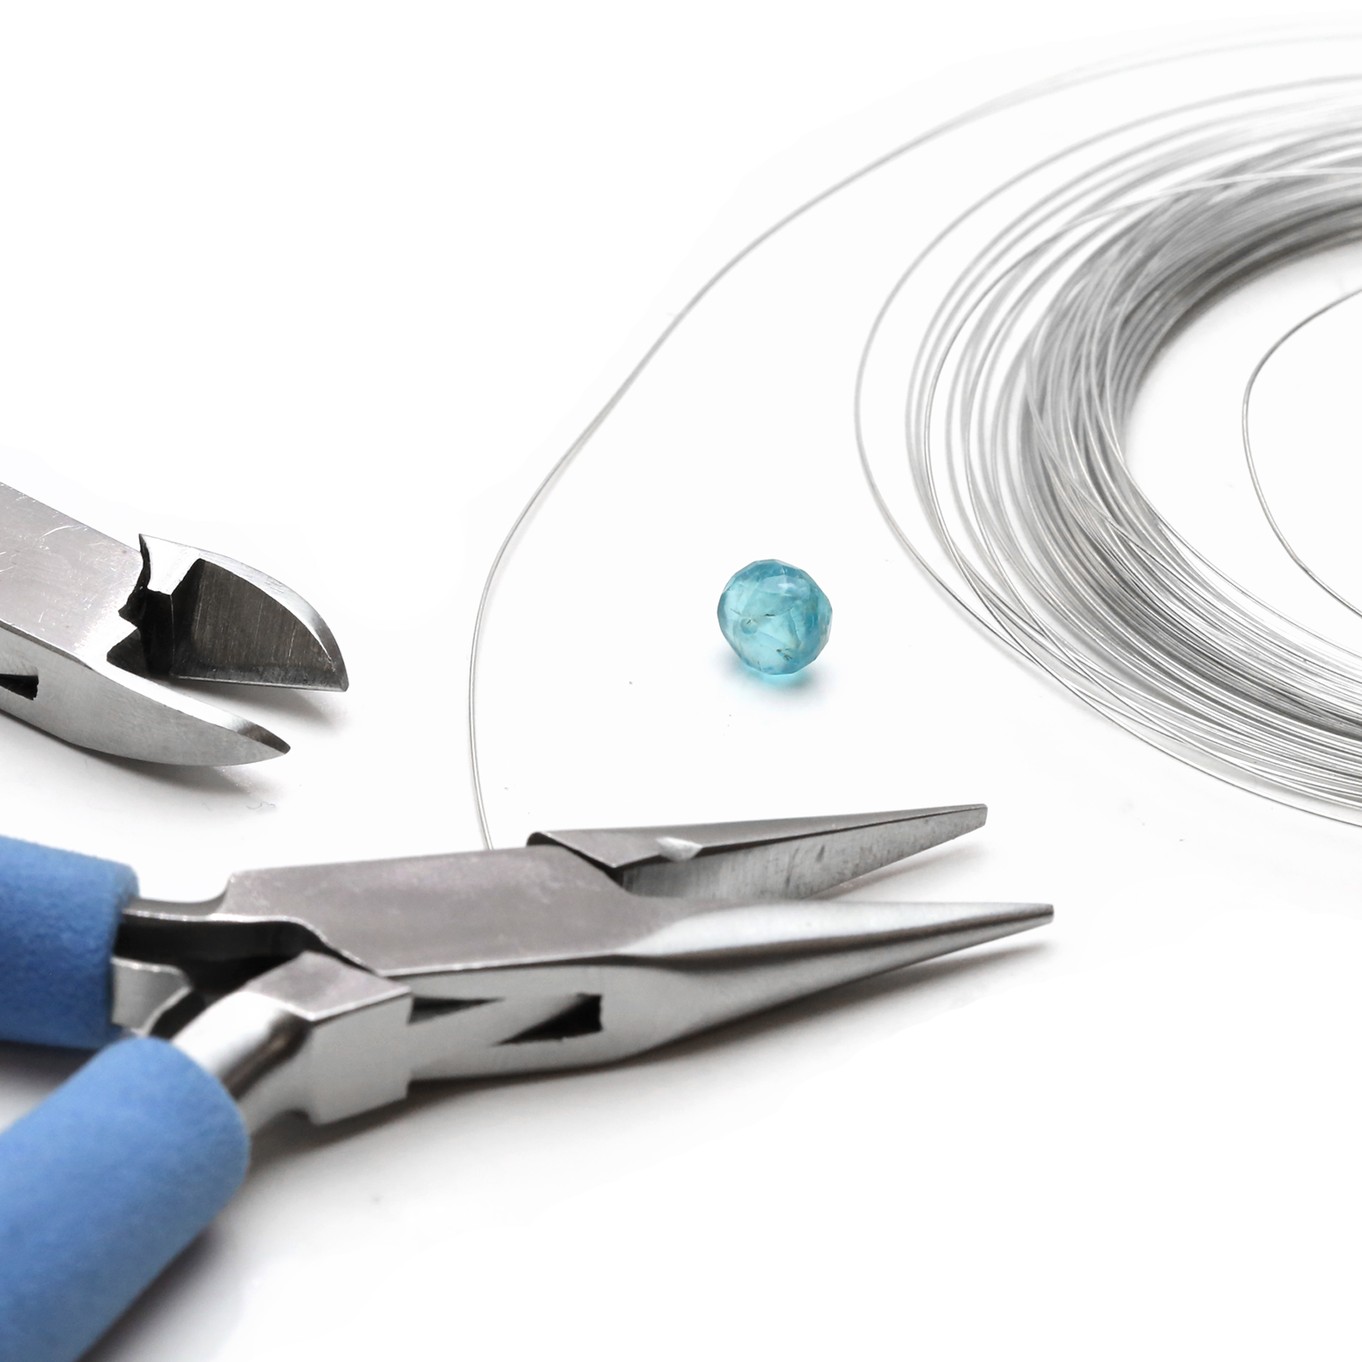
Tools Needed
Components Needed
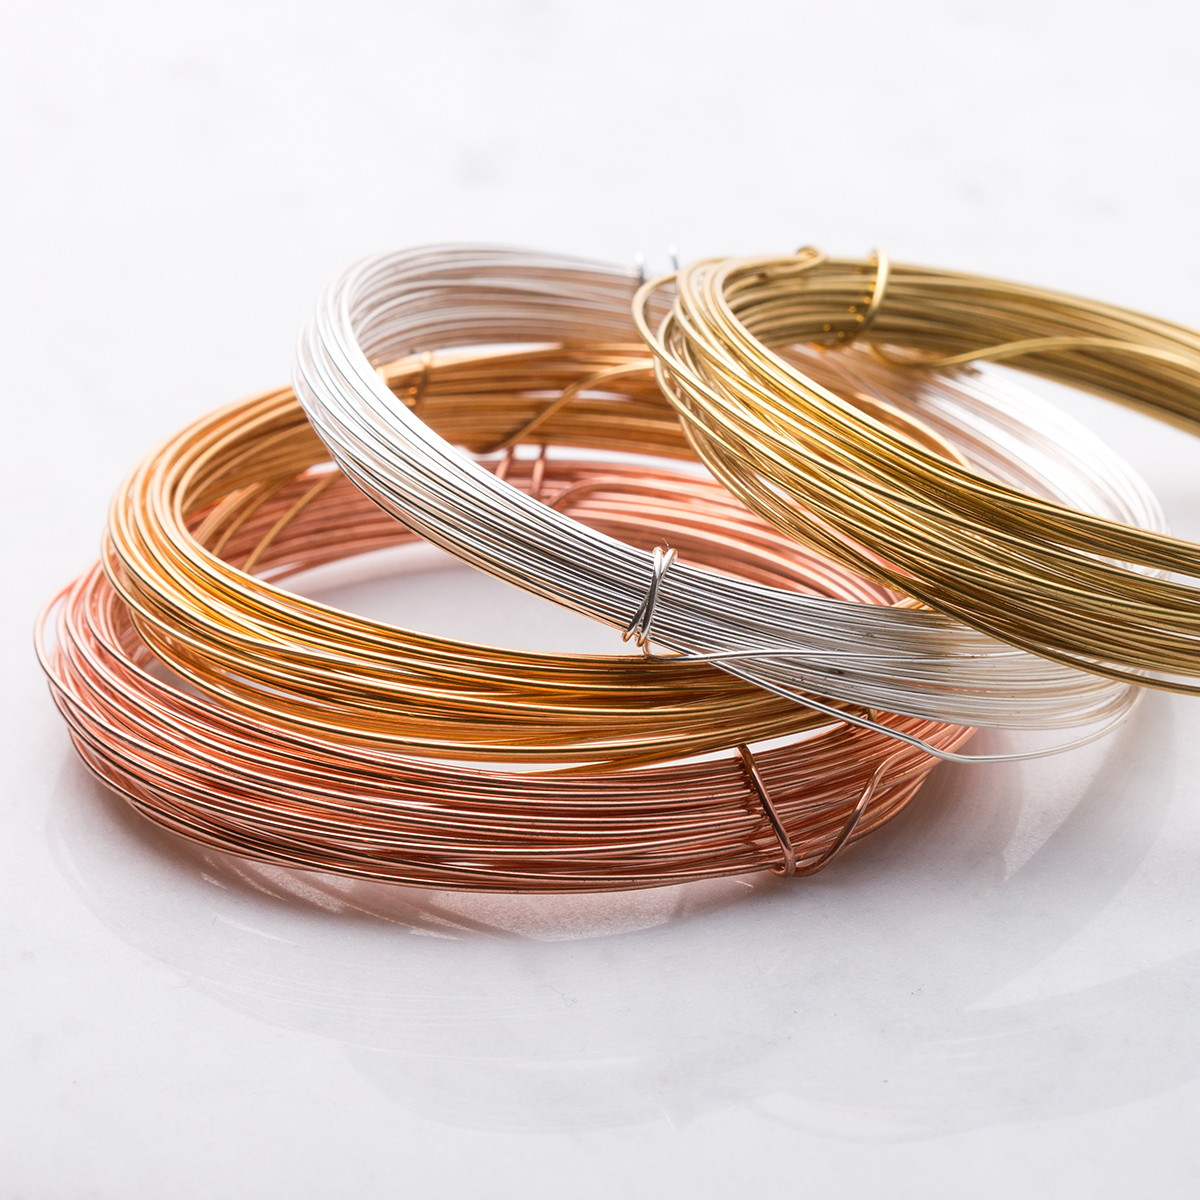
- Metal wire - 0.3mm, check the wire will fit through your chosen bead
- Gemstone bead
Follow Our Step By Step Instructions On How To Wire Wrap A Bead
Step 1
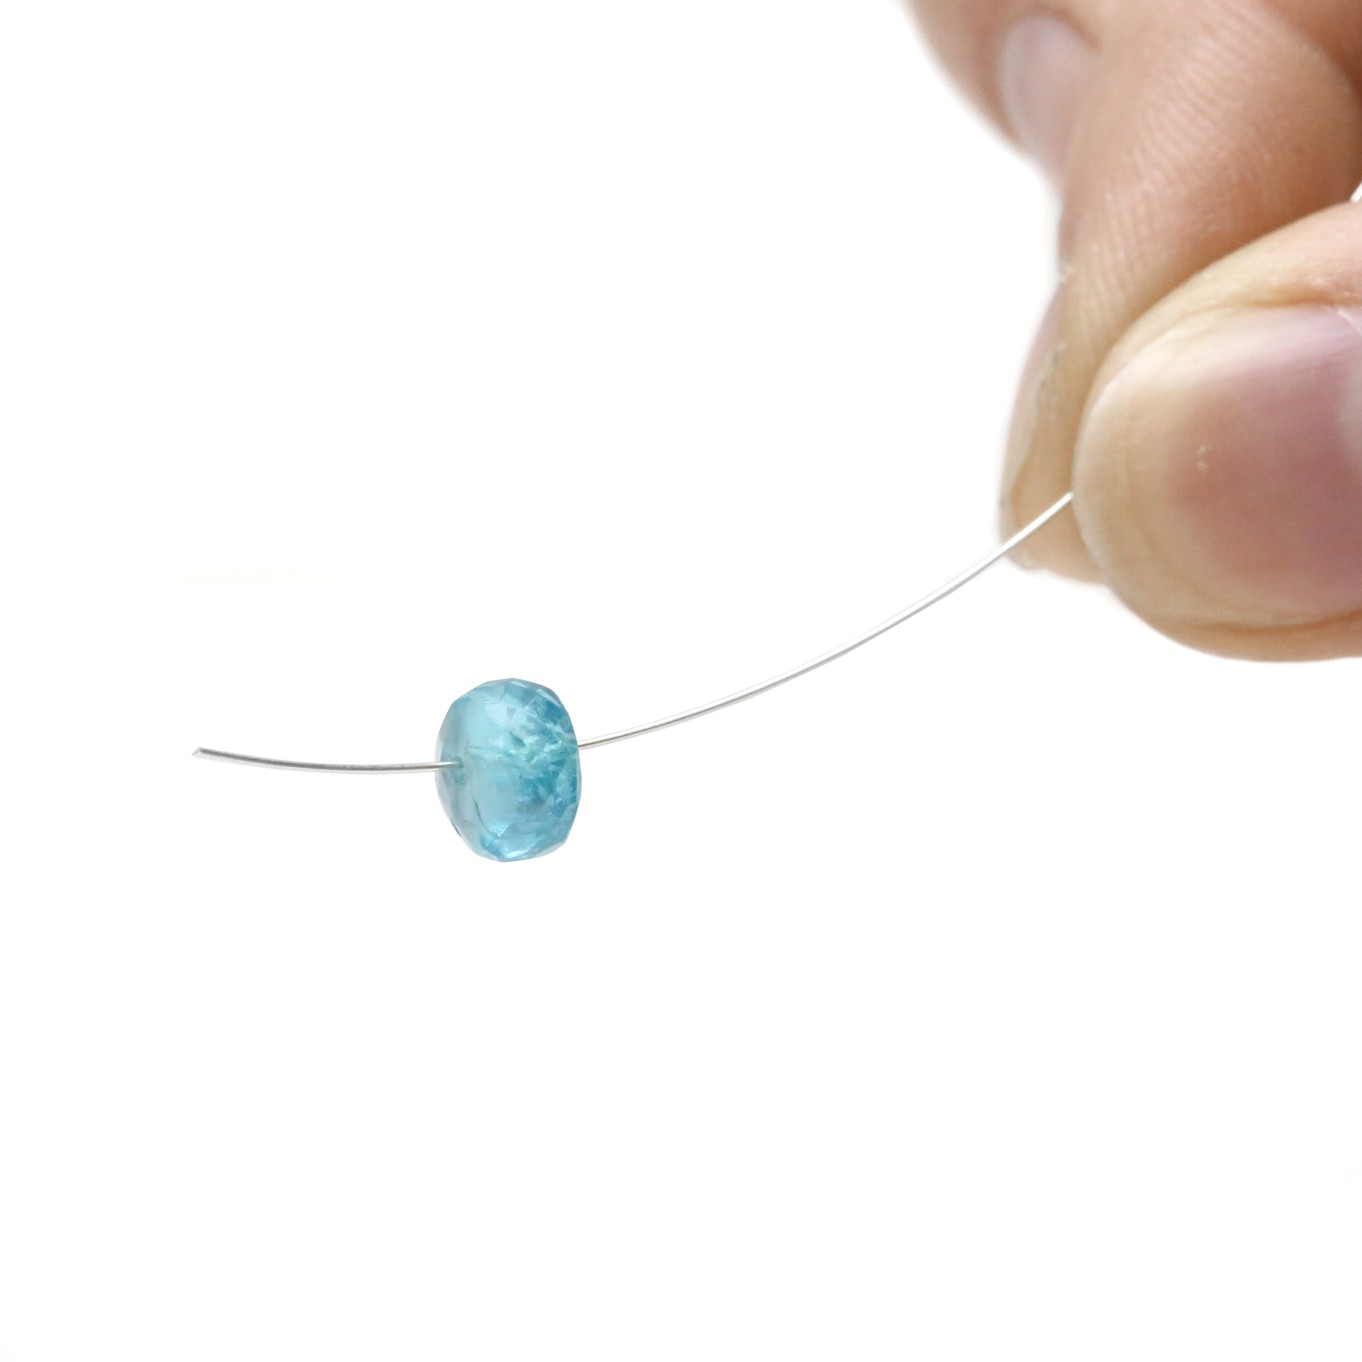
Cut a length of wire approximately 10cm long (it is easier to have a little extra wire than you will actually use, as it gives you more to hold onto whilst wrapping). Slip your bead onto the wire, leaving approximately 2cm at one end (the other end will be longer).
Step 3
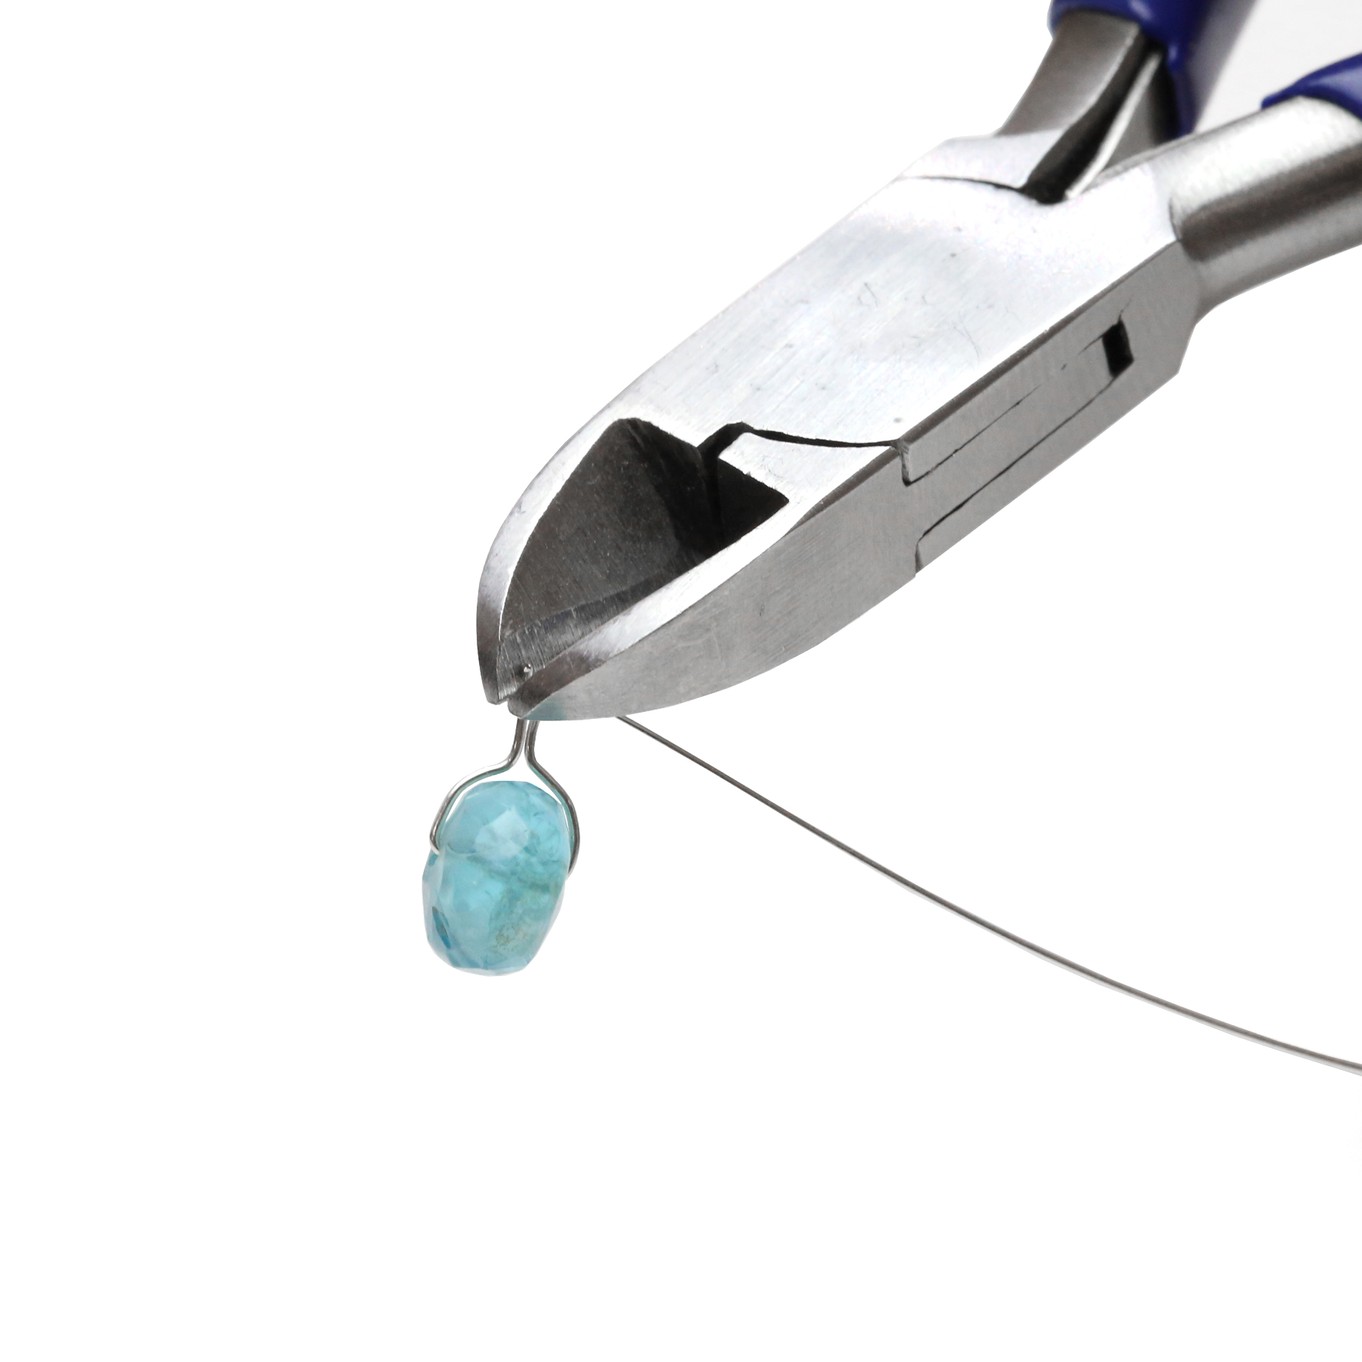
Cut off the end of the short side of the wire using side cutters, so that it is only about 2-3mm above the bead.
Step 4
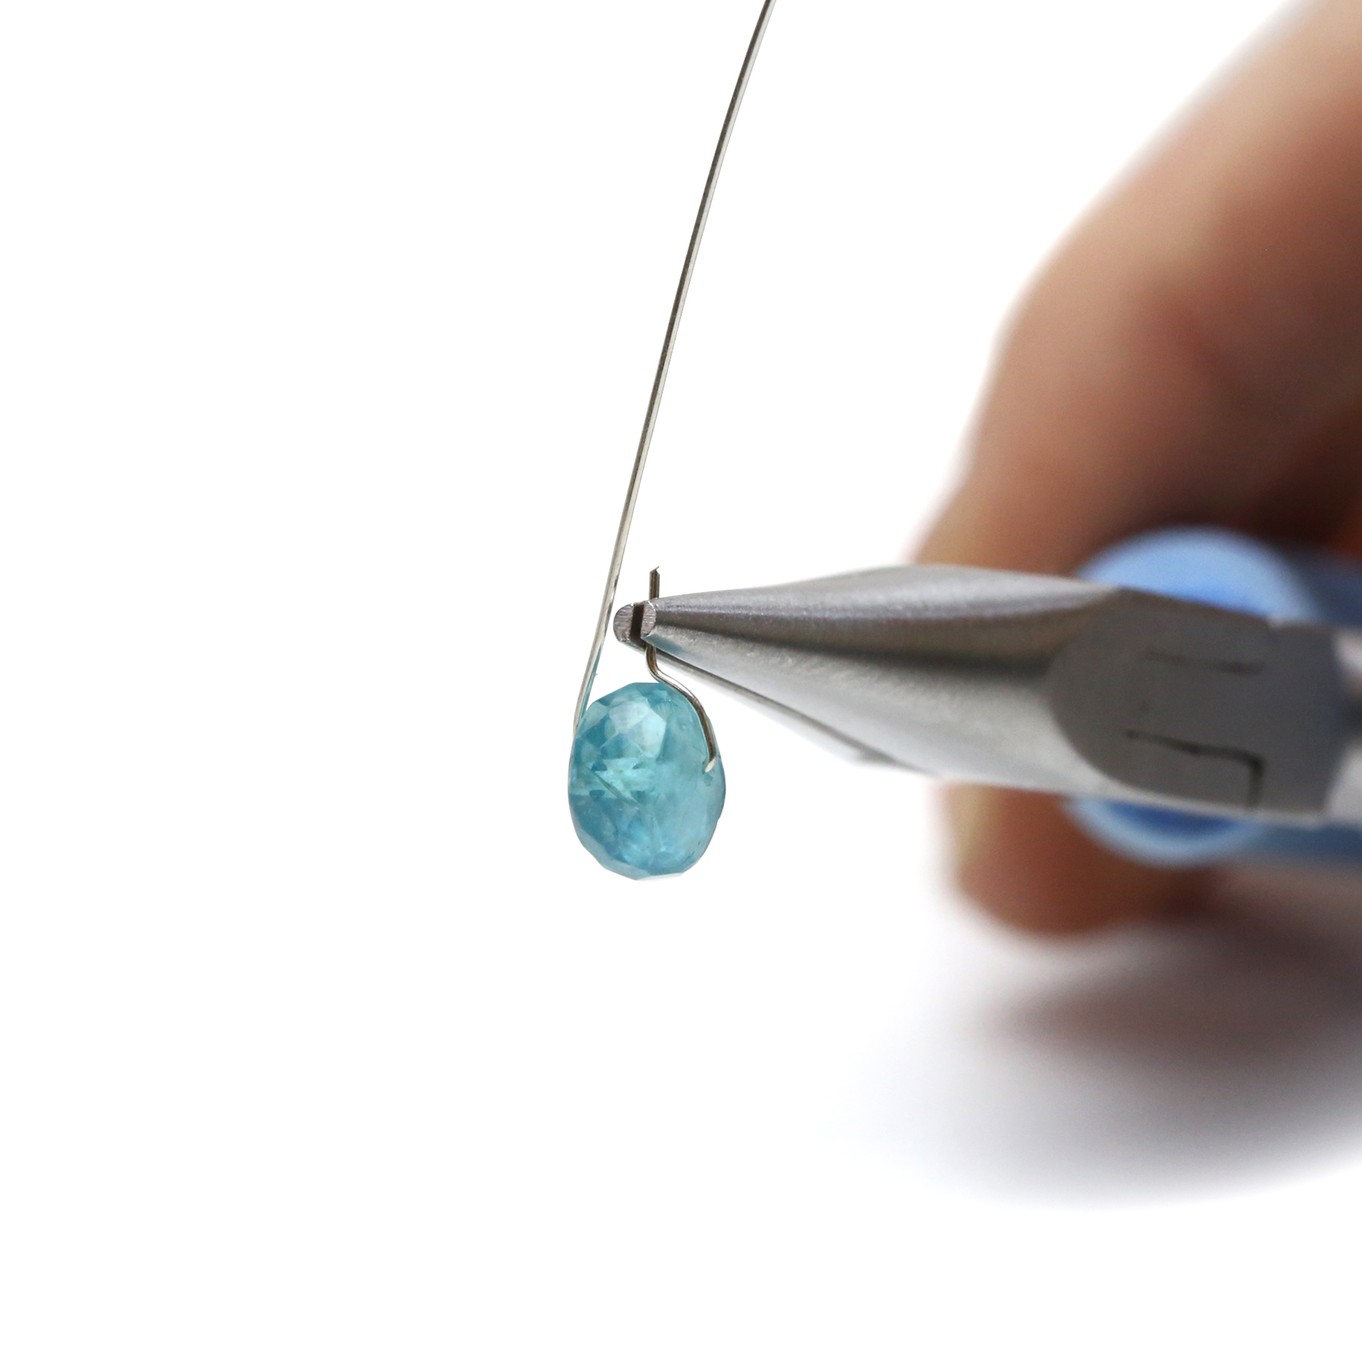
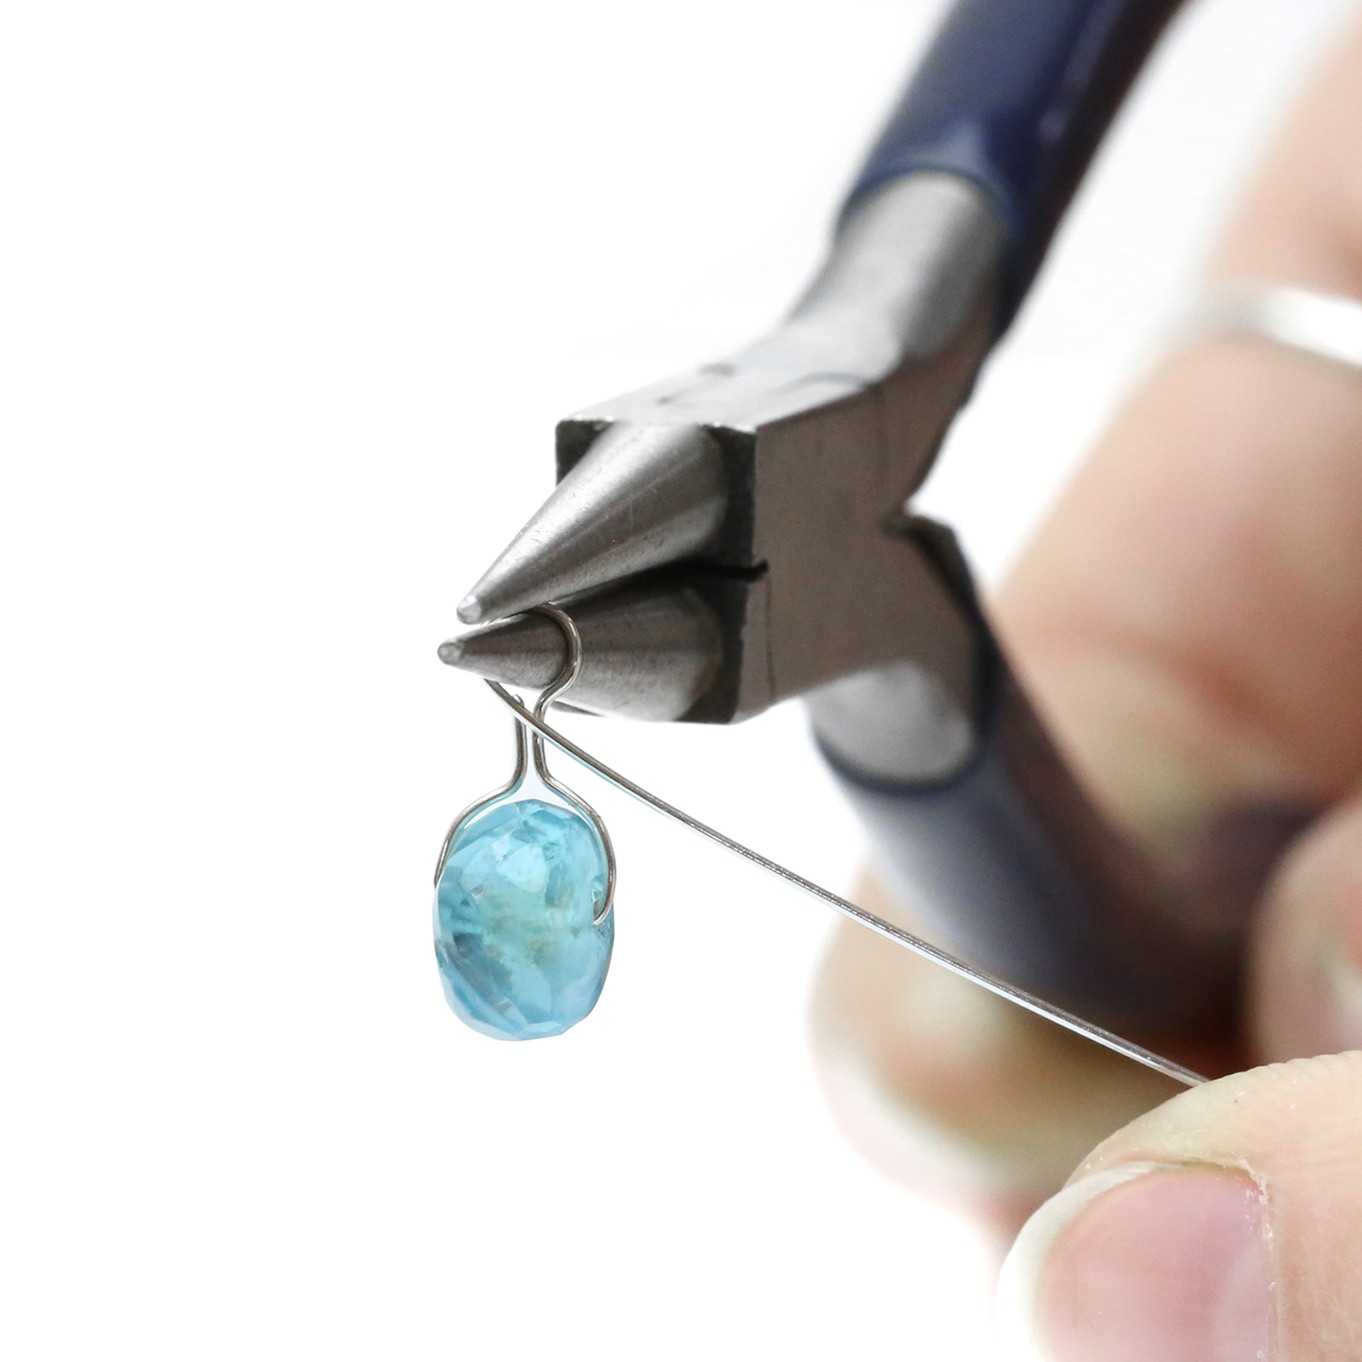
Next form a loop with the longer side of wire by bending it to a right angle and wrapping it around the tip of your round nose pliers. Make sure the loop is above the end of the short side of the wire and center of the bead.
Step 5
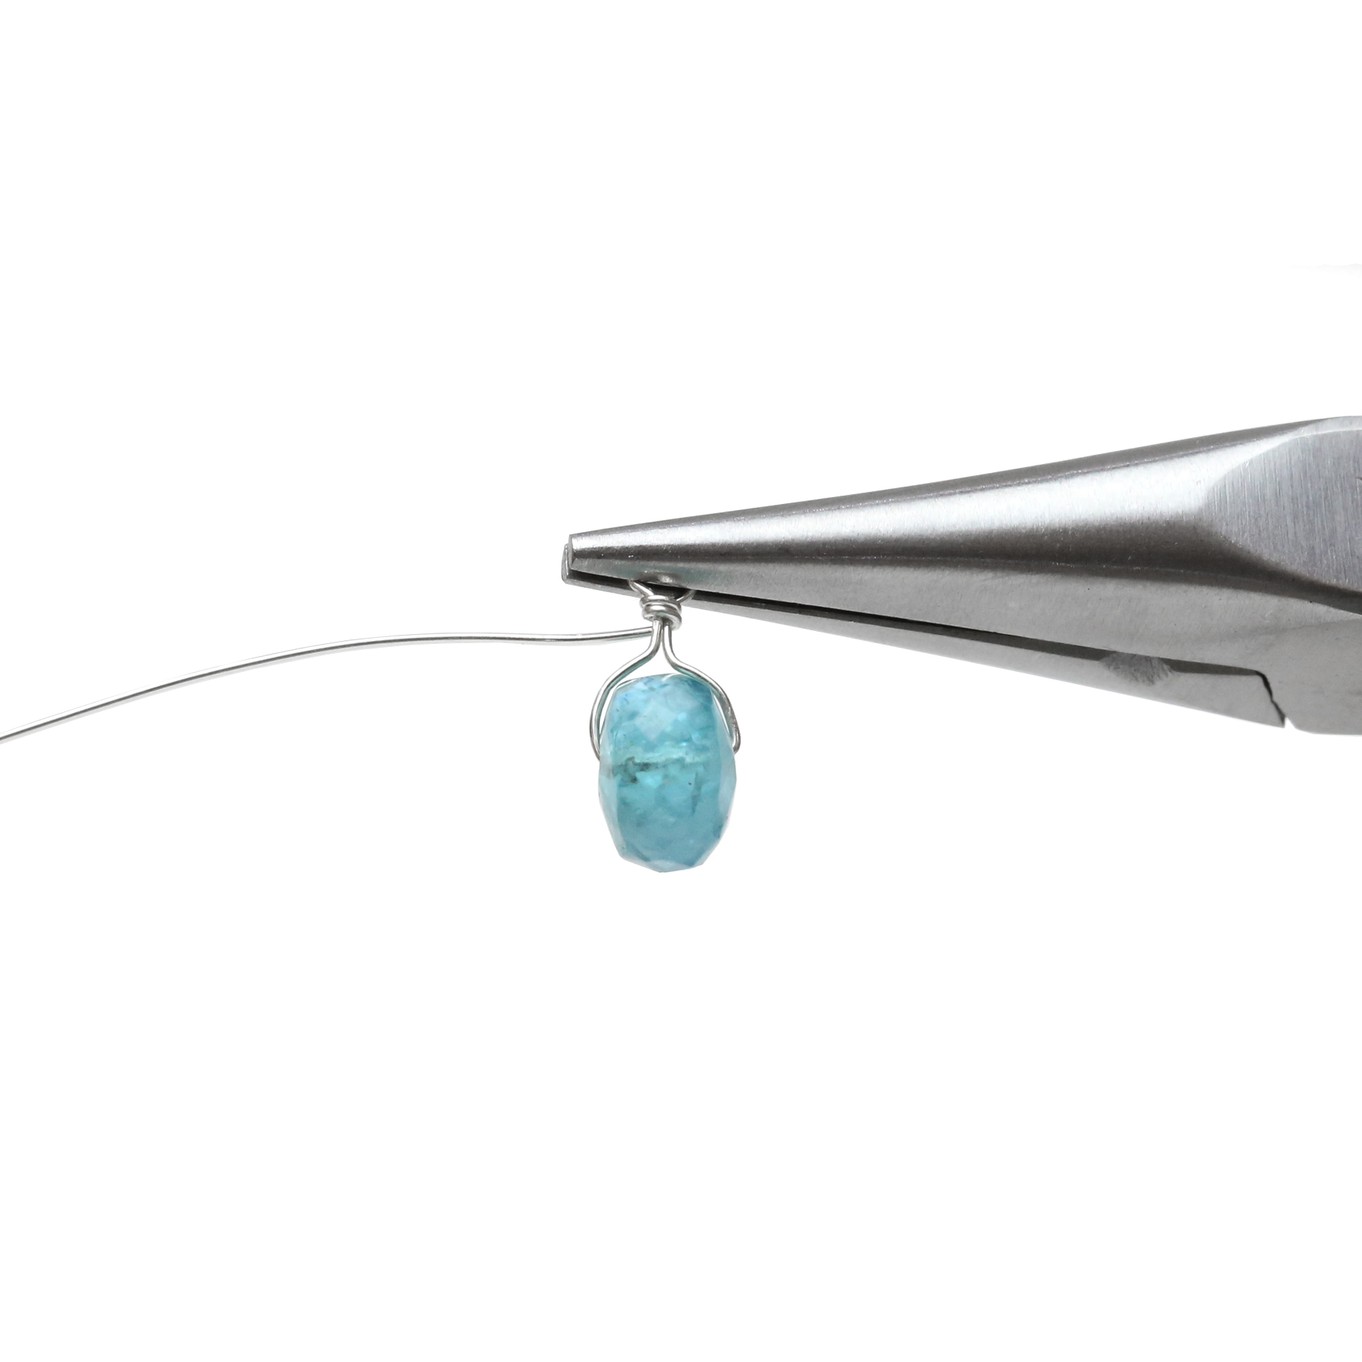
Using snipe nose pliers, hold the loop flat between the tips. Take the long length of wire between your fingers and hold it taught. Start wrapping it around the stem of the wires - starting at the base of the loop and working down towards the bead. Make sure that each wrap sits neatly and close to the last.
Step 6
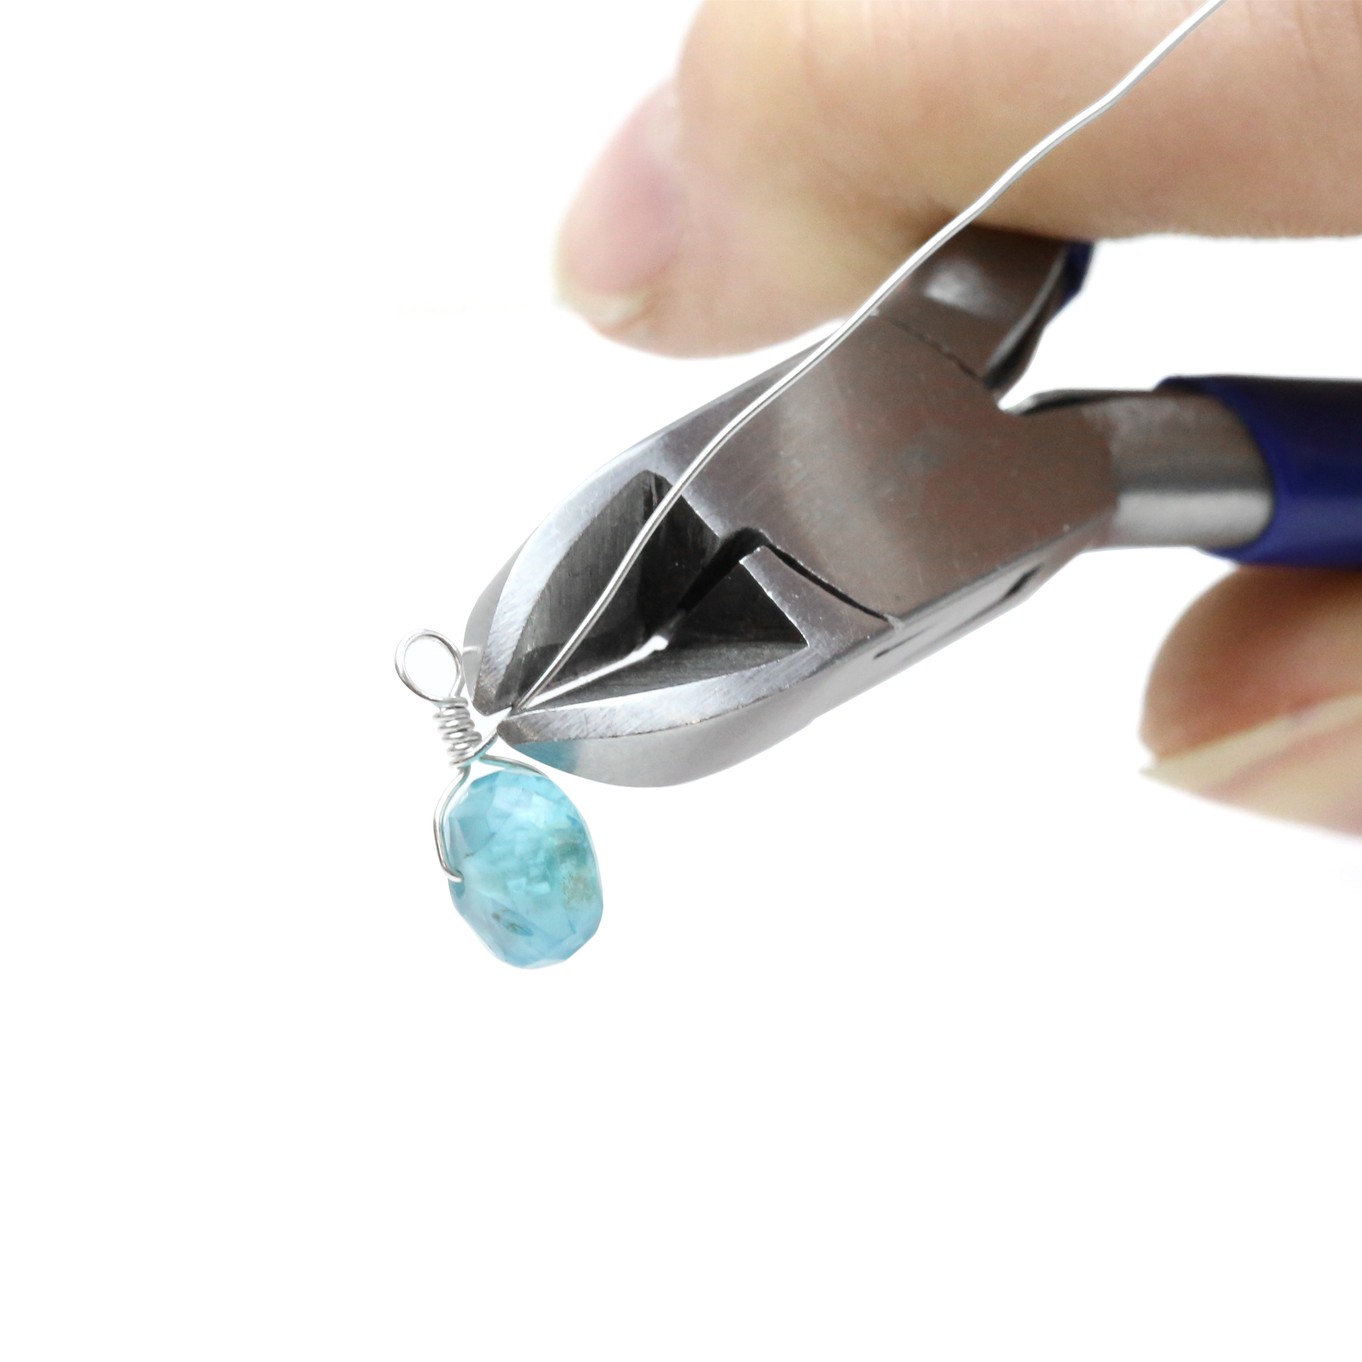
When you reach the top of the bead trim the end neatly with side cutters. If there is a sharp end left, bend it gently with the snipe nose pliers so that it sits flat and is tucked neatly away.
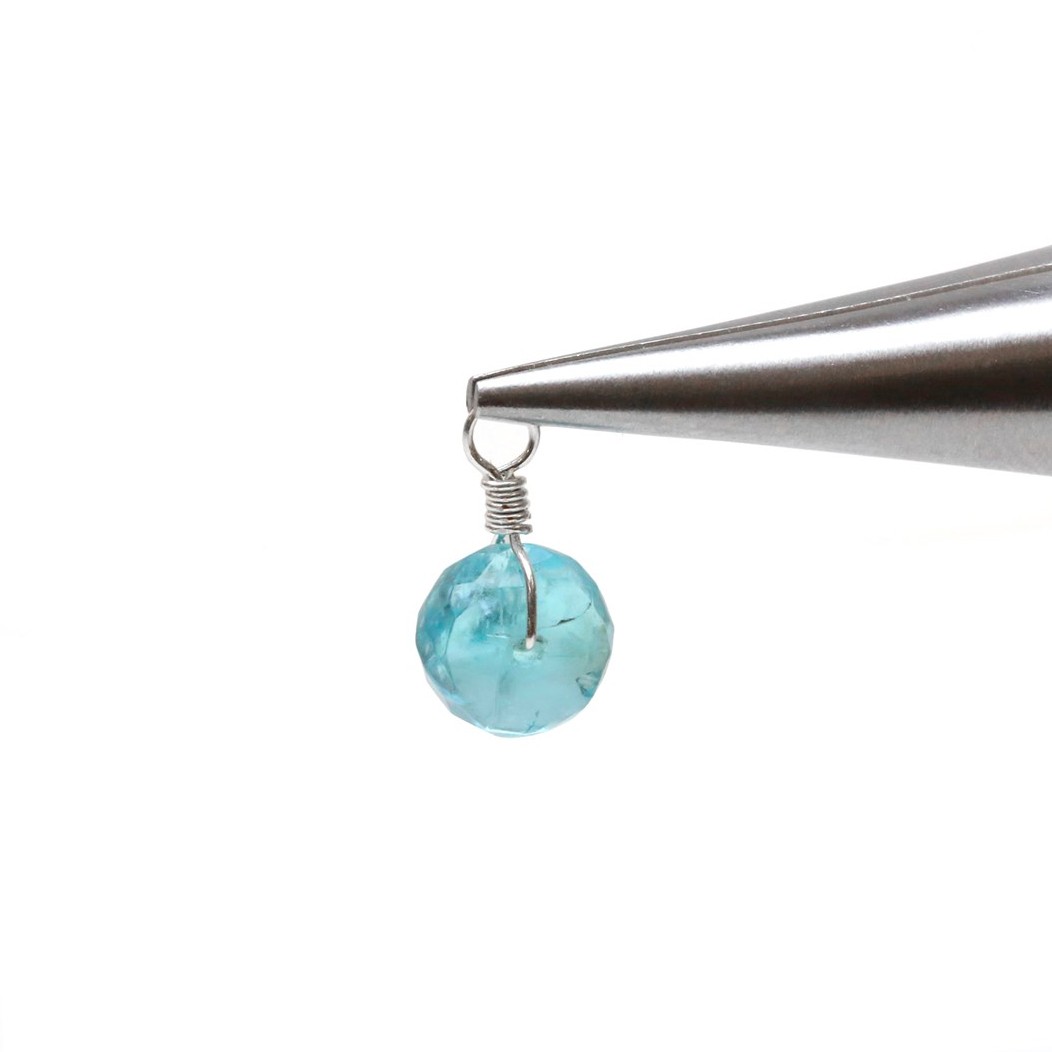
Finished!
Your wrapped bead is now finished and ready to incorporate into a beautiful jewellery design. Remember that this technique takes practice (and a little patience) to master. So persevere if it doesn't look as you wanted on your first attempt or experiment with the technique until you find a way that works for you.
Once you have mastered this technique you will find it useful for many different beading projects. Wire wrapped beads like this can be attached with a jump ring to a section of chain and made into drop earrings and pendants or attached to a bracelet to make charms - the possibilities are endless!
For any further advice regarding the contents on this page or for any other general jewellery making enquires, please feel free to get in touch, we would love to hear from you.
Shop Jewellery Making Supplies With Kernowcraft
METAL WIRE
Choose from our selection of metal wire to use in your wire work designs! Including plated, sterling silver, 9ct gold, copper, brass and more.
In this tutorial we've used 0.3mm sterling silver wire.
GEMSTONE BEADS
You will need a gemstone bead! We have so many beautiful beads to choose from in a range of gemstones in many shapes and sizes to choose from.
In this tutorial, we've used a pretty apatite bead.
JEWELLERY MAKING PLIERS
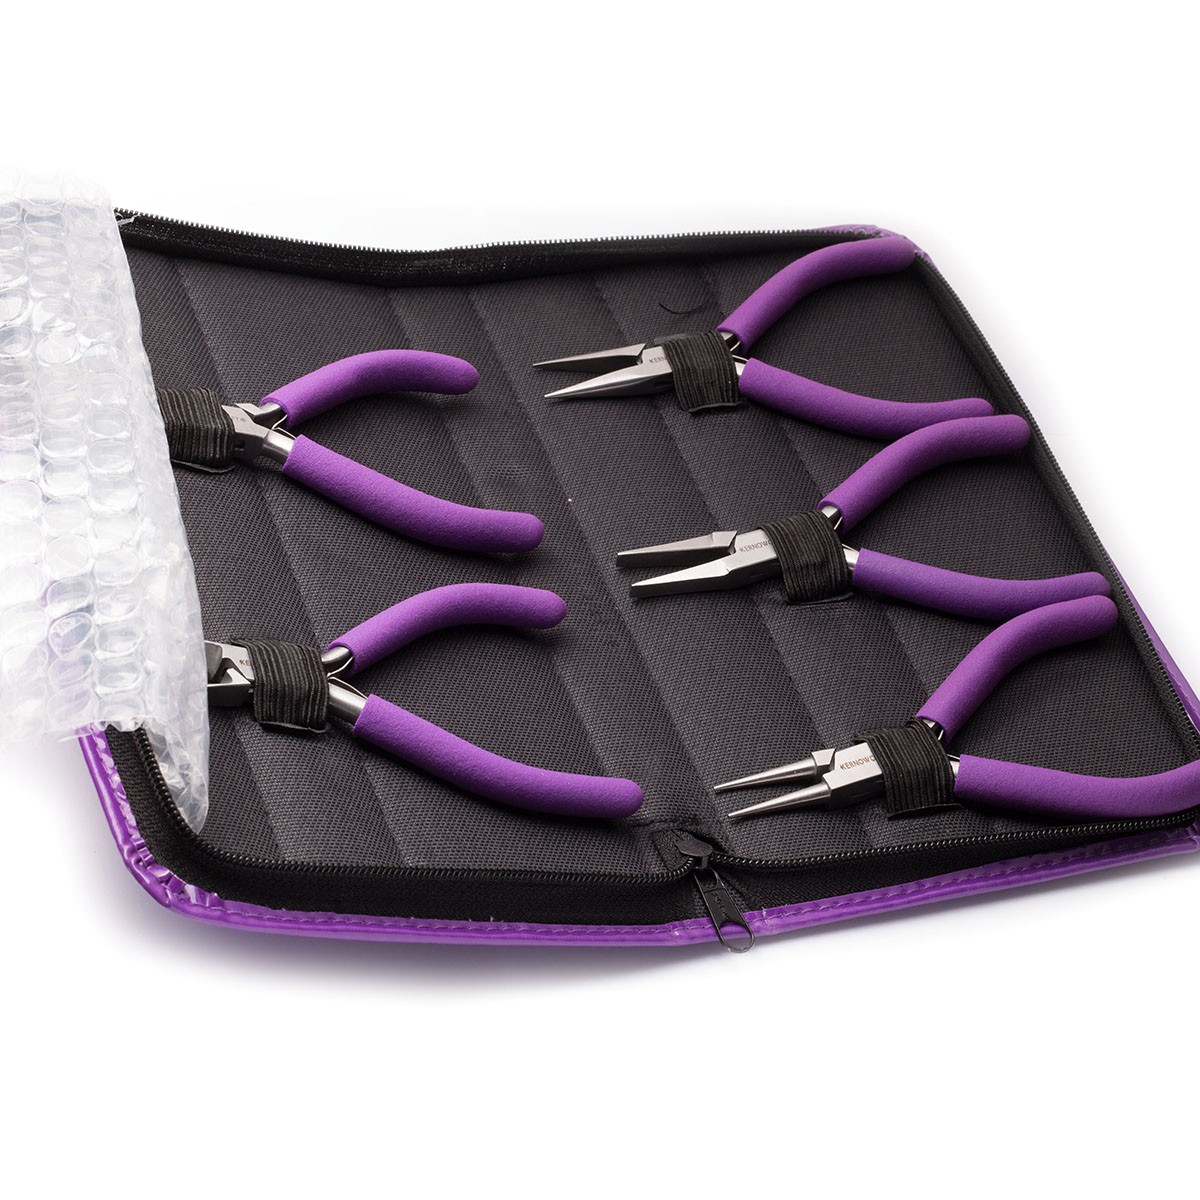
This tutorial requires a few pliers to complete the look including round nose pliers, snipe nose pliers and side cutters. All of these are available individually or in our popular pack of pliers.
The products used in this project are suggestions to inspire you. Products used were compatible at the time of making but do be aware that stocks can vary, so do use your own judgement as to the compatibility of each item when making.
Also in this section:
- How To Make A Wire Wrapped Nest Necklace
- Tools For Making Jewellery Using Wire
- Your Guide On Choosing Wire For Jewellery Making
- Compare Jewellery Designs Using Different Sized Wire
- Wire Gauge Coversions
- How To Work Harden Jewellery Making Wire
- How To Use Nylon Jaw Pliers For Jewellery Making
- How To Use A Thing-A-Ma Jig For Jewellery Making
- How to Wire Wrap a Bead With a Headpin
- How To Wire Wrap A Bead
- How To Make A Wire Wrapped Bead Chain
- How To Wire Wrap A Briolette
- Wire Wrapped Cluster Briolette Earring Tutorial
- How To Make Wire Wrapped Bead Necklace With Handmade Clasp
- How To Wire Wrap A Rough Crystal
- How To Make Valentine's Day Earrings: Wonky Wire Hearts
- How To Make A Wire Wrapped Crystal Necklace
- 6 Wire Wrapped Ring Projects & Essential Tools
- How To Make A Wire Wrapped Bead Ring
- How To Make An Anxiety Ring
- How To Make A Wire Wrapped Gemstone Ring
- How To Make A Wire Wrapped Cabochon Pendant
- How To Make A Tree Of Life Pendant
- How To Wire Wrap A Gemstone Donut
- How To Make Christmas Tree Earrings
- Simple Sterling Silver Wire Scroll Earrings
- Soldered Circle Hoop Earrings With Beads Tutorial
- How To Make Wire Hoop Earrings & Customise Them
- Metal Charm Hoop Earring Tutorial
- How To Make A Wire Word Necklace
- 4 Wire Wrapped Gemstone Tube Bead Projects
- Festival Inspired Crystal Necklace Tutorial
HAVE A QUESTION?
If you have any questions, feel free to get in touch with our friendly team who will be more than happy to give you advice over email or on the phone.
You can learn more and find inspiration by visiting our Jewellery Making Tutorials, Jewellery Making Kits and YouTube Channel. Don't forget to follow us on social media and tag us in your designs on Instagram & Facebook, we would love to see!

