How To Make An Anxiety Ring
We're sharing with you 2 brilliant projects on how to make your very own anxiety ring - this is a great gift idea for a loved one or to make for yourself.
Anxiety rings, also known as worry or fidget rings are traditionally used to help calm the mind. It is the repetitive motion of either moving the beads or spinning a ring that helps soothe the worries of the wearer without anyone around them even noticing! Or maybe you find it hard to keep still - that's when a 'fidget' ring comes in to help keep your hands busy while sitting still.
Discover two jewellery making projects below and have fun customising the designs to suit you!
Project 1: Beginner Silver & Rose Gold Anxiety Ring
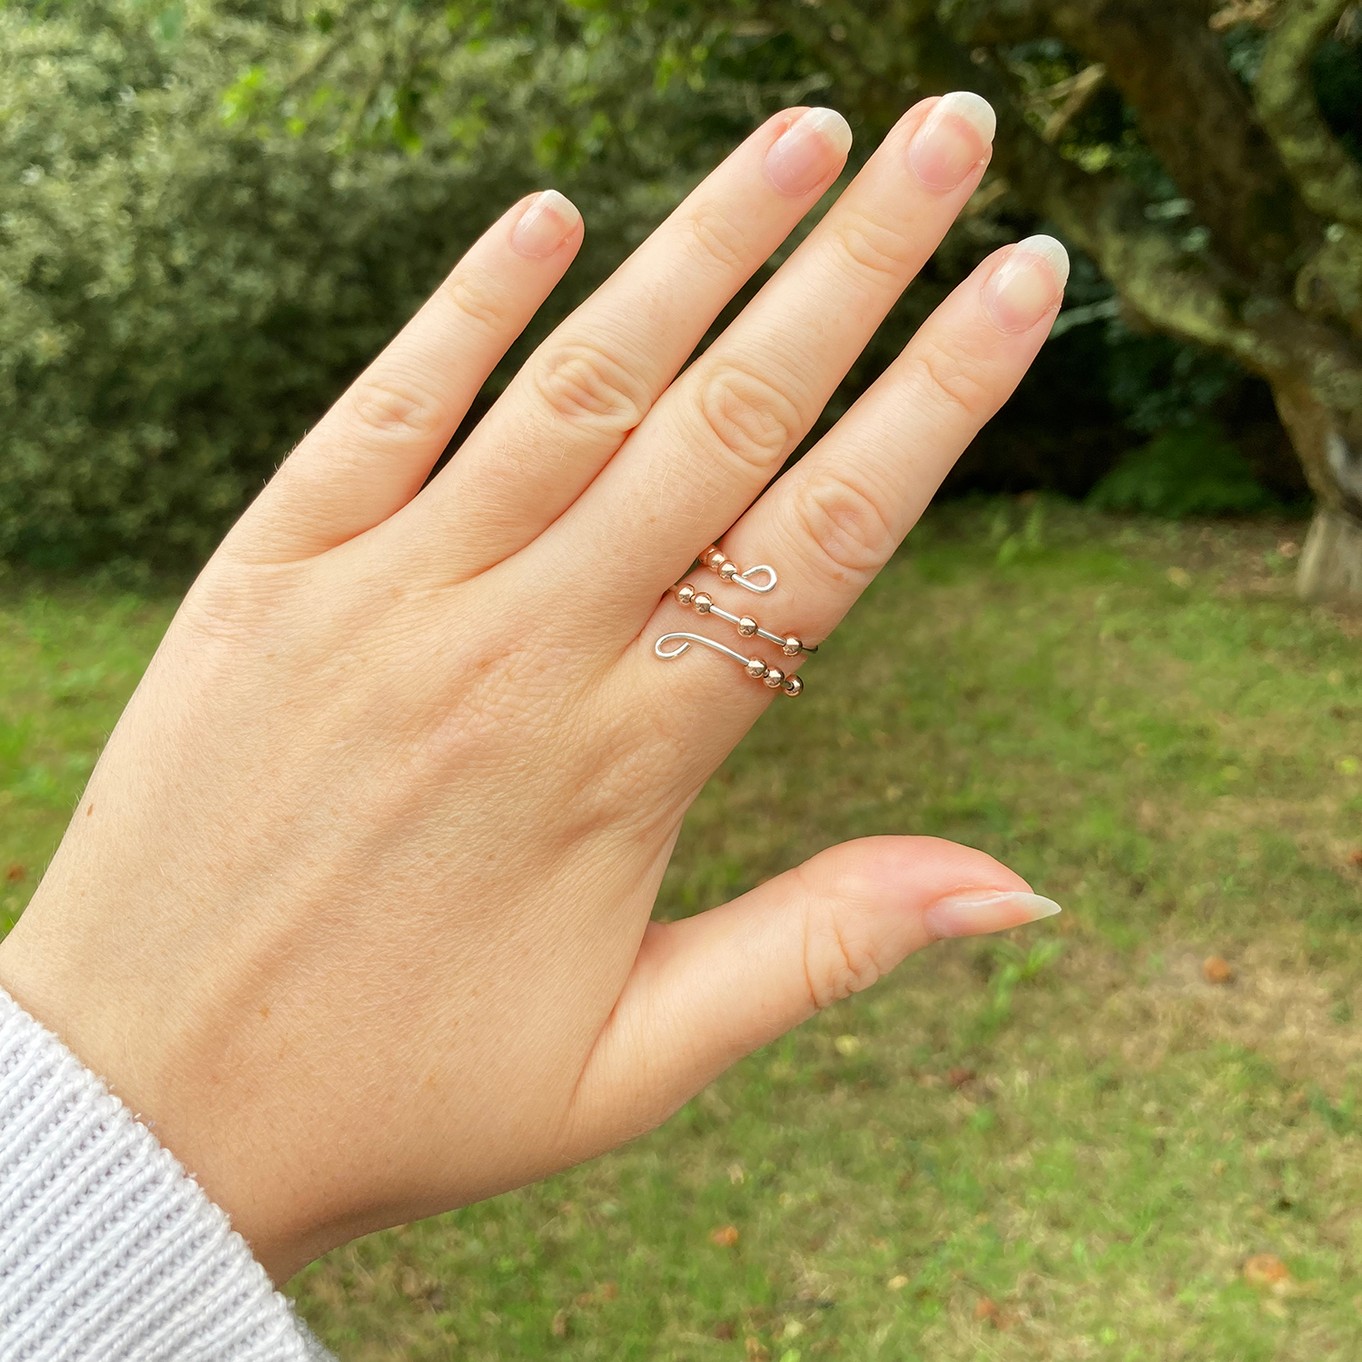
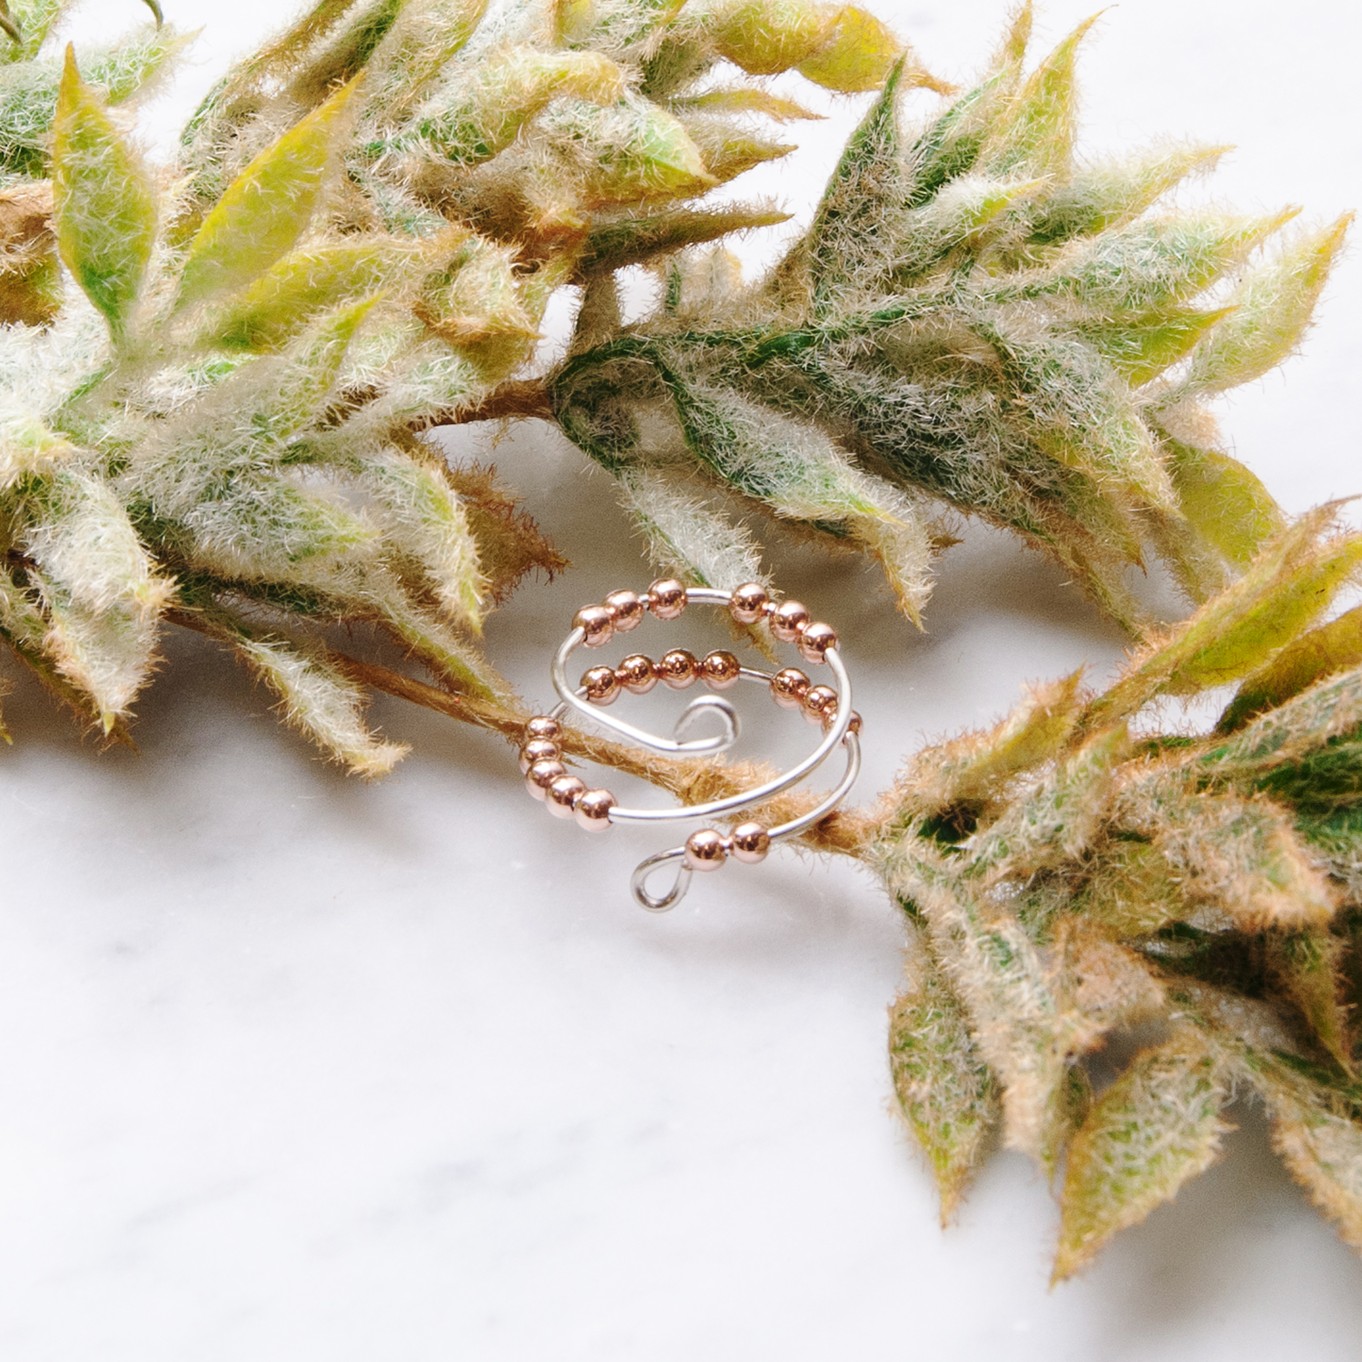
This ring design is a great beginner friendly project, requiring a small amount of tools. Featuring 1mm sterling silver round wire and elegant rose gold filled beads that you can spin and move around the ring to help you relax.
Recommended Tools & Supplies
- 16cm: 1mm sterling silver round wire
- Metal beads or gemstone beads of your choice with suitable sized holes to fit the wire: we've used 20, 3mm rose gold filled beads
- Heavy duty side cutters or saw
- File
- Ring mandrel
- Rawhide mallet
- Round nose pliers
- Snipe nose pliers
Step By Step Instructions:
1. Using a saw or heavy duty side cutters, cut approx 16cm of sterling silver wire. If the ends are rough, use a file to smooth the ends.
16cm is suitable for ring size N, so you may need to adjust the amount needed if necessary - you can wrap the wire around your finger as a guide - we have added 20cm of wire to the shopping list to give you more wire to work with.
2. Using the tips of round nose pliers, form a loop on one end of the wire and use snipe nose pliers to adjust if needed.
3. Wrap the wire around the mandrel using the size you require as a guide. Use a rawhide mallet to gently tap the wire while placed on the mandrel to form the shape, this also work hardens your wire, making it stronger.
4. Thread on as many rose gold filled metal beads as you like to your anxiety ring.
We have included 2 packs of 10 metal beads but you can adjust this if you would like.
5. Finish your ring by forming another loop at the end of the wire and your ring is complete.
You can easily customise your ring by adding texture with a hammer, adding charms to the loops of the wire, adding gemstone beads or experimenting with other mixed metals. Have fun getting creative!
Project 2: Spinner Ring
This project is suitable for an experienced jeweller with basic metalsmithing skills, including many techniques such as soldering, texturing and forging.
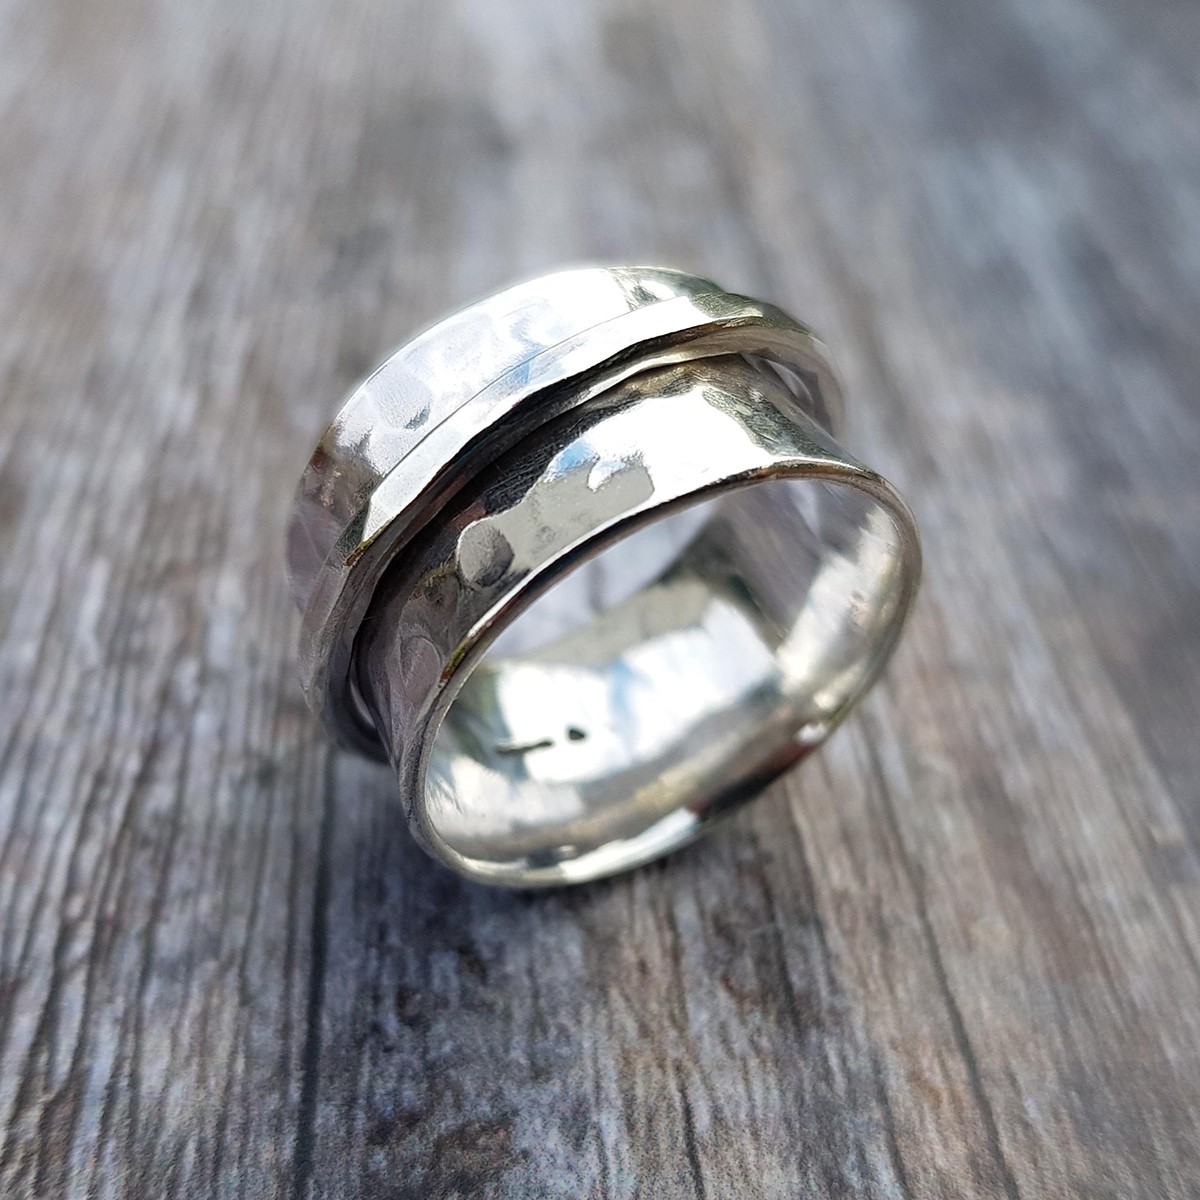
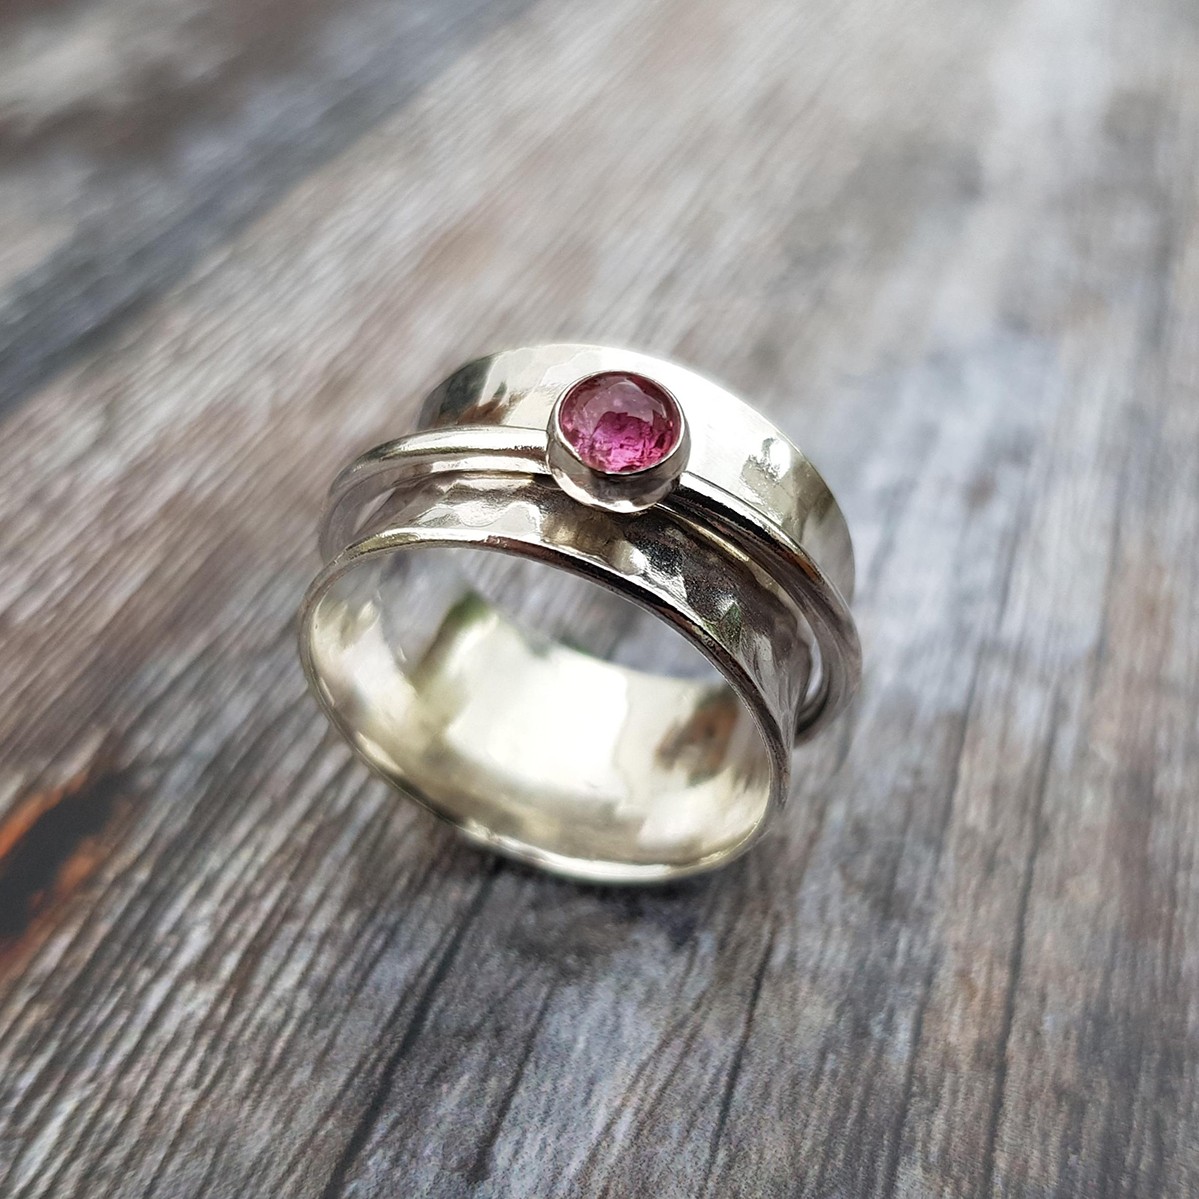
In this anxiety ring, there is a ring that spins freely within the outer ring which you can spin using your thumb, helping ease your worries.
Follow guest tutor, Barbara from Silverpickle Jewellery's step by step photo tutorial on how to make a simple spinning ring, which you can easily customise with gemstones and different metals.
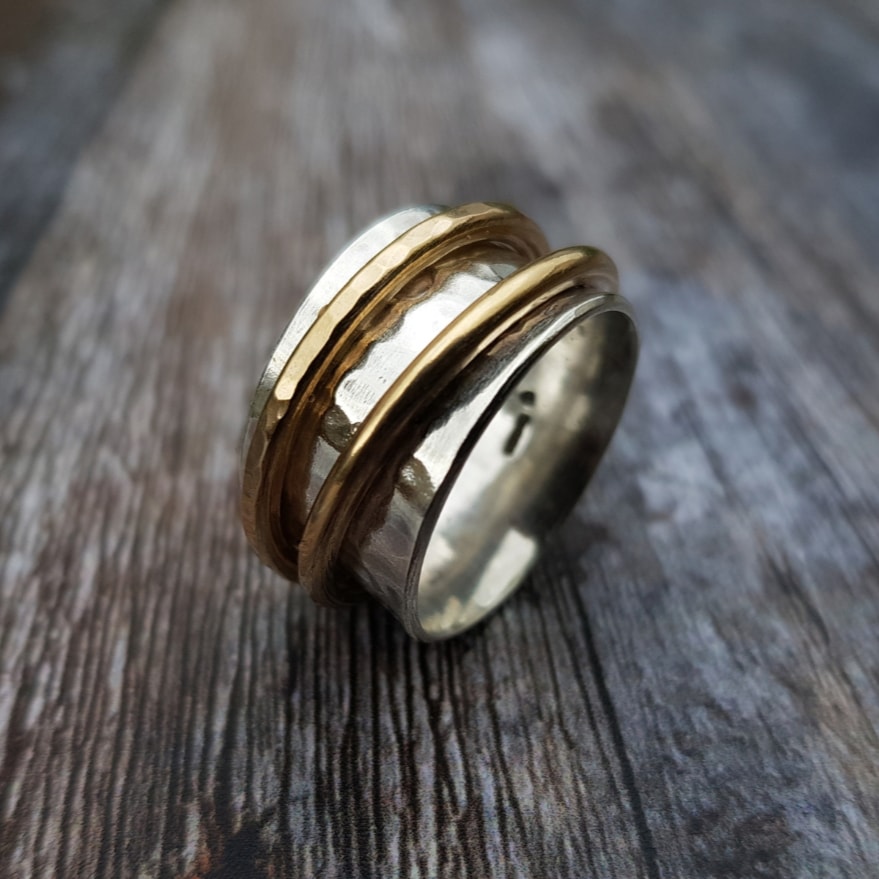
You can easily customise your spinner ring using your favourite gemstones using stone setting techniques or by using mixed metals as shown below
Also in this section:
- How To Make A Wire Wrapped Nest Necklace
- Tools For Making Jewellery Using Wire
- Your Guide On Choosing Wire For Jewellery Making
- Compare Jewellery Designs Using Different Sized Wire
- Wire Gauge Coversions
- How To Work Harden Jewellery Making Wire
- How To Use Nylon Jaw Pliers For Jewellery Making
- How To Use A Thing-A-Ma Jig For Jewellery Making
- How to Wire Wrap a Bead With a Headpin
- How To Wire Wrap A Bead
- How To Make A Wire Wrapped Bead Chain
- How To Wire Wrap A Briolette
- Wire Wrapped Cluster Briolette Earring Tutorial
- How To Make Wire Wrapped Bead Necklace With Handmade Clasp
- How To Wire Wrap A Rough Crystal
- How To Make Valentine's Day Earrings: Wonky Wire Hearts
- How To Make A Wire Wrapped Crystal Necklace
- 6 Wire Wrapped Ring Projects & Essential Tools
- How To Make A Wire Wrapped Bead Ring
- How To Make An Anxiety Ring
- How To Make A Wire Wrapped Gemstone Ring
- How To Make A Wire Wrapped Cabochon Pendant
- How To Make A Tree Of Life Pendant
- How To Wire Wrap A Gemstone Donut
- How To Make Christmas Tree Earrings
- Simple Sterling Silver Wire Scroll Earrings
- Soldered Circle Hoop Earrings With Beads Tutorial
- How To Make Wire Hoop Earrings & Customise Them
- Metal Charm Hoop Earring Tutorial
- How To Make A Wire Word Necklace
- 4 Wire Wrapped Gemstone Tube Bead Projects
- Festival Inspired Crystal Necklace Tutorial
HAVE A QUESTION?
If you have any questions, feel free to get in touch with our friendly team who will be more than happy to give you advice over email or on the phone.
You can learn more and find inspiration by visiting our Jewellery Making Tutorials, Jewellery Making Kits and YouTube Channel. Don't forget to follow us on social media and tag us in your designs on Instagram & Facebook, we would love to see!

