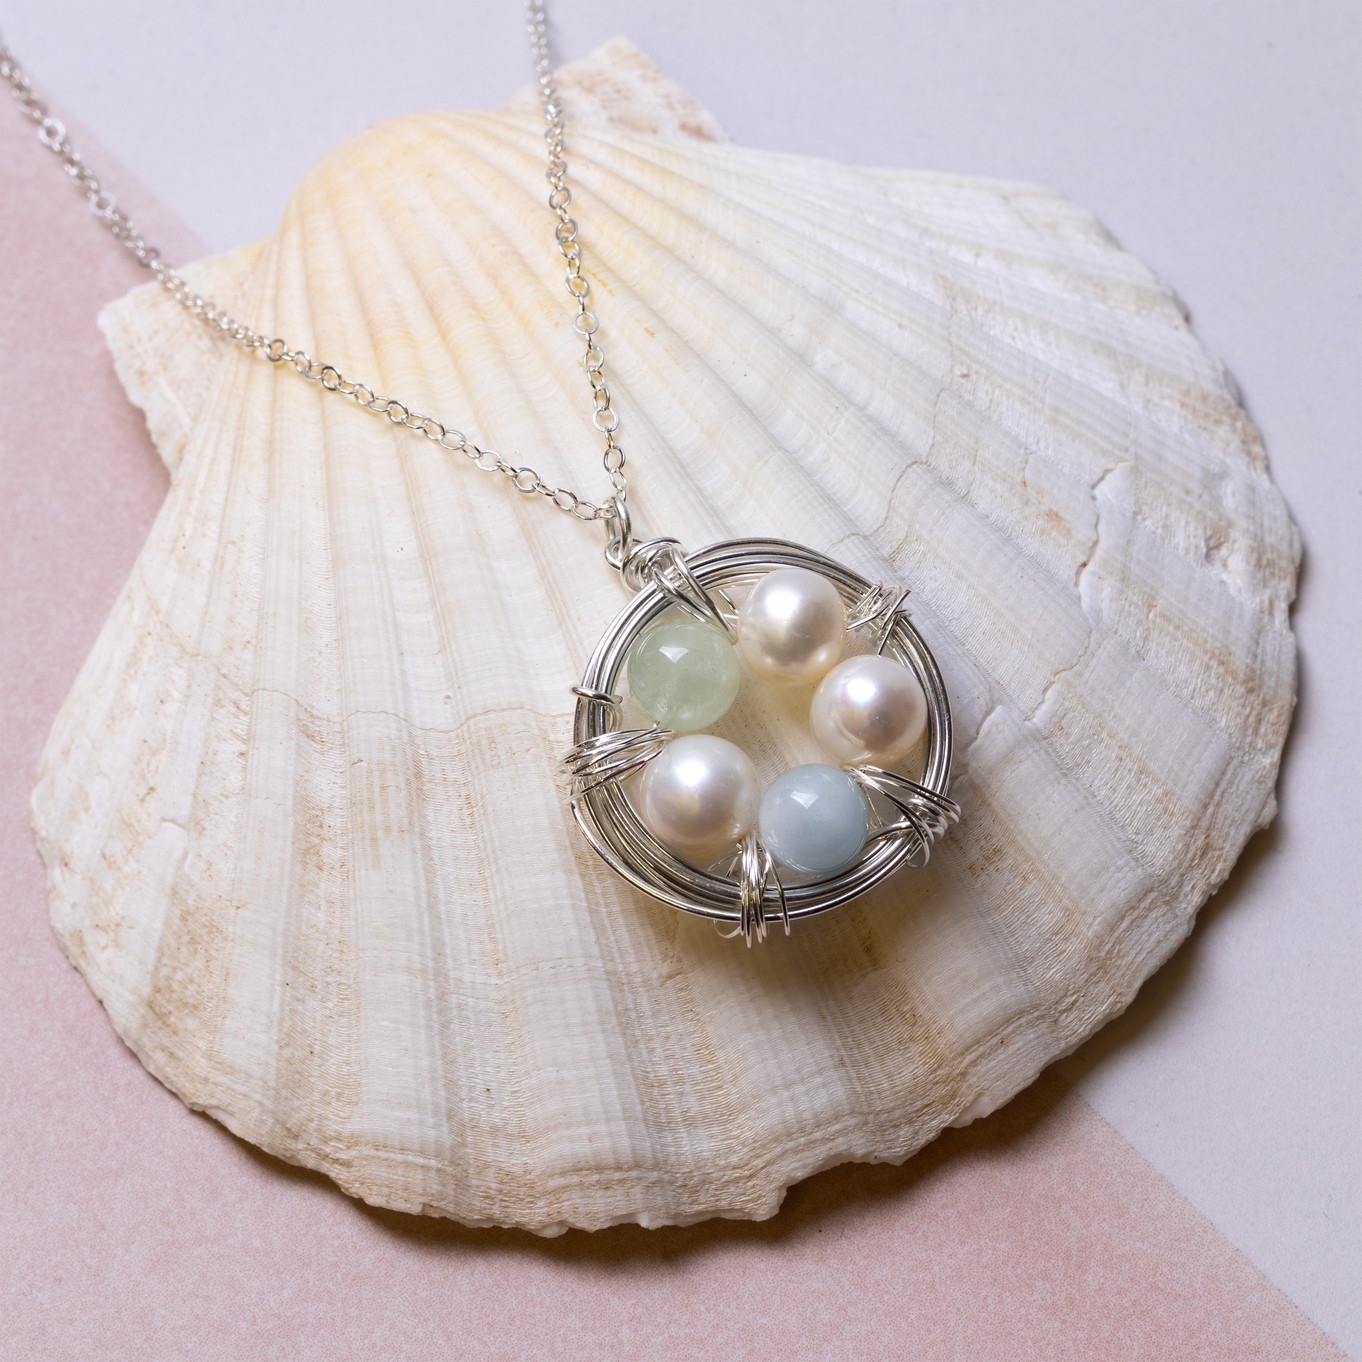
How To Make A Wire Wrapped Nest Necklace
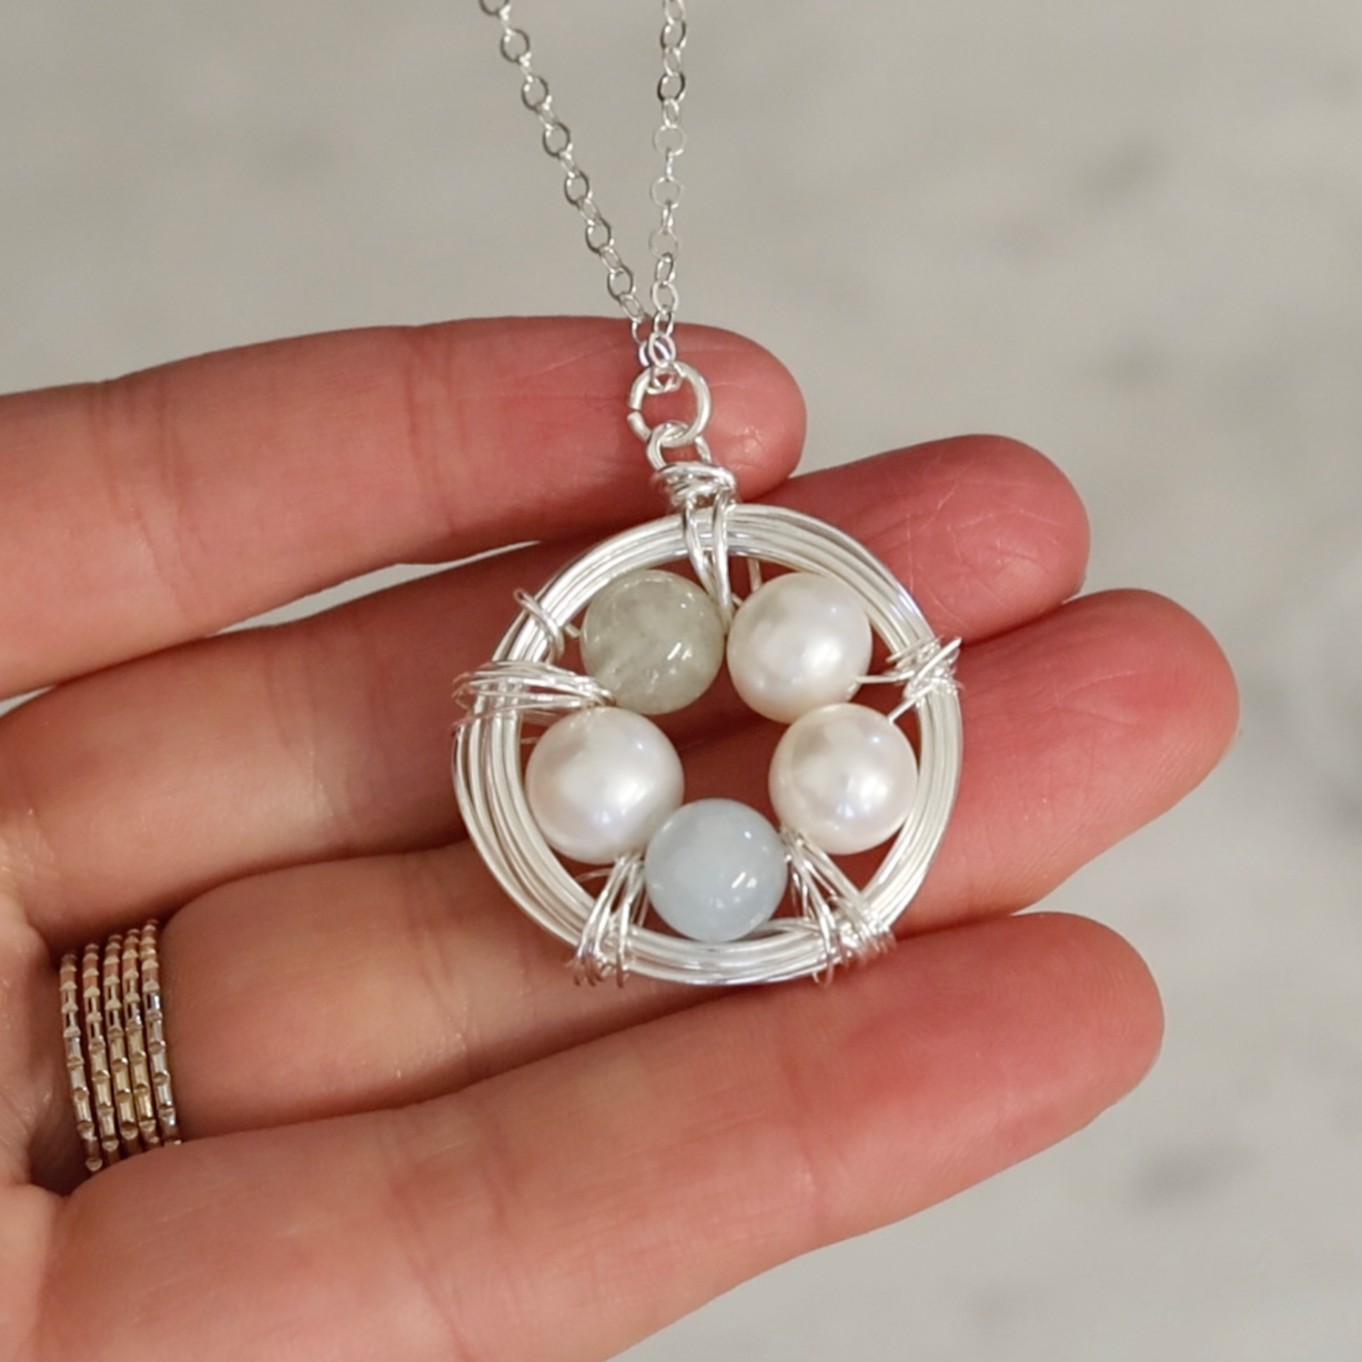
This project can be made using your favourite gemstone beads and your choice of wire, whether that's silver, gold, brass or copper.
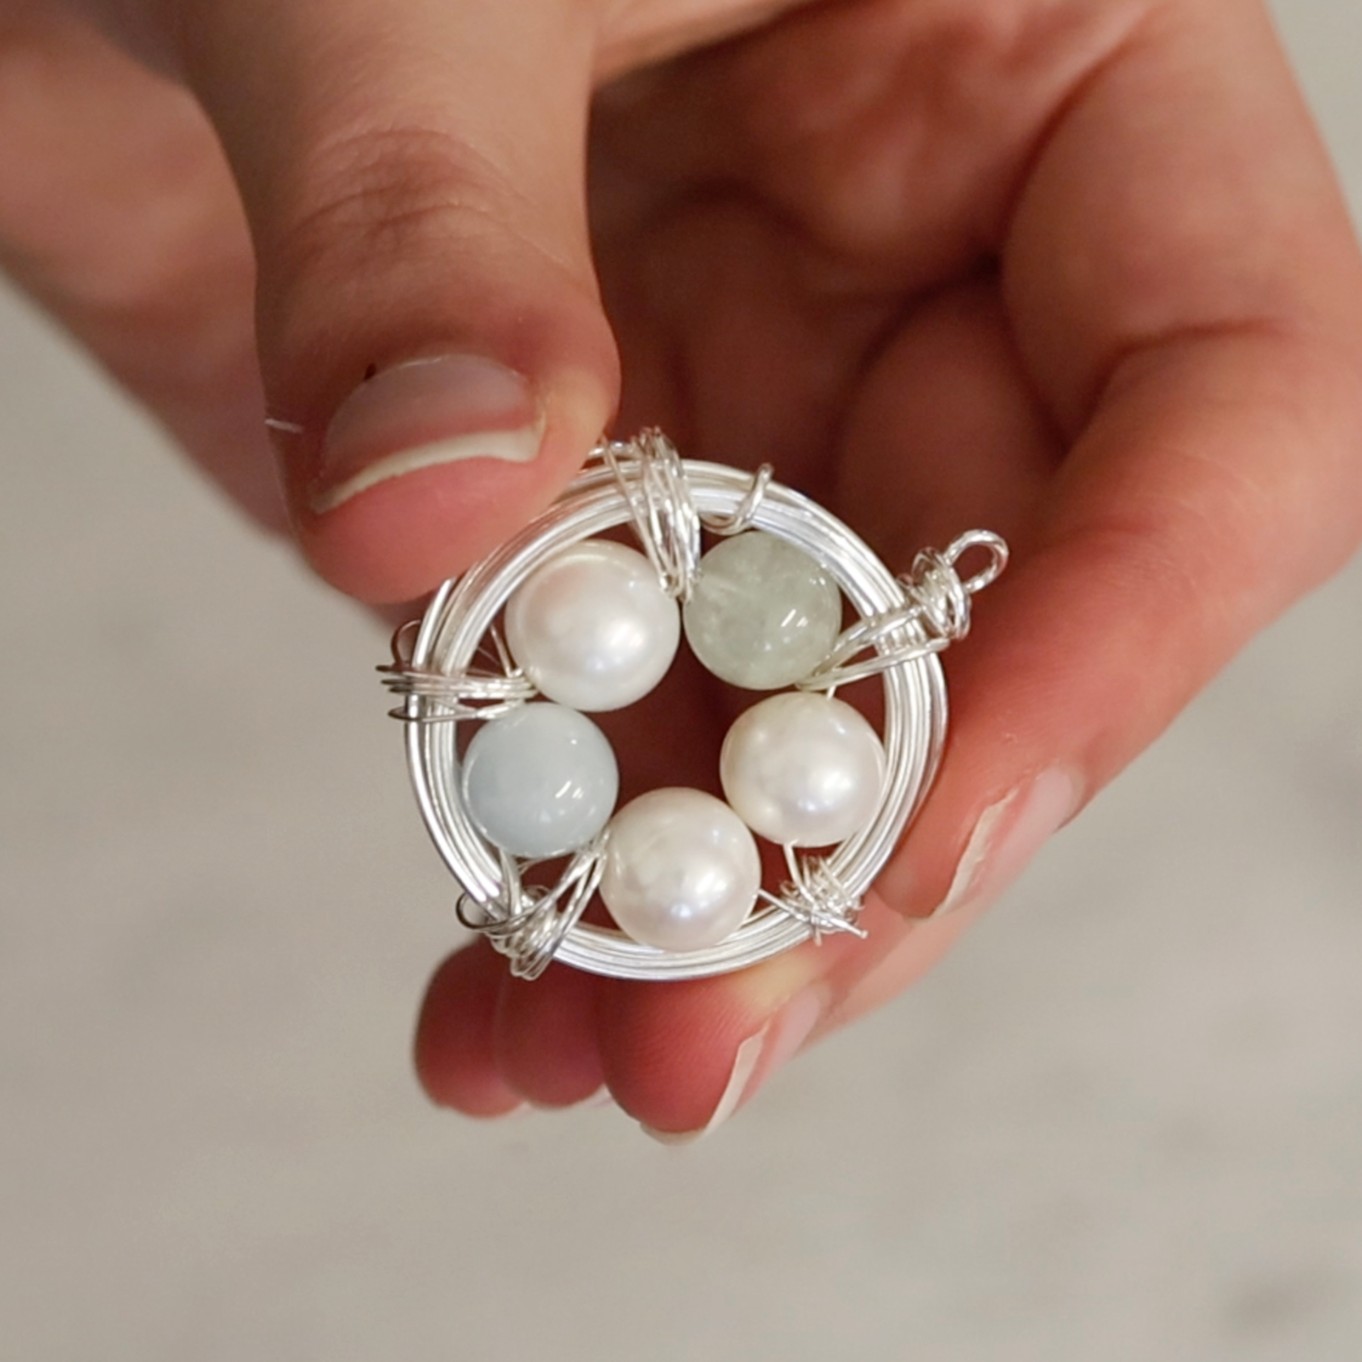
We've made our nest necklace using 8mm aquamarine and morganite gemstone beads alongside our 9mm pearls however, 6mm makes a lovely delicate design.
To make this design personalised, we chose to use birthstone gem beads.
Follow along with our step by step process below and buy all the tools and supplies you need online to get making. Please share and tag us in your nest designs over on Instagram and Facebook.
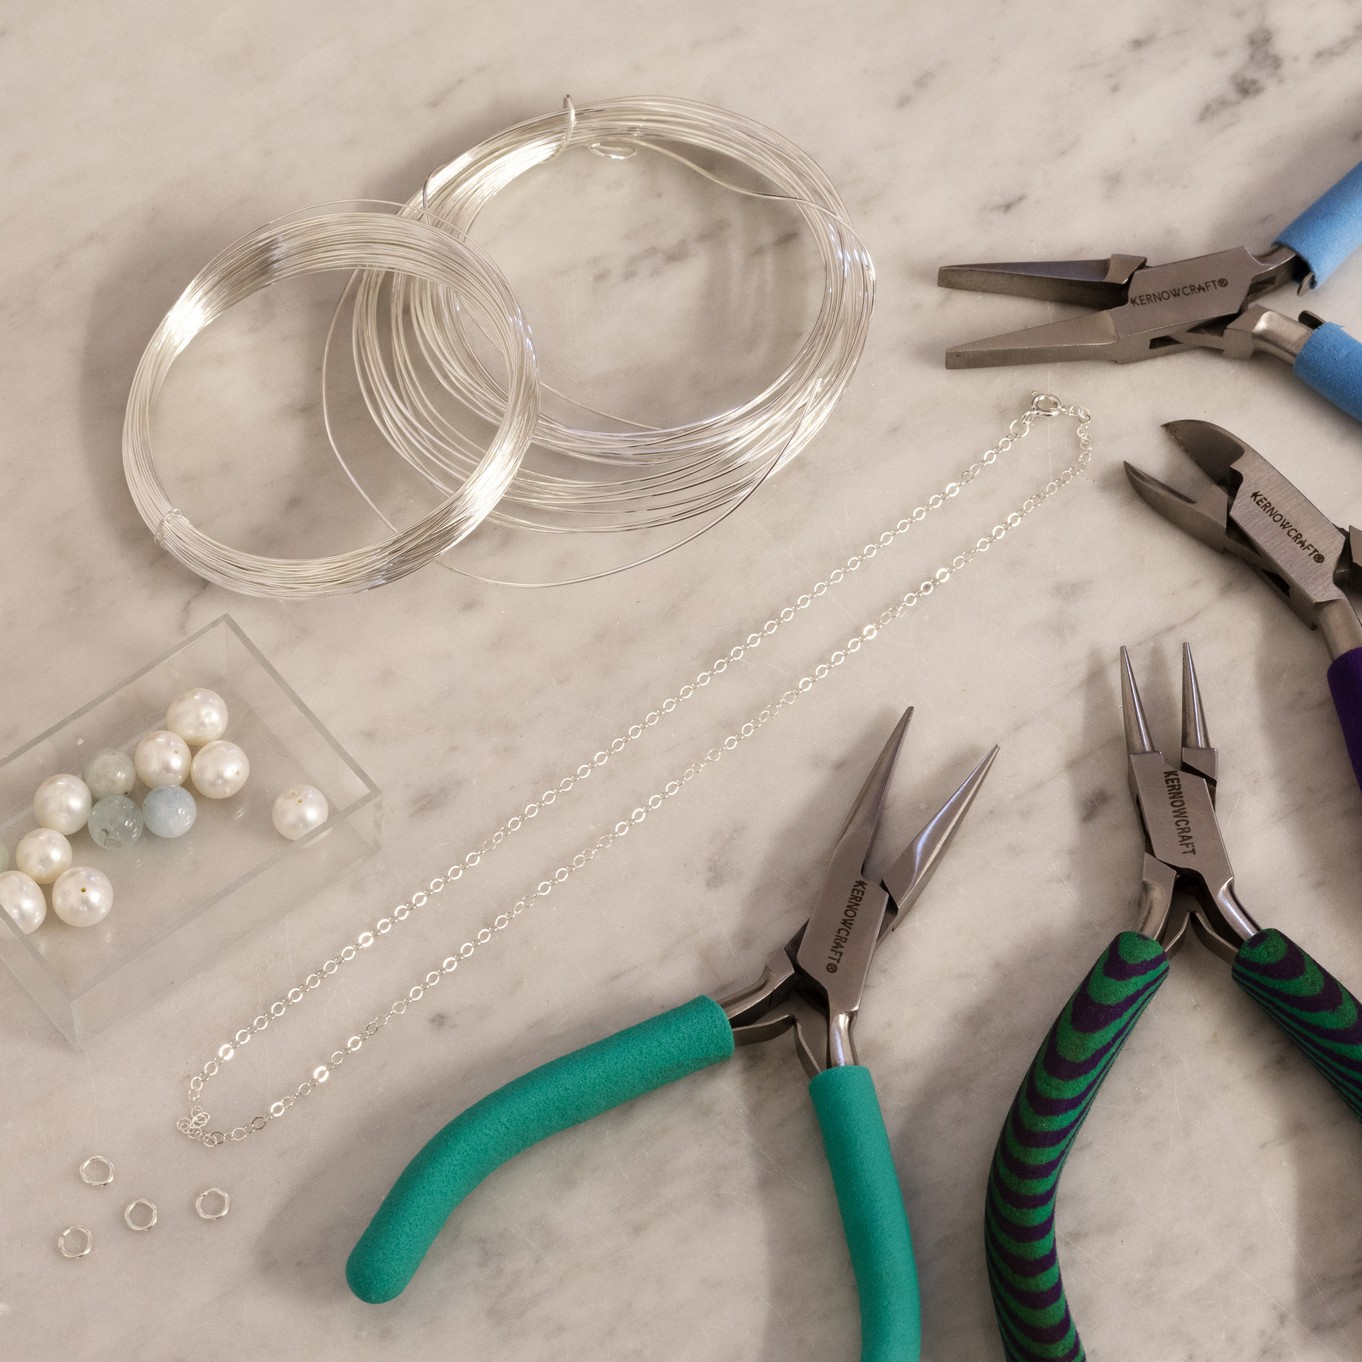
Recommended Tools & Supplies
- Flat nose pliers
- Round nose pliers
- Wire cutters
- Snipe nose pliers
- Wheatsheaf Mandrel (if you don't have one you could use a large cotton reel or even a lip balm pot!)
- 35cm of 0.8mm wire
- 15cm of 0.8mm wire
- 4 x 30cm of 0.3mm wire
- Gemstone beads - always check your chosen beads fit the wire comfortably
- 5mm jump rings
- Ready made necklace chain or thread
- File (optional for a softer, cleaner finish)
STEP-BY-STEP INSTRUCTIONS:
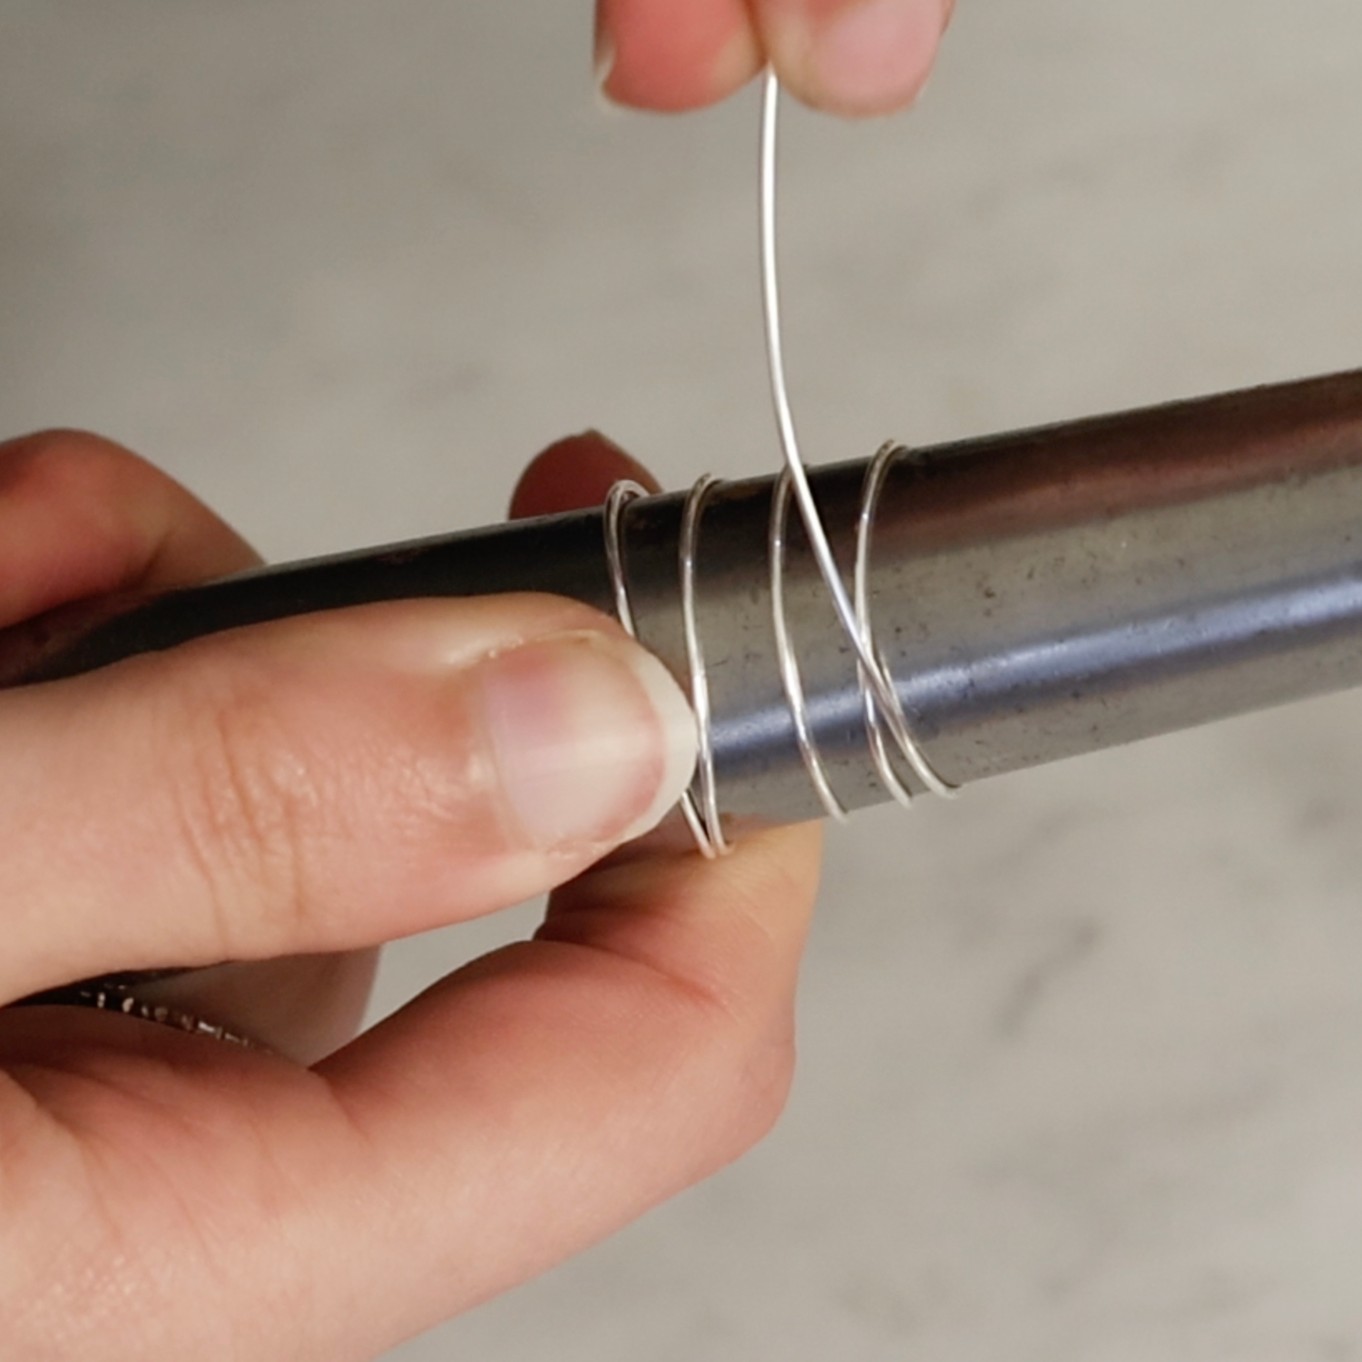
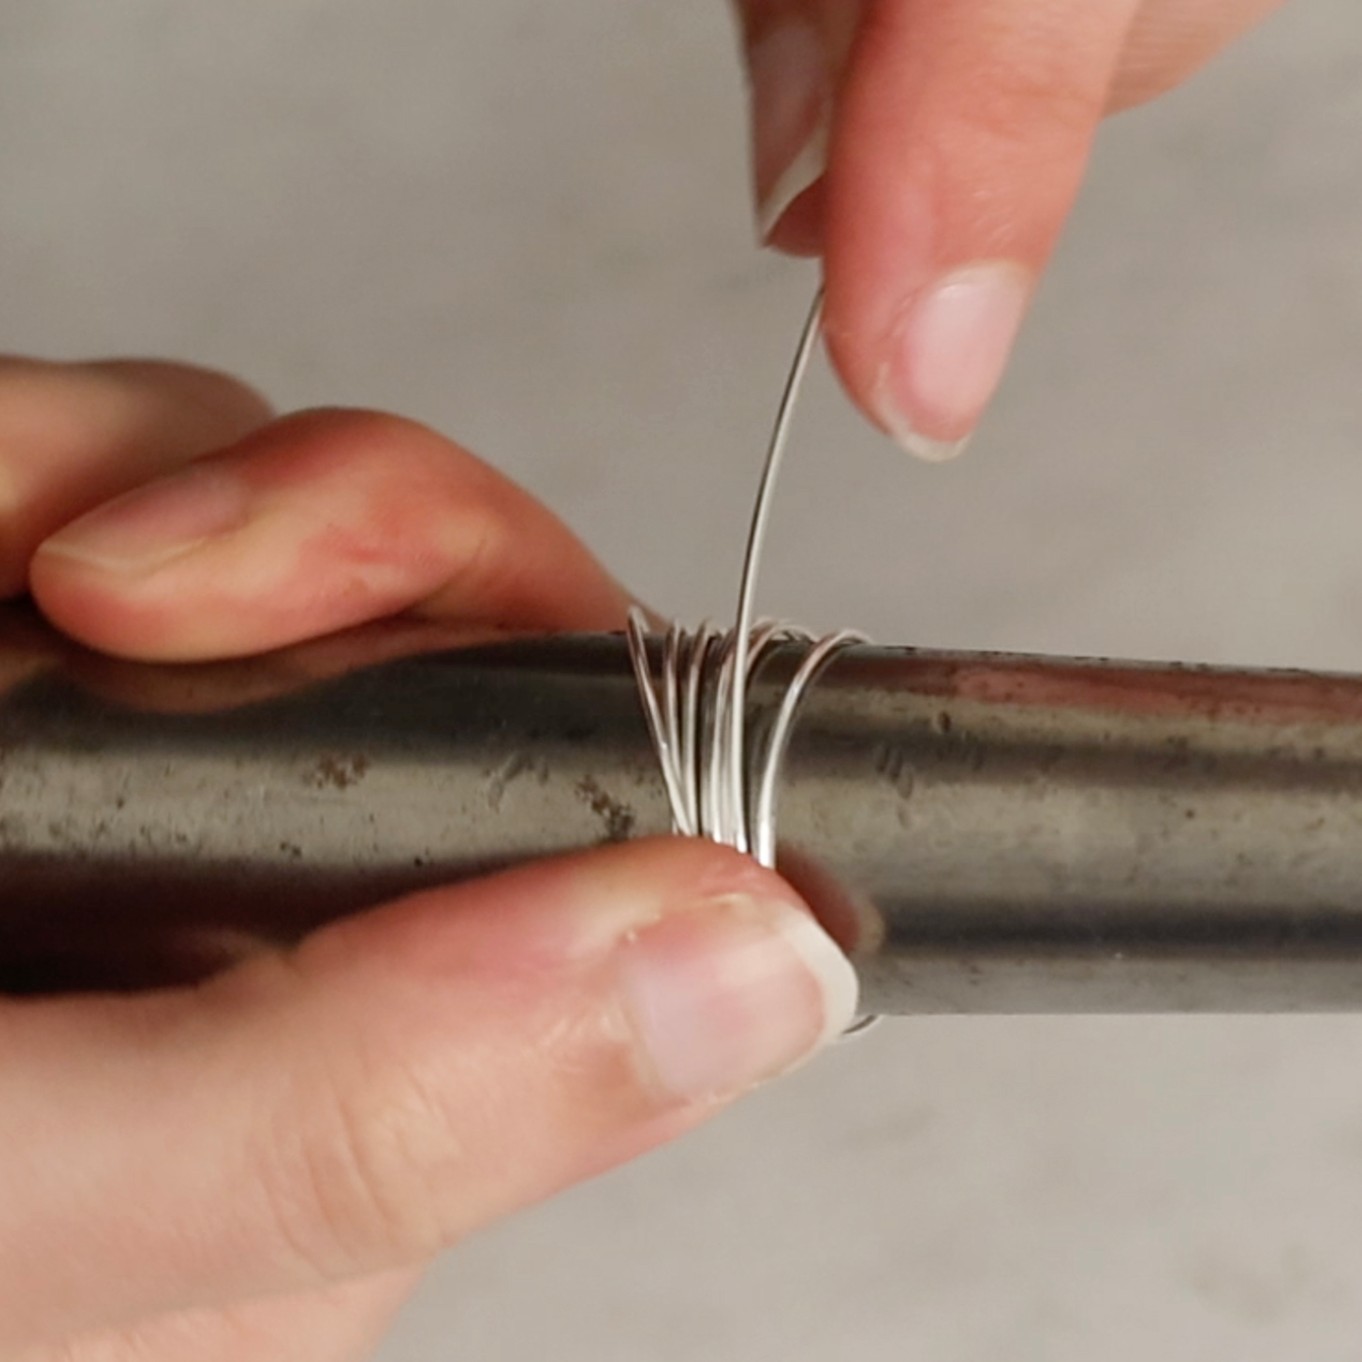
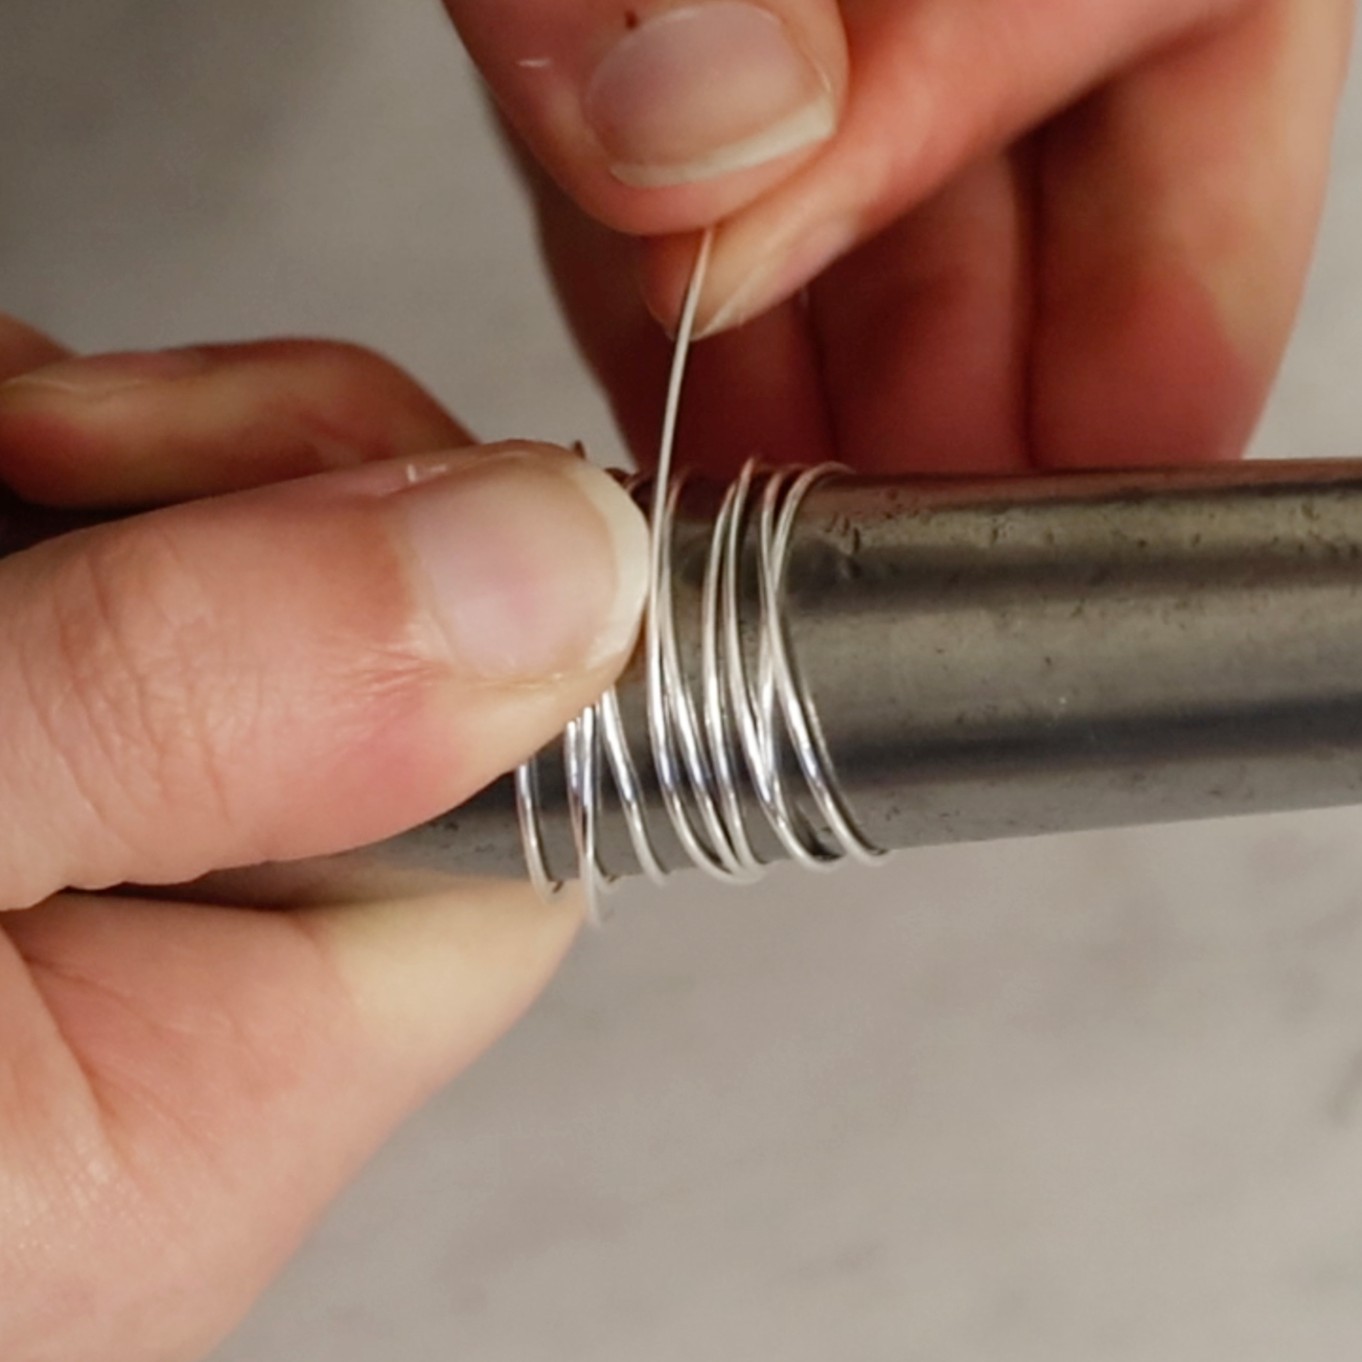
1. Using your 35cm piece of 0.8mm wire, wrap around the wheatsheaf mandrel as many times as you like in order to get the thickness of the 'nest' that you desire.
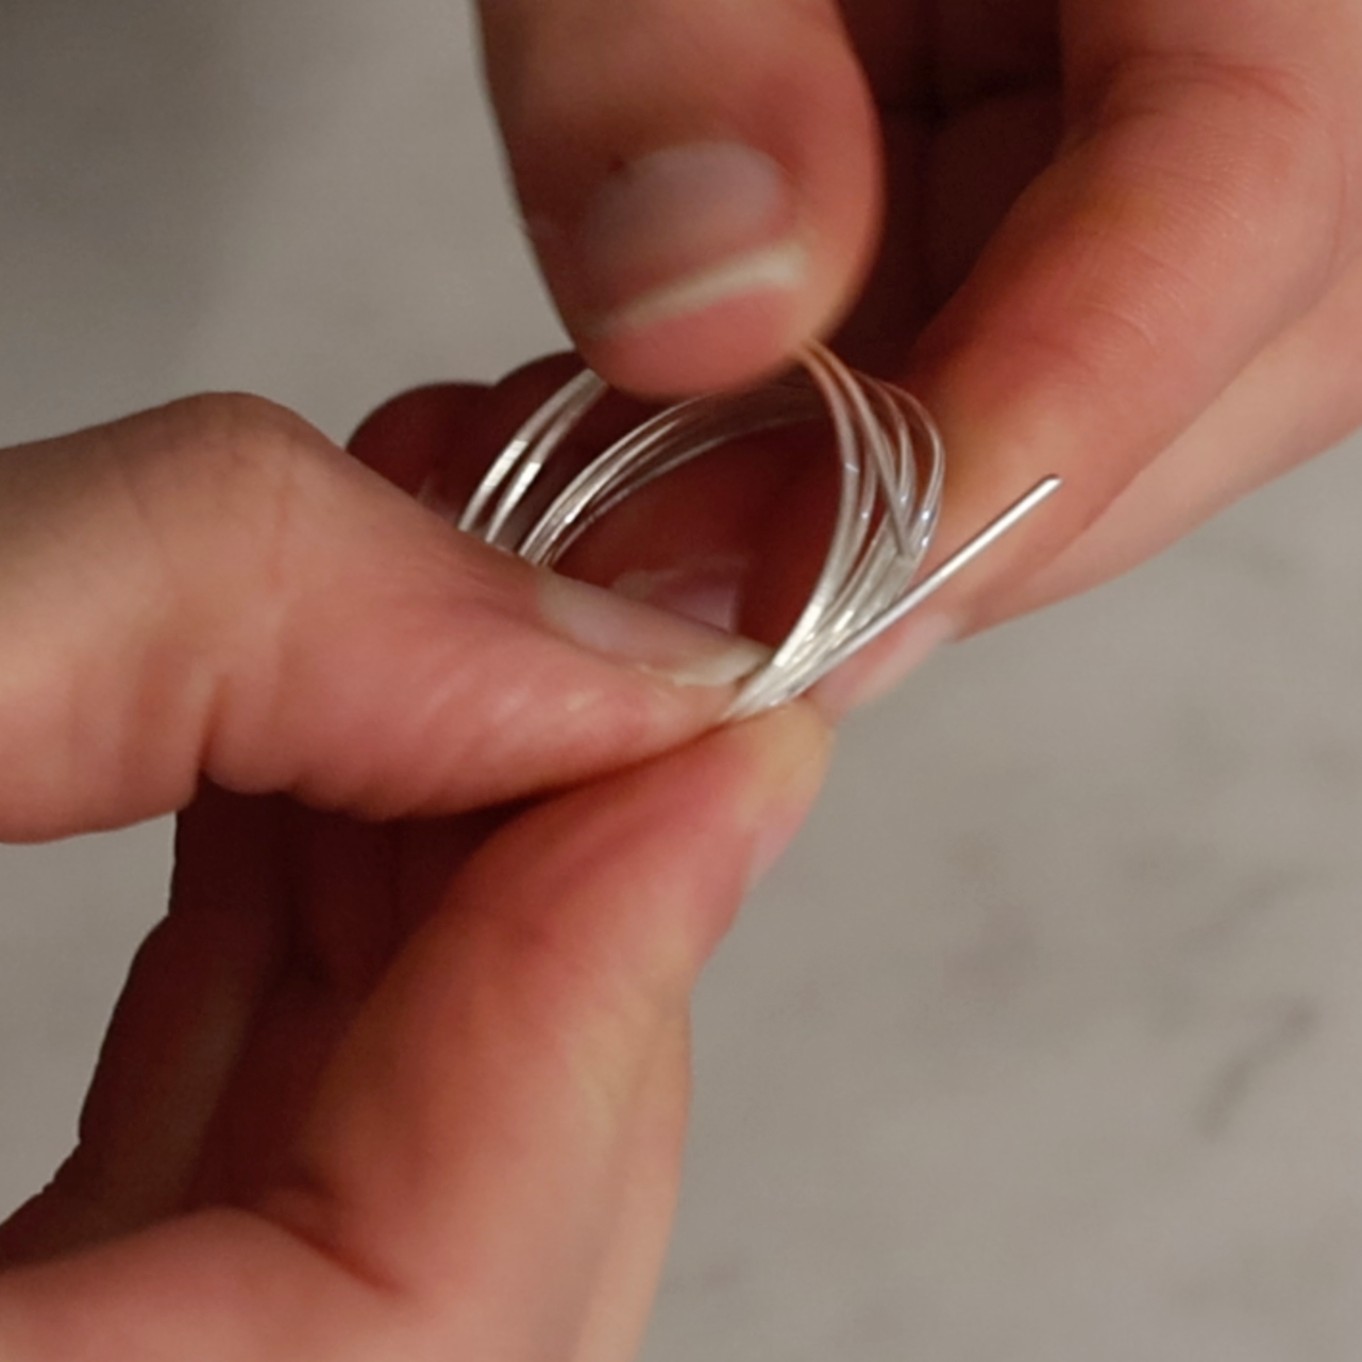
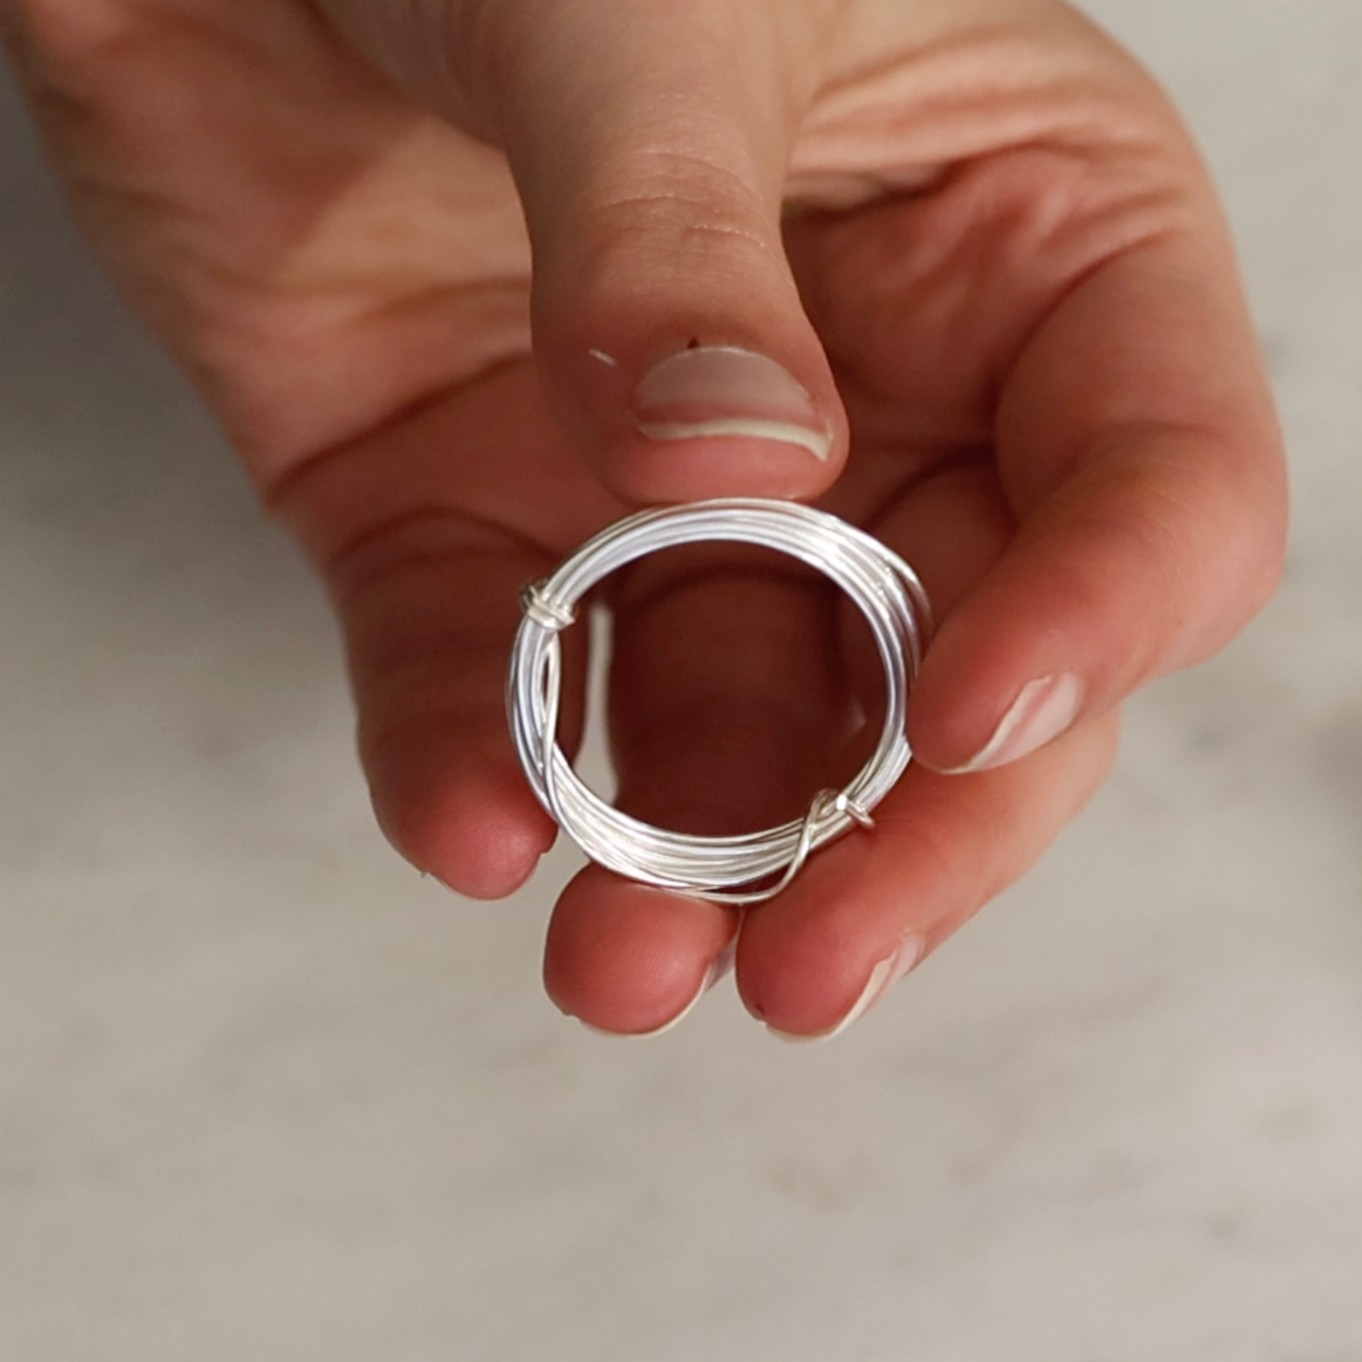
2. Once you have reached your desired thickness, slide your 'nest' off the mandrel and hold firmly in place.
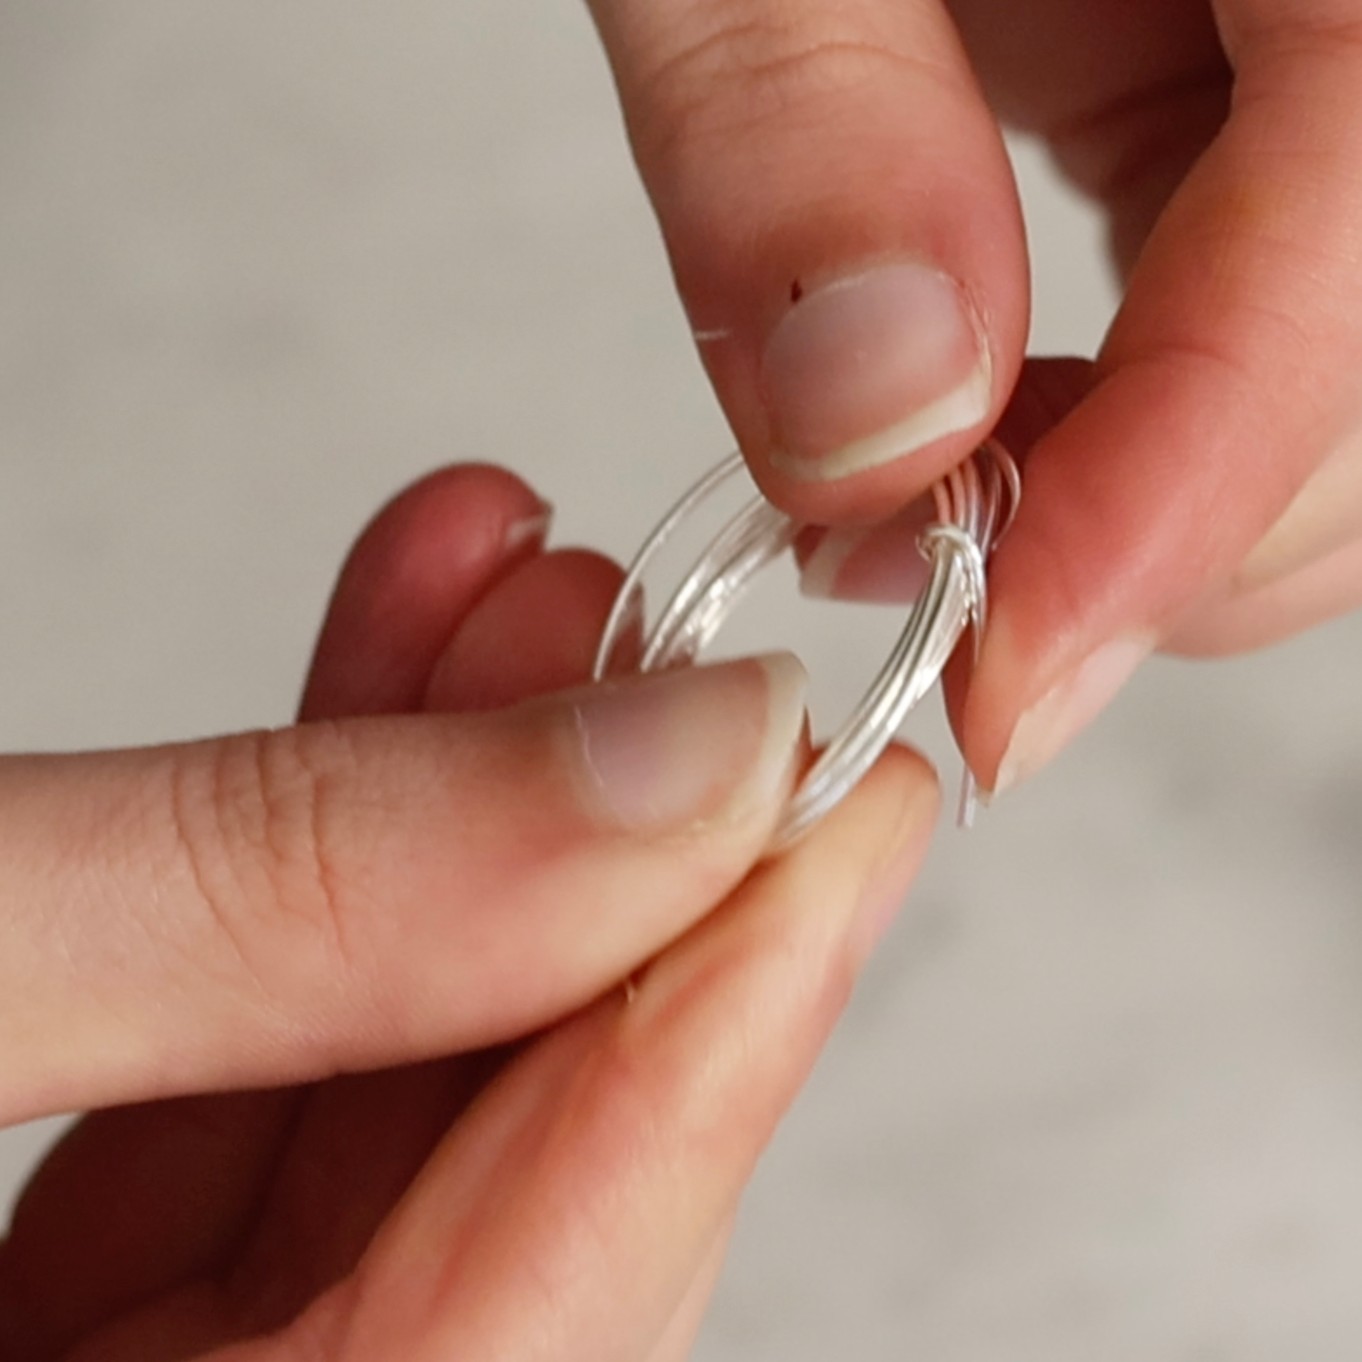
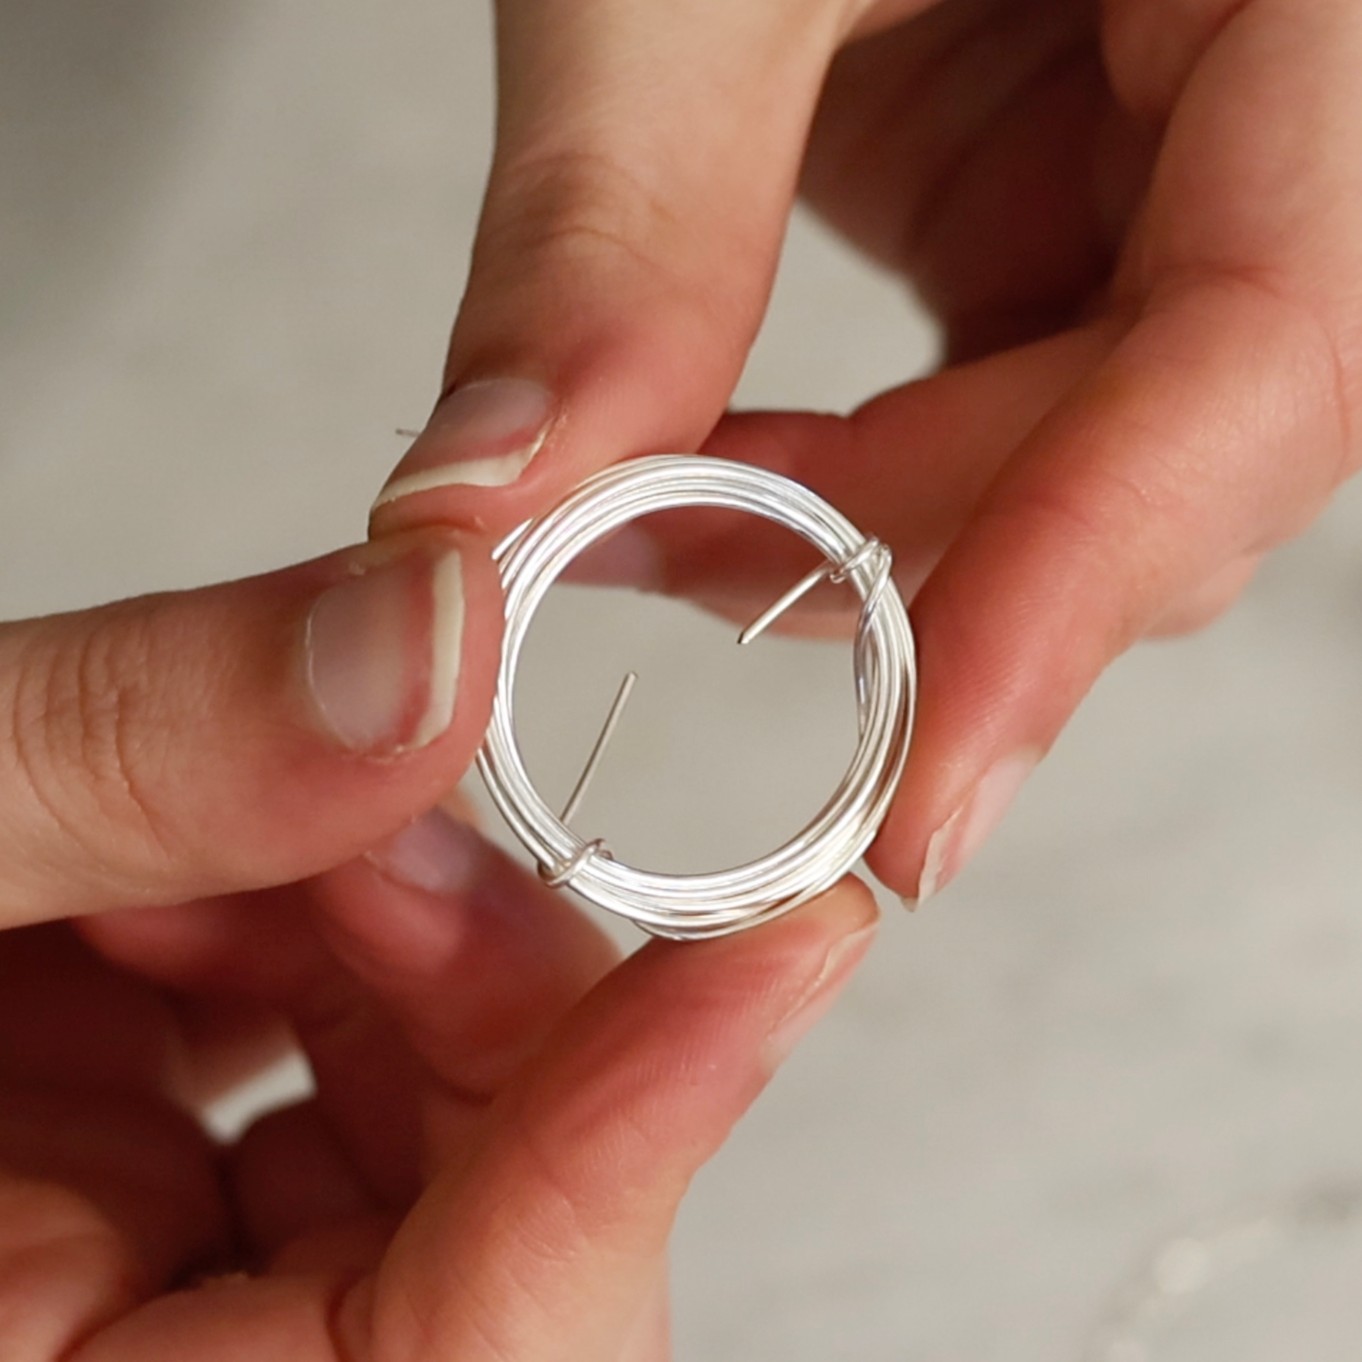
3. Bend the ends of the wire around your 'nest' using your fingers to hold the wire tightly in place.
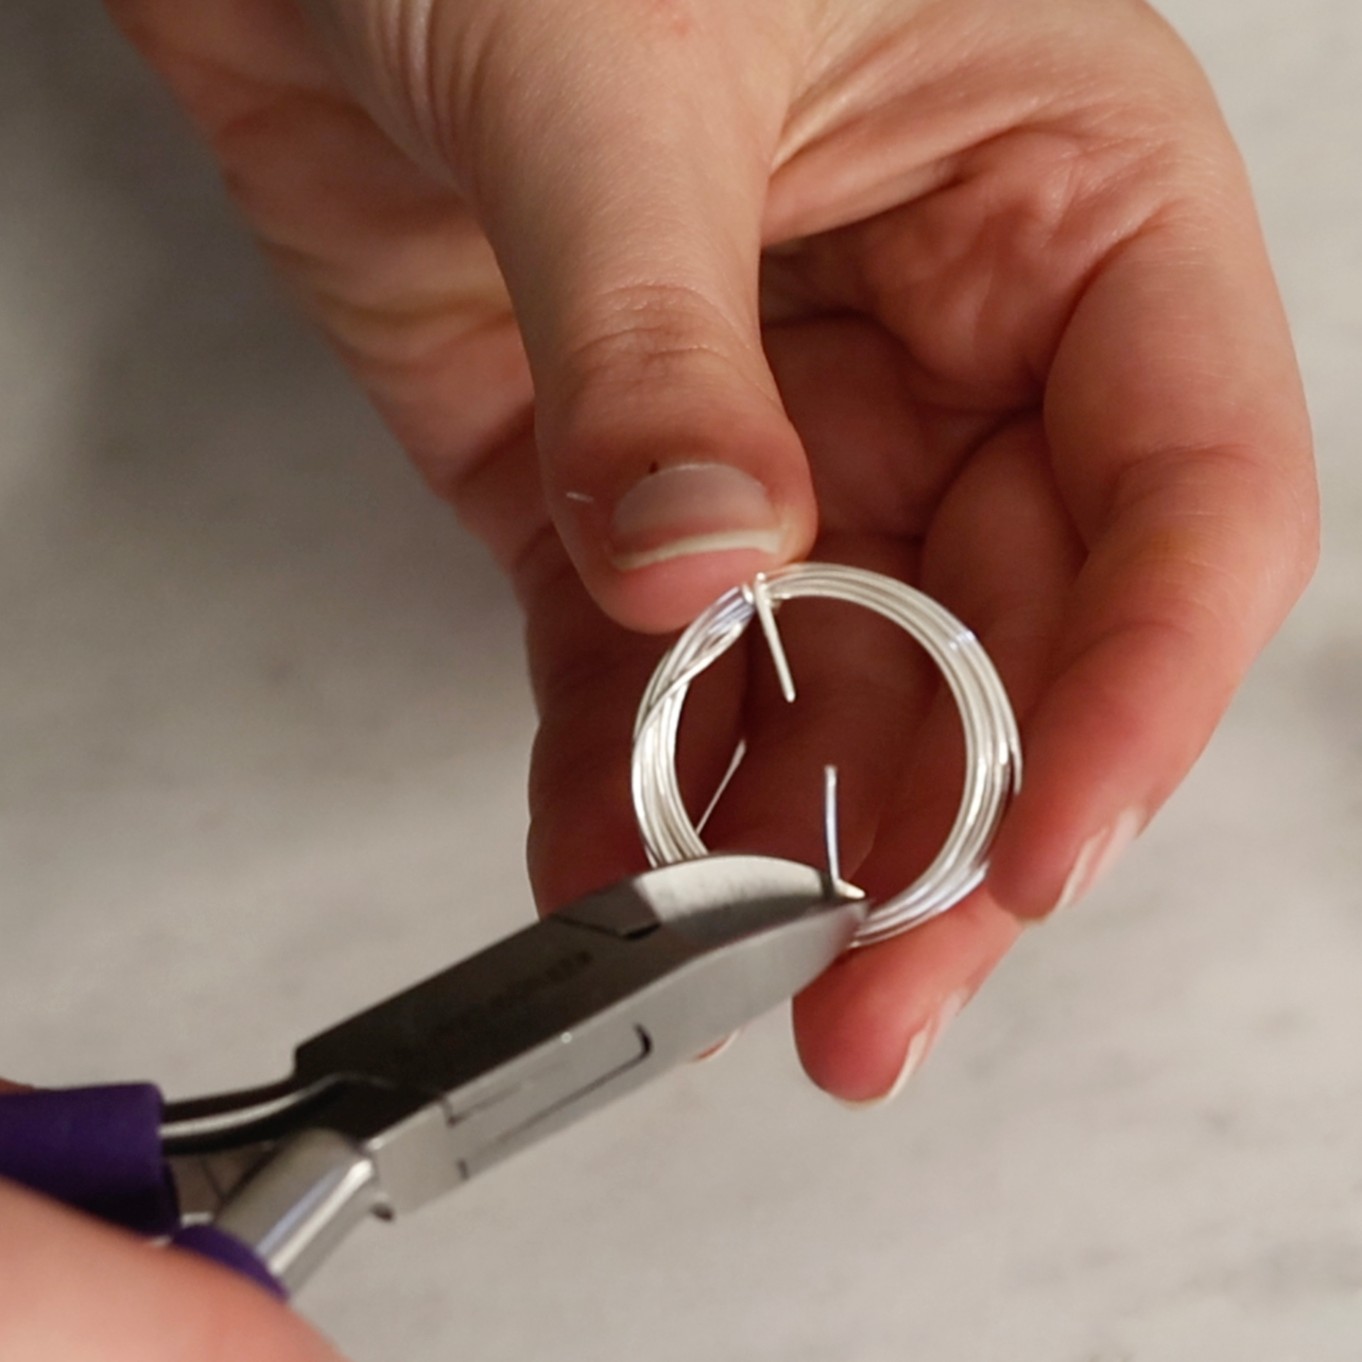
4. Using a pair of side cutters, snip the loose ends of the wire away. We used a file to soften those sharp ends, resulting in a much neater finish.
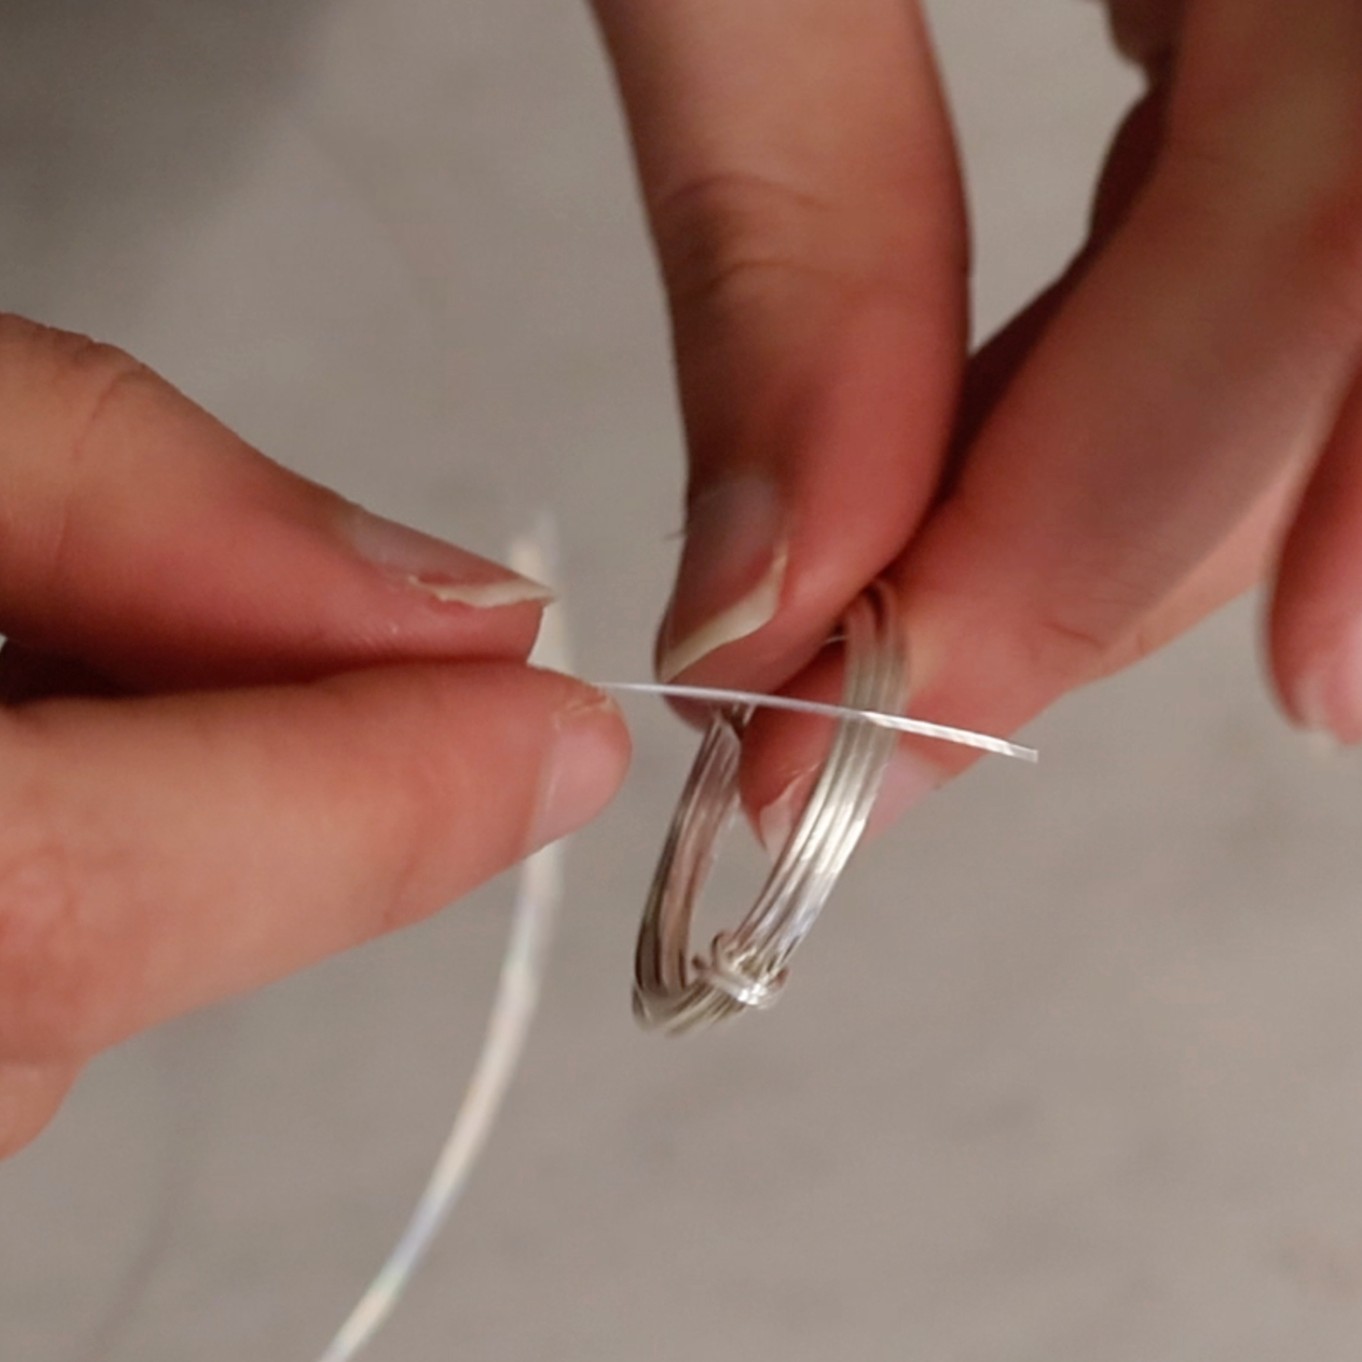
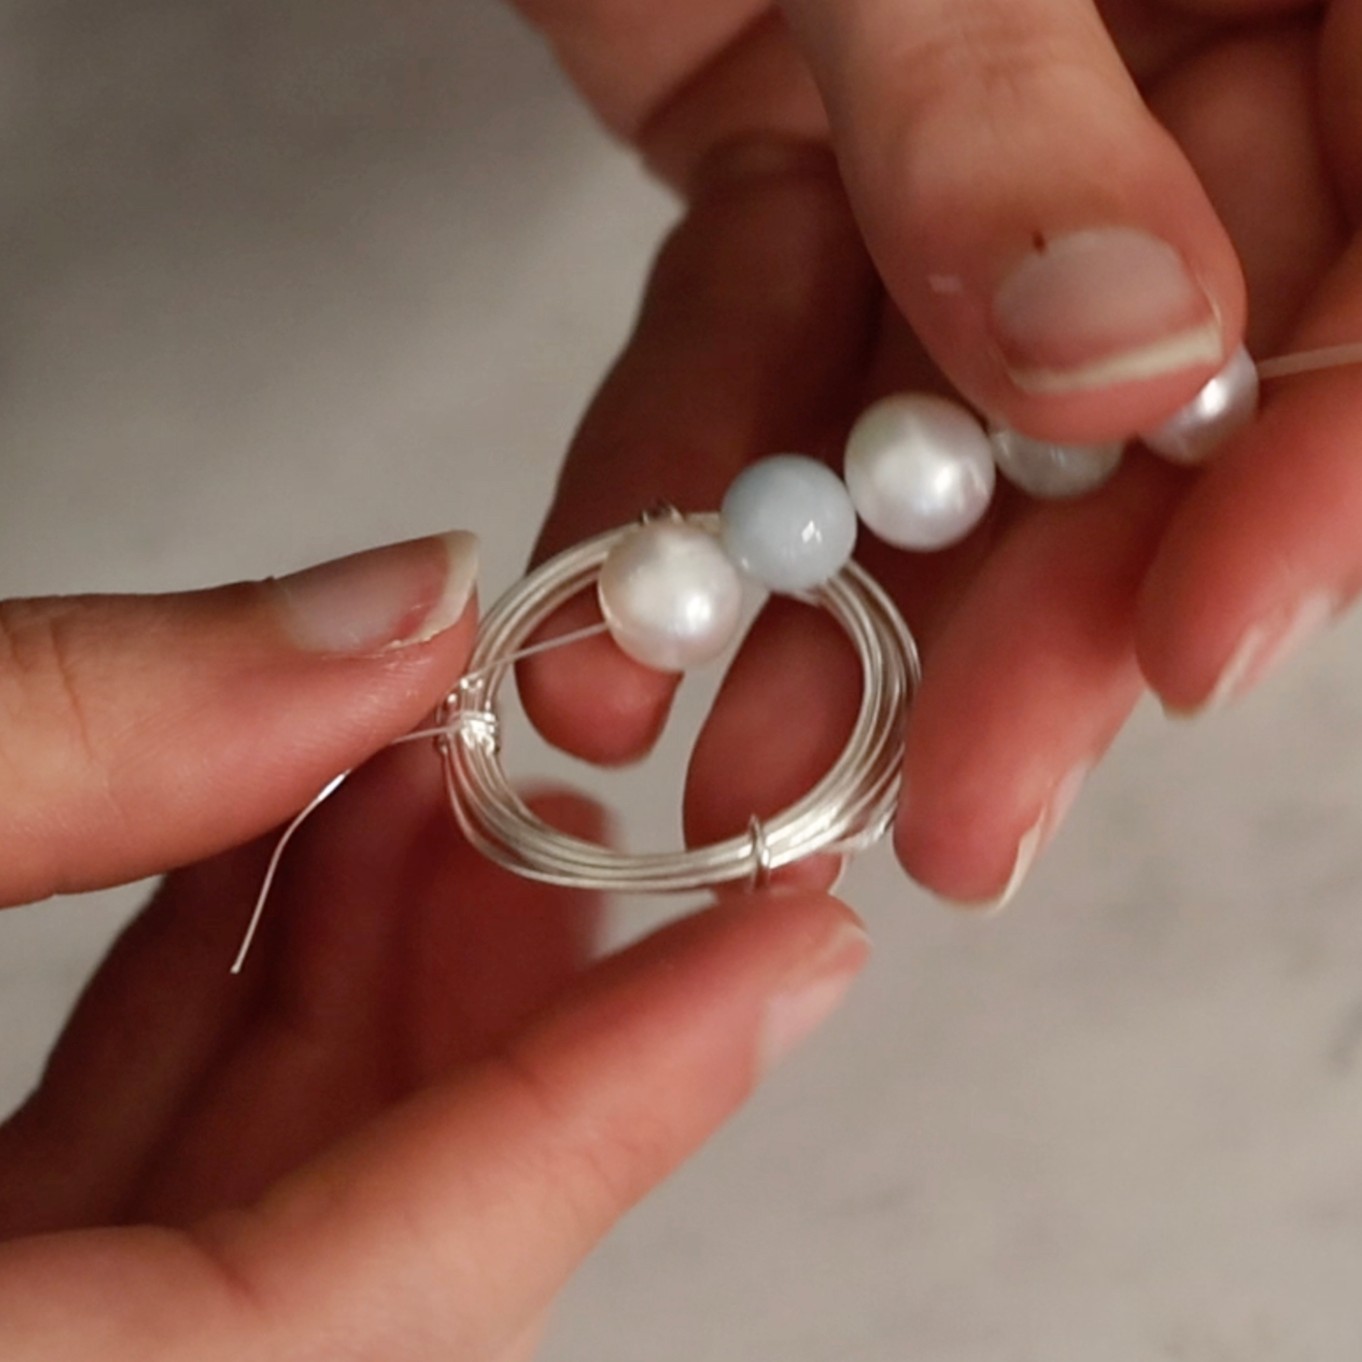
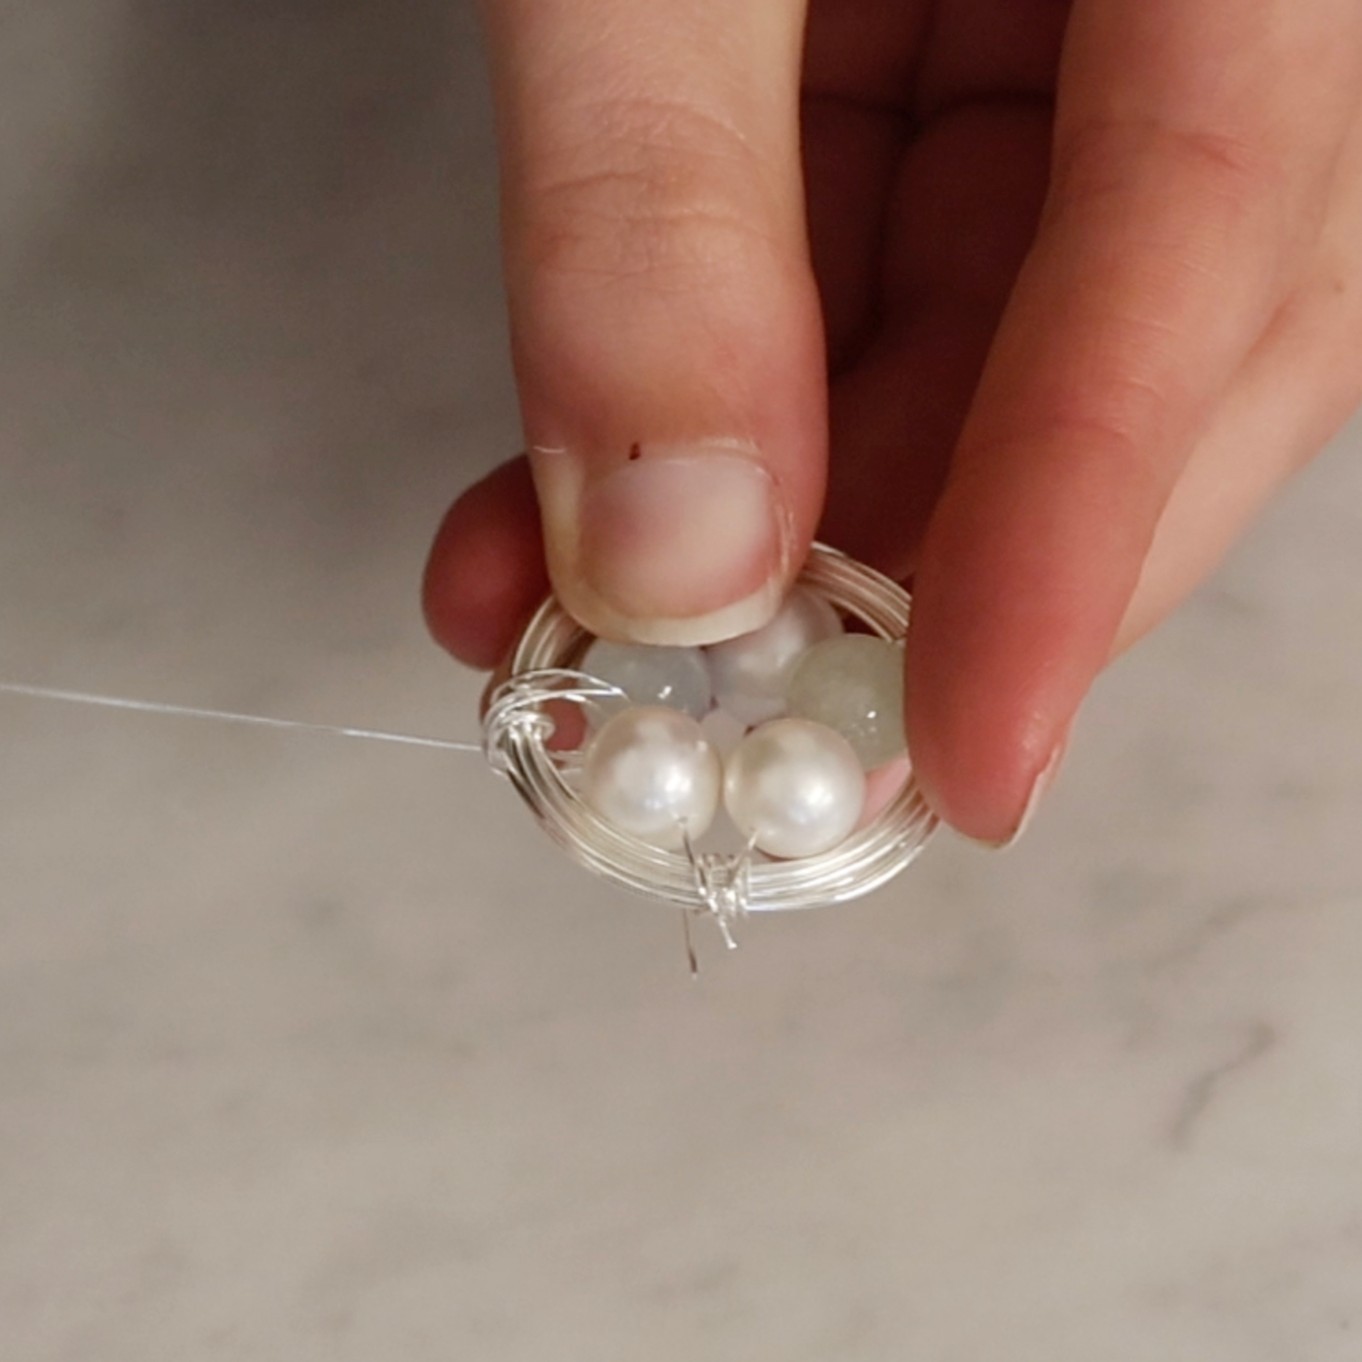
5. Take a 30cm length of 0.3mm wire, wrap one end around the edge of your 'nest.'
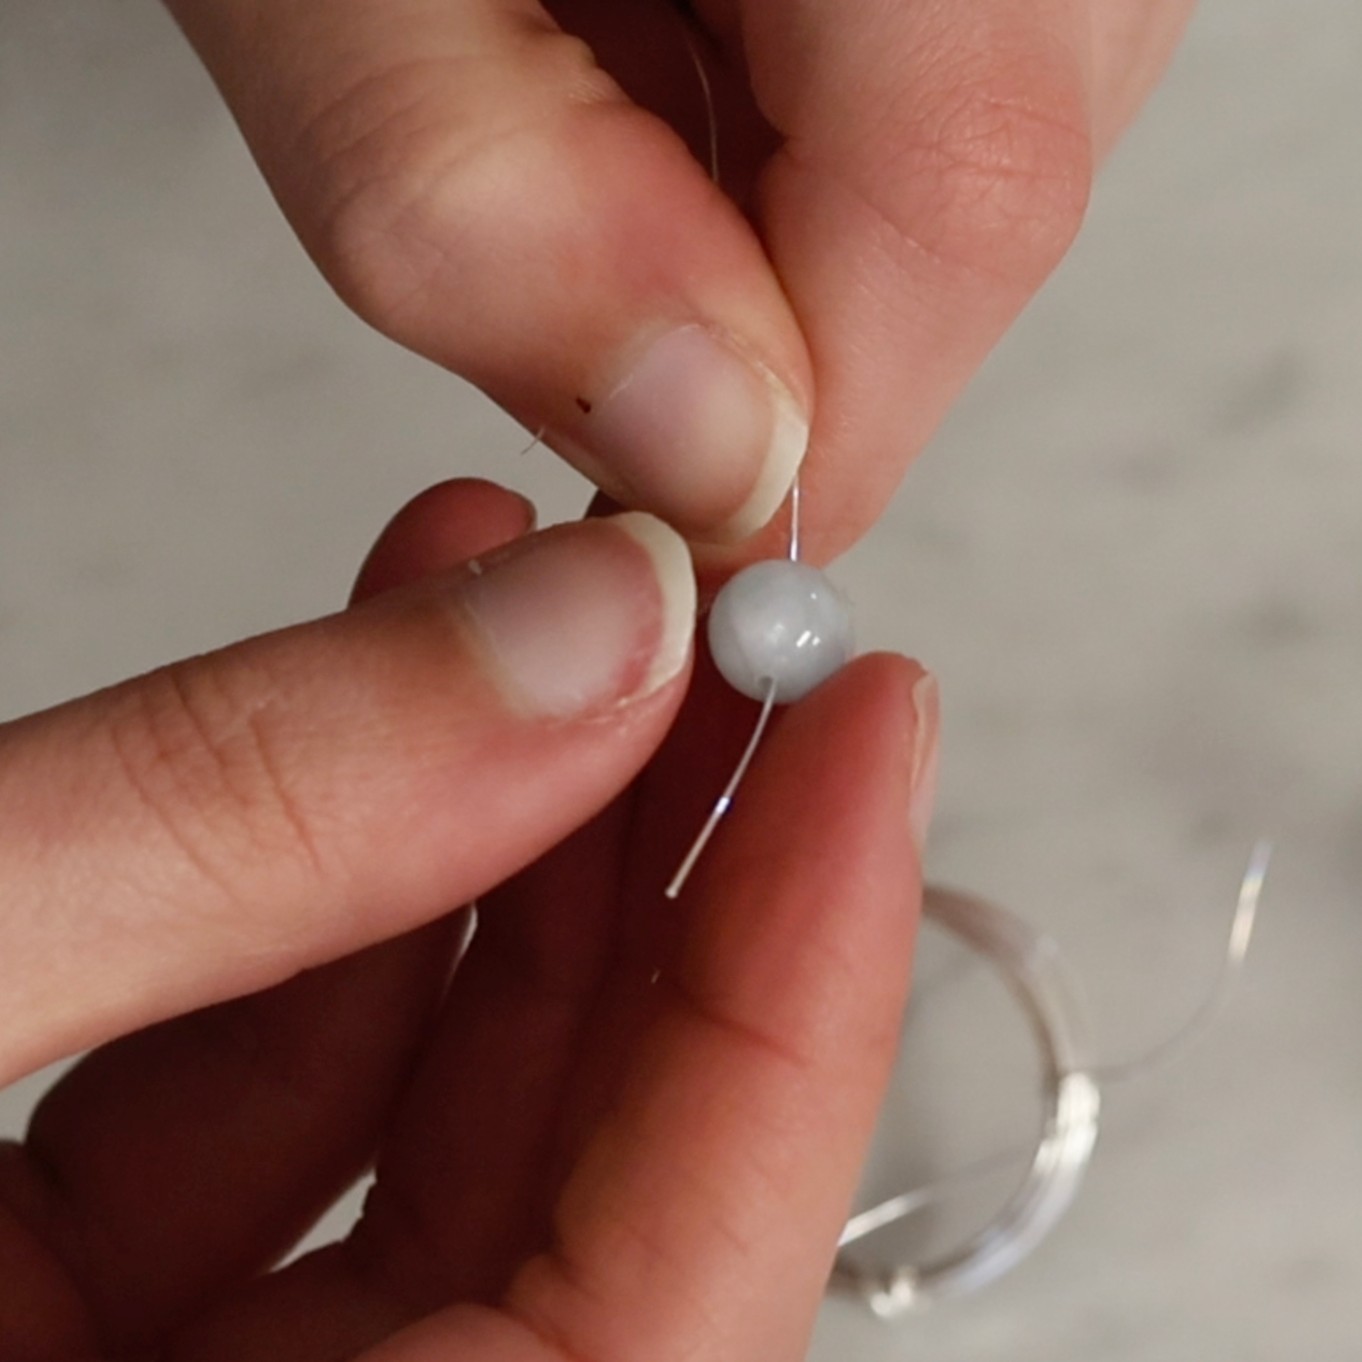
Carefully thread your chosen gemstone beads (we've picked aquamarine and morganite with pearl beads), looping them into a circle.
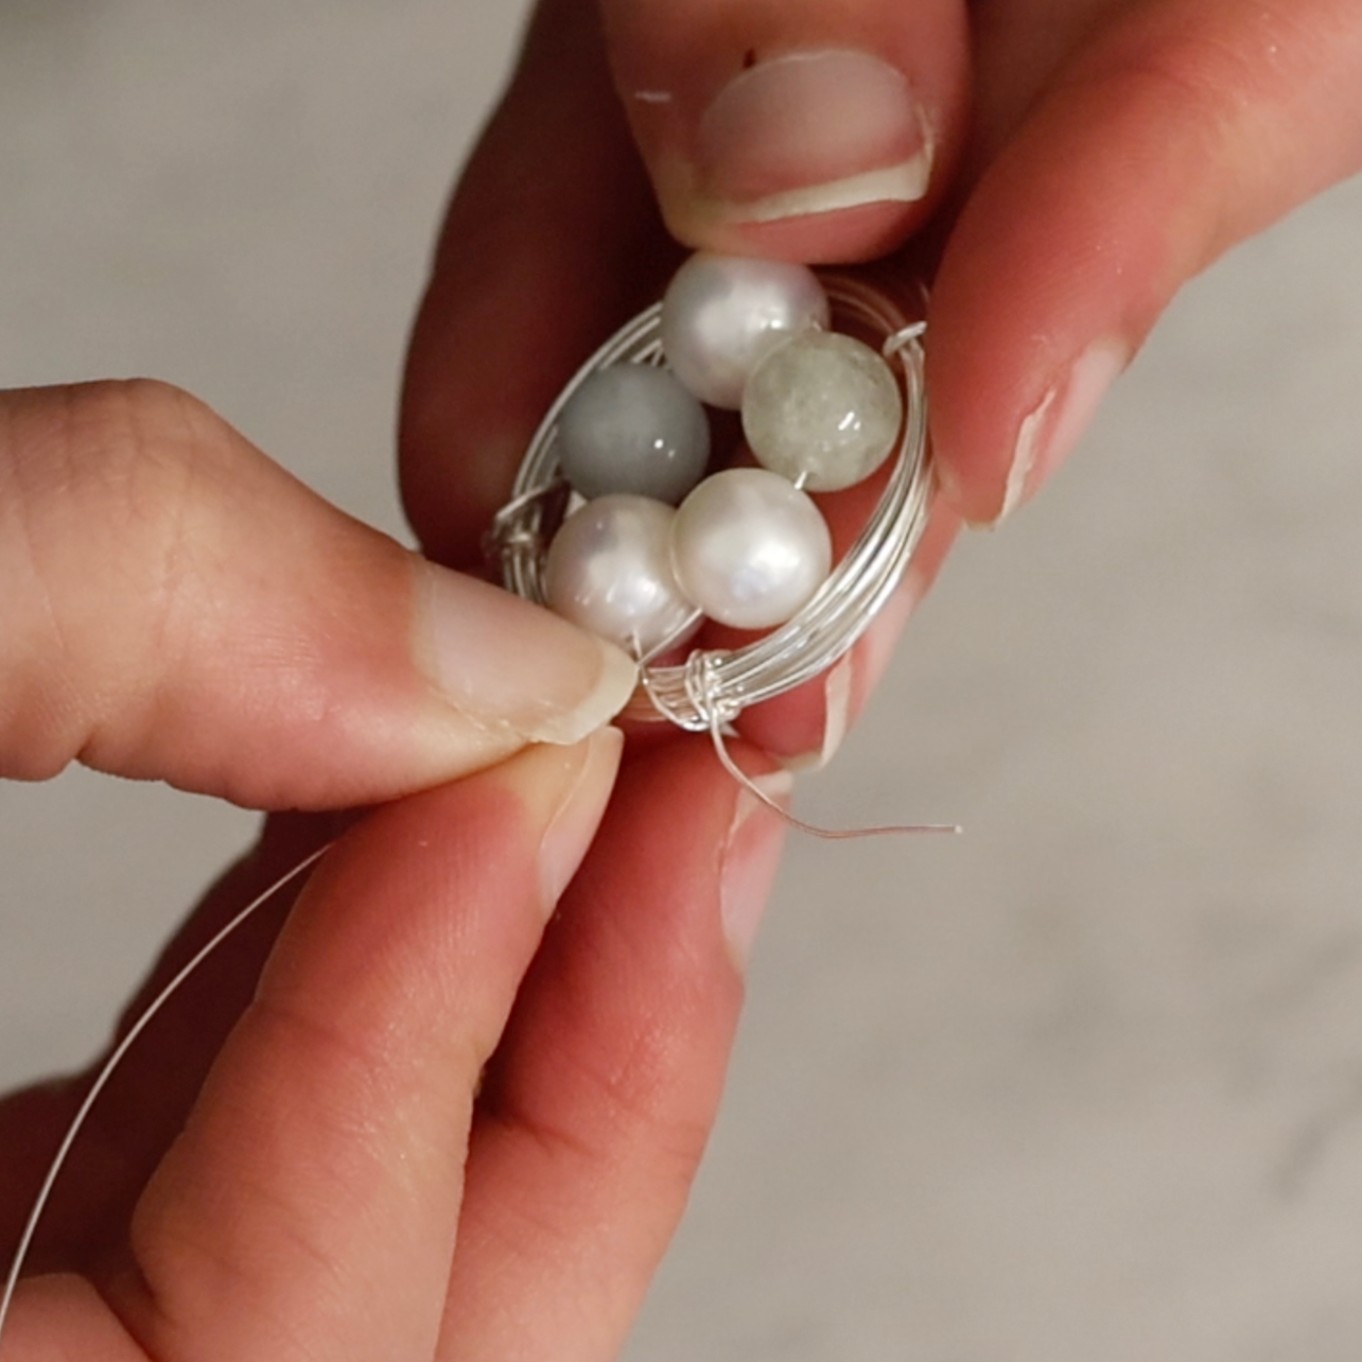
6. Secure them by wrapping the opposite end of the wire around the edge of your 'nest,' holding the beads tightly in place with your thumb as you do so.
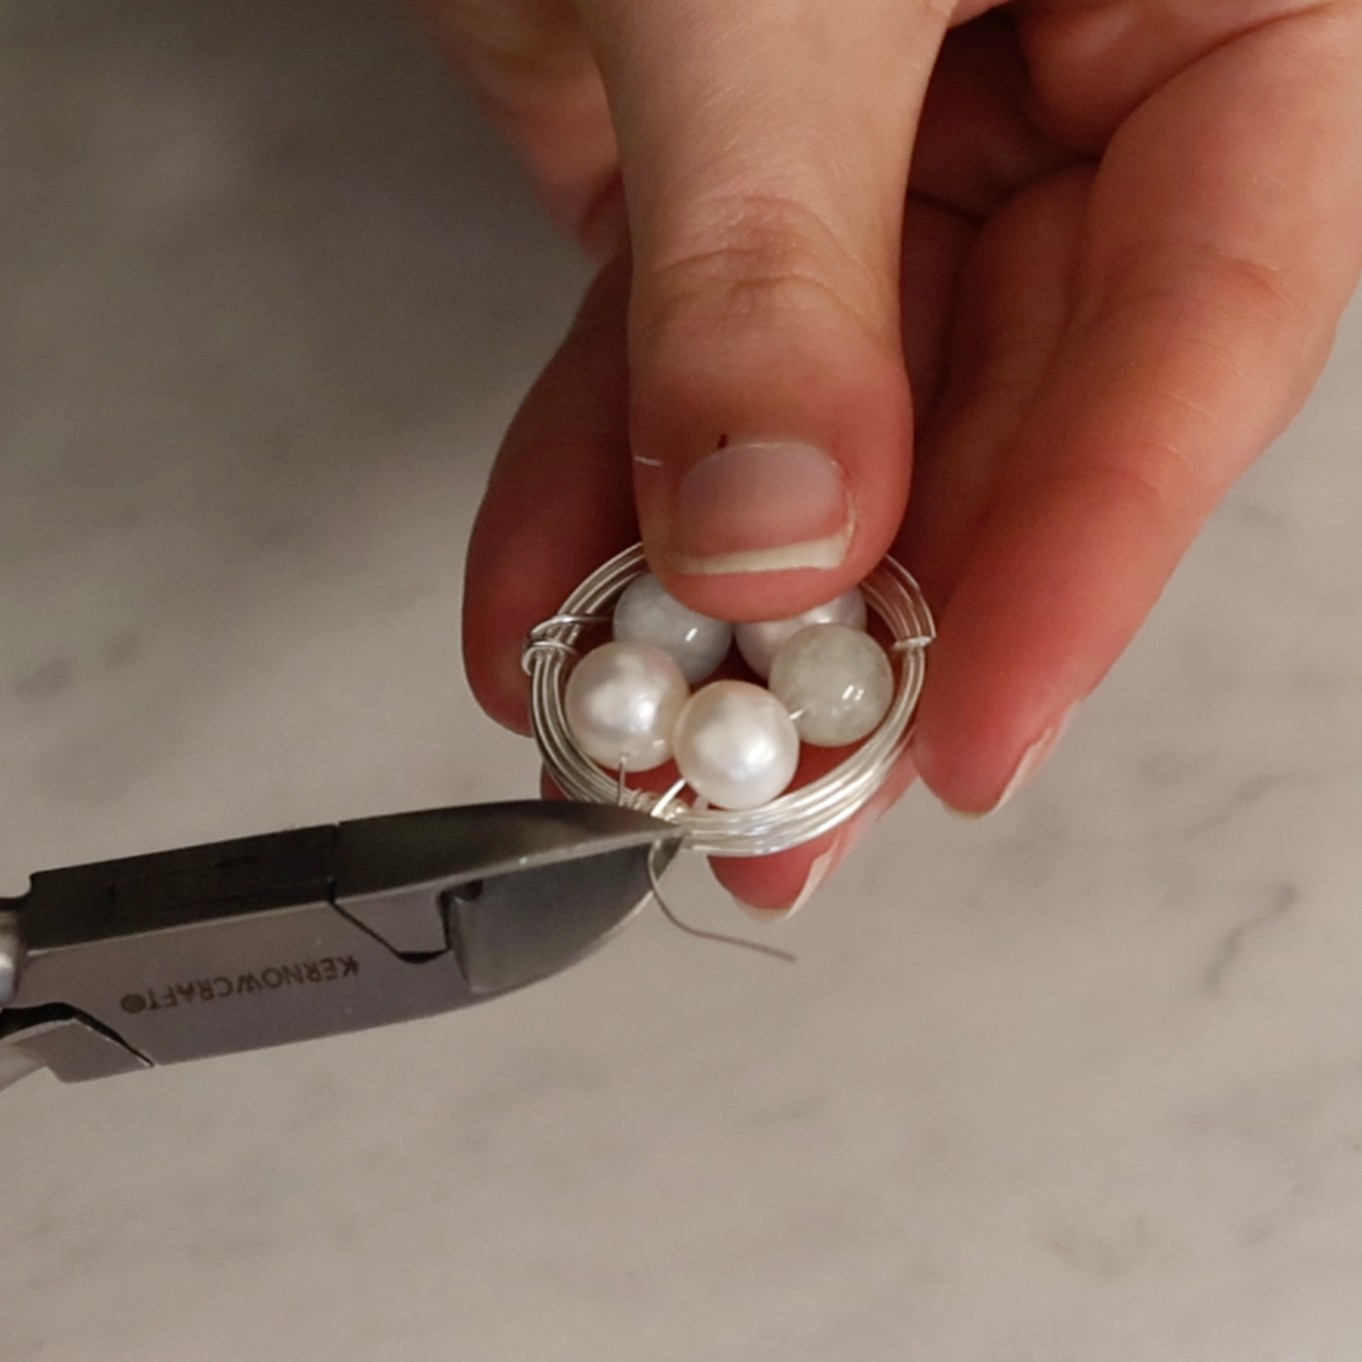
Trim the excess wire off with your side cutters.
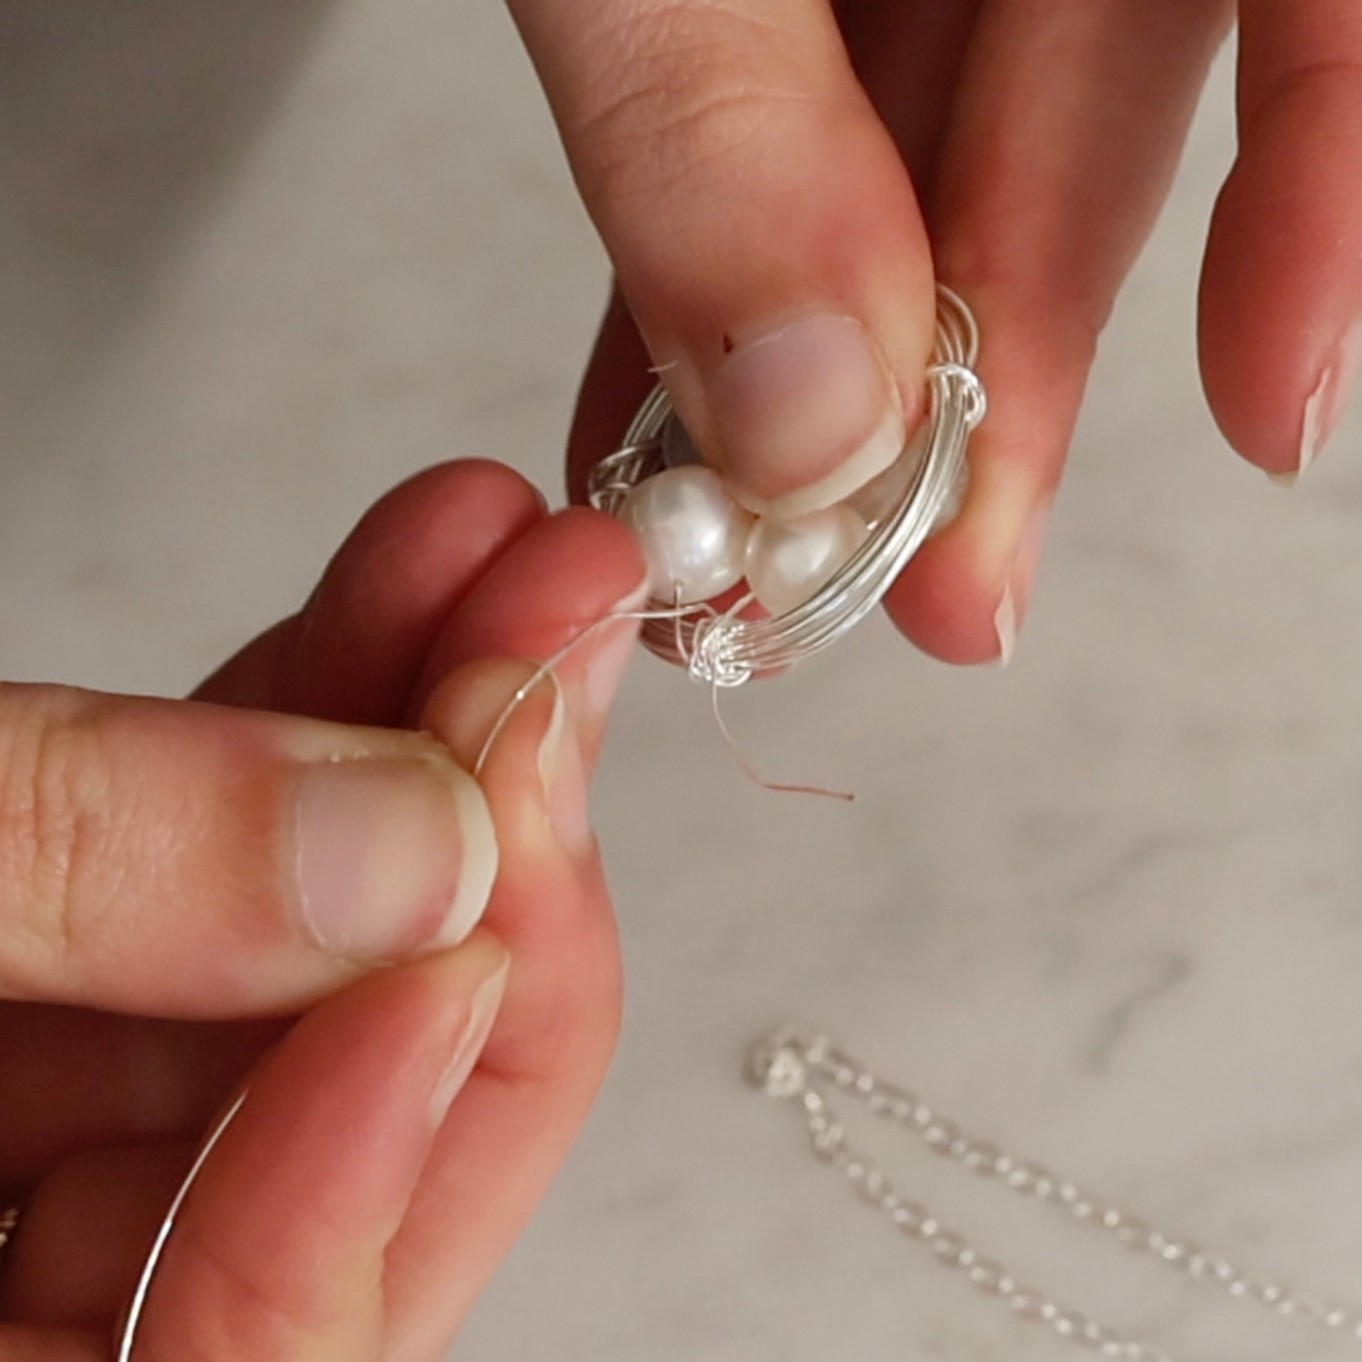
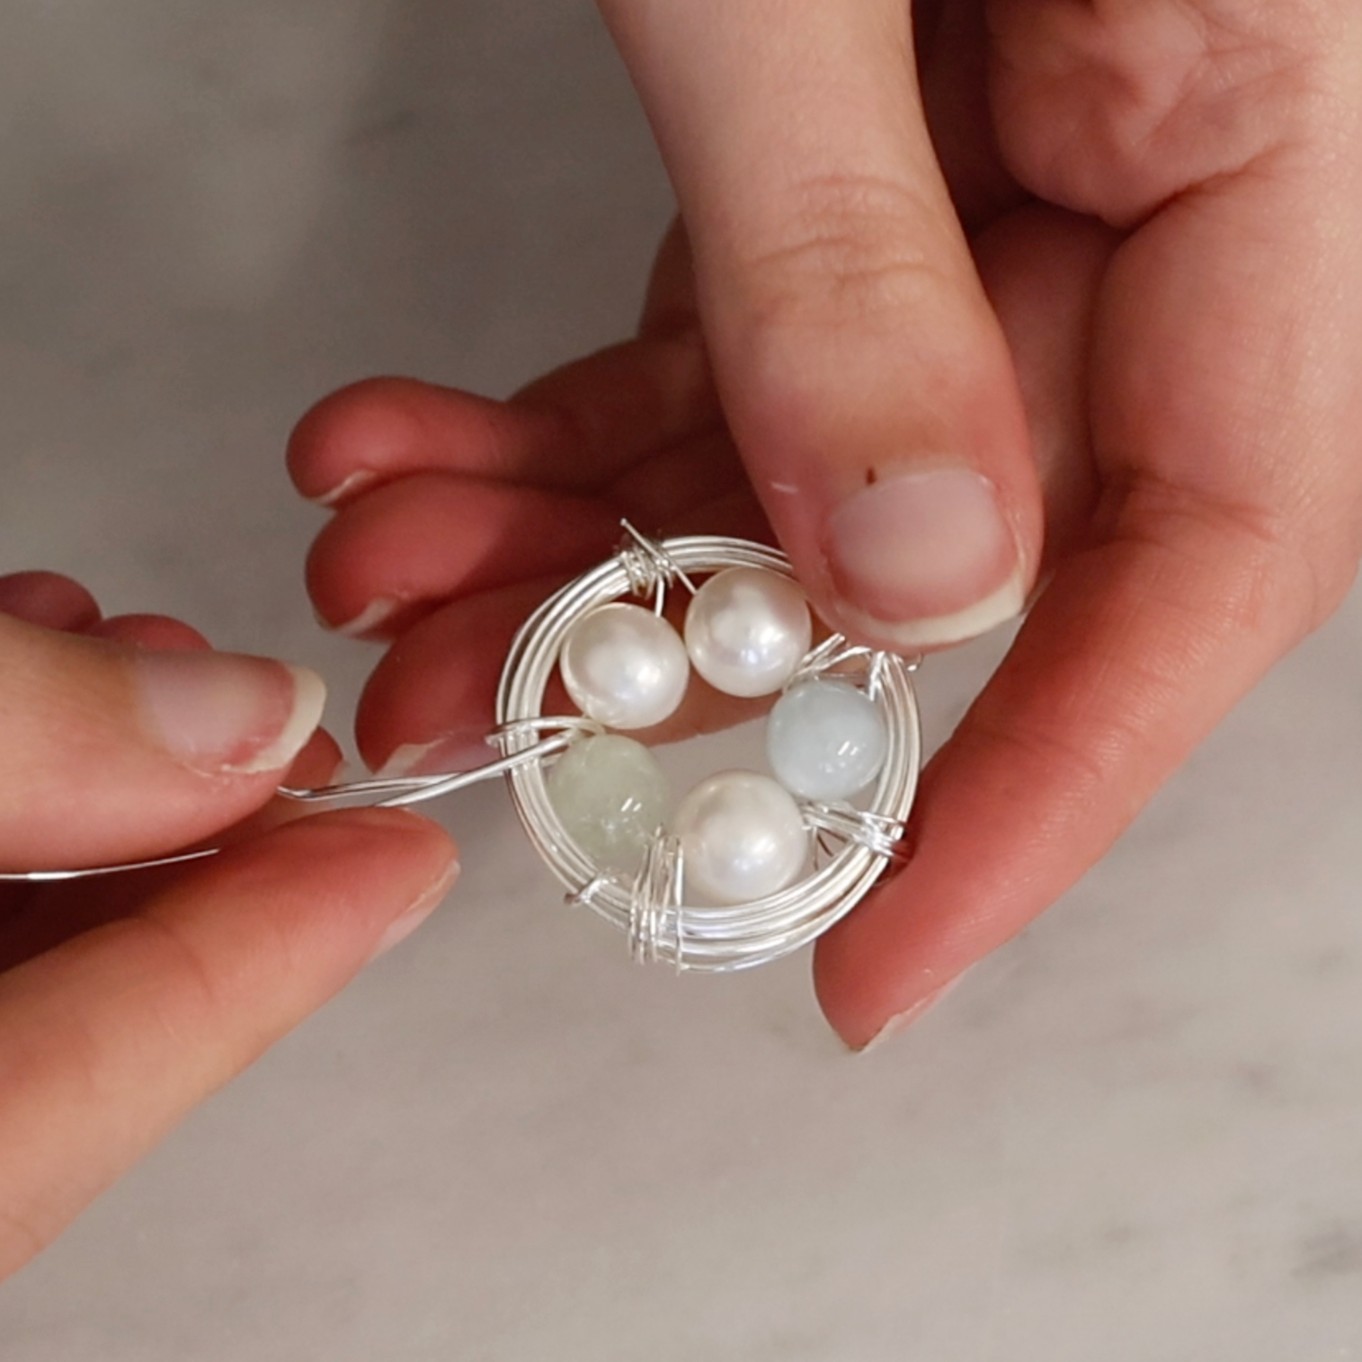
7. Take another 30cm length of 0.3mm wire and wrap around the 'nest' and the circle of beads you've created. This will start to hold your 'eggs' into place.
Repeat this step twice.
Cut away any loose pieces of wire and file the sharp edges.
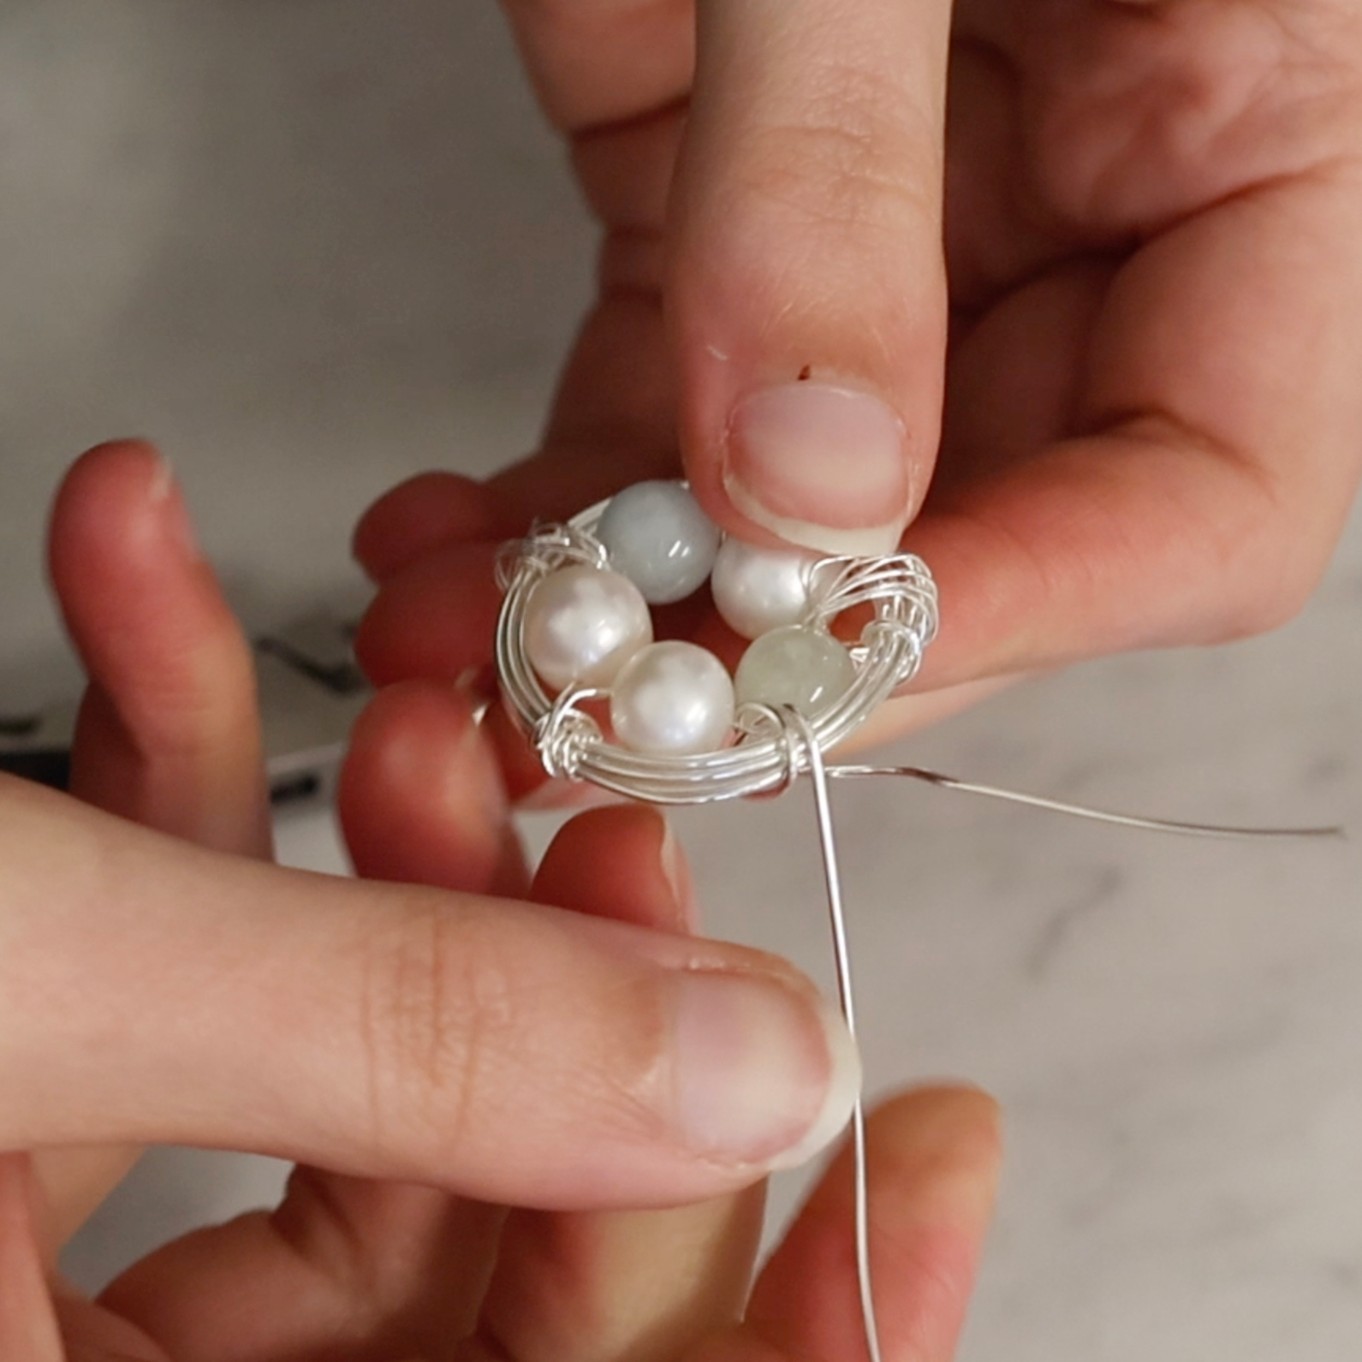
8. Using 15cm of 0.8mm wire, wrap around the last unsecured piece of your 'nest' and 'eggs.'
Cross the two ends of your wire over.
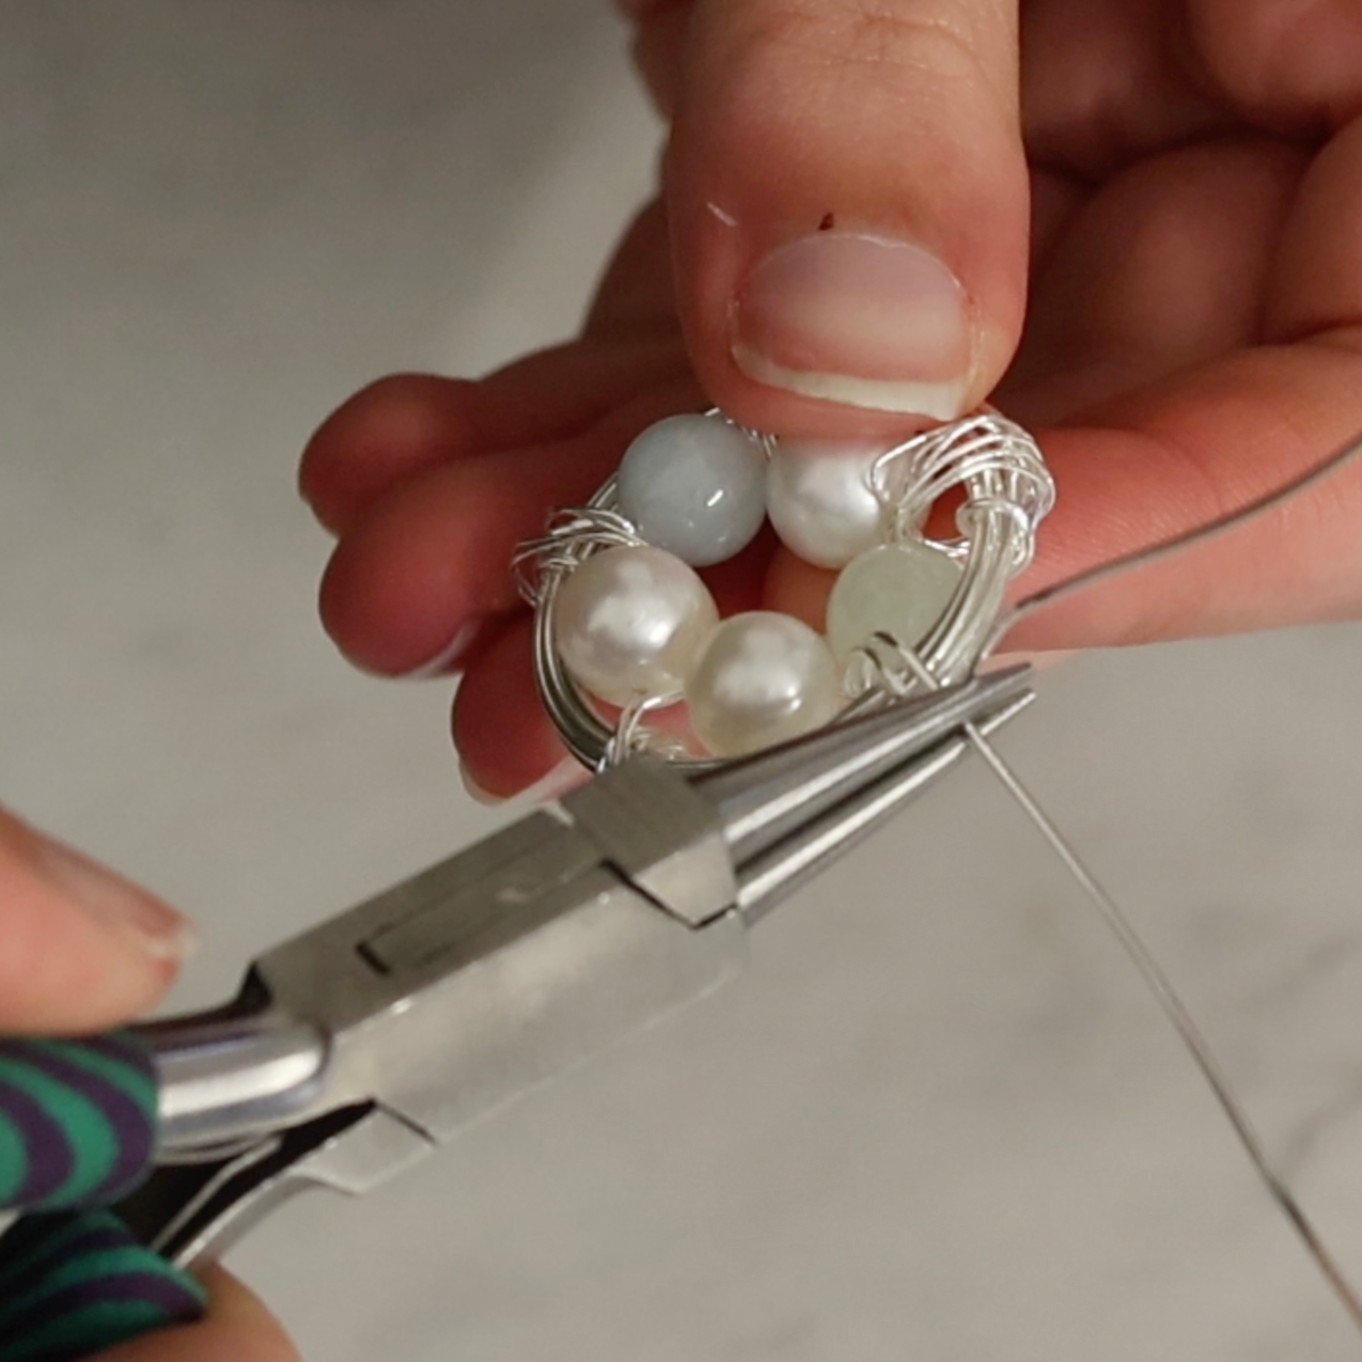
9. With your round nose pliers, create a loop (this is to attach your jump ring later).
Trim away any excess wire.
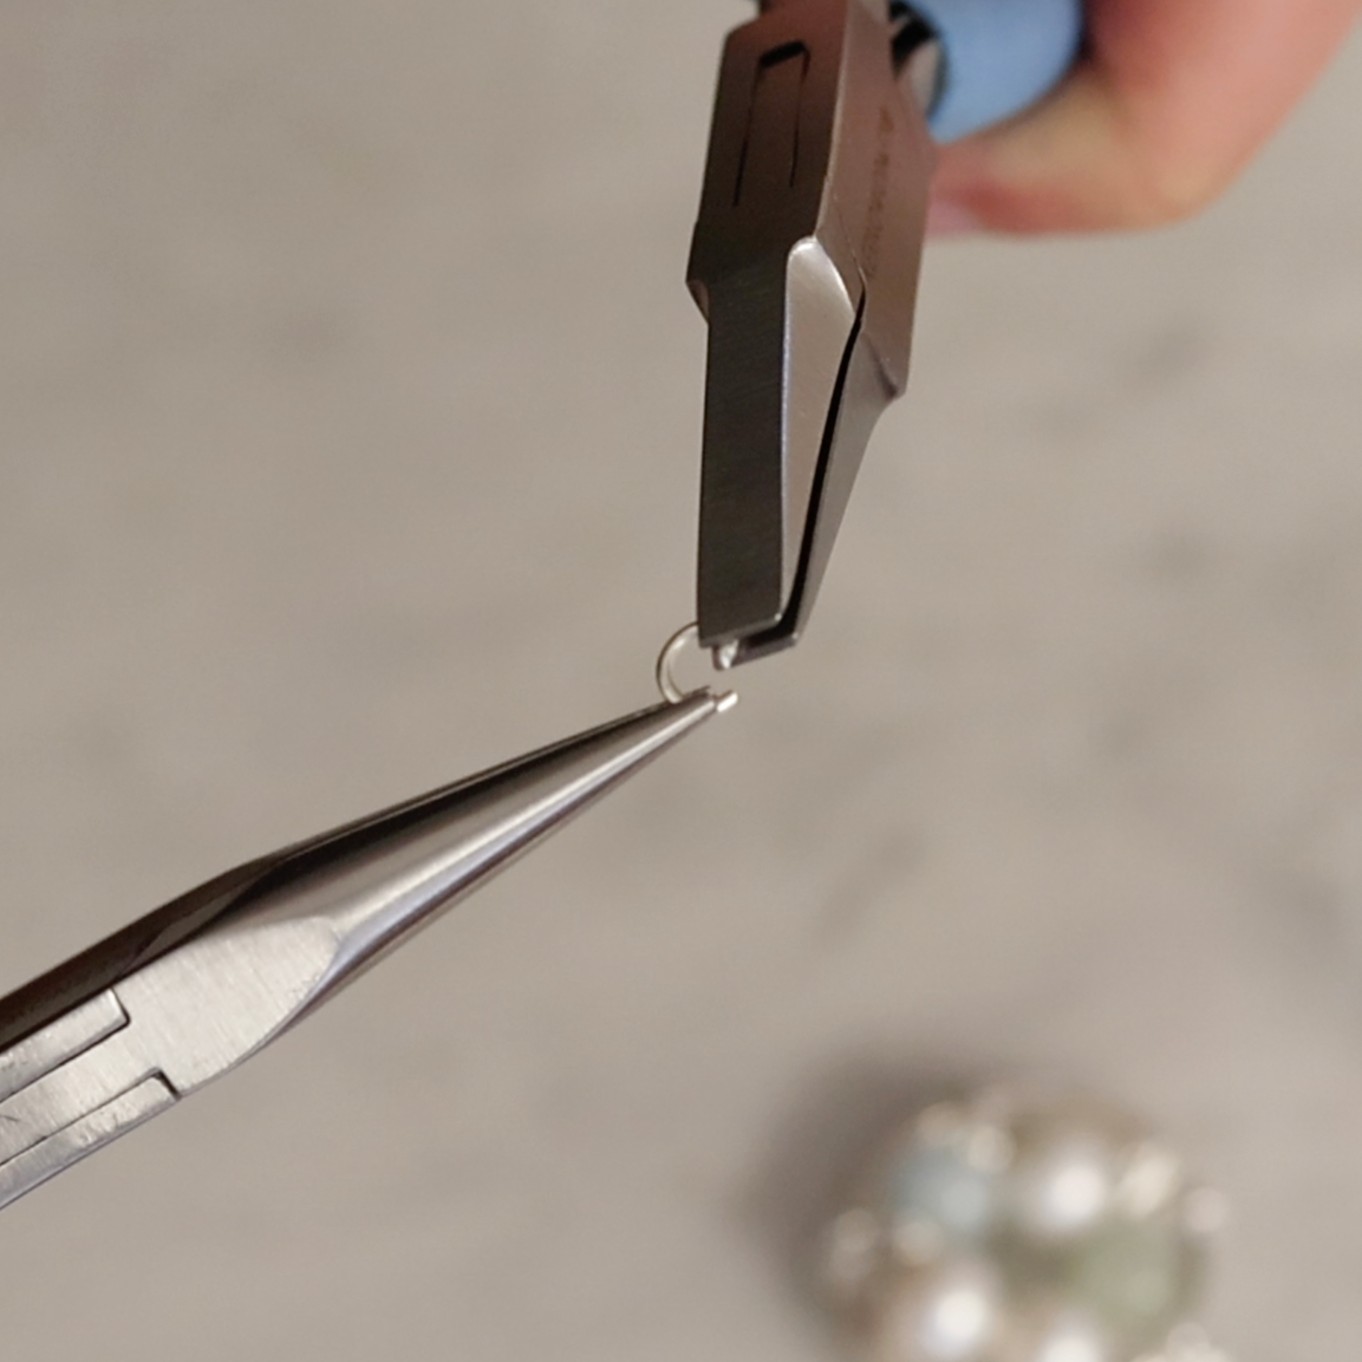
10. Take your flat nose and your snipe nose pliers to carefully twist open a jump ring.
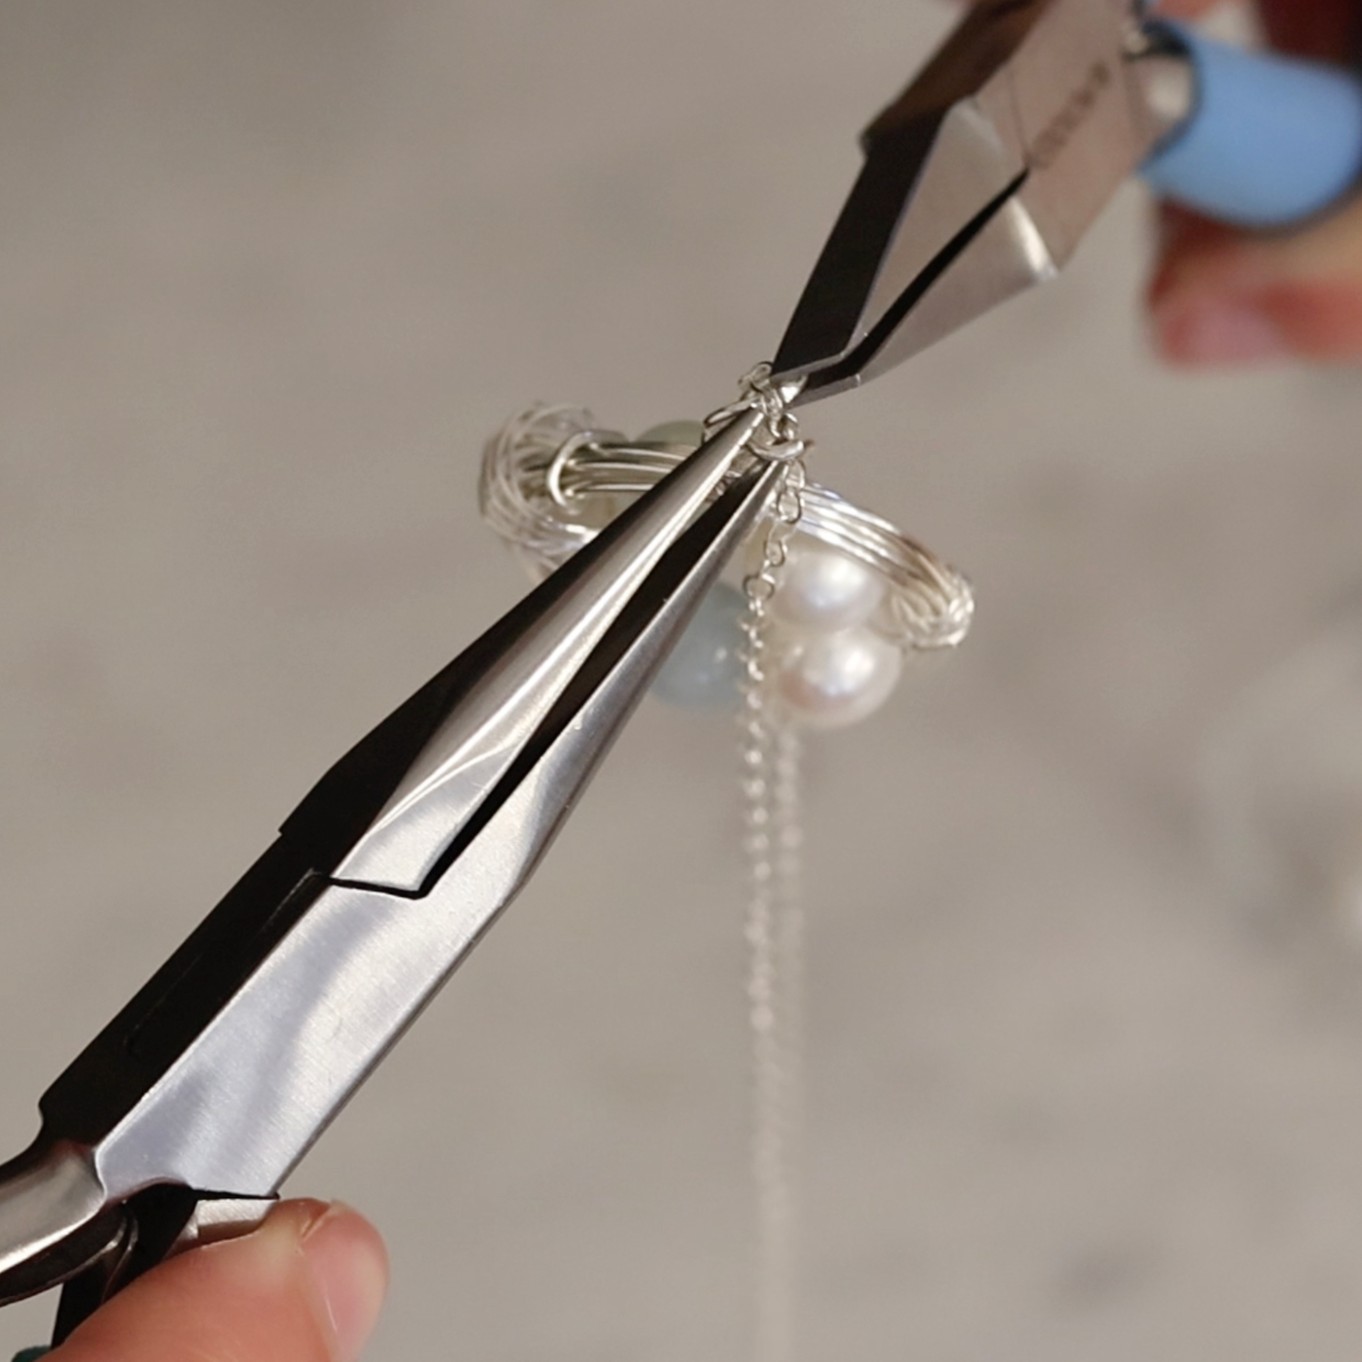
Attach your chain and hook the loop of your 'nest' through the jump ring.
11. Twist your jump ring shut using your flat nose and snipe nose pliers.
File down any sharp points of your 'nest,' leaving you with a beautiful gift for someone special!
Also in this Section
- How To Make A Wire Wrapped Nest Necklace
- Tools For Making Jewellery Using Wire
- Your Guide On Choosing Wire For Jewellery Making
- Compare Jewellery Designs Using Different Sized Wire
- Wire Gauge Coversions
- How To Work Harden Jewellery Making Wire
- How To Use Nylon Jaw Pliers For Jewellery Making
- How To Use A Thing-A-Ma Jig For Jewellery Making
- How to Wire Wrap a Bead With a Headpin
- How To Wire Wrap A Bead
- How To Make A Wire Wrapped Bead Chain
- How To Wire Wrap A Briolette
- Wire Wrapped Cluster Briolette Earring Tutorial
- How To Make Wire Wrapped Bead Necklace With Handmade Clasp
- How To Wire Wrap A Rough Crystal
- How To Make Valentine's Day Earrings: Wonky Wire Hearts
- How To Make A Wire Wrapped Crystal Necklace
- 6 Wire Wrapped Ring Projects & Essential Tools
- How To Make A Wire Wrapped Bead Ring
- How To Make An Anxiety Ring
- How To Make A Wire Wrapped Gemstone Ring
- How To Make A Wire Wrapped Cabochon Pendant
- How To Make A Tree Of Life Pendant
- How To Wire Wrap A Gemstone Donut
- How To Make Christmas Tree Earrings
- Simple Sterling Silver Wire Scroll Earrings
- Soldered Circle Hoop Earrings With Beads Tutorial
- How To Make Wire Hoop Earrings & Customise Them
- Metal Charm Hoop Earring Tutorial
- How To Make A Wire Word Necklace
- 4 Wire Wrapped Gemstone Tube Bead Projects
- Festival Inspired Crystal Necklace Tutorial

