How To Make Easy Textured Earrings
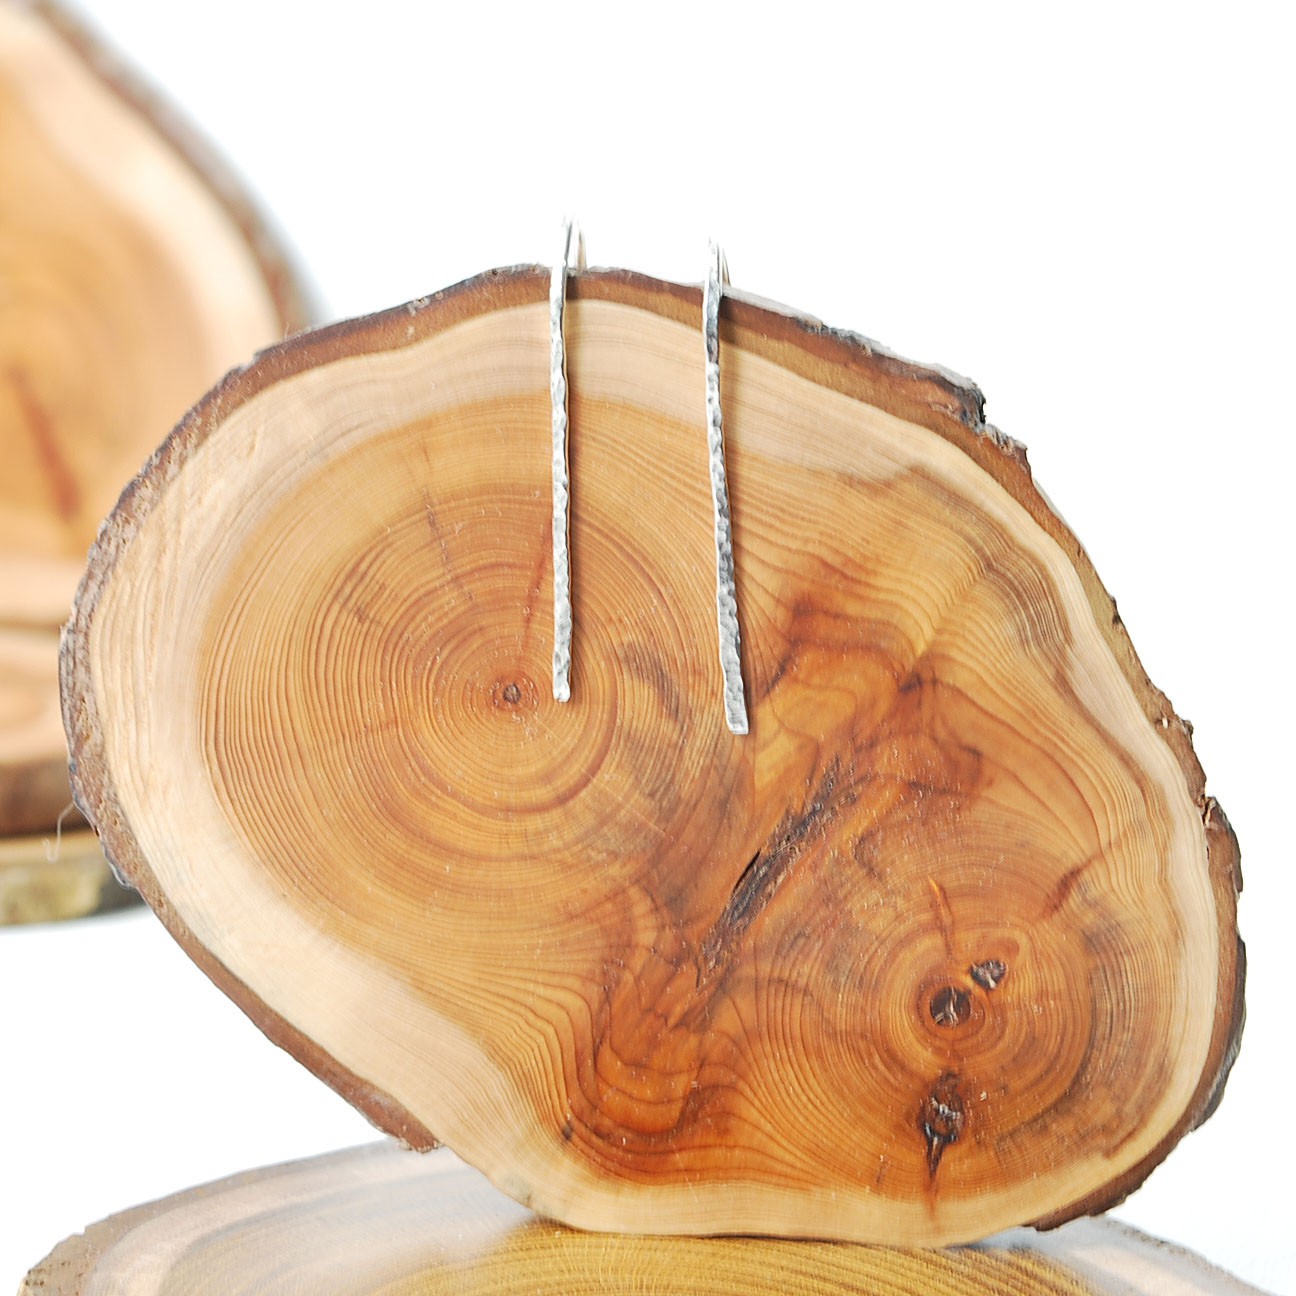
If you're a beginner in jewellery making, this is the perfect project to practice your metalwork and have some fun.
This simple 20-minute handmade jewellery project will allow you to experiment with wire, while also enjoy the many ways you can texturise metal.
We hope you enjoy this step by step tutorial and it gives you some inspiration or your next project. Don't forget to tag us in your designs on social media and use the hashtag #Kernowcraft so we can see and share your designs!
Scroll to the bottom of the page to get your earrings making supplies with Kernowcraft.
Project Tools & Supplies
- Sheet & wire cutters
- 0.8mm sterling silver wire
- Ball pein hammer
- Jewellers hammer
- Steel block
- Nylon jawed pliers
- Wet and dry sanding sheets (or if you have a power tool such as Dremel Multi Tool, you can use a cup burr)
- Polishing papers (or if you have a power tool, you can use silicon polishers)
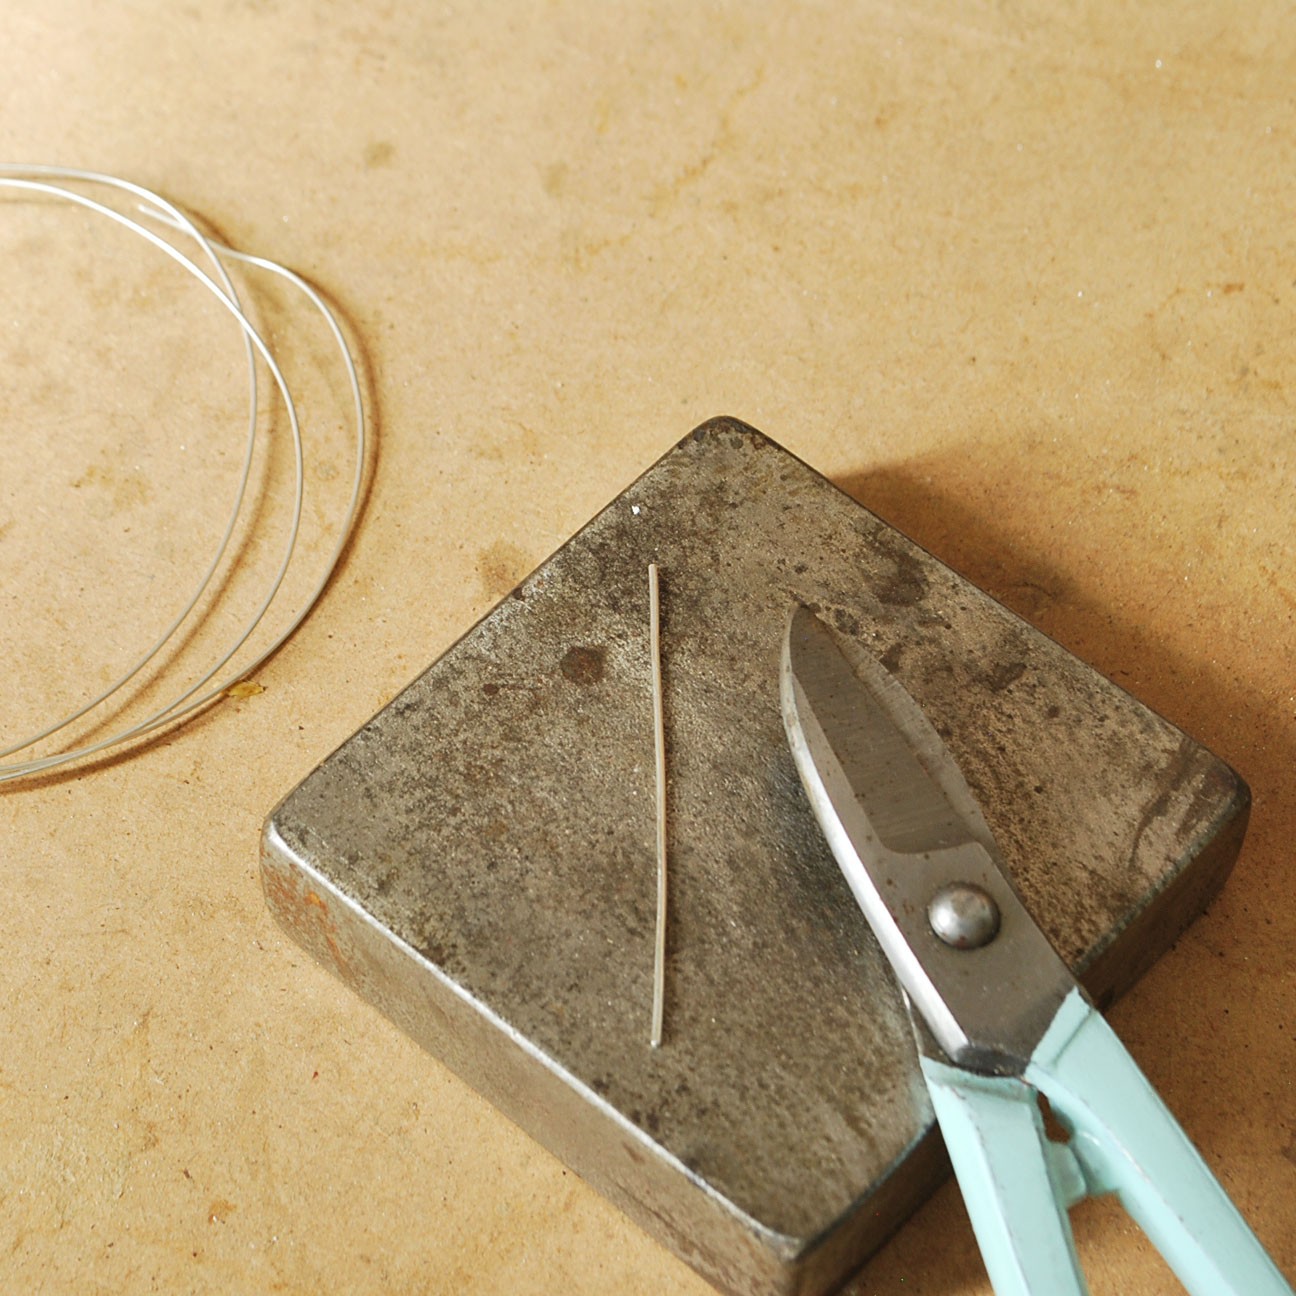
STEP 1: MEASURE WIRE
Using metal jewellery cutters, cut the wire to your desired length. This project uses 0.8mm wire but this will depend on what length you would like the earrings.
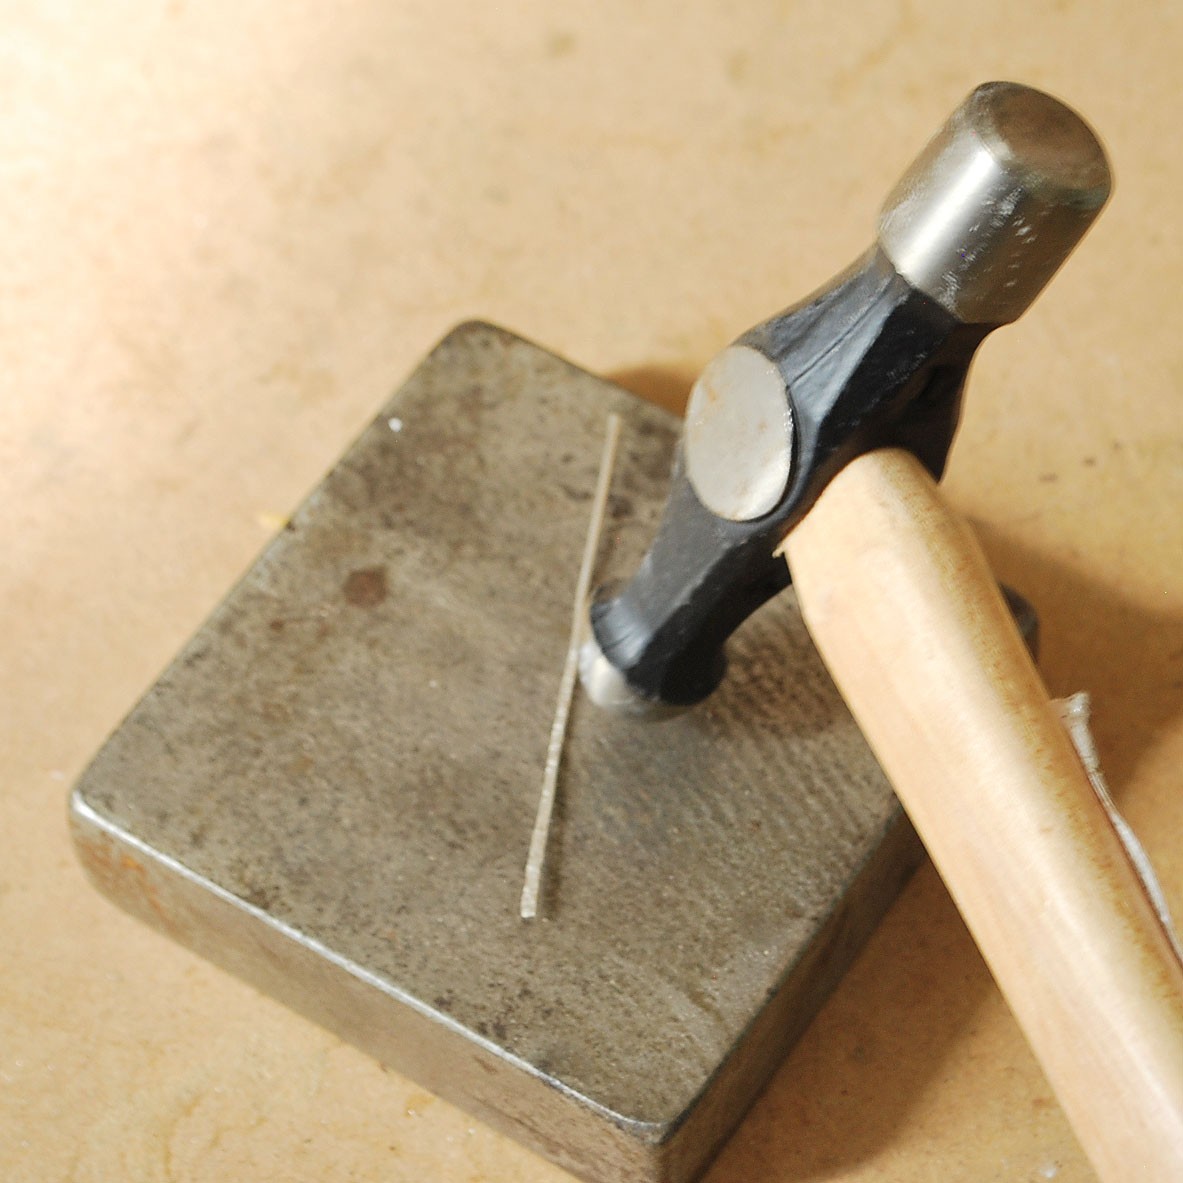
STEP 2: HAMMER & TEXTURISE
Place the wire on a steel block and use the flat end of a ball pein hammer to flatten and splay two-thirds of the wire, then use the round end to create a hammered textured effect until you're happy with the look.
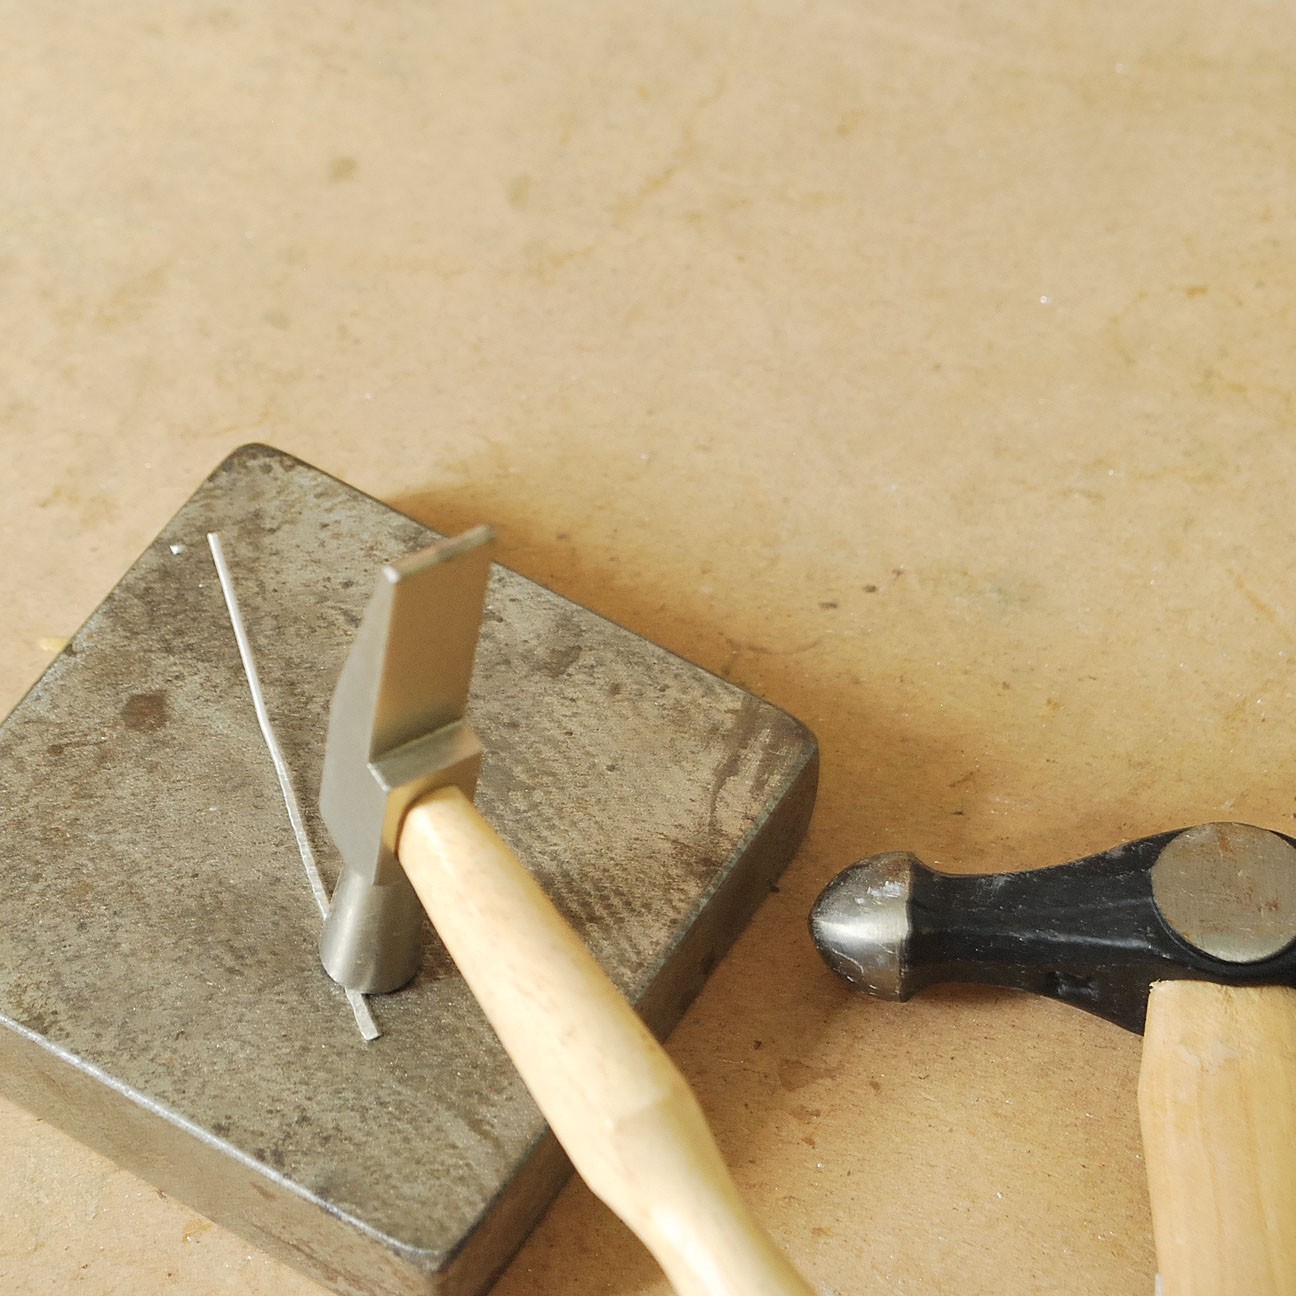
STEP 3: WORK HARDEN
Next, use a jewellers hammer to gently tap over the area you have textured to work harden the piece, so it doesn't lose its shape. Repeat steps 1, 2 and 3 to form a matching earring.
STEP 4: BEND THE WIRE
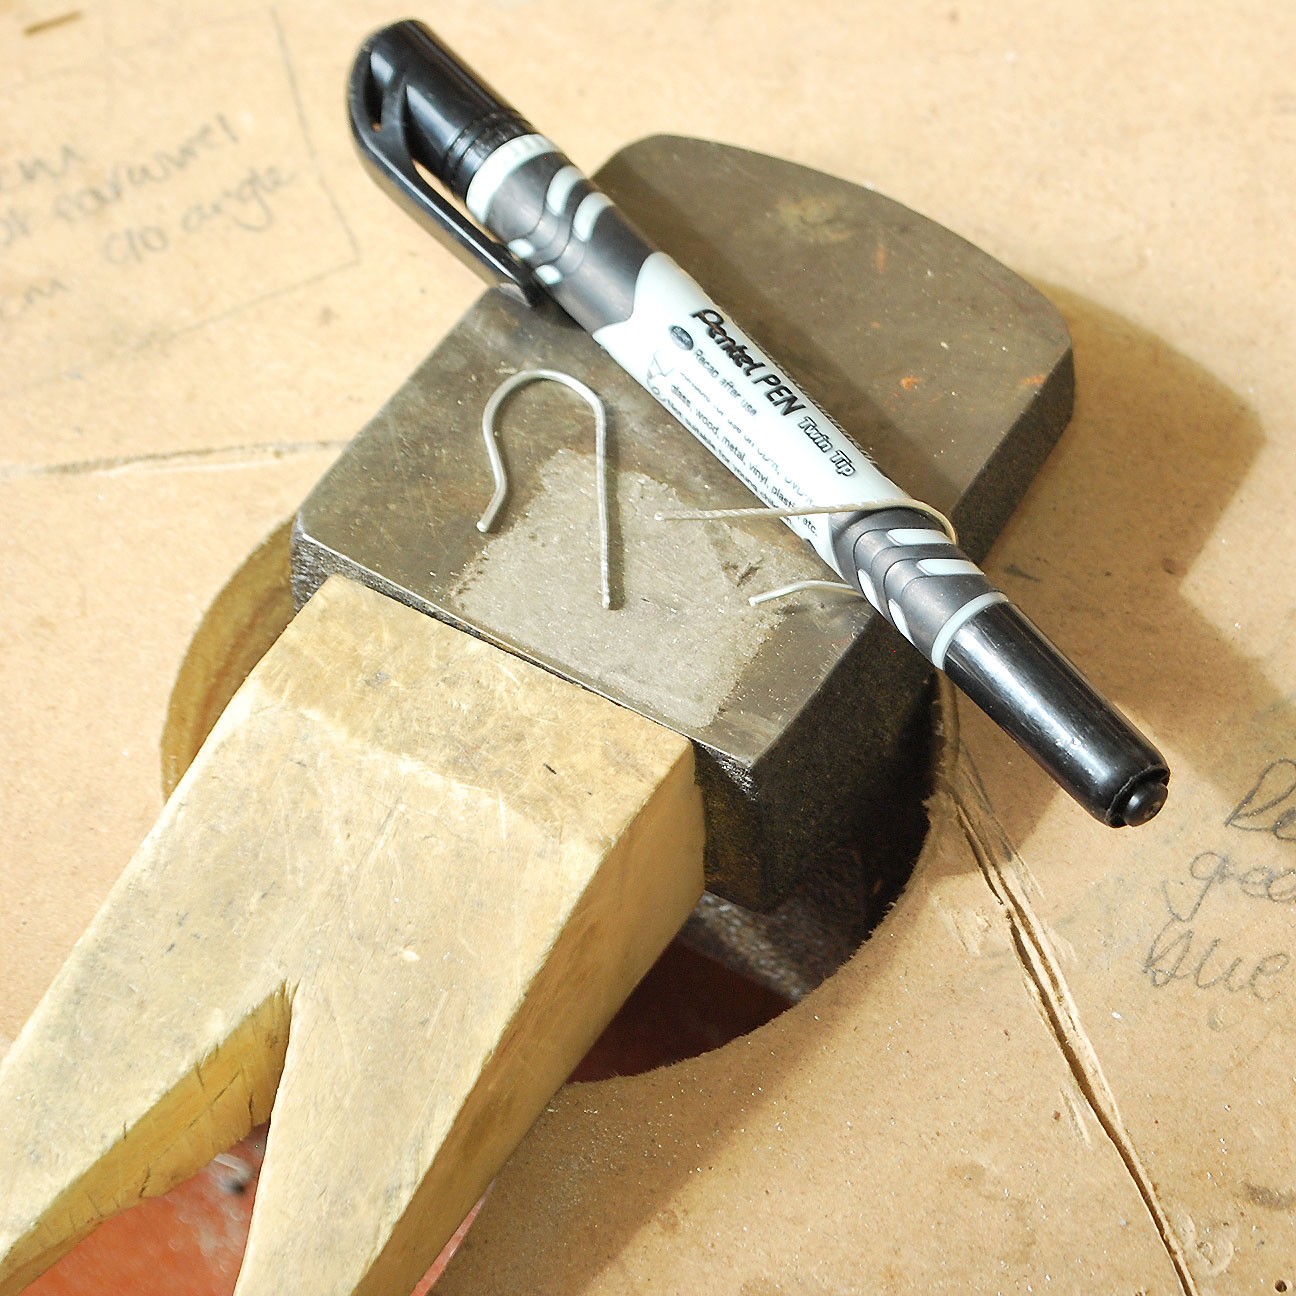
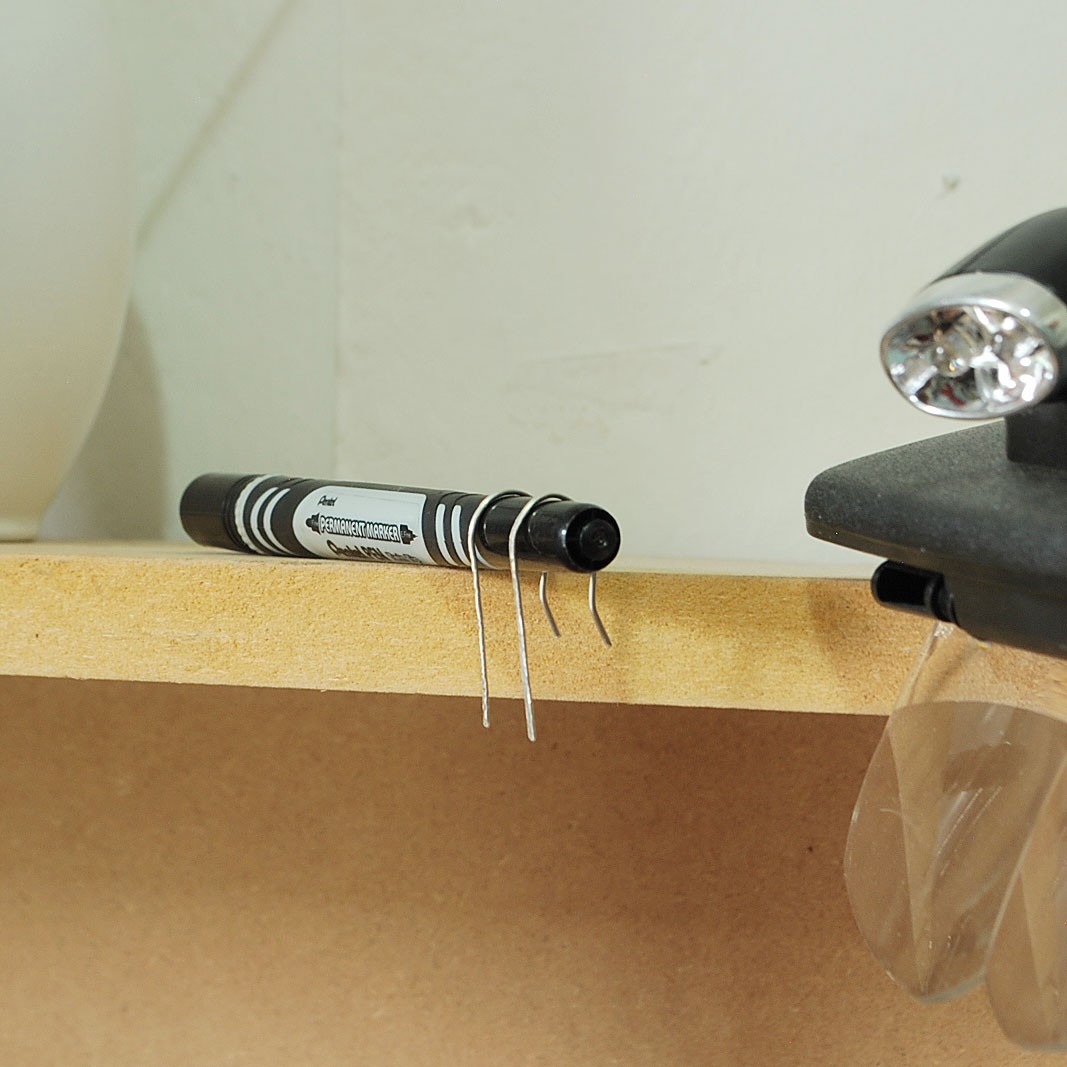
It's now time to bend the wire around a pen to form an earring shape - a sharpie pen is an ideal size for this! Holding both the wires together and the ends flush with each other, bend them at the point where you finished texturizing the wire. Where you bend the wire will affect t
STEP 5: BEND SOME MORE!
Once the wire has been bent into the ear wire shape, take a pair of nylon jawed pliers and bend the very end of the short length to a slight angle.
STEP 6: POLISH
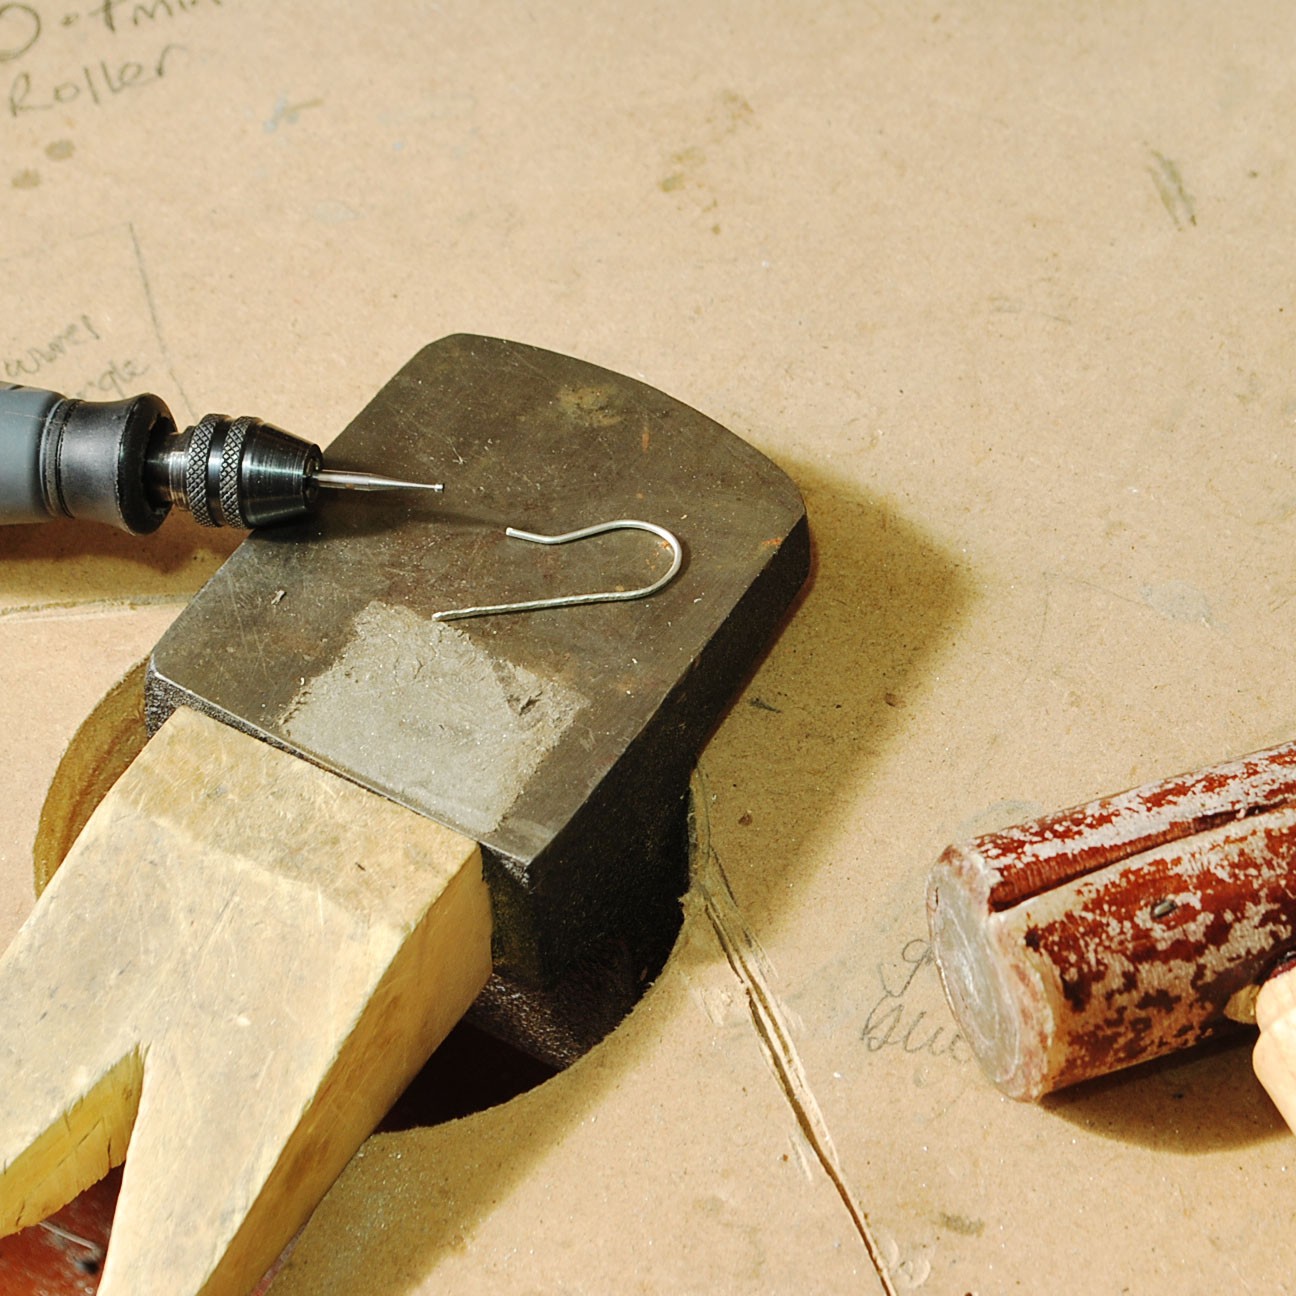
Using a cup burr in either a hand tool or a hand drill, burr the ends of
More Pages In This Category
- Guide To Sanding & Polishing For Jewellery Making
- Hand Polishing Your Jewellery With Polishing Papers
- A Guide To Texturing Metals For Jewellery Making
- Top Tools For Making Textures On Metal
- Beginner's Guide To Chasing & Repoussé
- How To Make Easy Textured Earrings
- How To Make A Hammered Copper & Silver Heart Pendant
- How To Make A Textured Cuff Bracelet
- How To Make A Metal Leaf Decoration
- How To Use Doming Block & Punches For Jewellery Making
- How To Make Domed Metal Earrings With A Doming Block
- How To Engrave Your Drawings On Art Clay Copper
- Textured Washer Bracelet Tutorial With Guest Jeweller Laura Grey
- Barrelling Machine For Polishing Metal - Everything You Need To Know
- Tumbling Machine For Polishing Stones and Glass- Everything You Need To Know
- Polishing Jewellery Q&A With Stephen M Goldsmith
- Town Talk Products For Cleaning & Caring For Jewellery
- Creating A Resin Bird Pendant With Designer Sarah Hoare
- VIDEO: How To Create Patina With Liver Of Sulphur
- 2 Ways To Apply Liver Of Sulphur
- VIDEO: How To Use Silver Plating Solution
- How To Clean & Prevent Tarnished Jewellery
- Why You Need Anti Tarnish Paper Strips
- How To Use Midas Finish Seal Lacquer
- How To Use Renaissance Wax To Prevent Tarnished Jewellery
- VIDEO: Working With Crinkle Metal Sheet
- A Guide To Using Mokume Gane Metal For Jewellery Making
HAVE A QUESTION?
If you have any questions, feel free to get in touch with our friendly team who will be more than happy to give you advice over email or on the phone.
You can learn more and find inspiration by visiting our Jewellery Making Tutorials, Jewellery Making Kits and YouTube Channel. Don't forget to follow us on social media and tag us in your designs on Instagram & Facebook, we would love to see!

