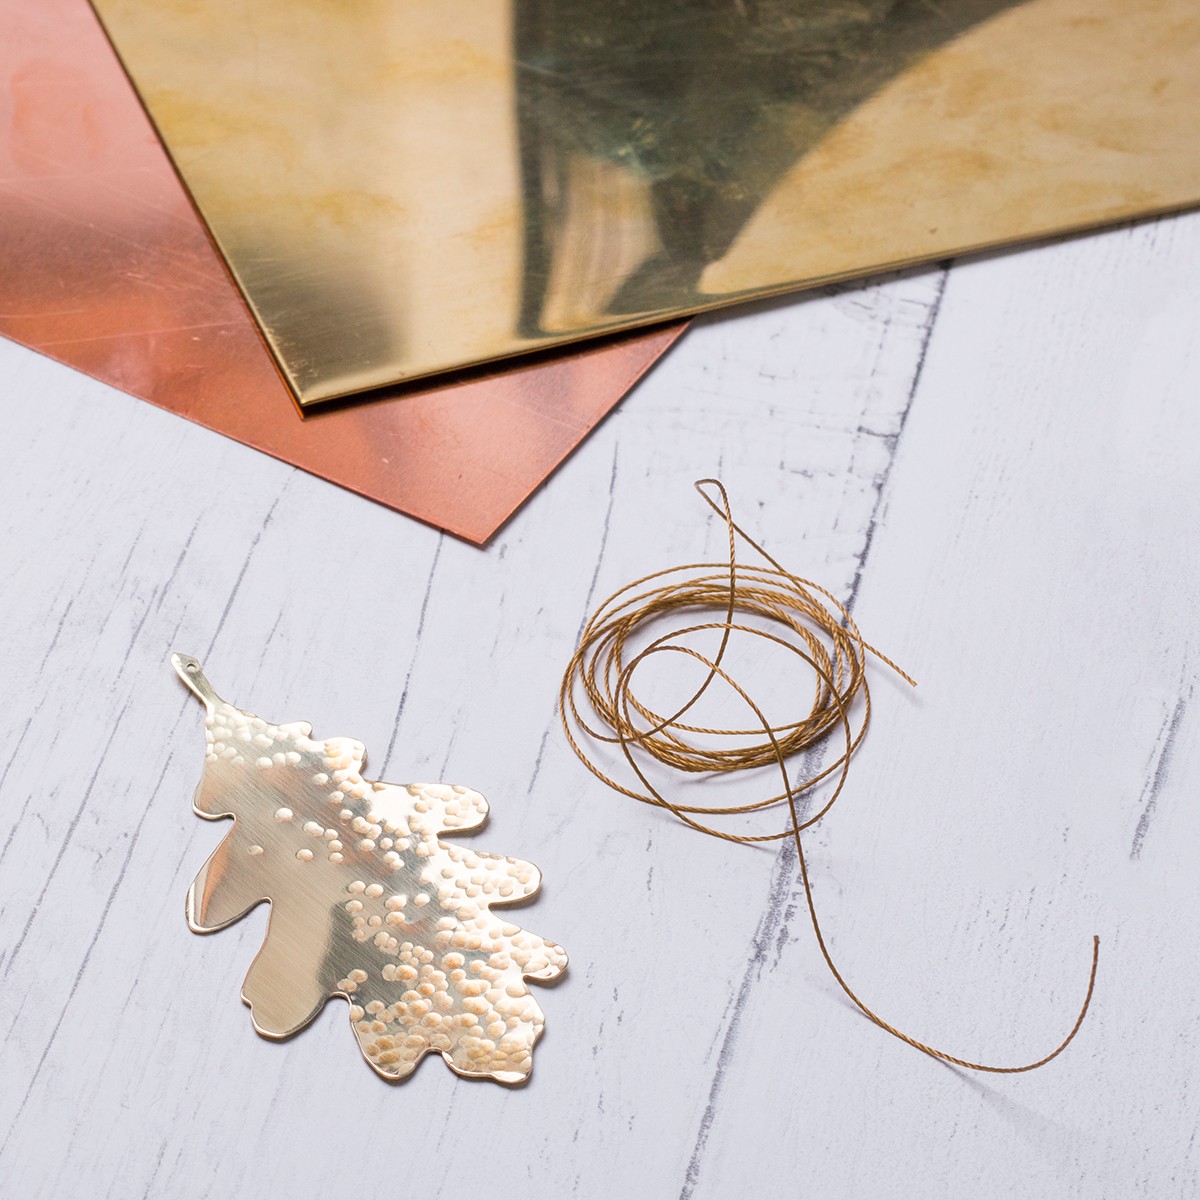
How To Make A Metal Leaf Decoration
Make your own beautiful and unique hanging metal decoration, hang it in your home, give as a gift or hang from your Christmas tree as an ornament with a handmade twist.
This project is a brilliant beginner metalsmith project and great if you would like to practice sawing and texturing techniques. You can experiment with different shapes, textures and metals to create lots of interesting designs such as earring drops and pendants.
Watch the tutorial below and shop all the tools and supplies you need to try this at home below.
Tools & Supplies Used In This Project
- 0.5mm brass sheet
- Scriber
- Anvil & bench peg
- Saw frame and medium blade
- Beeswax
- Needle file
- Sanding sheet, 1200 (if necessary work your way through the grades from 400, 600, 1200)
- Ball pein hammer
- Steel block
- Polishing papers
- Renaissance wax
- Silkon thread
- Optional for drilling hole: hand drillstock/Dremel Multi Tool with twist drill bit
Watch our tutorial on how to make a brass decoration below
1. Use a scriber to mark your chosen design onto 0.5mm brass sheet - or any metal sheet you would prefer such as copper or silver.
2. Use beeswax to lubricate the saw blade to help it glide easily through the metal.
3. Use a jewellers saw (with anvil & bench peg) to cut out the shape. For tips on piercing, read our advice page.
4. Use a needle file to smooth the edges.
5. Use sanding sheet to pre-polish your design, removing any unwanted scratches. We have used fine sanding sheet, but you may choose to work your way through the grades if needed.
6. Work up through the colour grades of polishing papers to bring your piece up to a high shine.
7. Place onto a steel block and use a ball pein hammer to add texture to your design.
8. Apply renaissance wax to protect the decoration from oxidising, so it stays bright and shiny!
9. Attach thread to finish your decoration. We've used silkon thread but you can choose any suitable thread you like. We have drilled a hole through the decoration (using our hand drillstock/Dremel Multi Tool with twist drill bit), but you can simply wrap the thread around the secure.
Also in this section:
- Guide To Sanding & Polishing For Jewellery Making
- Hand Polishing Your Jewellery With Polishing Papers
- A Guide To Texturing Metals For Jewellery Making
- Top Tools For Making Textures On Metal
- Beginner's Guide To Chasing & Repoussé
- How To Make Easy Textured Earrings
- How To Make A Hammered Copper & Silver Heart Pendant
- How To Make A Textured Cuff Bracelet
- How To Make A Metal Leaf Decoration
- How To Use Doming Block & Punches For Jewellery Making
- How To Make Domed Metal Earrings With A Doming Block
- How To Engrave Your Drawings On Art Clay Copper
- Textured Washer Bracelet Tutorial With Guest Jeweller Laura Grey
- Barrelling Machine For Polishing Metal - Everything You Need To Know
- Tumbling Machine For Polishing Stones and Glass- Everything You Need To Know
- Polishing Jewellery Q&A With Stephen M Goldsmith
- Town Talk Products For Cleaning & Caring For Jewellery
- Creating A Resin Bird Pendant With Designer Sarah Hoare
- VIDEO: How To Create Patina With Liver Of Sulphur
- 2 Ways To Apply Liver Of Sulphur
- VIDEO: How To Use Silver Plating Solution
- How To Clean & Prevent Tarnished Jewellery
- Why You Need Anti Tarnish Paper Strips
- How To Use Midas Finish Seal Lacquer
- How To Use Renaissance Wax To Prevent Tarnished Jewellery
- VIDEO: Working With Crinkle Metal Sheet
- A Guide To Using Mokume Gane Metal For Jewellery Making
HAVE A QUESTION?
If you have any questions, feel free to get in touch with our friendly team who will be more than happy to give you advice over email or on the phone.
You can learn more and find inspiration by visiting our Jewellery Making Tutorials, Jewellery Making Kits and YouTube Channel. Don't forget to follow us on social media and tag us in your designs on Instagram & Facebook, we would love to see!

