How To Make A Memory Wire Bracelet
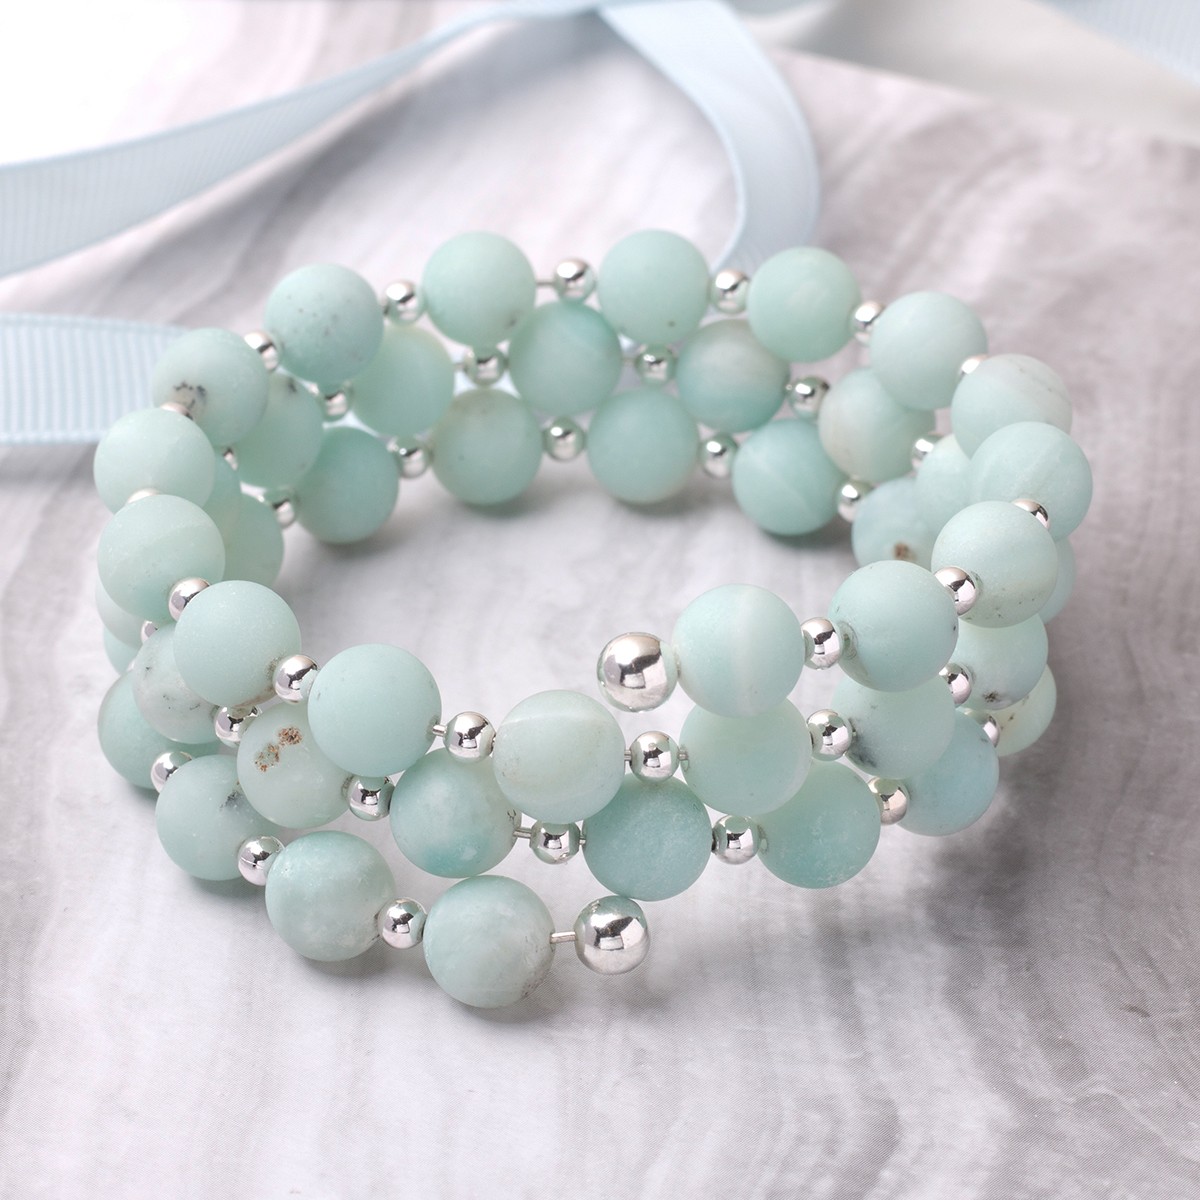
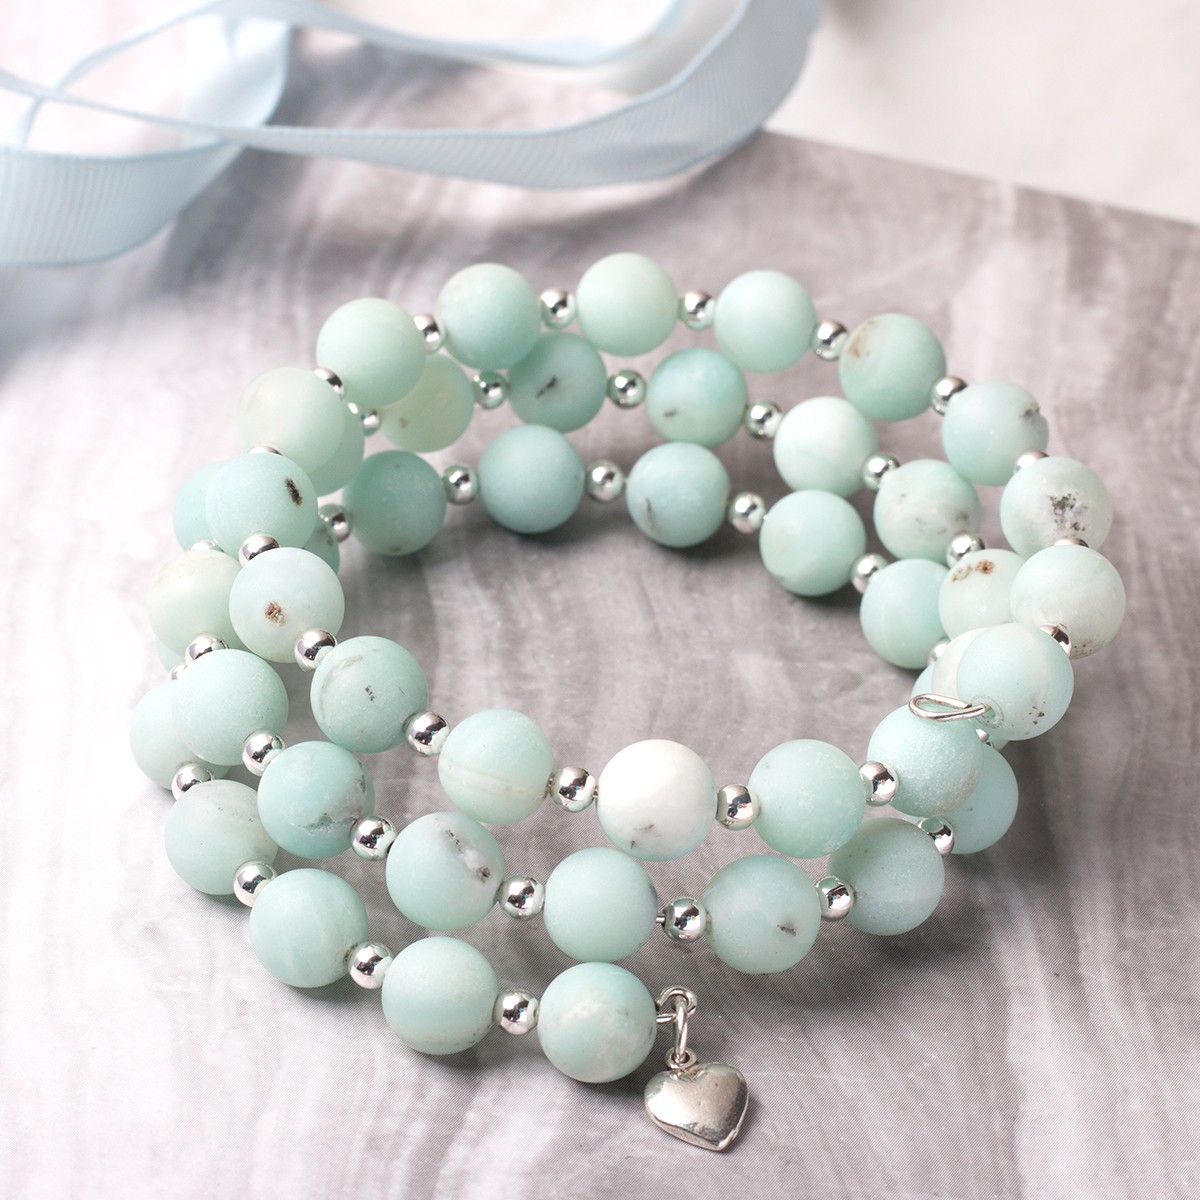
This exciting and beautiful project shows you how to make your very own memory wire bracelet. You can get all the tools and supplies you need on our website, with worldwide delivery from the UK.
What is memory wire?
Memory wire is a fantastic threading material that allows you to create beautiful jewellery designs easily.
It's a hard, rigid, pre-coiled wire which holds its shape - unlike regular metal jewellery wire, memory wire cannot be manipulated to change its shape.
In the tutorial below, we show you how to make a simple bracelet design and three ways to finish your designs professionally.
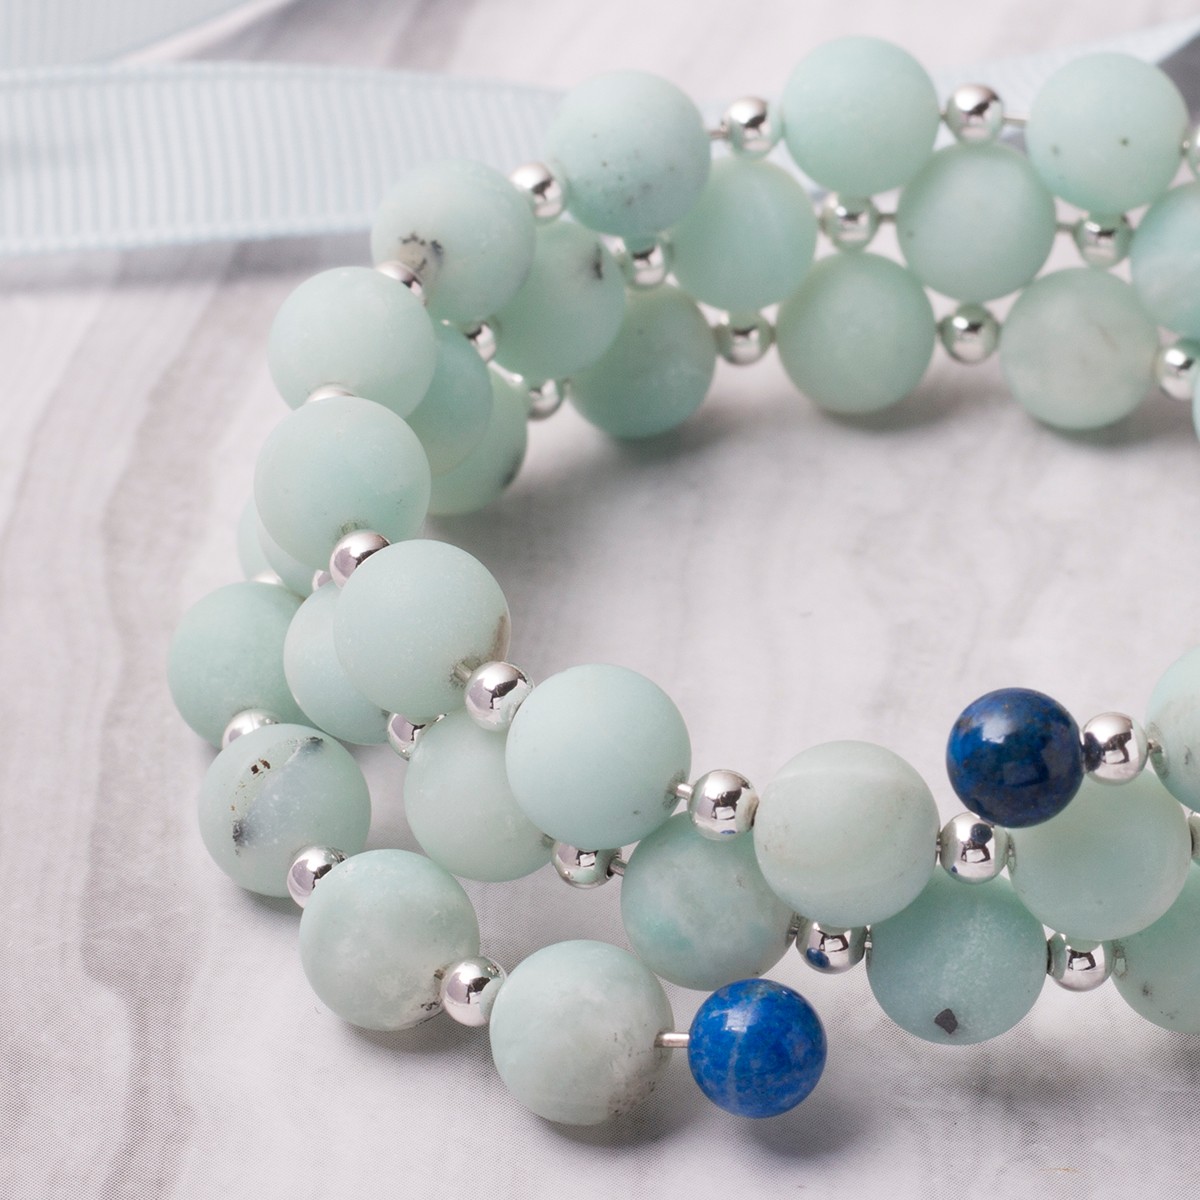
This is a great project to experiment with your favourite gemstone beads and charms!
Shop supplies used in this project:
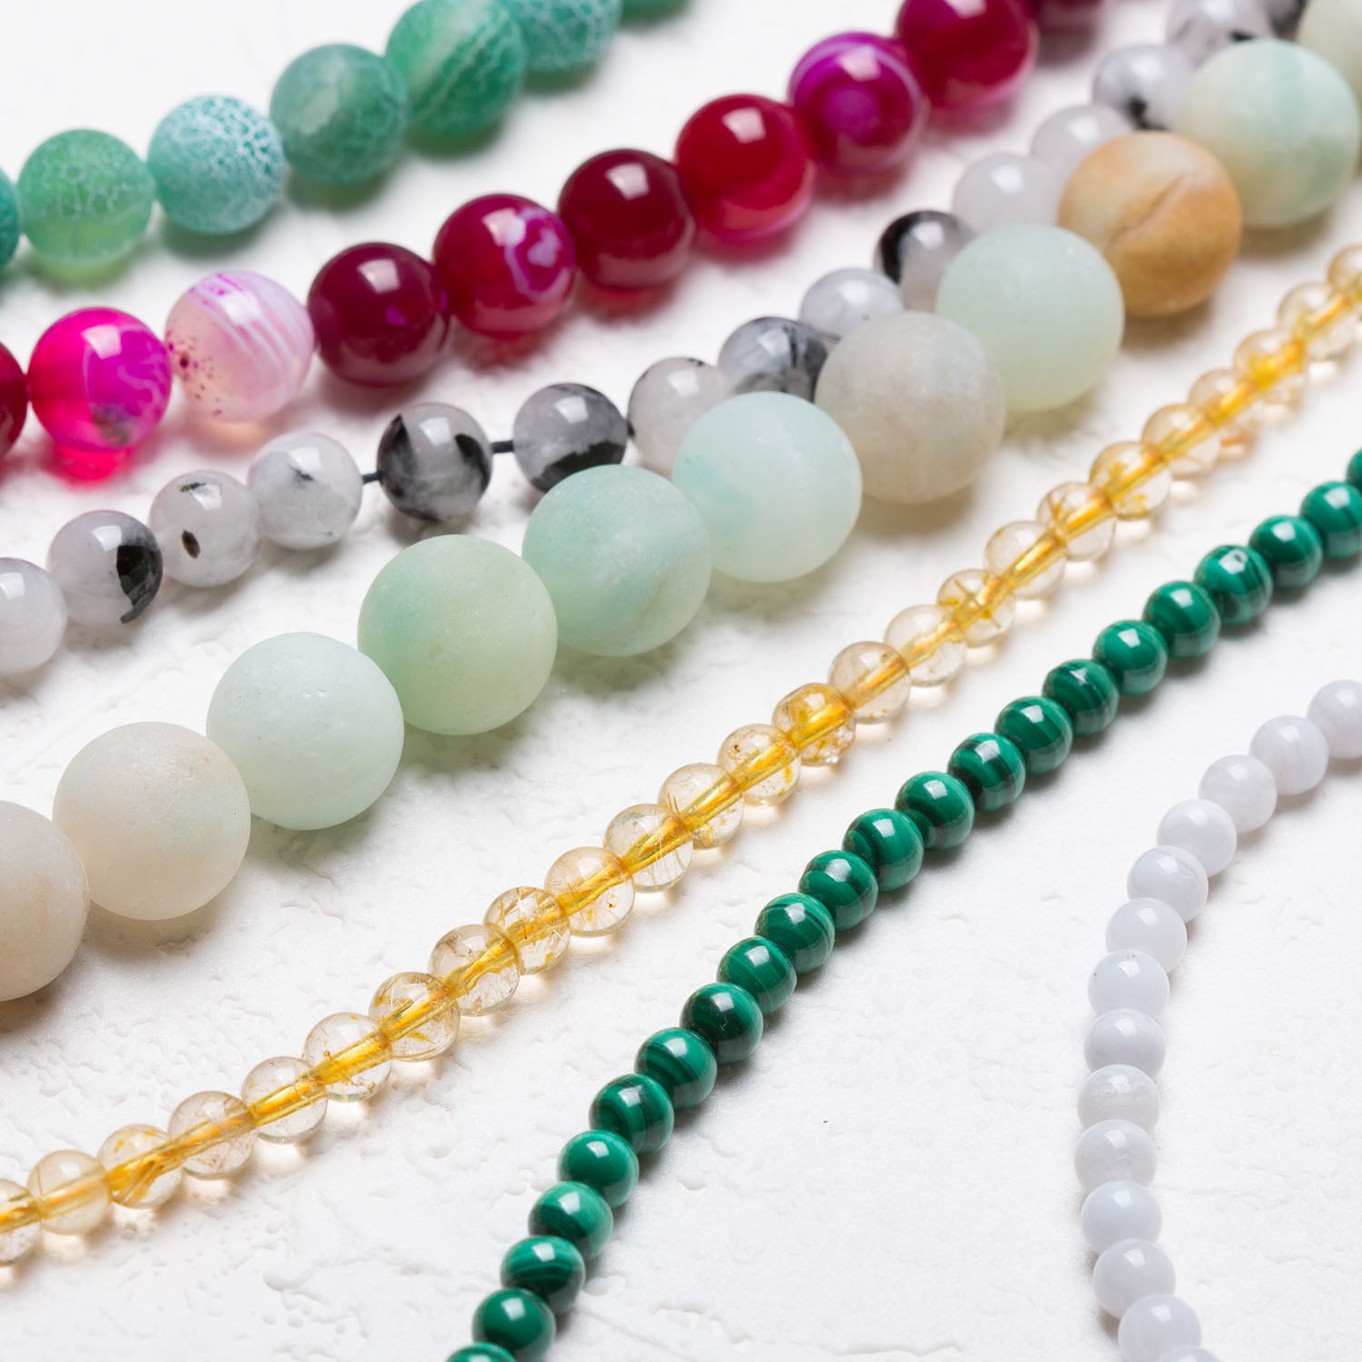
- Amazonite 8mm round beads - but you can choose any gemstone beads and metal beads you like as long as they will fit on the memory wire
- 3mm plain round plated metal beads
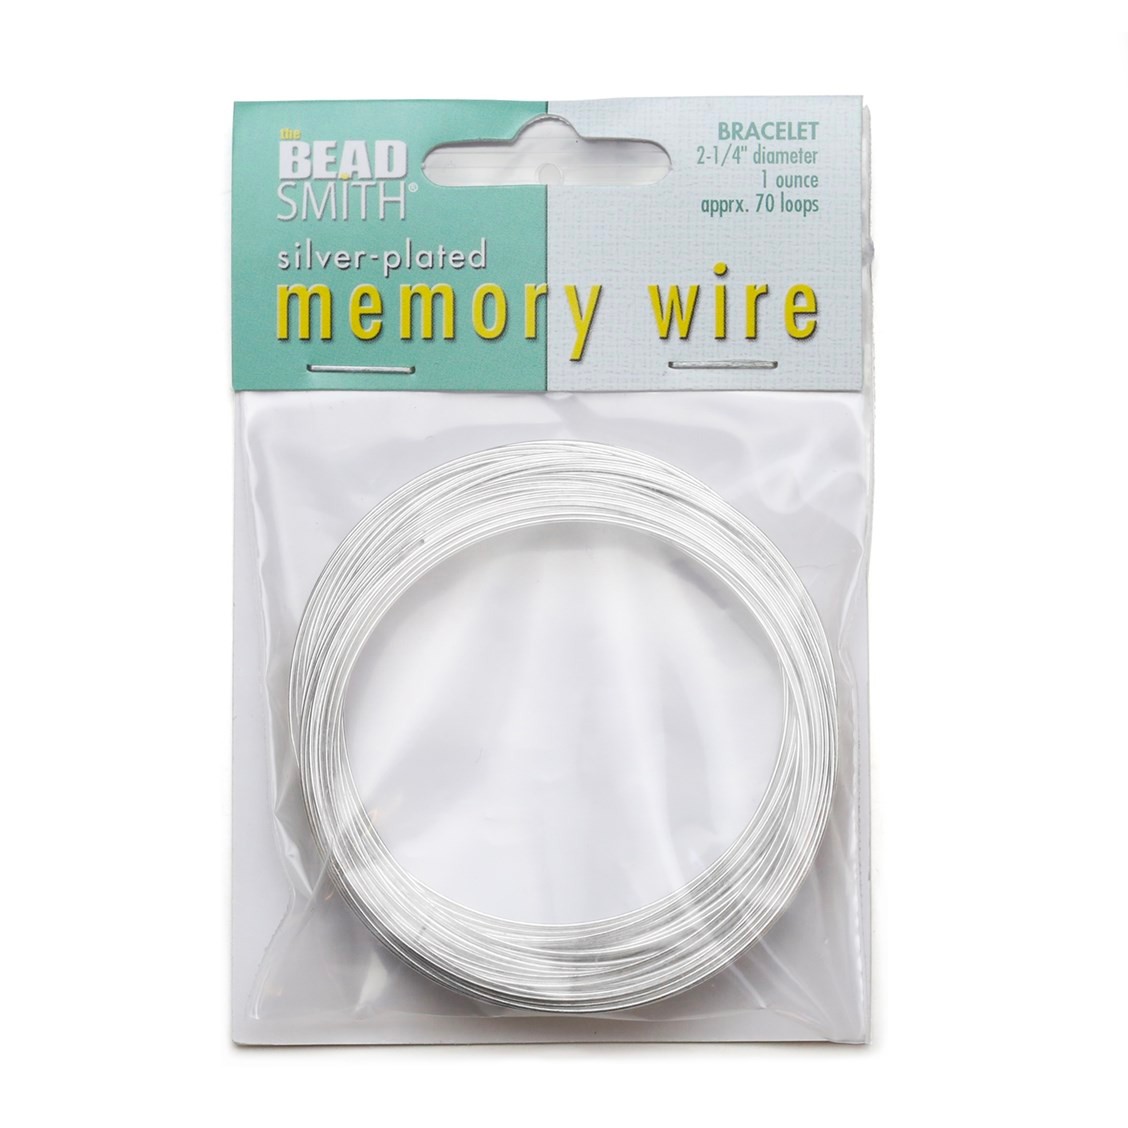
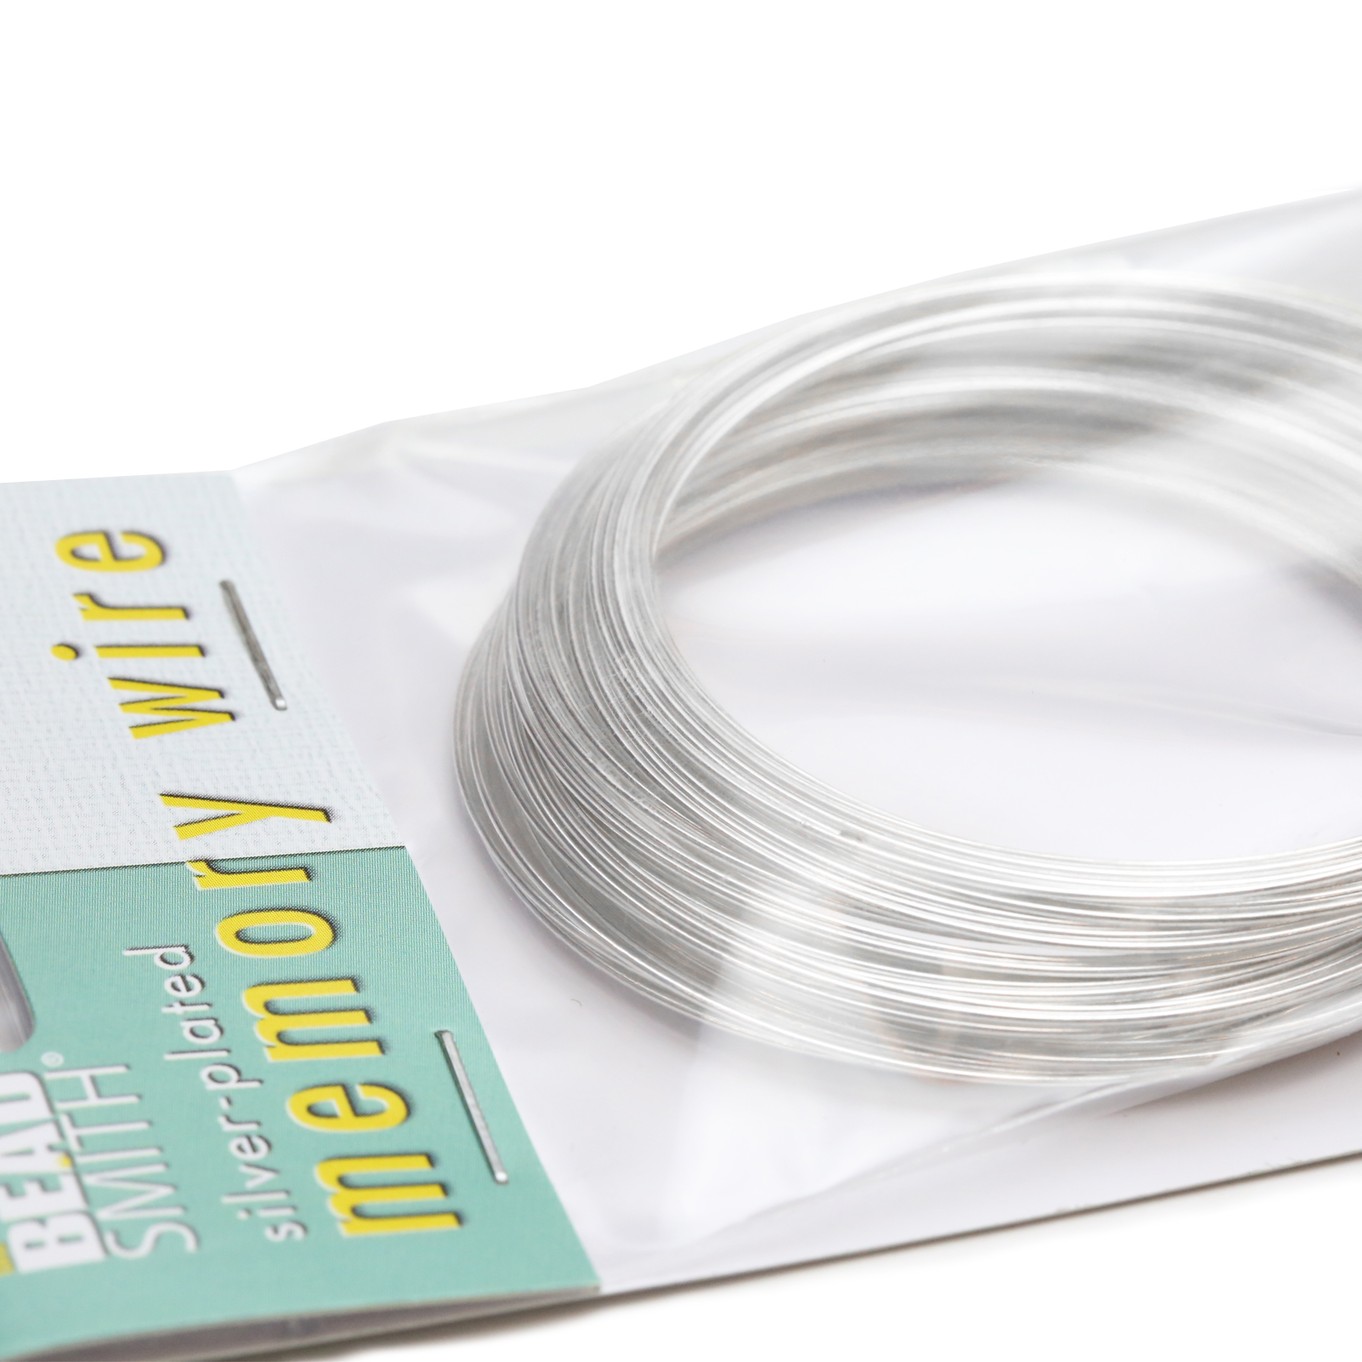
- Bracelet 0.6mm silver plated memory wire
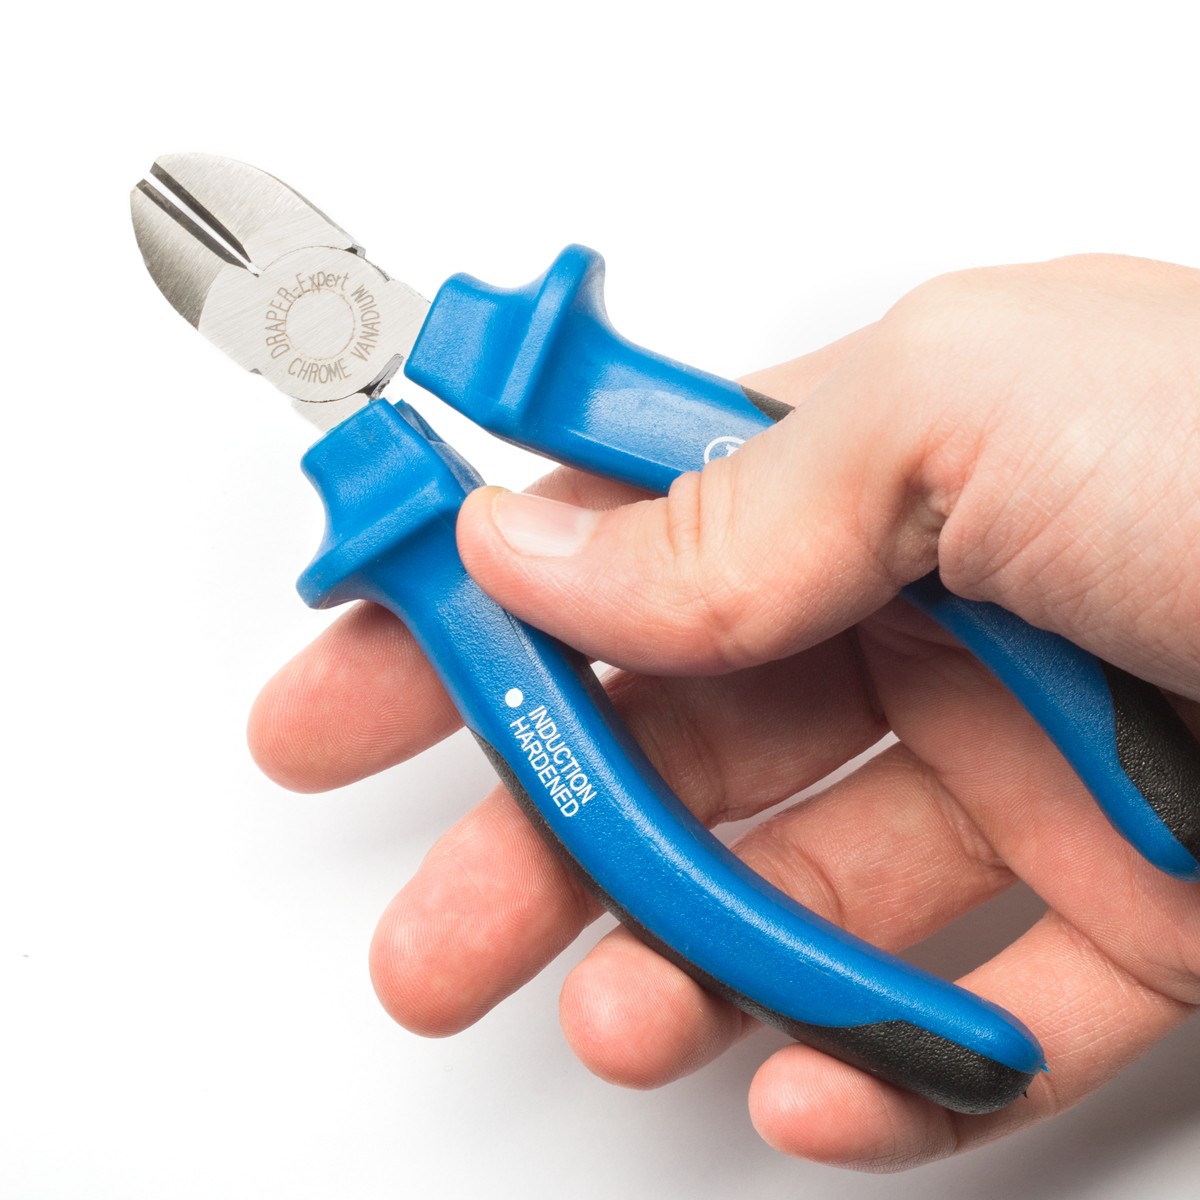
- Heavy duty side cutters
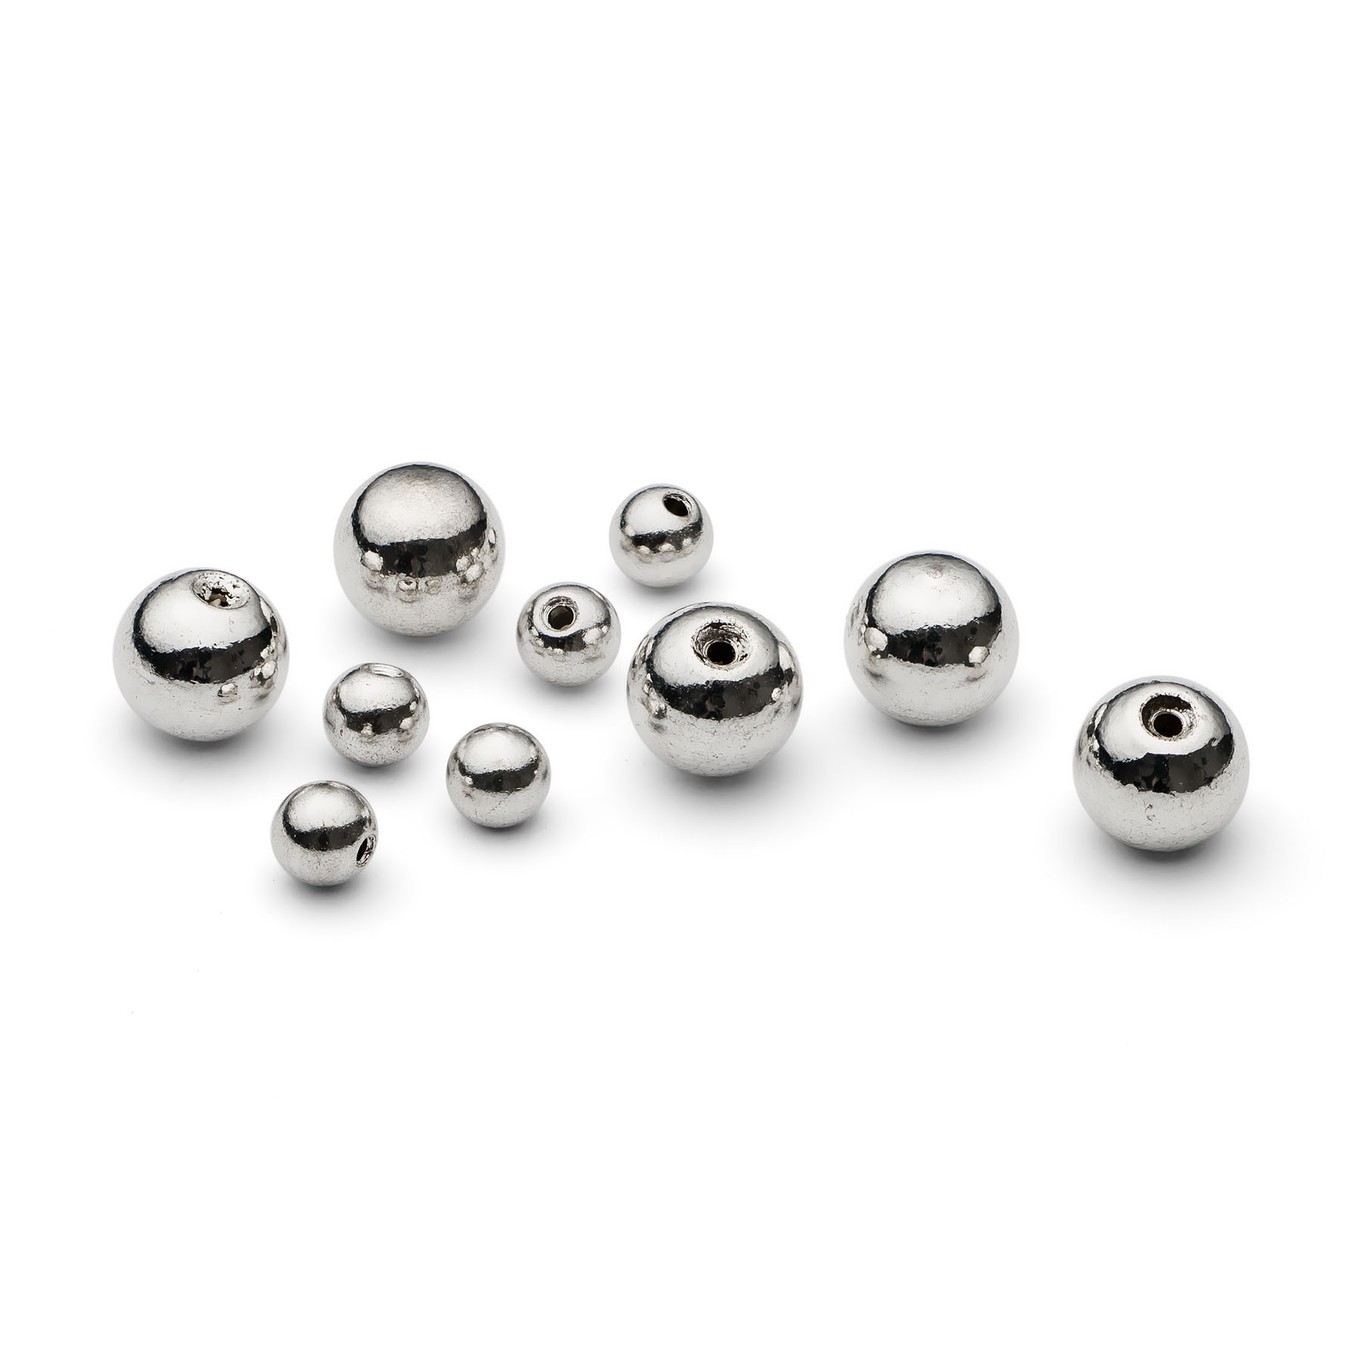
- 2 silver plated end beads
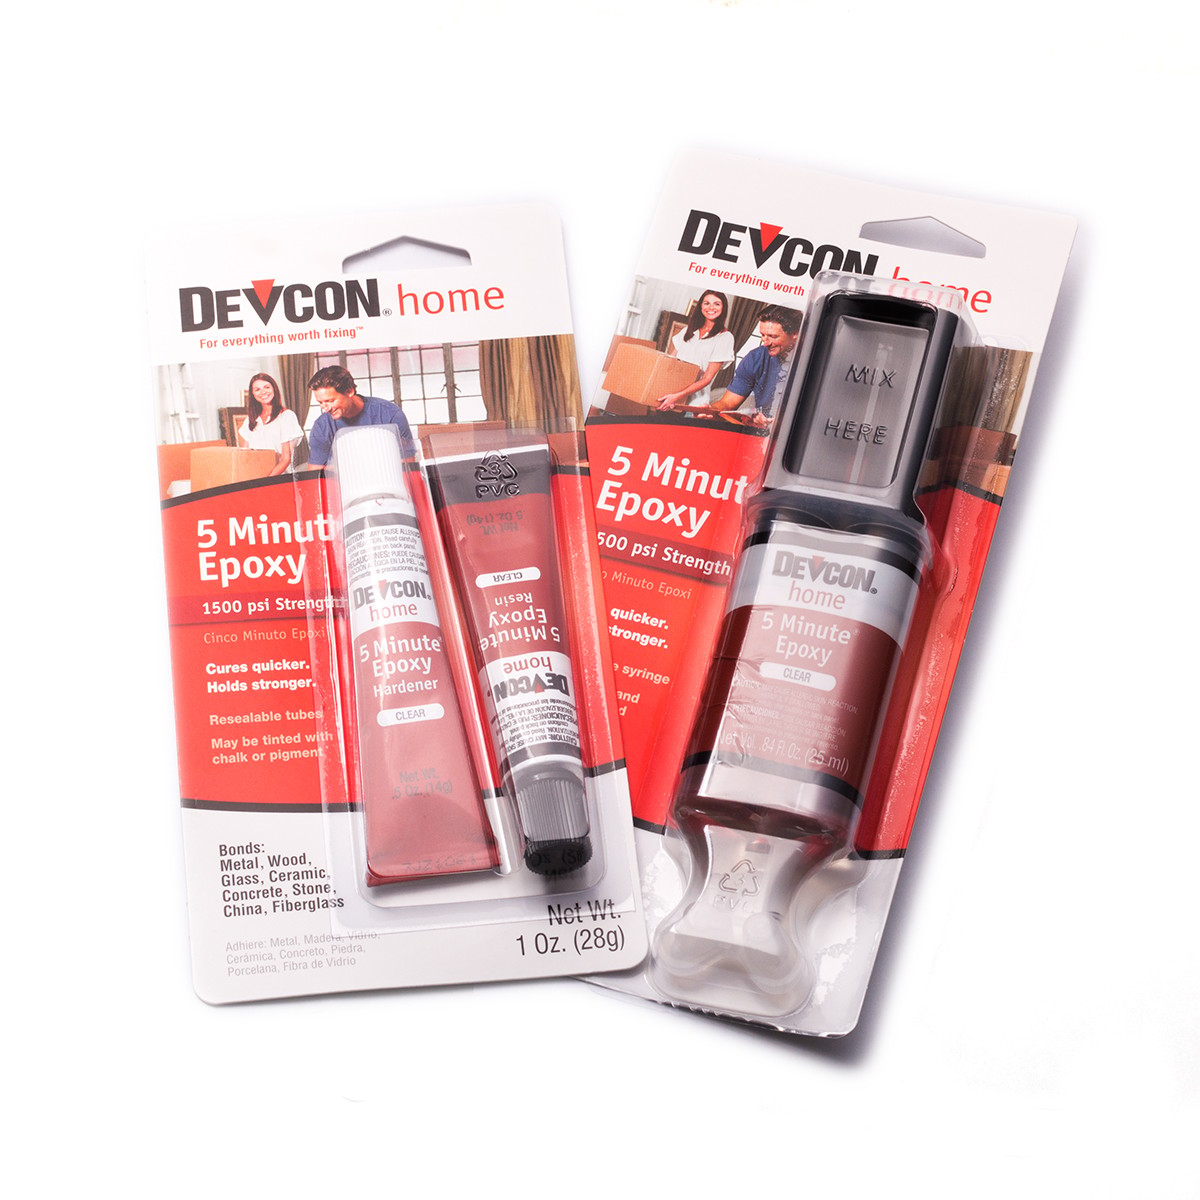
- Devcon epoxy glue
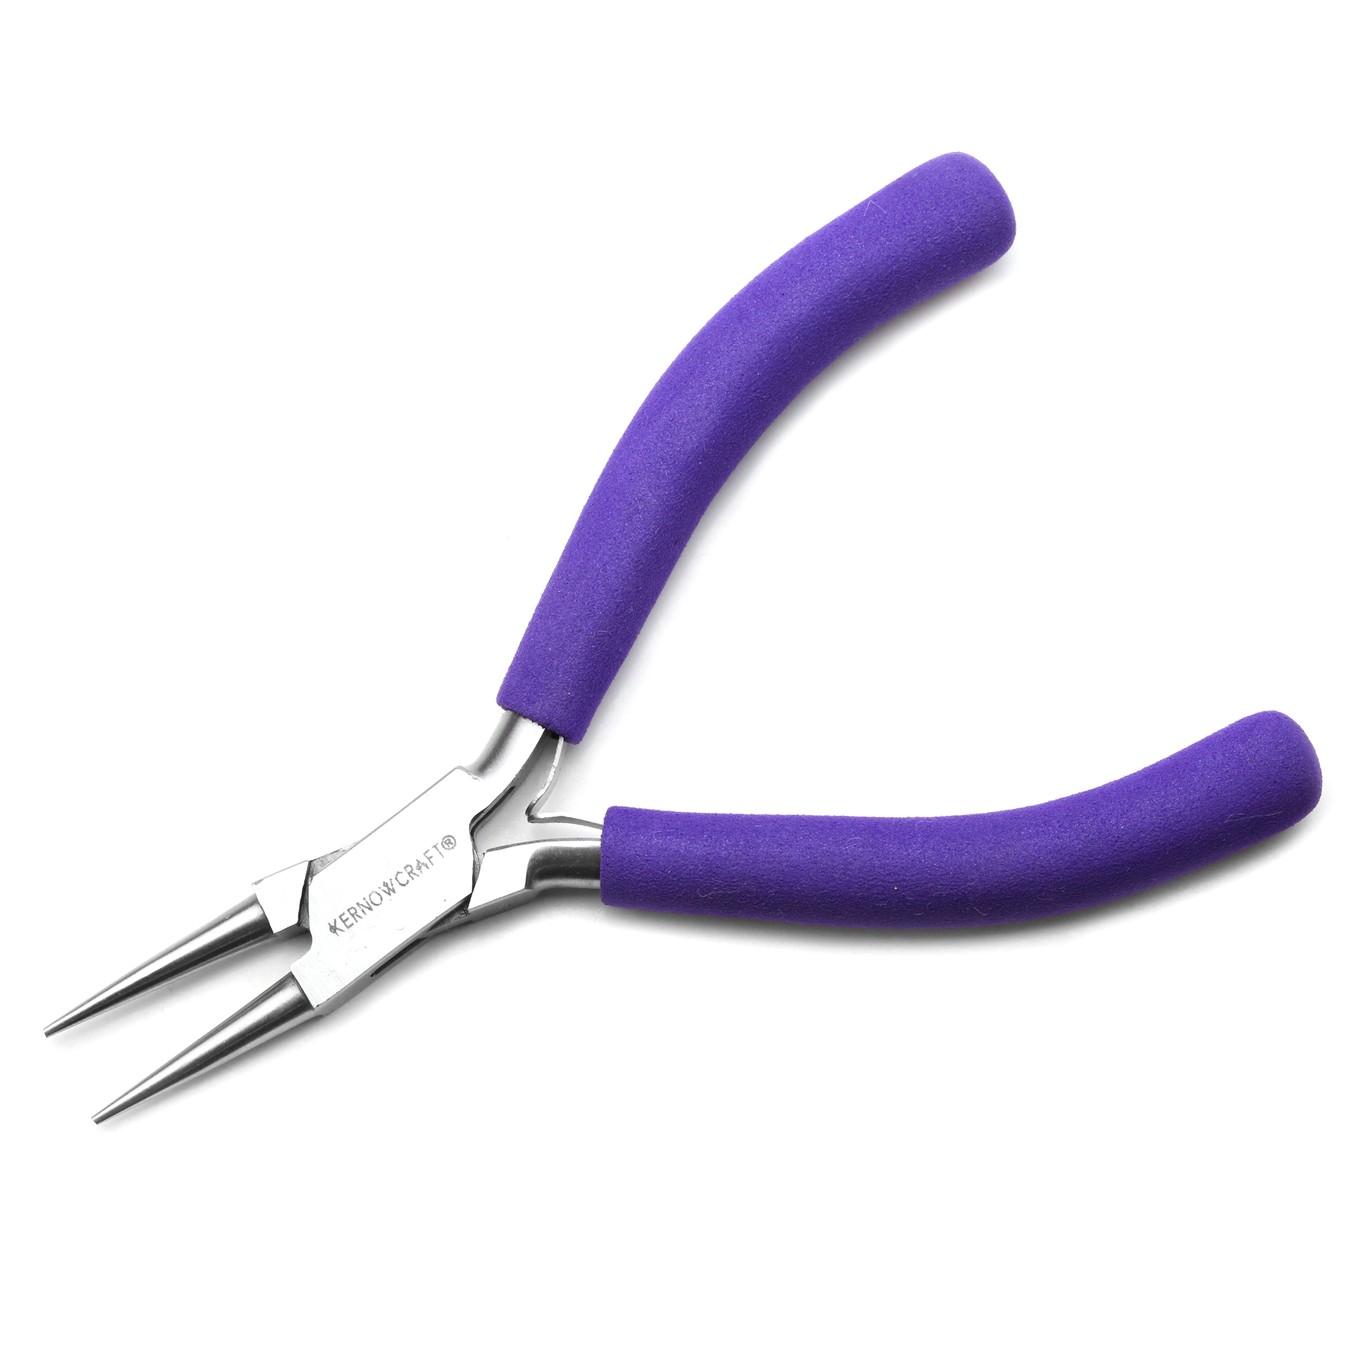
- Optional: round nose pliers
- Optional: Charms
Watch Our Video Tutorial Below...
Step By Step Instructions
1. Use heavy duty side cutters to cut at least three coils of memory wire.
2. Apply glue to the inside of the end bead and secure onto the end of the memory wire.
3. Thread your chosen beads onto the memory wire, leaving some room on the end of the wire to allow the beads to move around slightly.
4. Glue another end bead onto the end of your wire.
Instead of using end beads you can use round nose pliers to form a loop at each end of the memory wire to secure in place. This can be great for adding charms and wire wrapped beads (briolette beads would look lovely!) to add extra interest to your design.
Top tip: Use a bead board or bead mat to plan the order of your beads for your bracelet - this will make it easier to thread your beads and avoid making mistakes.
3 Ways To Finish Your Memory Wire Bracelet
Silver Plated End Beads For Memory Wire
One of the most popular ways to finish your memory wire bracelet design professionally is by using end beads. Our silver plated end beads are purposefully sold to use with memory wire. All you need to do is use Devcon epoxy glue to secure the end beads to the end of the wire for a neat and tidy finish.
Half Drilled Gemstone Beads
Alternatively, you can use Devcon epoxy glue to set our range of half drilled beads to the end of the wire to add colour and interest to your designs.
Create Loops With Round Nose Pliers
Another popular way of finishing off your memory wire bracelet instead of end beads is to use round nose pliers to form a loop at both ends of the memory wire to ensure the beads remain on the bracelet. These loops are brilliant for attaching charms and wire wrapped beads to.
Shop Recommended Supplies & Tools
Shop 0.6mm Silver Plated Memory Wire
At Kernowcraft, we stock this popular bracelet memory wire 1oz pack. This 0.6mm plated stainless steel wire is from Beadsmith and is so easy to use to create lovely designs.
Choose Your Favourite Beads
In this project, we have used our beautiful 0.8mm amazonite beads and 3mm plain round silver plated metal beads but you can choose any of your favourite beads as long as the bead hole will fit through the memory wire.
Devcon Epoxy Glue
Use Devcon epoxy glue to secure end beads or half drilled beads on the ends of your wire for a secure finish.
This is our most recommended glue for all types of jewellery making, it's fast-drying, high strength and creates high quality bonds on gemstones, metal, glass, ceramic and more.
Heavy Duty Side Cutters
Do not use regular wire cutters for cutting memory wire as it will damage them. We recommend using heavy duty side cutters, made from tougher steel which is perfect to use on stronger wires.
The products used in this project are suggestions to inspire you. Products used were compatible at the time of making but do be aware that stocks can vary, so do use your own judgement as to the compatibility of each item when making.
Also in this section:
- Macrame Bead Bracelet Tutorial
- Your Guide To Bead Stringing Materials For Jewellery Making
- The Essential Tools For Beading
- Beading: How To Start Jewellery Making With Lyndsey
- Answering Commonly Asked Beading Questions
- Types Of Beads For Jewellery Making
- The Difference Between Half Drilled, Top Drilled And Head Drilled Beads
- How To Use Top Drilled Beads
- Jewellery Making With Half Drilled Beads
- What Are Briolette Beads & How To Use Them
- Stringing Beads With Small Holes
- How To Make Your Bead Holes Bigger With A Bead Reamer
- Types Of Clasps For Jewellery Making
- 8 Reasons You Need A Bead Board
- How To Make A Sliding Knot
- Advice On Knotting Elastic Stretch Magic Thread
- How To Use Flex-Rite Jewellery Wire
- How To Use Crimps
- How To Make A Silkon Thread Briolette Necklace
- How To Use Beading Chain
- 4 Ways To Use Gemstone Donuts
- 4 Gemstone Chip Bead Project Ideas
- How To Use End Caps For Jewellery Making
- How To Make Earwires With Gemstone Beads
- How To Make A Memory Wire Bracelet
- How To Make Gemstone Bead Earrings
- How To Make A Bead Bar Necklace
- How To Make Beaded Bracelet With Flex-Rite Wire & Wire Guardians
- DIY Gemstone Friendship Bracelets
- How To Make A Beaded Bracelet With Knot Covers
- How To Make Polymer Clay Earrings
- How To Make Felt Jewellery
- DIY Mini Tassels & Jewellery Projects
HAVE A QUESTION?
If you have any questions, feel free to get in touch with our friendly team who will be more than happy to give you advice over email or on the phone.
You can learn more and find inspiration by visiting our Jewellery Making Tutorials, Jewellery Making Kits and YouTube Channel. Don't forget to follow us on social media and tag us in your designs on Instagram & Facebook, we would love to see!

