How To Make Gemstone Bead Earrings
Make Your Own Beginner Friendly Gemstone Bead Earrings With Guest Tutor Cat!
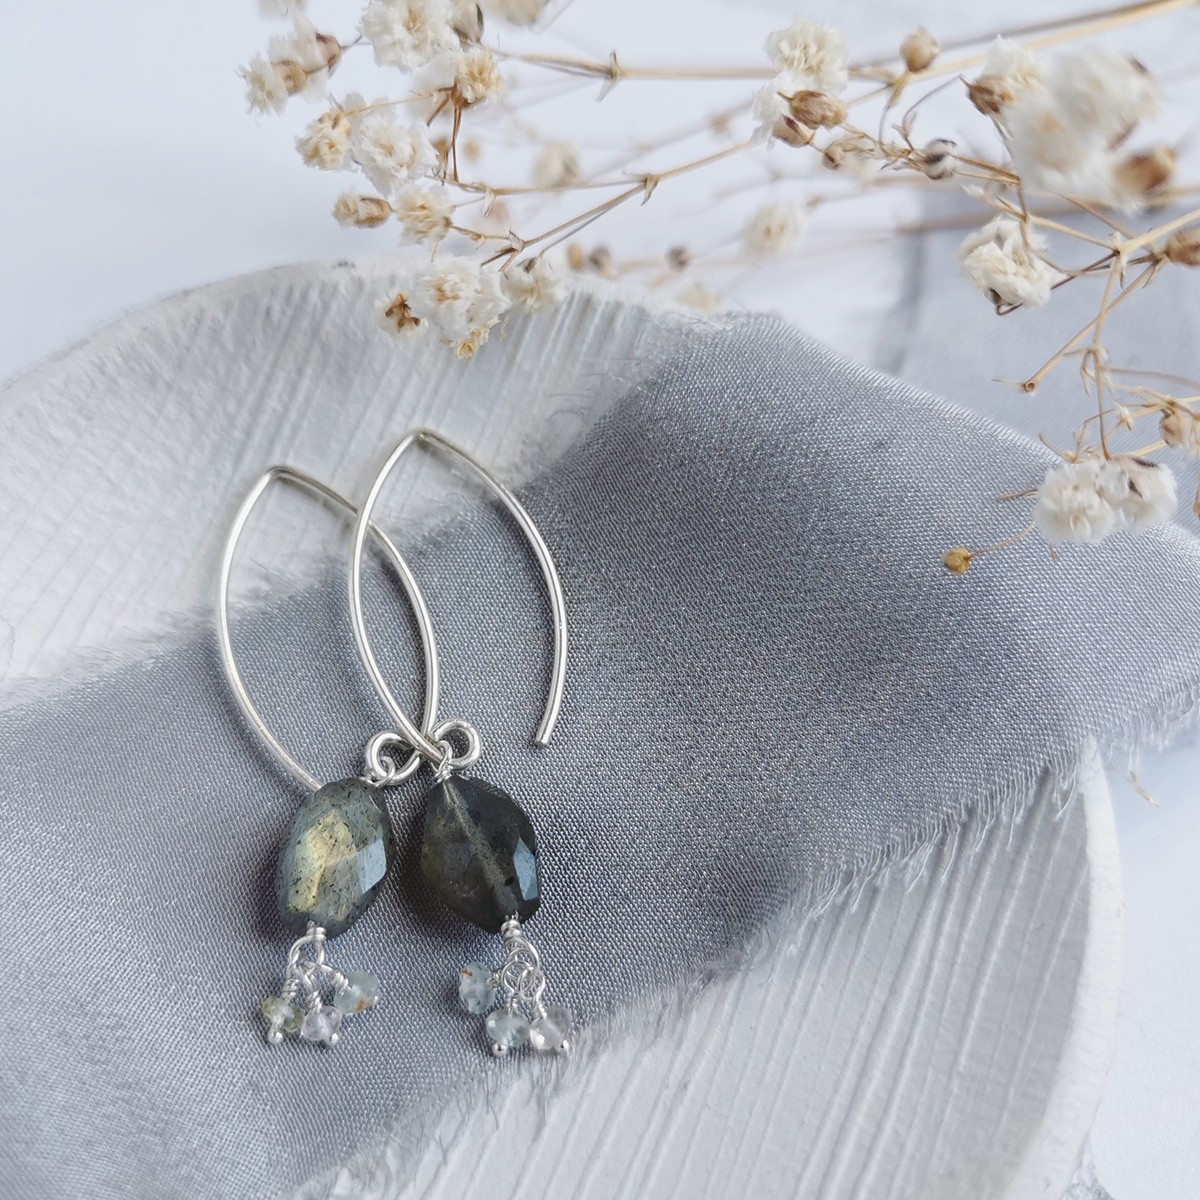
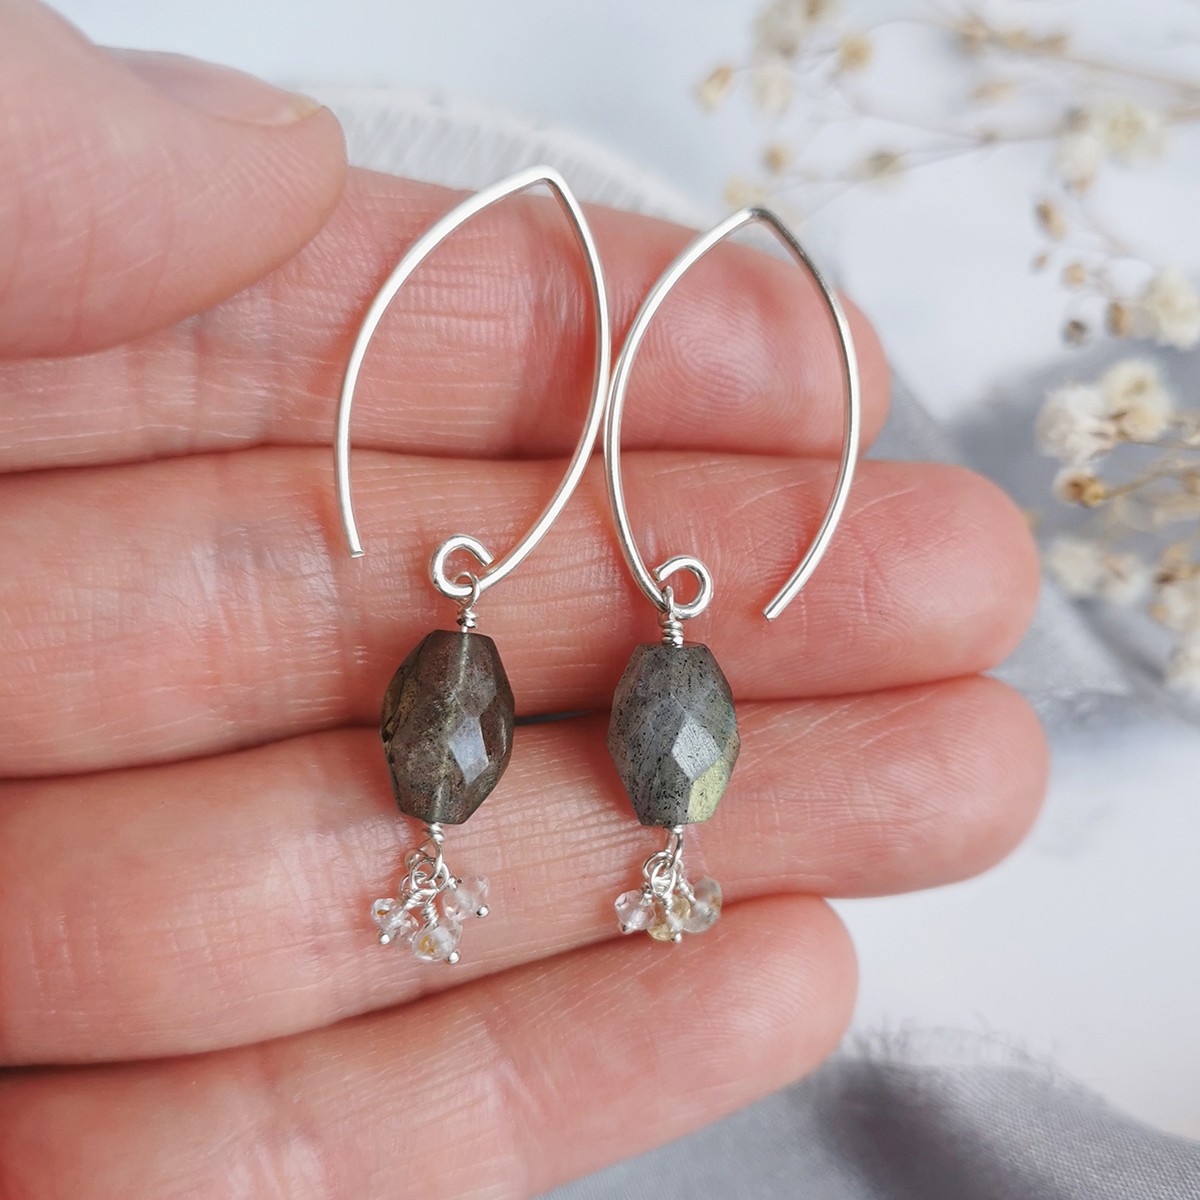
Cat Stacey Jewellery shares with you a beginner friendly beading and wire work jewellery making tutorial, on how to make your own sparkling earrings. This project requires minimal tools and supplies to create this beautiful design.
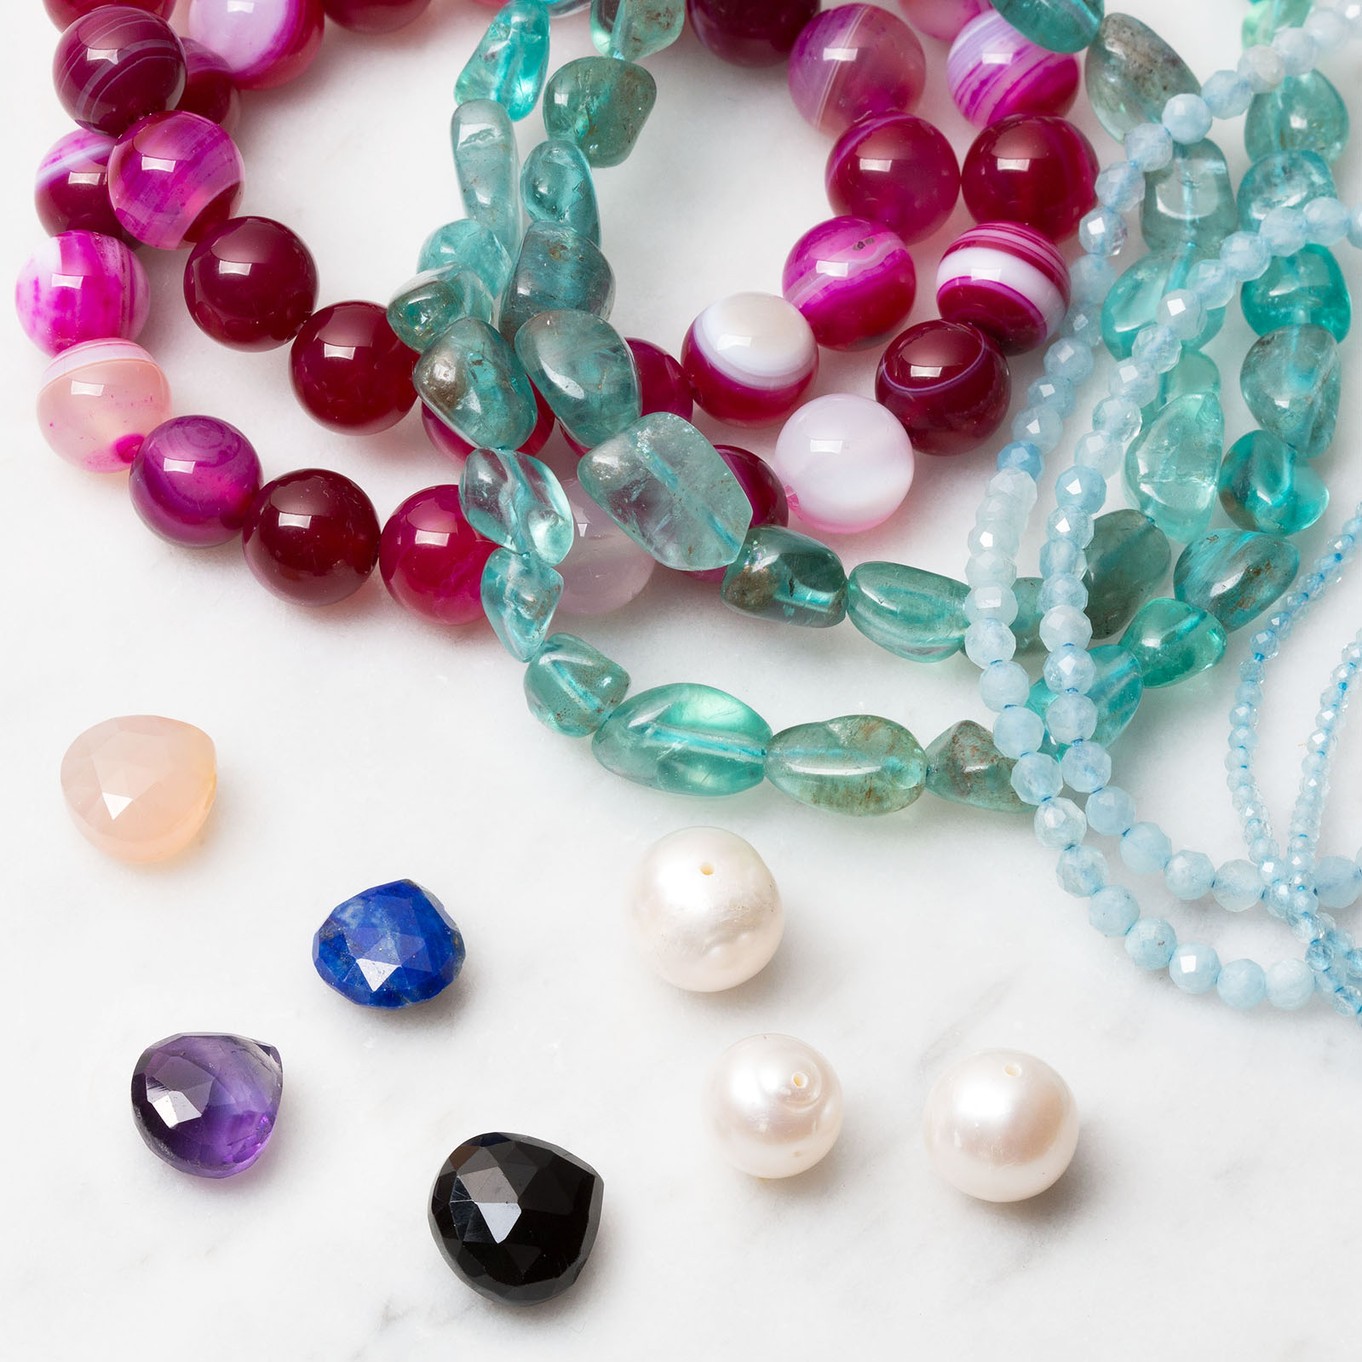
You can also get creative with choosing your favourite combination of gemstone beads from our wide range available on our website.
Watch Cat's video tutorial below and find all the recommended project tools and supplies, so you can easily recreate your own unique gemstone earrings for yourself.
Recommended Project Tools & Supplies
- Round nose pliers
- Bent nose pliers found in our pack of pliers & side cutters (snipe nose pliers can also be used instead)
- Snipe nose pliers (also known as chain nose)
- Side cutters
- 0.4mm/0.5mm sterling silver wire (or as appropriate for your focal bead) click here to browse our full range of metal wire
- 28/26 gauge sterling silver 1-inch headpins (or as appropriate for your cluster beads)
- Sterling silver earwires (pair) - you may like our marquise earwires similar to those featured
- Focal bead x2 (pair) – featuring 10mm labradorite faceted oval beads
- Cluster beads x6 (or as many as desired but an even number) – featuring 3mm aquamarine rondelles
Watch Cat's Tutorial On How To Make Gemstone Bead Earrings
Basic Step By Step Instructions
- Thread your first cluster bead onto a headpin. Create a loop using your round nosed pliers and wire wrap. Trim excess wire with cutters and use long nosed pliers to tuck in the wire end.
- Repeat for the remaining cluster beads
- Thread focal bead onto loose wire – create loop at the loose end and wire wrap as above.
- Create loop at other end of focal bead, but do not wire wrap yet – cut wire leaving enough for the wrapping.
- Thread on 3 cluster beads, then use bent nosed pliers to hold the loop while wrapping the wire to secure the cluster beads. Trim any excess and neatly tuck in the wire as normal.
- Open loop on earwires (with twisting motion, not pulling apart)
- Thread on the earring and close earwire loop in the same way as you opened it.
- Repeat for second focal bead
- Admire your new pair of earrings!
Explore Gemstones & Jewellery Making Supplies With Kernowcraft
Explore Gemstone Beads
At Kernowcraft, you'll find a huge range of gemstone beads in various shapes and sizes to suit you. Get creative and experiment with combining gemstones, colours and shapes to create unique pieces of jewellery.
Shop Jewellery Pliers & Cutters >
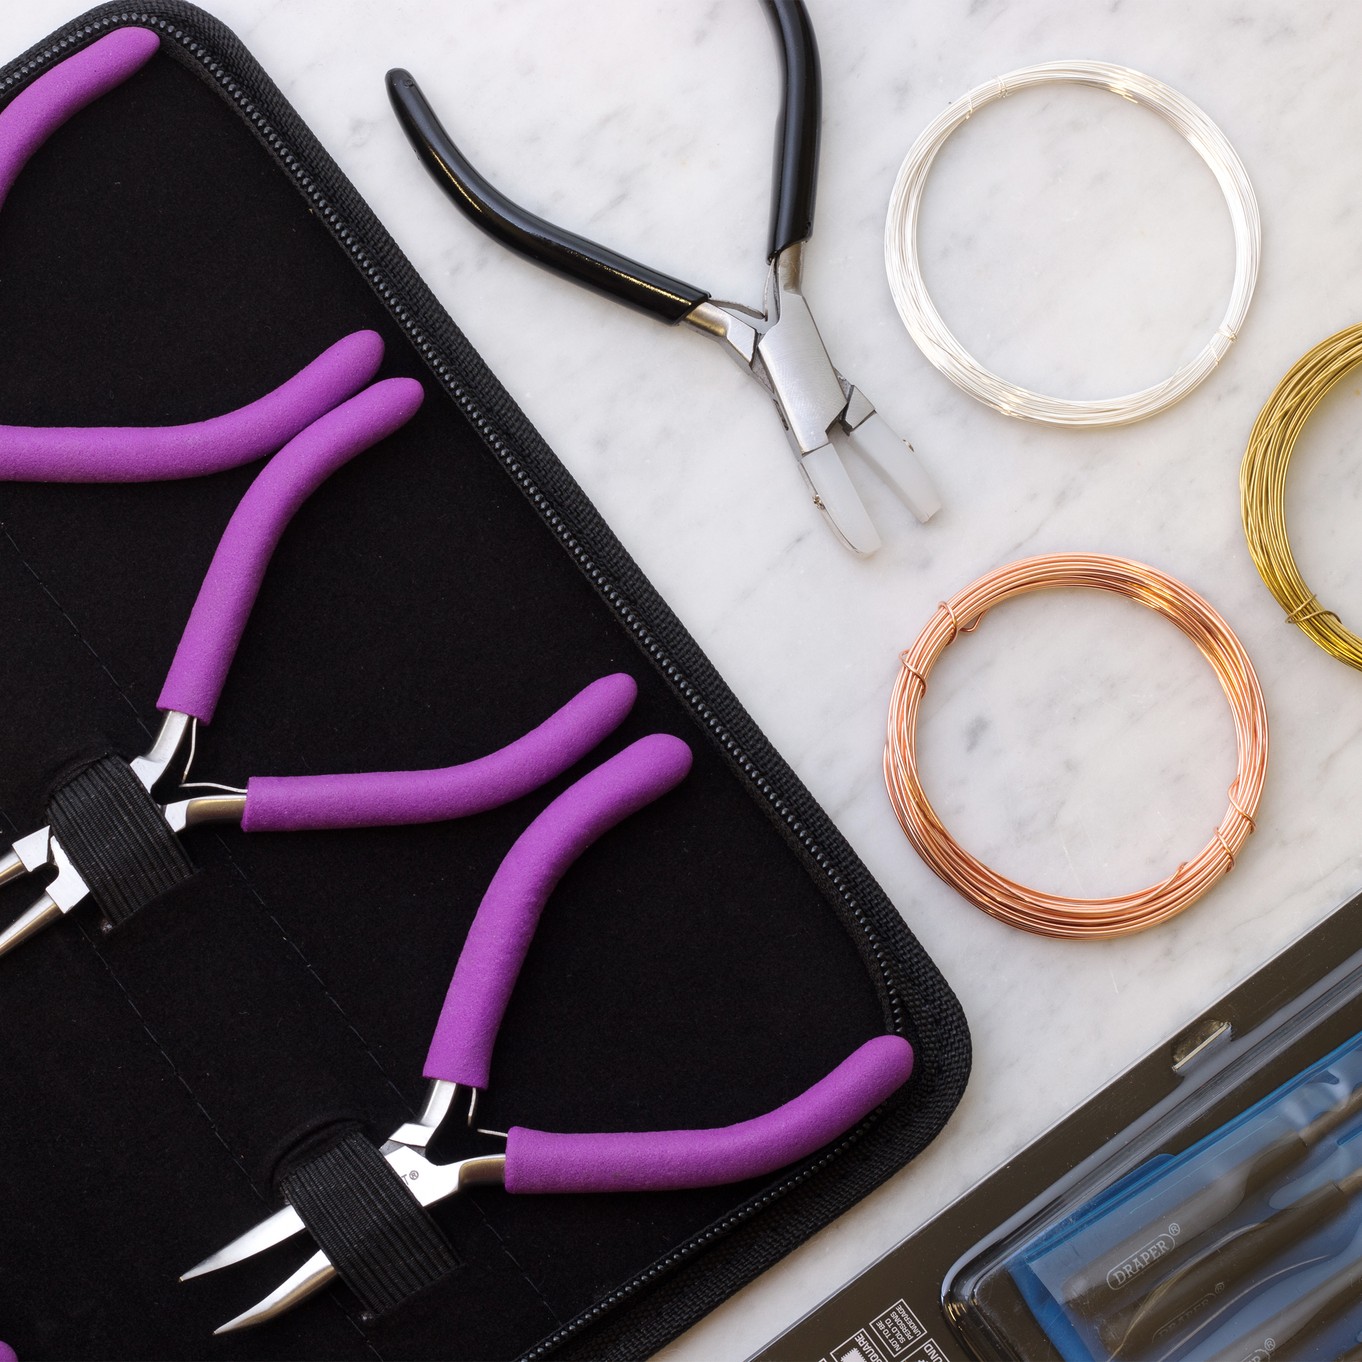
This project only requires a few tools to complete the look! Don't forget to check out our handy jewellery pliers & side cutters pack which contains all our recommended and essential pliers you need for projects, complete with a zip up case to keep your tools safe and organised.

Meet Guest Tutor, Cat Stacey
I have been making jewellery for over 10 years, and in 2019 I made the decision to take it officially from hobby to business. My jewellery has been an intrinsic part both my personal life and my customers’ lives, accompanying through the ups and downs, bringing strength and grounding through the tough times, celebrating the achievements and the highs, and cherishing the people we love and the memories once they’re gone.
My jewellery is to celebrate and mark these moments – and people – that make our lives so rich and multifaceted. I believe jewellery should be made with love – because jewellery is always given with love.
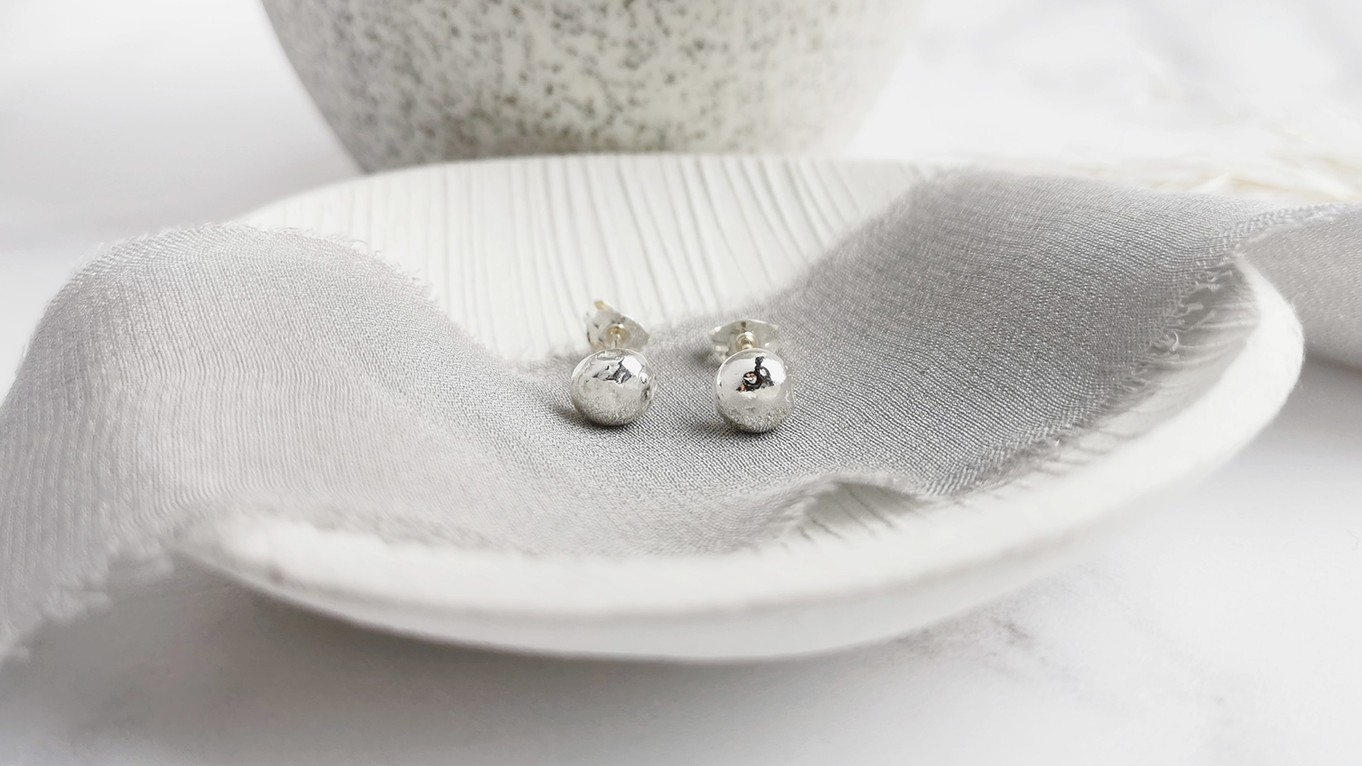
Don't Miss Cat's Guest Tutorial On How To Create Earstuds From Your Scrap Silver
Don't forget to keep all of your scrap wire from projects such as this one, because they can be melted down to create even more beautiful pieces of jewellery. Cat shares with you a brilliant project, sharing step by step photos of how to make these sweet silver scrap earstuds that she calls pebbles.
The products used in these projects are suggestions to inspire you. Products used were compatible at the time of making but do be aware that stocks can vary, so do use your own judgement as to the compatibility of each item when making.
Also in this section:
- Macrame Bead Bracelet Tutorial
- Your Guide To Bead Stringing Materials For Jewellery Making
- The Essential Tools For Beading
- Beading: How To Start Jewellery Making With Lyndsey
- Answering Commonly Asked Beading Questions
- Types Of Beads For Jewellery Making
- The Difference Between Half Drilled, Top Drilled And Head Drilled Beads
- How To Use Top Drilled Beads
- Jewellery Making With Half Drilled Beads
- What Are Briolette Beads & How To Use Them
- Stringing Beads With Small Holes
- How To Make Your Bead Holes Bigger With A Bead Reamer
- Types Of Clasps For Jewellery Making
- 8 Reasons You Need A Bead Board
- How To Make A Sliding Knot
- Advice On Knotting Elastic Stretch Magic Thread
- How To Use Flex-Rite Jewellery Wire
- How To Use Crimps
- How To Make A Silkon Thread Briolette Necklace
- How To Use Beading Chain
- 4 Ways To Use Gemstone Donuts
- 4 Gemstone Chip Bead Project Ideas
- How To Use End Caps For Jewellery Making
- How To Make Earwires With Gemstone Beads
- How To Make A Memory Wire Bracelet
- How To Make Gemstone Bead Earrings
- How To Make A Bead Bar Necklace
- How To Make Beaded Bracelet With Flex-Rite Wire & Wire Guardians
- DIY Gemstone Friendship Bracelets
- How To Make A Beaded Bracelet With Knot Covers
- How To Make Polymer Clay Earrings
- How To Make Felt Jewellery
- DIY Mini Tassels & Jewellery Projects
HAVE A QUESTION?
If you have any questions, feel free to get in touch with our friendly team who will be more than happy to give you advice over email or on the phone.
You can learn more and find inspiration by visiting our Jewellery Making Tutorials, Jewellery Making Kits and YouTube Channel. Don't forget to follow us on social media and tag us in your designs on Instagram & Facebook, we would love to see!

