How To Make Your Bead Holes Bigger With A Bead Reamer
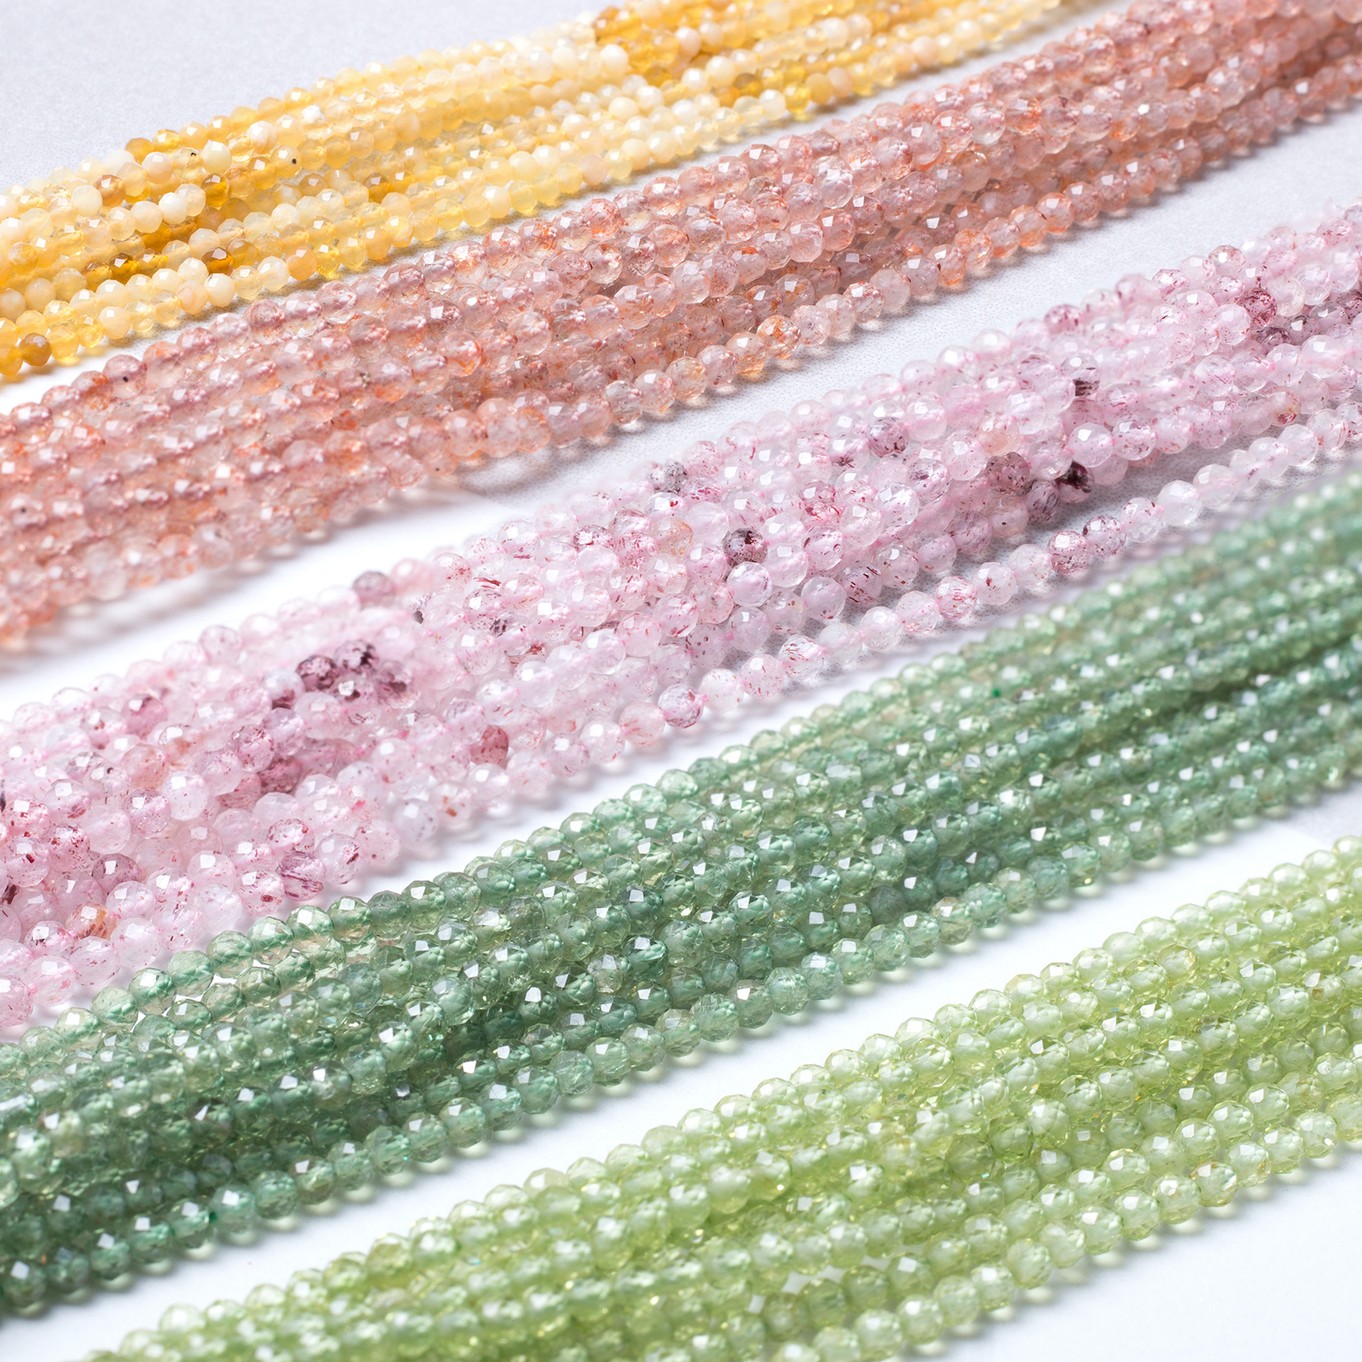
Gemstone beads are such a popular choice for so many designs, however due to the way they are drilled, the holes can sometimes be very tiny. It can be so frustrating when just a few of your beautiful beads don’t quite fit onto the thread or wire you have chosen.
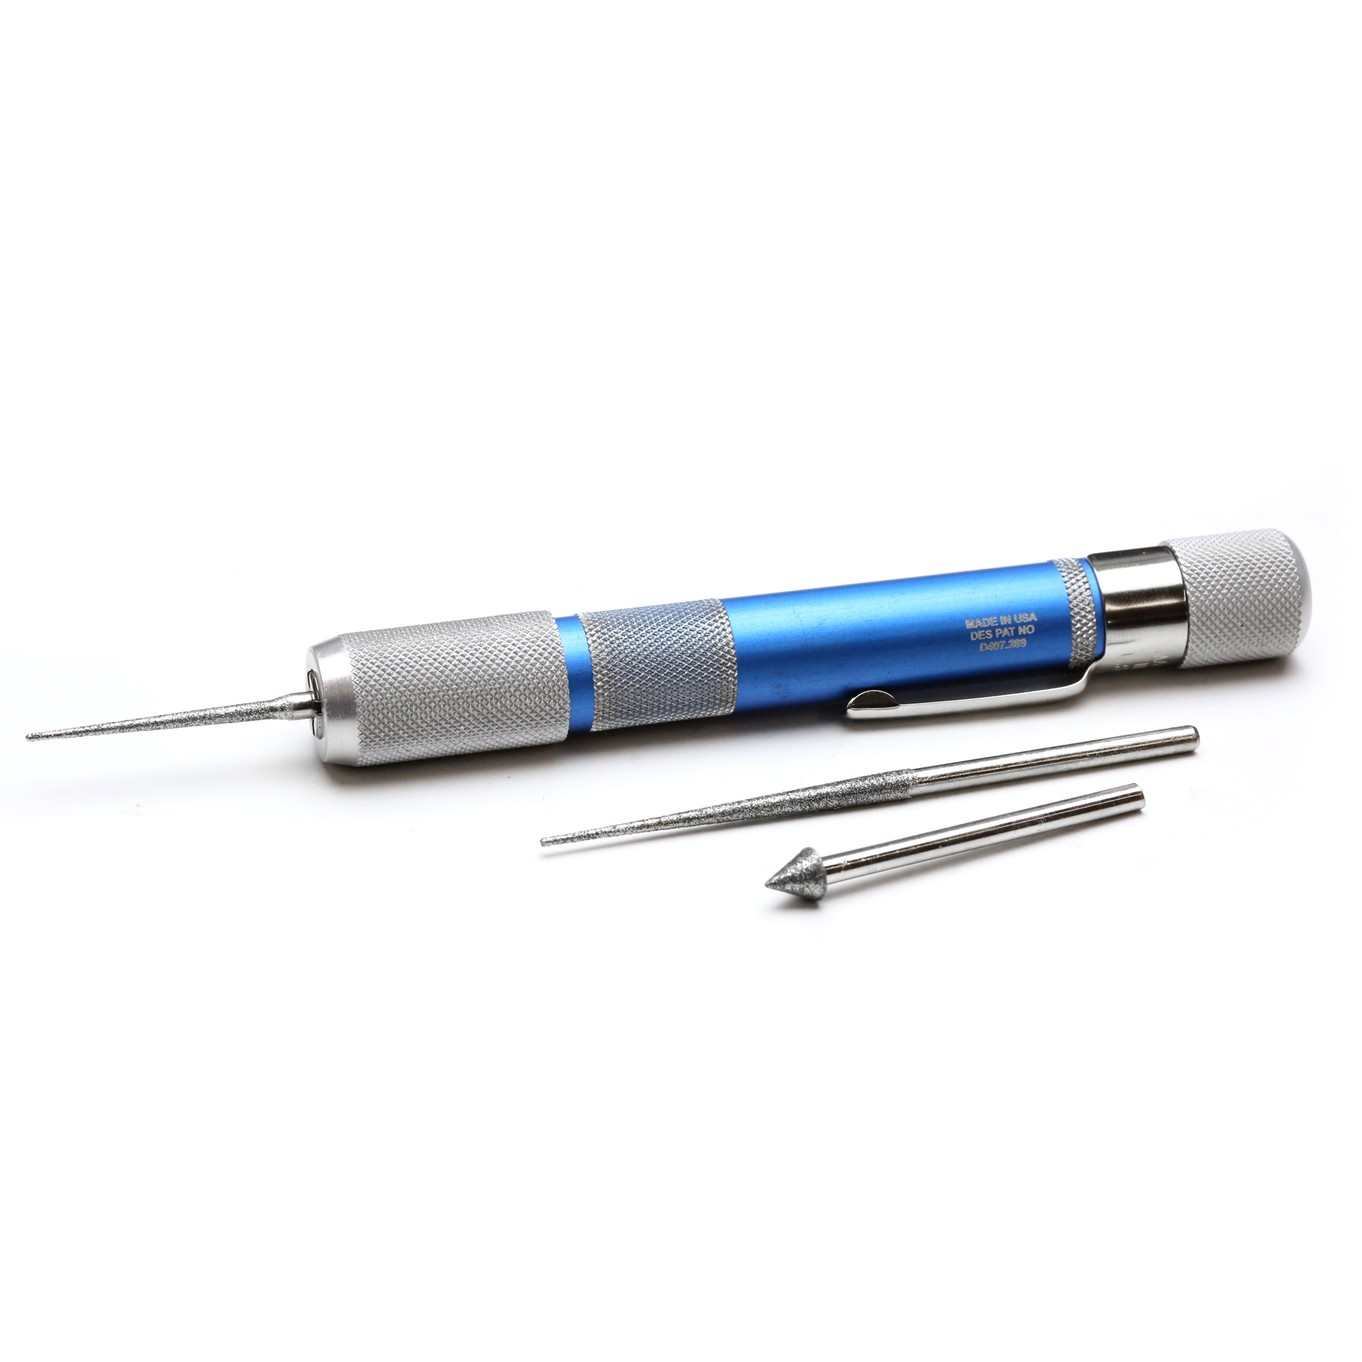
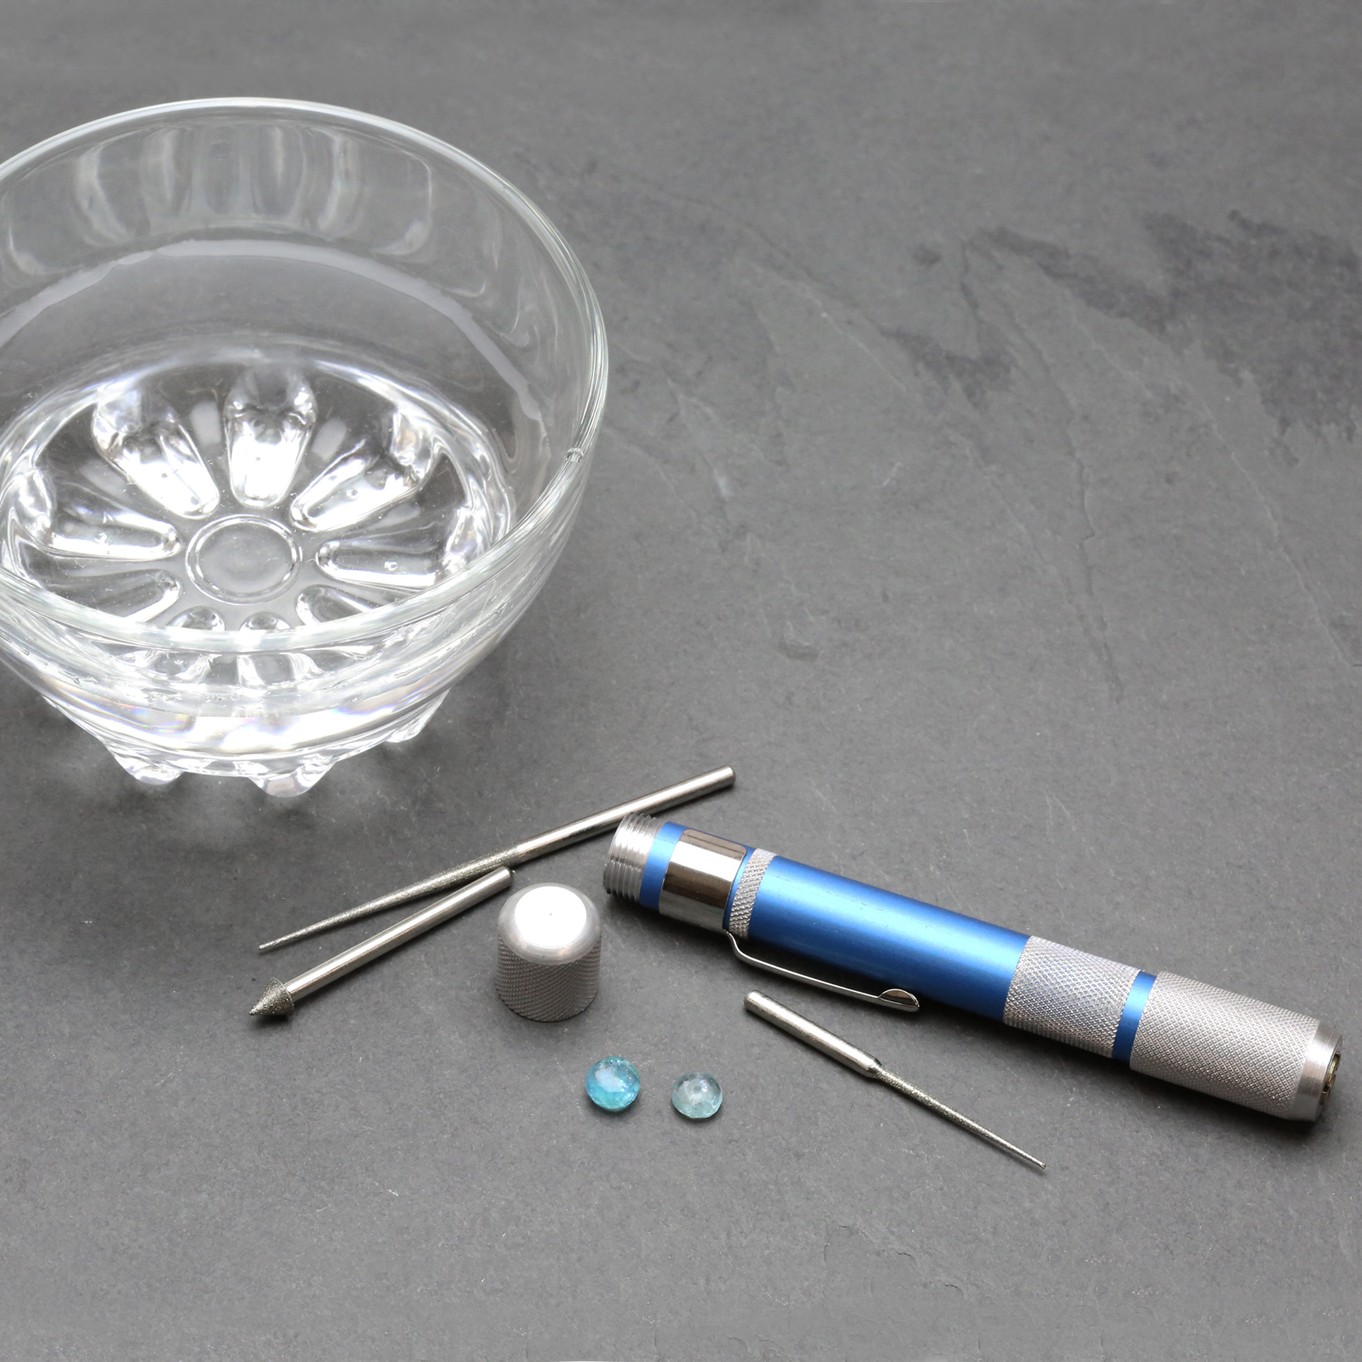
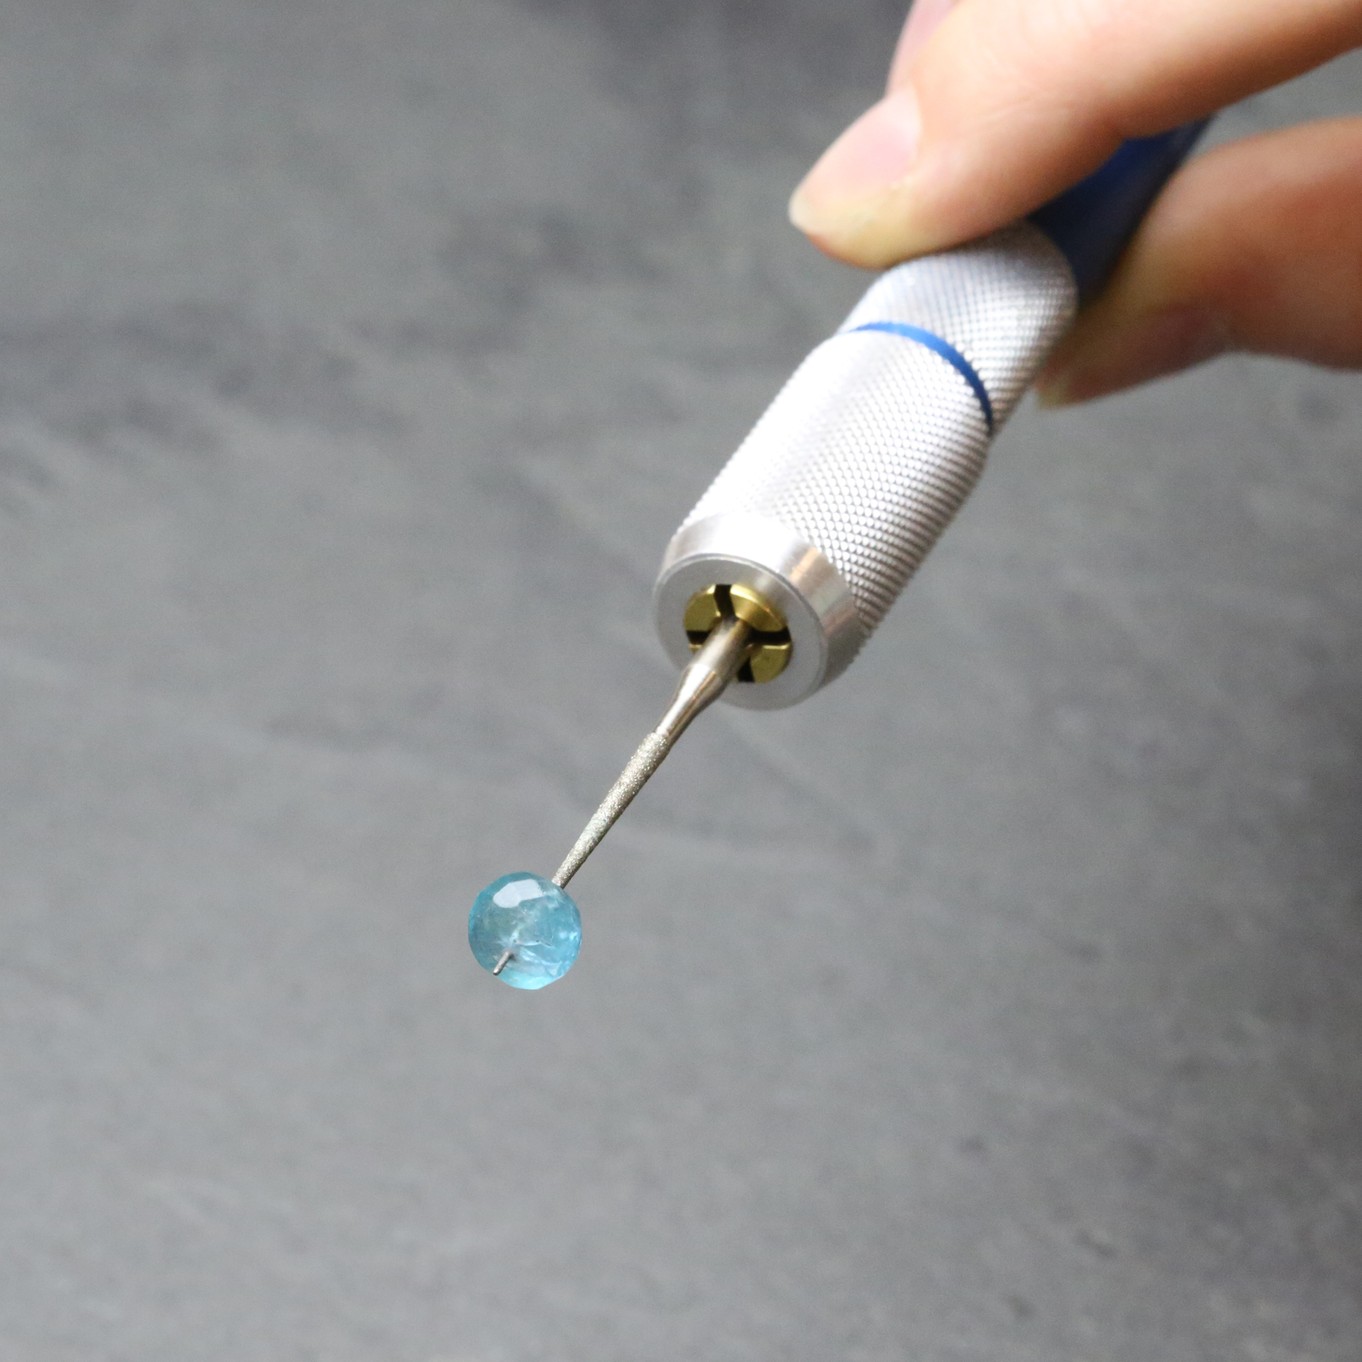
Luckily we have just the solution... The Duluxe Diamond Coated Bead Reamer! This is a handy tool that eliminates the need to rethink your choice of thread or change your design by enabling you to gently enlarge the holes in gemstone, glass or ceramic beads as well as pearls.
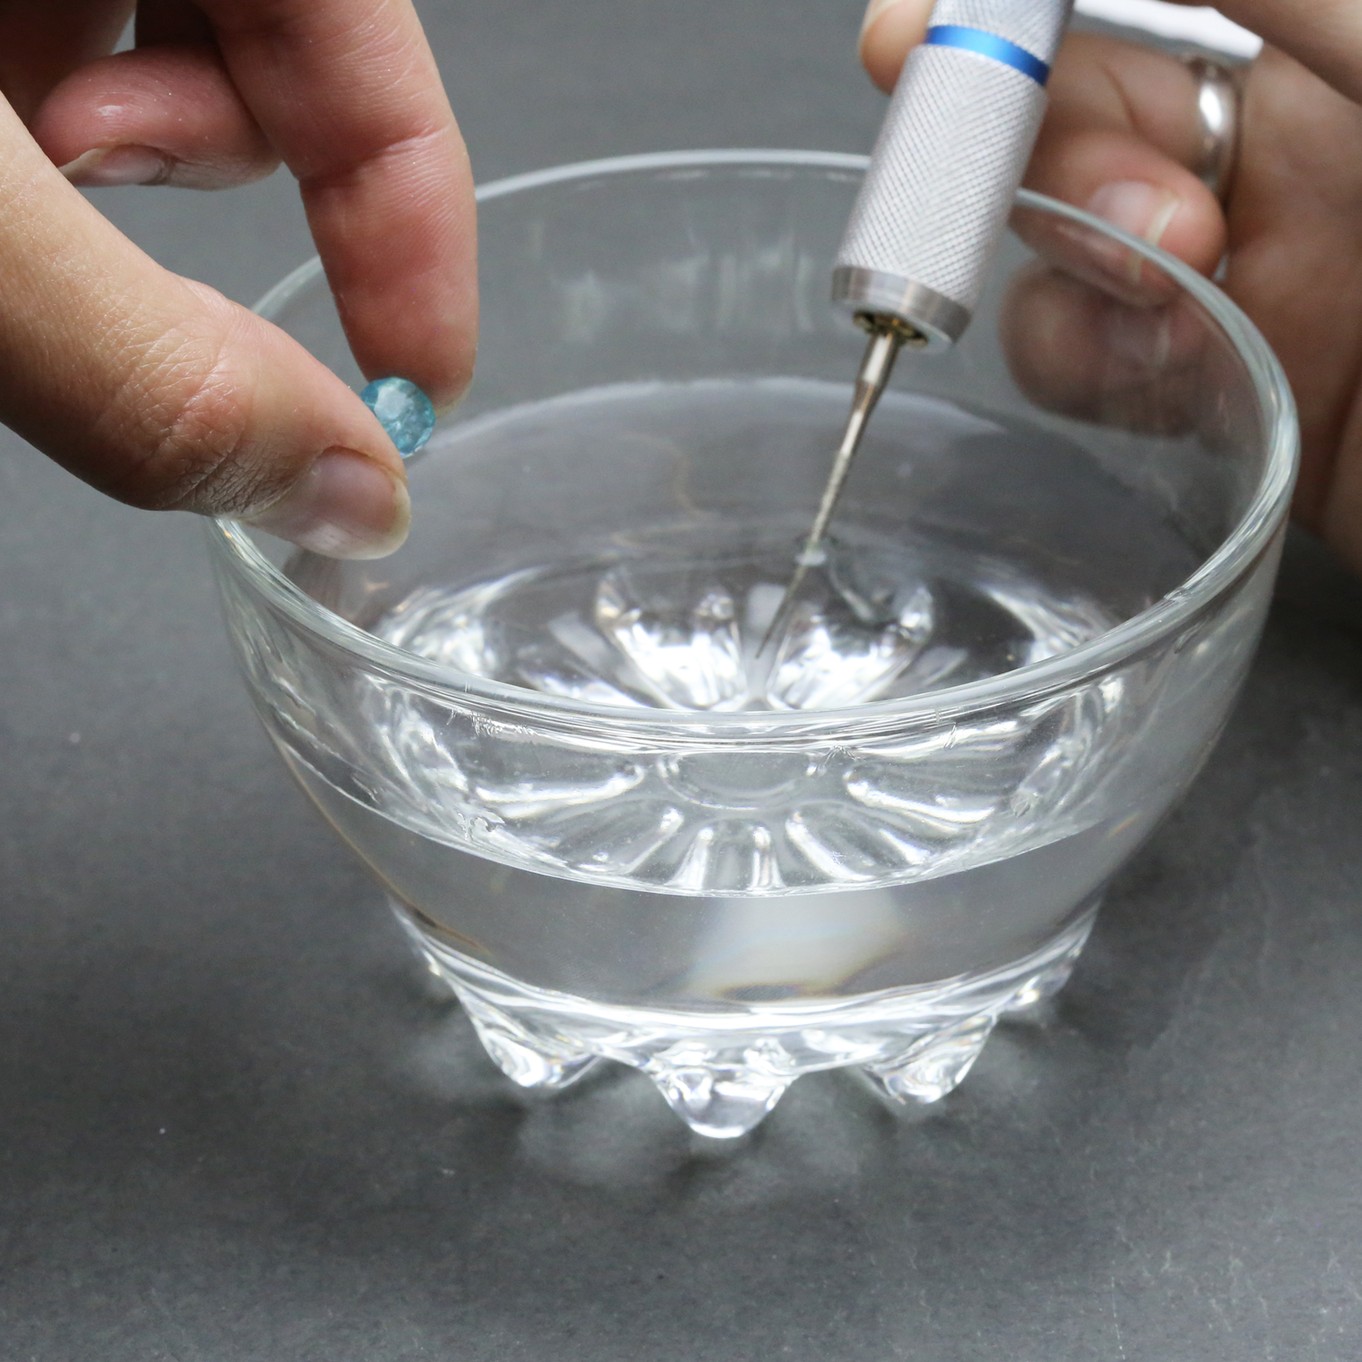
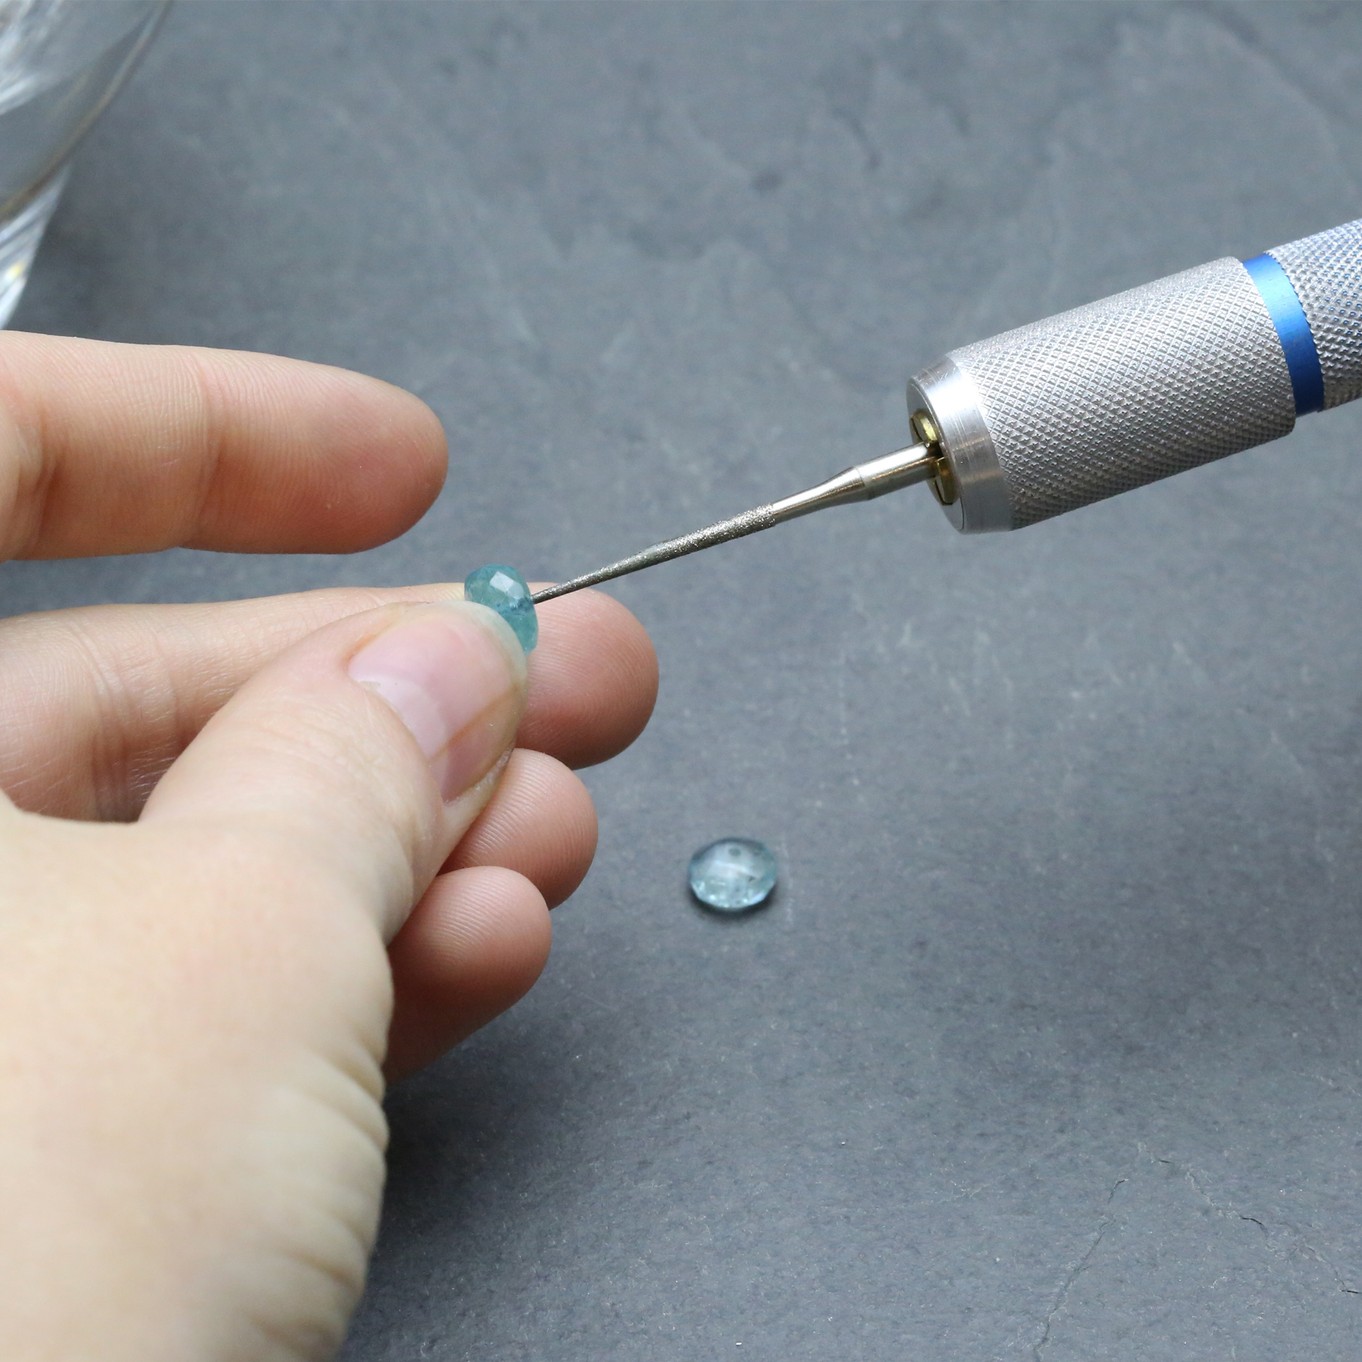
Here we will show you how to use the bead reamer and the best techniques in successfully making your bead hole bigger.
Note before you start
It is important not to apply any force when using the bead reamer as this puts you in risk of cracking the stone - gentle, rotating movements will enlarge the holes.
Watch our video tutorial below of using a bead reamer to enlarge bead holes
Or follow our step by step instructions with photos
Shop Gemstone Beads
Explore over 300 gemstone beads with Kernowcraft! With a huge range of styles, shapes and sizes to suit your handmade designs.
Important information about enlarging holes
The holes of certain gemstones and other materials will take longer to enlarge than others. For example gemstone beads made from quartz, agate or sea-glass are strong materials and therefore will take longer than stones such as turquoise, pearls, amber, fluorite and shells as they are softer.
When working with gemstone beads we recommend only aiming to enlarge holes by a small amount.
Gemstones have natural inclusions within them and the more you enlarge the the holes the more risk you have of the stone cracking.
Always ensure you take your time and do not apply any force to the stone.
For any further advice regarding the contents on this page or for any other general jewellery making enquires, please feel free to get in touch, we would love to hear from you.
Also in this section:
- Macrame Bead Bracelet Tutorial
- Your Guide To Bead Stringing Materials For Jewellery Making
- The Essential Tools For Beading
- Beading: How To Start Jewellery Making With Lyndsey
- Answering Commonly Asked Beading Questions
- Types Of Beads For Jewellery Making
- The Difference Between Half Drilled, Top Drilled And Head Drilled Beads
- How To Use Top Drilled Beads
- Jewellery Making With Half Drilled Beads
- What Are Briolette Beads & How To Use Them
- Stringing Beads With Small Holes
- How To Make Your Bead Holes Bigger With A Bead Reamer
- Types Of Clasps For Jewellery Making
- 8 Reasons You Need A Bead Board
- How To Make A Sliding Knot
- Advice On Knotting Elastic Stretch Magic Thread
- How To Use Flex-Rite Jewellery Wire
- How To Use Crimps
- How To Make A Silkon Thread Briolette Necklace
- How To Use Beading Chain
- 4 Ways To Use Gemstone Donuts
- 4 Gemstone Chip Bead Project Ideas
- How To Use End Caps For Jewellery Making
- How To Make Earwires With Gemstone Beads
- How To Make A Memory Wire Bracelet
- How To Make Gemstone Bead Earrings
- How To Make A Bead Bar Necklace
- How To Make Beaded Bracelet With Flex-Rite Wire & Wire Guardians
- DIY Gemstone Friendship Bracelets
- How To Make A Beaded Bracelet With Knot Covers
- How To Make Polymer Clay Earrings
- How To Make Felt Jewellery
- DIY Mini Tassels & Jewellery Projects
HAVE A QUESTION?
If you have any questions, feel free to get in touch with our friendly team who will be more than happy to give you advice over email or on the phone.
You can learn more and find inspiration by visiting our Jewellery Making Tutorials, Jewellery Making Kits and YouTube Channel. Don't forget to follow us on social media and tag us in your designs on Instagram & Facebook, we would love to see!

