How To Make A Macramé Bead Bracelet

Who knew knotting could lead to such stunning bracelets? This tutorial is perfect for jewellery making newbies, it would also make a great project for the little nippers or anyone who enjoys crafts and jewellery making.
With connectors available in countless shapes, every design is one-of-a-kind. You can even add your favourite beads for a personal touch (always check the hole sizes to make sure your chosen cord will fit through) and experiment with different colours and types of cords to create unique textures and styles. Imagine using a shell for a fun, holiday-inspired piece, or even attach your favourite charm! Let your creativity shine with endless possibilities.
*This tutorial is for a 19cm bracelet, which is a standard size. If you need a different length, simply adjust the size as needed.
**In this tutorial, we've used two different colours of cord to help you follow each step more easily.
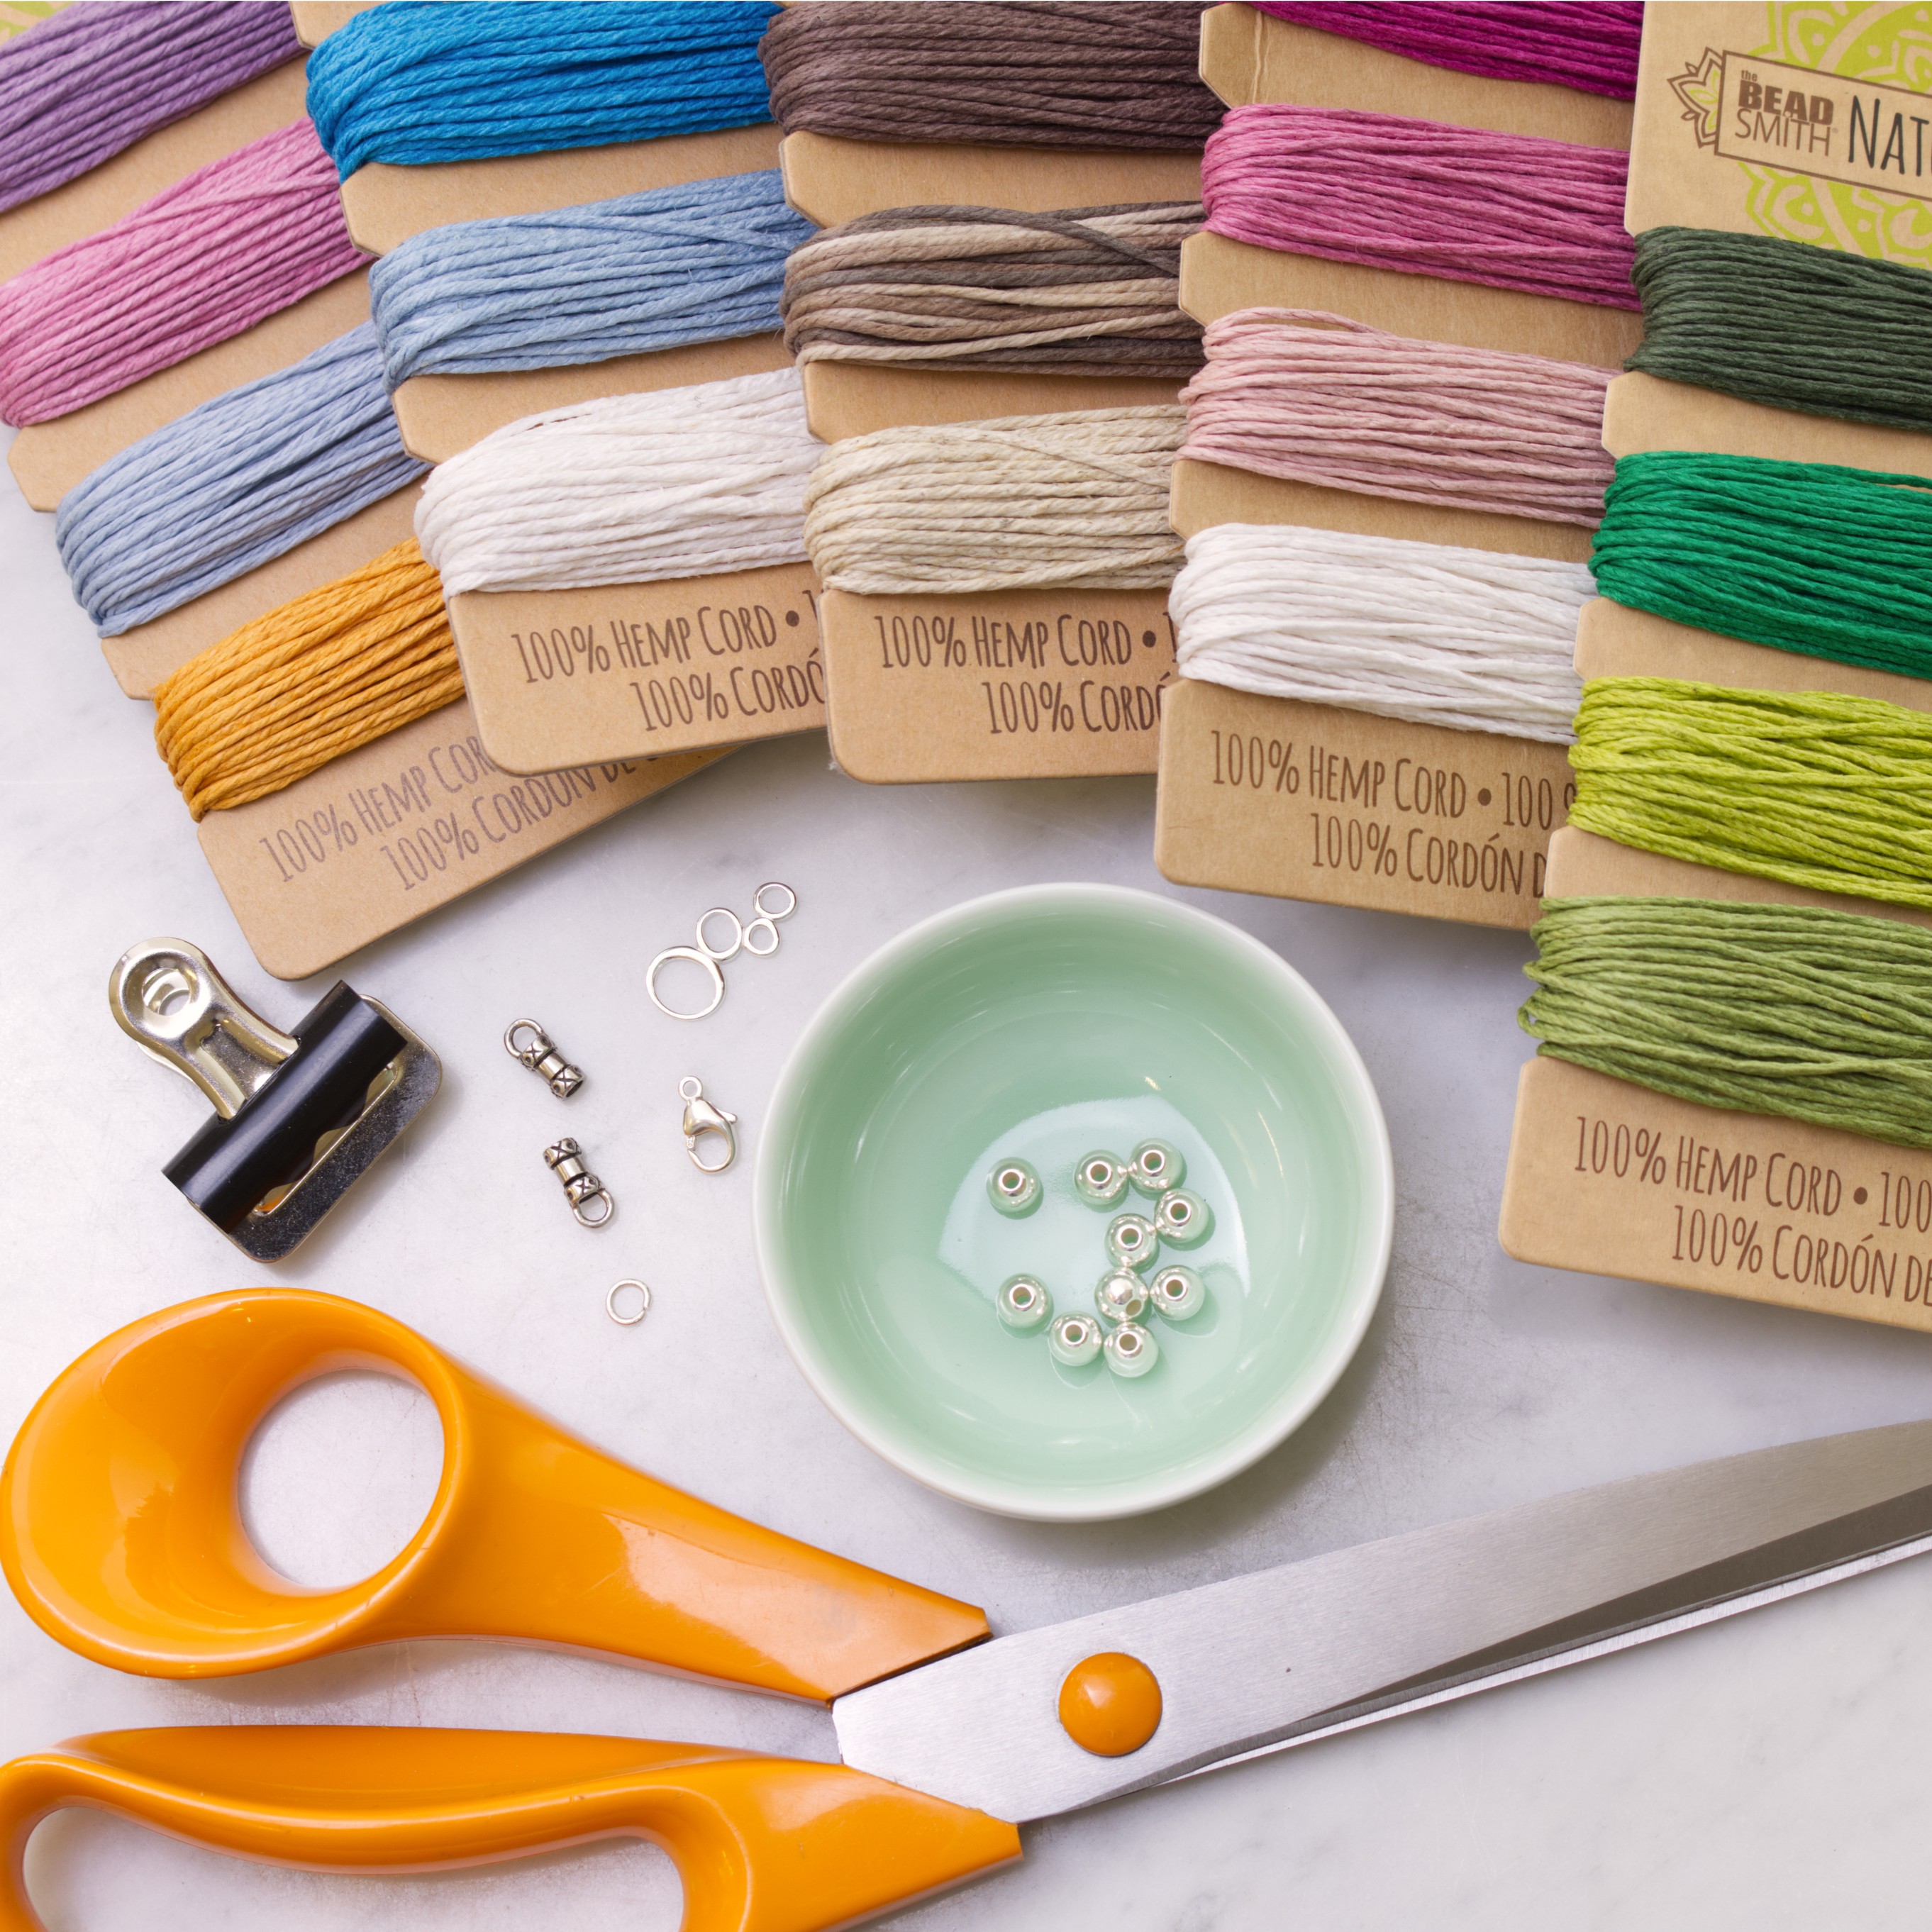
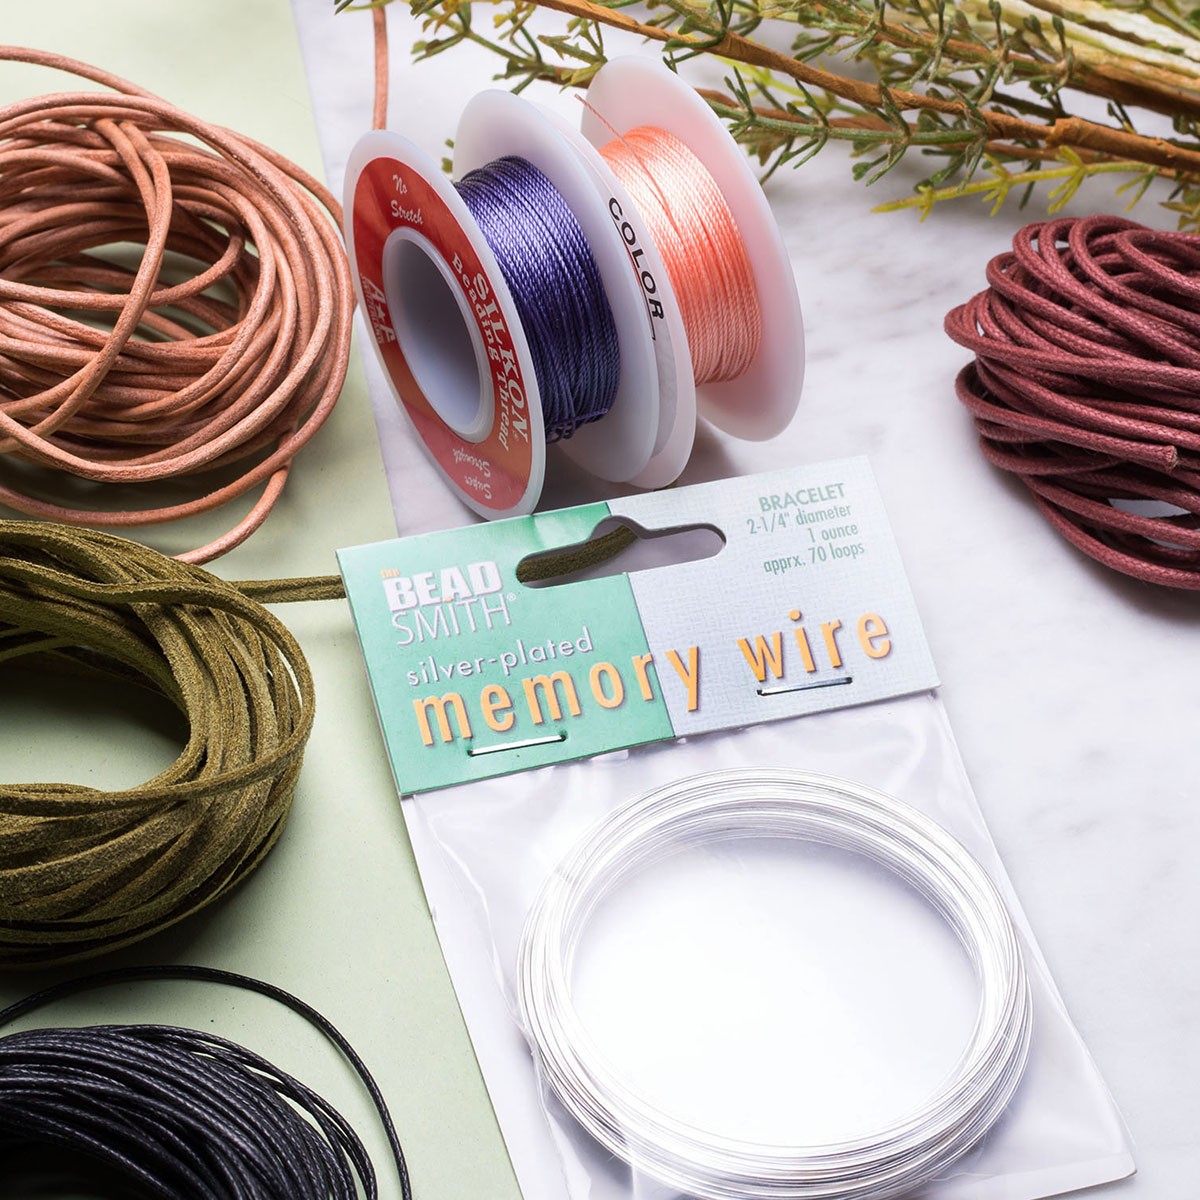
Recommended Tools & Supplies
- 3m of 1mm Hemp Cord
- Connector ring
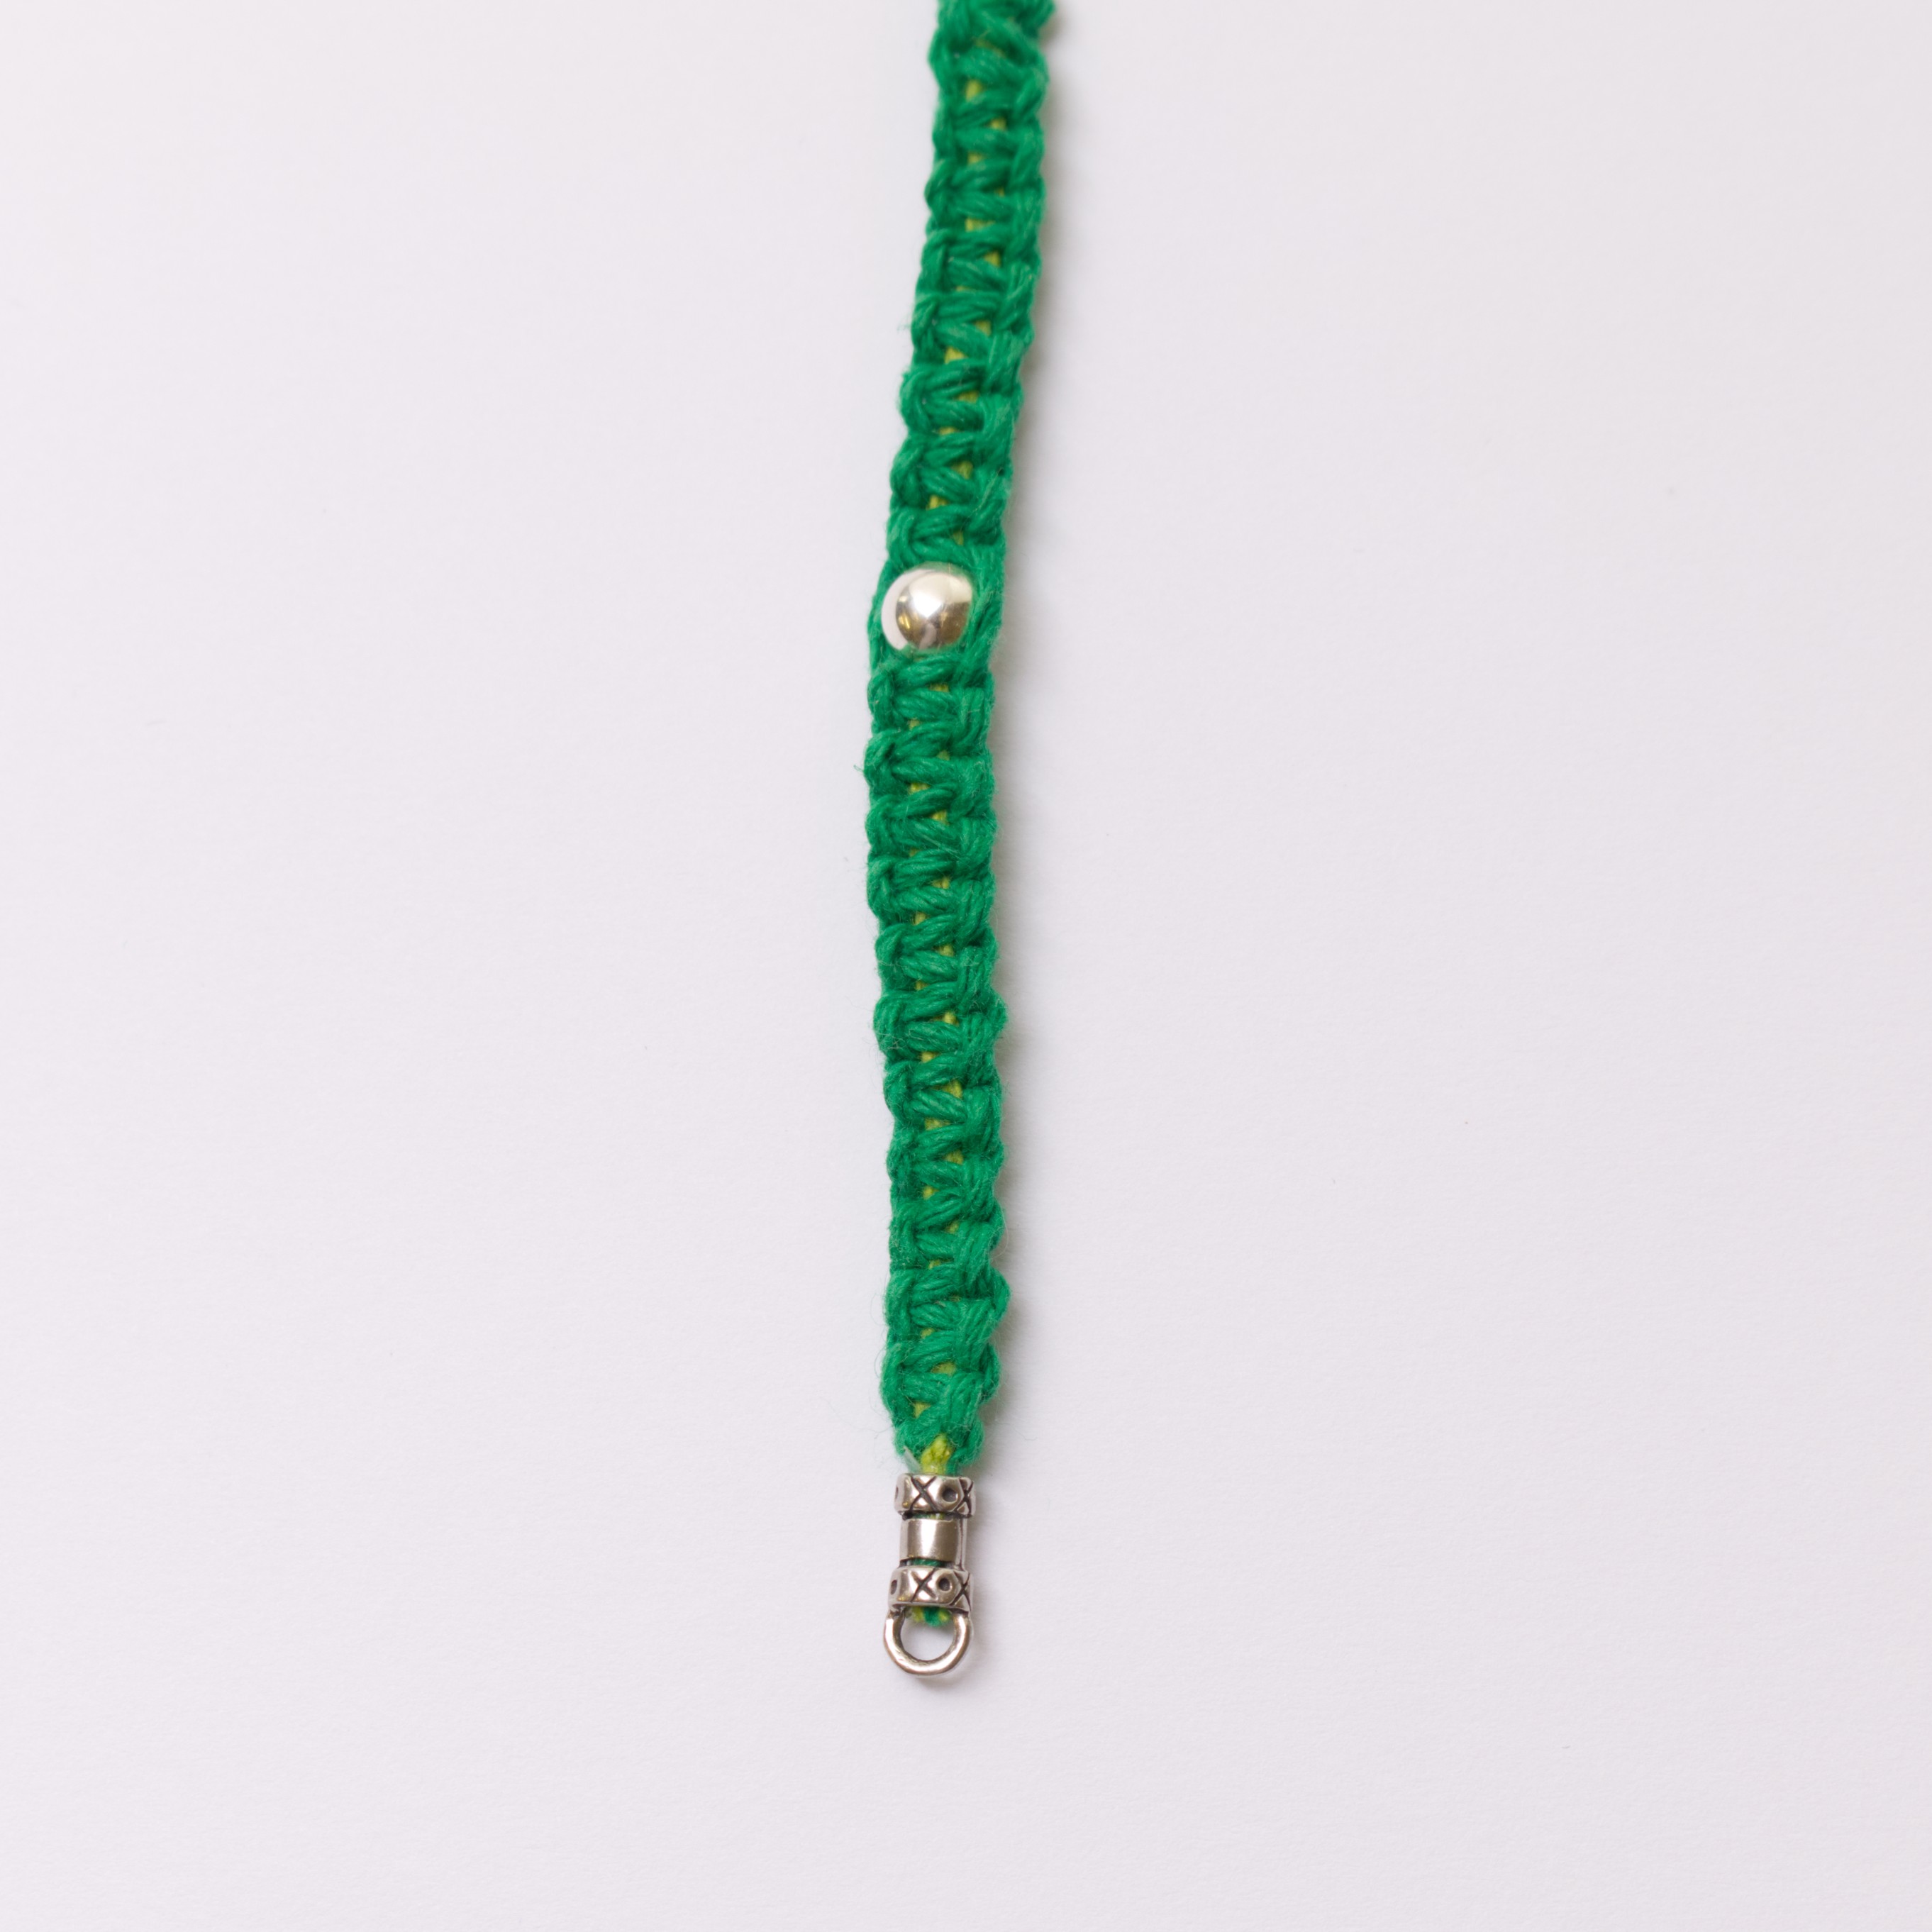
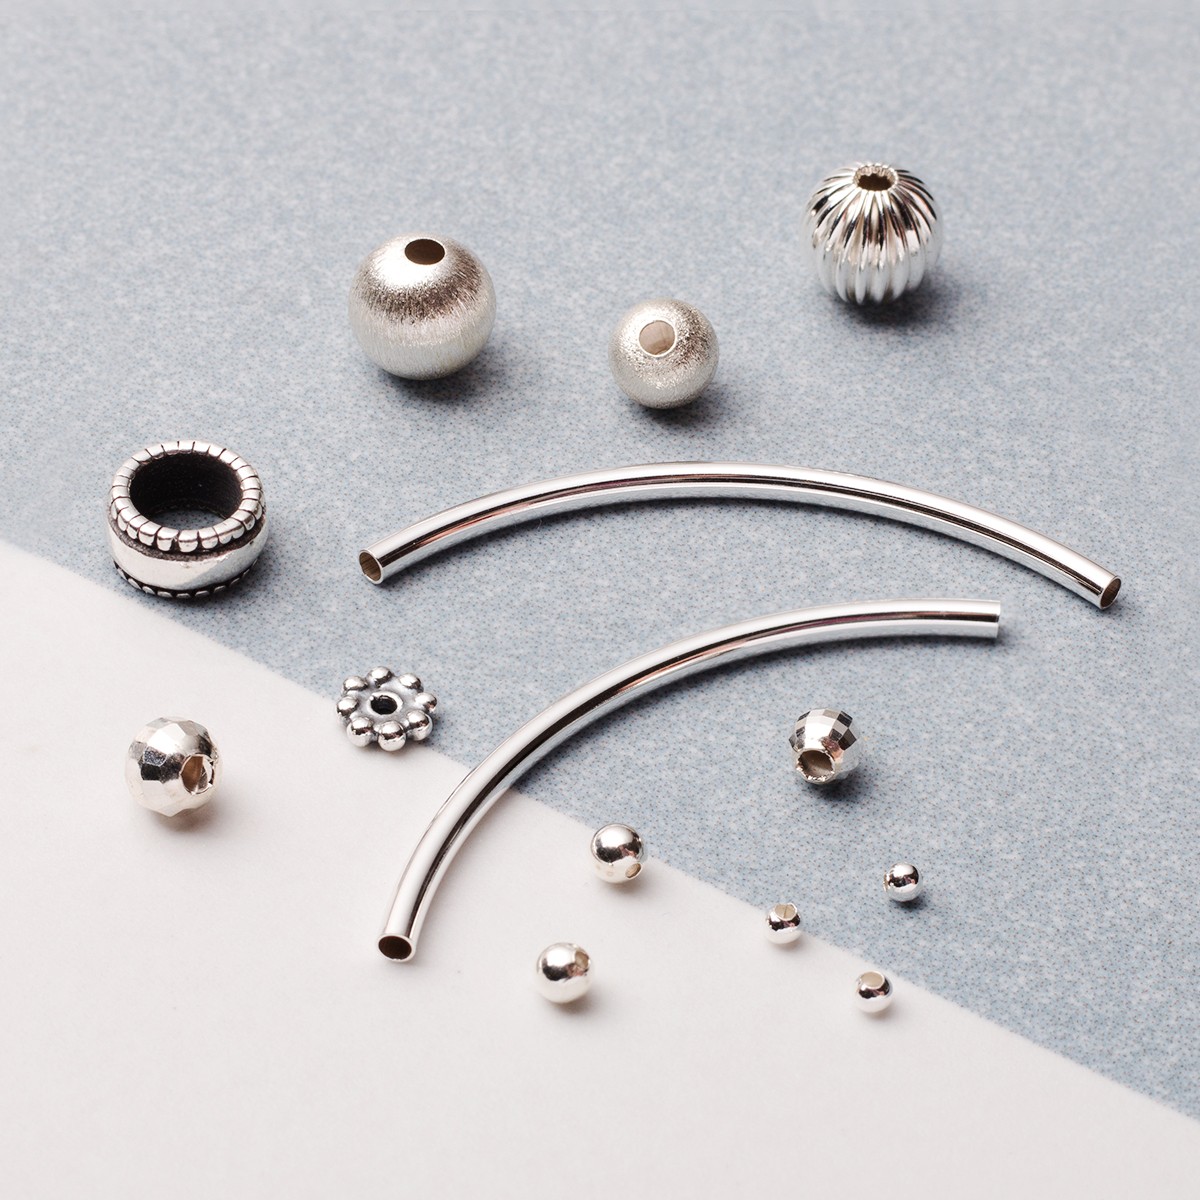
- Sterling Silver Beads (6mm)
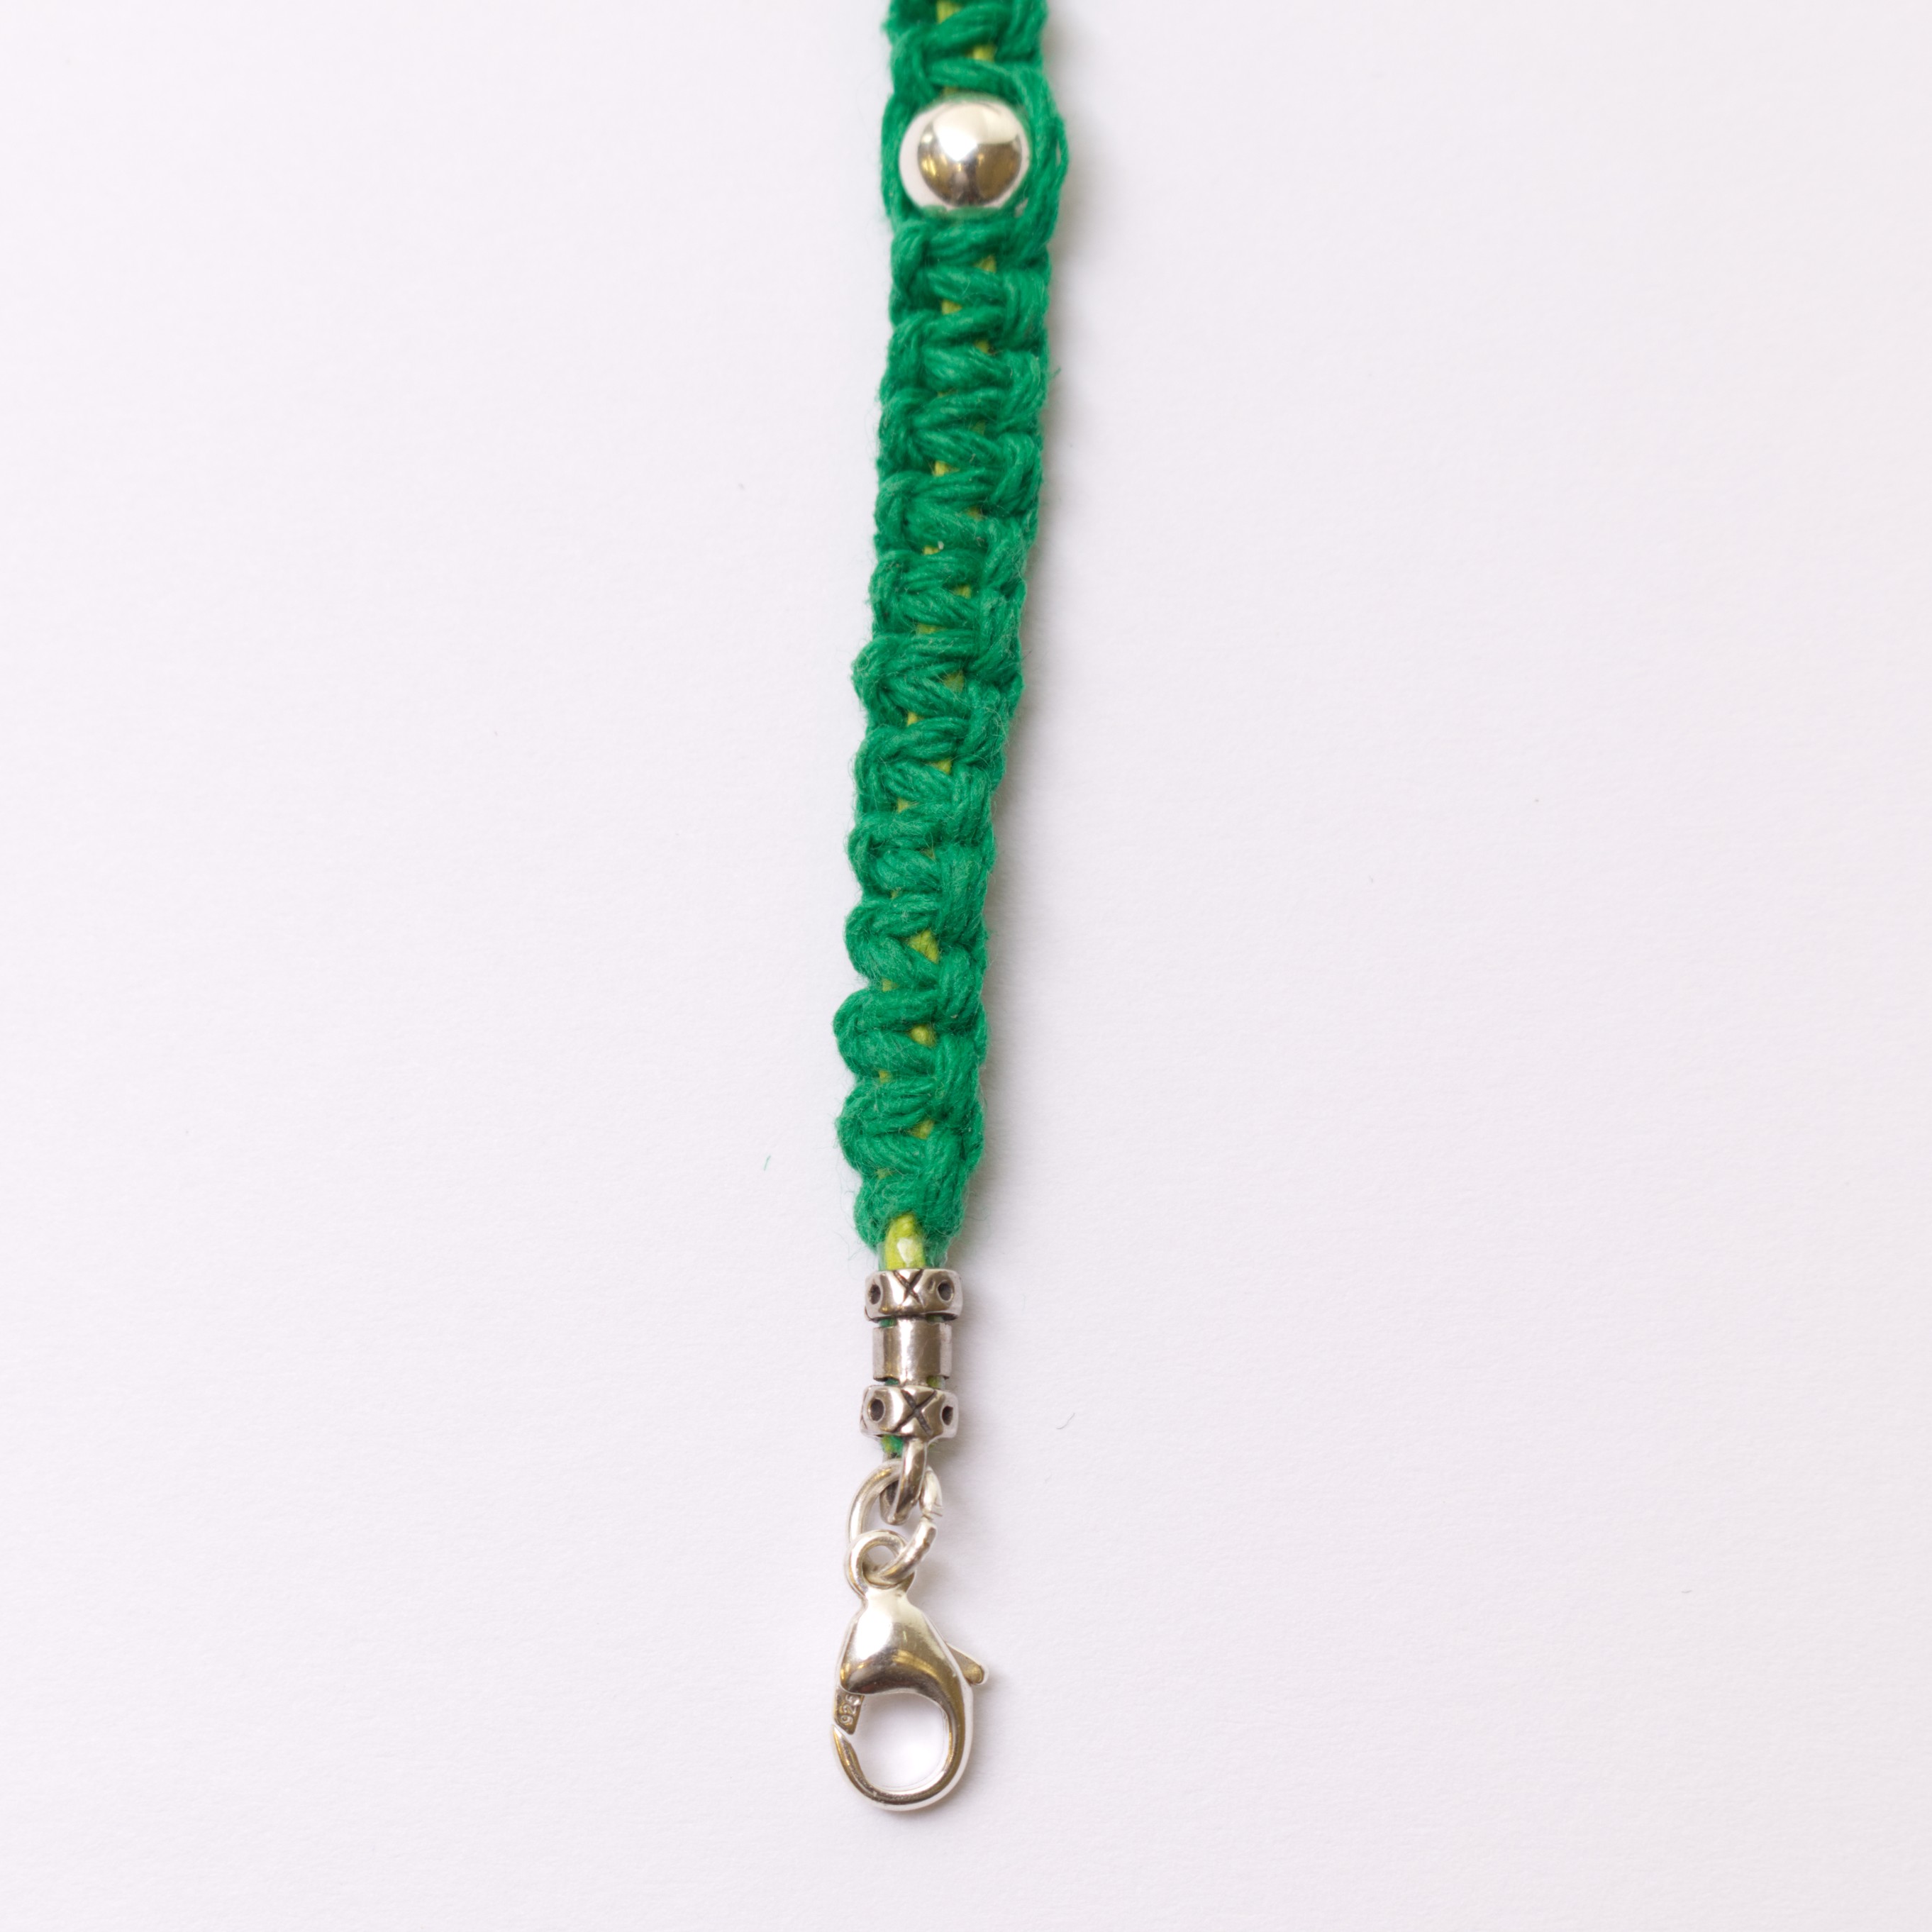
- Sterling Silver Crimps
- Sterling Silver Carabiner Lobster Clasp
- Sterling Silver 5mm Round Jump Rings
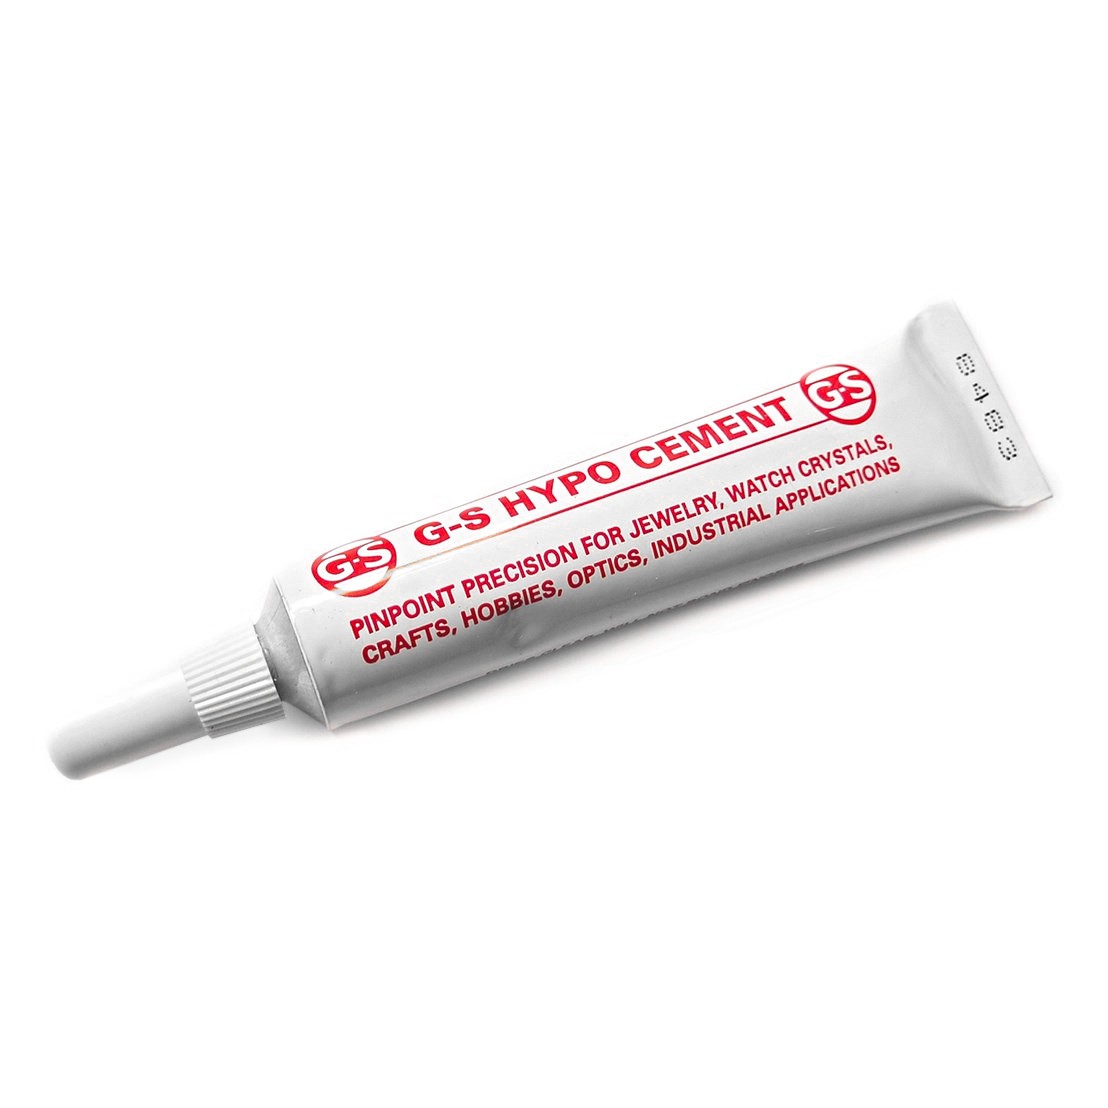
- Glue (such as Devcon Epoxy Glue or Hypo Cement Glue)
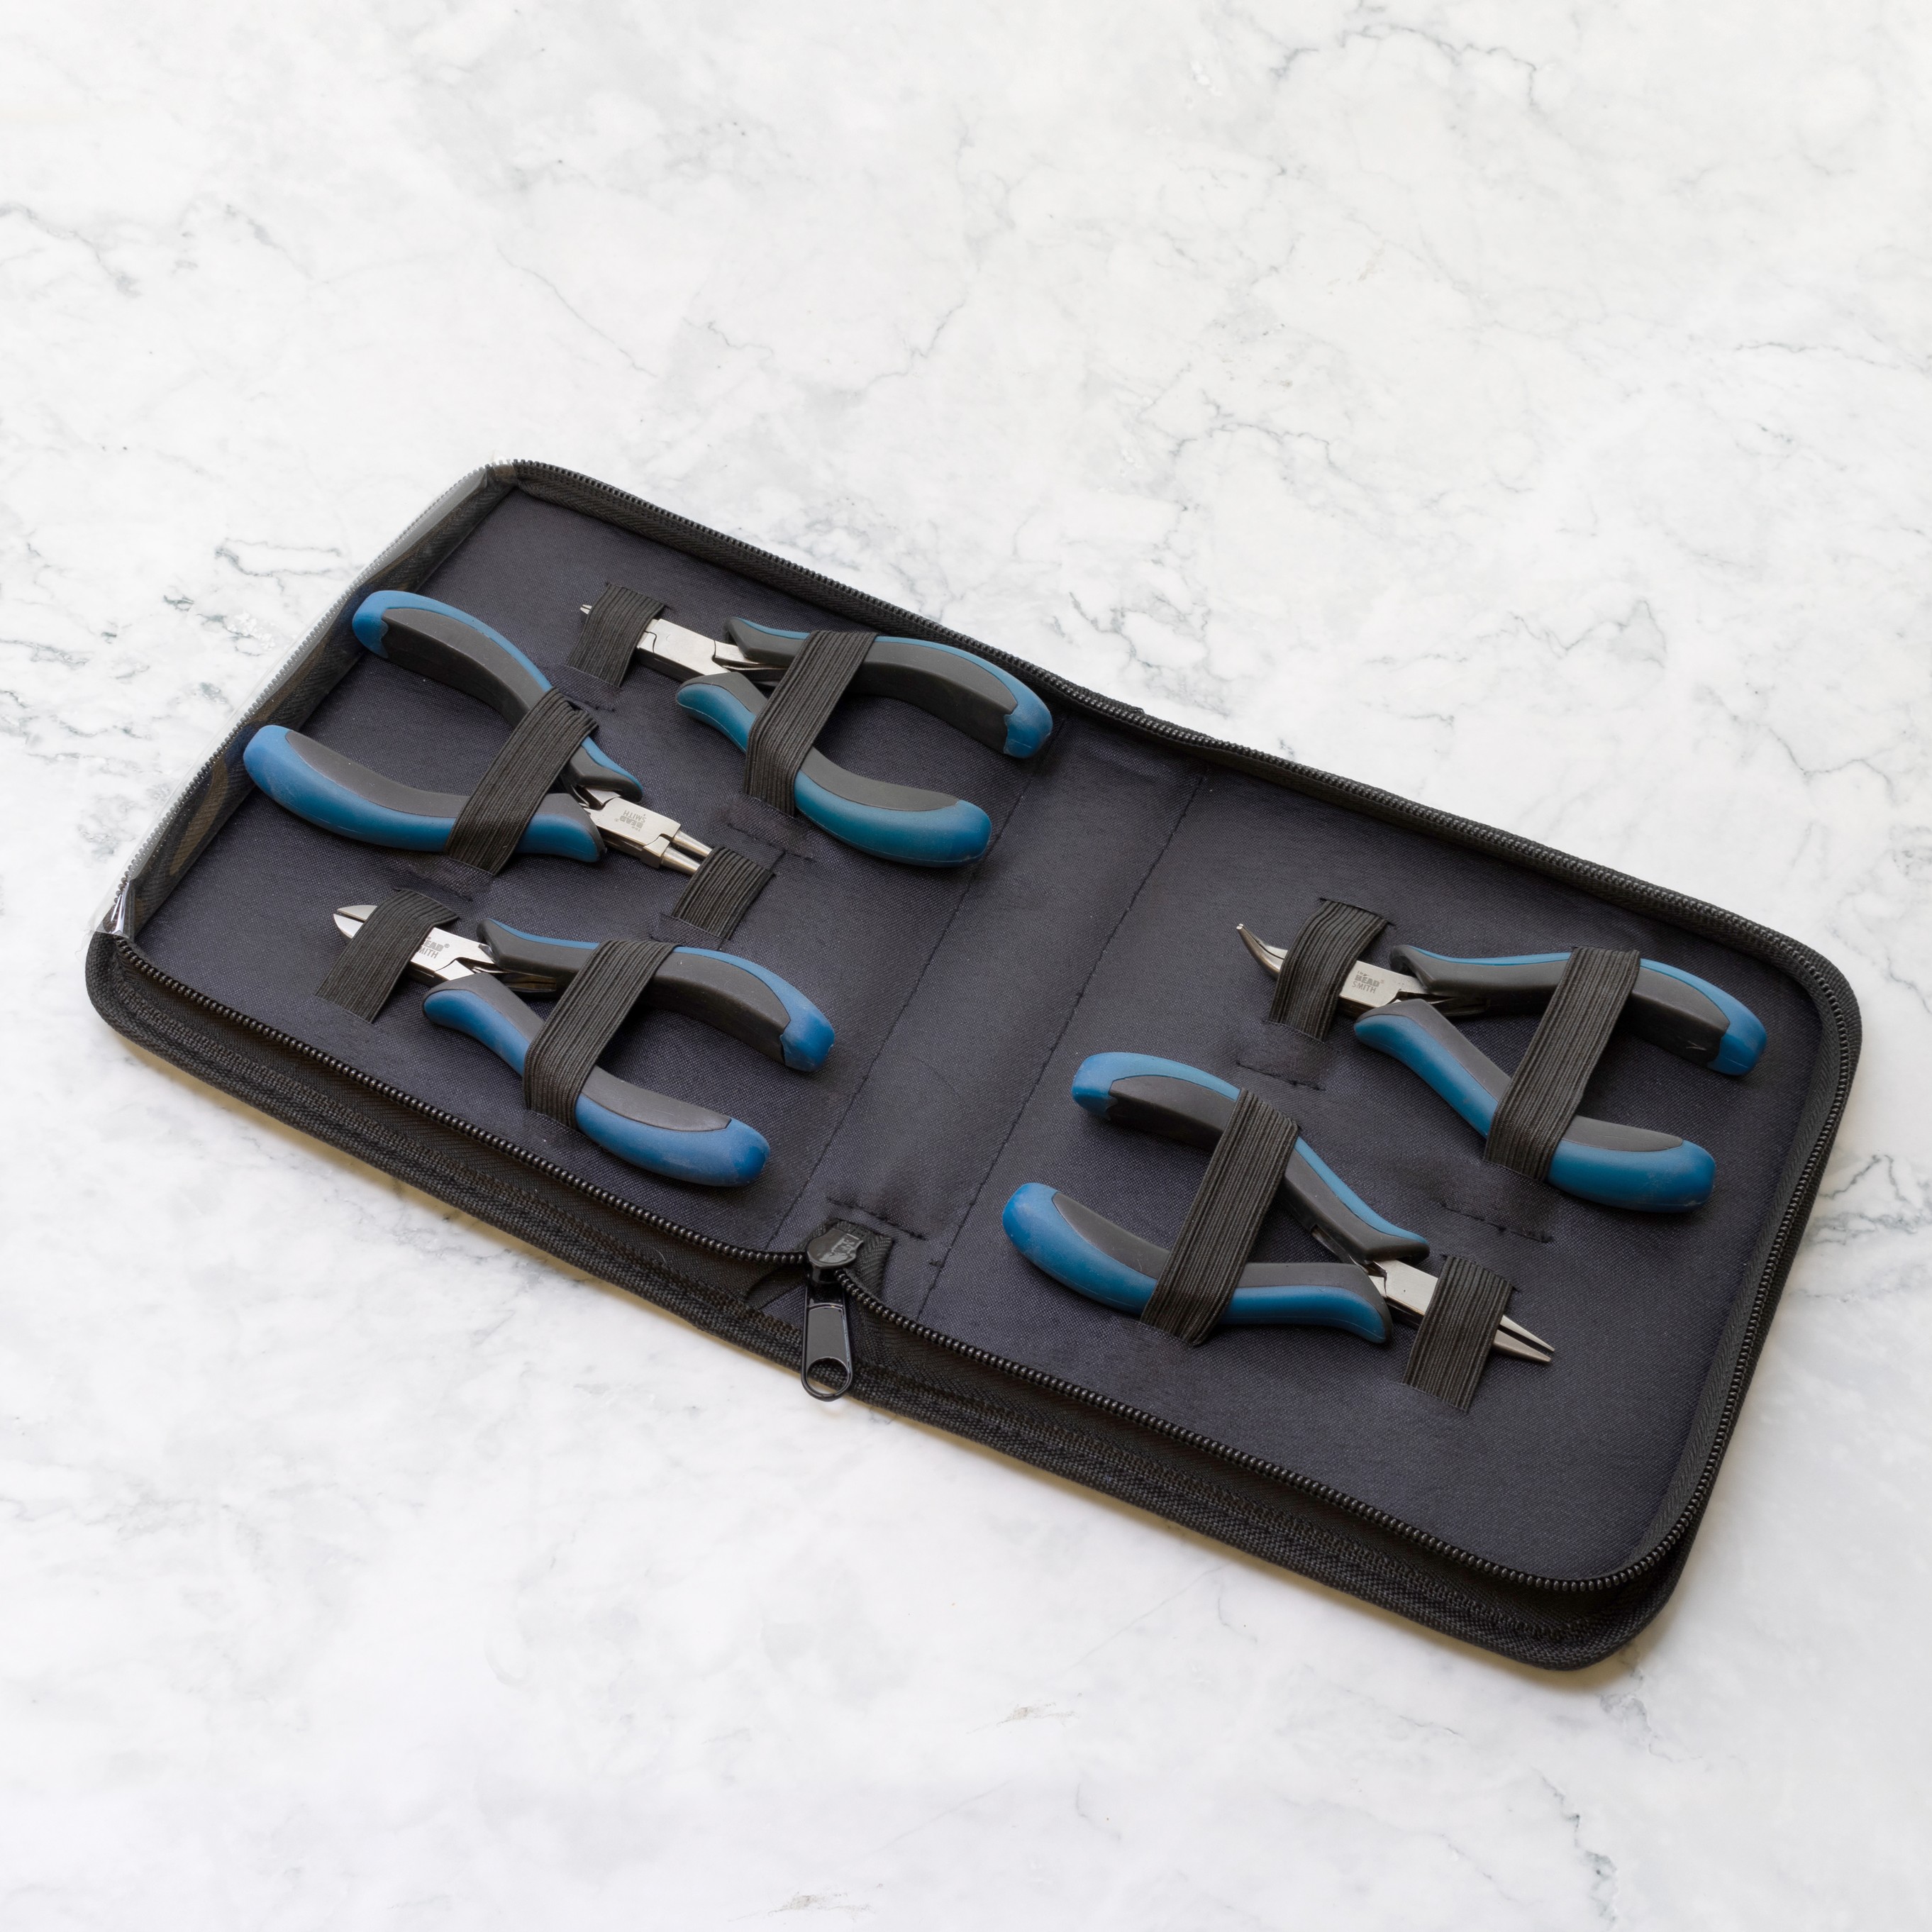
- Flat nose or Snipe nose pliers
- 0.3mm Silver Wire (optional)
- Bulldog clip
- Card
- Scissors
- Clear sticky tape
Follow Our 'Macrame Bead Bracelet' Step-By-Step Tutorial
Step 1
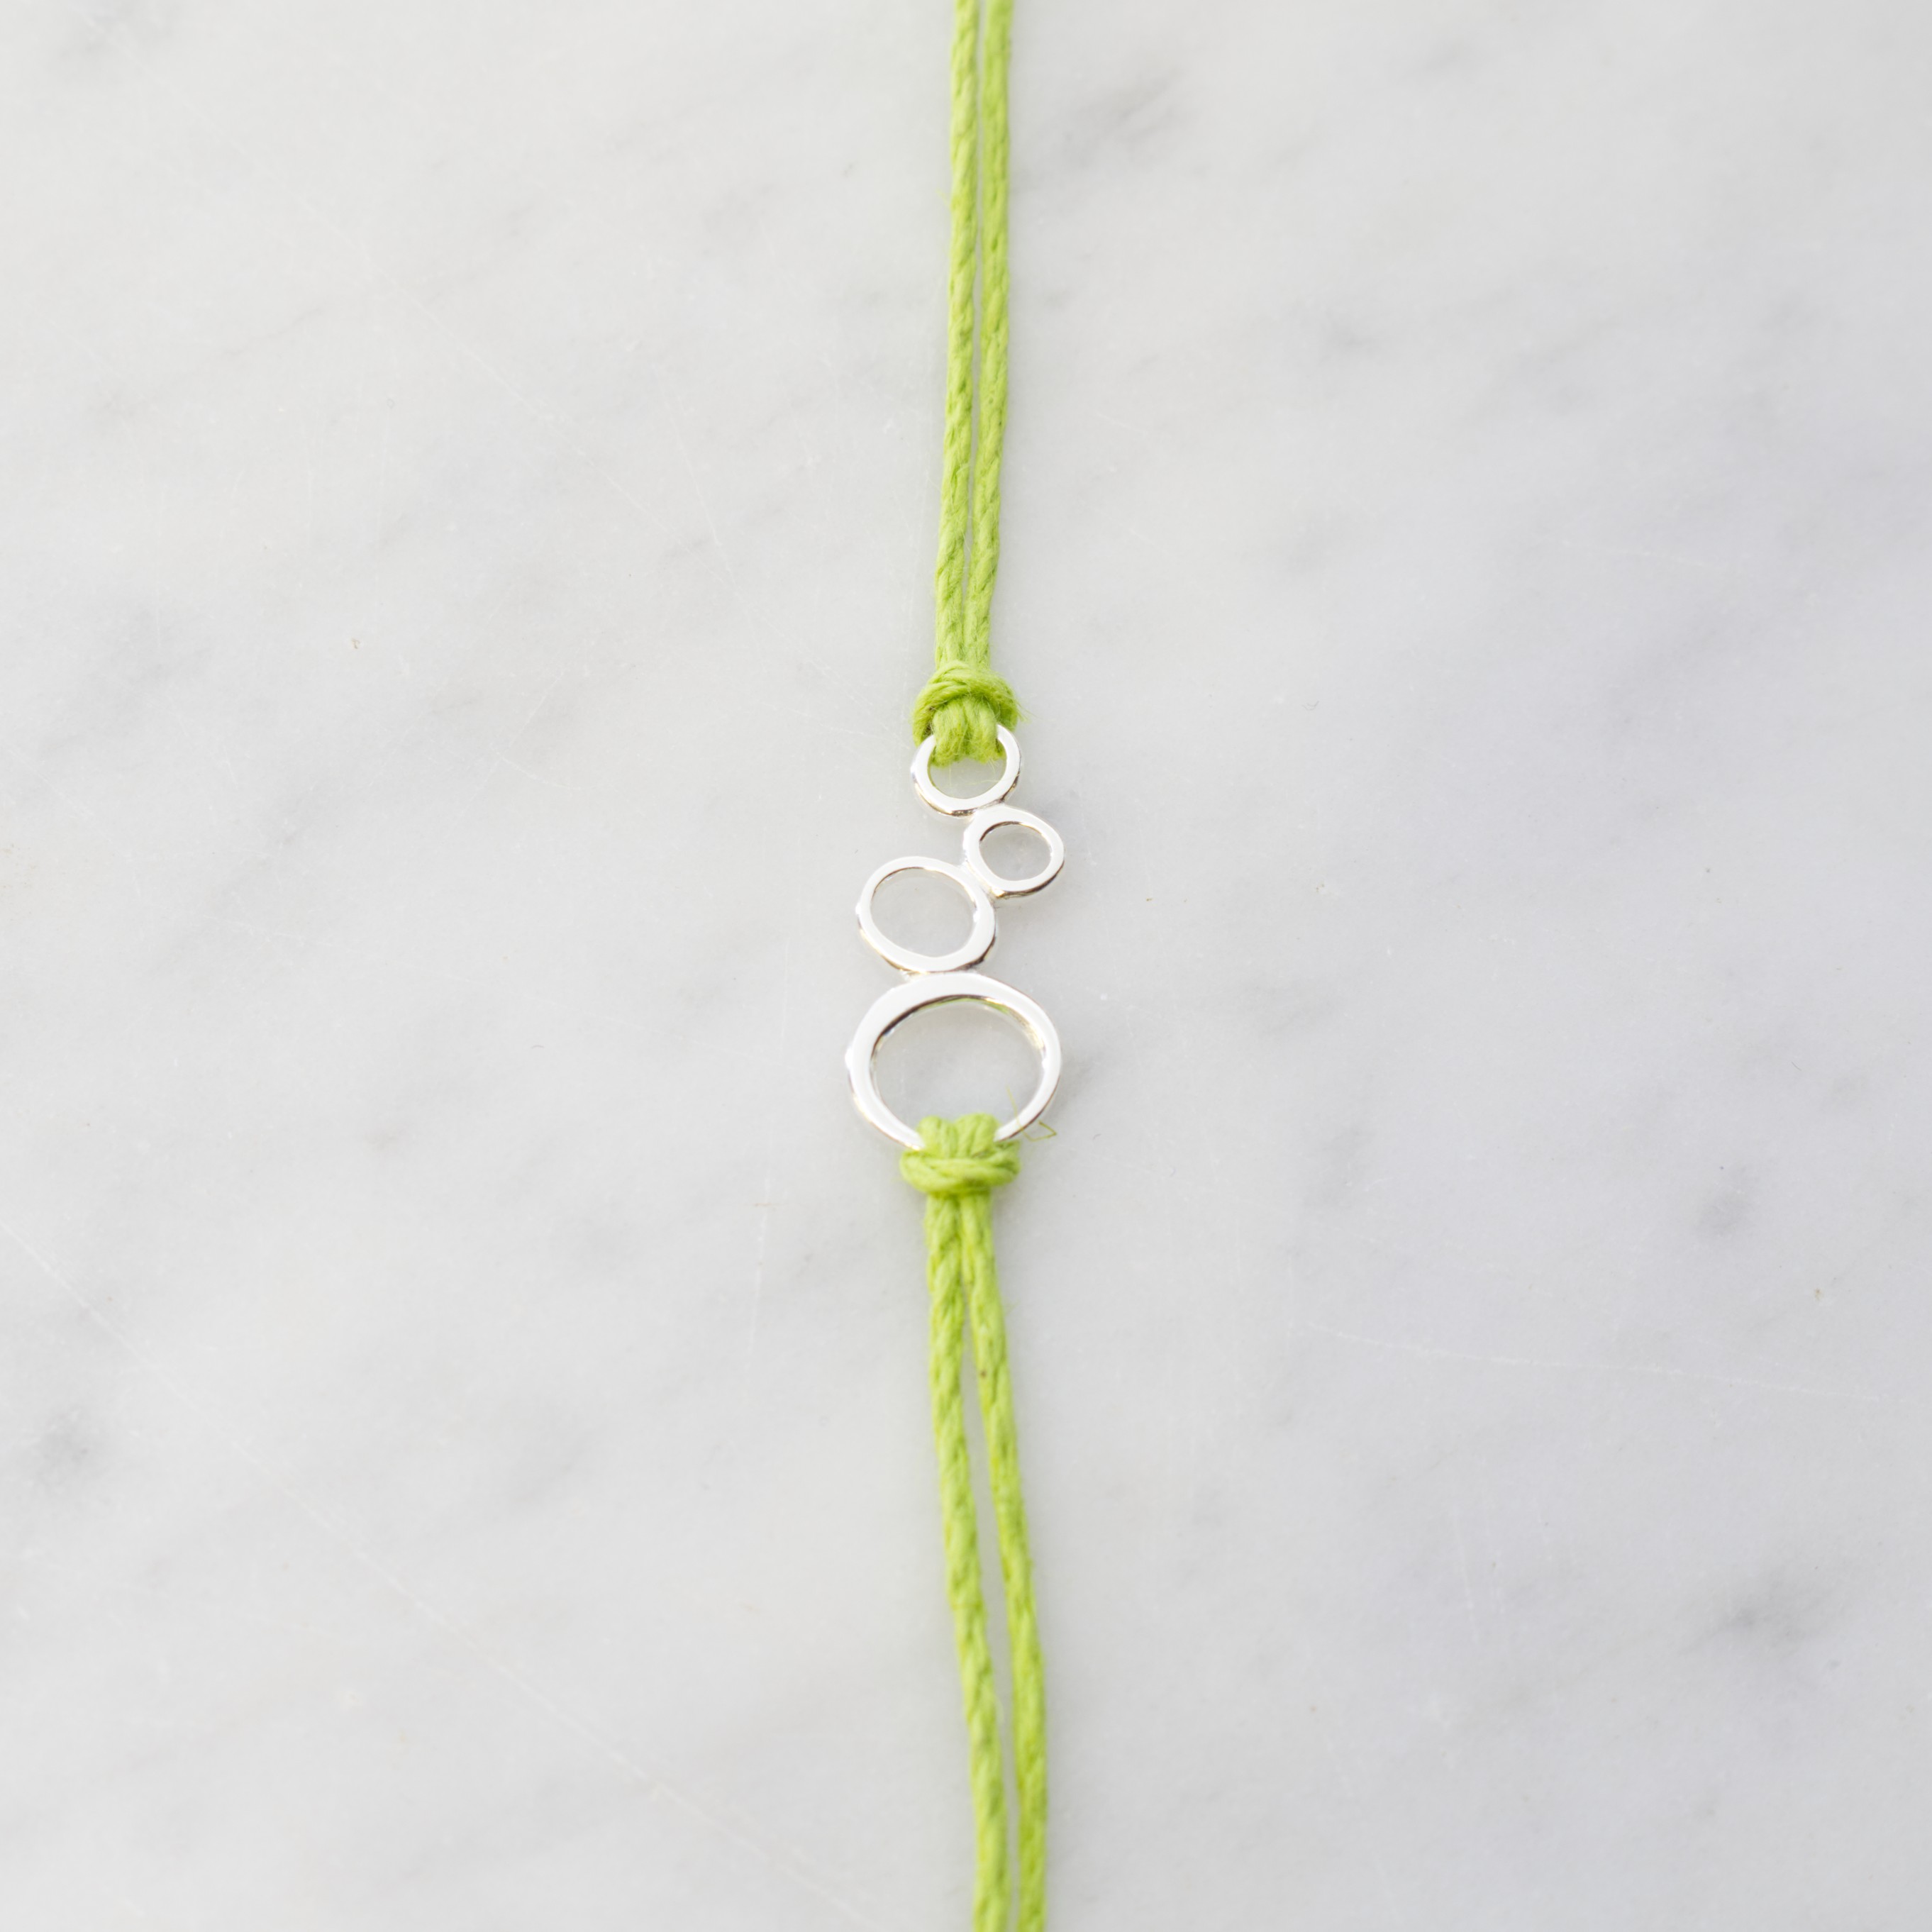
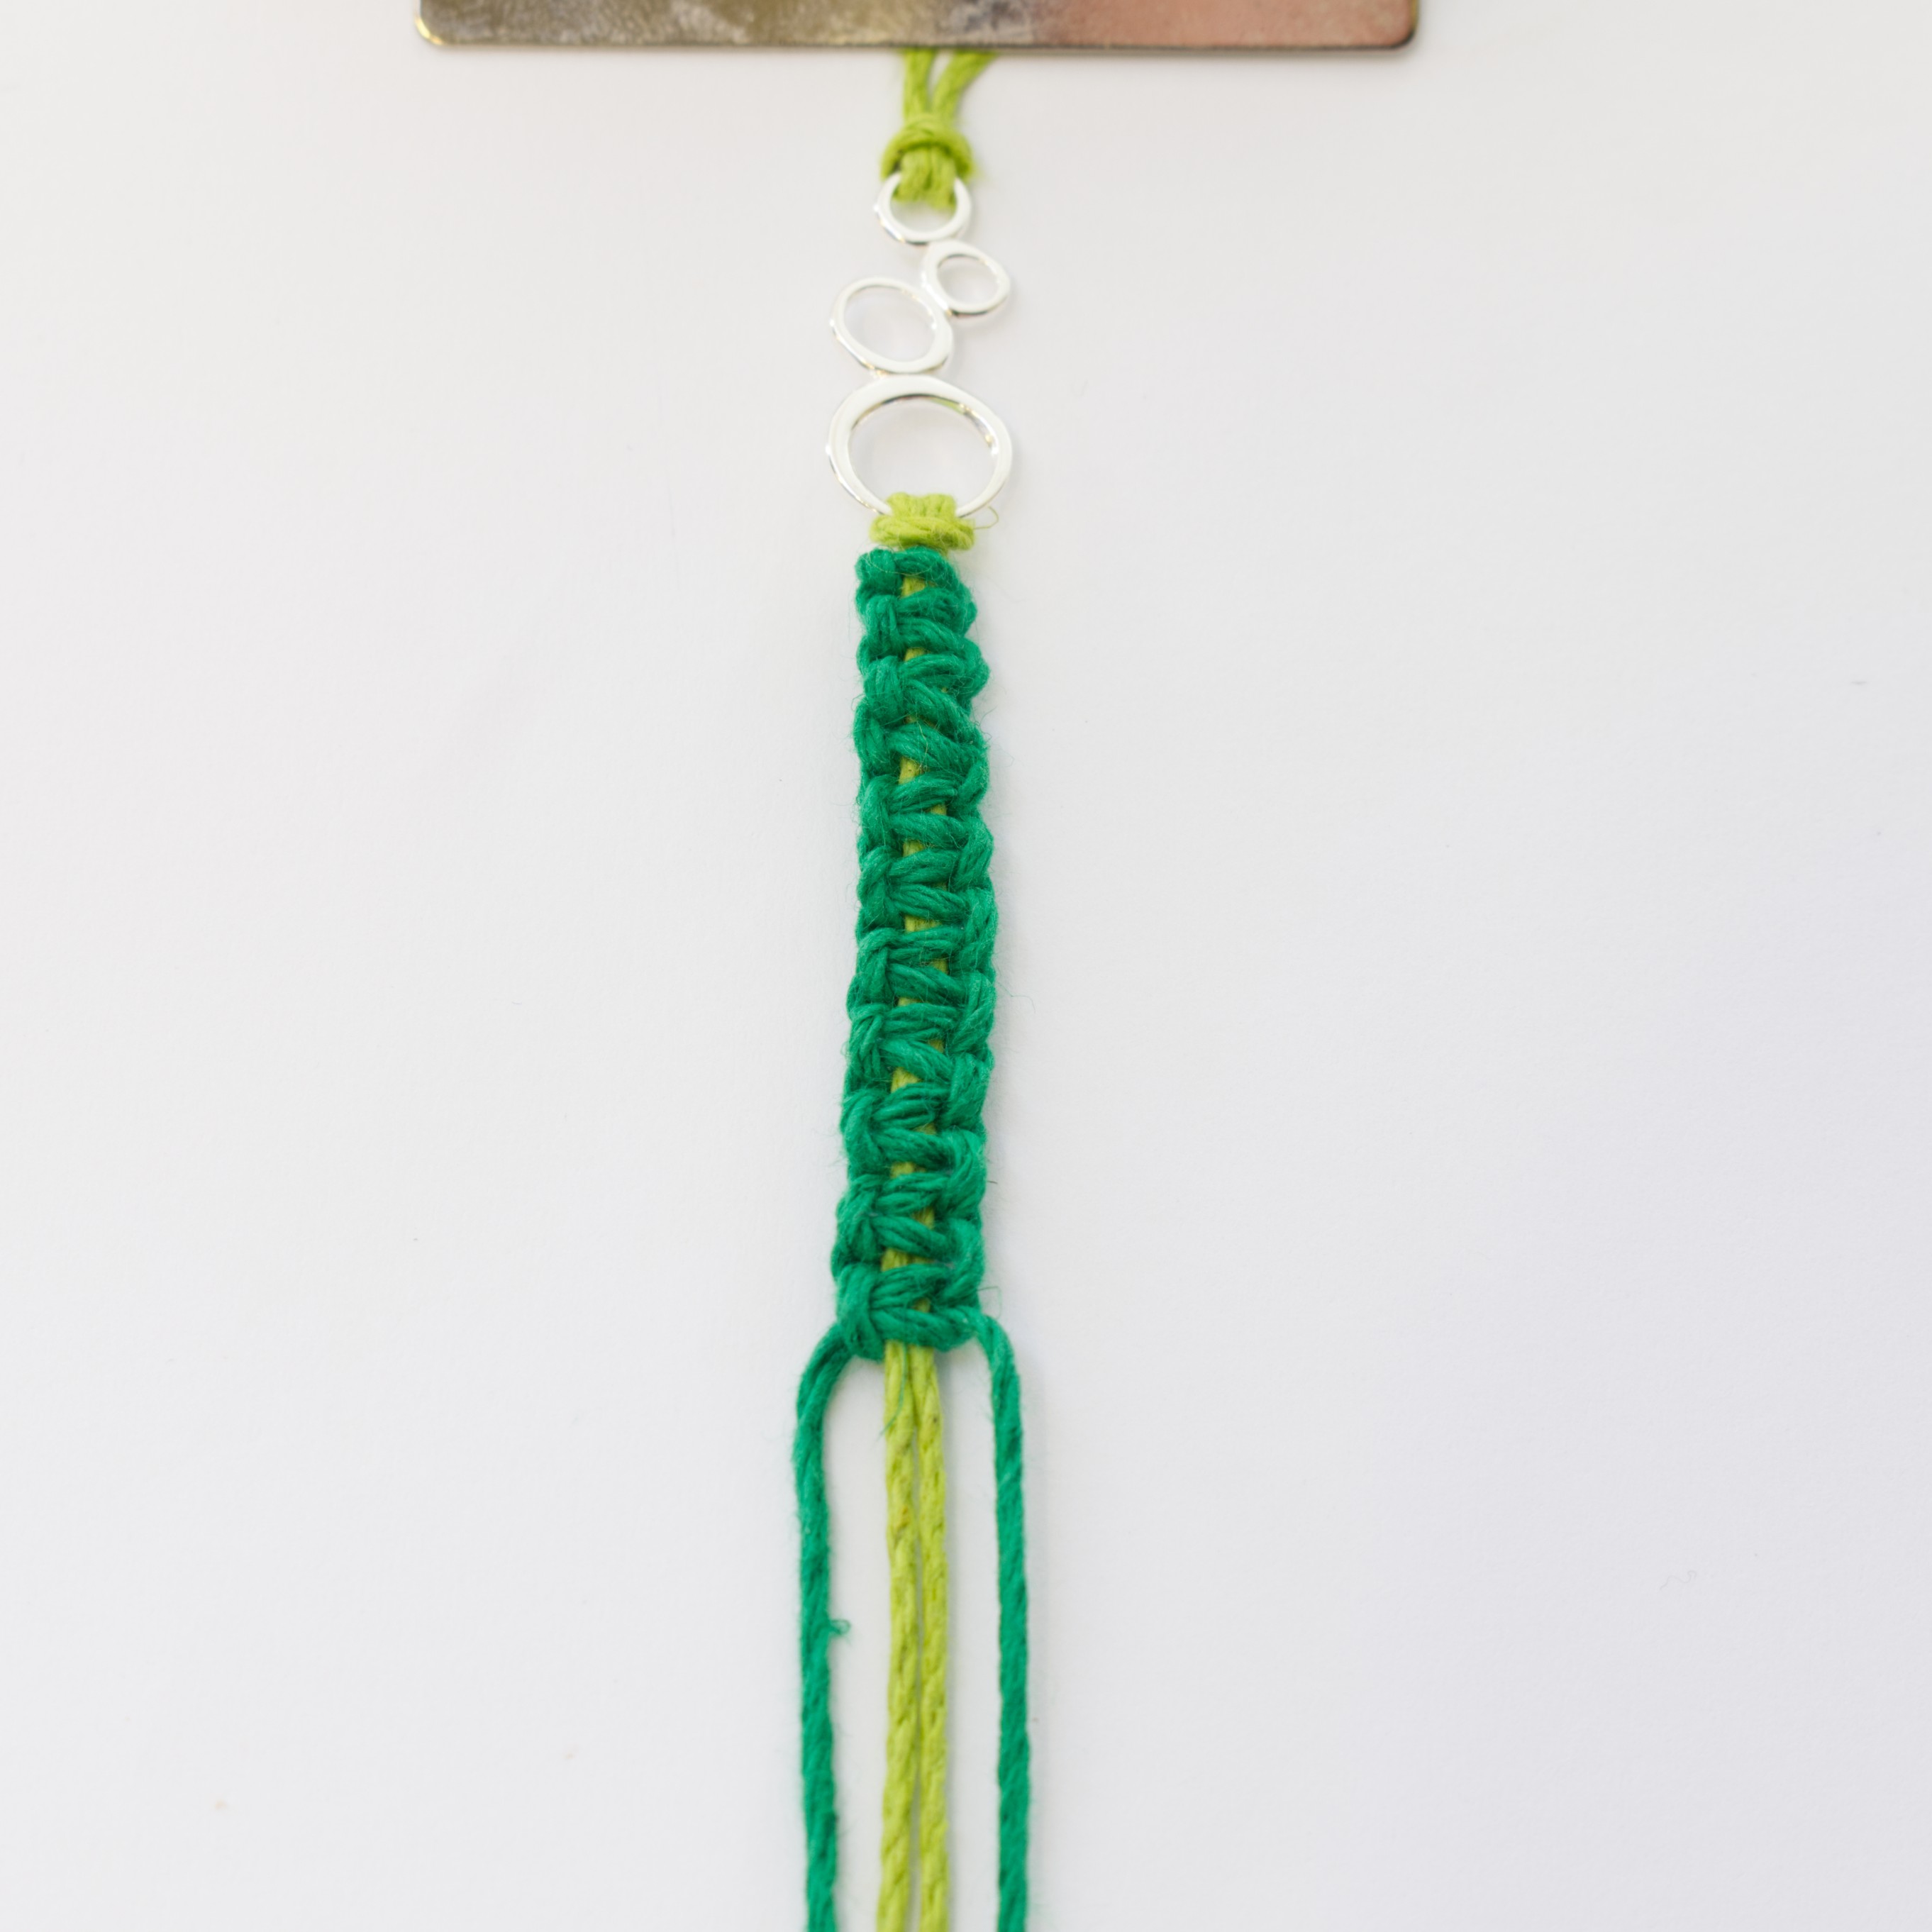
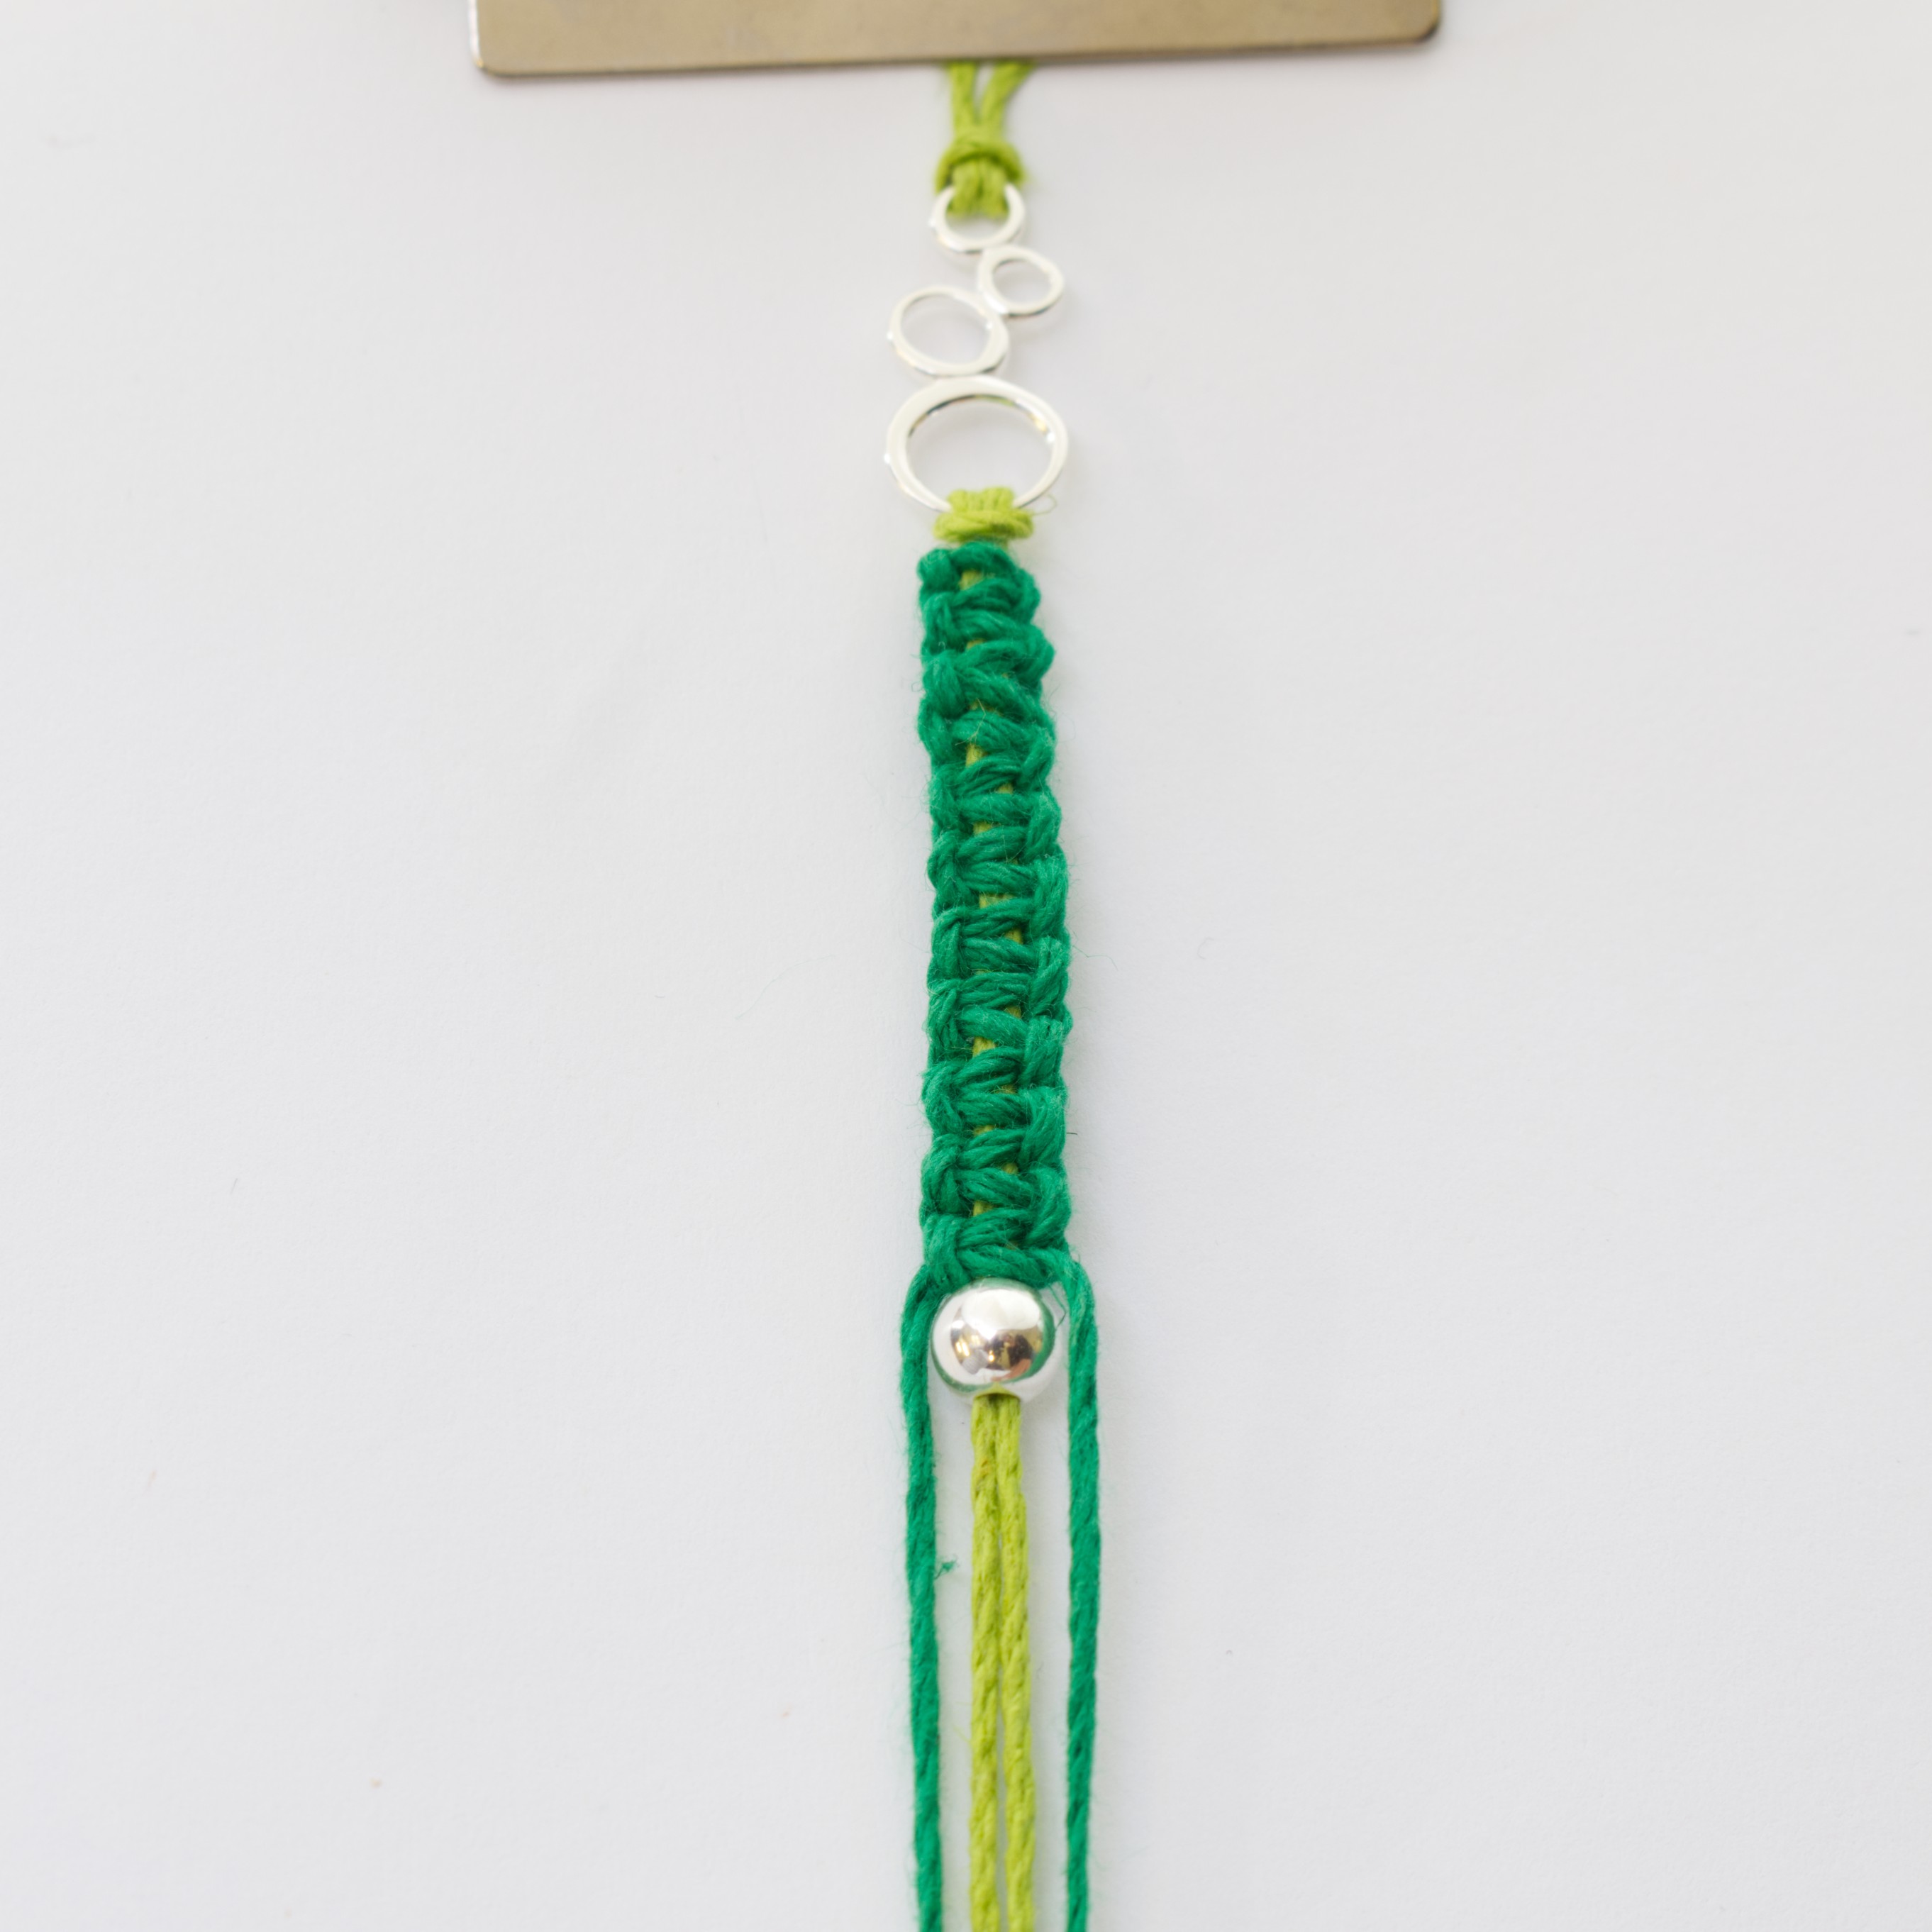
Cut the cord into the following lengths: 2 x 100cm and 2 x 50cm. Take a 50cm length and fold it in half. Thread the halfway loop of this cord through a connector and then pass the ends of the cord back through the halfway loop and pull, securing the cord onto the connector. Do this with the other 50cm length of cord, adding it to the other side of your connector.
Step 2
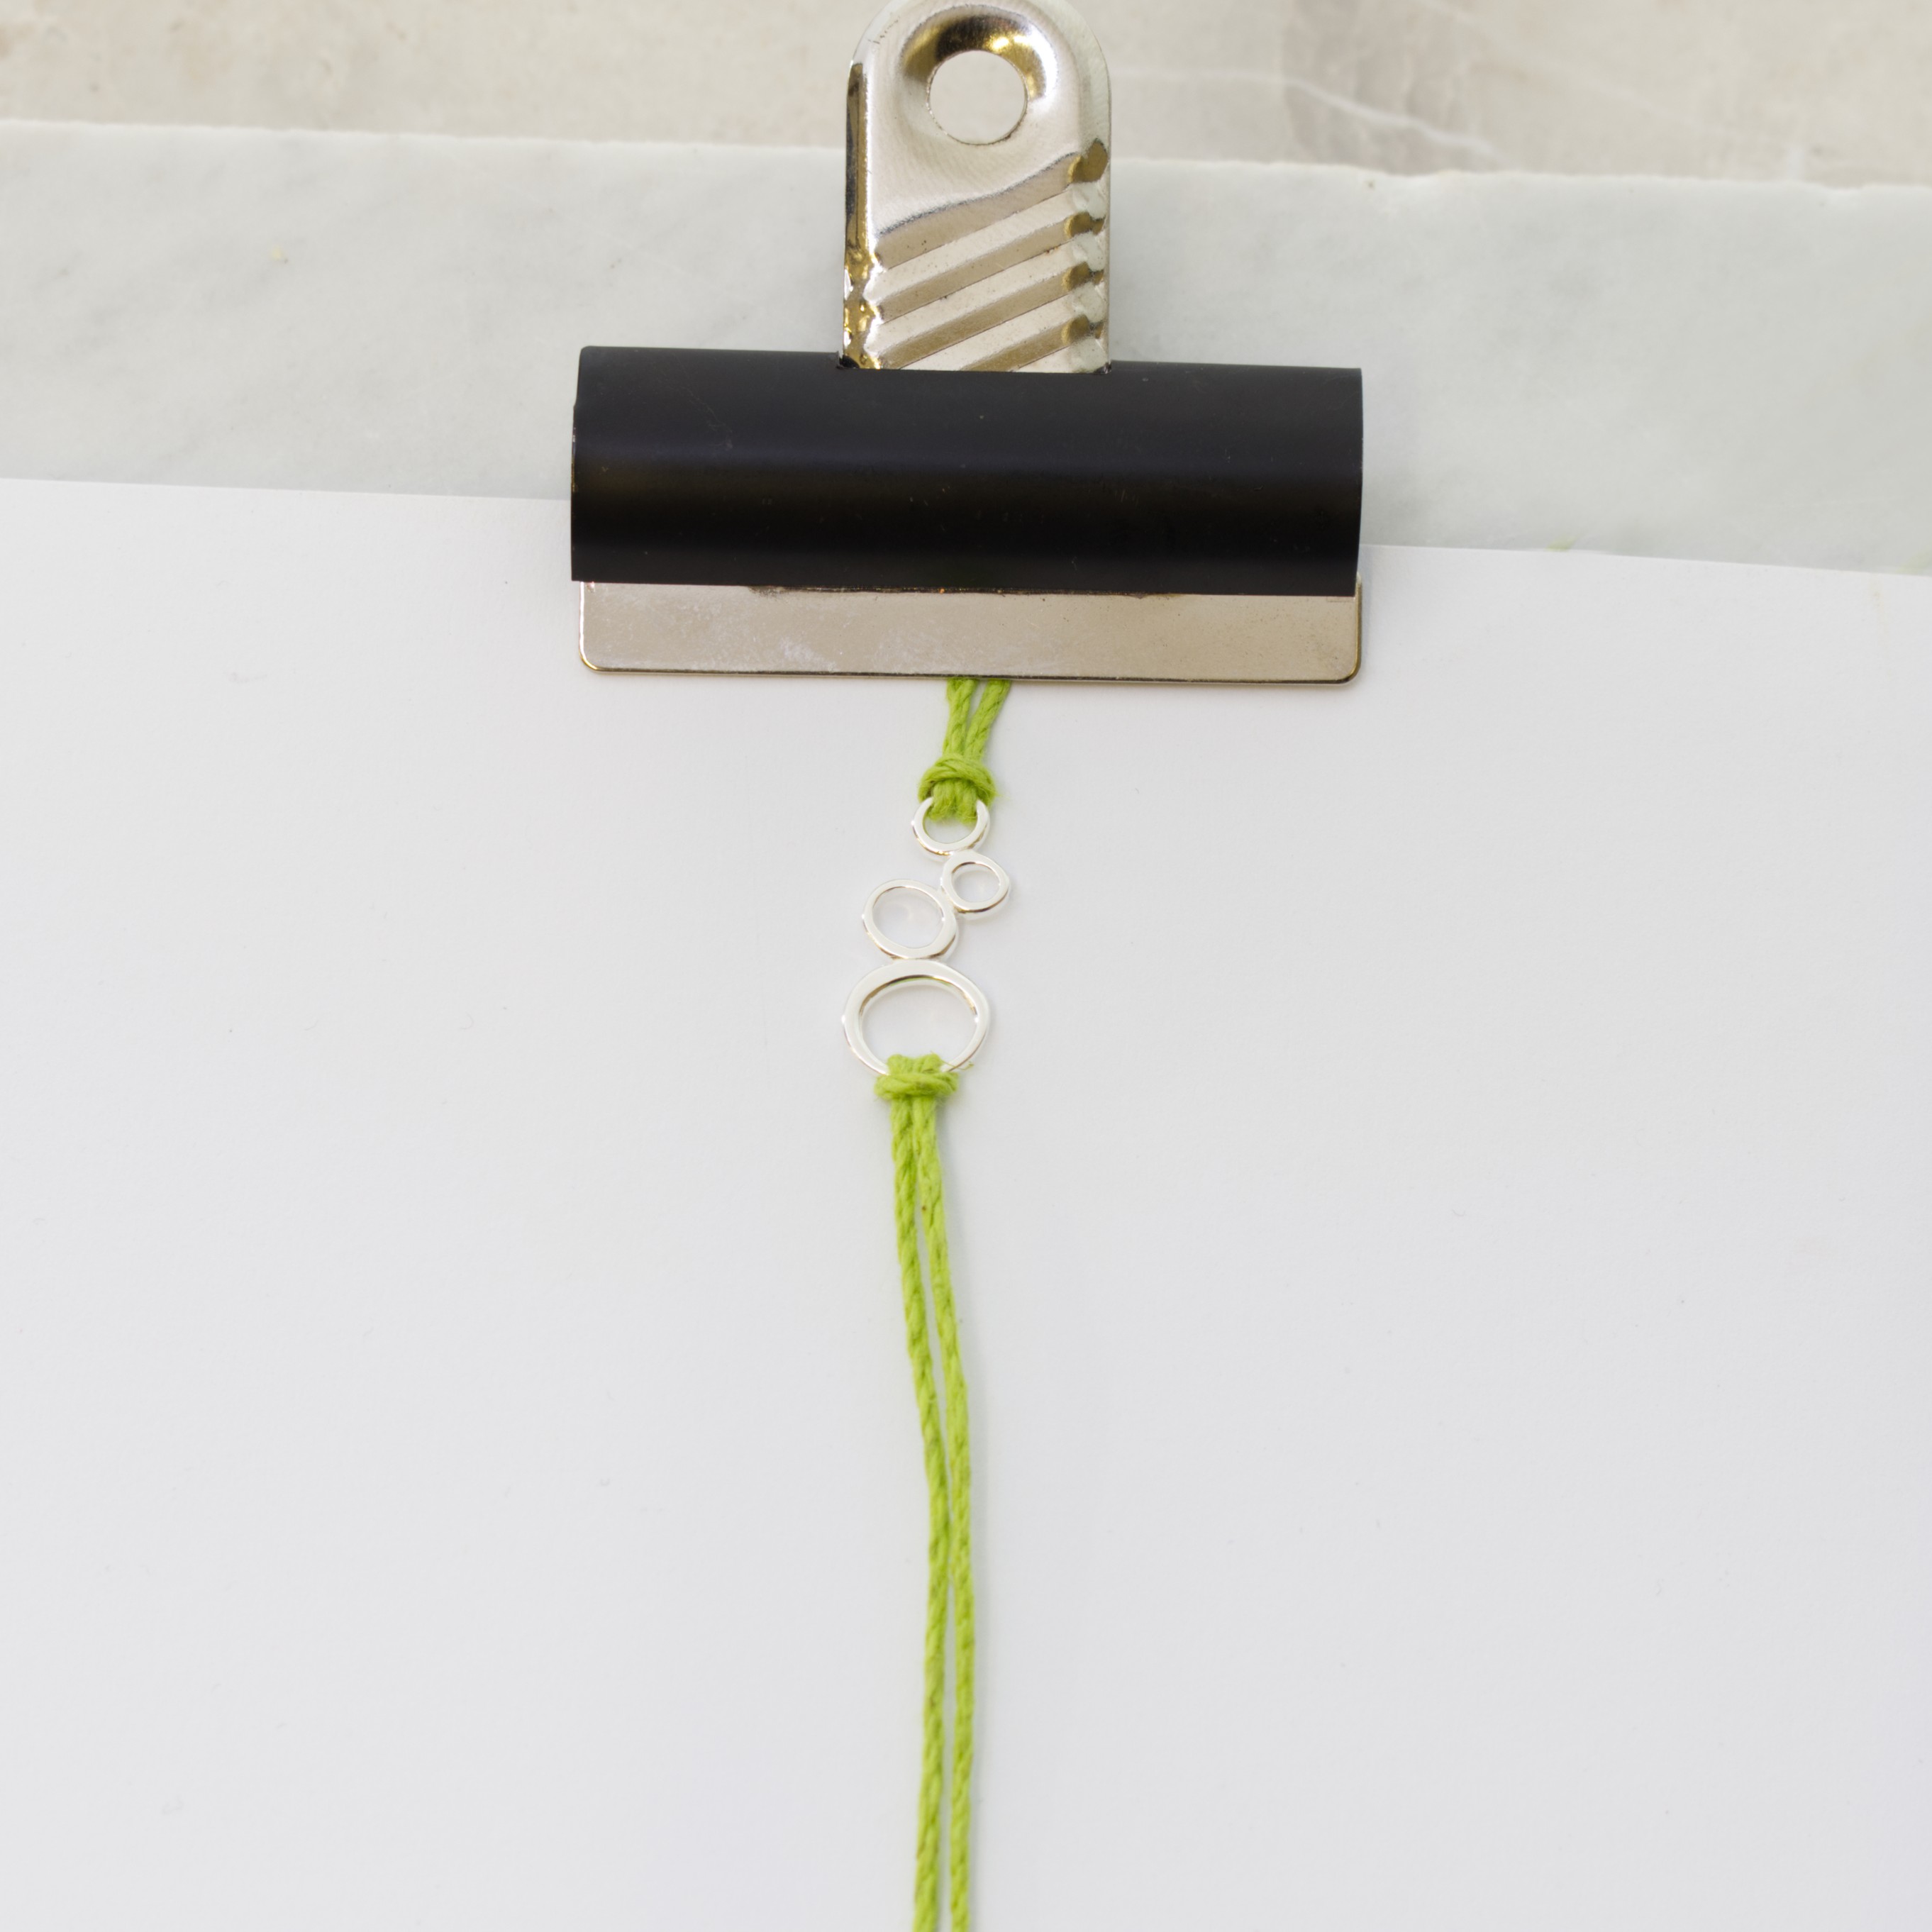
Clip the cords to a stiff piece of card using bulldog clips. Work on one side at a time, so clip the connector close to the top of the card. This makes it much easier to work with and will keep a good tension in the cords.
Step 3
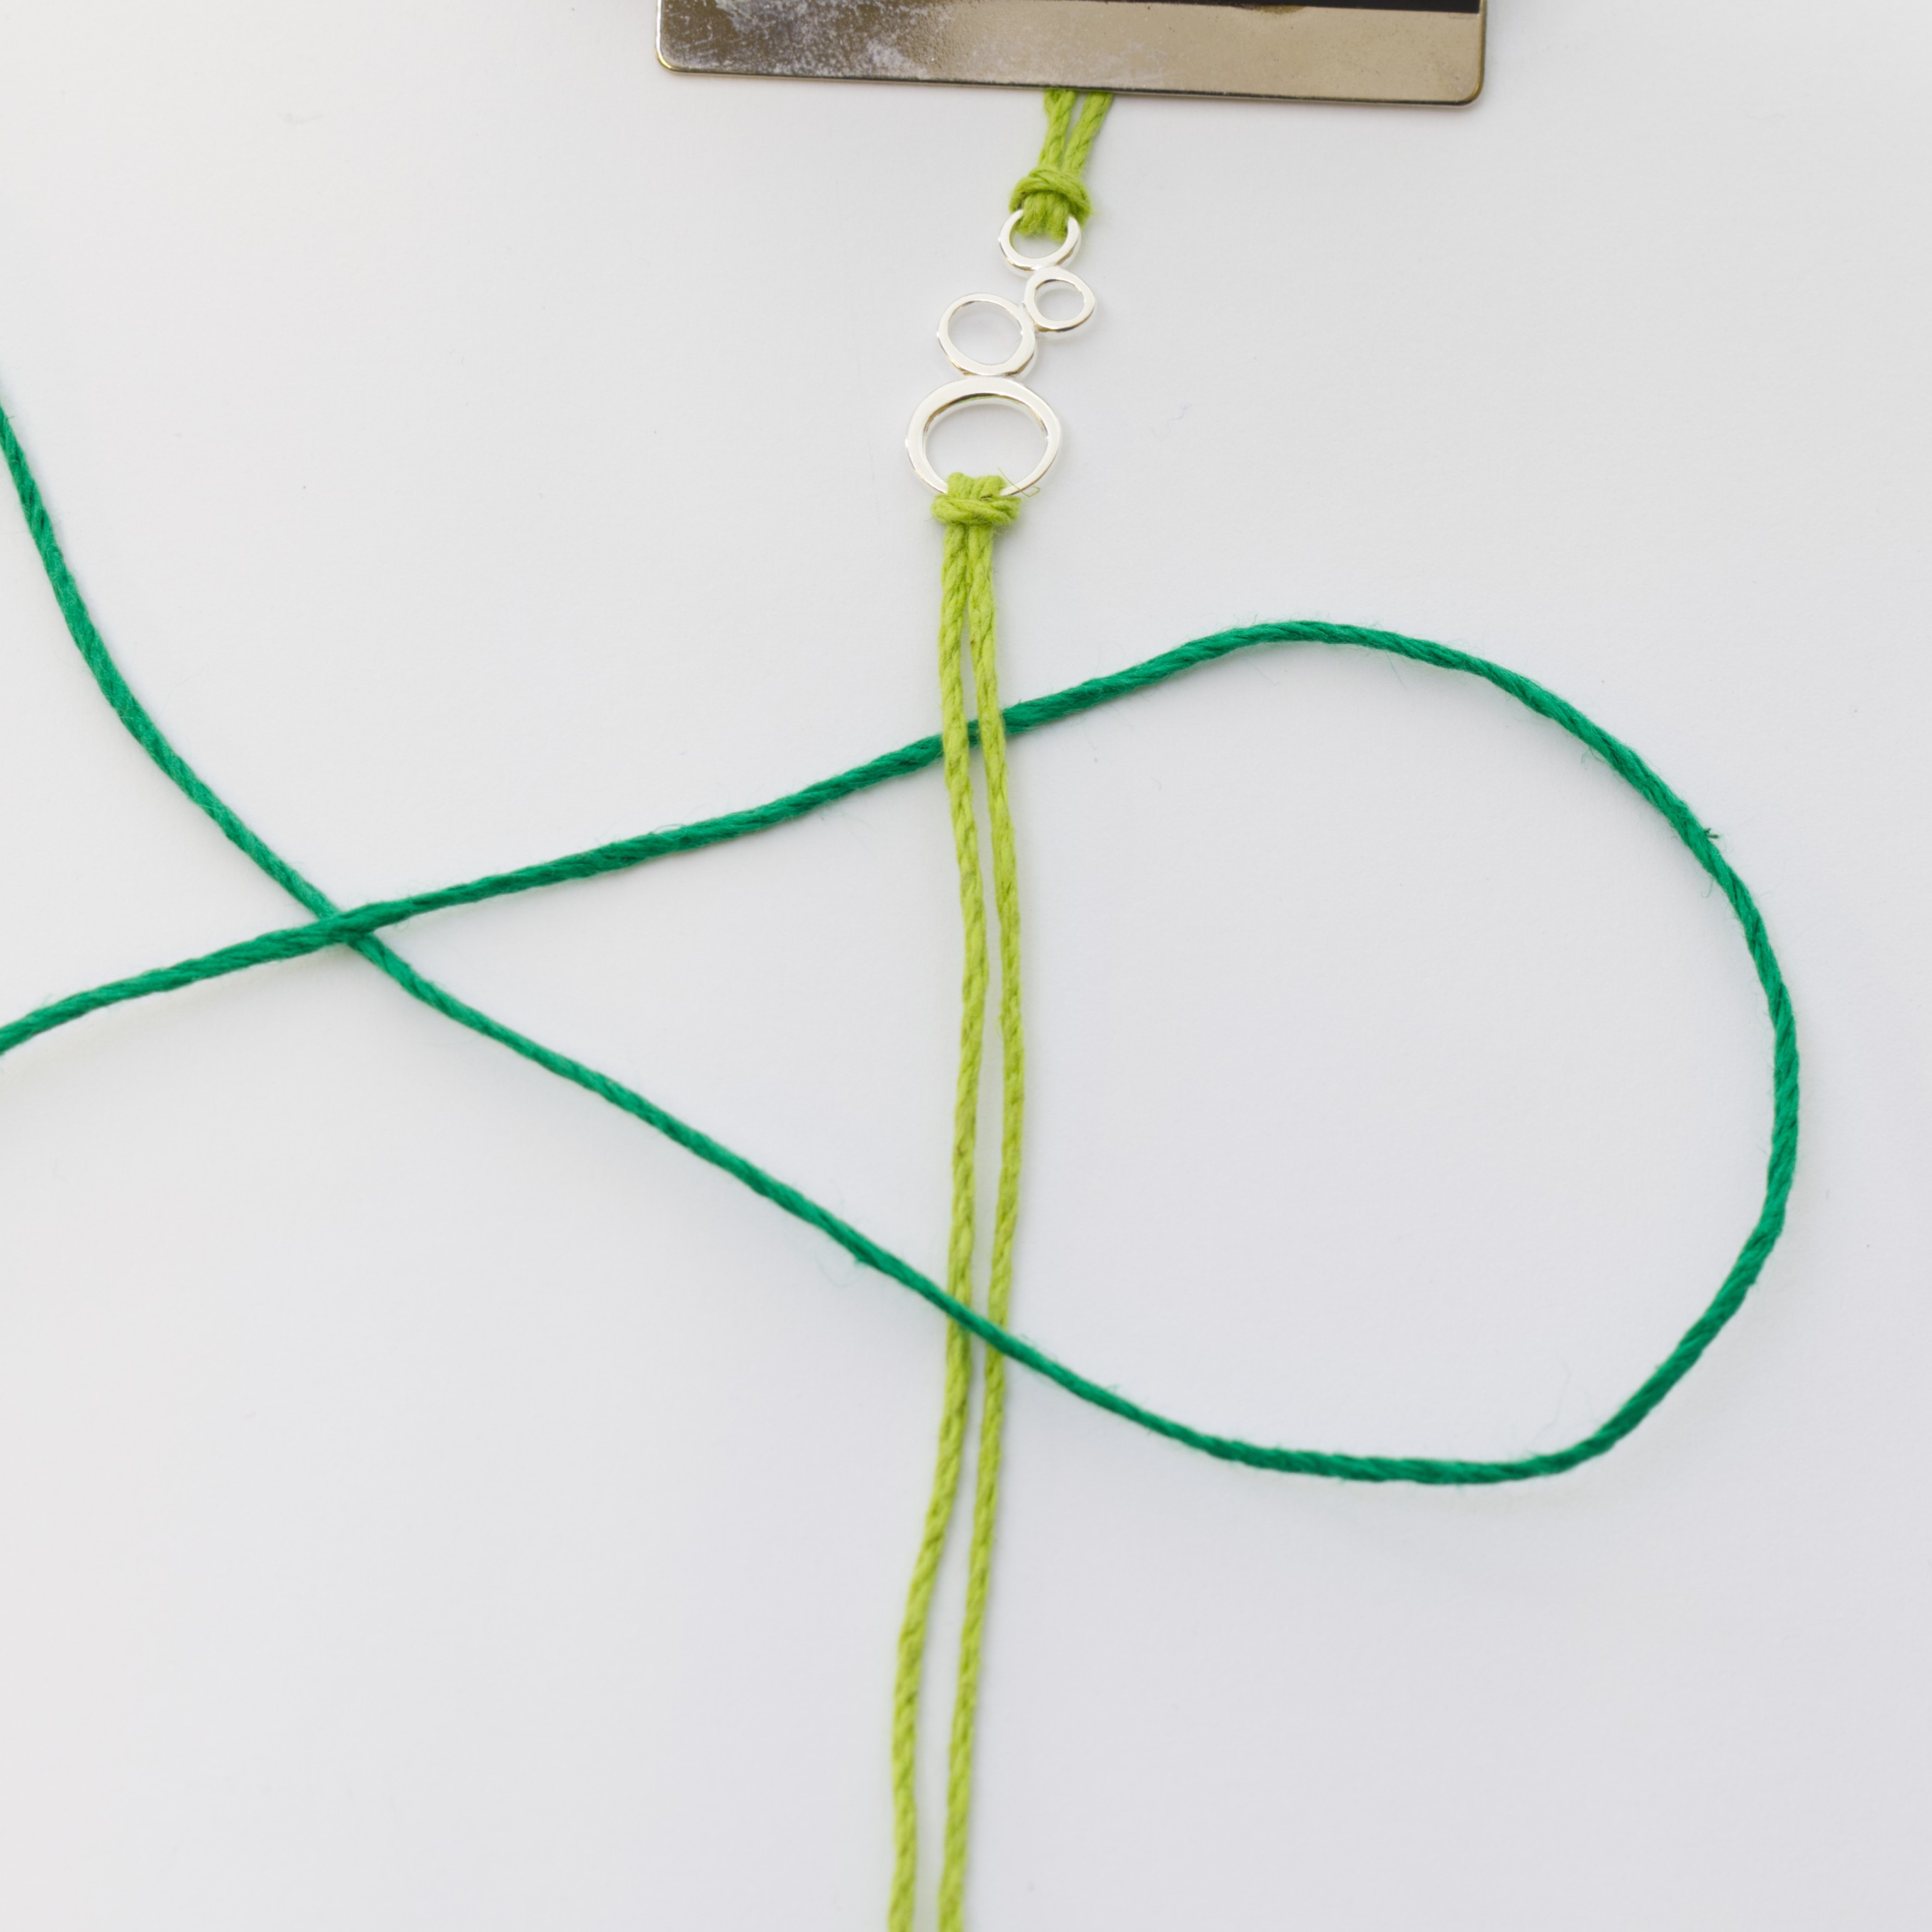
Pick up a 100cm length of cord and pass one end under the two vertical cords clipped to the board. Centre this 100cm length so you have 50cm on the left and 50cm on the right. Take the right-hand side and pass it over the vertical cords and under the left-hand cord.
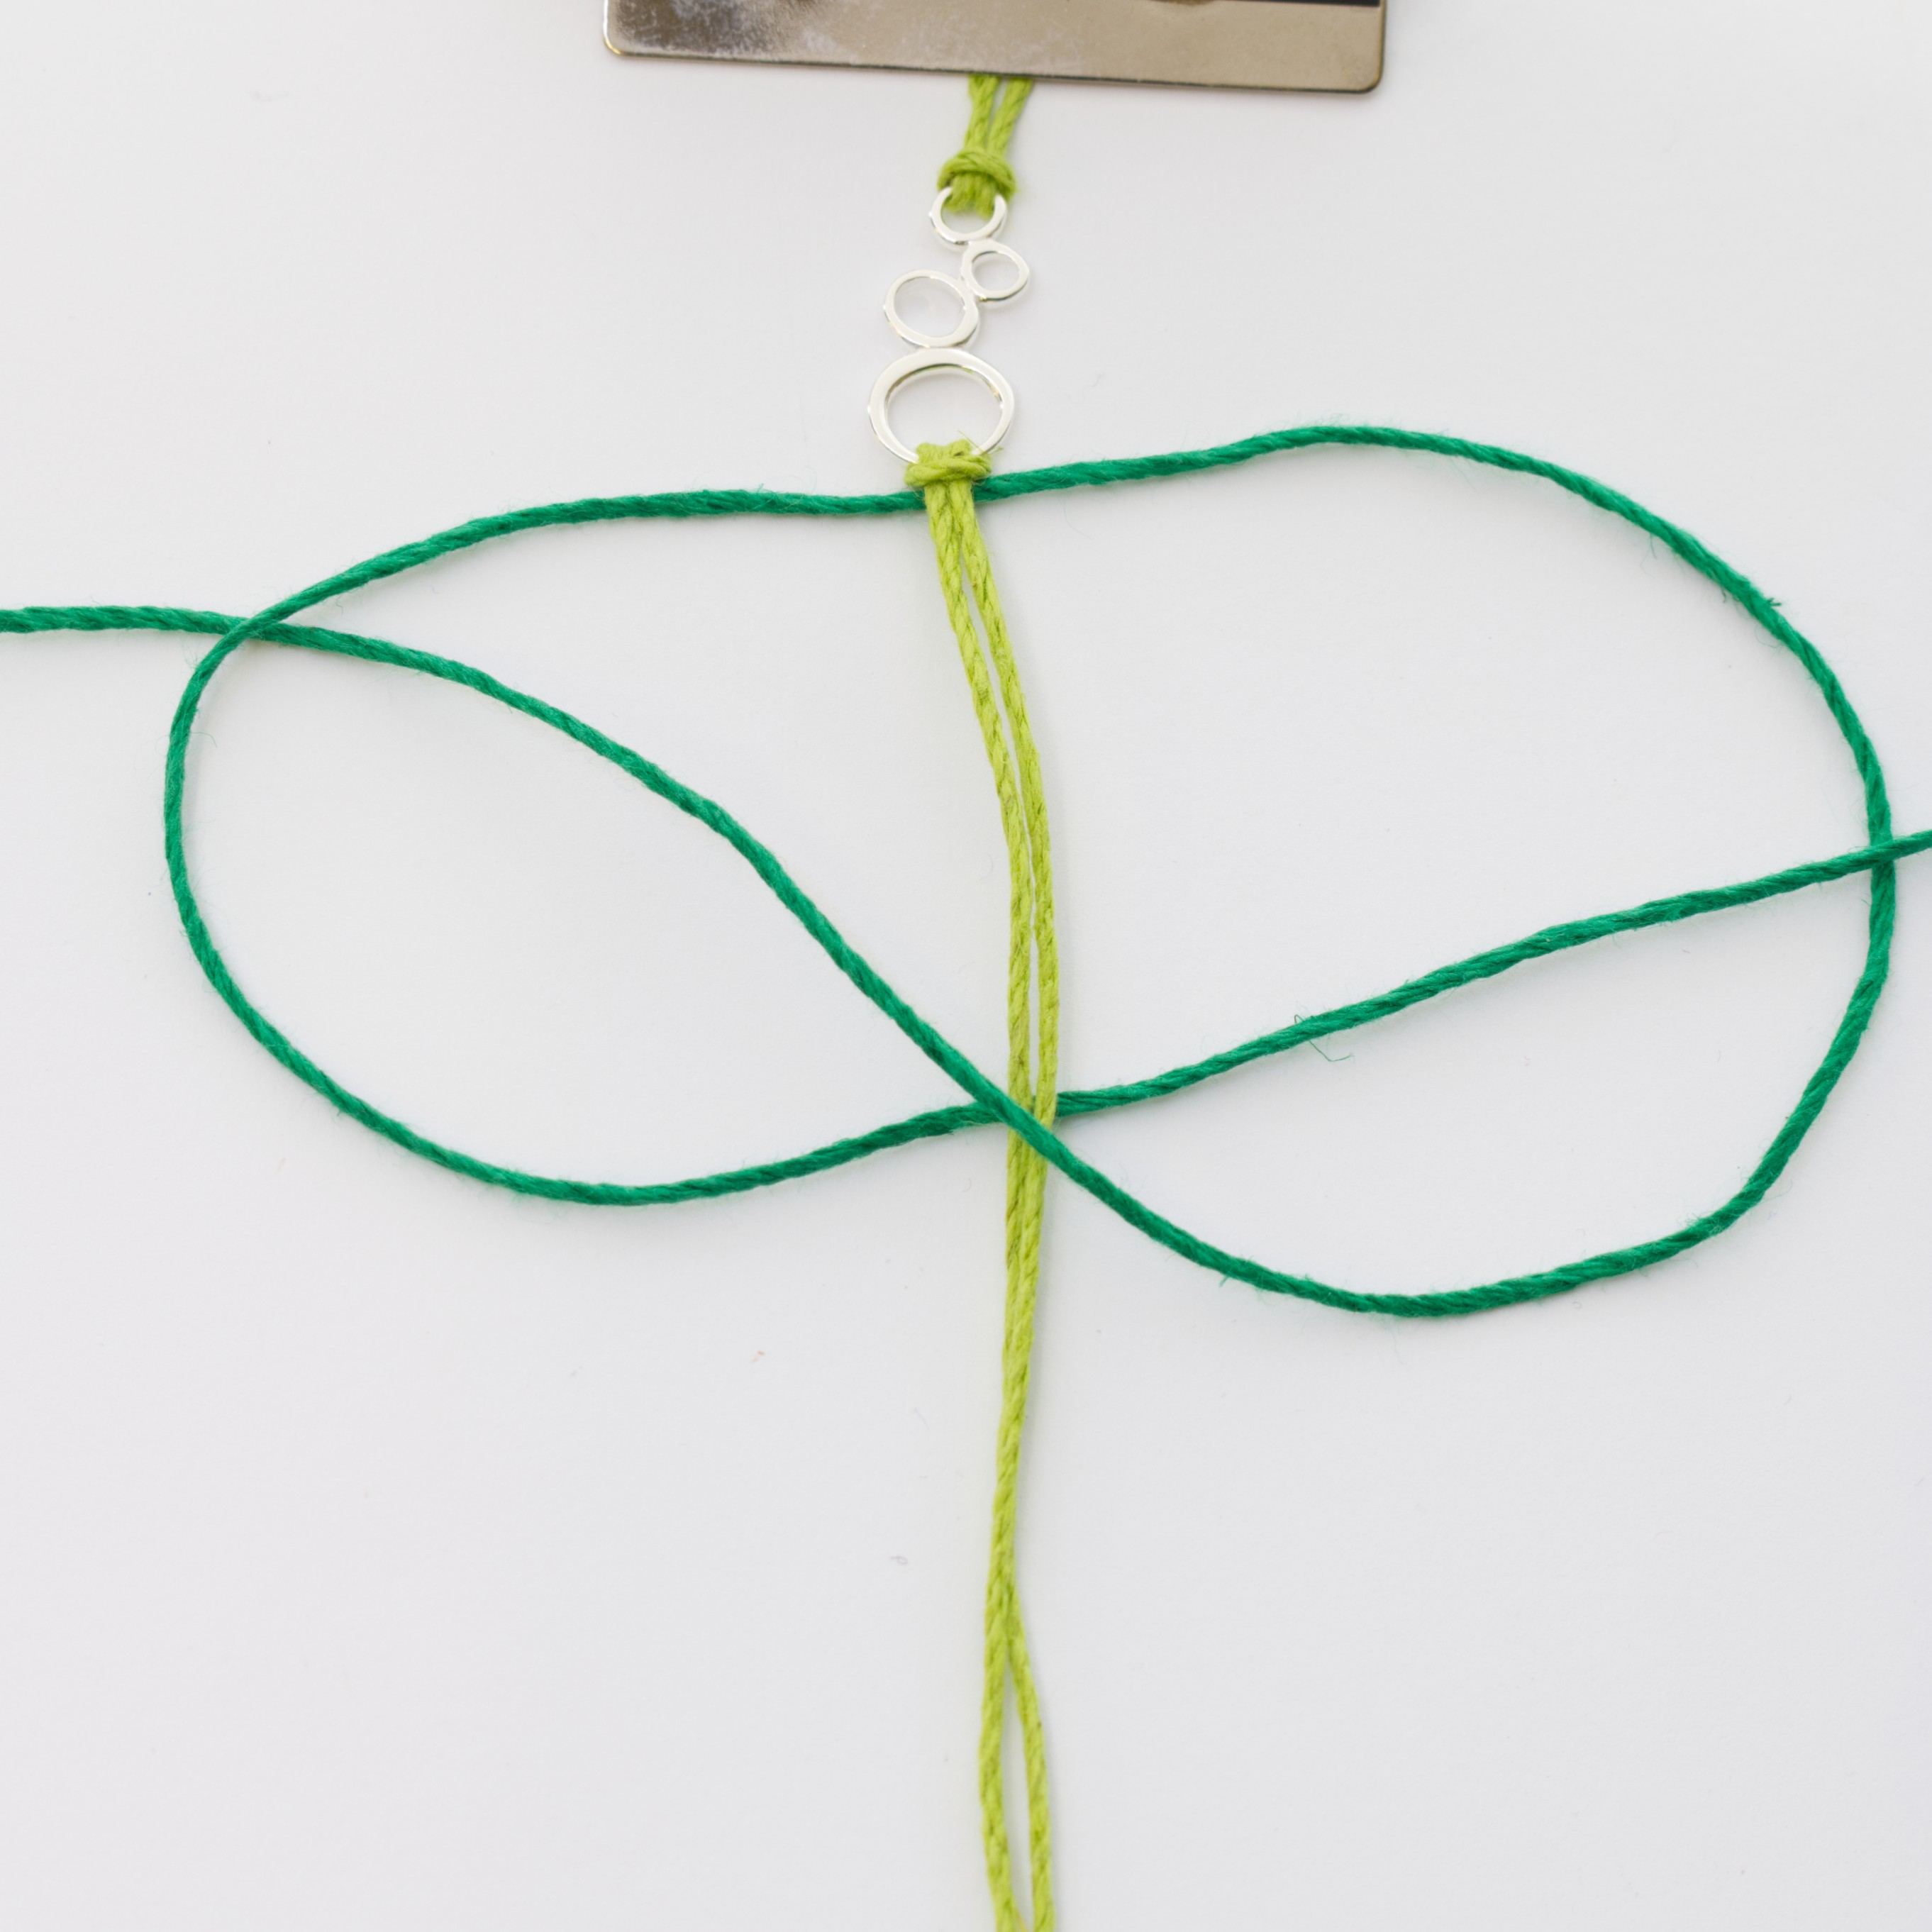
Step 4
Take the left-hand cord and pass it under the vertical cord and up and through the loop made on the right, making sure it comes out on top of the right-hand cord.
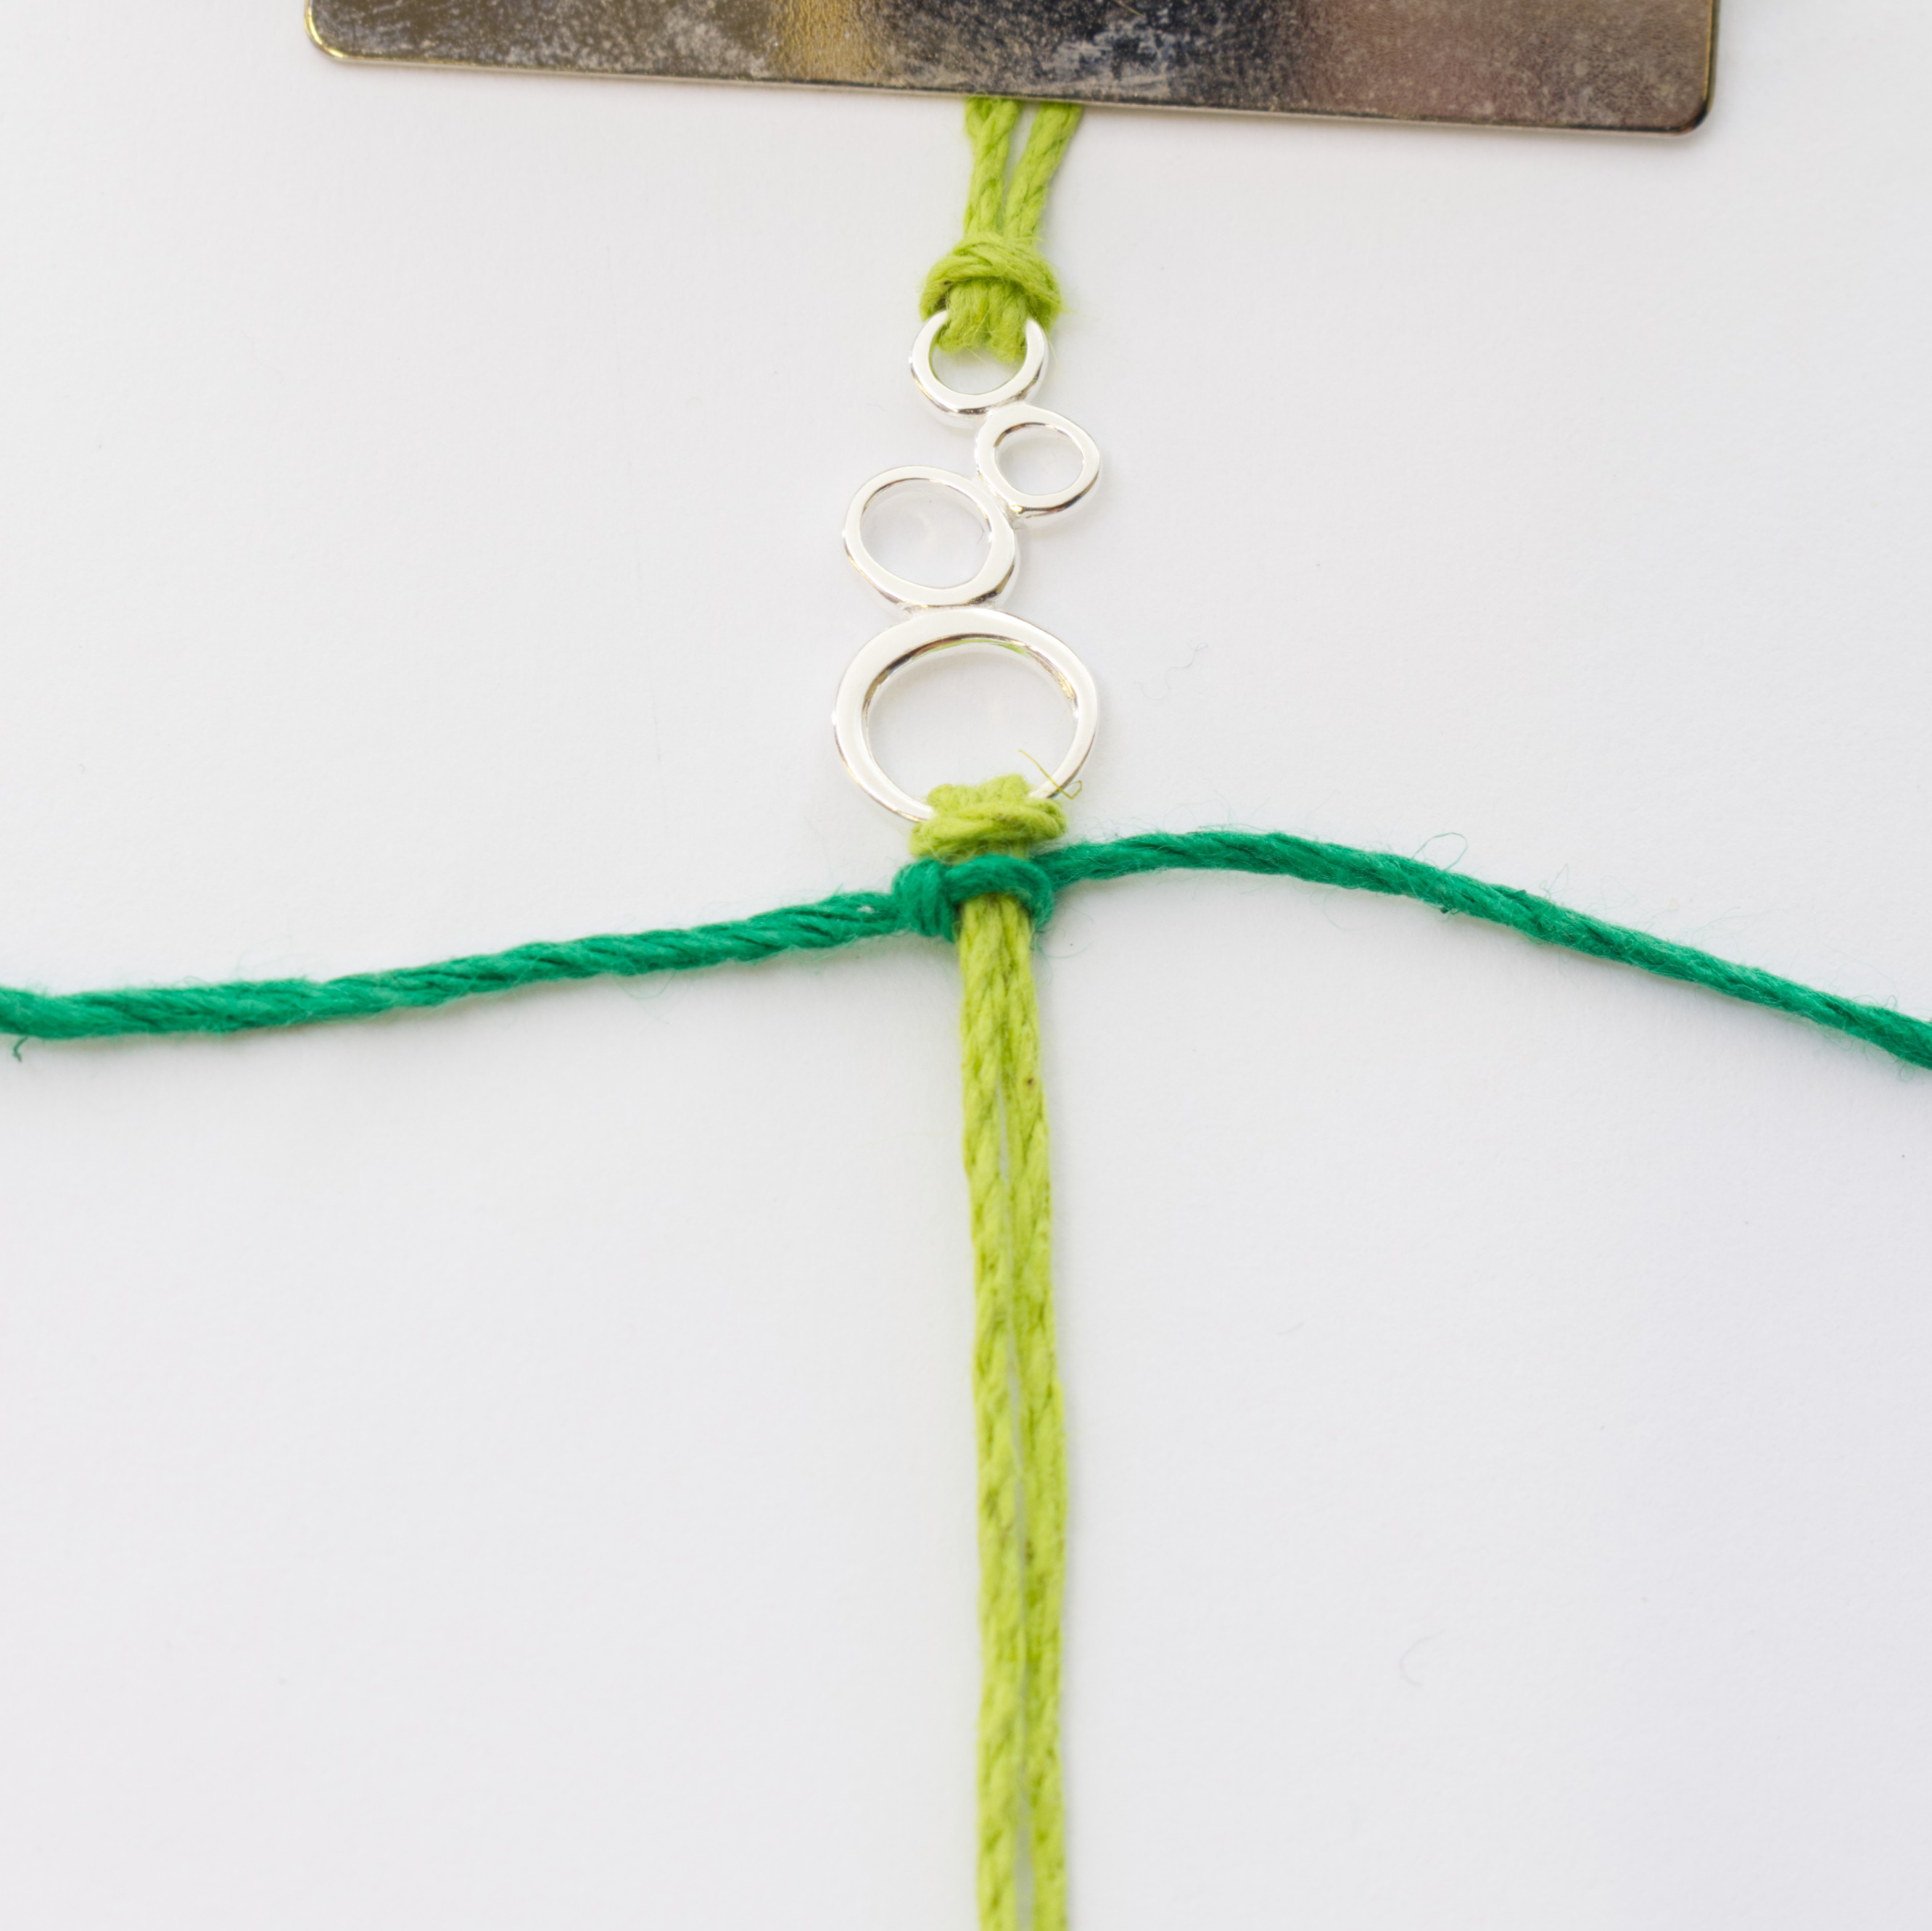
Step 5
Pull both left and right-hand cords together so a knot forms on the vertical cords. You can then slide this knot up to the top to meet the connector.

Step 6
Now take the left-hand cord and pass it over the two vertical cords and under the right-hand cord.
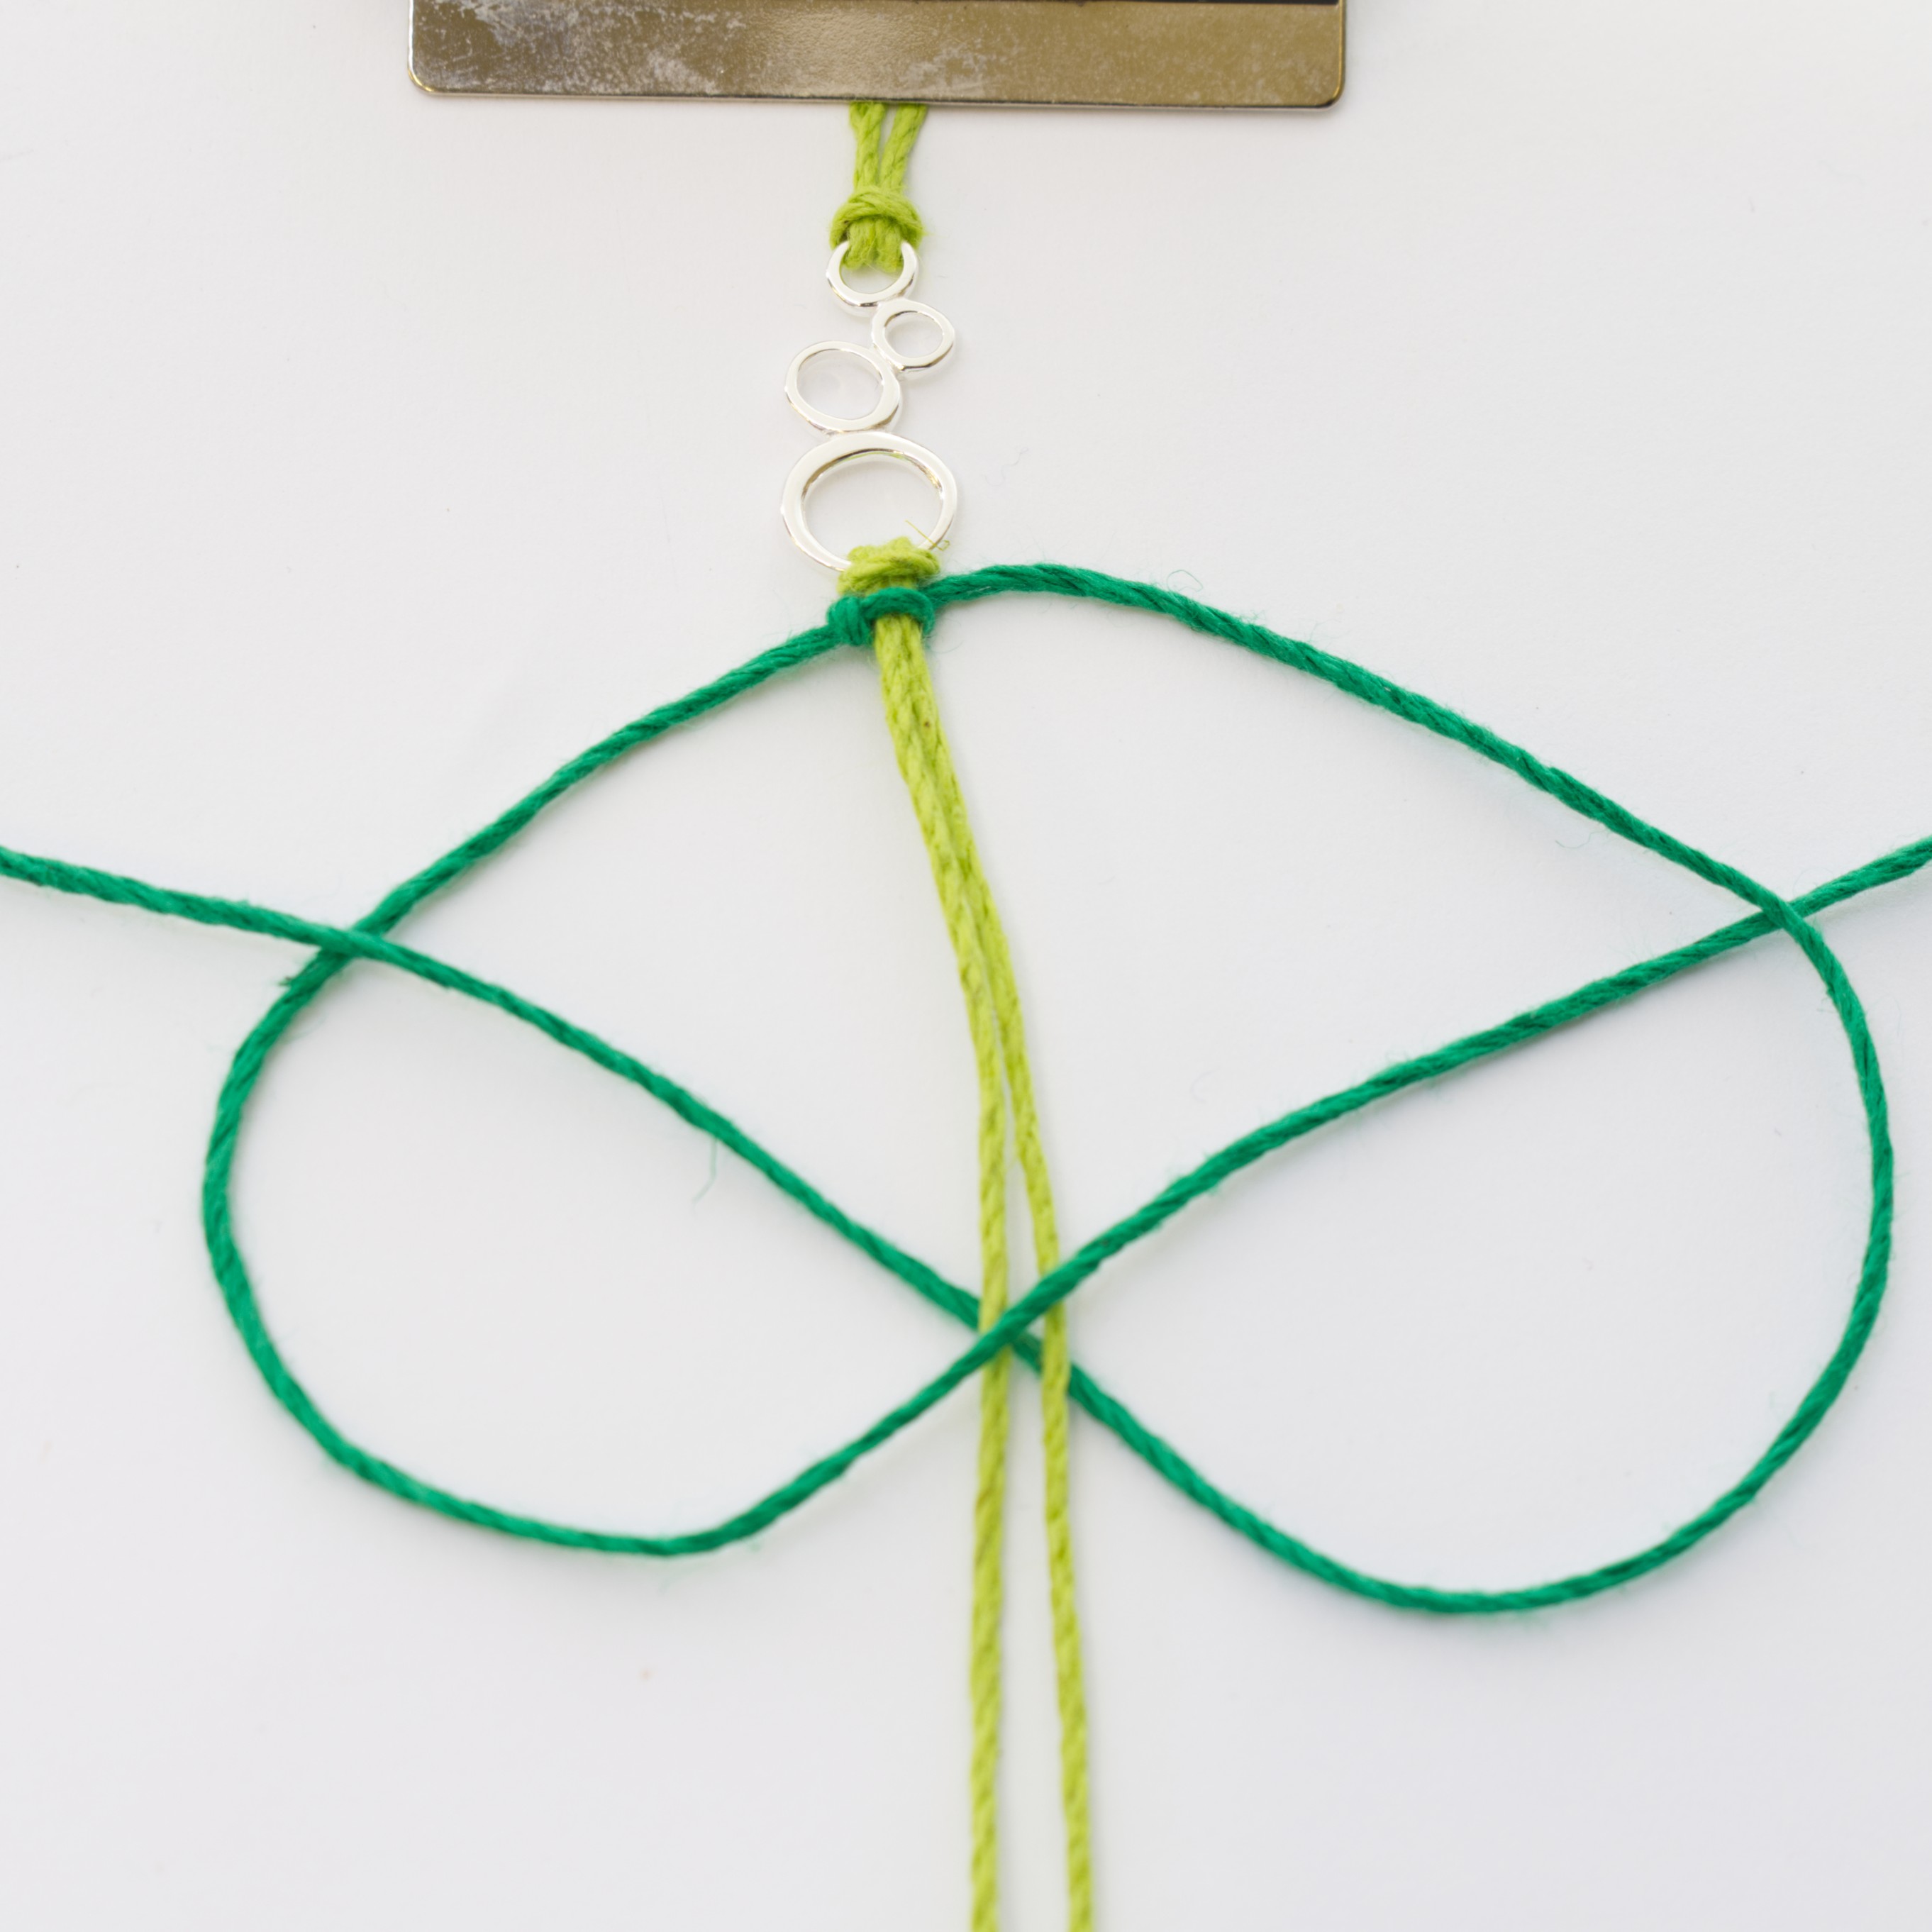
Step 7
Take the right-hand cord and pass it under the vertical cords and up and through the loop made on the left-hand side coming out on top of the left-hand cord.
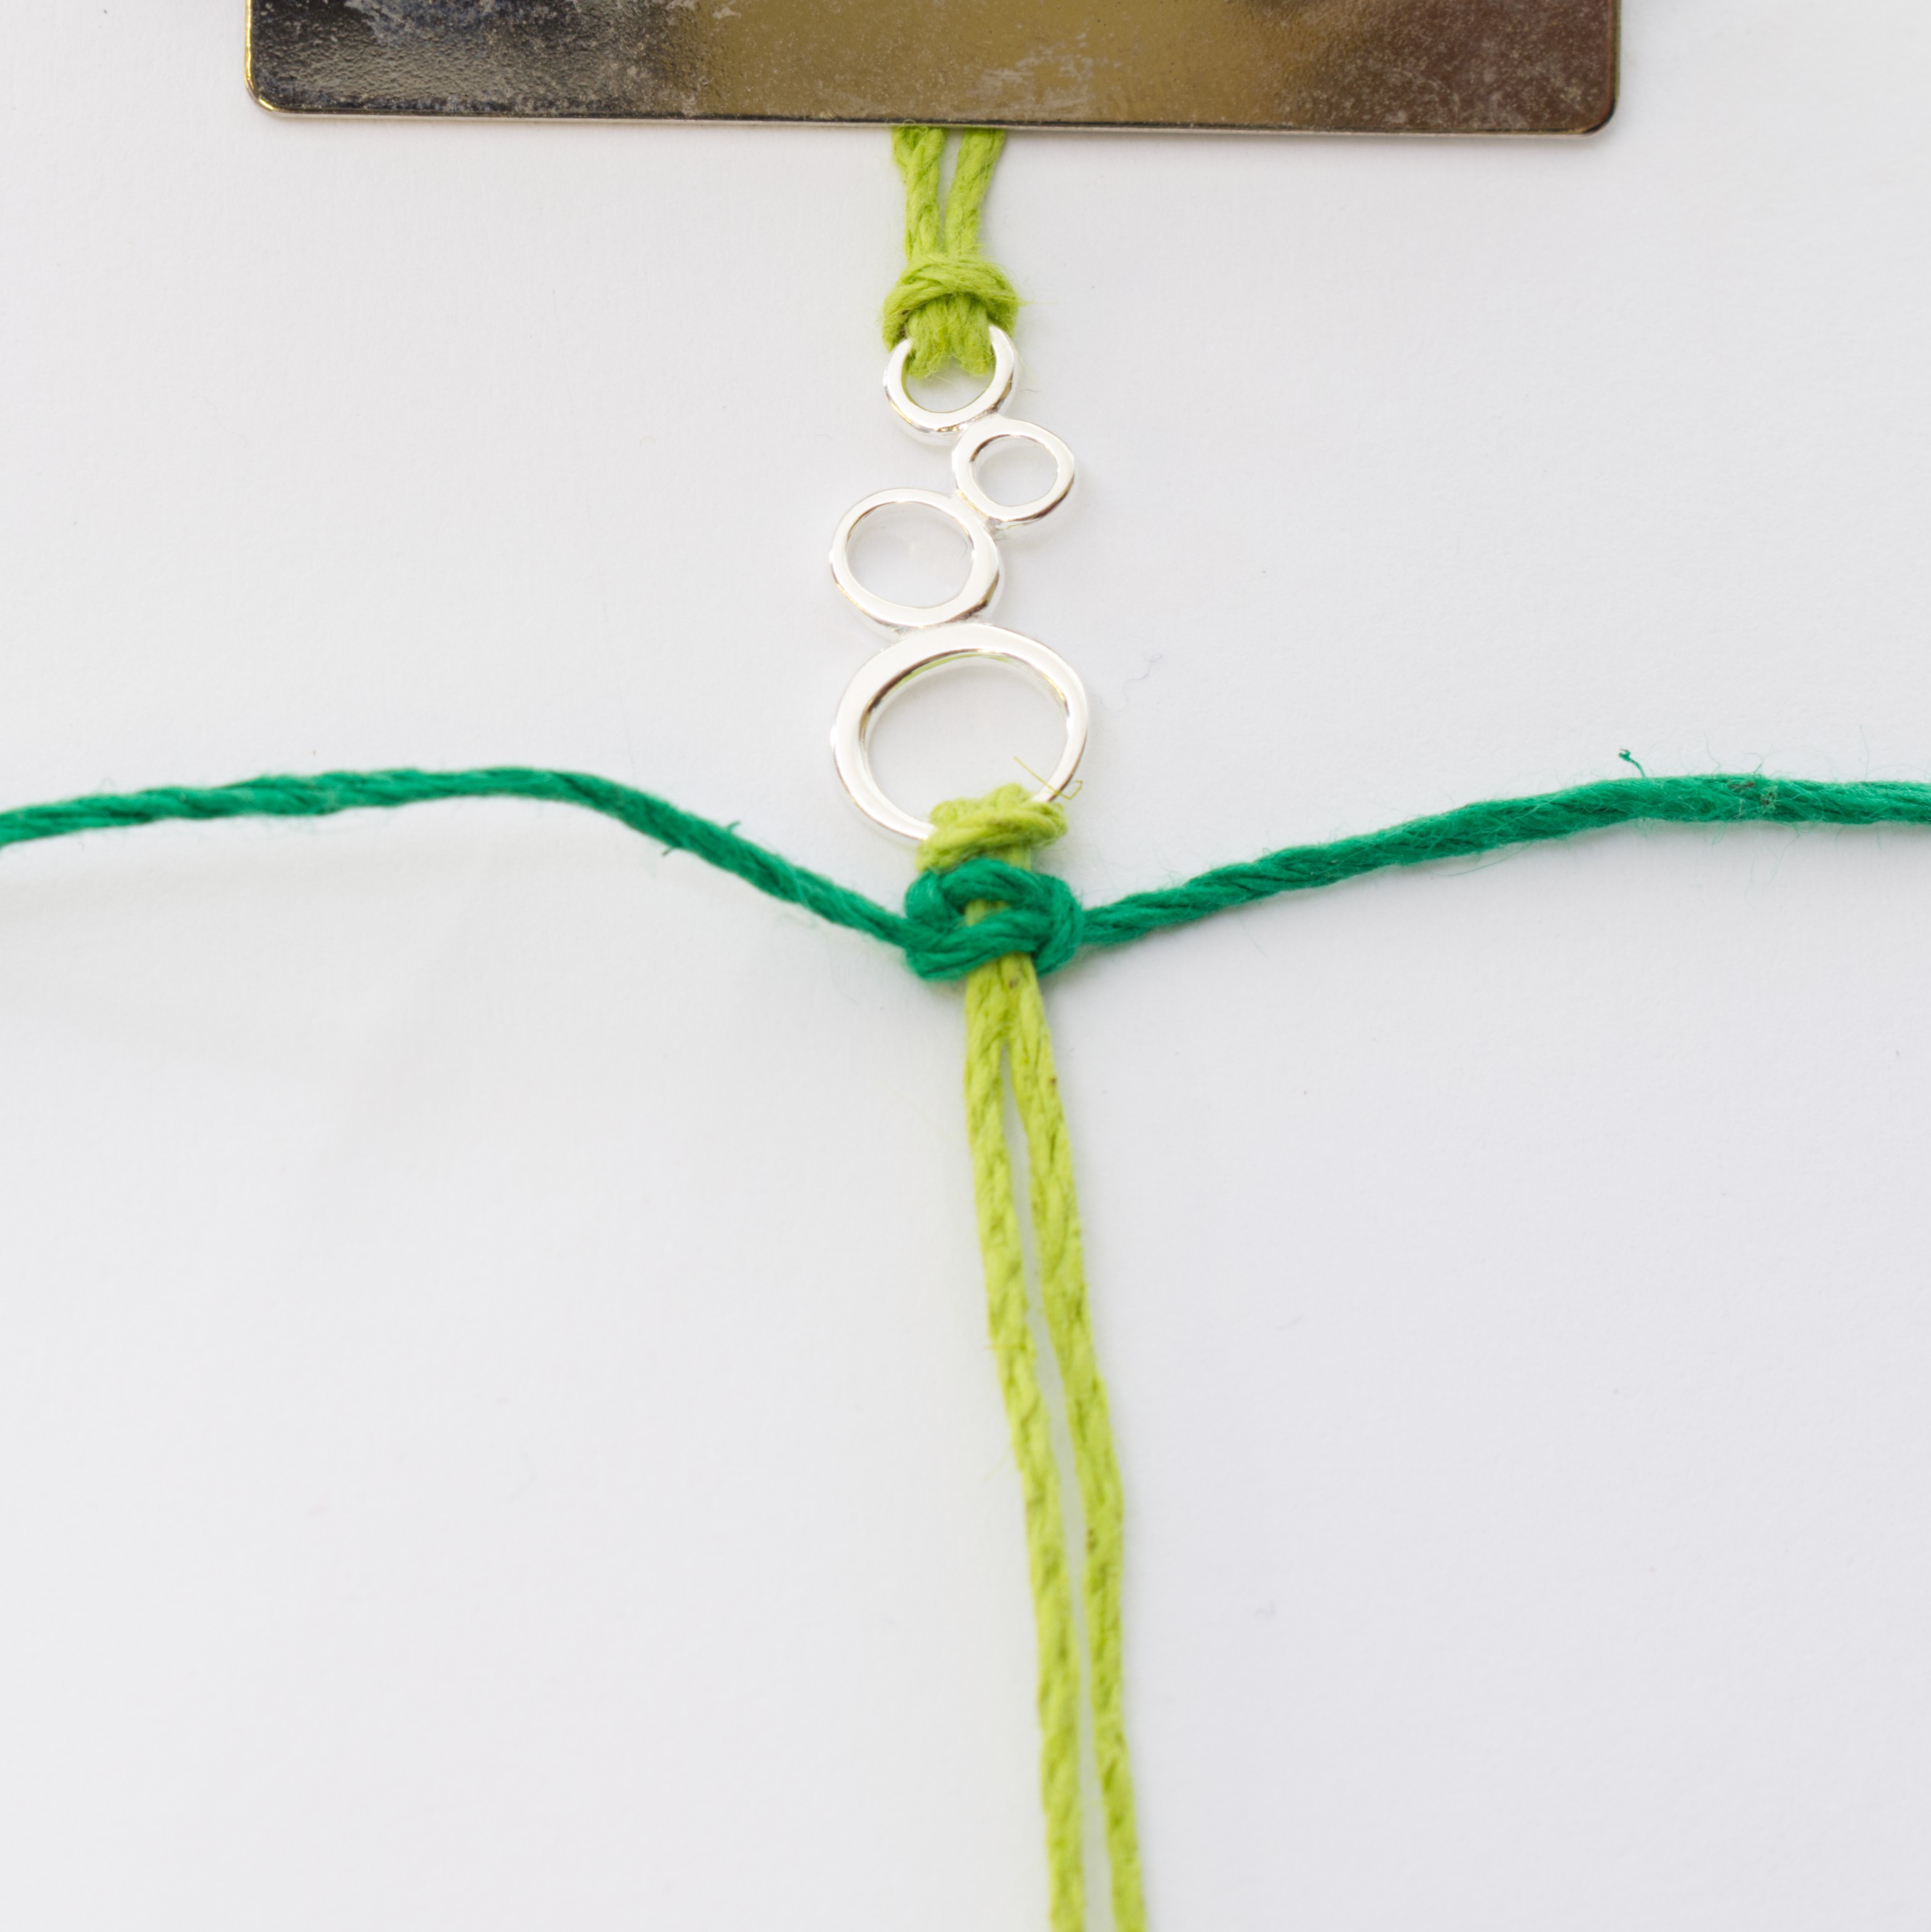
Step 8
Again, pull both left and right cords together so a knot forms on the vertical cords. You won't need to slide this knot up to meet the knot made in Step 5 as each knot made will naturally sit next to the one made before.
Step 9
Keep repeating steps 3-8 until you get to approx. 3cm length.
Step 10
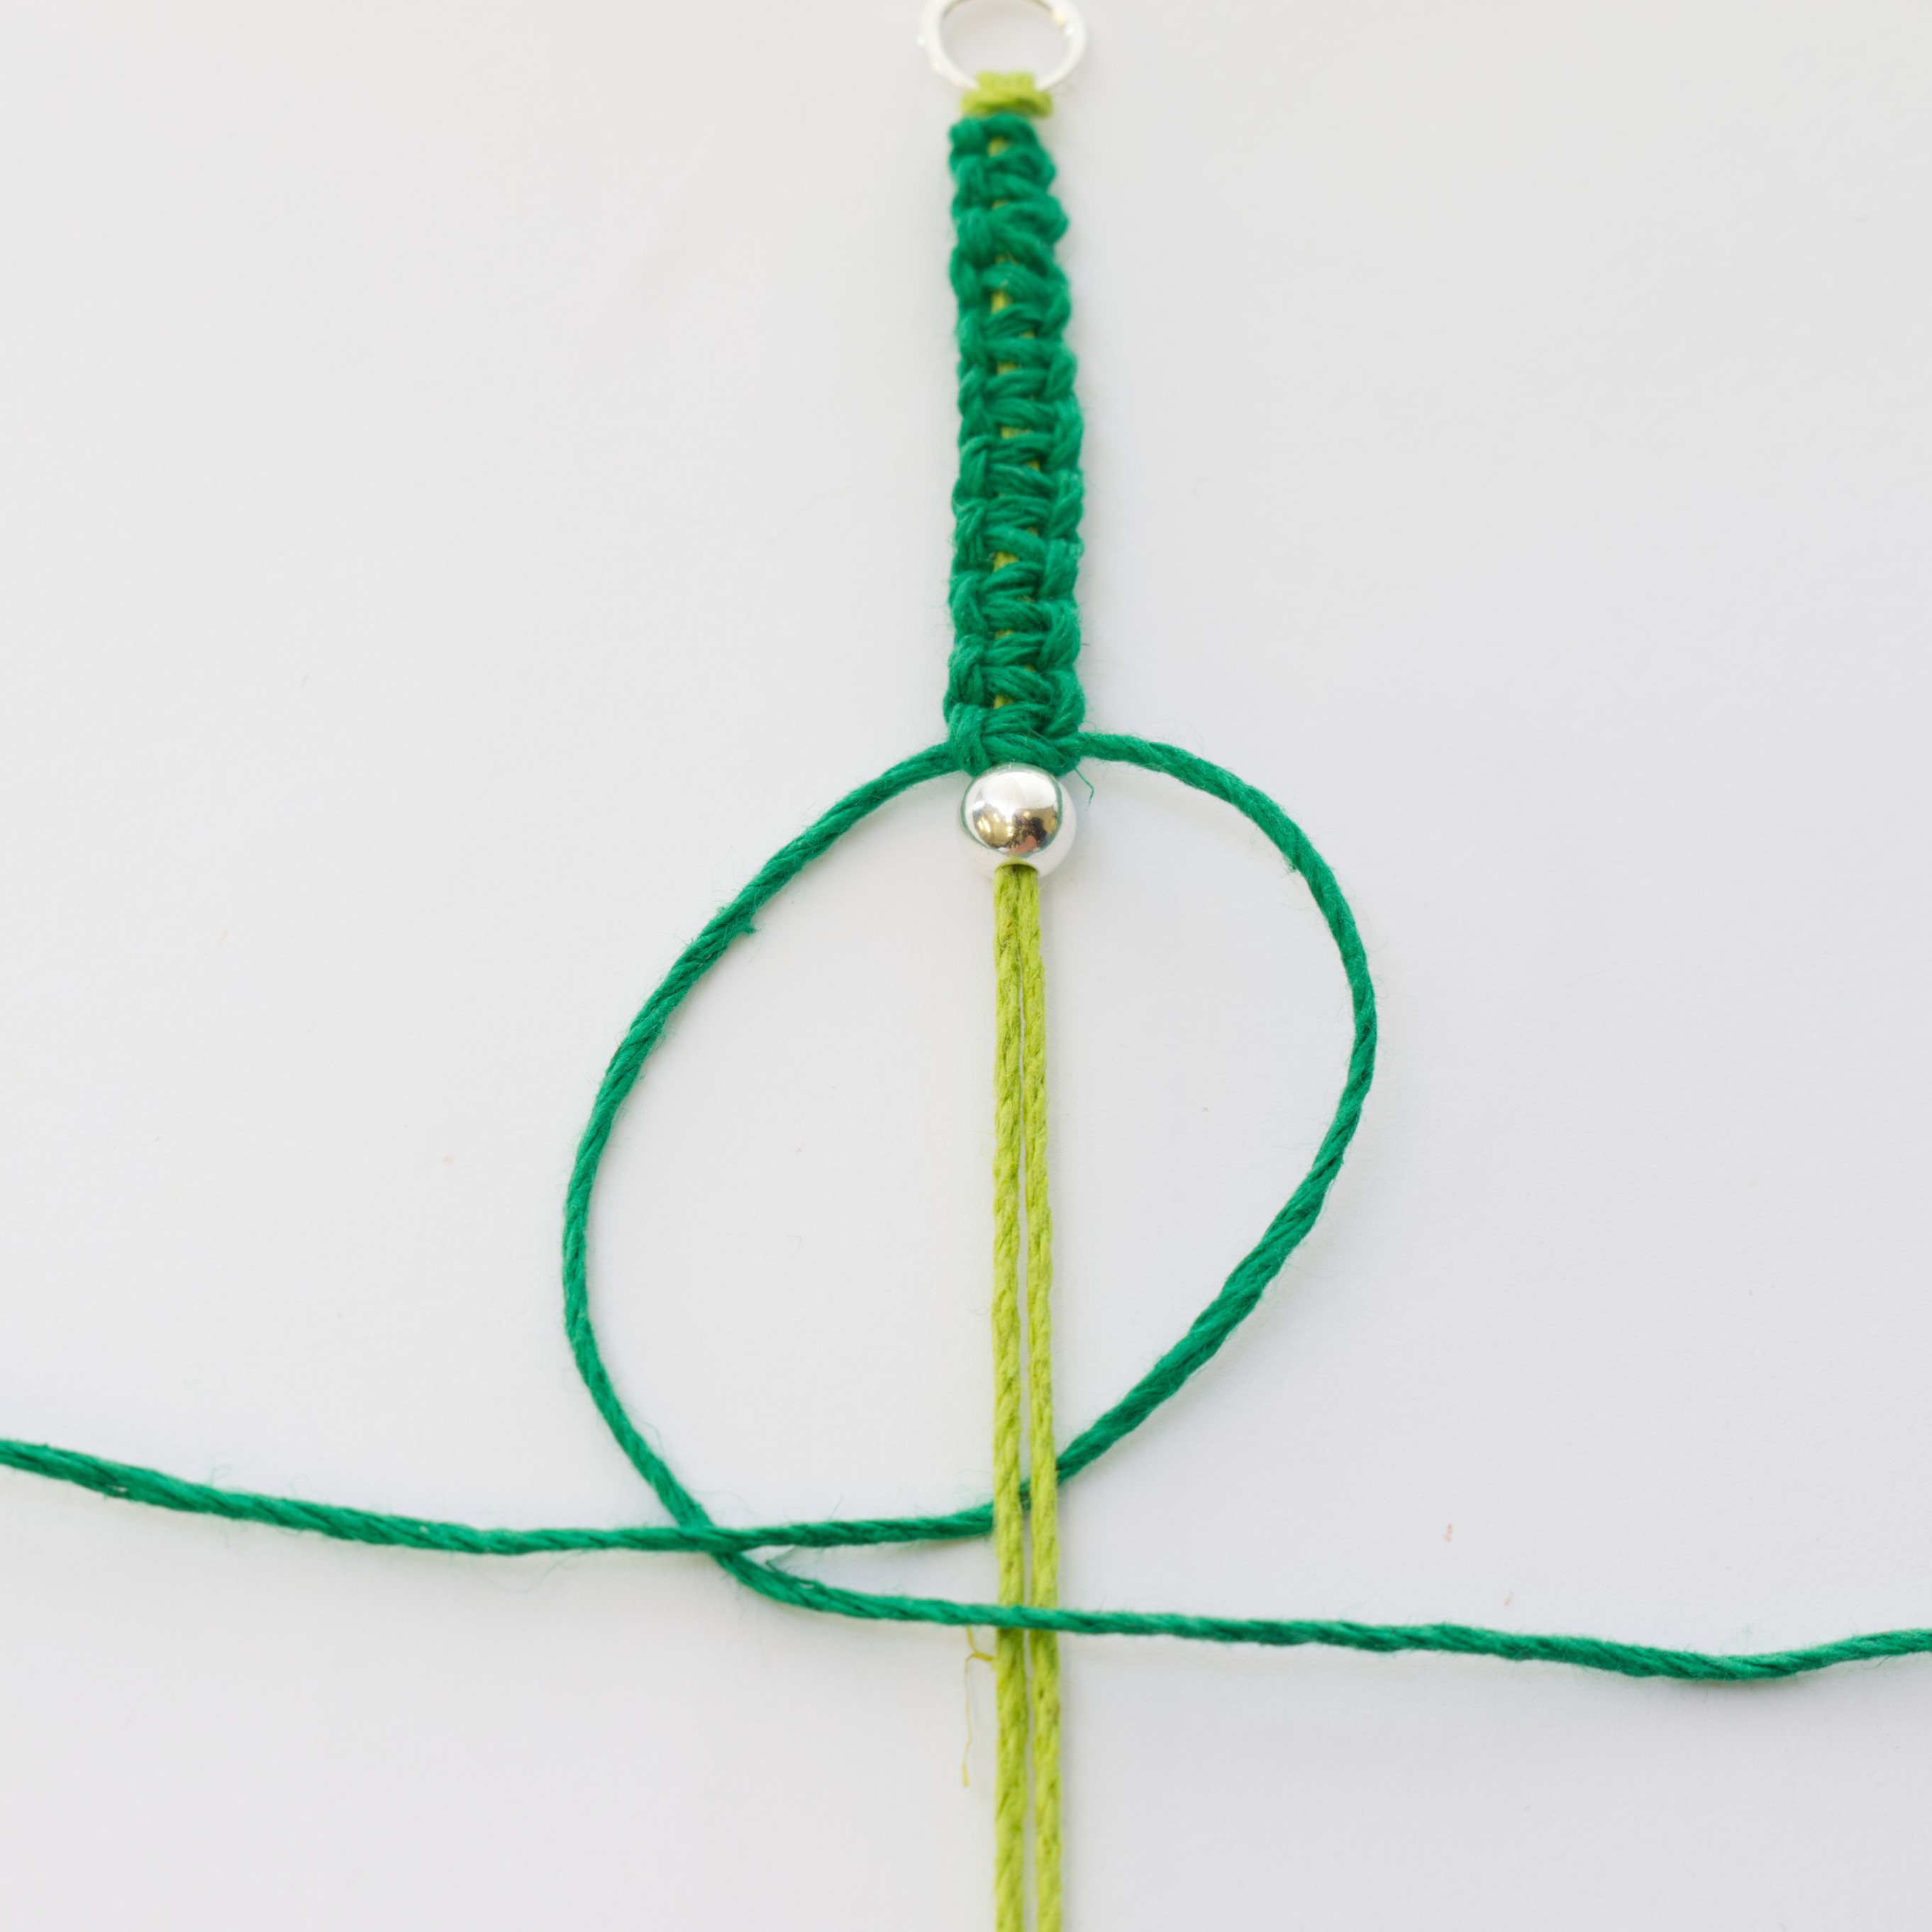
Thread a bead through the two middle cords. Tip: use sticky tape to keep the ends tight and easier to thread the bead through.
Step 11
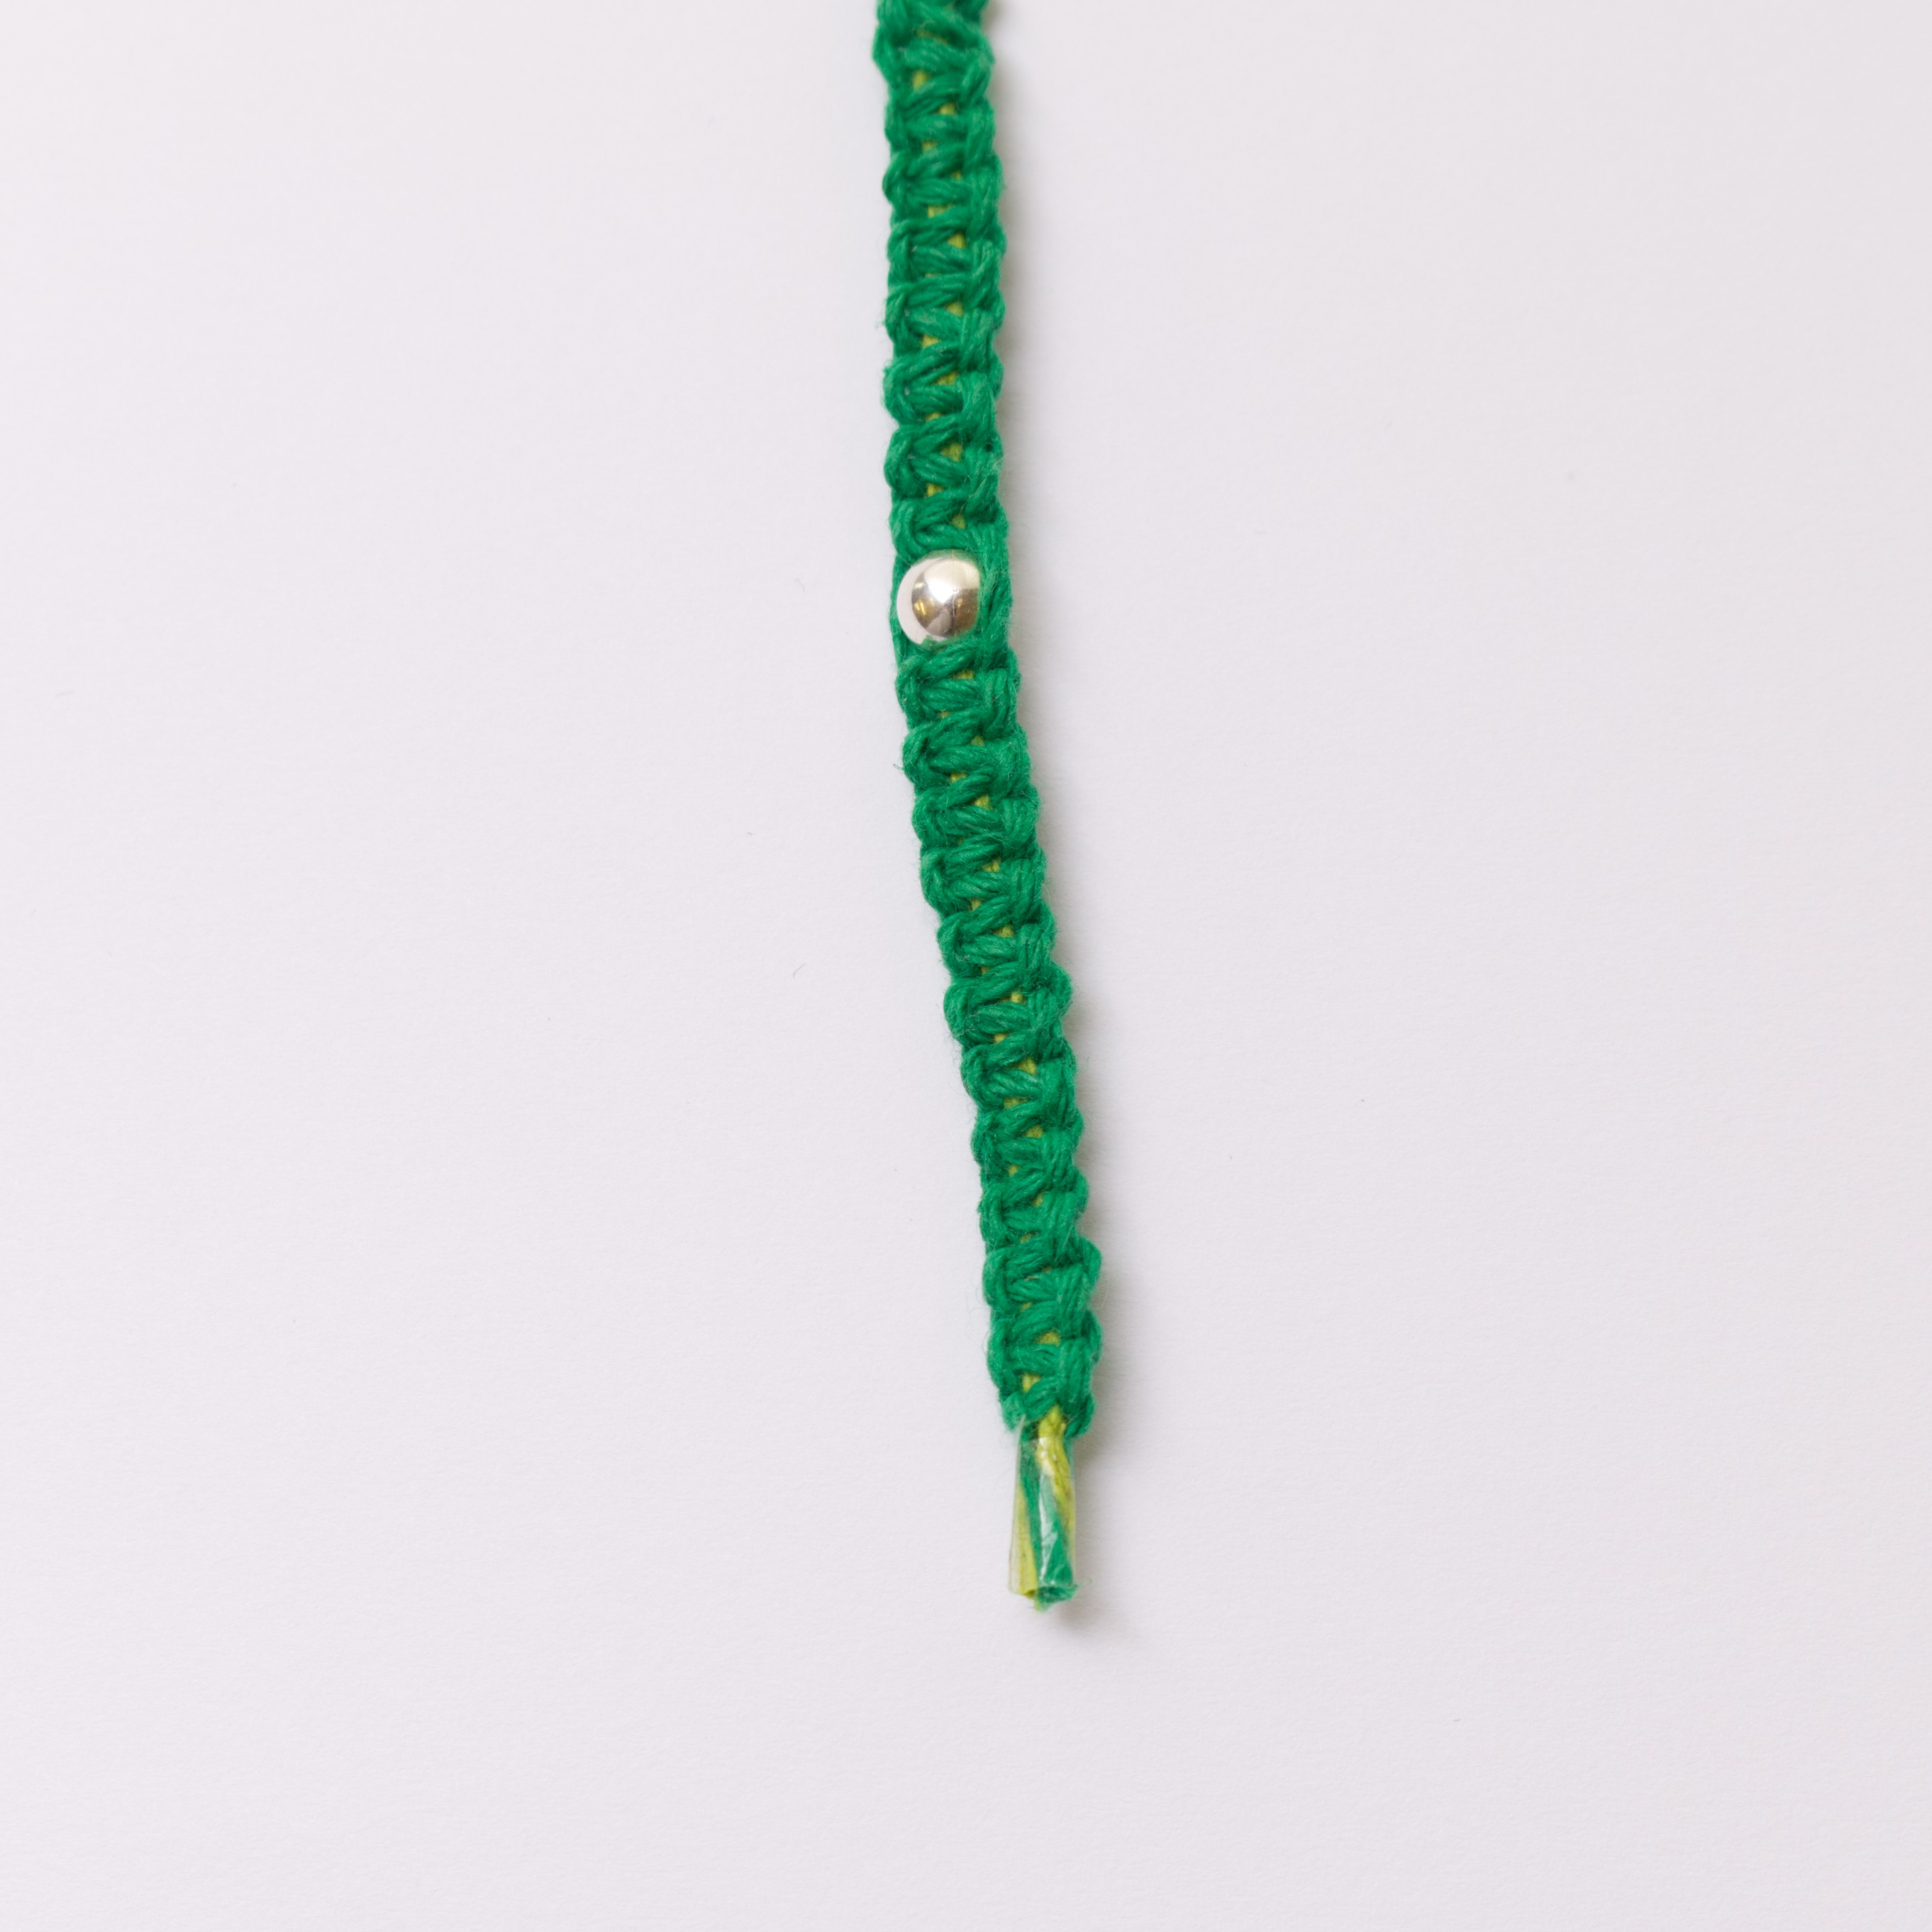
Repeat steps 3-8 again until you've reached a length of approx 3cm to finish off this side. Repeat the same steps for the 50cm length cord on the other side of the connector.
Step 12
You have a couple of options on how to finish off your cord ends:
1. Trim off any excess cord leaving approx 6mm length for the crimps. Use sticky tape to hold the ends of threads together creating a 'shoelace' finish. Repeat for the other side.
2. Wrap the ends with a 0.3mm wire to secure them.
Step 13
Use a small amount of hypo cement glue, dab it onto the cord end and insert into the crimp loop end. Crimp using snipe nose pliers. Repeat for the other side and let dry. Note: hypo cement glue sets in approximately 15 minutes and is completely dry in 24 hours.
For quicker drying results, mix equal parts of Devcon glue, apply small amount on the cord end and insert the crimp. Follow the same steps as above.
Step 14
Open up a jump ring, using snipe nose or flat nose pliers, and attach to a crimp with loop and the lobster clasp loop. Close the jump ring.
Finished!
Your bracelet is now ready to wear.
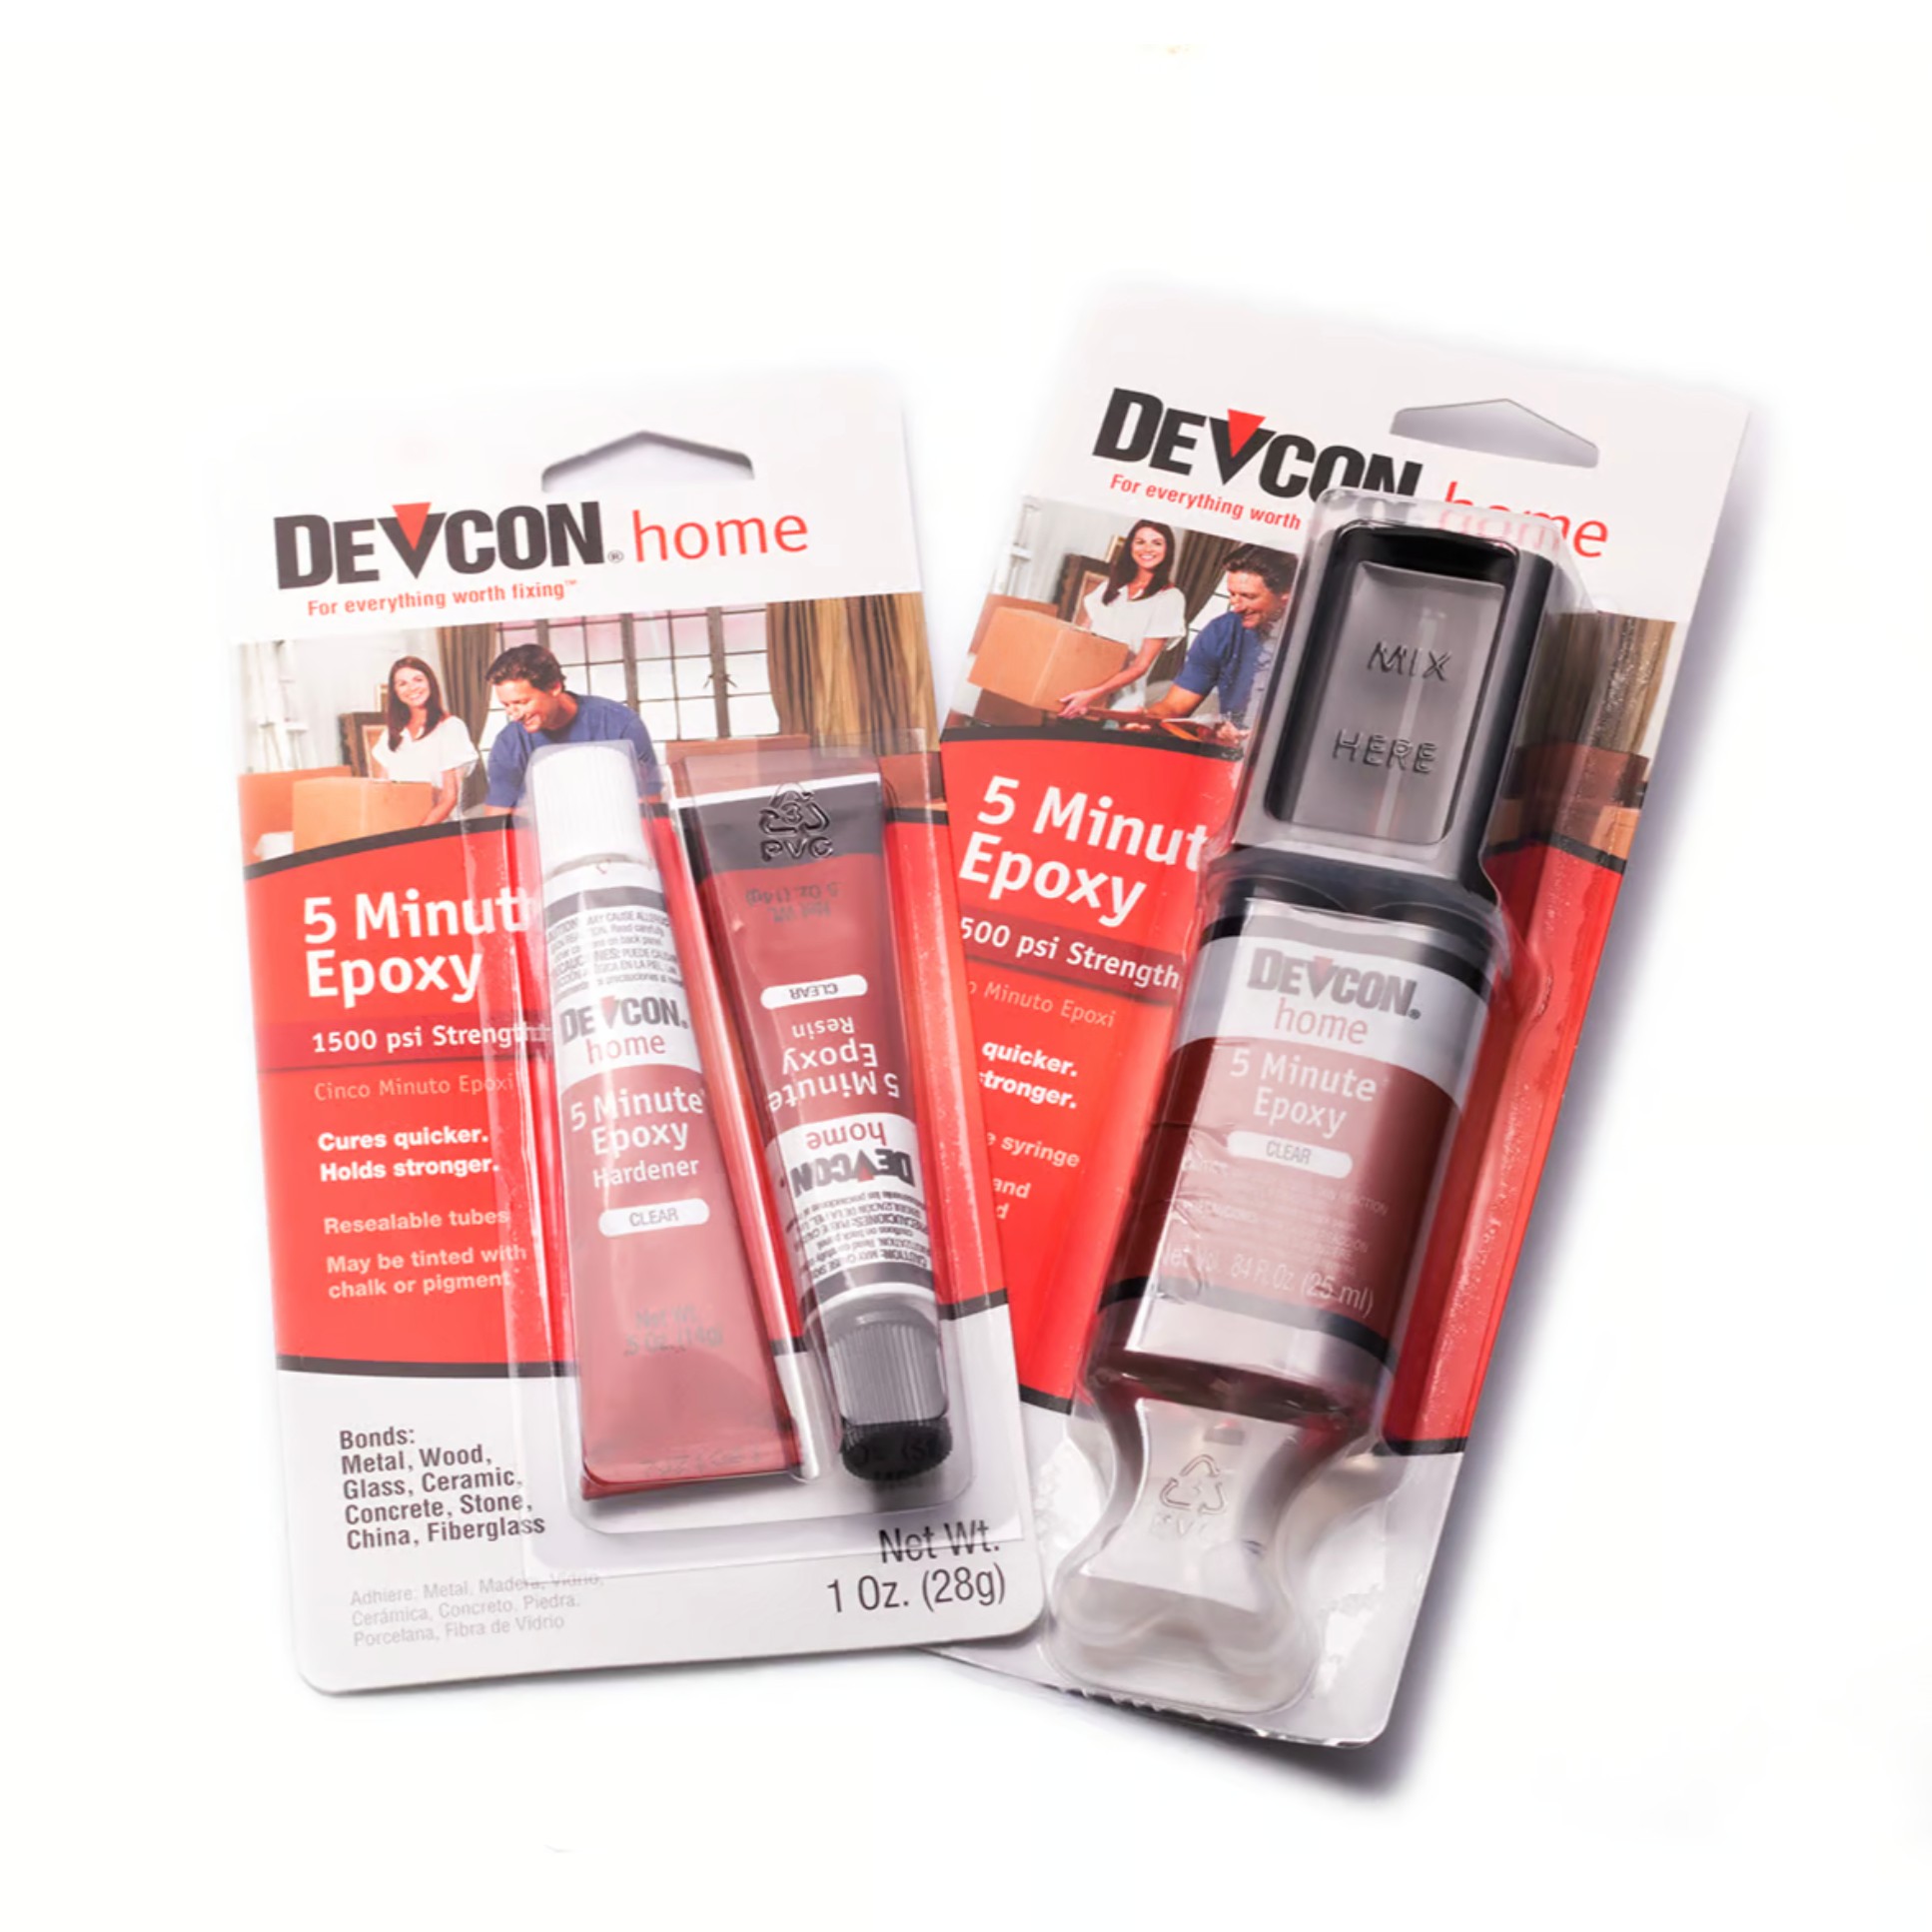
How To Use Devcon Epoxy Glue For Jewellery Making
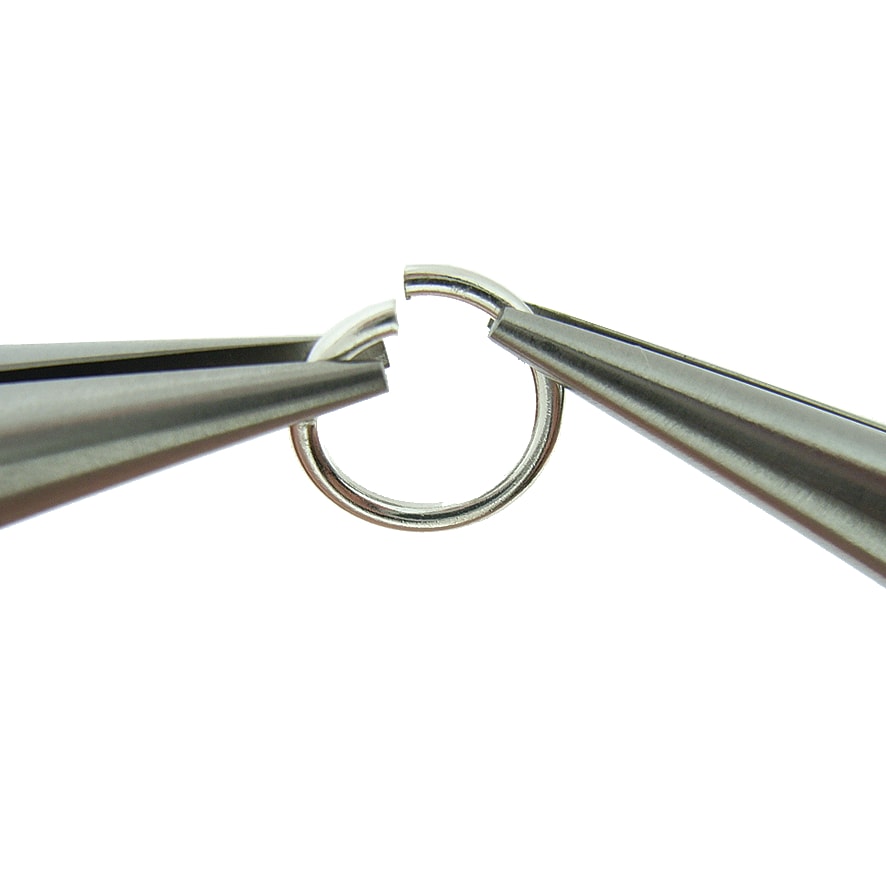
How To Open And Close Jump Rings For Jewellery Making
Explore Tools & Supplies
Get all the tools and jewellery making supplies you need to make your own jewellery! Have a question? Get in touch with our team, we'd be happy to help you get started.
Shop Our Jewellery Making Kits Using Cords and Threads
Cords and threads can be incorporated into such a variety of designs. Here are just a few examples of what you can create with them from our jewellery making kits.
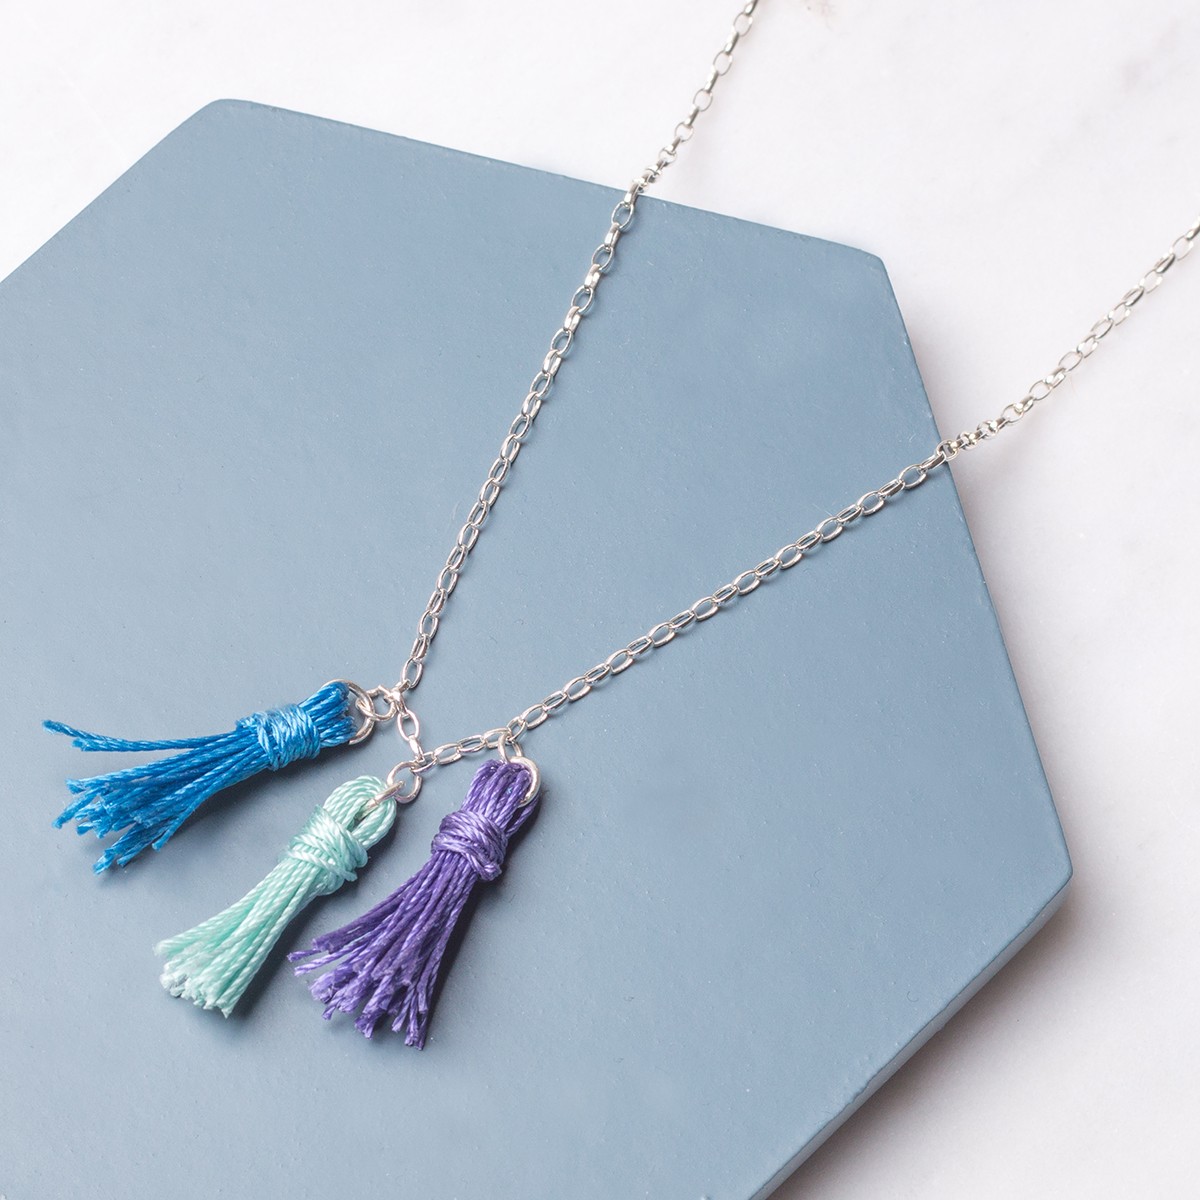
Multi Coloured Tassel Necklace
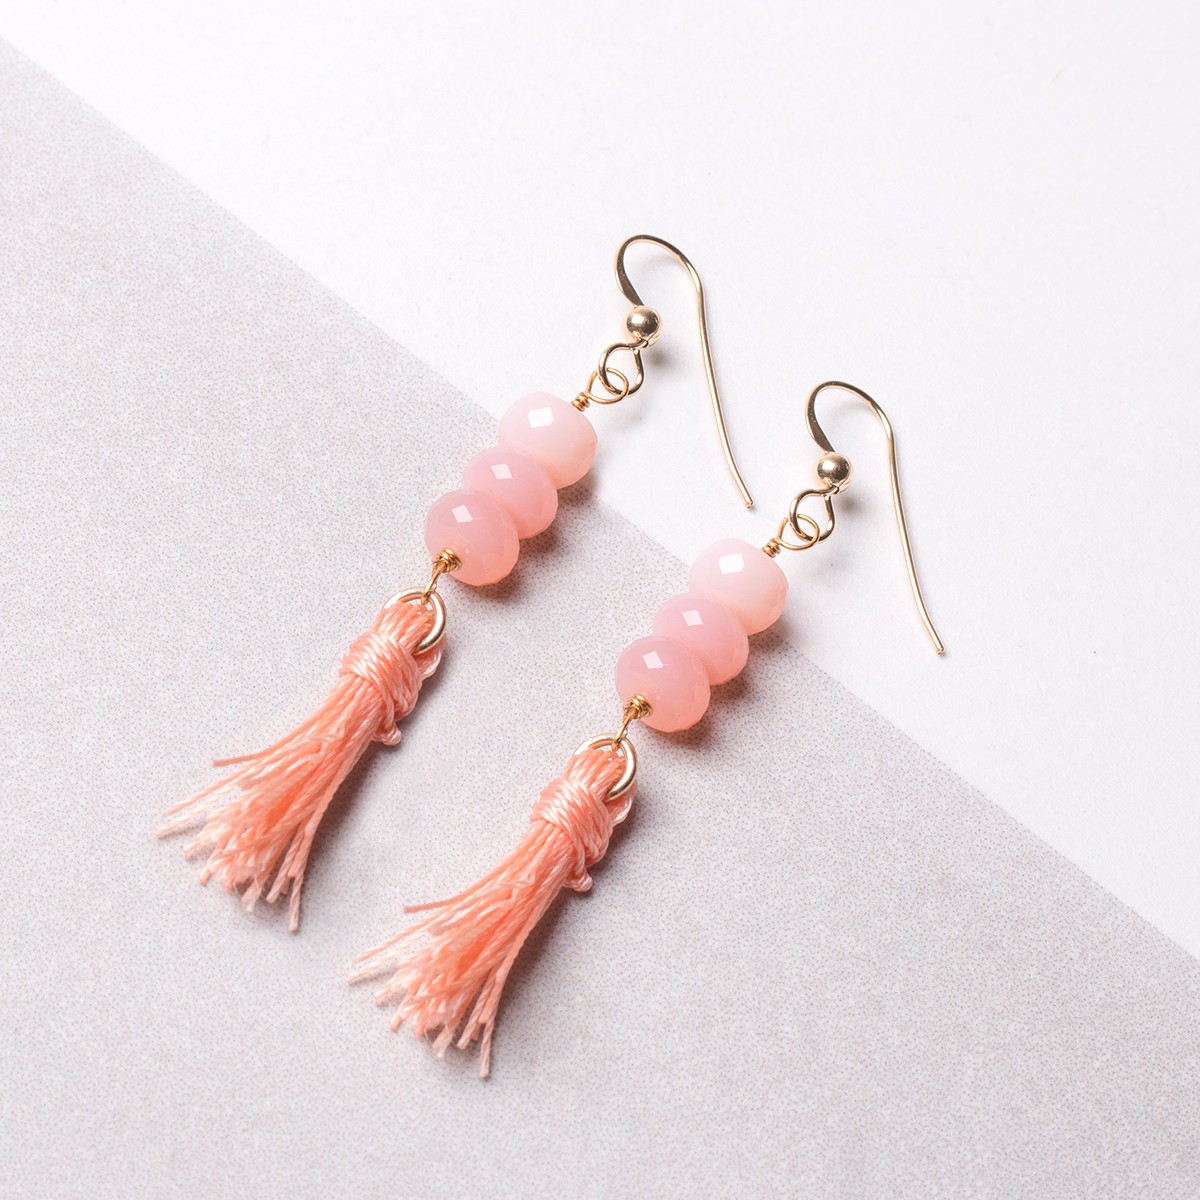
Pink Opal Tassel Earrings
The products used in this project are suggestions to inspire you. Products used were compatible at the time of making but do be aware that stocks can vary, so do use your own judgement as to the compatibility of each item when making.
Also in this section:
- Macrame Bead Bracelet Tutorial
- Your Guide To Bead Stringing Materials For Jewellery Making
- The Essential Tools For Beading
- Beading: How To Start Jewellery Making With Lyndsey
- Answering Commonly Asked Beading Questions
- Types Of Beads For Jewellery Making
- The Difference Between Half Drilled, Top Drilled And Head Drilled Beads
- How To Use Top Drilled Beads
- Jewellery Making With Half Drilled Beads
- What Are Briolette Beads & How To Use Them
- Stringing Beads With Small Holes
- How To Make Your Bead Holes Bigger With A Bead Reamer
- Types Of Clasps For Jewellery Making
- 8 Reasons You Need A Bead Board
- How To Make A Sliding Knot
- Advice On Knotting Elastic Stretch Magic Thread
- How To Use Flex-Rite Jewellery Wire
- How To Use Crimps
- How To Make A Silkon Thread Briolette Necklace
- How To Use Beading Chain
- 4 Ways To Use Gemstone Donuts
- 4 Gemstone Chip Bead Project Ideas
- How To Use End Caps For Jewellery Making
- How To Make Earwires With Gemstone Beads
- How To Make A Memory Wire Bracelet
- How To Make Gemstone Bead Earrings
- How To Make A Bead Bar Necklace
- How To Make Beaded Bracelet With Flex-Rite Wire & Wire Guardians
- DIY Gemstone Friendship Bracelets
- How To Make A Beaded Bracelet With Knot Covers
- How To Make Polymer Clay Earrings
- How To Make Felt Jewellery
- DIY Mini Tassels & Jewellery Projects
HAVE A QUESTION?
If you have any questions, feel free to get in touch with our friendly team who will be more than happy to give you advice over email or on the phone.
You can learn more and find inspiration by visiting our Jewellery Making Tutorials, Jewellery Making Kits and YouTube Channel. Don't forget to follow us on social media and tag us in your designs on Instagram & Facebook, we would love to see!