How To Make A Silkon Thread Briolette Necklace
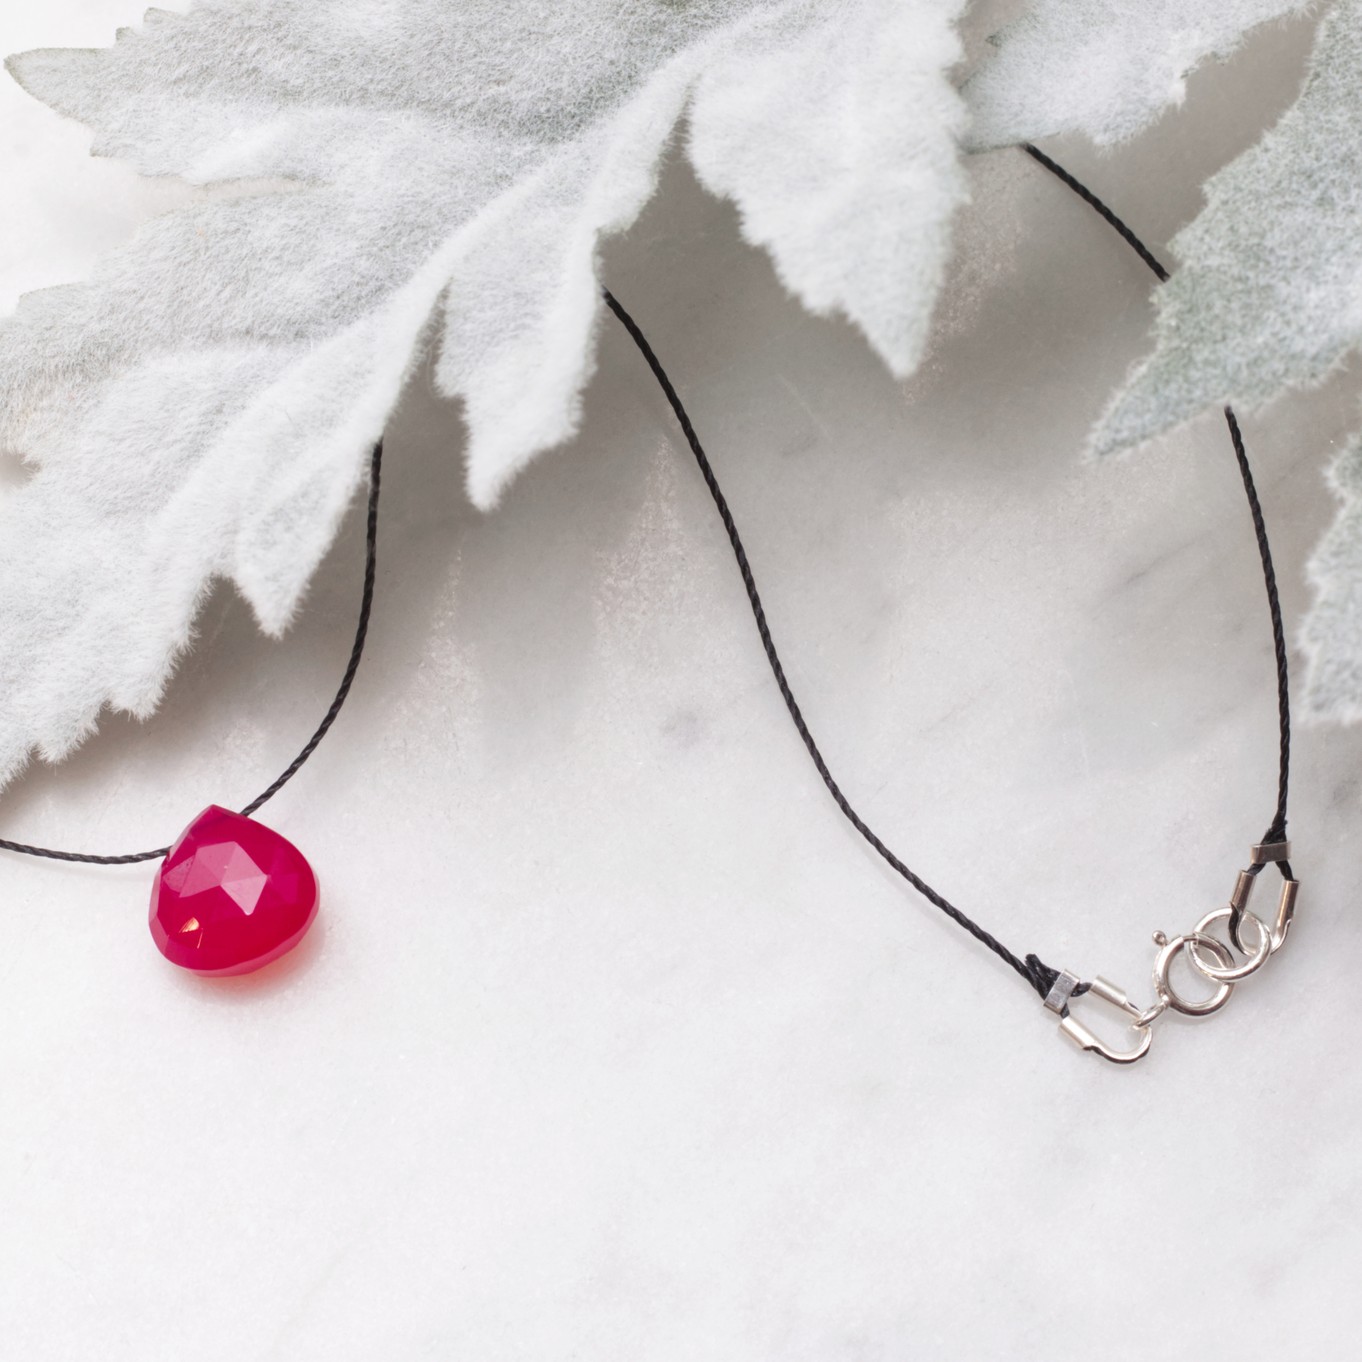
In this beginner friendly tutorial we show you how to make your own statement briolette necklace using silkon thread!
What is a briolette?
A briolette is usually a head drilled bead, which is faceted and pear shaped. These beads are so popular and make lovely statement pendants and work perfectly with modern, minimalistic designs like this one!
What is silkon thread?
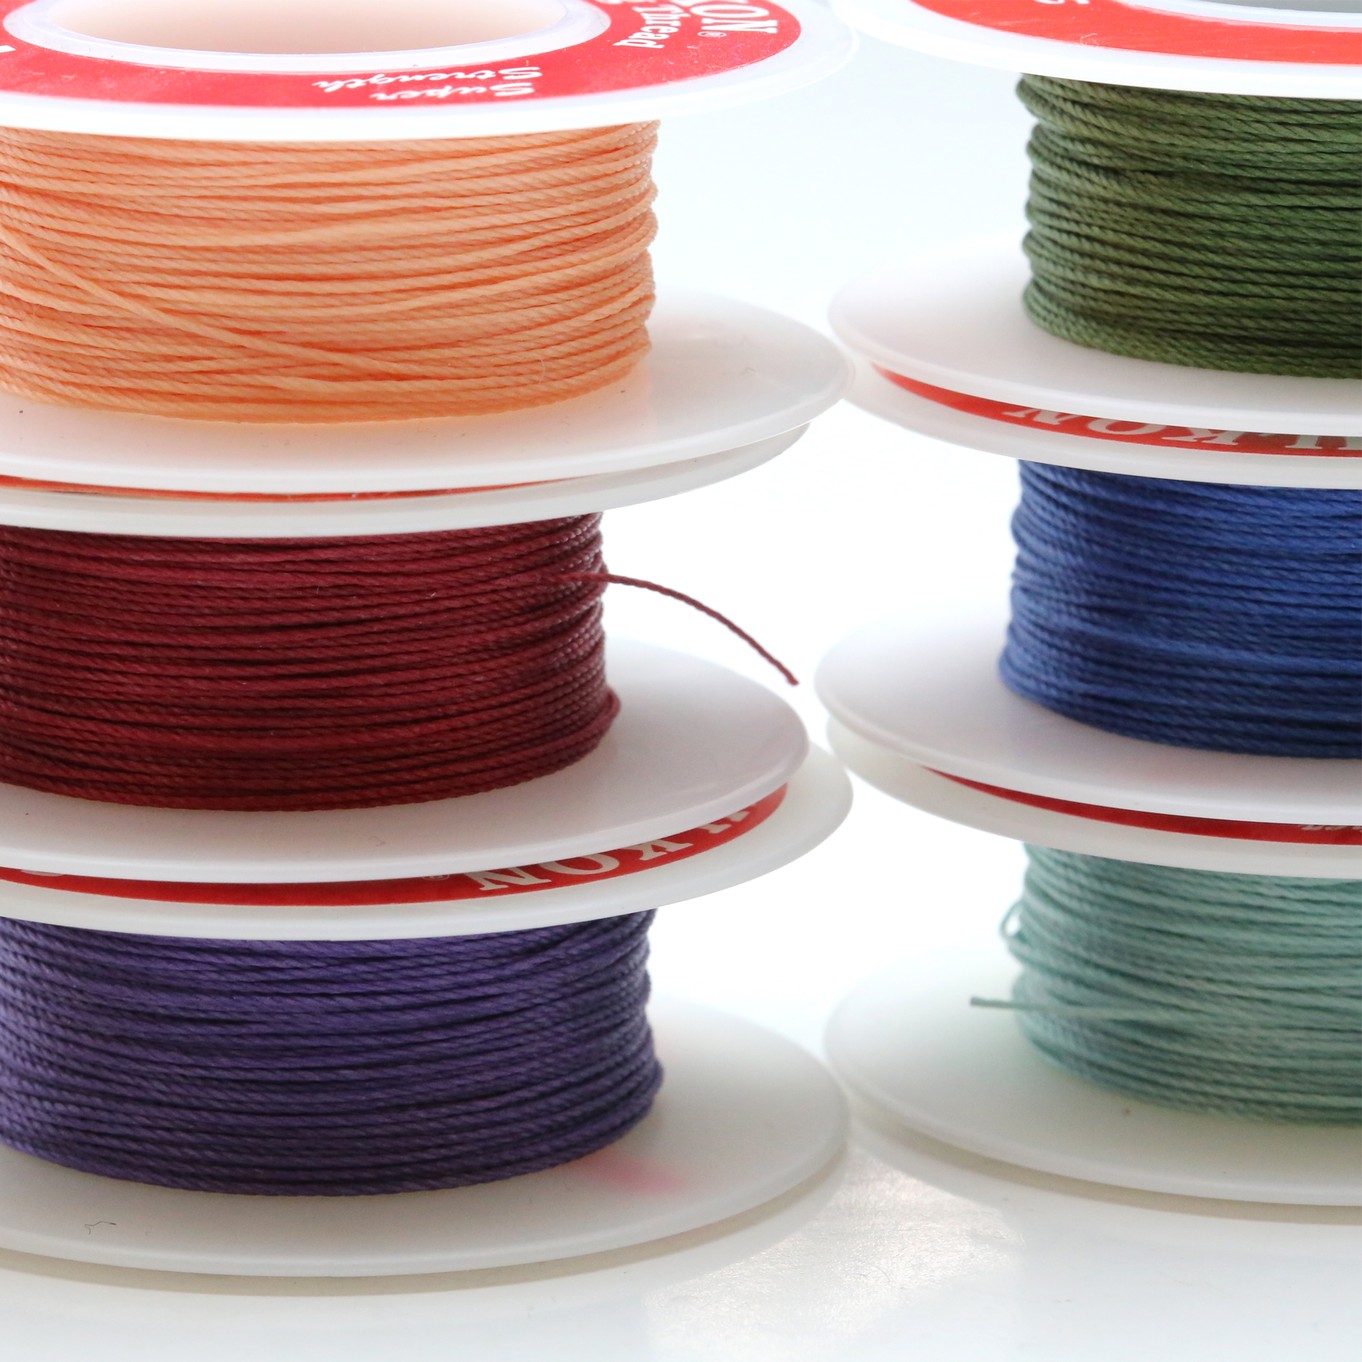
Silkon thread is a strong, bonded synthetic fibre that does not fray or stretch, which makes them popular for creating necklaces and bracelets. We love this thread as it comes in a beautiful range of colours to choose from. In this design, we've used black but you can choose from gold, green, pink and so many more colour options to suit you.
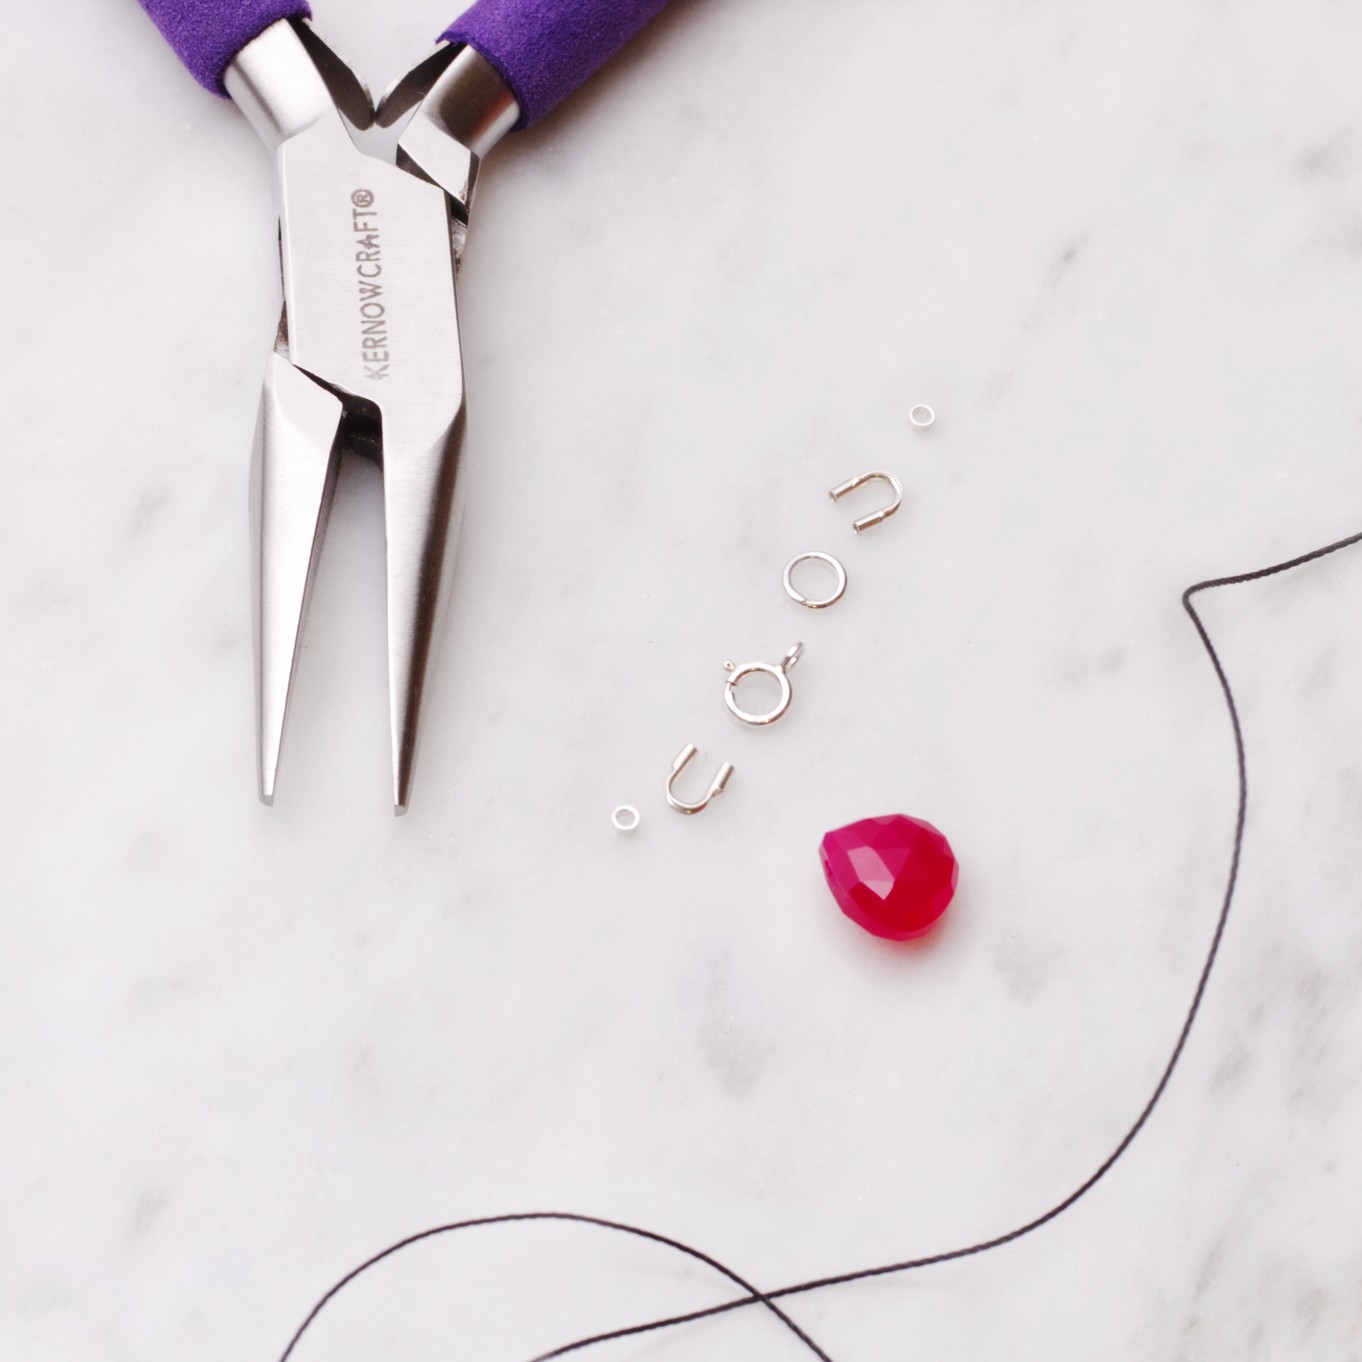
Recommended Tools & Supplies For This Project
- Briolette bead (check the hole size will fit the silkon thread) this project features a magenta pink chalcedony briolette
- Silkon thread in your choice of colour and desired length - features black
- 2 crimps - features sterling silver 1mm mini crimps
- Bolt ring with closed ring - features sterling silver 5mm bolt ring with closed ring
- 5mm closed jump ring - featured sterling silver 5mm
- 2 wire guardians - features sterling silver
- Snipe nose pliers - for securing crimps
- Scissors or thread snips
Using a closed bolt ring and jump ring will make your necklace design more secure.
Many of our findings are sold in packs, so you can use them for more projects!
Step 1: Cut Silkon Thread To Desired Length & Thread On Briolette
Begin by deciding the length you would like your necklace - a standard length for a finished necklace is 45cm. Measure your desired length and cut the thread longer than needed as you need to ensure you have extra length for doubling back on the thread and crimping.
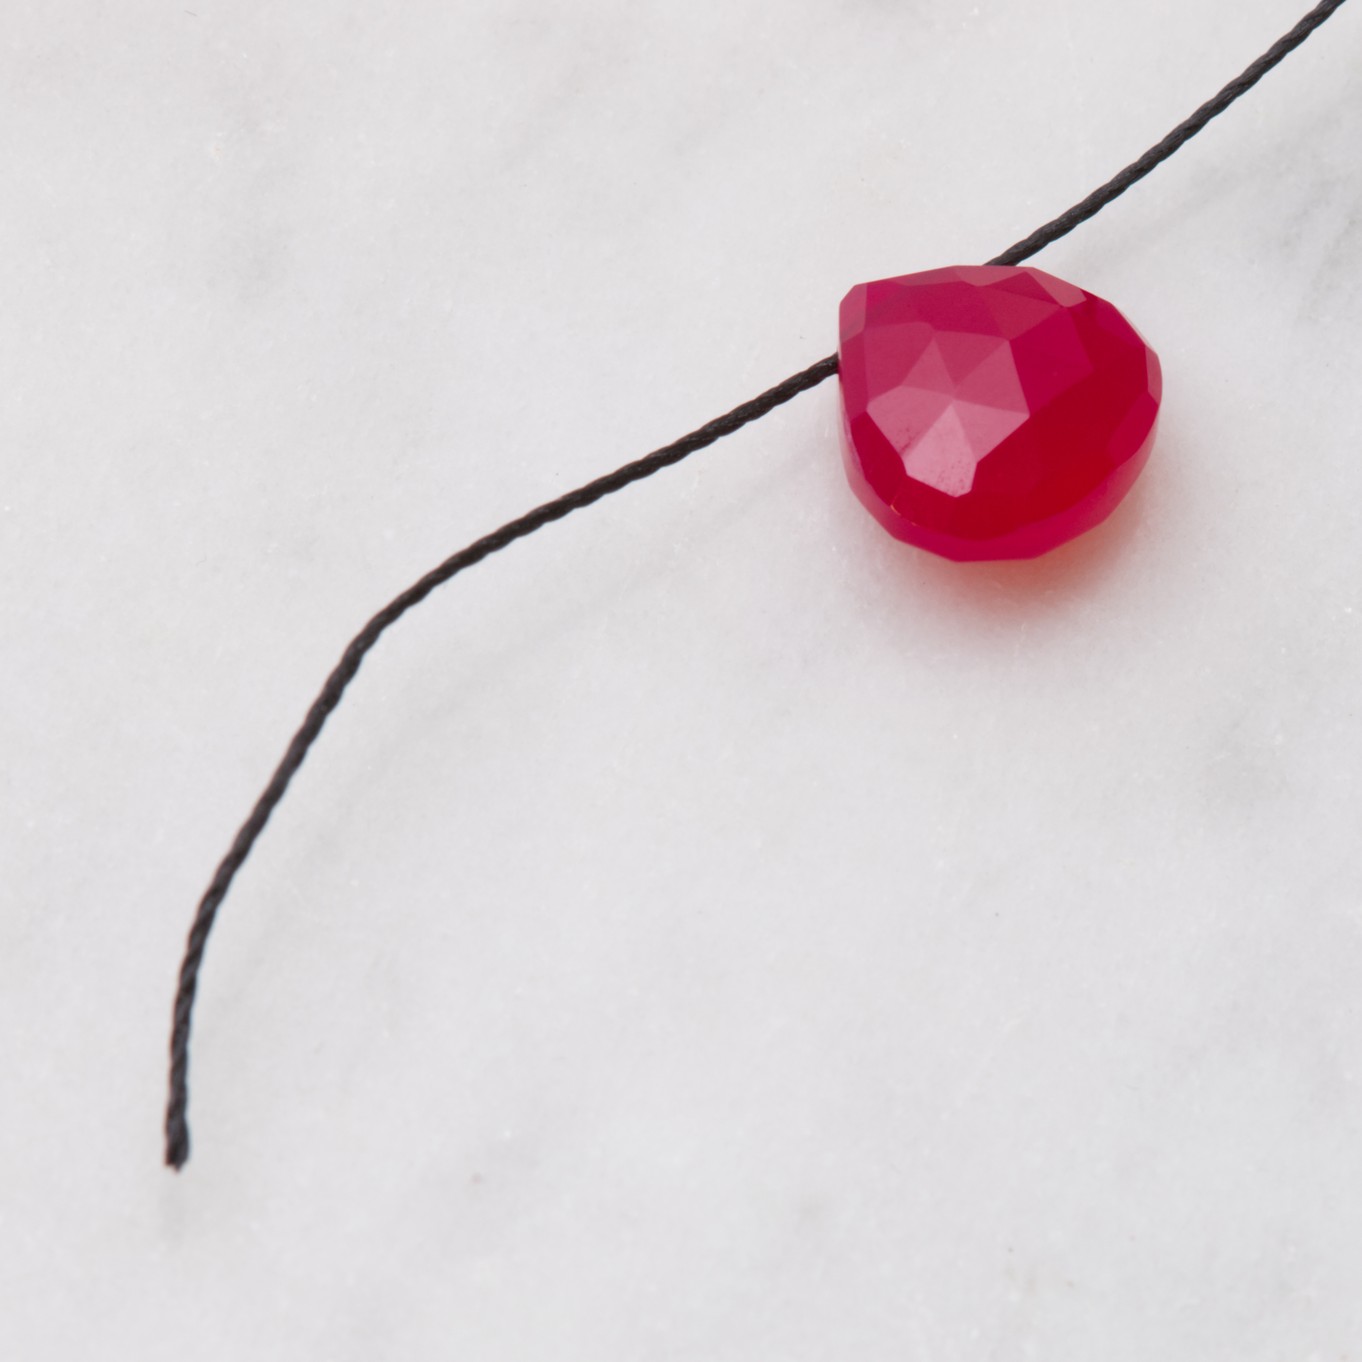
Use scissors or thread snips to cut your chosen length and thread on the briolette bead.
Step 2: Thread On A Crimp
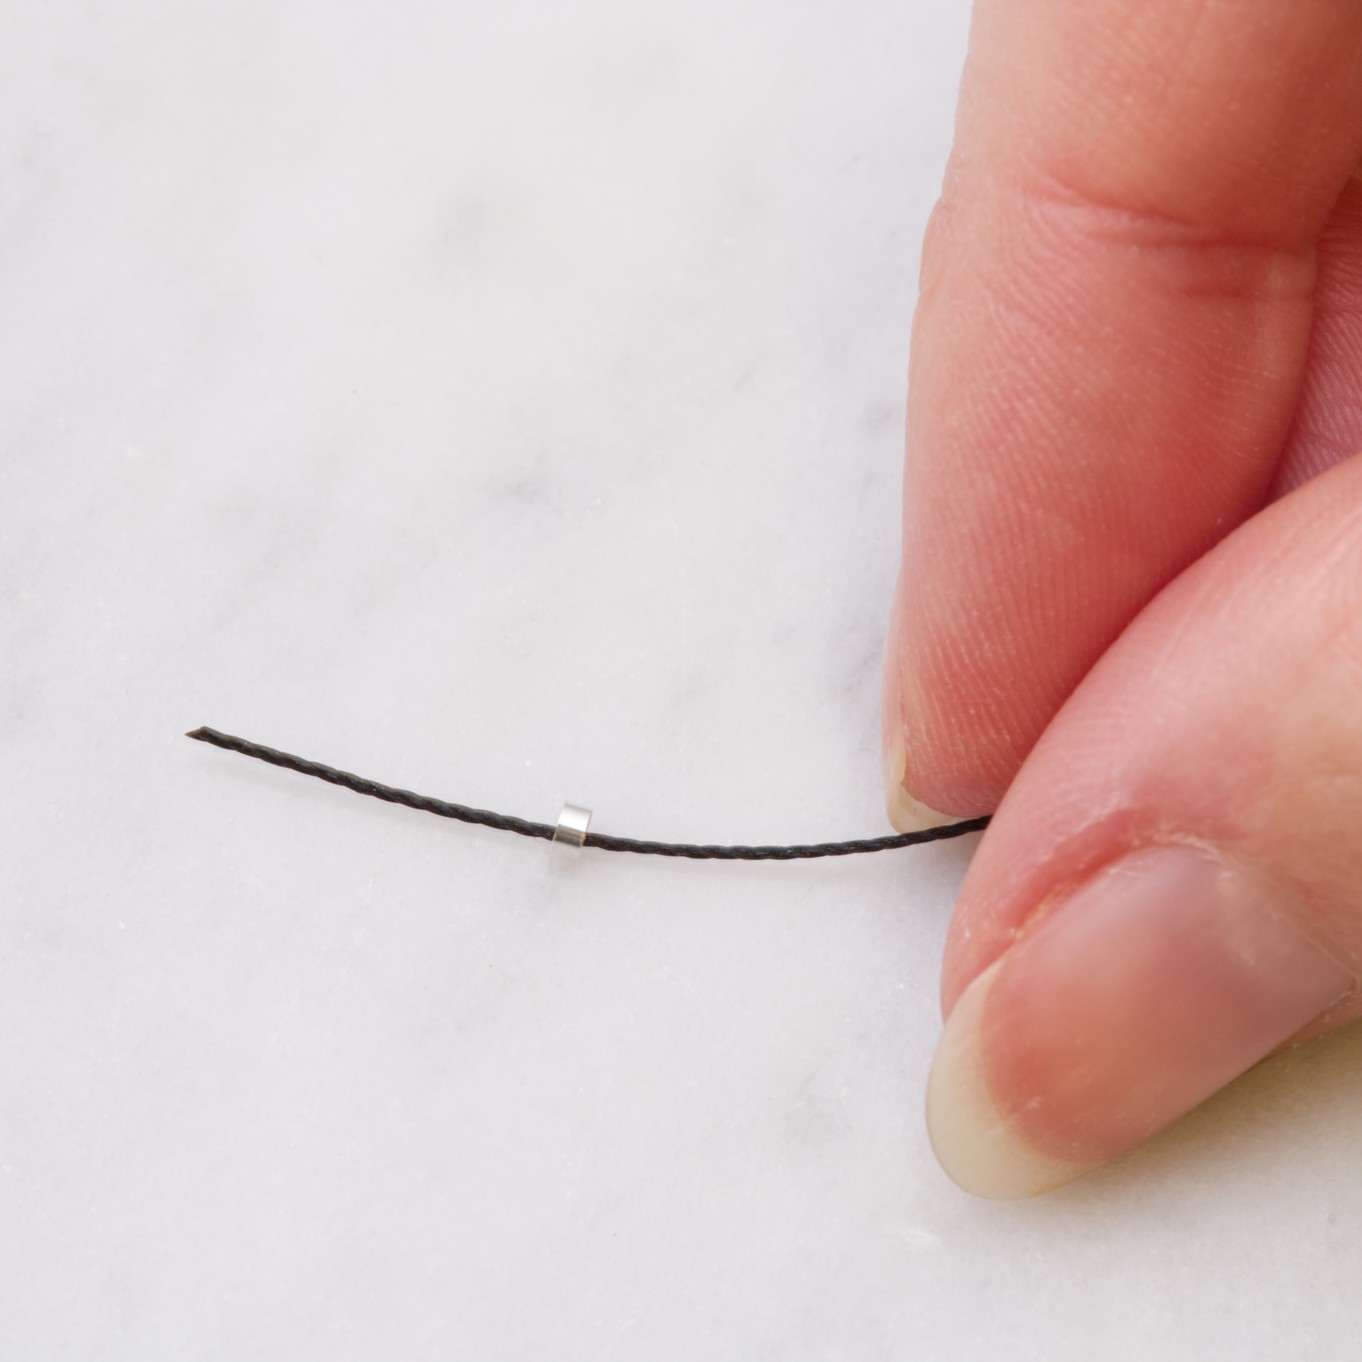
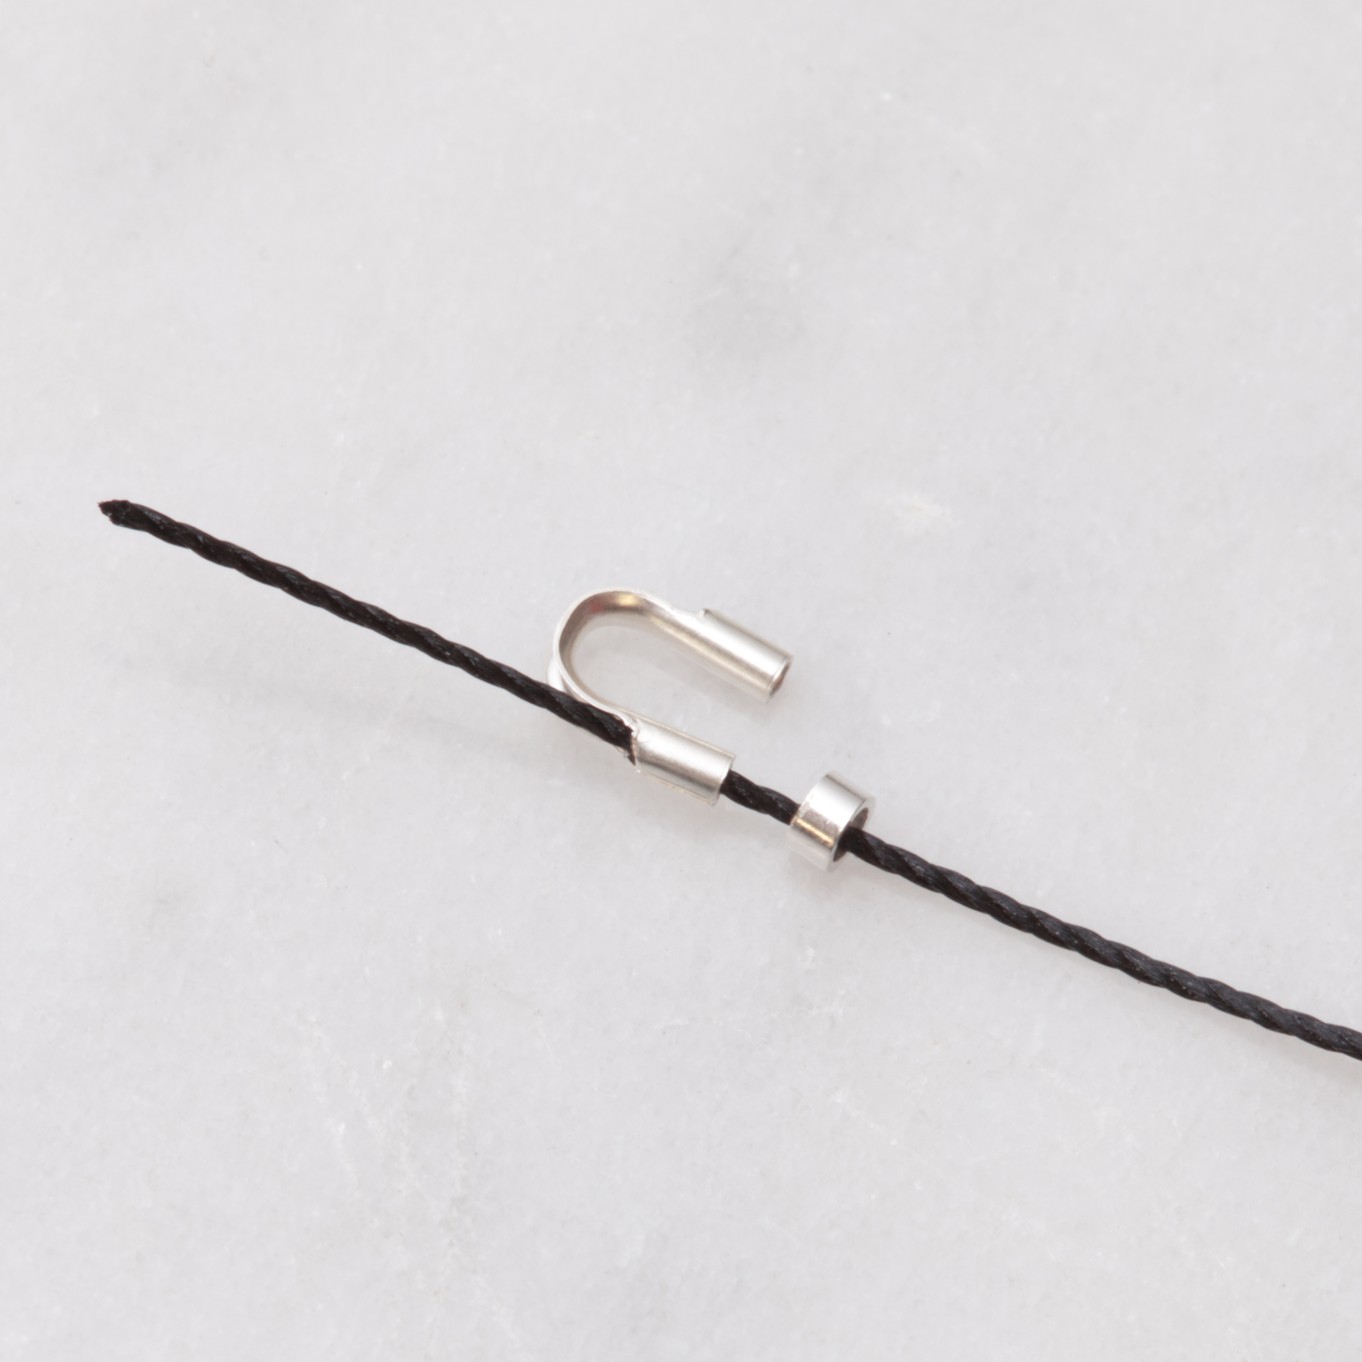
Thread a crimp onto your thread.
A crimp is a vital finding used for securing your fastening and thread in place.
These steps of adding findings to your thread can be very fiddly as they are tiny! Just be patient with yourself as with some practice you will soon get the hang of it! You may also find our headband magnifier with LED light useful and may help you focus.
Step 3: Add The Wire Guardian
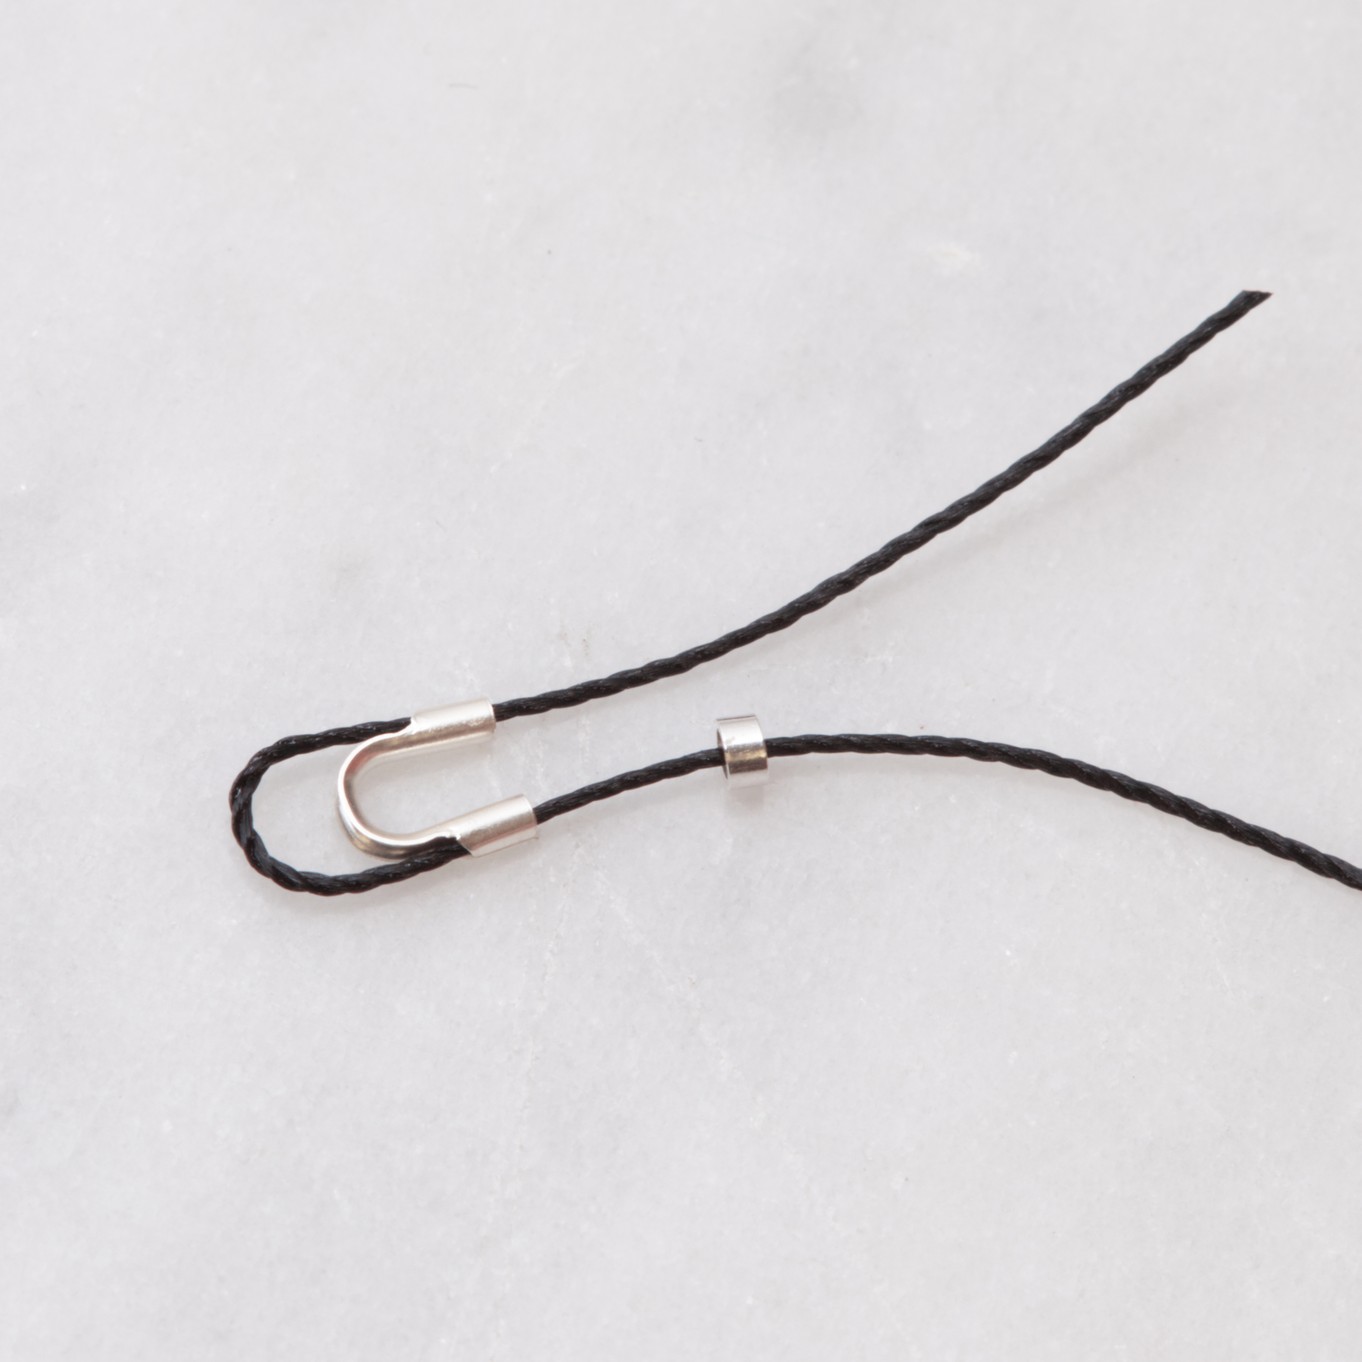
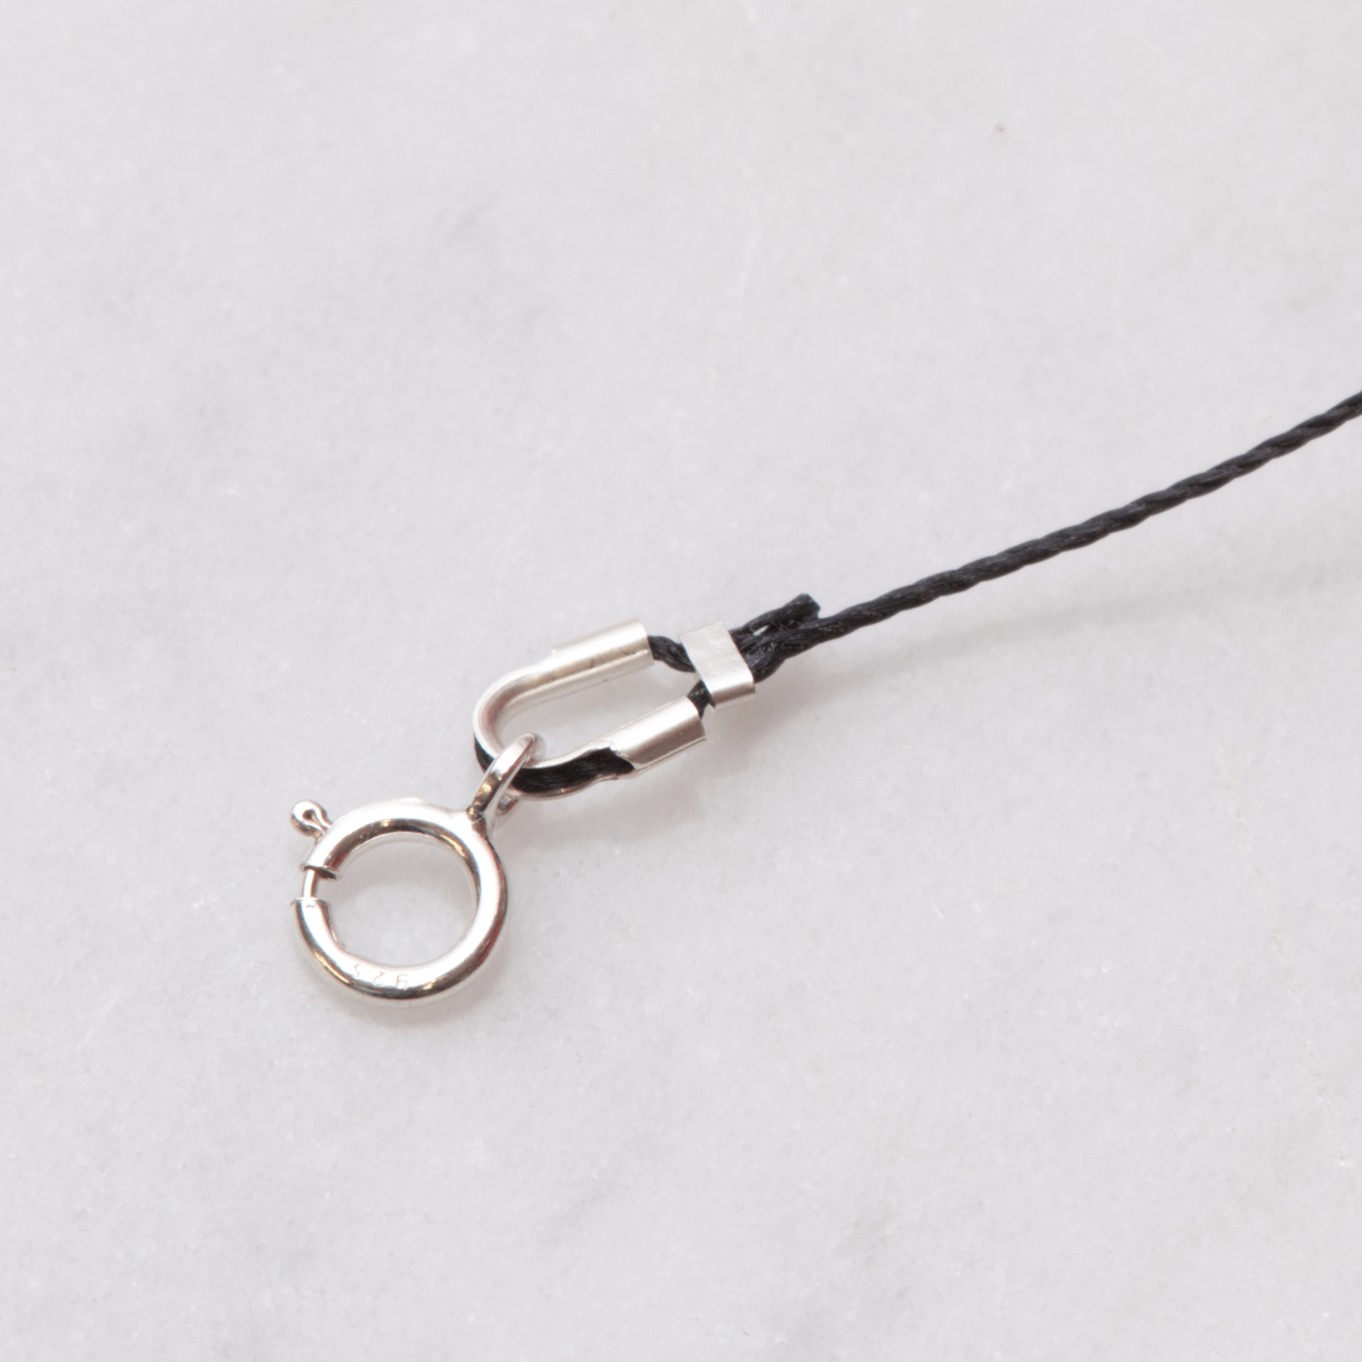
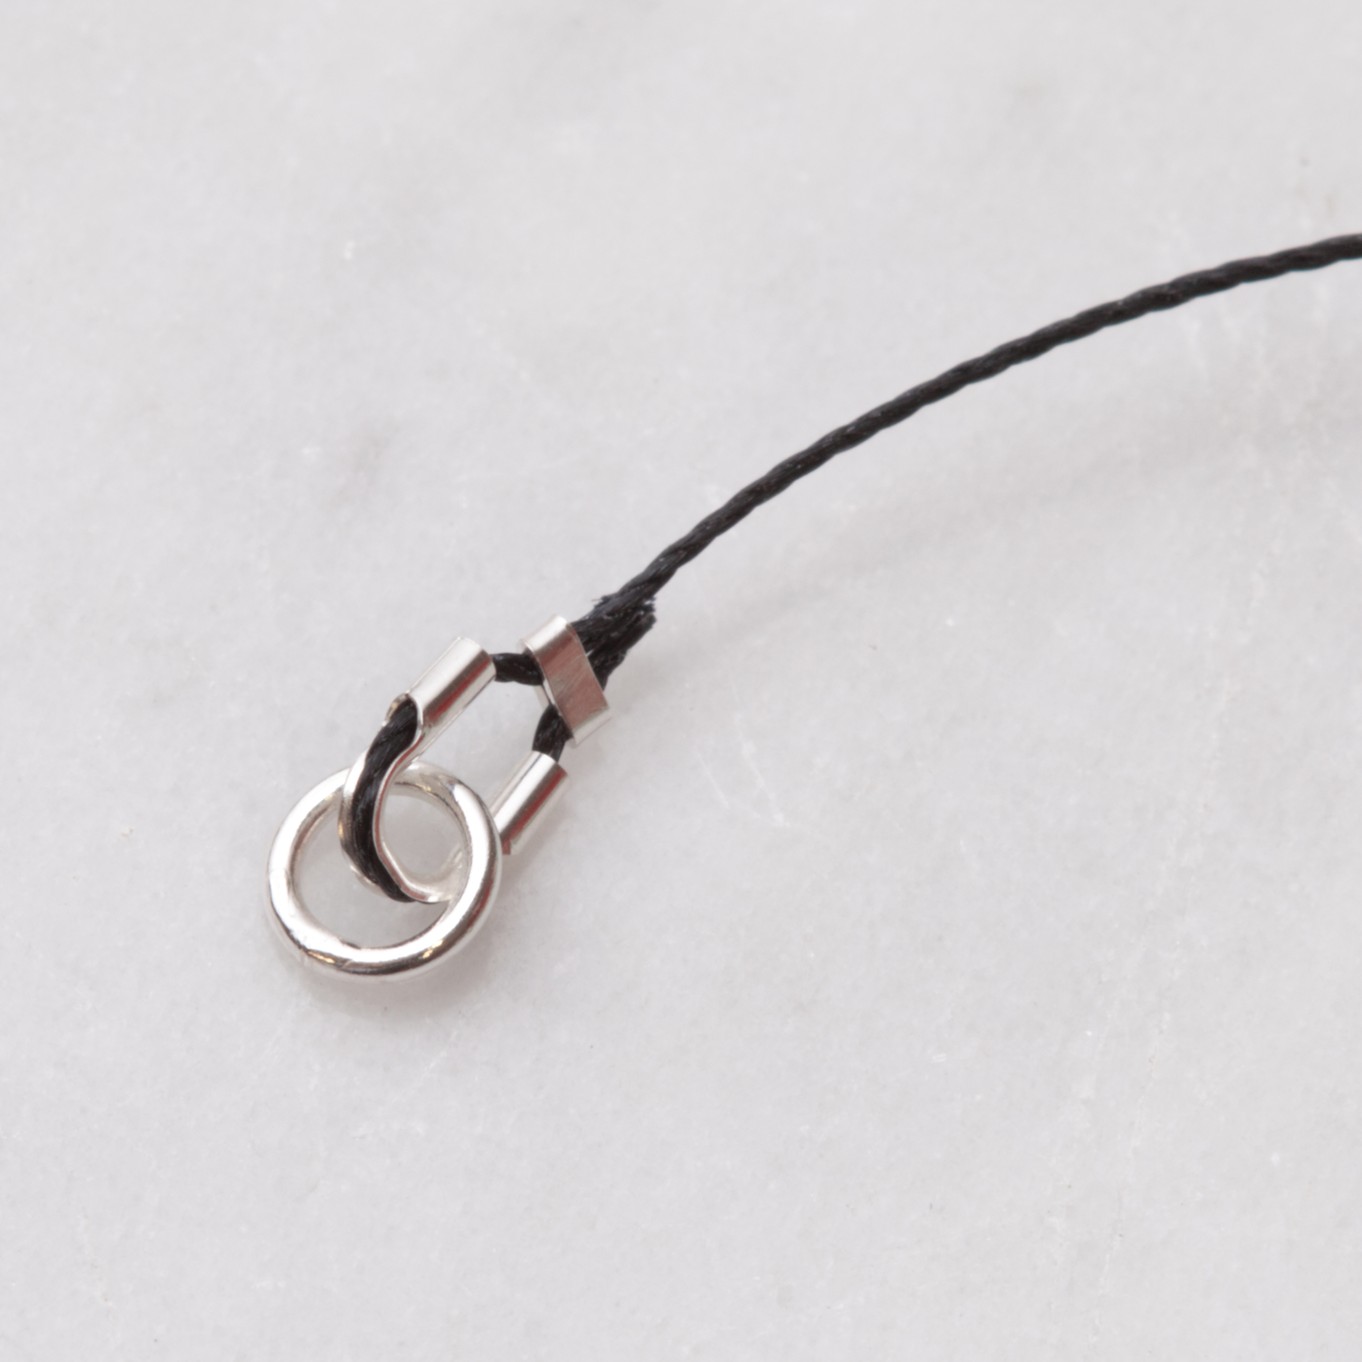
Thread the silkon thread through the tube of one side of the wire guardian and then continue threading it through the other end and pull the thread through.
Wire guardians, also known as thread protectors prevent your stringing material from wearing against your findings but also creates a professional looking finish.
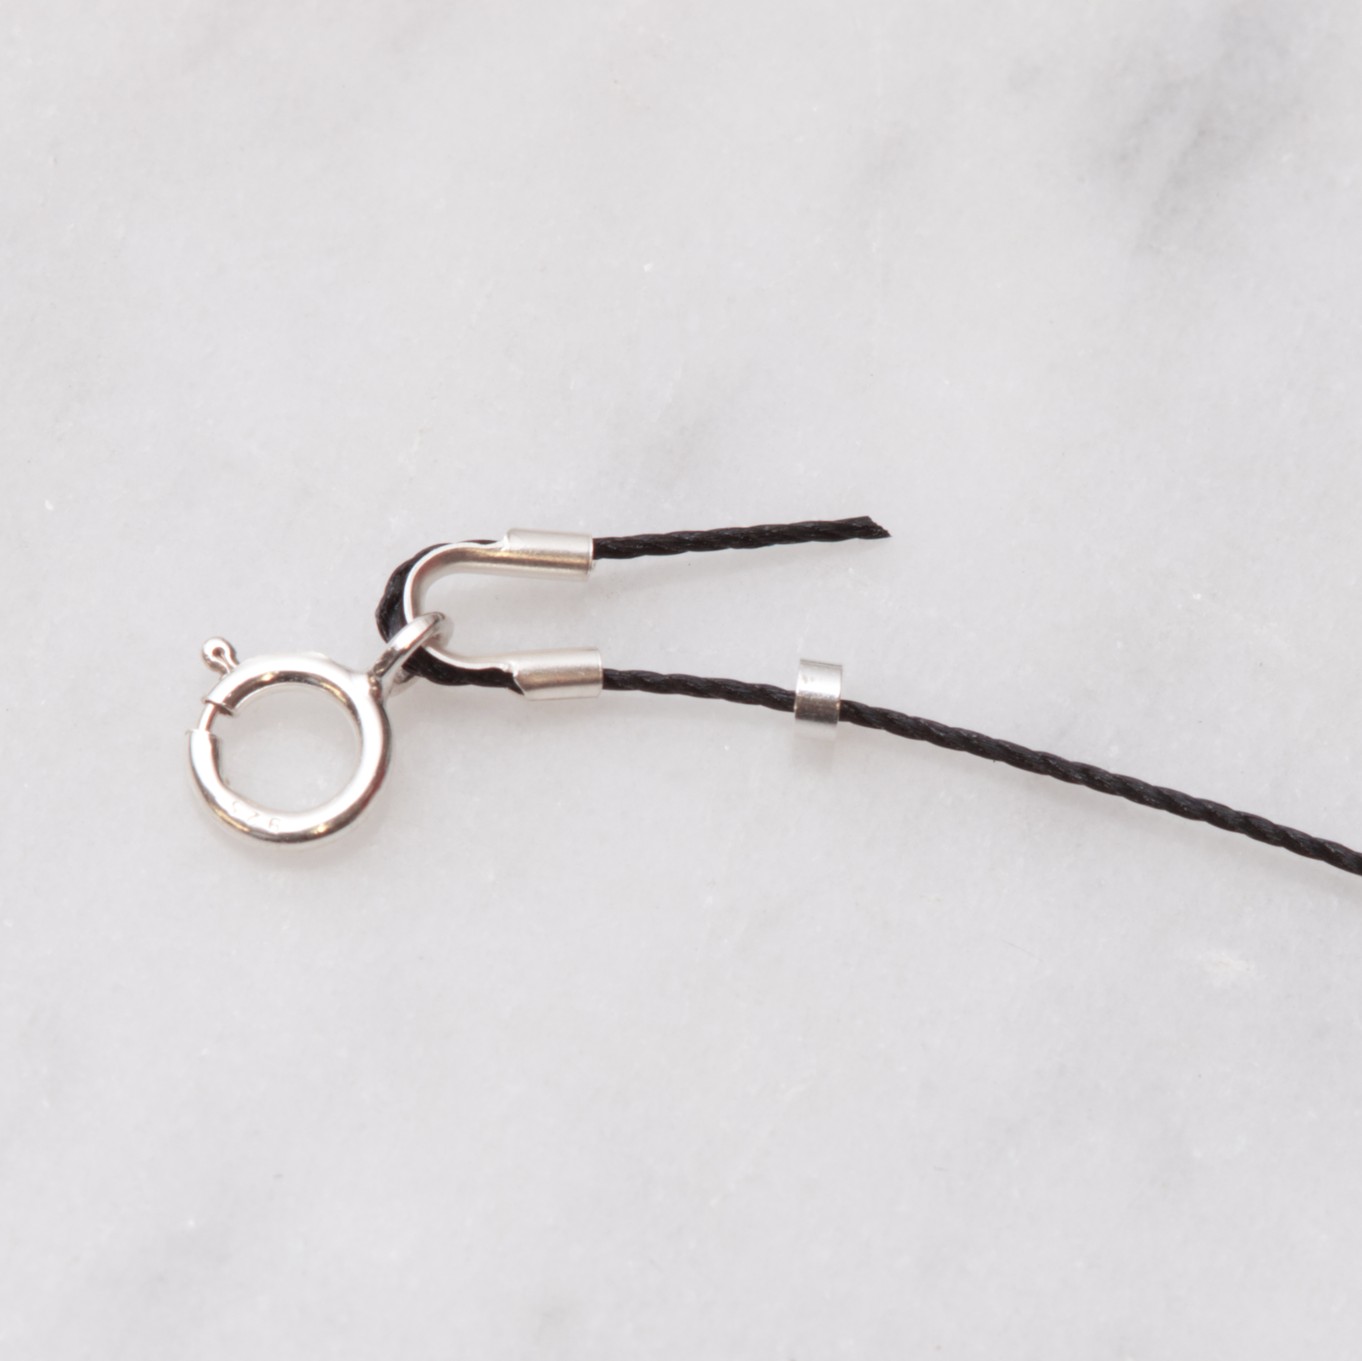
Step 6: Secure The Crimp With Snipe Nose Pliers
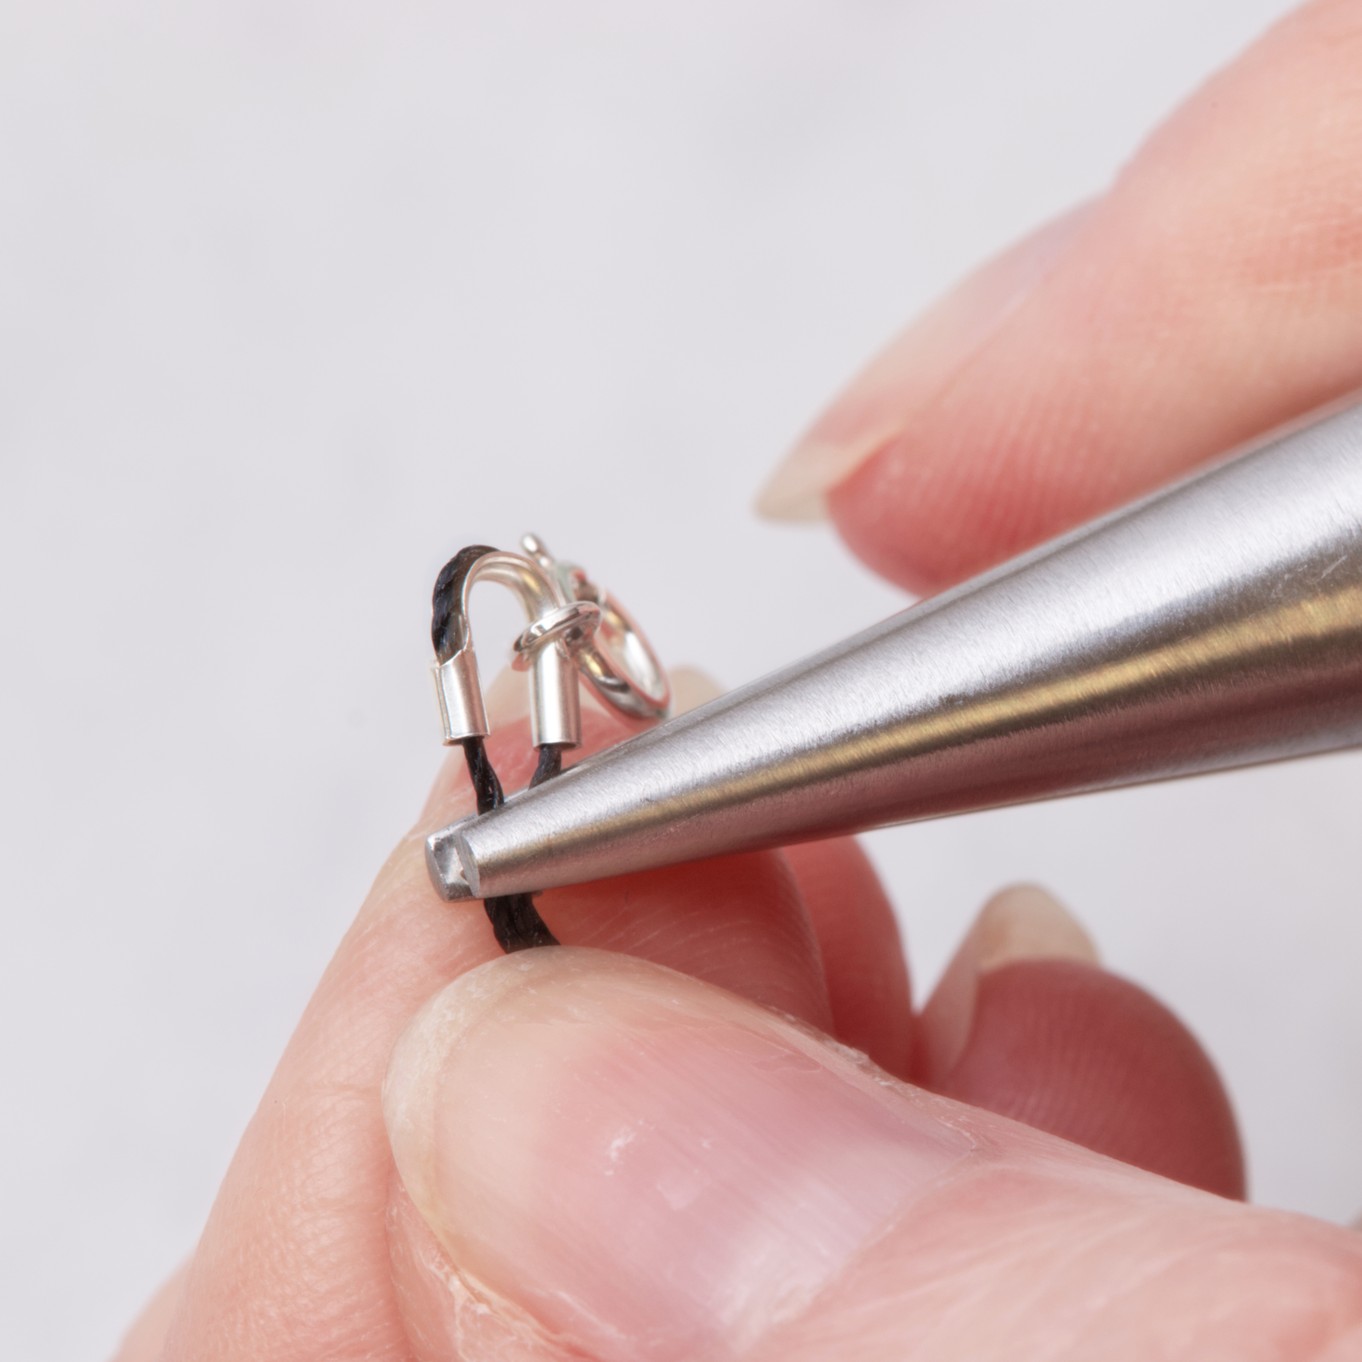
Ensuring the crimp tube is close to the wire guardian, use snipe nose pliers to squeeze the crimp to secure in place. You should only have a short amount of thread peeking through the crimp, but you can trim with scissors or thread snips if needed to tidy it up.
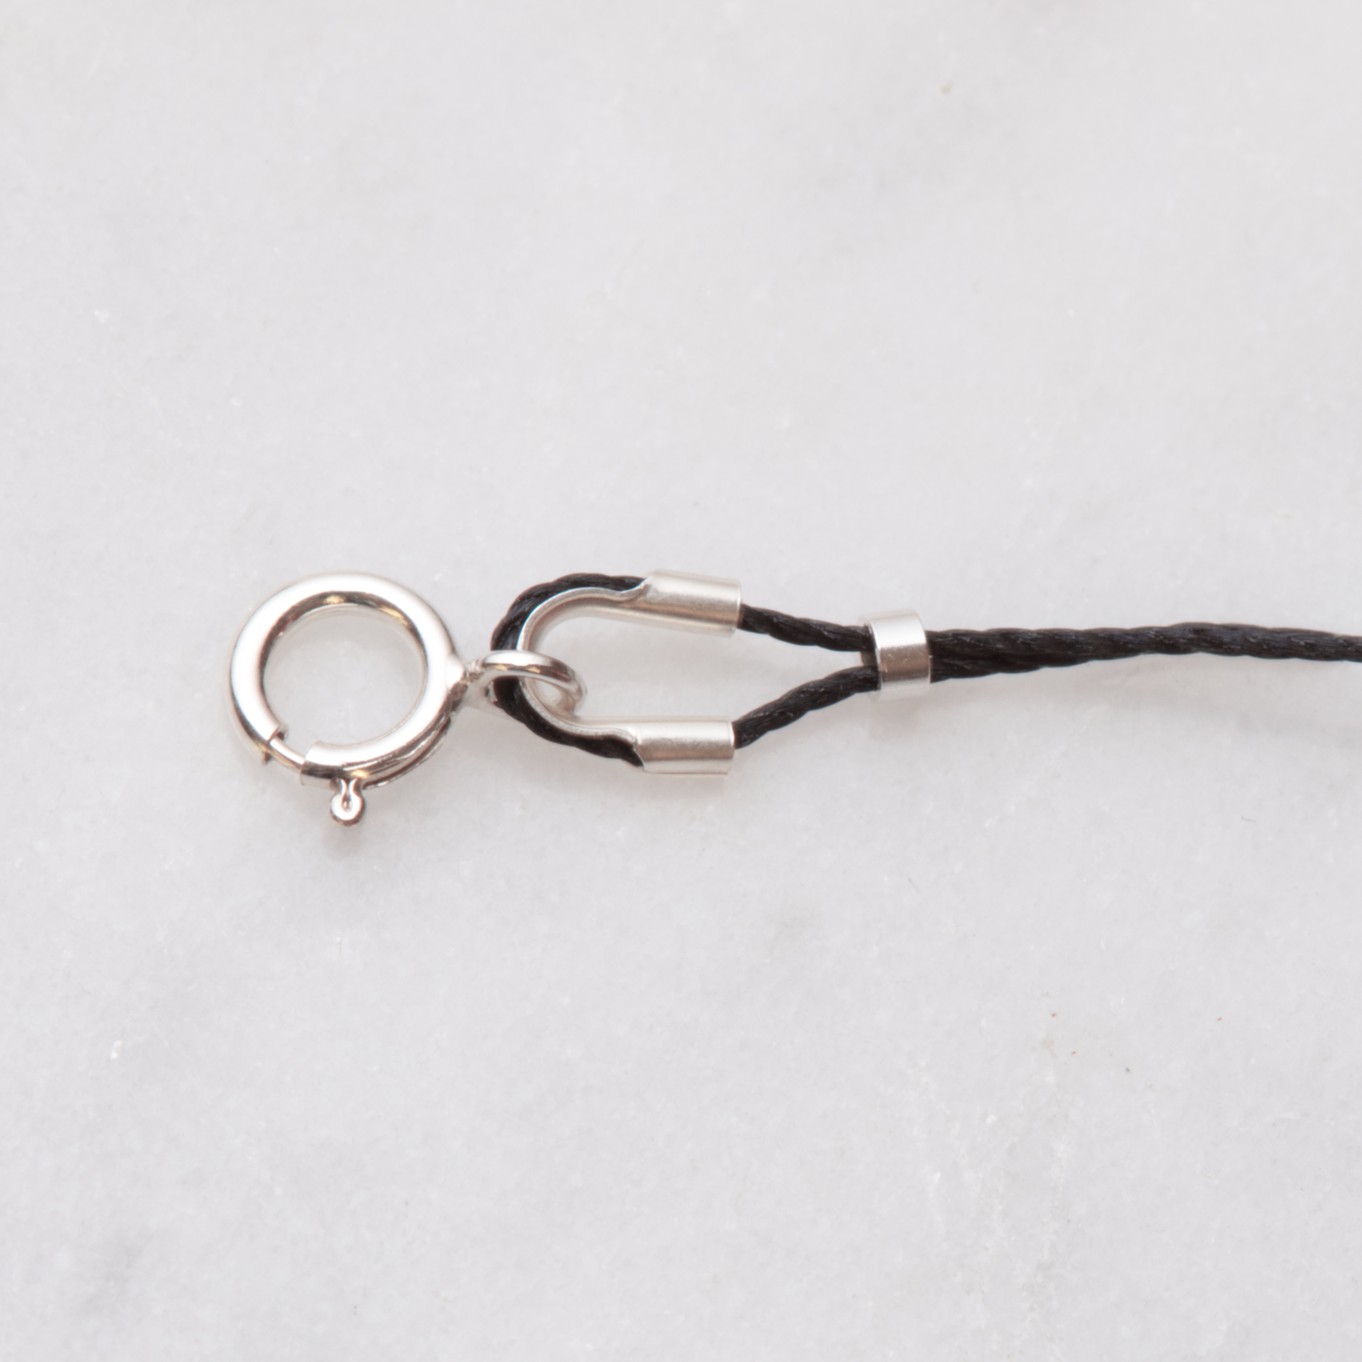
Step 8: Fasten Your Necklace
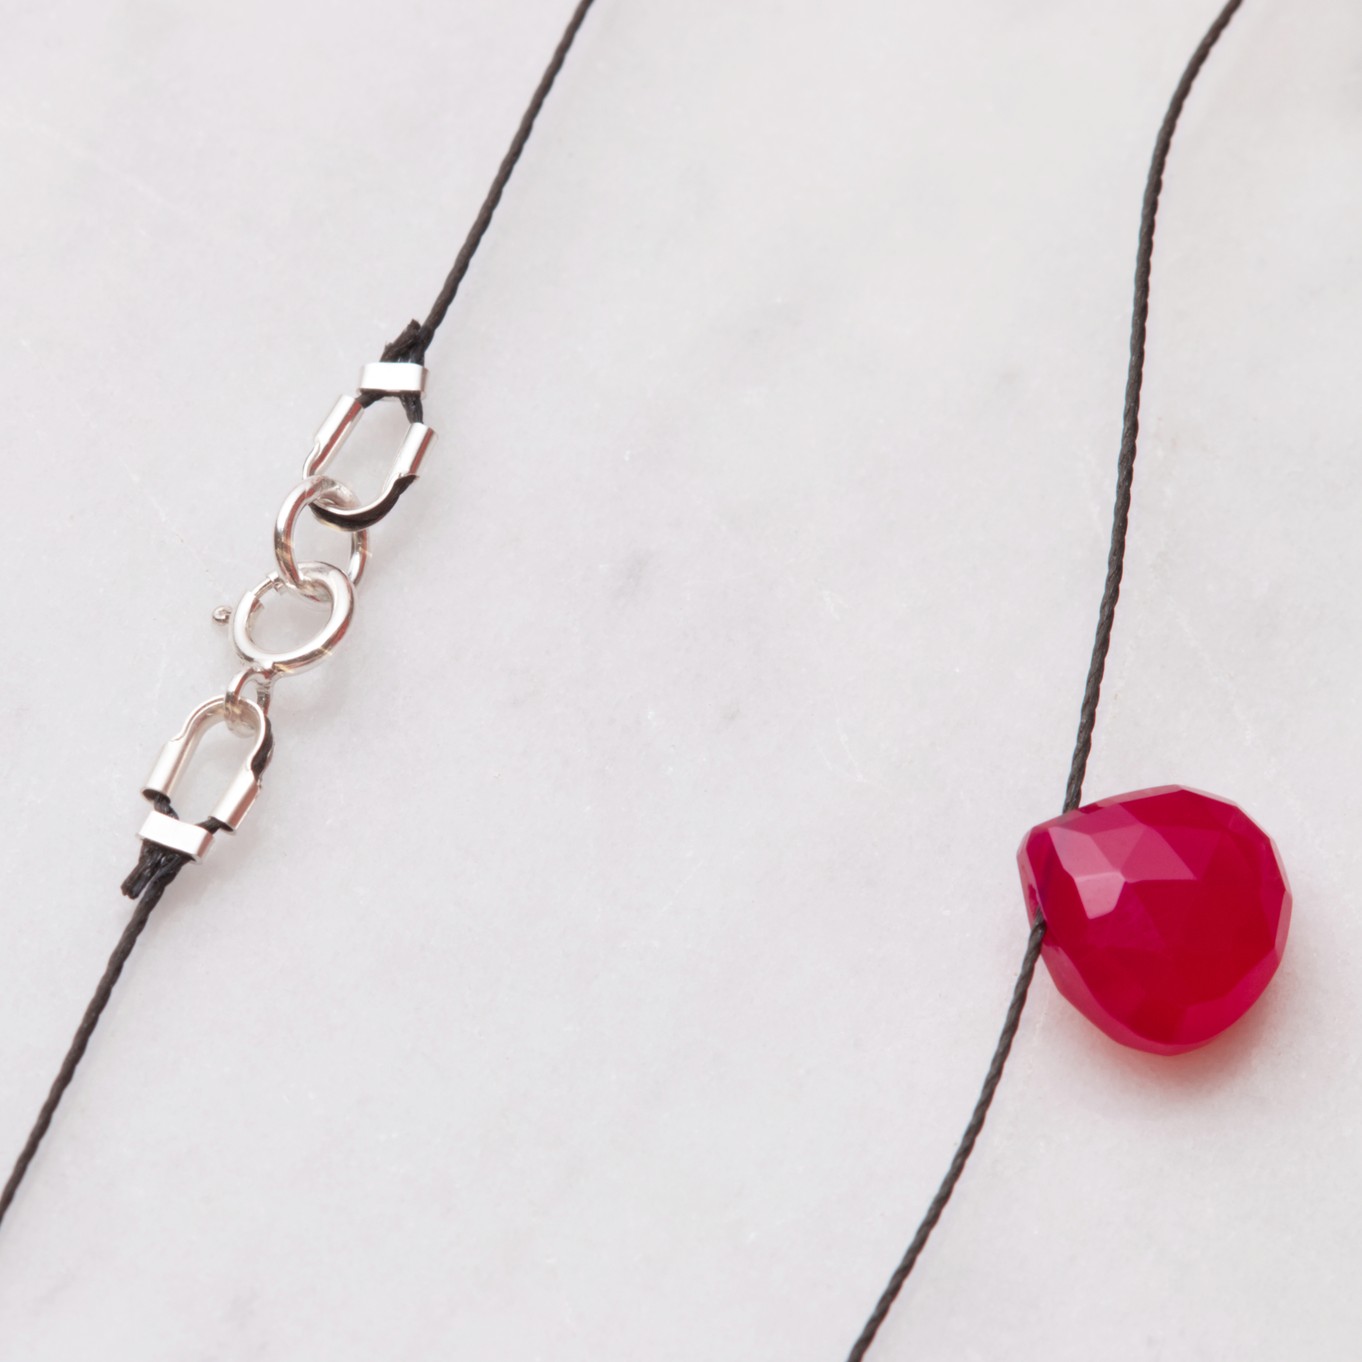
There's only one thing left to do! Fasten your necklace and your design is complete. Thinking of making one for a gift? Why not pop your finished necklace into one of our gift boxes or bags. We hope this project has inspired you and you can get creative with using your favourite gemstones in this style.
Customise Your Necklace
The products used in this project are suggestions to inspire you. Products used were compatible at the time of making but do be aware that stocks can vary, so do use your own judgement as to the compatibility of each item when making.
Also in this section:
- Macrame Bead Bracelet Tutorial
- Your Guide To Bead Stringing Materials For Jewellery Making
- The Essential Tools For Beading
- Beading: How To Start Jewellery Making With Lyndsey
- Answering Commonly Asked Beading Questions
- Types Of Beads For Jewellery Making
- The Difference Between Half Drilled, Top Drilled And Head Drilled Beads
- How To Use Top Drilled Beads
- Jewellery Making With Half Drilled Beads
- What Are Briolette Beads & How To Use Them
- Stringing Beads With Small Holes
- How To Make Your Bead Holes Bigger With A Bead Reamer
- Types Of Clasps For Jewellery Making
- 8 Reasons You Need A Bead Board
- How To Make A Sliding Knot
- Advice On Knotting Elastic Stretch Magic Thread
- How To Use Flex-Rite Jewellery Wire
- How To Use Crimps
- How To Make A Silkon Thread Briolette Necklace
- How To Use Beading Chain
- 4 Ways To Use Gemstone Donuts
- 4 Gemstone Chip Bead Project Ideas
- How To Use End Caps For Jewellery Making
- How To Make Earwires With Gemstone Beads
- How To Make A Memory Wire Bracelet
- How To Make Gemstone Bead Earrings
- How To Make A Bead Bar Necklace
- How To Make Beaded Bracelet With Flex-Rite Wire & Wire Guardians
- DIY Gemstone Friendship Bracelets
- How To Make A Beaded Bracelet With Knot Covers
- How To Make Polymer Clay Earrings
- How To Make Felt Jewellery
- DIY Mini Tassels & Jewellery Projects
HAVE A QUESTION?
If you have any questions, feel free to get in touch with our friendly team who will be more than happy to give you advice over email or on the phone.
You can learn more and find inspiration by visiting our Jewellery Making Tutorials, Jewellery Making Kits and YouTube Channel. Don't forget to follow us on social media and tag us in your designs on Instagram & Facebook, we would love to see!

